This over-the-door gift wrap organizer is a great way to keep wrapping paper, gift bags, and other gift-wrapping items neat and tidy. Cut down the time it takes to wrap your next present! All you need is a shoe organizer and fabric to make this handy organizer.
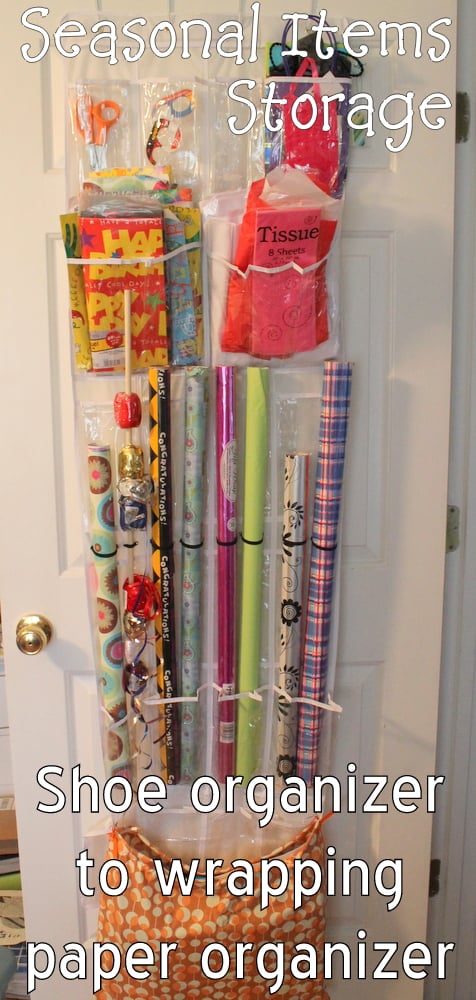
If you are like me, you have so many gift bags. And with gift bags come lots and lots of tissue paper! I needed a solution, but wasn’t willing to spend a lot of money on a fancy organizer. So, I made this one to fit over the back of our seasonal storage closet. This solution is magical…and inexpensive to make!
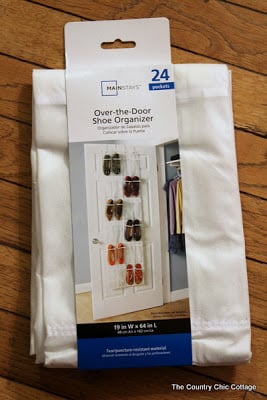
I used a plain over-the-door shoe organizer (also available at Wal-Mart, Dollar Tree, and other retailers!) and made a wrapping paper organizer in about an hour.
How to make an over the door gift wrap organizer
Supplies for a DIY wrapping paper organizer
- Over-the-door shoe organizer
- Fabric of your choice
- Elastic
- Scissors
- Needle and thread
Instructions for a DIY wrapping paper organizer
This project requires just a little bit of sewing, but the end result is totally worth it.
Step 1: Make the gift bag pouch.
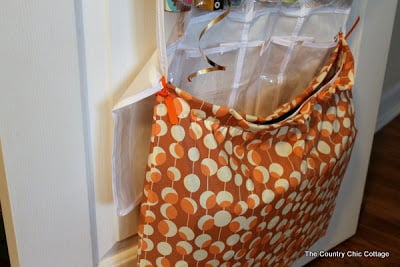
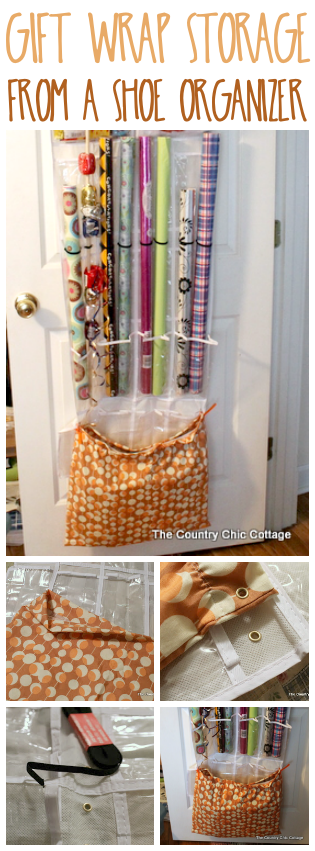
Like I said, I have many gift bags and needed something to hold those, so I made a pouch at the bottom row of the shoe organizer to slip the gift bags into.
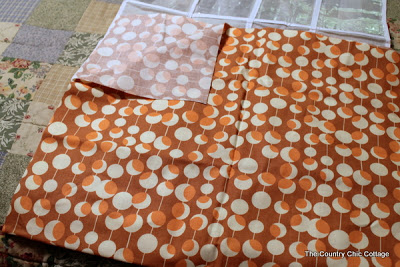
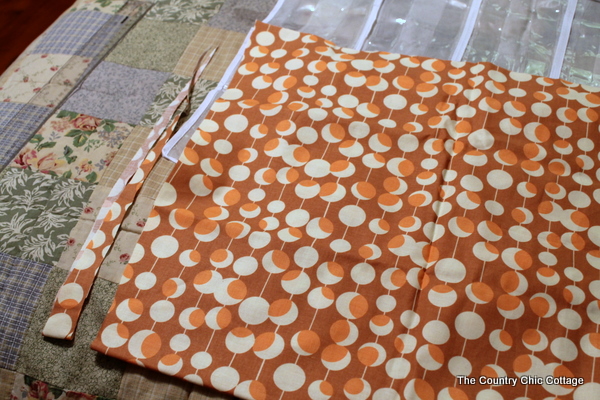
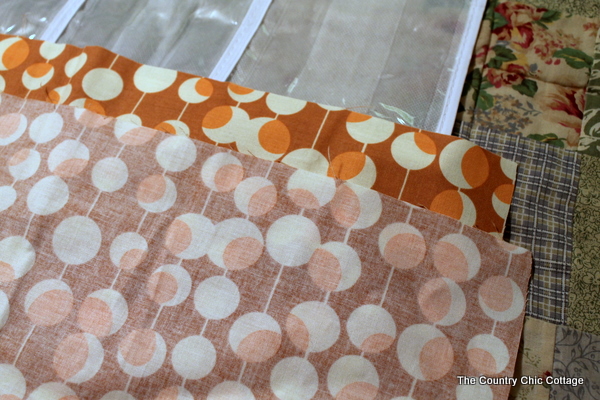
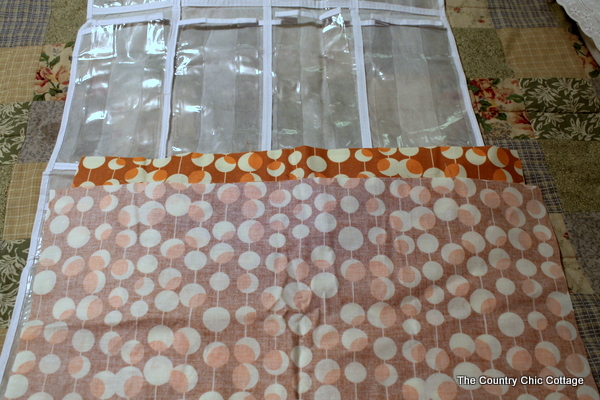
With your fabric, cut the fabric to measure three inches wider than the organizer. Then, trim down both sides at an angle so one end is the width of the organizer and one end is 3 inches wider than the organizer.
This seems counterintuitive, but will give you the right amount of fabric to work with when it’s time for the elastic.
The length of the fabric is up to you but it should be big enough when folded in half to add your gift bags inside. I used one of my larger gift bags to determine how long I needed the pouch. Then, I added 4 more inches at the top for the seam.
Now that the length and width have been determined, fold the fabric in half so the fold is how you want the pouch situated on your organizer.
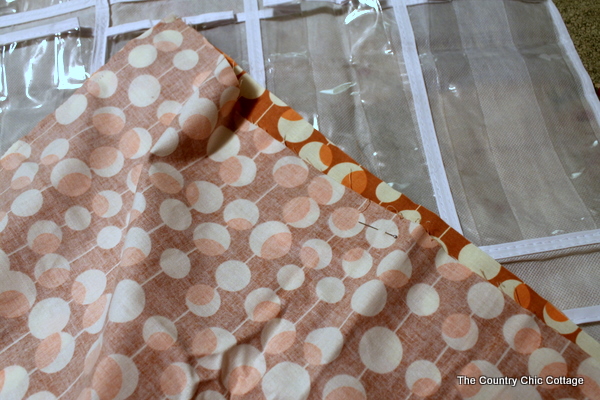
Sew up both sides (left and right) making them even. The front of the pouch will be loose as it has 3 additional inches, but we will be adding elastic shortly, so don’t worry. Now, you should have a pouch with a raw top edge.
Turn that raw edge down twice toward the inside of the pouch, so you have a finished edge on top and sew all the way around.
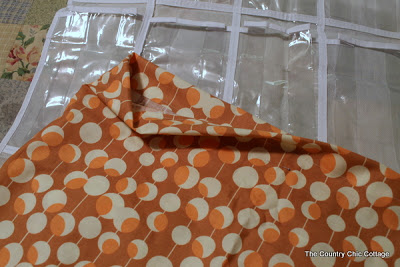
Next, cut a wide piece of elastic 3 inches shorter than the width of your organizer. Sew this piece inside your pouch on the front edge. Stretch the elastic as you sew so that it goes from one side of the pouch to the other.
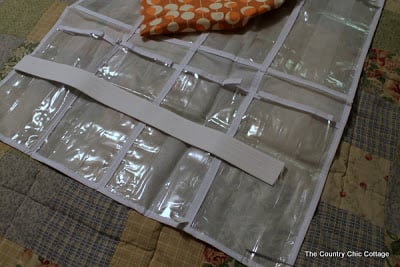
This will gather the front edge of the pouch.
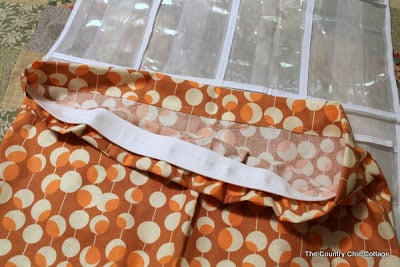
Step 2: Add grommets to attach the organizer and pouch.
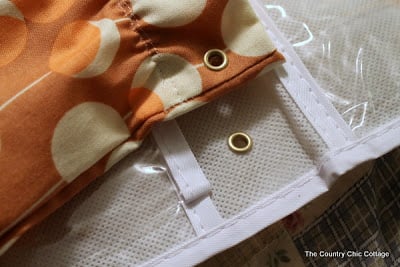
Now we are ready to attach the pouch to the shoe organizer. I have a Crop-A-Dilethat inserts grommets and that is what I used on this project. You could just try the holes without grommets or stop by your craft store and pick up a grommet tool.
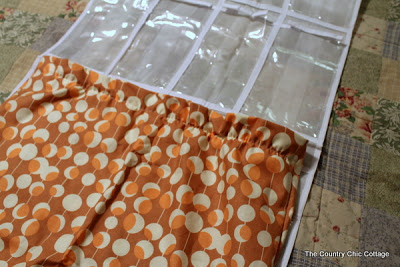
You want to add grommets to the top right and top left corners of the pouch and into your organizer where you want the pouch to hang. You could also add grommets to the bottom of the pouch if you plan on adding heavier items.
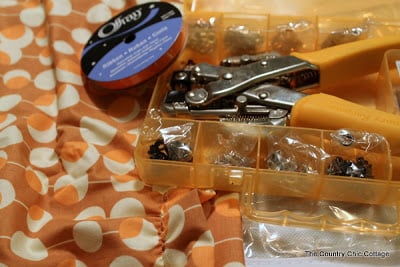
Attach the pouch to the organizer by tying ribbon through the grommets on the pouch and organizer. You can also use zip ties, shoe strings, or anything similar.
Step 3: Corral the wrapping paper and supplies.
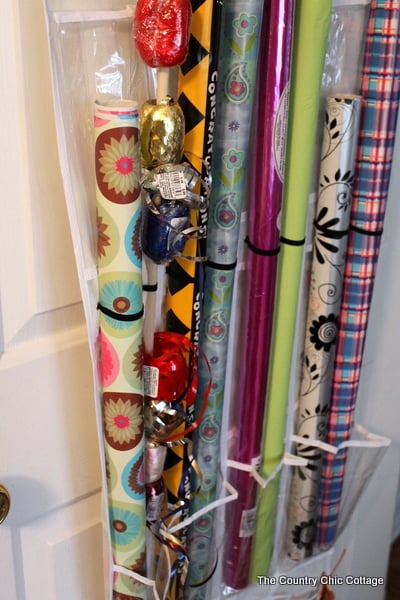
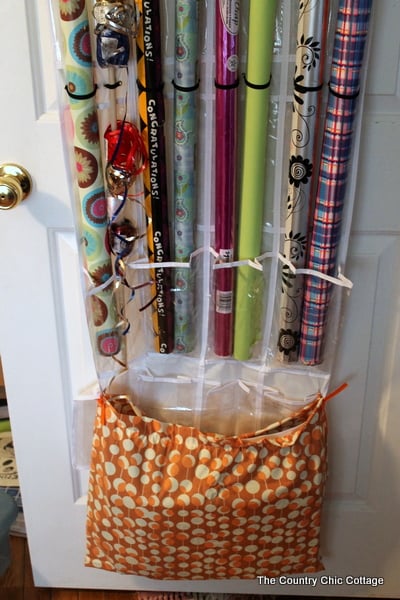
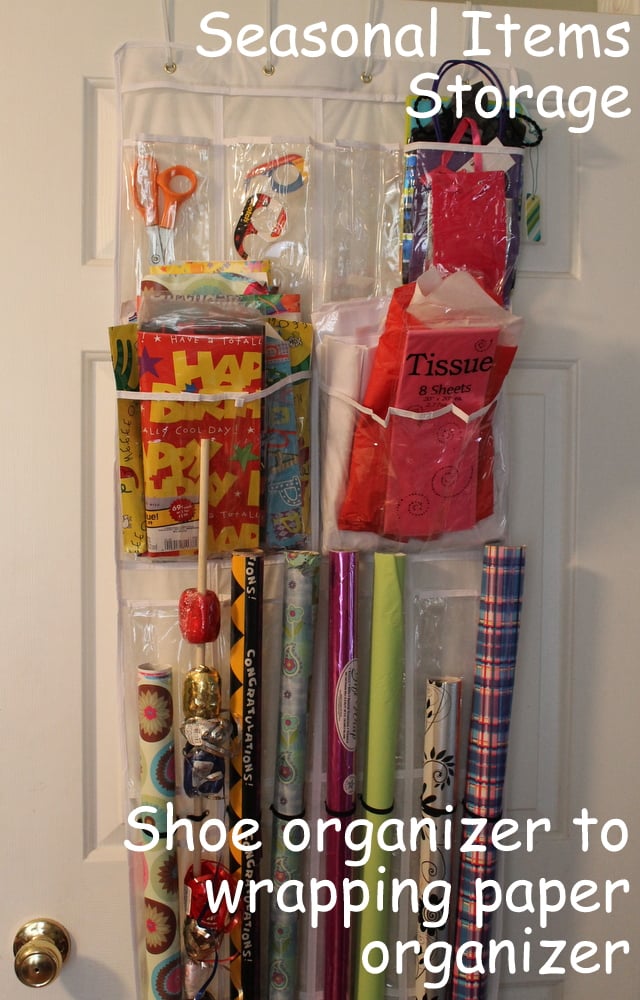
Since my pouch covers the bottom row of shoe bins, I used the second row of shoe bins to add wrapping paper rolls to stand up.
To get them to stay upright, I added small elastic loops between the third and fourth row of shoe bins. Make sure you space out your elastic loops so that a wrapping paper roll will fit inside the loop. I also added grommets (total of 4) on that row so the elastic could be tied on.
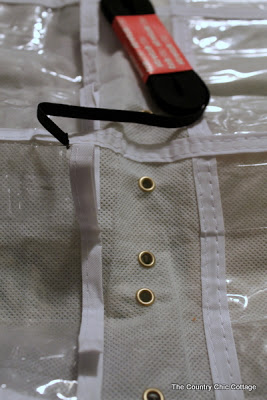
So very simple but it works great! Counting up from the bottom, my bottom row of shoe holes is hidden by the gift bag pouch. The second row is where the bottom end of your wrapping paper goes. Then between the third and fourth row is where your grommets and elastic go to hold your paper tight.
Want to hold ribbon too? I just put my ribbon on a dowel and put the dowel into one of the wrapping paper slots. You just need to tighten up the elastic piece on that slot.
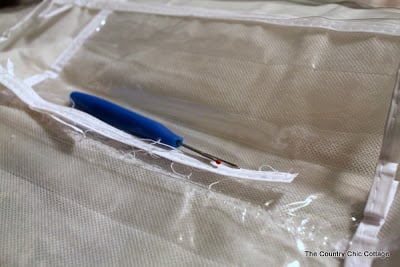
So now I had two rows left at the top. My tissue paper and folded wrapping paper needed larger slots than the shoes would allow. So I made them larger by using a seam ripper to remove the stitches down the center. The plastic goes all the way underneath and you are left with a larger slot.
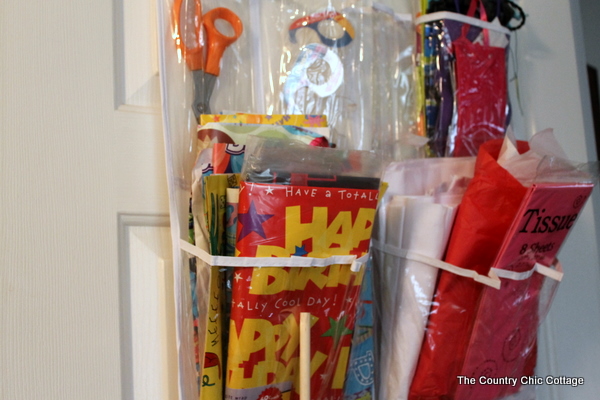
The top two rows of shoe bins I used for other wrapping paper supplies.
See the perfect size!
The very top row I left alone. It holds scissors, tape, and small gift bags…
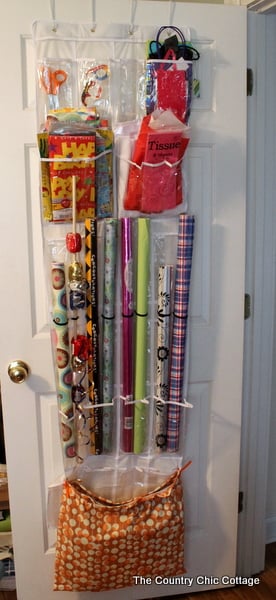
Now you can turn a shoe organizer into a wrapping paper organizer. The entire project probably took me 30 minutes to an hour from start to finish. I can finally say my wrapping paper is organized and easily accessible!

Supplies
- Over-the-door shoe organizer
- Fabric of your choice
- Elastic
- Scissors
- Needle and thread
Instructions
Step 1: Make the gift bag pouch.
- Cut the fabric to measure three inches wider than the organizer. Then, trim down both sides at an angle so one end is the width of the organizer and one end is 3 inches wider than the organizer.
- This seems counterintuitive but will give you the right amount of fabric to work with when it’s time for the elastic.
- The length of the fabric is up to you but it should be big enough when folded in half to add your gift bags inside. I used one of my larger gift bags to determine how long I needed the pouch. Then, I added 4 more inches at the top for the seam.
- Fold the fabric in half so the fold is how you want the pouch situated on your organizer.
- Sew up both sides (left and right) making them even. The front of the pouch will be loose as it has 3 additional inches, but we will be adding elastic shortly, so don’t worry. Now, you should have a pouch with a raw top edge.
- Turn that raw edge down twice toward the inside of the pouch, so you have a finished edge on top and sew all the way around.
- Next, cut a wide piece of elastic 3 inches shorter than the width of your organizer. Sew this piece inside your pouch on the front edge. Stretch the elastic as you sew so that it goes from one side of the pouch to the other.
- This will gather the front edge of the pouch.
Step 2: Add grommets to attach the organizer and pouch.
- Now we are ready to attach the pouch to the shoe organizer. Use a Crop-A-Dile to insert grommets on the top right and top left corners of the pouch and into your organizer where you want the pouch to hang. You could also add grommets to the bottom of the pouch if you plan on adding heavier items.
- Attach the pouch to the organizer by tying ribbon through the grommets on the pouch and organizer. You can also use zip ties, shoestrings, or anything similar.
Step 3: Corral the wrapping paper and supplies.
- Keep wrapping paper rolls upright by adding small elastic loops between the third and fourth row of shoe bins. Make sure you space out your elastic loops so that a wrapping paper roll will fit inside the loop. Add grommets (total of 4) on that row so the elastic can be tied on.
- To hold ribbon, place the spools on a dowel and put the dowel into one of the wrapping paper slots.
Notes
Declutter Your Home in 31 Days!

Clear the clutter and organize your home with our daily emails! Every day for a month we will send you a prompt to declutter! Sign up for our email list below to get started.



This is a great idea. I have one of those big rubbermaid type things for my Christmas wrap, but I’d like some way to corral all the other times/seasons I need gift wrap and ribbons, and this is perfect! I love it!
Very clever! Thanks for sharing.
grommets and fabric oh my! Very creative angie! Much better than the way I store my gift wrap! 🙂
thanks so much for sharing @ catch as catch can
gail
I use my shoe organizer as a closet organizer – hang it on the inside, and use it for the small linen/bathroom closet items!
I use a shoe organizer in my linen/hall closet to organize my small items, but I may get a second one for wrapping paper! Love this idea!
What a clever idea. So well done!
Thanks for sharing.
30 minutes? Wow… I want to be you when I grow up. Which I hope to do soon. Before my 45th birthday coming up next week would be nice. But seriously, congrats. I admire thee.
This is an amazing idea! How do you keep the wrapping paper from falling? The top looks as though there isn’t anything to hold it and keep it from falling.
I have the pieces of elastic on them. I have used this for years now with no issues.
This is so smart Angie, I like how you showed how you did everything. Thanks for sharing.
Bonnie E. Niles, Michigan.
I have a similar set up for my small baking business. Instead of holding wrapping paper, the lower pockets hold rolls of colored foil for covering cake boards, parchment paper, rolling pins, fondant rollers and such. Some of the other pockets have been modified to hold various other tricks of the trade..dowel rods, wires, cake boards, etc. The top row of pockets I made into smaller sections to hold icing tips, couplers, coloring tubes…even pencil sized slots for fondant tools. The entire thing hangs on the wall using 2, slightly larger than needed, hooks which are then used to hang a dowel rod that holds some of the more popular ribbon that I use. I slowly change out tools as the seasons/trends change but my little “one-stop-shop” continues to help keep my business in order.
Thank you for giving me even MORE inspiration!!
How do you hang it on the door?
It just hangs over the top of the door with hooks.