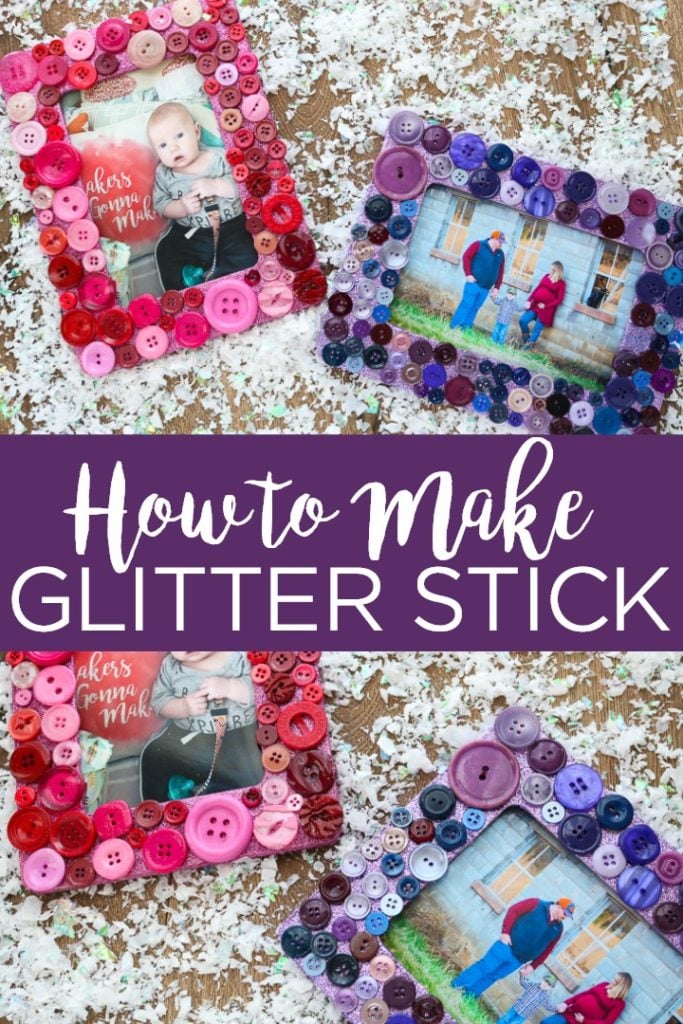
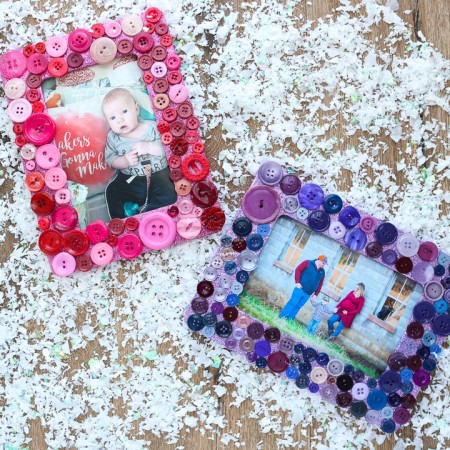
I thought I would share a basic tutorial with you on how to make glitter stick to wood. This technique is so easy and you will be amazed at how well it works on getting glitter on just about any surface. We are going to make these button glitter picture frames but you can use this same technique for any of your glitter craft projects. So, follow along below to see what our secret weapon is!
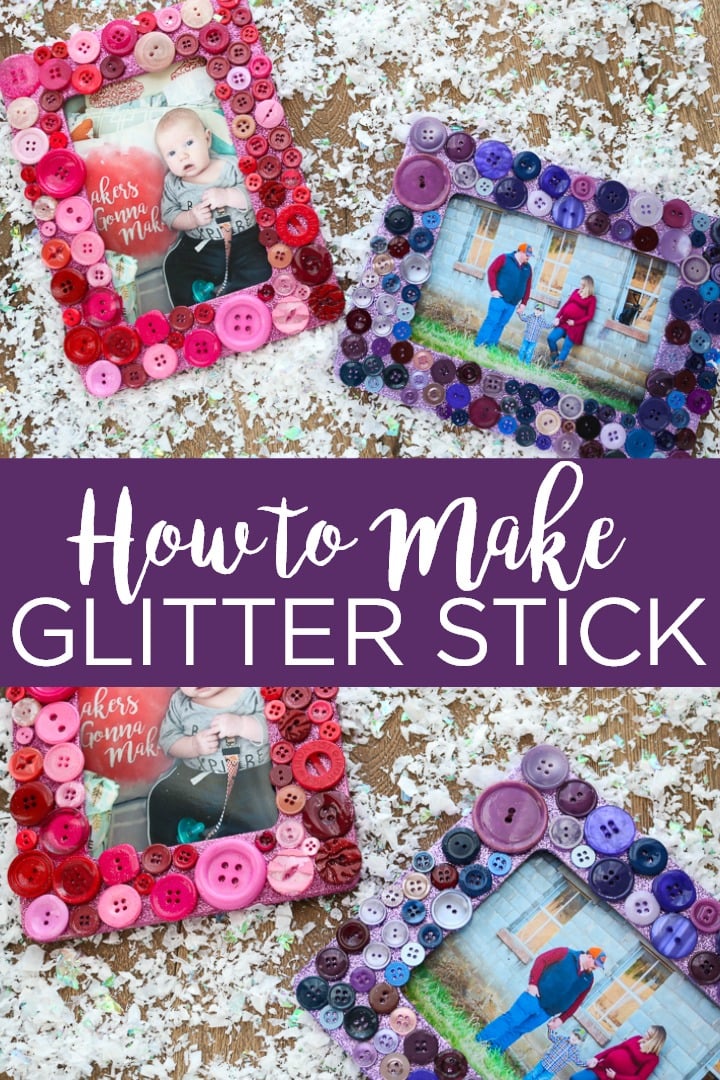
This is a part of Craft Lightning week where we are sharing glitter projects that take 15 minutes or less all week. You can catch up with any of the posts you missed from day 1 or day 2. You will also want to scroll to the bottom of this post where we have even more glittery inspiration.
Mod Podge is definitely the best glue for glitter. I’ve used this technique on glittered mason jar ornaments, tea light containers, tumblers and more. This glittery picture frame is perfect for kids to decorate as a gift for grandparents or parents!
How to Make Glitter Stick to Wooden Picture Frames
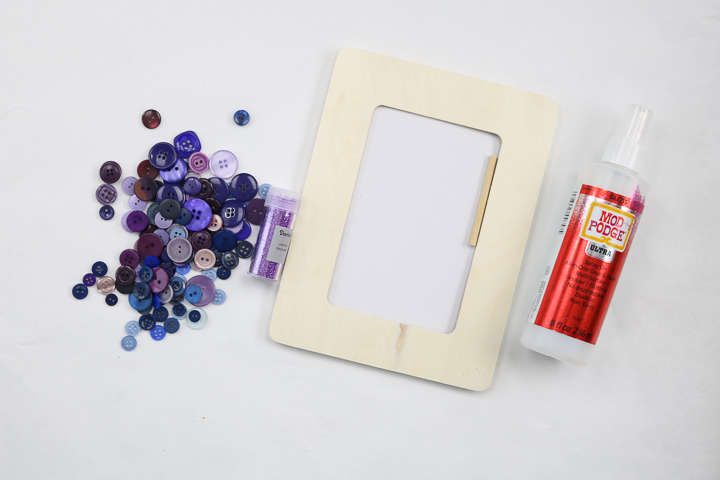
Supplies to make these glitter picture frames:
- Wood frame (cheap $1 frames from the craft store are fine)
- Mod Podge Ultra (this is our secret weapon and you can purchase it here)
- Buttons (I recommend the jars of assorted buttons at Walmart)
- Glitter
- Scrap paper
This one is really best shown on video so I made a quick video below. Watch it for my secret on how to make glitter stick.
Can’t watch the video or missed some of the steps? I also have the instructions below.
- Protect your work surface with scrap paper as this project is messy. I recommend several layers.
- Put the wood frame down on the paper.
- Shake the bottle of Mod Podge Ultra for 10 to 15 seconds. Prime the pump over to the side to ensure it is coming out evenly.
- Then spray your entire wood frame (including the sides) with a good coat of the Mod Podge Ultra.
- Sprinkle with glitter then shake off excess on a scrap piece of paper that is dry.
- Spray the frame again and sprinkle with additional glitter.
- Be sure to get the sides as well as the front. Shake away excess glitter.
- Spray the front of the frame with a really thick coat of Mod Podge Ultra.
- Then randomly lay the buttons around your frame.
- Give your frame one more good coat of Mod Podge Ultra over the top of the buttons.
- Then set aside and allow to dry completely.
- If there are any loose buttons once dry, you can attach with glue or add more Mod Podge Ultra. Some buttons do not have a flat enough surface to adhere properly.
NOTE: Be sure to clean the Mod Podge Ultra well after use. Take the spray nozzle off and run water through it at the sink. Spray until all water is out of the nozzle and return to the bottle. This will keep the product from setting up and clogging the spray.
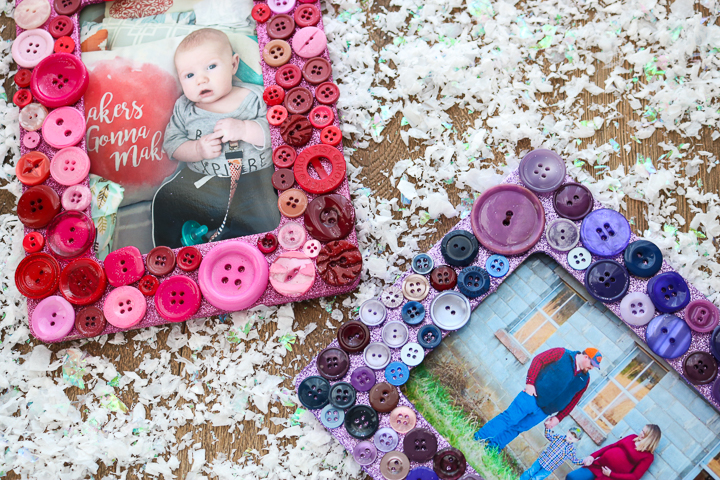
Now that you know how to make glitter stick, you can make all the things! These button frames are just the beginning!
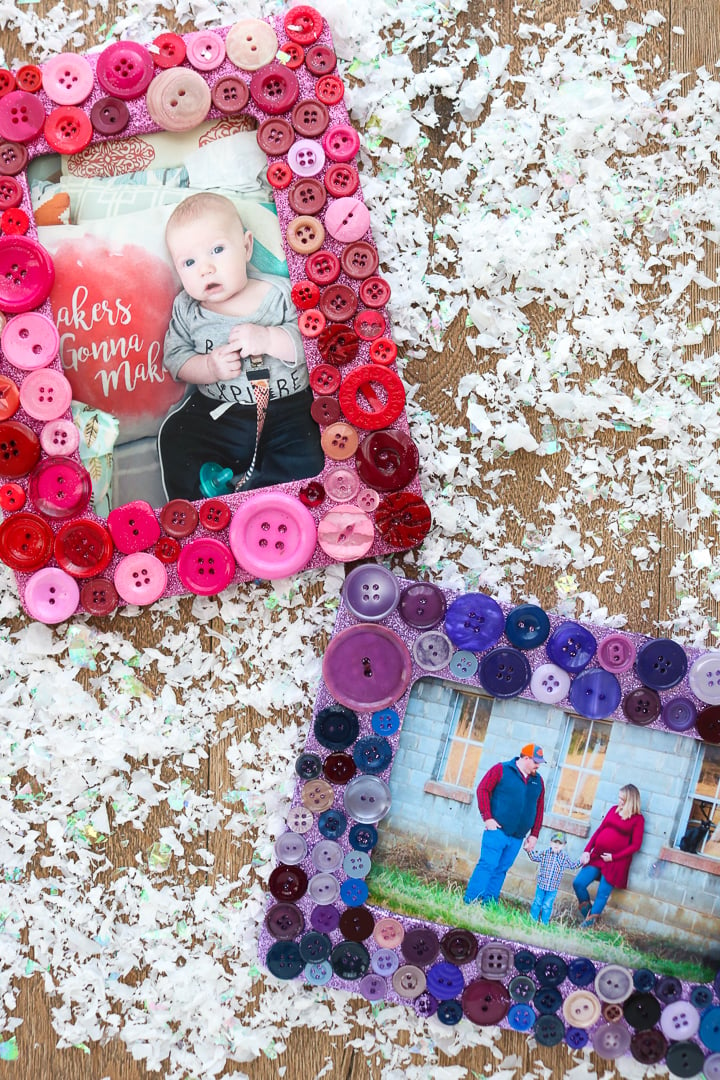
Grab your glitter, your Mod Podge Ultra, and start glittering all the things. You are going to love the results, y’all!
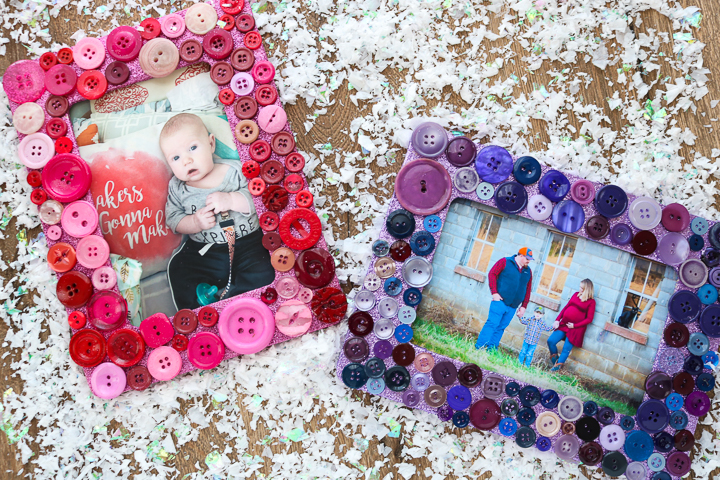
So, will you make some button glitter frames or another craft idea?
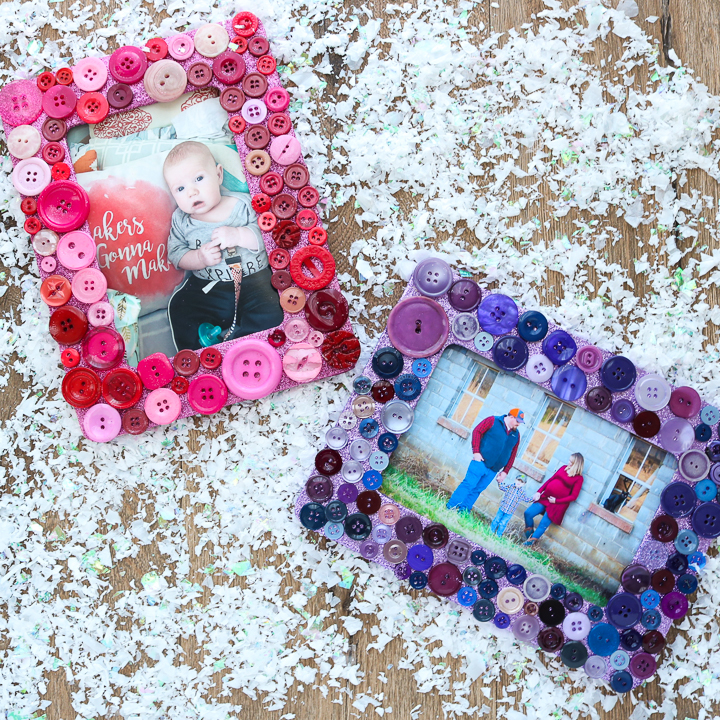
Want some more glitter inspiration? Try the links below as well!
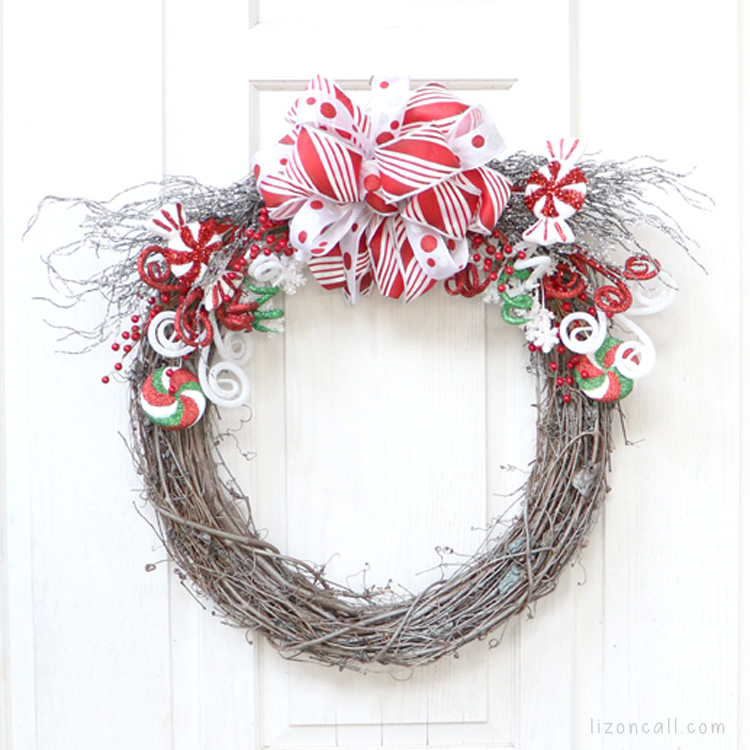
Liz on Call is sharing this adorable and easy glitter wreath that uses glitter spray paint.
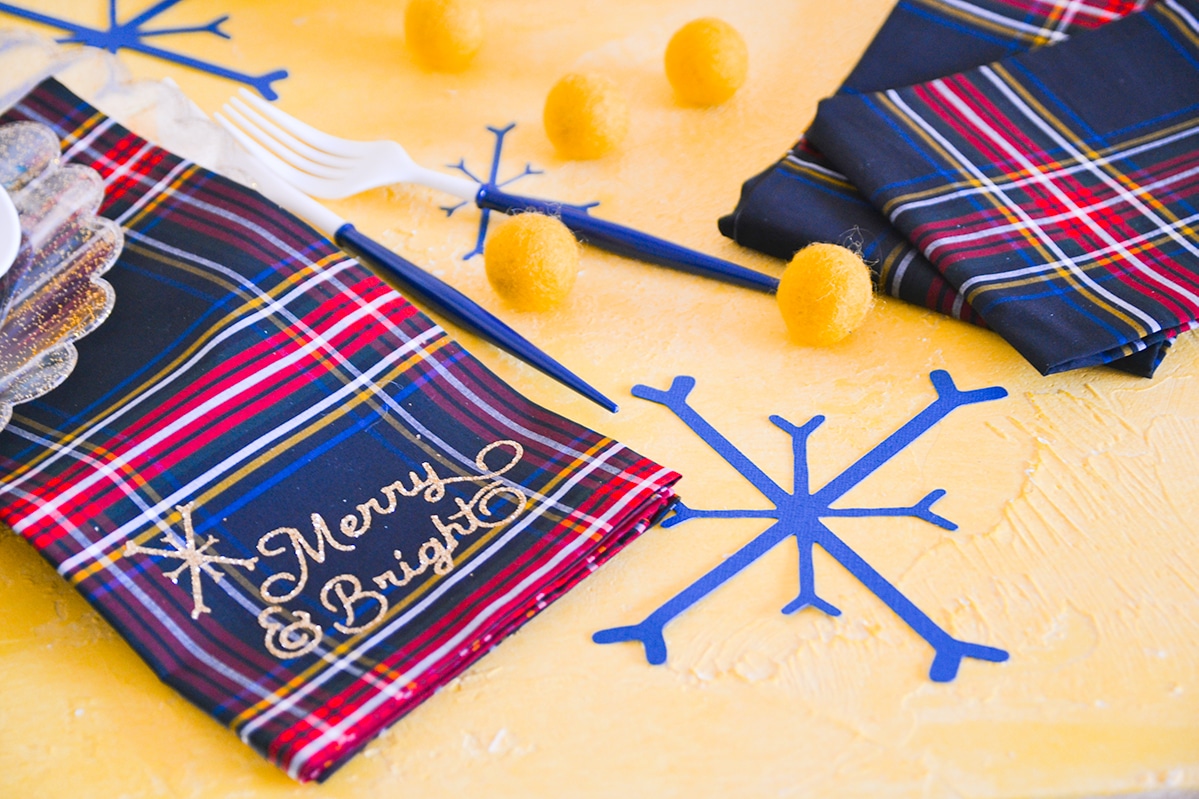
See Lindsay is making gorgeous glitter heat transfer vinyl napkins for the holidays.
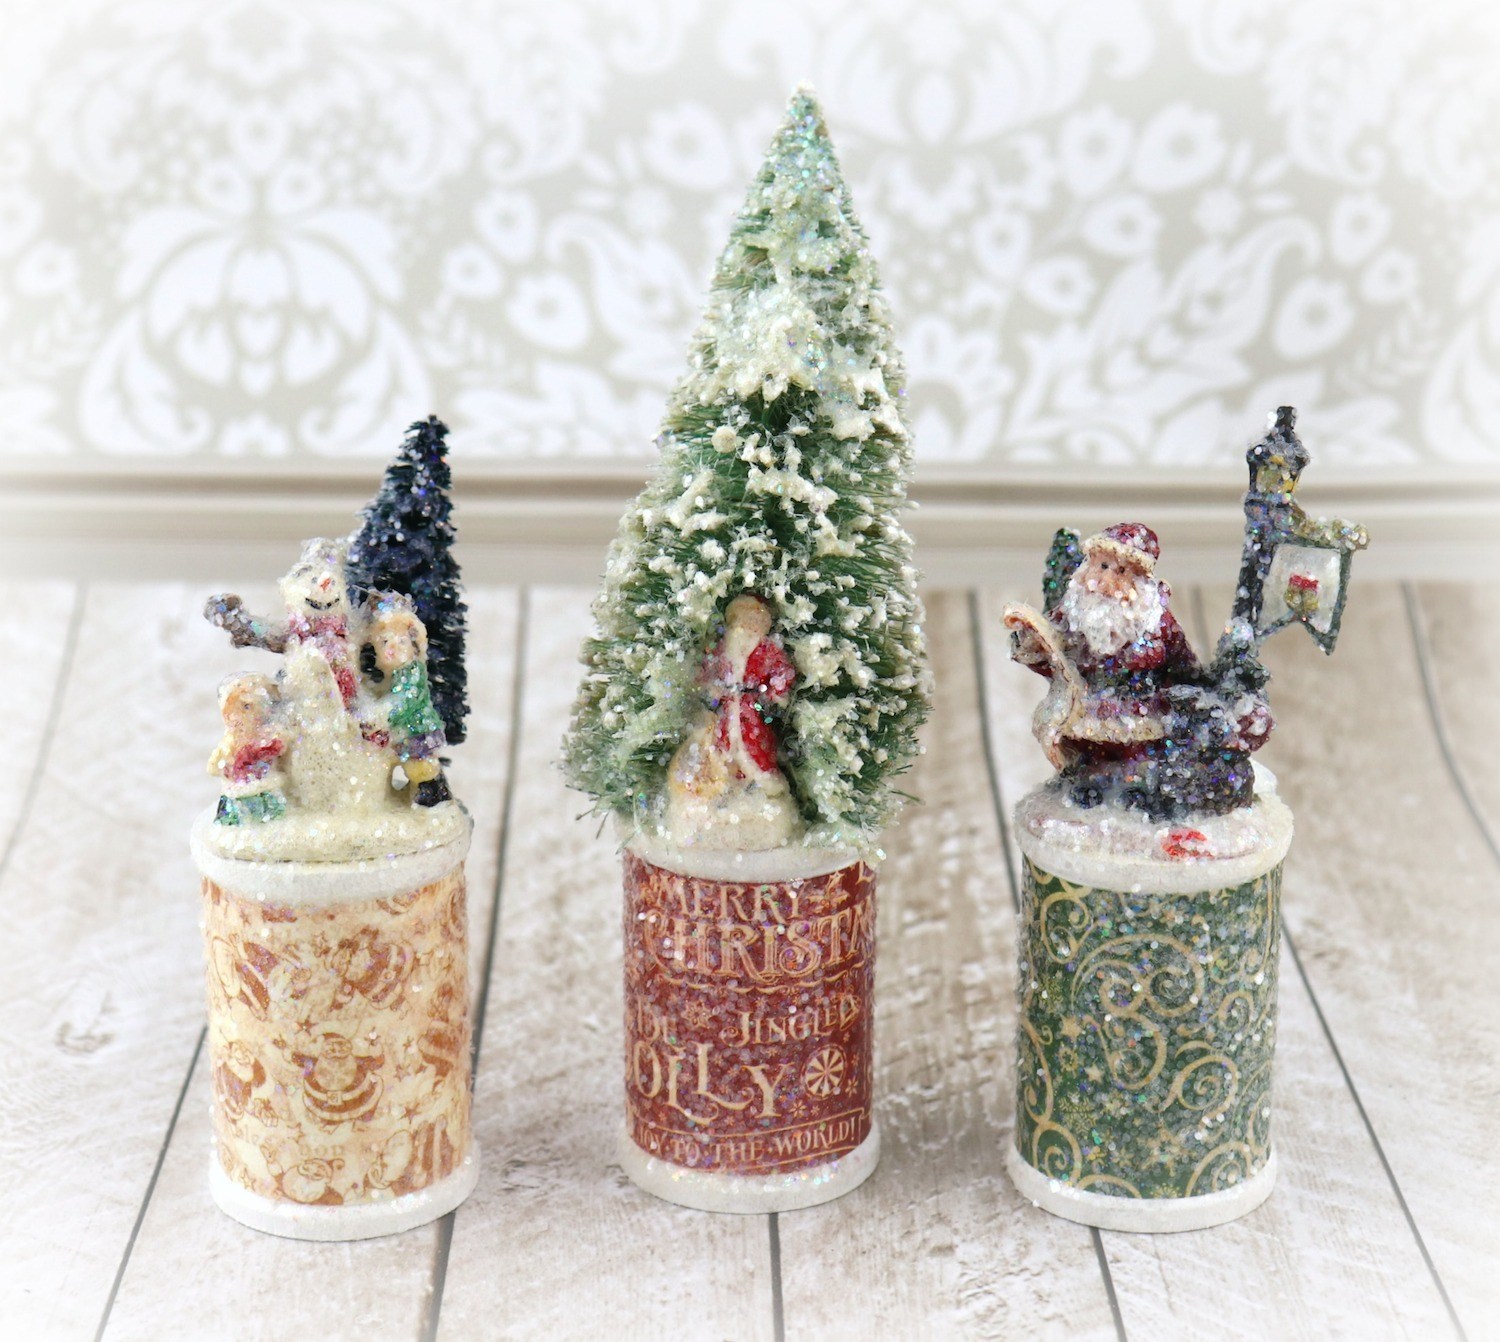
Morena’s Corner is sharing her glitter Christmas spools that are simply stunning!
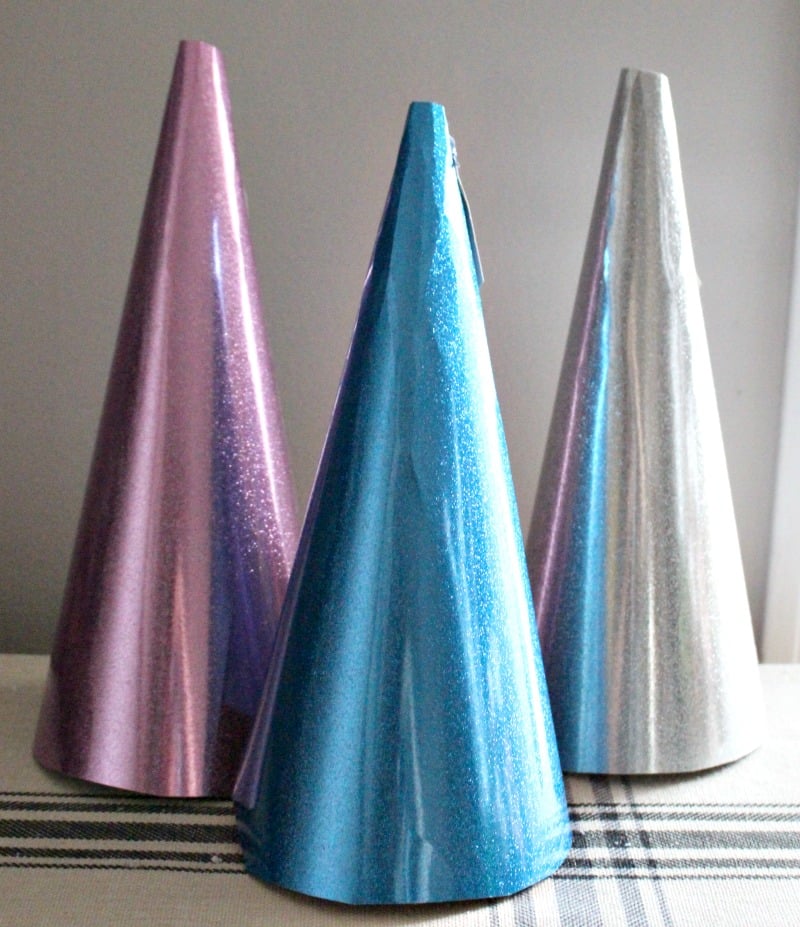
Want something to make in minutes? Try these glitter paper cone trees from Our Crafty Mom.
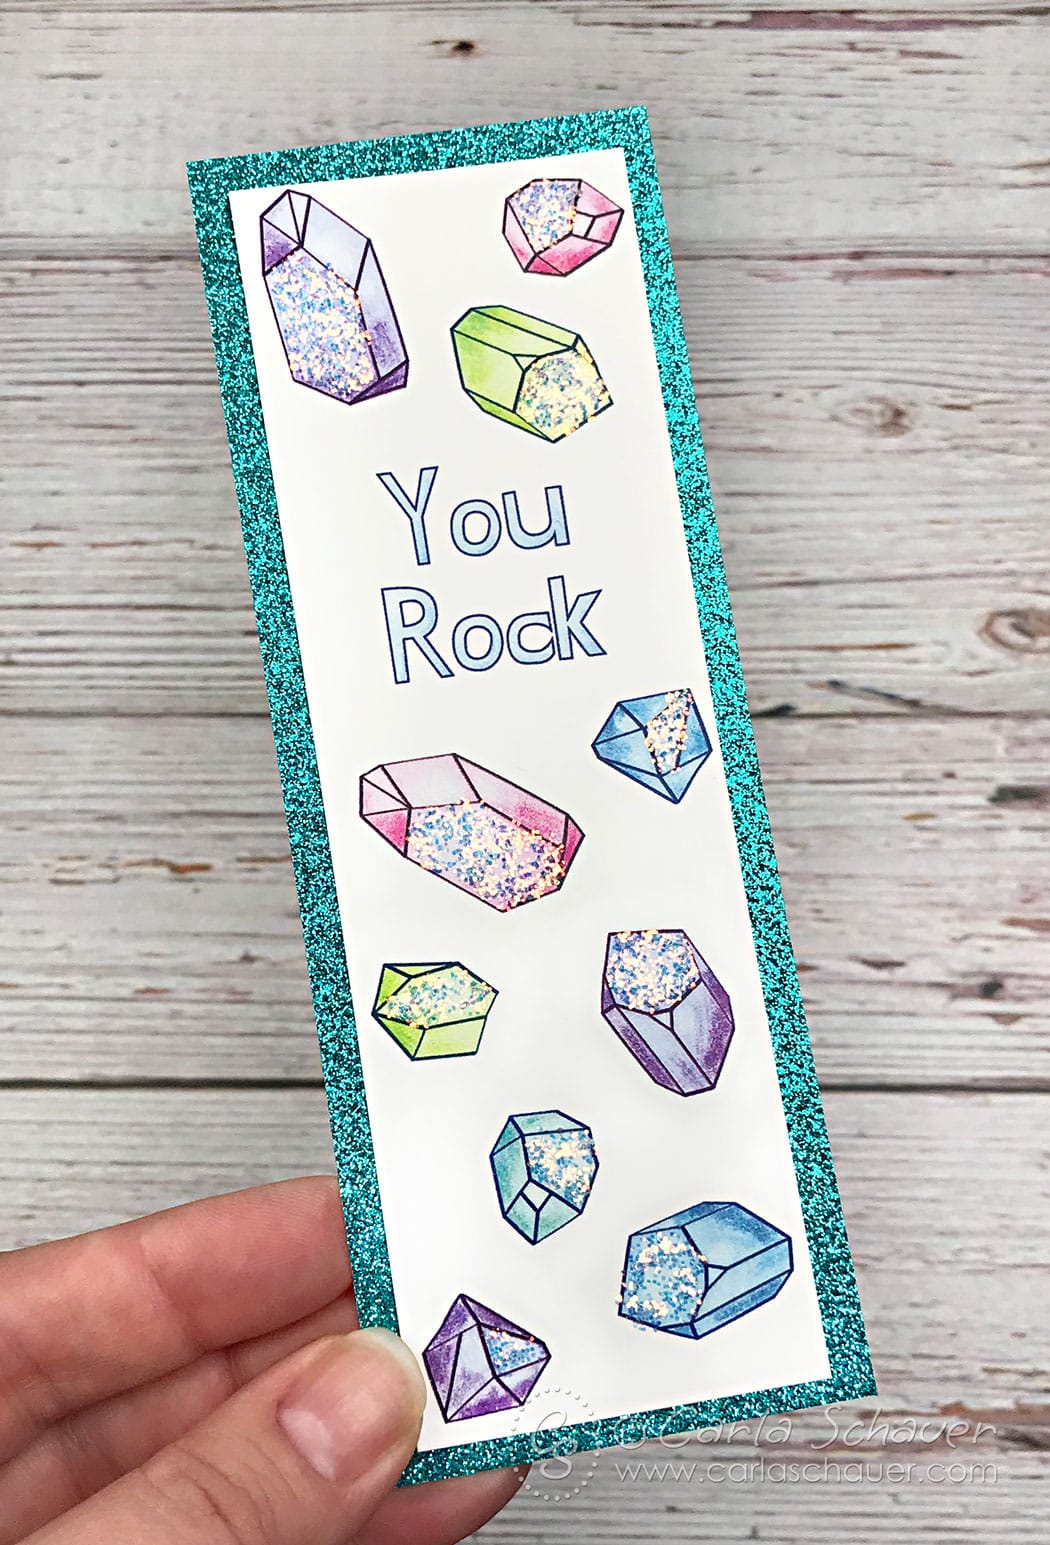
Carla Schauer is sharing four no mess ways to craft with glitter that you don’t want to miss.
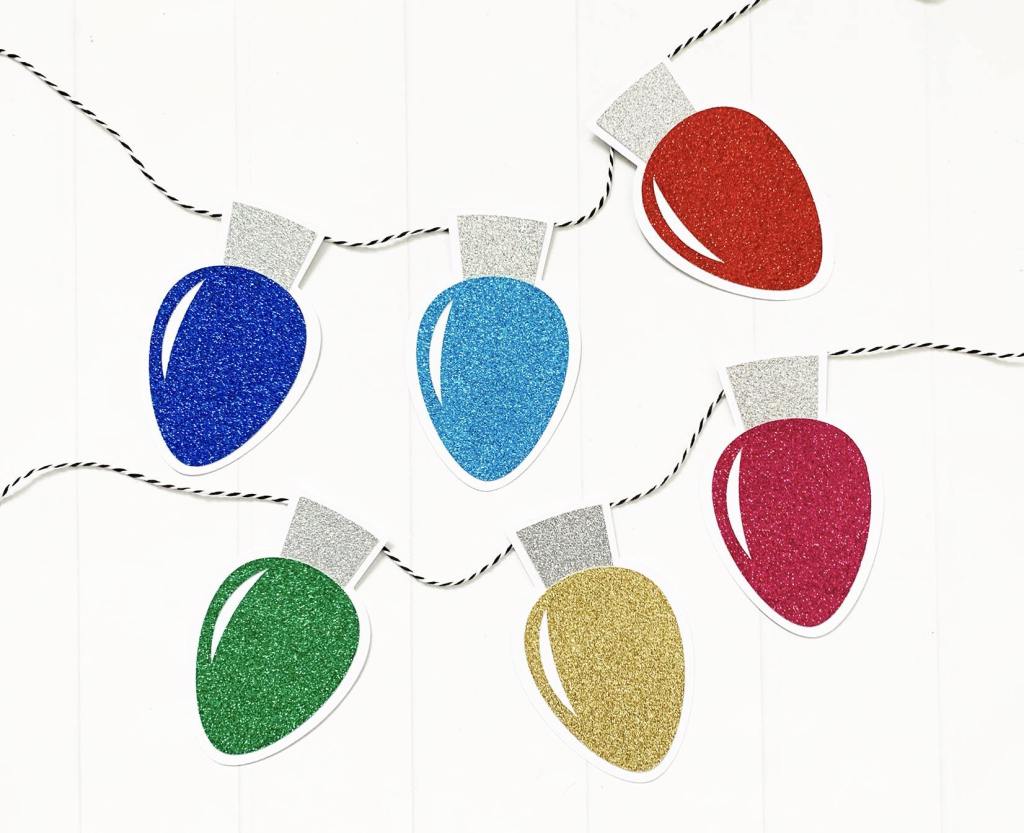
Our co-hostess this time around is Pineapple Paper Company and she is sharing this free printable glitter Christmas lights banner.
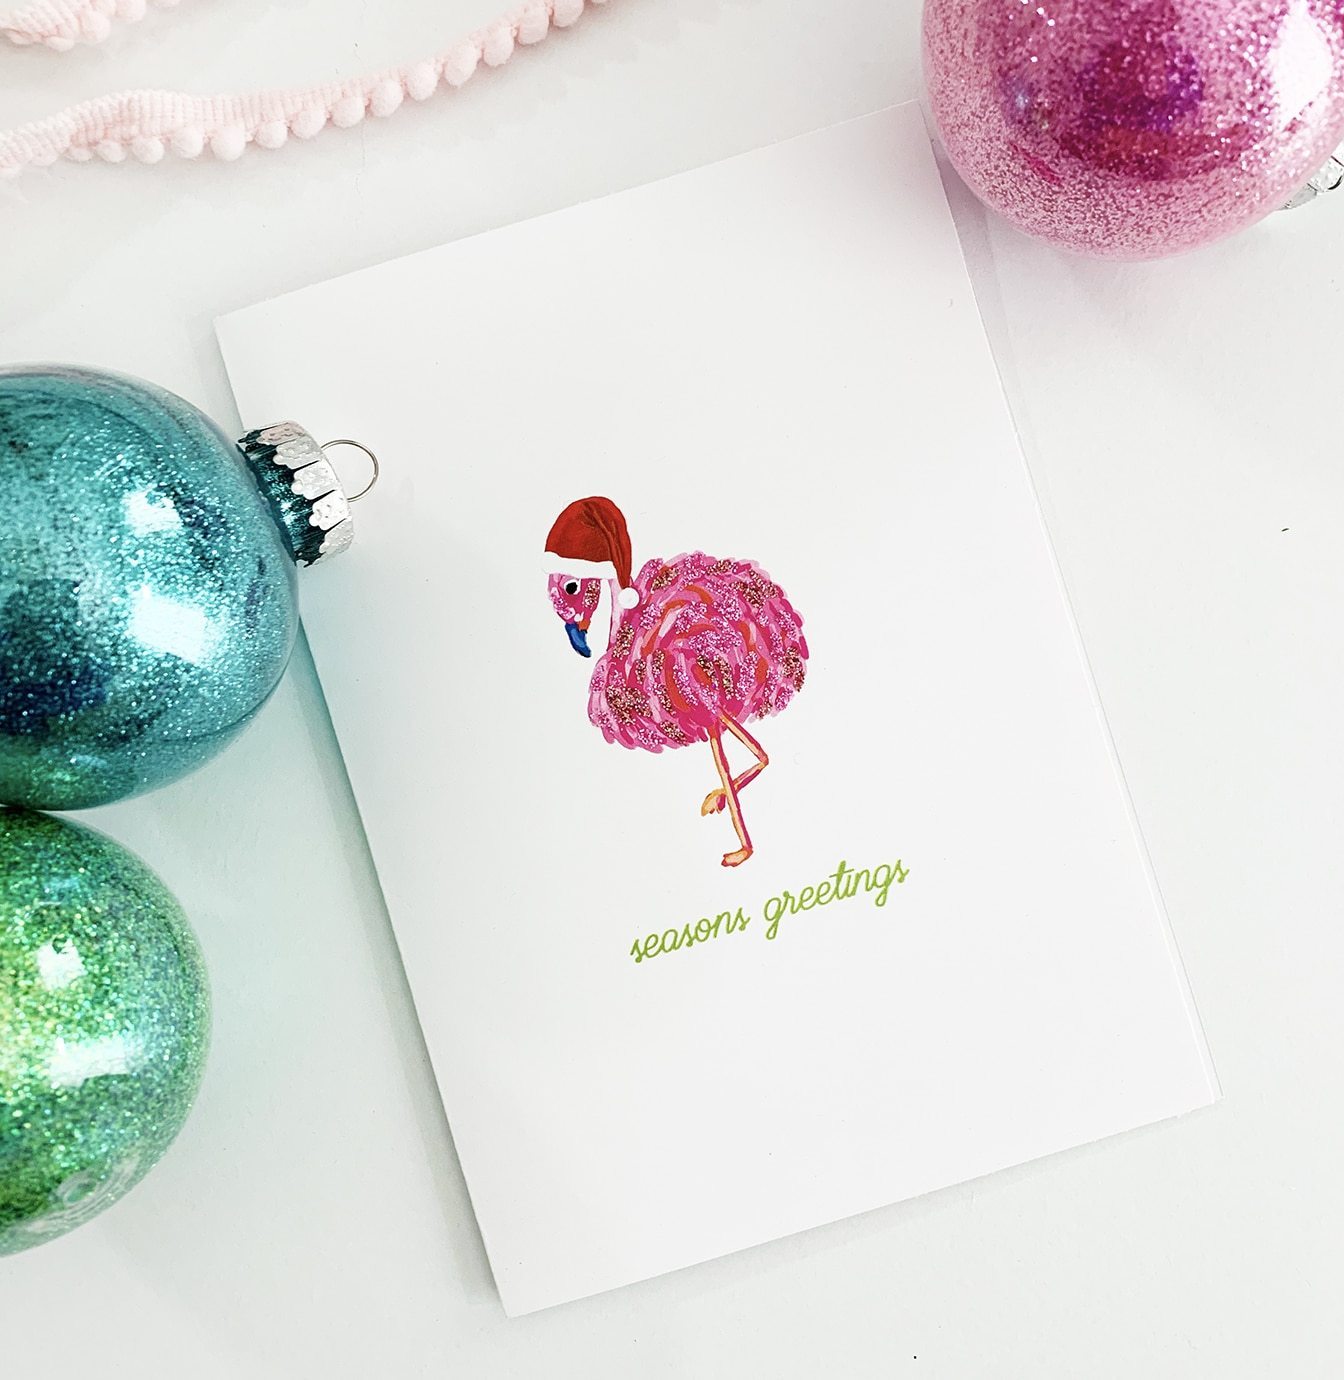
She also has a printable Christmas card and a tutorial on how to add glitter to your Christmas cards.
So, use our tutorial on how to make glitter stick and make some photo frames or any of these other projects!
Supplies
- Wood frame cheap $1 frames from the craft store are fine
- Mod Podge Ultra this is our secret weapon and you can purchase it here
- Buttons I recommend the jars of assorted buttons at Walmart
- Glitter
- Scrap paper
Instructions
- Protect your work surface with scrap paper as this project is messy. I recommend several layers.
- Put the wood frame down on the paper.
- Shake the bottle of Mod Podge Ultra for 10 to 15 seconds. Prime the pump over to the side to ensure it is coming out evenly.
- Then spray your entire wood frame (including the sides) with a good coat of the Mod Podge Ultra.
- Sprinkle with glitter then shake off excess on a scrap piece of paper that is dry.
- Spray the frame again and sprinkle with additional glitter.
- Be sure to get the sides as well as the front. Shake away excess glitter.
- Spray the front of the frame with a really thick coat of Mod Podge Ultra.
- Then randomly lay the buttons around your frame.
- Give your frame one more good coat of Mod Podge Ultra over the top of the buttons.
- Then set aside and allow to dry completely.
- If there are any loose buttons once dry, you can attach with glue or add more Mod Podge Ultra. Some buttons do not have a flat enough surface to adhere properly.

