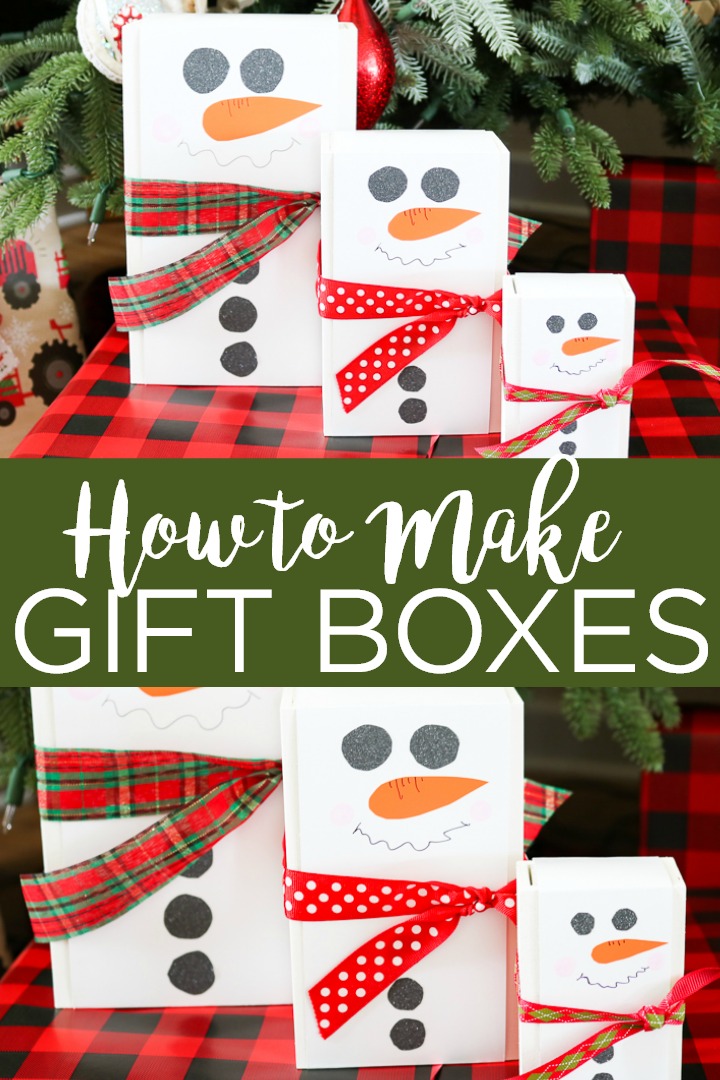
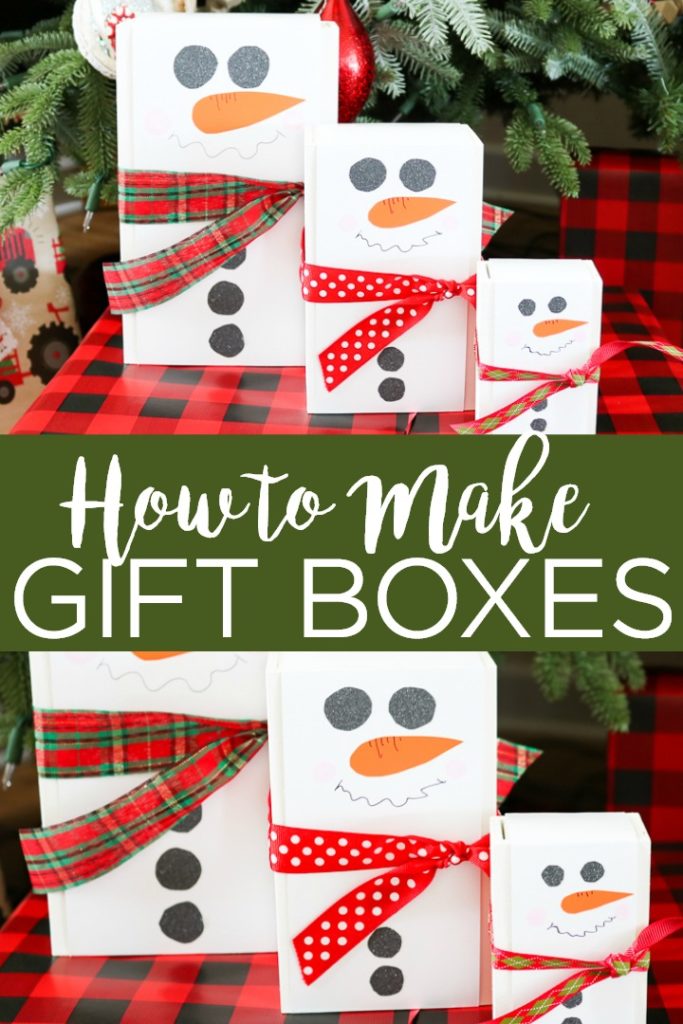
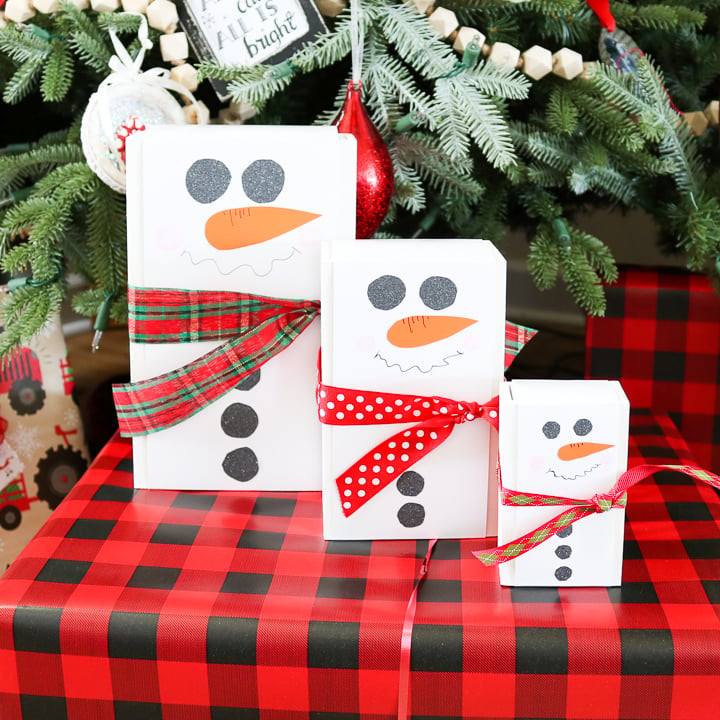
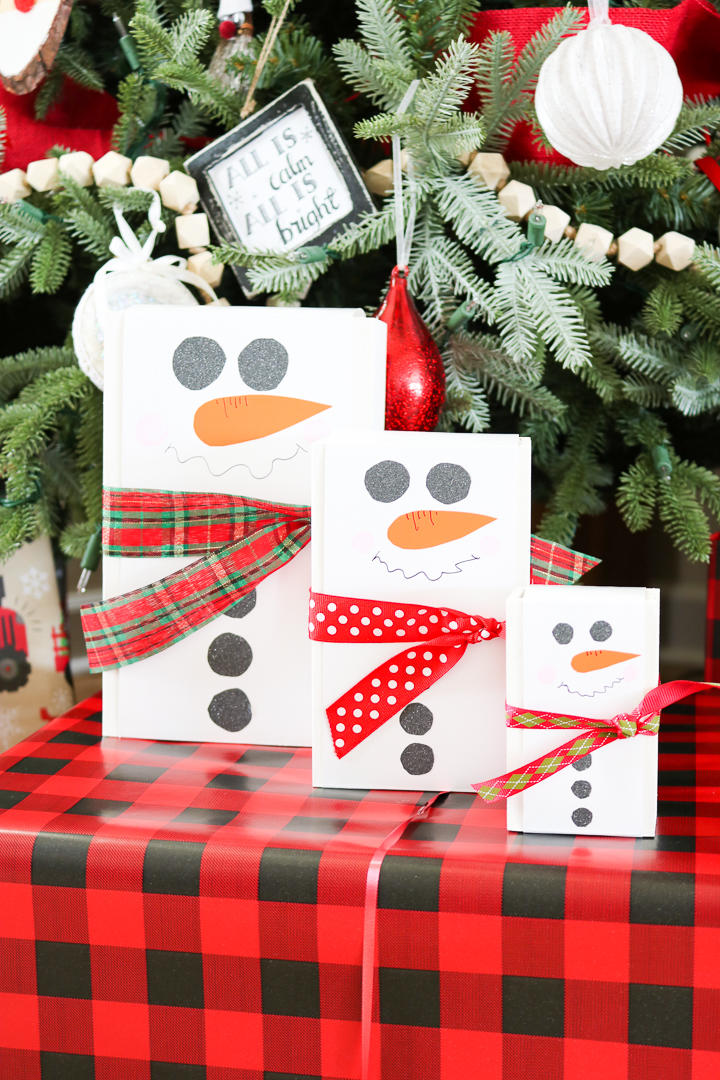
What is better than a DIY gift box that looks like an adorable snowman? Not much, I can tell you that! These gift boxes will look perfect under your Christmas tree and look more like decor than they do gift wrap. If you have small gifts to give, consider making a few of these Christmas gift boxes to make those presents a little more special. You will not believe how easy they are to make!
How To Make DIY Gift Box
Making your own gift box is a great way to add a personal touch to your Christmas gifts. It’s also a budget-friendly option if you’re looking to save money this holiday season.
By taking the time to create a personalized gift box, you can fill it with all sorts of goodies that will make your loved one smile. From sentimental gifts and homemade cookies to a cozy Christmas mug or an ornament, a DIY gift box is a thoughtful and unique way to show you care. So, get creative and put together a gift box that your loved one will cherish for years to come!
Supplies Needed To Make DIY Gift Box
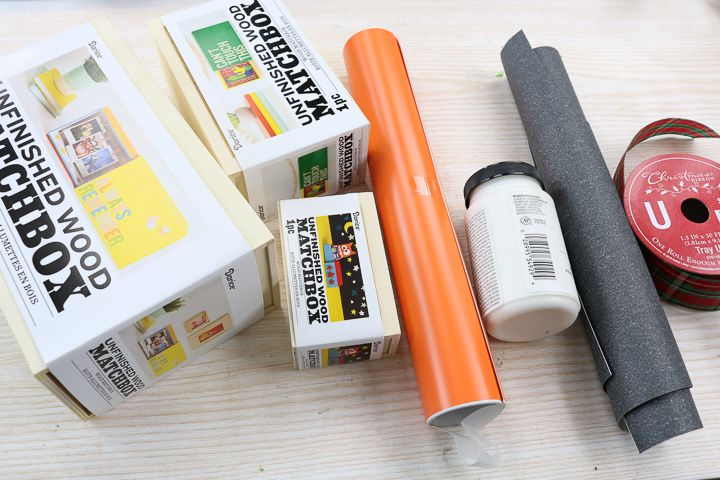
- Wood Matchboxes
- NOTE: The wood matchboxes I used in this project are no longer available. However, you can use these boxes from Amazon, or this one from Etsy.
- Vinyl in Orange and Black (I used regular orange and glitter black from Cricut)
- Ribbon
- White Paint
- Pink Paint
- Black Marker
- Tape
- Scissors
- Paint Brush
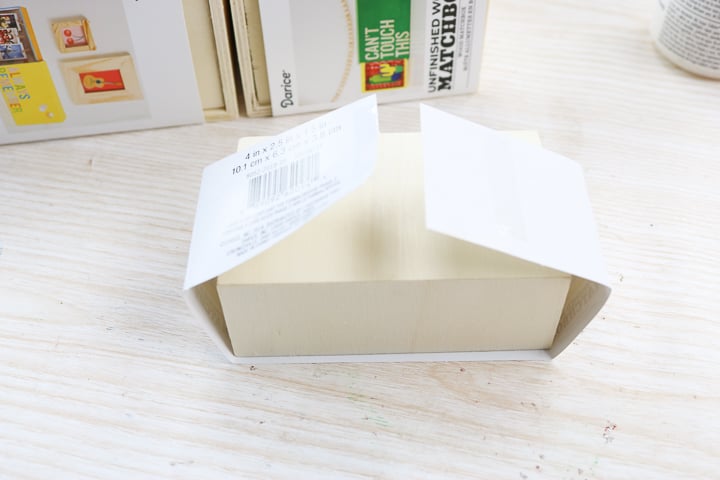
Step 1: Remove Packaging From Matchbox
Start by carefully removing the packaging that is around the matchbox. We will be reusing this in our project. Just set aside until a bit later in the tutorial.
Step 2: Paint Matchbox
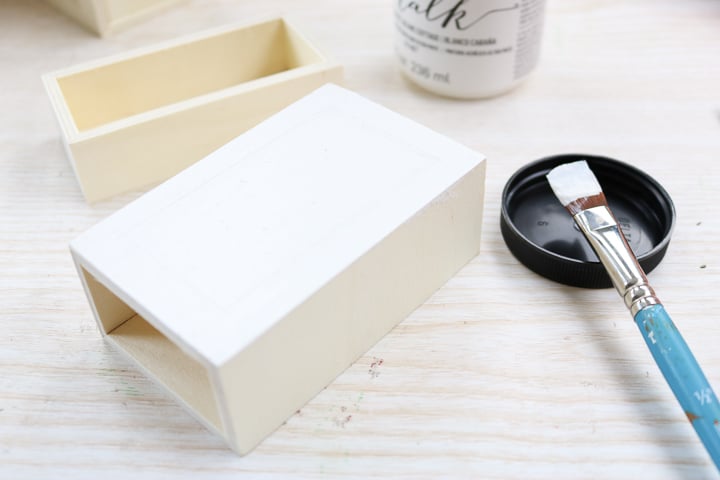
Paint your wood box with a few coats of paint. Be sure to allow to dry in between coats. You will want to paint both the inside and the outside of both pieces.
Step 3: Add Wrapper Around Matchbox
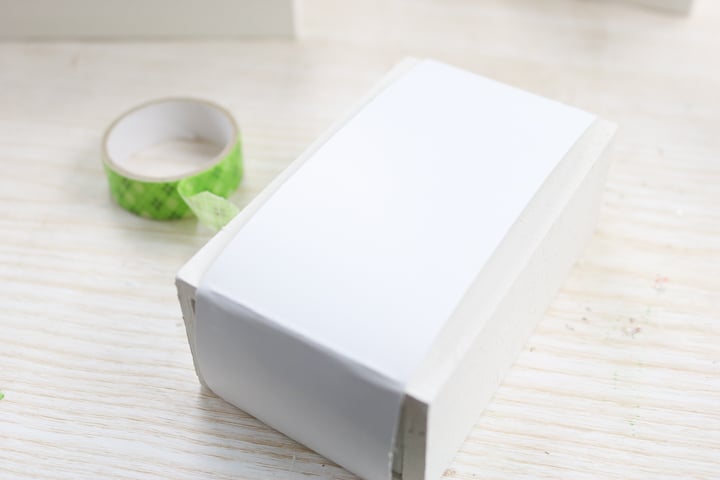
Once dry, take the paper piece that was wrapped around it in the first step and turn it inside out. Put back around the box with the white part to the outside and secure with some tape in the back.
Step 4: Cut Snowman Pieces From Vinyl
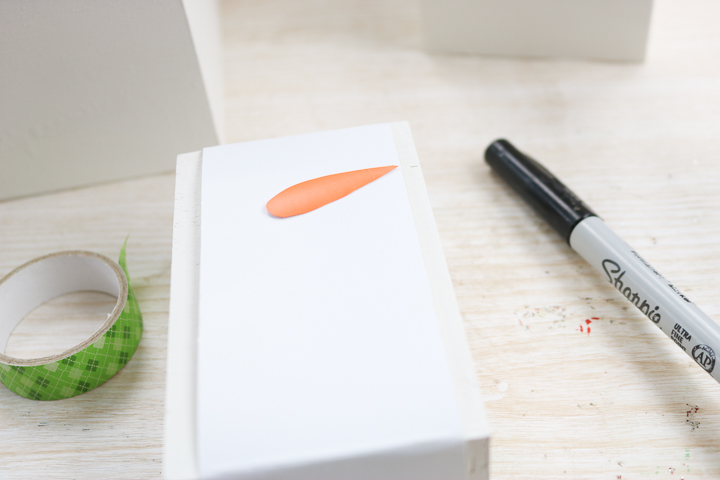
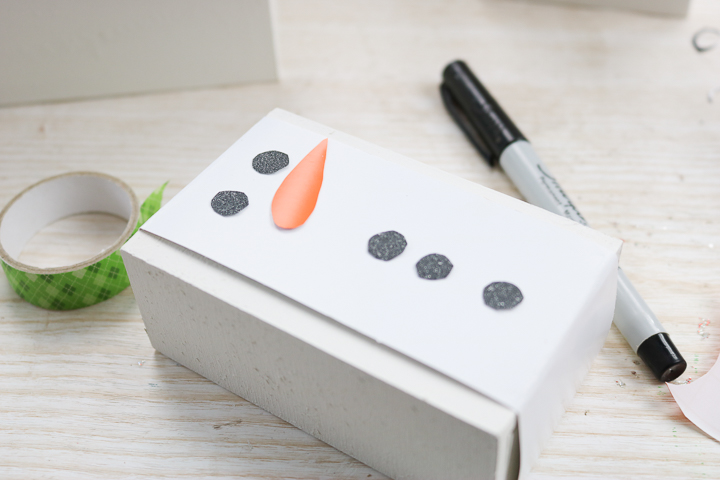
I cut the snowman parts from the vinyl by hand. The pieces look fine with a rustic imperfect cut as that is part of the charm of these snowman boxes. If you want a cleaner cut, you can use your Cricut machine to cut the nose, eyes, and buttons. Otherwise, just cut with a pair of scissors.
Step 5: Add Snowman Vinyl Pieces To Wrapper
Peel the backing from each of the pieces and add them to the white cardboard that is around the box.
Step 6: Add Ribbon Scarf
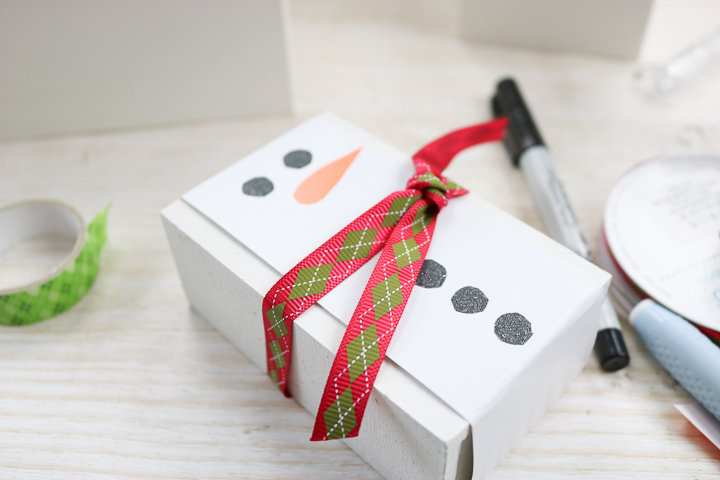
Tie a piece of ribbon around the entire box. This should look like a scarf on your snowman so put it under the nose but above the buttons.
Step 7: Add Mouth
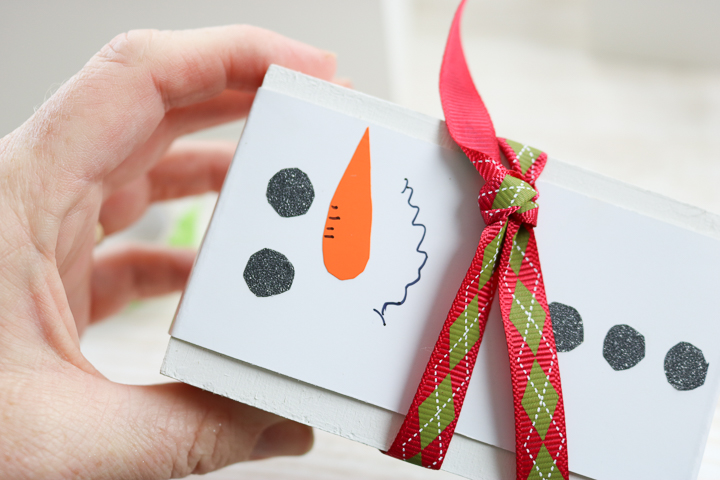
Then use a black marker to draw a squiggly mouth and add some lines to the carrot nose.
Step 8: Add Rosy Cheeks
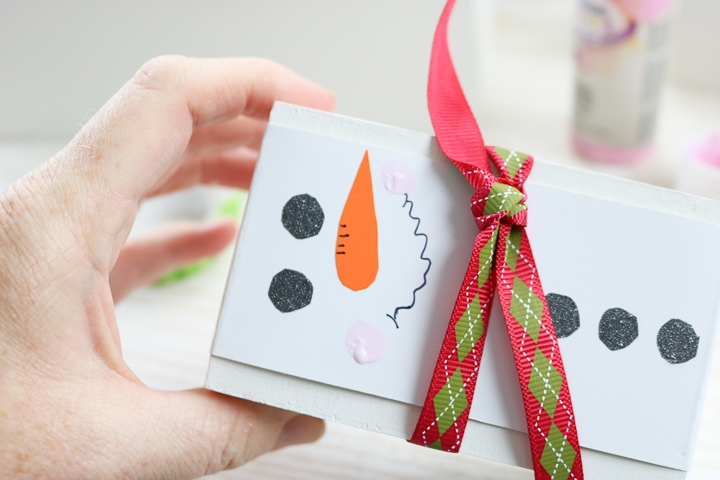
You can also use pink paint to add some rosy cheeks to your snowman. I just dipped my finger in the paint and made a circle on each side of the mouth.
Allow the paint on the cheeks to dry completely.
Step 9: Add Your Gift To Your DIY Gift Box
You can then slip off the ribbon as well as the outer cardboard piece and add your gift to the inside of the box. Then slip your pieces back on and you have a DIY gift box that everyone will love! You can add a gift tag to the ribbon scarf or write on the back of your cardboard piece.
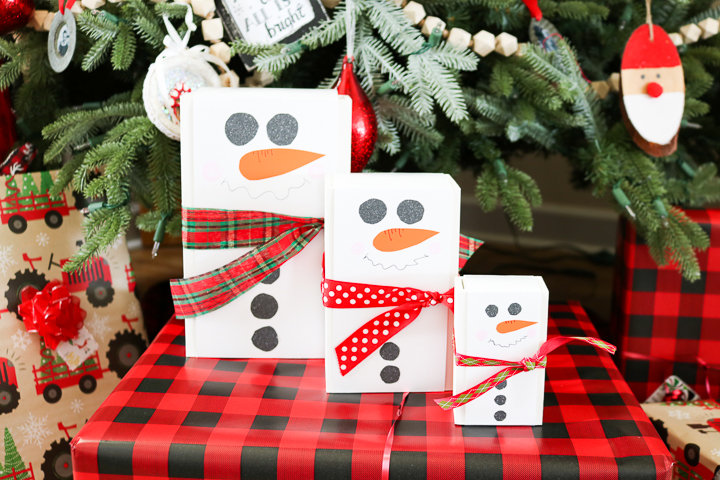
Imagine these cute little snowmen under your Christmas tree this holiday season.

These Christmas gift boxes are almost too cute to unwrap! They are also part of the gift. The white box can be used around the home of your gift recipient.
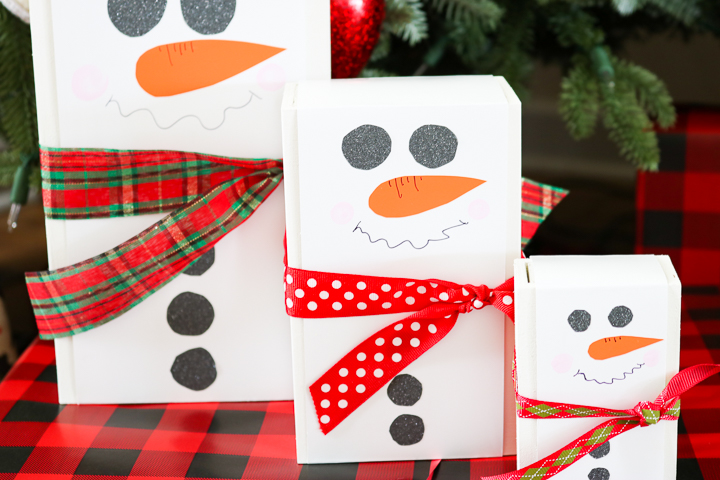
So, will you be making a DIY gift box for someone you love? I hope I inspired you to get creative with your gift wrapping this holiday season.
FAQs About DIY Gift Box
Here are questions I frequently see readers ask about making this DIY Gift Box. If you have a question but don’t see it answered down below, please leave it in the comments so I can answer it for you.
Where Can I Find Wood Matchboxes For This Project?
You can find wood matchboxes on Amazon, Etsy, or at your local craft store.
My Wood Matchboxes Did Not Come With A Wrapper. What Can I Do?
If your wood matchboxes did not come with a wrapper, you can easily make your own by using a piece of white cardstock.
What Cricut Machine Can I Use For This Project?
All of them! The Cricut Maker, Cricut Explore series, Cricut Joy, Cricut Joy Xtra, and Cricut Venture, can all cut vinyl.
The only thing to keep in mind is that each Cricut machine is different in regard to project size capabilities and the materials it can cut.
Can I Use Scraps Of Vinyl For This Project?
Absolutely! This project is great for all of those vinyl scraps that you might have in your craft stash.
5 Holiday Crafts
Did you love this DIY gift box and are looking for more holiday crafts? Then check out the projects below!
- Embroidery Hoop Wreath for Christmas
- DIY Glittery Star Ornaments
- Christmas Tree SVG for an Outdoor Pallet Sign
- Paint Stick Snowmen
- Christmas Fairy Garden in 15 Minutes or Less
