I love creating custom art pieces for my home. Creating this name art for my daughter’s room was a really fun project for us to do together. With just a few inexpensive supplies and my Cricut machine, we had a large name art sign that matched her bedroom perfectly.
New to Cricut? Check out my Beginner’s Guide here.
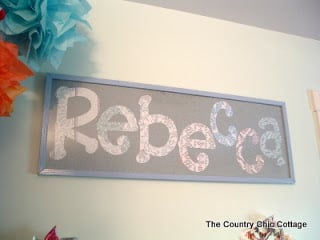
How to Create Custom Name Art
Creating your own name art sign is probably a lot easier than you think. I put off doing this project for a long time because I thought it was going to be difficult. It really wasn’t at all, it was fun, easy, and something my daughter was able to help with.
Supplies needed:
- Cricut Machine
- Cutting Mat
- Spatula
- Scrapbook Paper
- Frame
- Hot Glue
- Spray Adhesive (optional)
- Paint
- Fabric
Preparing the Frame
Everything for this name art project will depend on the size of your frame. I used a frame I found at Goodwill. Mine is a longer poster frame.
I used Krylon spray paint to paint the frame a light blue color that matched the papers I was using for the letters.
I also needed a background for my letters. The cardboard back of the frame was perfect for measuring my fabric. I used a white sheet and cut it just larger than the cardboard so it could be wrapped tight around the cardboard.
I then used a sheer blue fabric also cut larger than the cardboard and used hot glue to secure both fabrics tight around the cardboard with the white on the bottom and the sheer blue over the top.
Once I knew my frame size the next step was measuring the letters.
The size of the letters will also be determined by how many letters are in the name you want to put on the sign.
Cutting Out the Letters
When you have the font and letter size for your name art determined use your Cricut machine to cut out the letters.
I found a pack of scrapbook paper that matched the colors in my daughter’s room. Each letter was cut out using a different piece of paper picked out by my daughter.
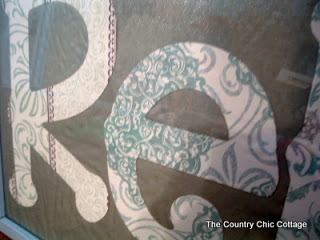
If you don’t have a Cricut machine you could also cut the letters out using scissors or an exacto knife.
Attaching the Letters
Once all the letters are cut out it’s time to attach them to our frame.
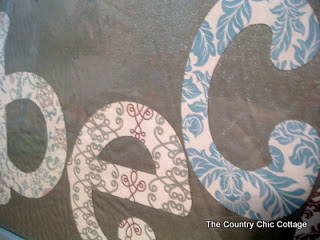
My daughter and I played around with the placement of the letters and decided we liked them better laid out not in a straight line.
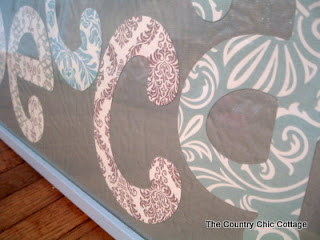
To attach the letters use a little hot glue or a spray adhesive to stick the letters to the fabric.
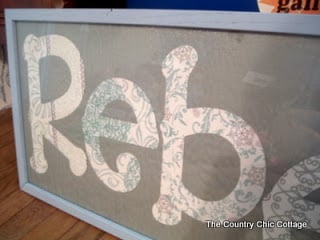
When the letters are all placed where you want them, reassemble the frame to complete the custom word art.
Finishing Touches
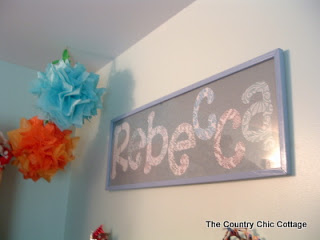
Once the custom name art was finished I hung it on the wall and added some other decor to the area.
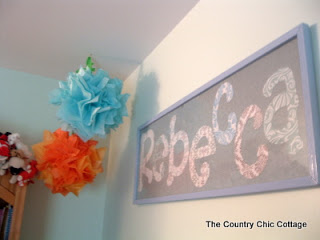
See the little paper pom poms in the corner? Those are left over from my daughter’s birthday party. Reusing party decor is a great way to reduce waste and stretch your budget.
We ended up hanging the pom poms in two corners of her room and they were a perfect addition to her room.
Final Thoughts on Making Custom Name Art
Now that this project is finished I’m kicking myself for waiting so long to do it. Creating custom name art is actually really easy to do.
I really like that it’s also the perfect project for any room because it’s easy to customize. You can easily change the size, colors, fonts, pretty much all aspects of the project.
Have you ever made your own name art? I’d love to hear about it in the comments.
I hope I’ve answered all the questions you have about creating custom name art. If you have any questions I didn’t answer feel free to leave them in the comments and I’ll answer them for you!


That is the cutest thing. Good going! Lisa~
Looks great!!
Gorgeous. I’d love for you to come link up at Growing Up Gardner today!
http://growingupgardner4.blogspot.com
Hi Angie Sweetie…
A beautiful share this afternoon. I love your darling creation. I just know that your daughter Rebecca is so happy. Love the letters. Might be a nice addition for my grands bedrooms, with the holidays in mind. Love those paper poms as well. They are so bright and cheery.
This weekend is the Miracle Makeover weekend for Design Gives Back. A $1.00 will be donated for every comment that is left on my blog from August 12-18th towards the next child with cancer or miracle makeover for one in need of uplifting. This is sponsored by Design Gives Back and Guideposts magazine. Please stop by and leave a comment, and invite all your blogging friends as well. The story about Charlie is so touching. It will warm your heart.
Have a glorious weekend. Many country hugs from Phoenix, Sherry
Angie, Why do we put off things? 🙂
Your daughter Rebecca is so lucky to have such a creative momma!
The art looks great, I love the paper!
gail