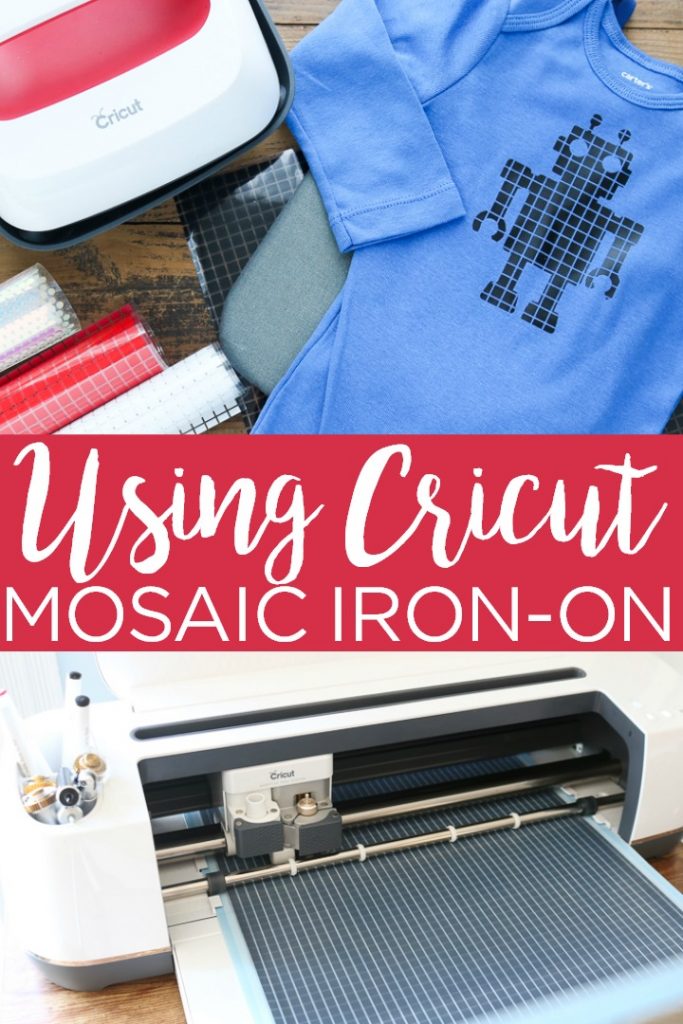
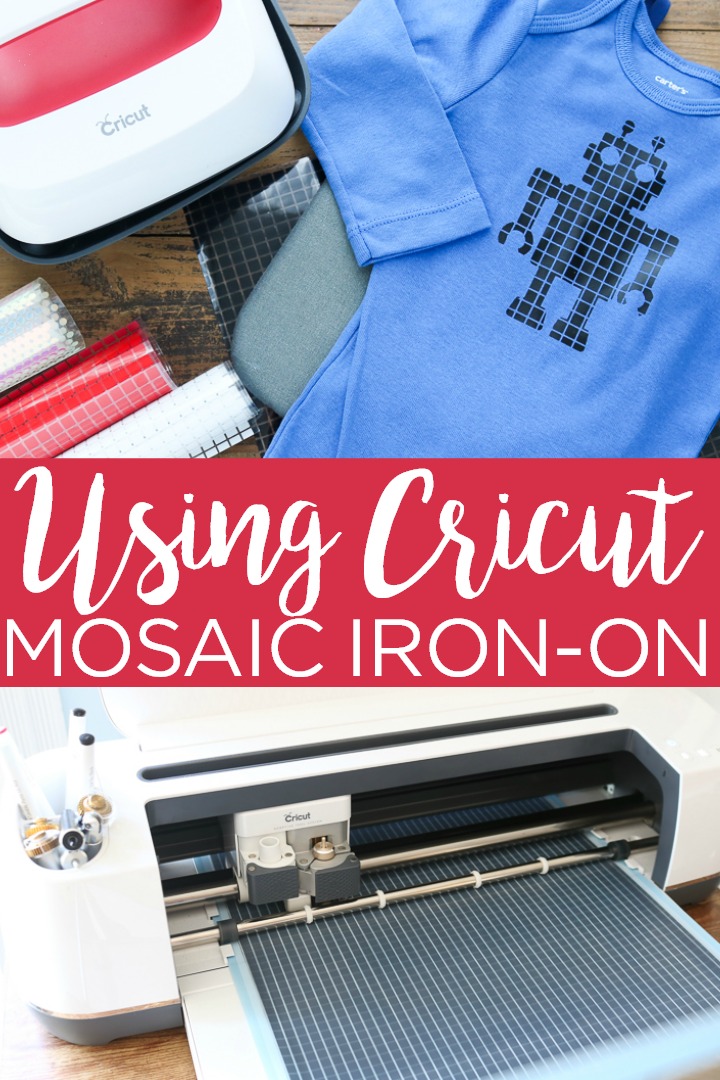
Cricut mosaic iron-on can add something special to any project but there are a few things you need to know before you dive in. Like did you know that it has a double liner? Double liner? Yes, yes it does. And we are going to explain how to use it below so follow along and then start using mosaic iron-on to add a little extra flair to all of your craft projects. Want to use adhesive mosaic vinyl? We have a post for you on that as well here.
What is Cricut Mosaic Iron-on?
Mosaic iron-on is actually a sheet of heat transfer vinyl material that is cut into different shapes. There are circles, squares, fish scales, and so many more patterns available. You can even get Mickey Mouse shaped iron-on! So, the next time you are planning an iron-on project think about using mosaic iron-on for one of your materials. You can see all of the shapes and buy them here.
How to Use Mosaic Iron-on from Cricut
You can either read the directions below or you can watch the video. Either way, you will know how to use Cricut mosaic iron-on once you get to the end of this post.
Mosaic Heat Transfer Vinyl Video
If you like to learn things with a video, then just watch below!
Can’t watch the video or prefer to learn with text? We have that for you below as well.
Supplies Needed to Use Cricut Mosaic Iron-on
- Cricut machine
- Mosaic iron-on in the shape of your choice
- EasyPress or iron
- EasyPress mat
- Weeding tools
- Shirt or another surface
Cutting Mosaic Iron-on from Cricut
To cut the mosaic iron-on, you will want to place it facedown on the mat. On the backside, you can actually feel your shapes. So, you should be able to feel the circles or squares on the back of the mosaic iron-on. The other side will go against your mat. You can use a light grip or standard grip mat to cut Cricut mosaic iron-on.
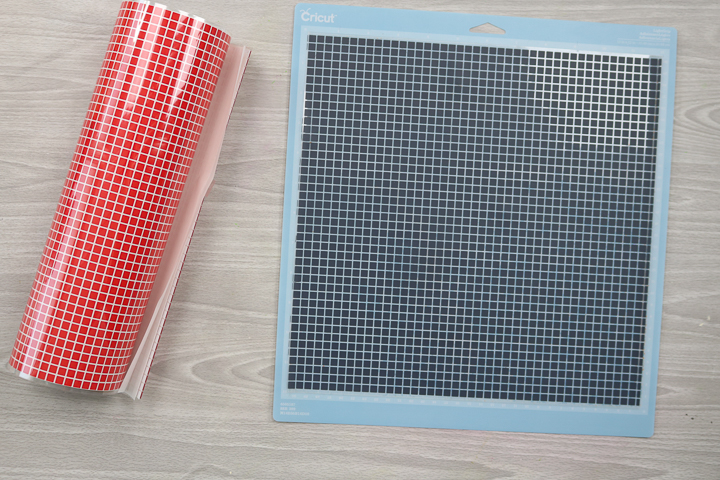
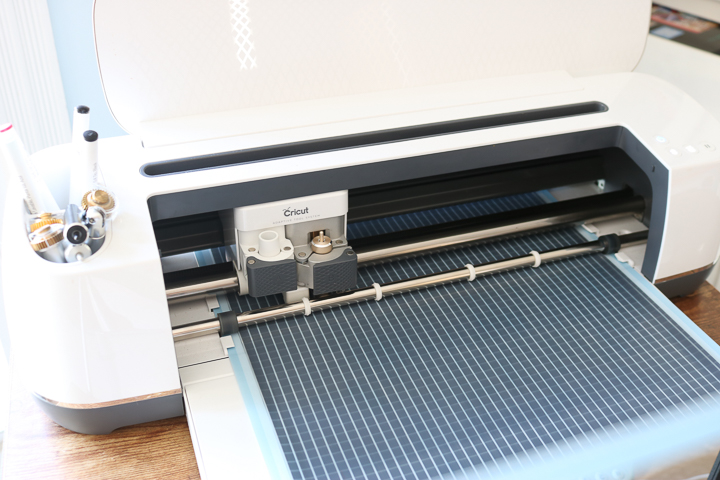
Then just pull up your design in Cricut Design Space. Click make it. Then choose mosaic iron-on from the material options. If you are using an Explore series machine you will want to set your dial to custom before doing this. Then just cut your mosaic iron-on as you normally would. You can see more about using heat transfer vinyl in this post.
How to Weed Mosaic Heat Transfer Vinyl
Weeding is really where the double liner will come in. Once your material is cut, you can remove it from the mat. Then start weeding by separating the two liners the first liner will pull back the excess around the outside of your design. This enables you to remove multiple circles or squares or shapes all at one time. This makes weeding mosaic iron-on so much easier.
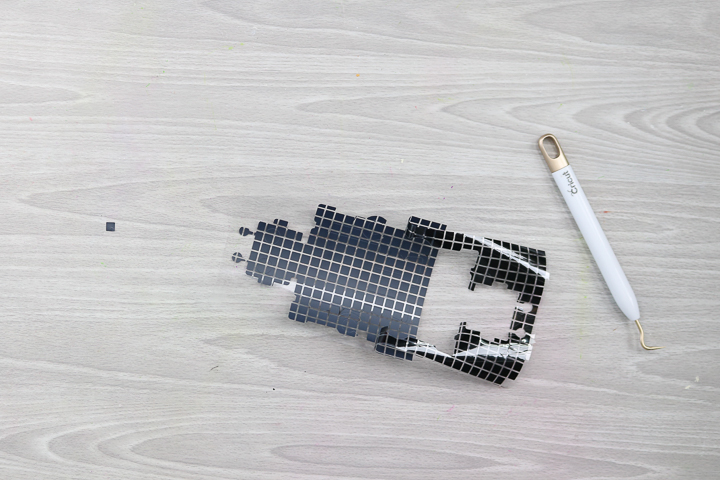
If there wasn’t a double liner, then you would have to remove each of the shapes individually. So, the double liner actually saves time. However, it will take some getting used to when you use mosaic iron-on from Cricut for the first time.
Once you have weeded all around the outside of your design, then you’ll need to weed the insides of your design as well. You can do this in the same manner by separating the liner or you can remove each of the shapes individually. The smaller the area you need to remove, the more likely you will be able to remove the individual shapes instead of separating the liner. Either way will work fine. So, just do whatever works best for your design.
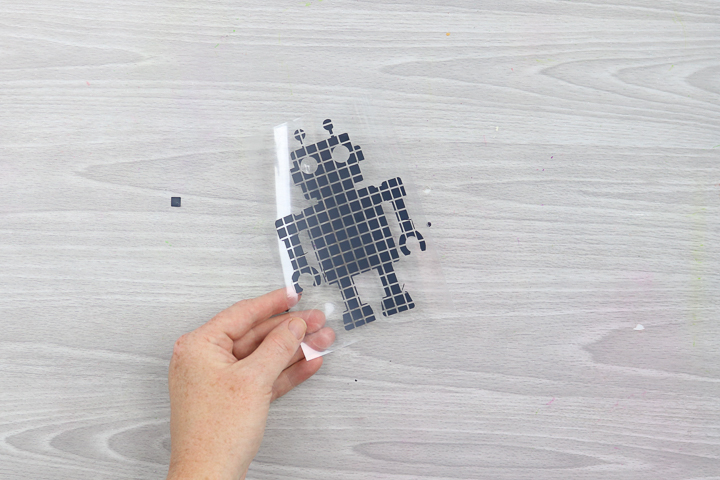
How to Apply Mosaic Iron-on
Now it is time to actually apply the design to a surface. You can find the time and temperature for your particular service on the Cricut heat guide here. Set your EasyPress that temperature then put your shirt on the EasyPress mat or a folded up towel.
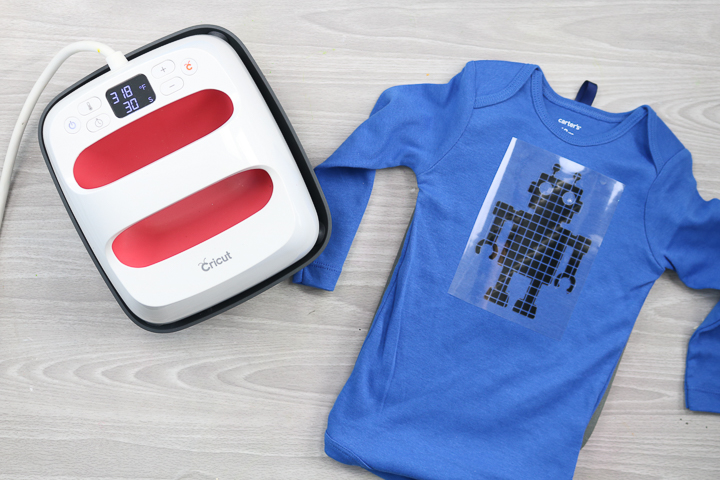
Then press for the time indicated in the heat guide. Remove the EasyPress once complete and then allow your shirt to cool completely before continuing.
Once it is cool, you can start removing the liners. Remove the top liner first as it should remove in one piece. Your second liner might actually pull up with this first liner. If it does, that is fine as it actually saves you some time and some extra work. If it does not, then you will need to remove the second liner after the first liner. Either way, you’ll need to make sure that both liners have been removed from your material before calling your shirt complete.
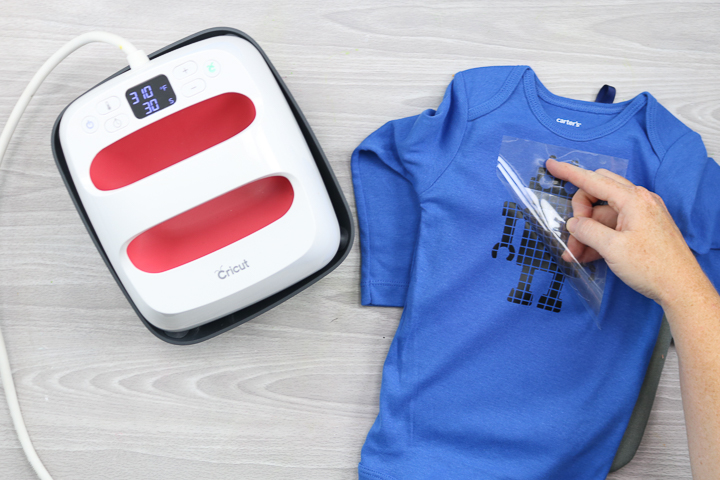
Your shirt made from Cricut mosaic iron-on is complete and ready to wear! Now that you see how easy mosaic iron-on is to use what will you put it on?
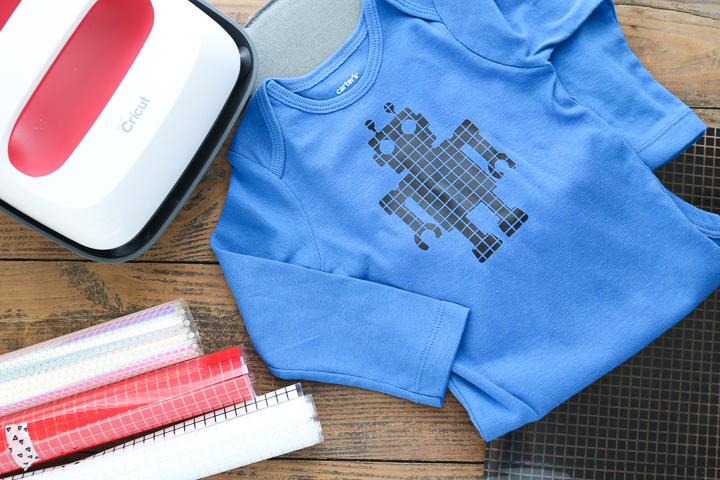
I love how this material adds a little something special to a project all with no extra work required.
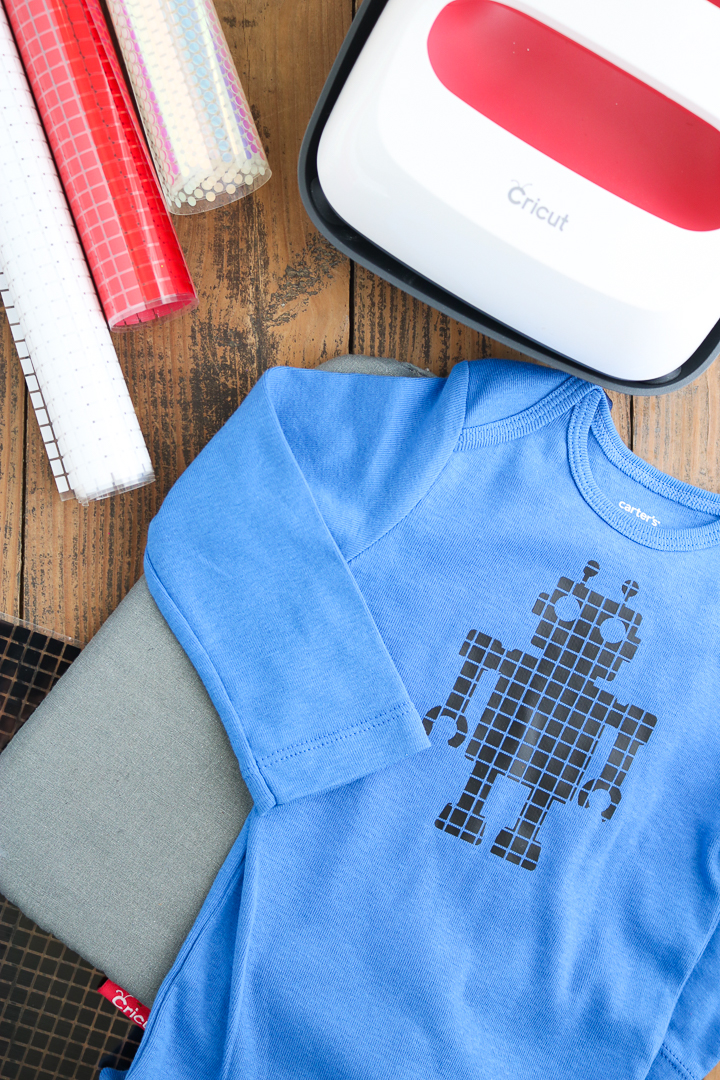
So, will you be using this product to make some shirts? Or even another Cricut project idea?
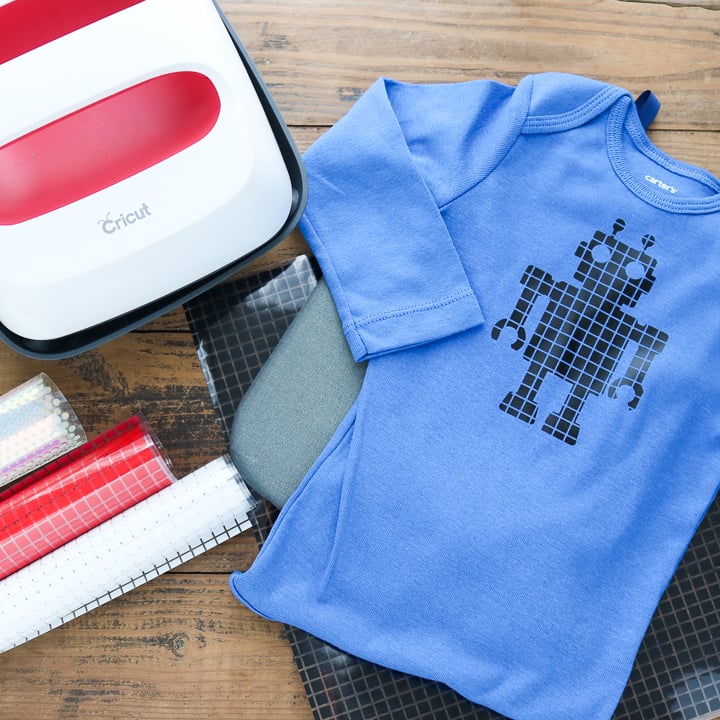
Love the look of Cricut mosaic iron-on and want some project ideas? Try the links below!
- Make Your Own Fridge Magnets with a Cricut
- DIY Bean Bag Toss with the Cricut Explore Air 2
- Death Star T-Shirt
- Camping Hat
- Mosaic Striped Sleeves Shirt
New to Cricut?

Sign up for our email list to download the Beginner's Guide to Cricut Design Space for FREE today!
Sign up to get the guide emailed to you!

