This easy-to-follow tutorial will show you how to create a foil print using the Glaminator from Xyron. All you need is a printer, foil paper, and the Glaminator. Follow these simple steps and you’ll be foil printing like a pro in no time!
Get ready to make your very own foil print!
The Glaminator we are using today is actually a laminator and foil machine ALL IN ONE. All you have to do is print your art with a laser printer in order to use it.
So, let’s dive in and learn how to add foil to any type of laser-printed art!
Plus, I have four mason jar prints for you to download below and use with this project. You can, however, use this same method for any black and white printable art.
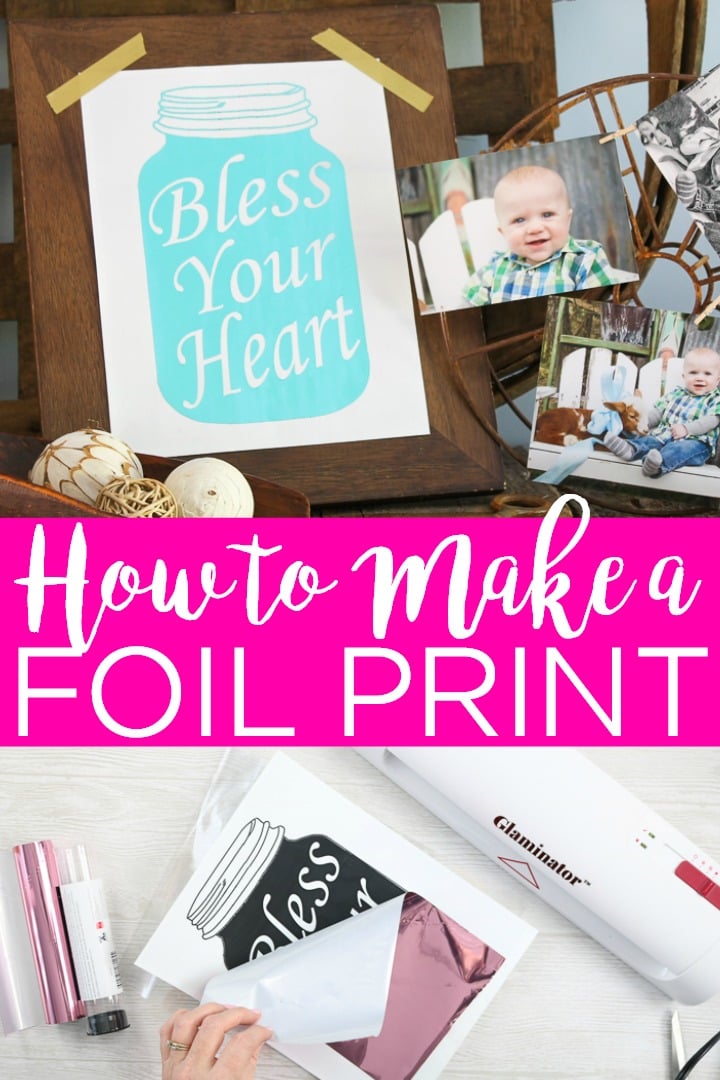
How To Make A DIY Foil Print
It doesn’t take much to make a few sheets of foil print. Once you learn how to use your Glaminator, you can add foil to any project!
Supplies Needed
- Glaminator
- Laser printed art
- Mason jar art
- Foil (in the color of your choice)
Download Mason Jar Art
Just put your name and email address in the form below and then the mason jar art will be sent to the email address provided. The files will be sent as a zip file and automatically download when you click the button in the email.
You will need to unzip the file in order to print each of the art pieces.
Please email thecountrychiccottage@yahoo.com if you have any issues and please remember that these files are for personal use only!
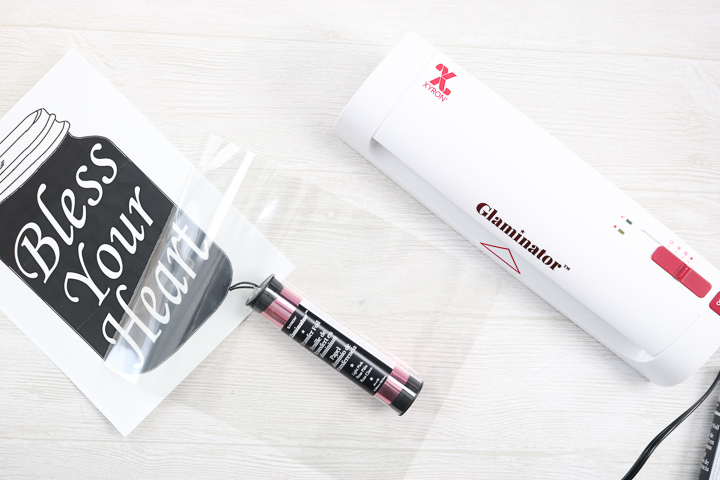
How to Use The Xyron Glaminator
Now that your mason jar art is downloaded, you are ready to use it for your first prints from the Glaminator.
Video Tutorial
I find that some people like to learn with video. If that is you, you can start by watching the video below!
Instructions
Can’t watch the video or prefer written instructions, you can keep reading for everything you need to know about making a DIY foil print with the Glaminator!
Step 1
Print your mason jar art on a laser copy machine or your at-home laser printer.
Step 2
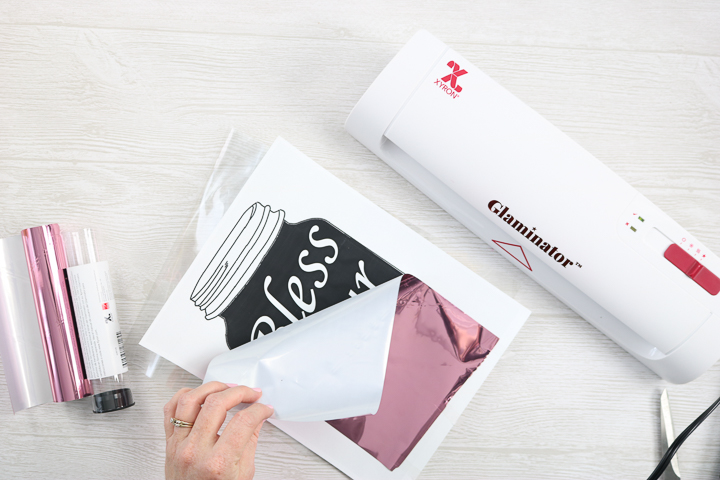
Then, pick the color foil you want to make your art. Cut a piece of the foil to lay over your laser print.
Tip: The foil will need to be an adhesive foil because the toner will act as an adhesive as it runs through the laminator. Heat-activated foil WILL NOT work with this method.
Step 3
Add the foil-covered print to the protective cover included with the Glaminator.
Heat the machine for at least five minutes before using it.
Tip: It should be set on the star setting which is for Glamination. The Glaminator will also cold laminate as well as warm laminate.
Step 4
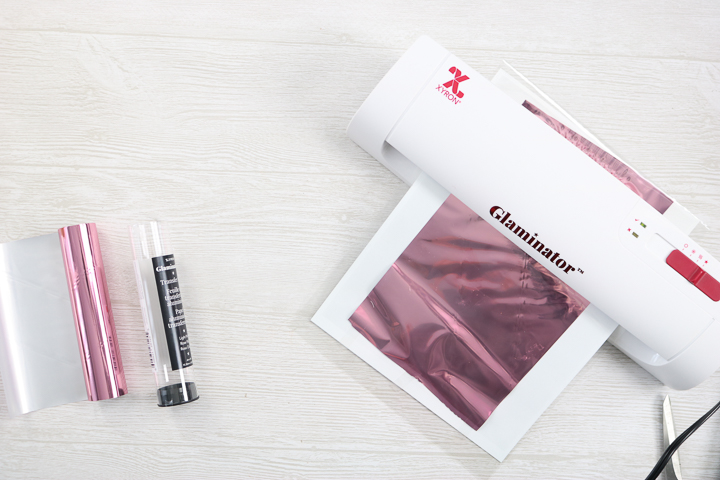
Put the protective sleeve with the print and the foil included in the Glaminator. The machine will pull the sleeve in so there is no need to push.
Step 5
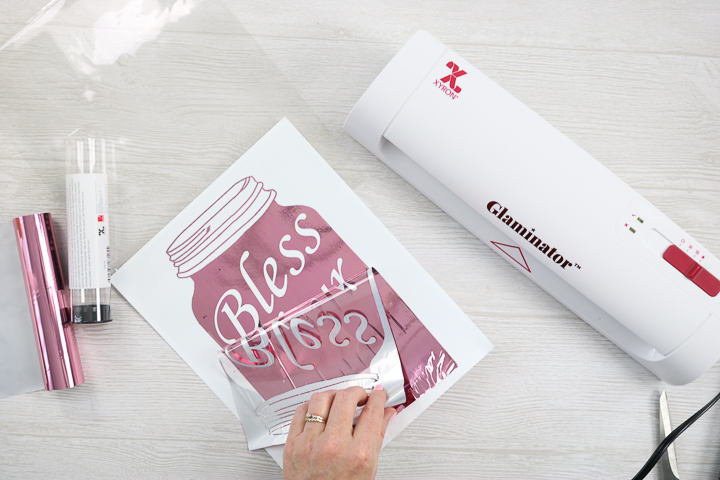
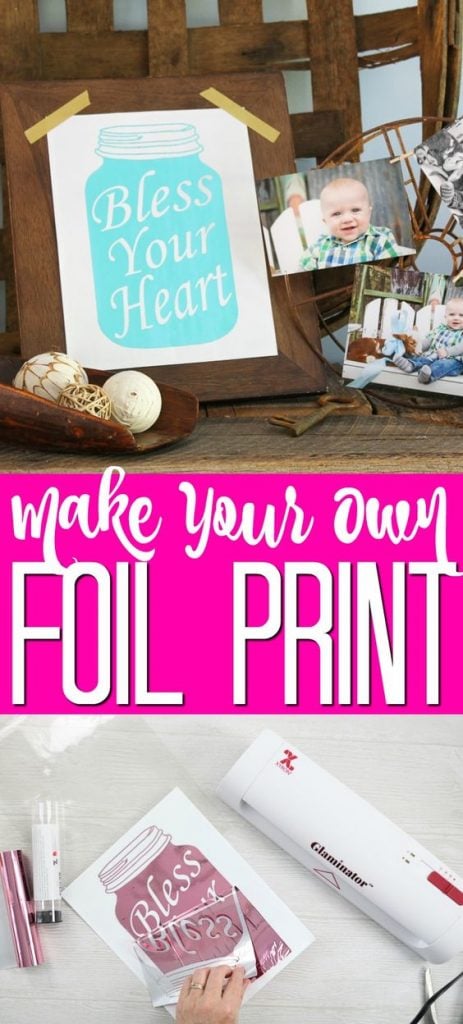
Once the art has been completely fed into the machine, you can remove it carefully as it will be hot. Then, start peeling back the foil to reveal your art.
Tip: You might want to let it cool slightly to prevent any burns.
Now add it to your projects!
Tips and Tricks
- Be sure to use a high-quality laser printer that only prints in black for maximum foil coverage. Laser printers that also do color will offer a lower-quality print.
- Run the art through the Glaminator 2 to 3 times for maximum coverage of the foil.
- Only use a foil that should be used with adhesive as heat-activated foils will not work correctly.
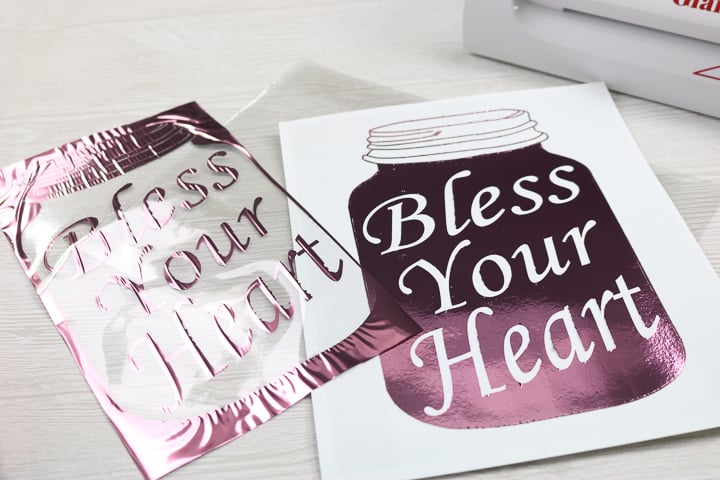
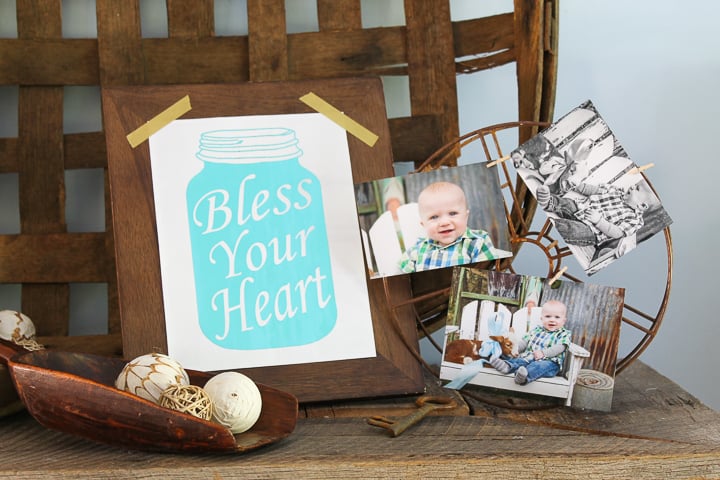
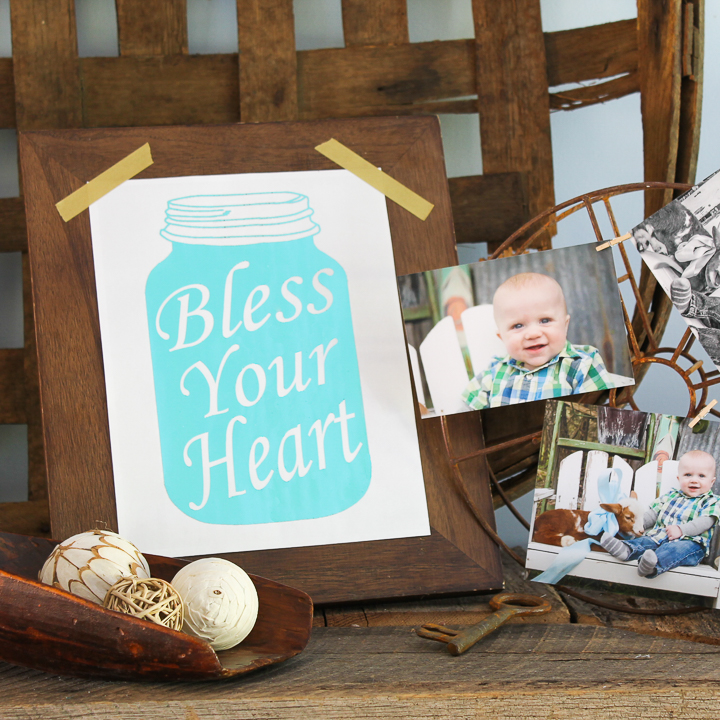
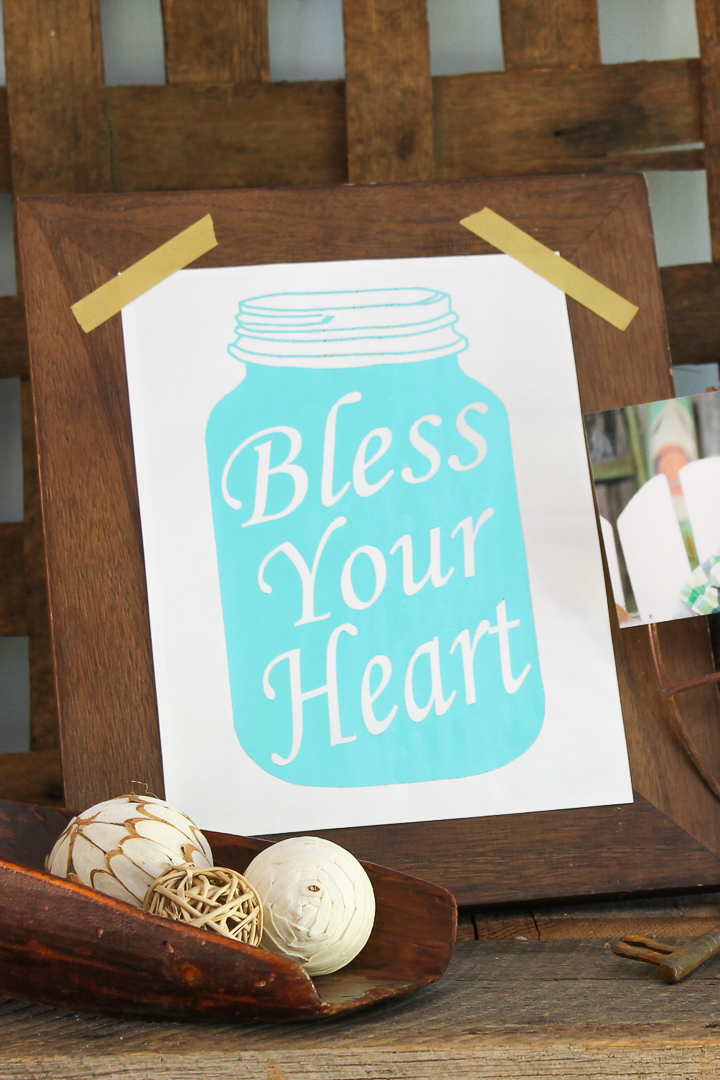
Once your print is done, you can just frame it up and add it to your mantle. You can use this same method for any piece of art that you would like to print on a laser printer. But I sure do love it with mason jars!
FAQs
Here are a couple of questions that I see readers ask about learning how to use the Glaminator. If you have a question, please check to see if I’ve already answered it below. Don’t see it? Leave it for me in the comments!
Is the foil reusable?
Unfortunately, the foil is not reusable. You can use the foil print that you create to add foil accents to other projects but you won’t be able to reuse the foil itself.
What can I add the foil to?
You can add foil to any project that you want! I love adding foil accents to wood signs, chalkboards, and even mason jars.
How long does it take to learn how to use the Glaminator?
It doesn’t take long at all to learn how to use the Glaminator! Just follow the instructions above and you’ll be foil printing in no time!
What if I don’t have a Glaminator?
If you don’t have a Glaminator, you can foil your prints using the Cricut machine!
So, will you make your own DIY foil print for your home? Be sure to pick up the Glaminator to do just that!
So, will you make your own DIY foil print for your home? Be sure to pick up the Glaminator to do just that!
Plus, who can resist some mason jar art around their home? I know I can’t!
Love this DIY foil print and want more ideas? Try these projects!
- How to Use the Foil Quill on a Cricut Machine
- Everything is Better in a Mason Jar Free Printable Art
- Mason Jar Firefly FREE Printable Art
- Printable Wall Art and Mother’s Day Gift Idea
Equipment
- Xyron Glaminator
Supplies
- Laser printed art
- Mason jar art download link in post
- Foil (in the color of your choice)
Instructions
- Print your mason jar art on a laser copy machine or your at-home laser printer.
- Then, pick the color foil you want to make your art. Cut a piece of the foil to lay over your laser print.
- Add the foil-covered print to the protective cover included with the Glaminator. Heat the machine for at least five minutes before using it.
- Put the protective sleeve with the print and the foil included in the Glaminator. The machine will pull the sleeve in so there is no need to push.
- Once the art has been completely fed into the machine, you can remove it carefully as it will be hot. Then, start peeling back the foil to reveal your art.
Notes
- The foil will need to be an adhesive foil because the toner will act as an adhesive as it runs through the laminator. Heat-activated foil WILL NOT work with this method.
- It should be set on the star setting which is for Glamination. The Glaminator will also cold laminate as well as warm laminate.
- You might want to let it cool slightly to prevent any burns.
- Be sure to use a high-quality laser printer that only prints in black for maximum foil coverage. Laser printers that also do color will offer a lower-quality print.
- Run the art through the Glaminator 2 to 3 times for maximum coverage of the foil.
- Only use a foil that should be used with adhesive as heat-activated foils will not work correctly.
A Year of Jar Crafts

Sign up for our email list to get a FREE book with an entire year of jar crafts! 12 months, 12 crafts, tons of fun!



Love the mason jars!