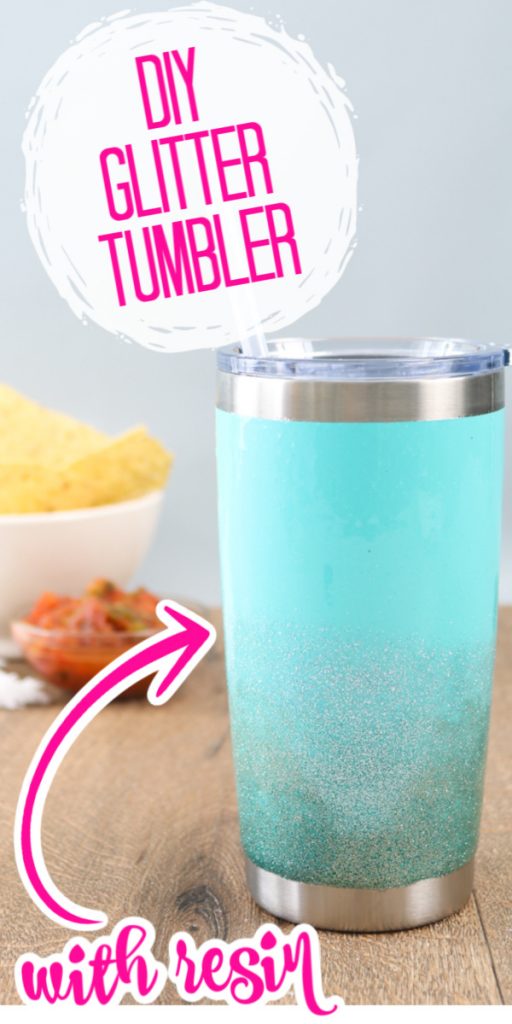
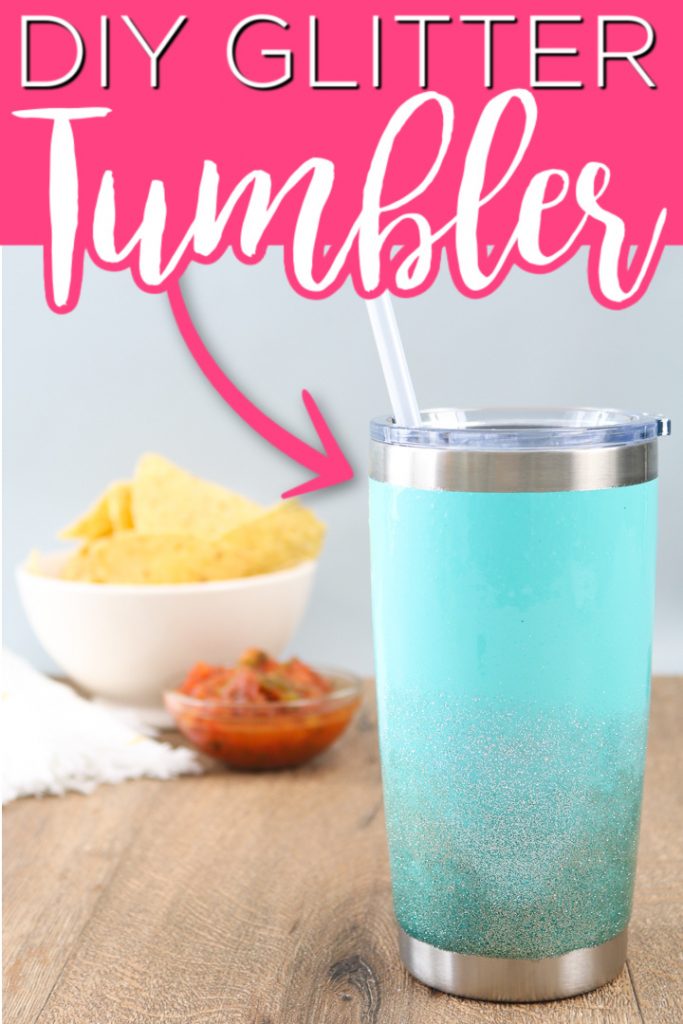
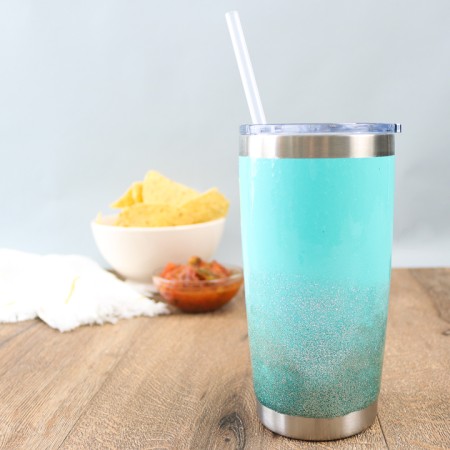
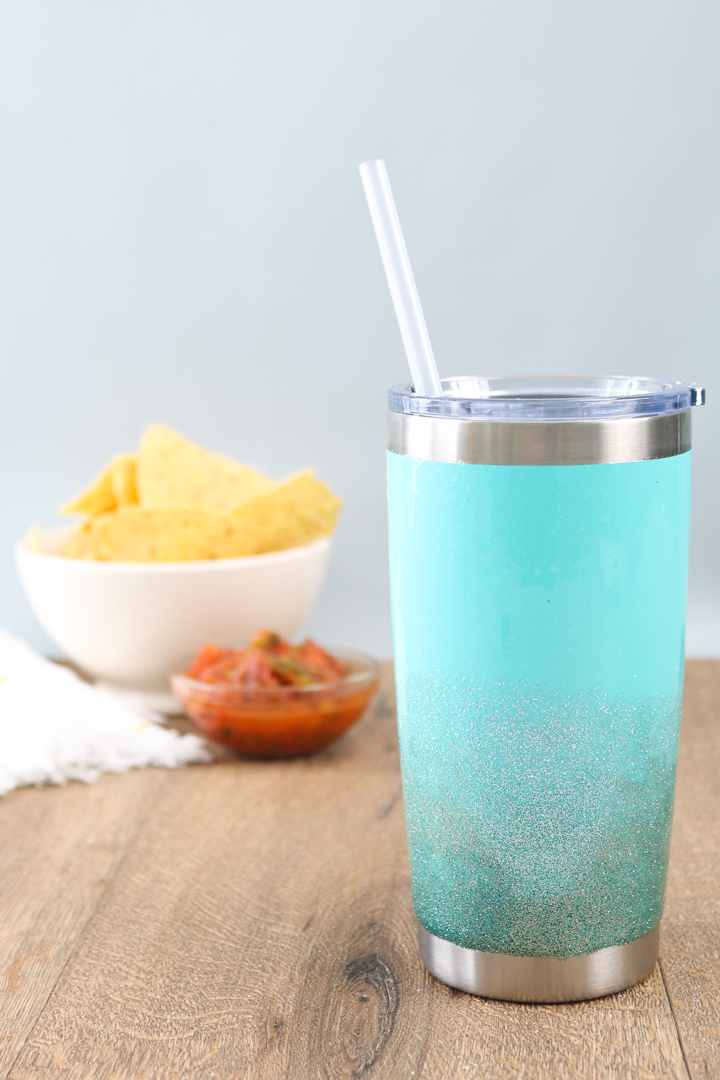
Making a glitter tumbler is actually really easy and the results are amazing. Whether you are making them for yourself or to sell, I am here with all of the tips and tricks you need to be successful when making your own tumblers. I am also joining with another blogger to bring you an idea for making a resin tumbler keychain craft that will be a great addition to your tumbler crafts so be sure to check that out below.
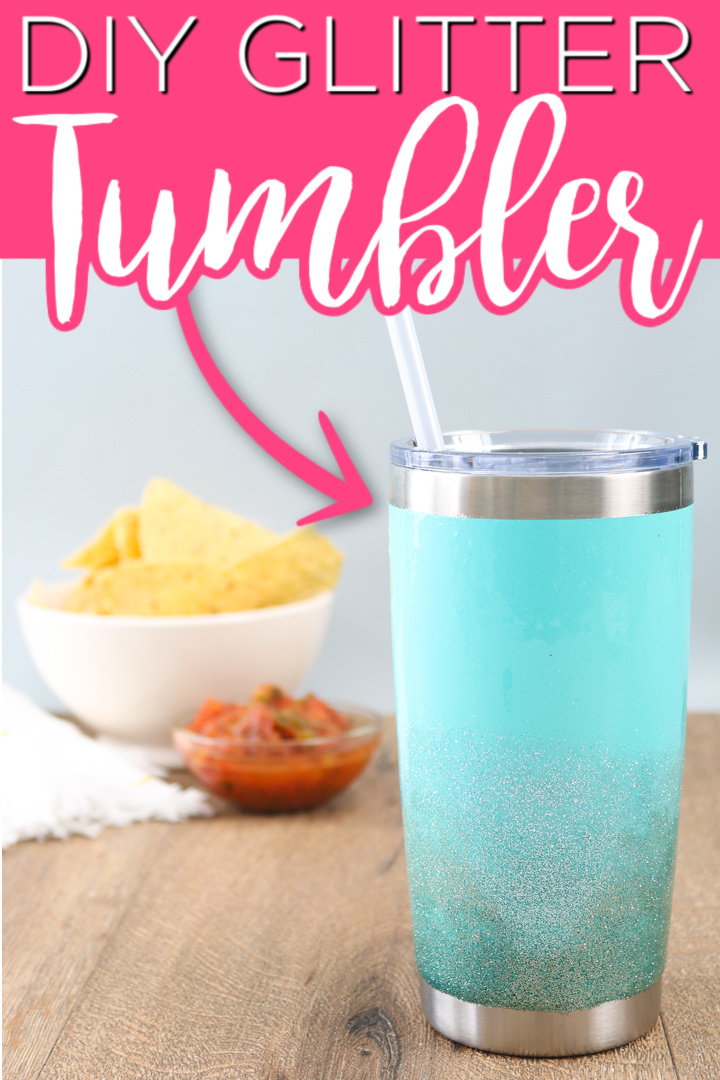
Supplies needed to make a glitter tumbler:
- Tumbler (I like to buy mine already powder coated like this one)
- Epoxy (for this tumbler I used this brand but my favorite is here)
- Tumbler turner (I am using the Spin It but you can also make your own with the instructions here)
- Glitter (4 colors)
- Stir sticks
- Disposable cups
- Protective equipment (be sure to follow all safety procedures when working with resin)
- Kitchen torch or lighter
How to add glitter to a tumbler:
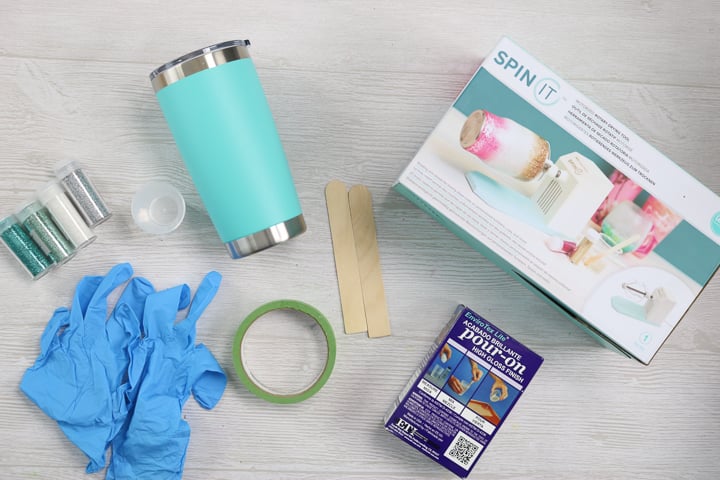
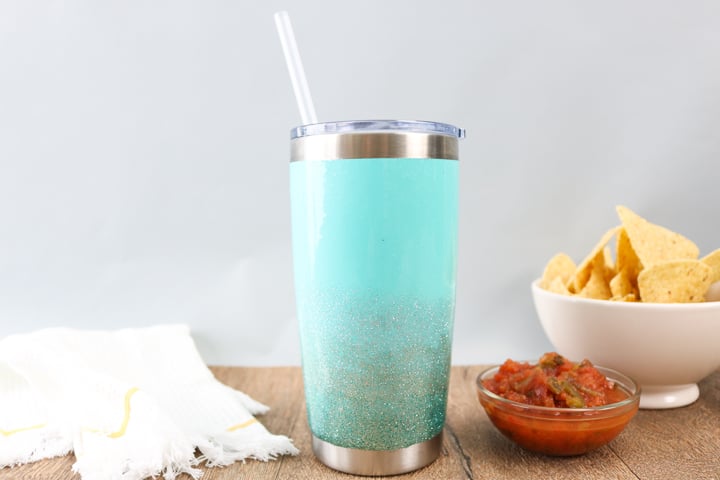
Adding this ombre glitter effect to a tumbler is actually fairly easy. You can watch me make the entire tumbler in the video below.
Can’t watch the video or missed some of the steps? You can also get the instructions on the card below.
Equipment
- Tumbler turner (either the Spin It or make your own)
- Protective equipment
- Kitchen torch or lighter
Supplies
- Epoxy resin
- Tumbler
- Glitter
- Stir sticks
- Disposable cups
- Painter's tape
Instructions
- Start by taping off any areas where you do not want resin. I usually buy powder coated tumblers and skip the painting step. I also like to buy them with the lip unpainted. I find that some products are not food safe so keeping those away from the lip is always a priority for me. So, I taped off both the unpainted top and bottom.
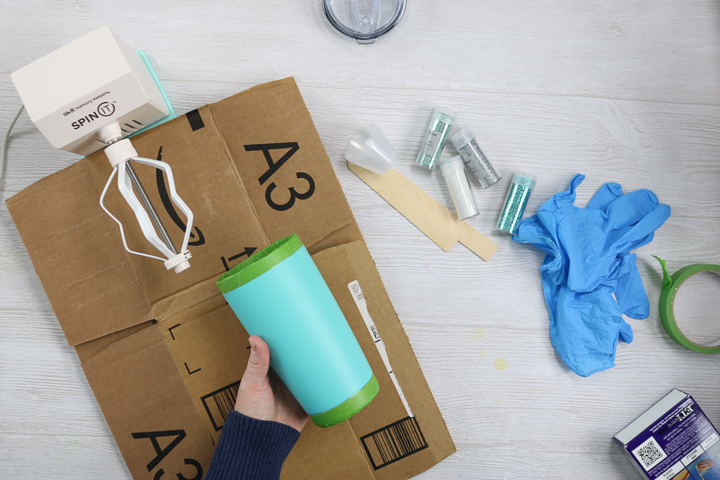
- Mix your resin according to the package directions. Be sure to wear protective equipment at all times when working with resin.
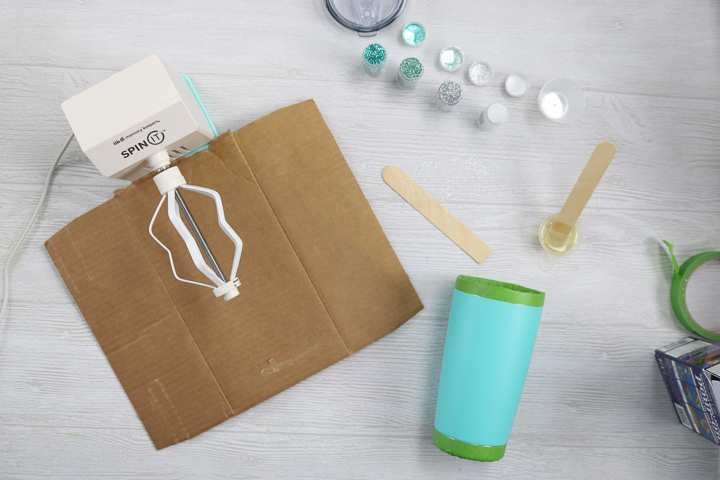
- Then adjust the Spin It for your tumbler size and add the tumbler to the machine. Make sure it is on there straight before beginning. Then start spinning the tumbler as you add the resin. For the first layer, add in the white glitter and mix well. Then start dripping it onto the top 1/4 of the tumbler. Spread to the edge with the stir stick. Then spread into a nice and even coat. Repeat with each color working your way from lightest to darkest.
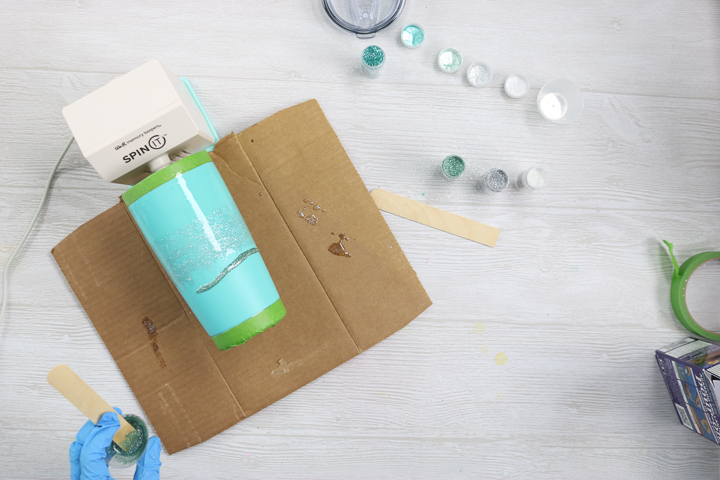
- I like to also lightly go over the resin while it is wet with the stir stick from left to right. This helps to distribute the glitter evenly. Continue spinning the tumbler the entire time as you don't want the resin to pool or drip off.
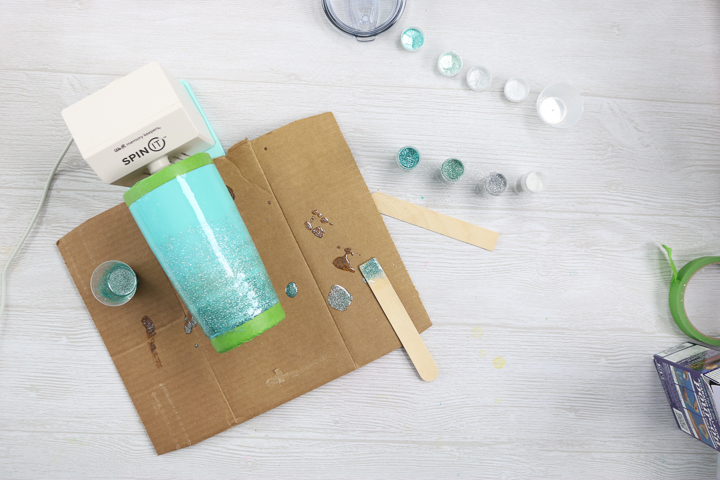
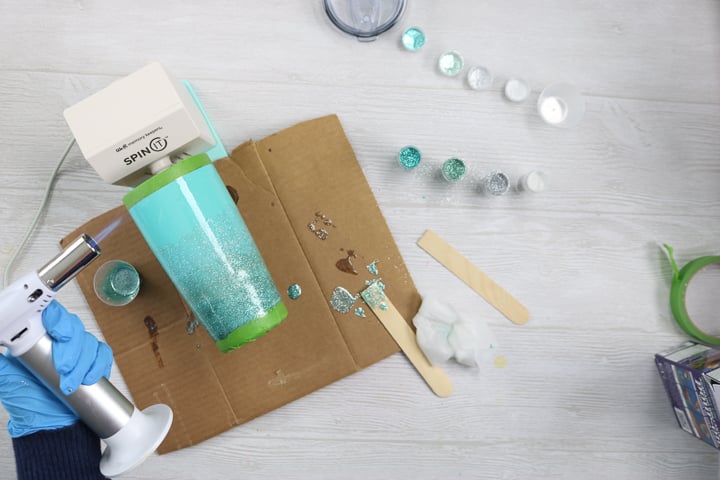
- I used a kitchen torch to pop any bubbles but you can also use something like a lighter. I also like to use a wet paper towel or rag to remove as much excess as possible from the tape. This will make it easier to remove.
- Once your tumbler is fully coated, let it spin about 30 minutes or so then remove the tape from both ends. I always look at my leftover resin in the cup to see if it is set before removing.
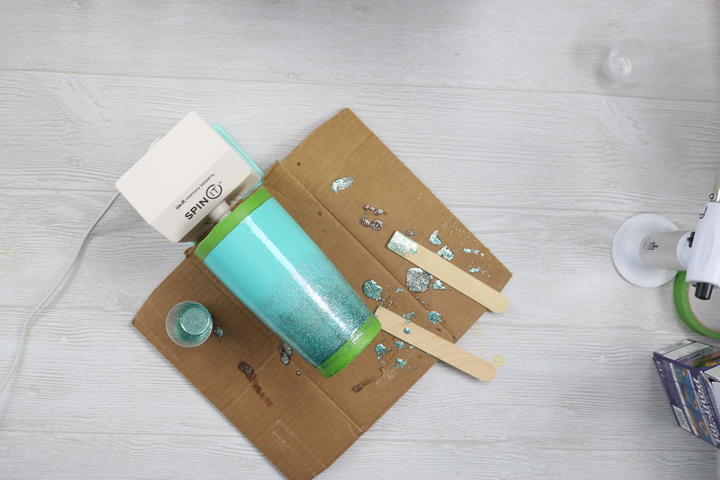
- Stop the spinning for as little time as possible when removing the tape. Use a wet paper towel or rag to remove any resin that seeped under the tape. Then continue to spin for a couple of more hours. You can turn off the spinner after that but leave on the machine overnight to cure.
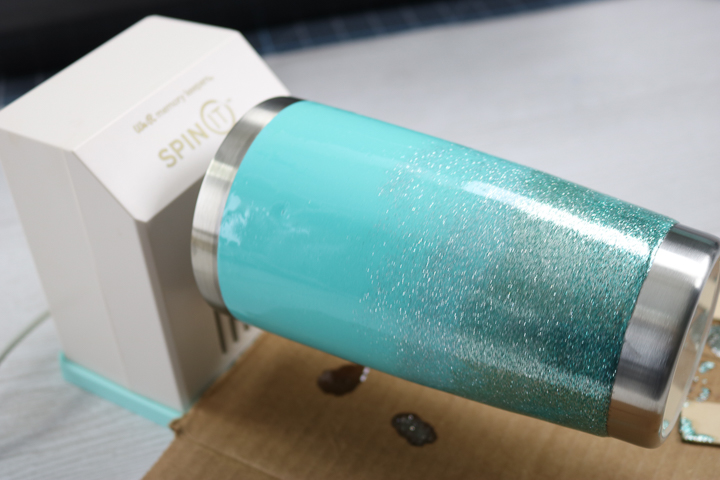
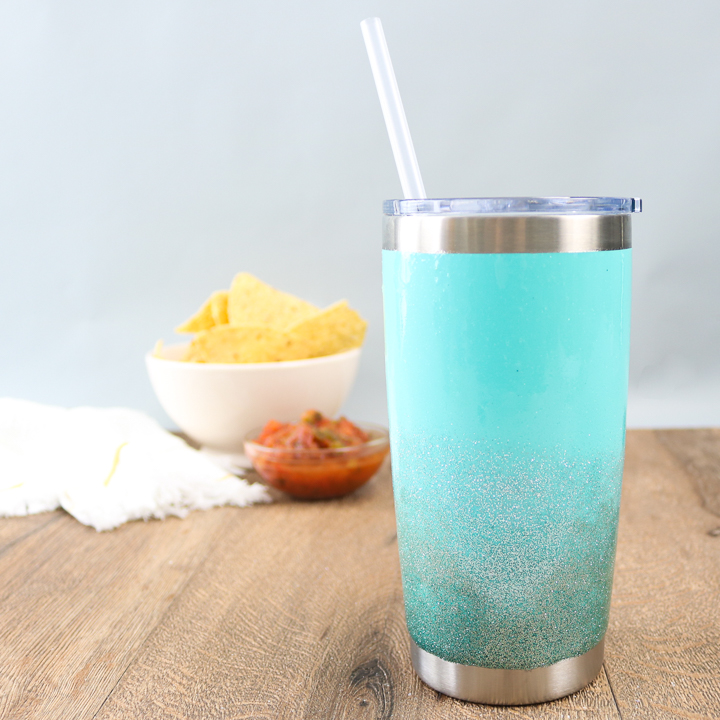
Once your resin has cured, you can leave your glitter tumbler as is or add some more decoration. I am leaving this blue one as it is because I love it and it is all for me!
However, you can also cut a monogram or other design on your Cricut machine and add it to your tumbler as well. You can see one that I made here using that method.
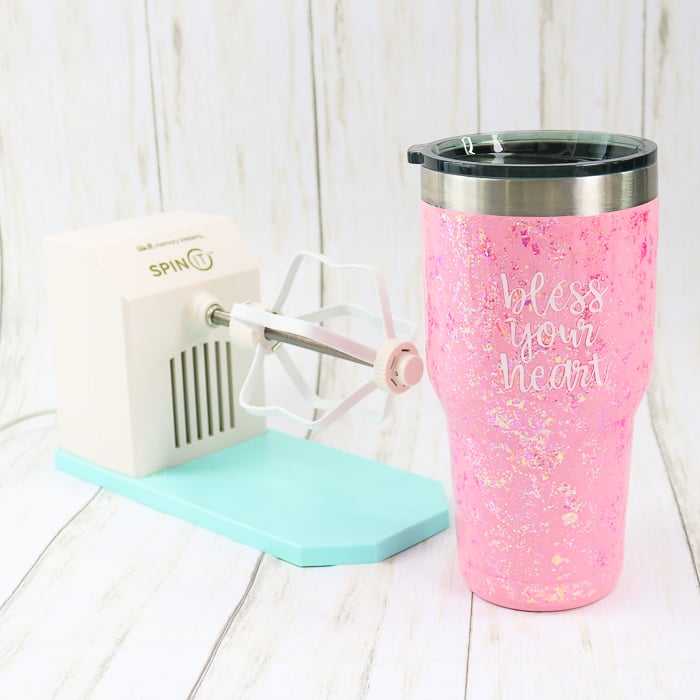
So, whether you choose to leave your ombre glitter tumbler as is or add some vinyl, I know you will love this easy DIY project that makes a great gift any time of the year.
Speaking of great gift ideas, I am partnering with Mad in Crafts to bring you another cute resin tumbler idea. She made this tumbler keychain from resin. If you are obsessed with tumblers, you can find her tutorial here. This is a great addition to your gift or even to your shop if you sell resin tumblers.
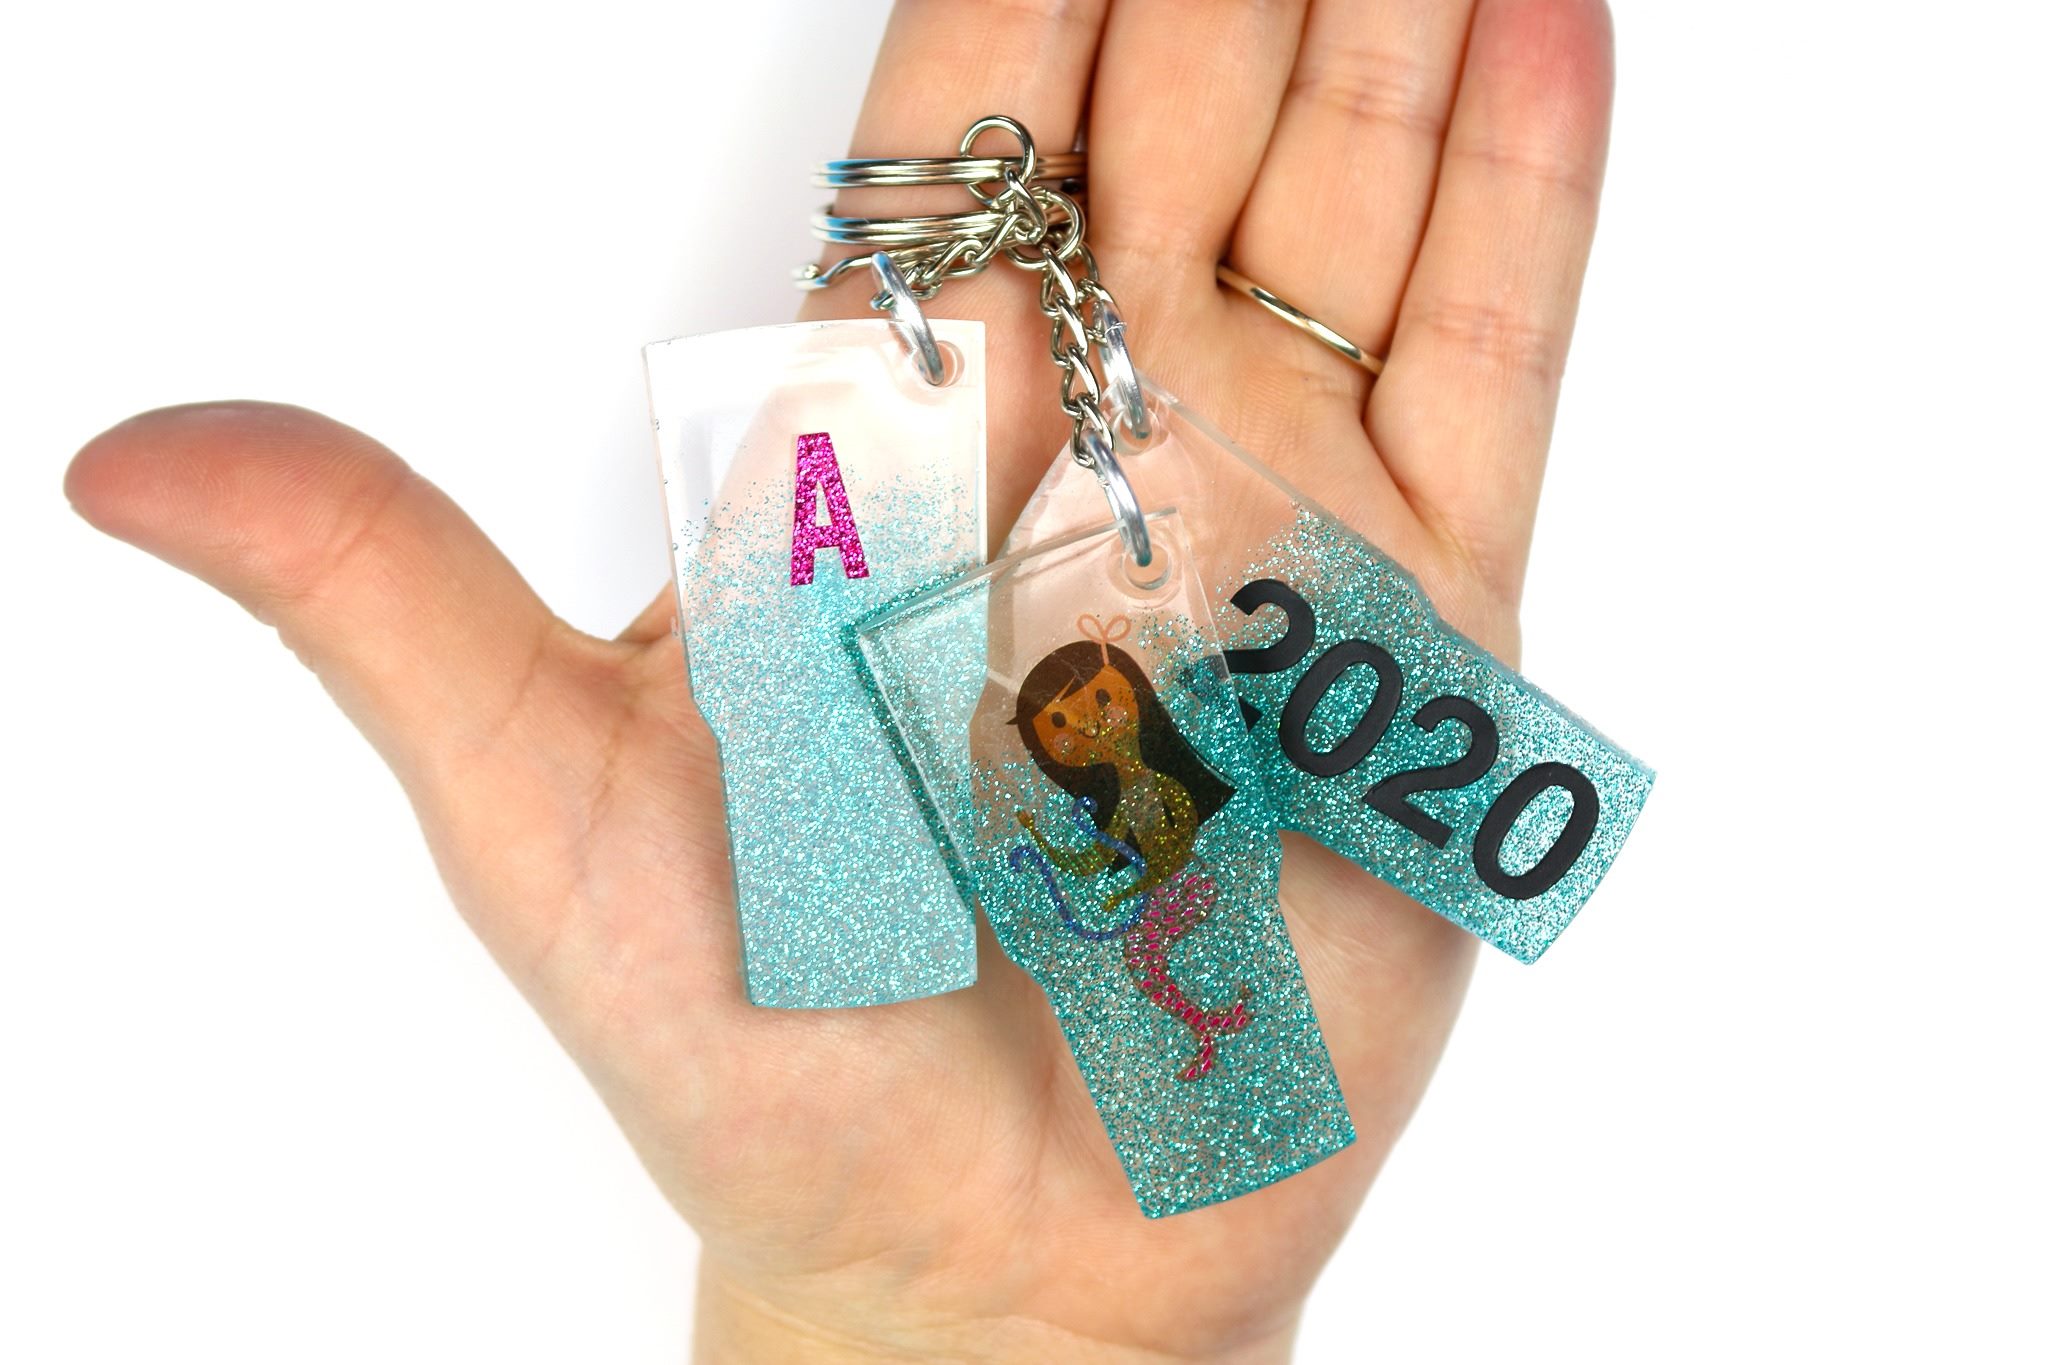
So, make a glitter tumbler or this cute keychain or both! If you haven’t used resin before, don’t be scared! it is actually really easy to use. Just be sure to follow the package directions and your projects will turn out amazing. The top mistakes are generally from skipping some of the procedures.
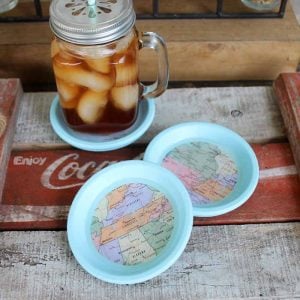
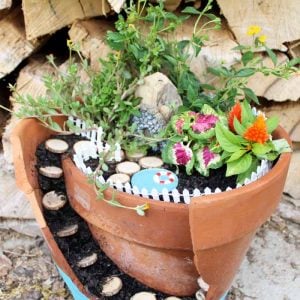
Love this glitter tumbler and want some more ideas? Try these other resin projects as well!
Struggling with resin and need help?
I know that a ton of you are intimidated by resin. Don’t be! You just need to know the basics and gain some experience with the medium. I have a course that will help you master epoxy resin and give you the confidence you need to tackle this project and so much more.
With unique insights drawn from more than a decade of creating and selling resin jewelry worldwide, this course is from an Amazon best-selling author on the topic. This class goes beyond making a few projects. You get thirty video lessons to give you clear directions on how to make resin jewelry you can confidently share and sell. Want to see more?

