I thought today I would give you a look inside my Cricut craft room. I have also asked a few other blogger friends to join me today with their own craft room tours. You can see all of those below as well. I hope you come away inspired to organize your craft supplies. Plus, if you have been around here a while, you can see how much my room has changed since my last craft room organization tour.
Cricut Craft Room Video Tour
I thought a video tour would be fun this time around.
If you can’t watch the video or want to see some further details, just follow along below.
How to Organize a Craft Room for Cricut Crafting
Whether your space is big or small, I hope you can get some inspiration by looking at my Cricut craft room and the storage I have chosen.
Cube Storage Organization
I thought I would start with the view you most often see if you watch any of my videos. This shelf is behind me most of the time. I get questions on these shelves all the time! I am happy to FINALLY say they are back in stock on the Walmart website! What you see in this picture is a 9 cube organizer with a 3 cube organizer on top. I have it filled with craft supplies as well as some 12×12 paper organizers across the top.
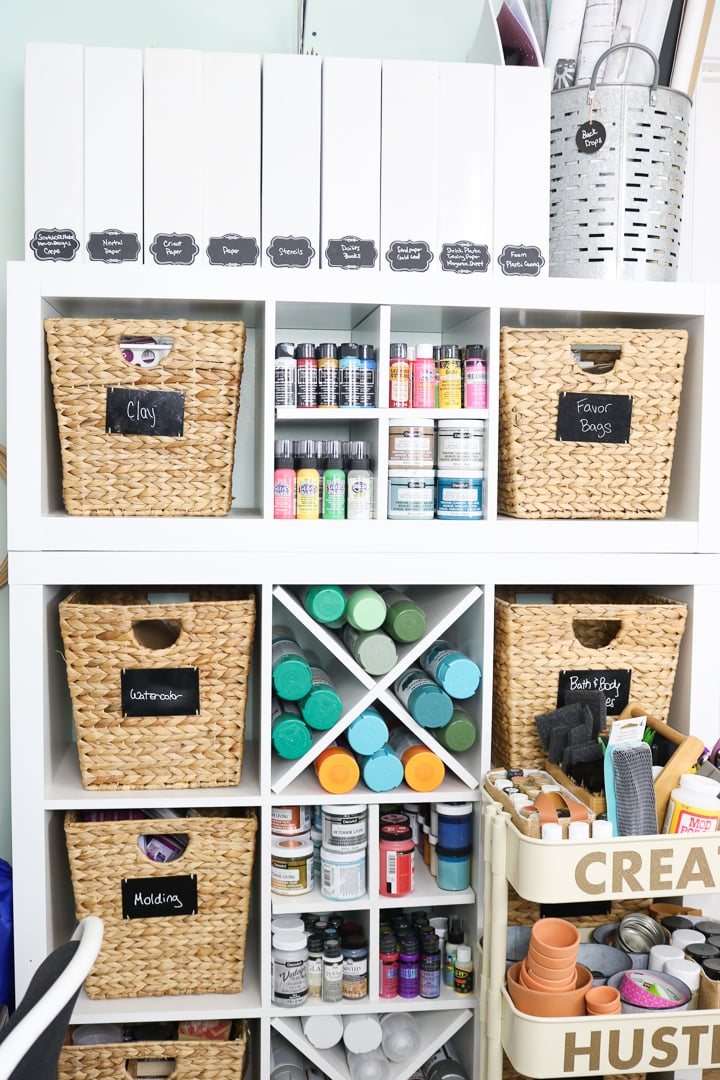
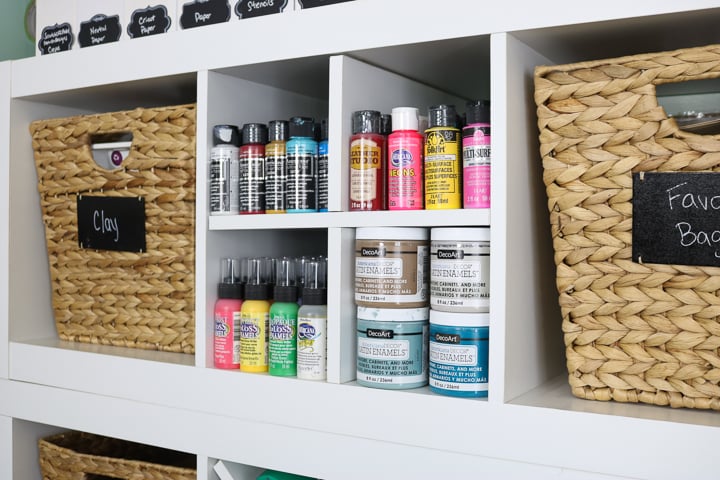
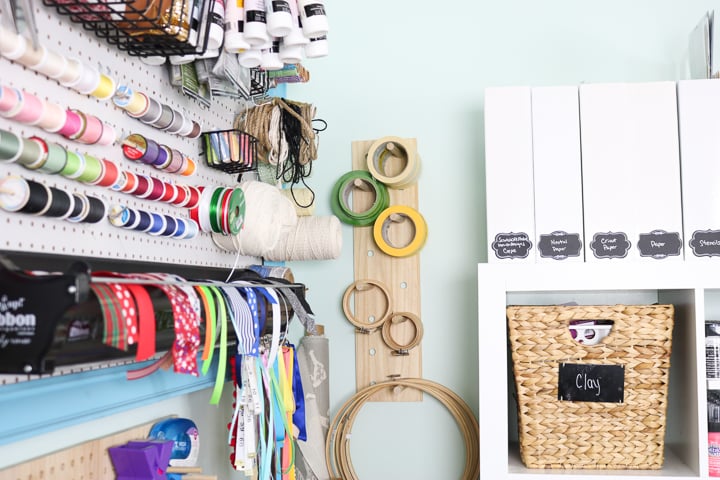
Then there are those dividers! You will see three different types of dividers around my craft room and I have been waiting on these to come back in stock for a couple of years now. The first is this plus-shaped shelf that is the perfect size for craft paint.
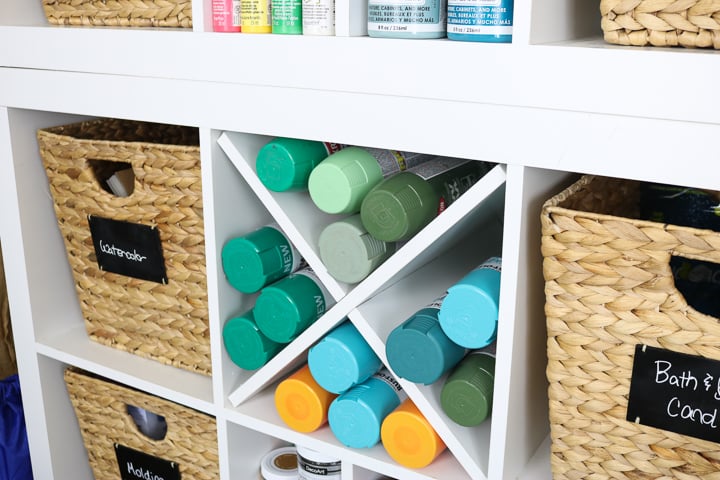
The second is this x-shaped shelf that I love for my spray paint. IKEA has a similar product as well.
Turning to the right from this unit is another similar unit. Unfortunately, the baskets with the chalkboard labels are discontinued, but you can find similar products online or at a local craft store.
I do love using chalkboard labels in my craft room. It gives me the chance to change as much as I want!
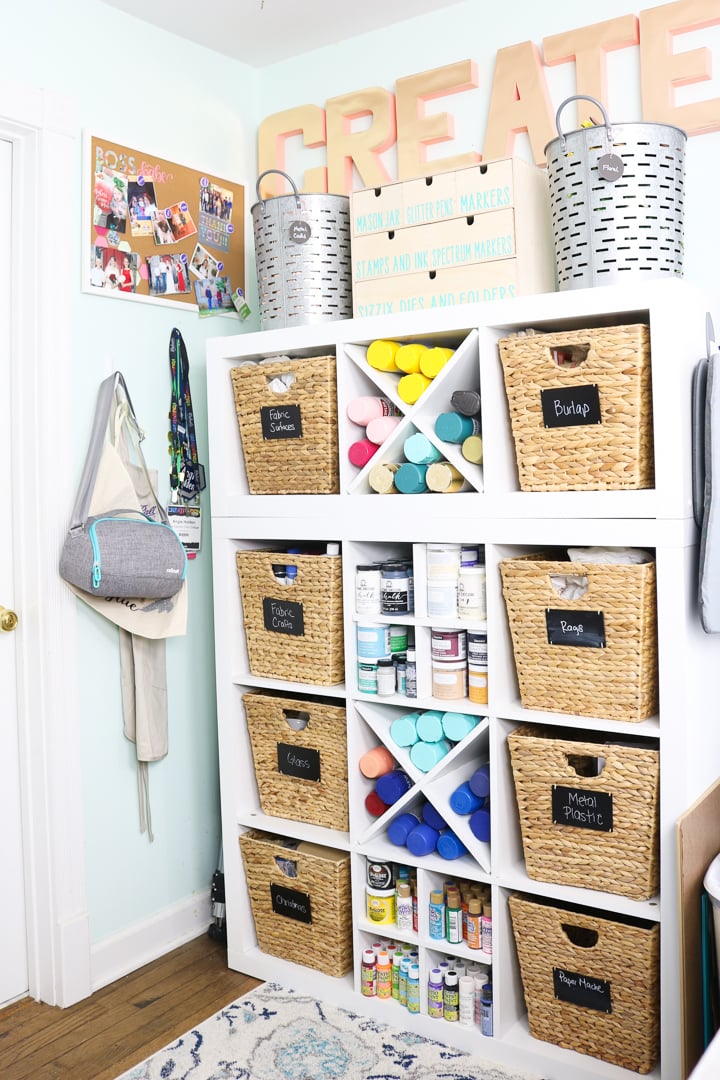
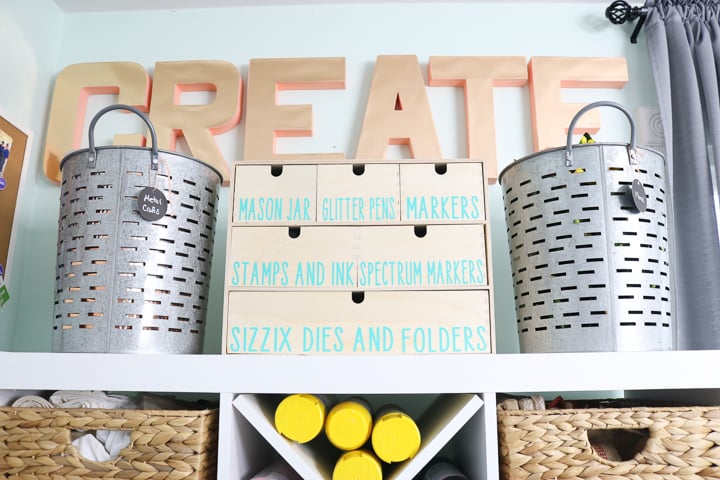
On top of that unit, I have a couple of tall olive baskets that have also been discontinued along with an IKEA Moppe that I use for storage. These are so inexpensive and perfect for small craft supplies. I just added some vinyl on the front. You can also see how to make those CREATE letters here.
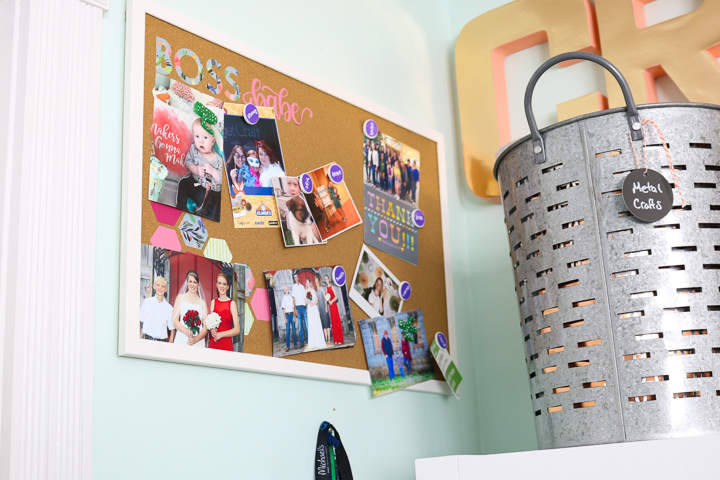
Also, in this corner, is my bulletin board with a variety of pictures added to it. You can see how to add iron-on to cork and make your own here.
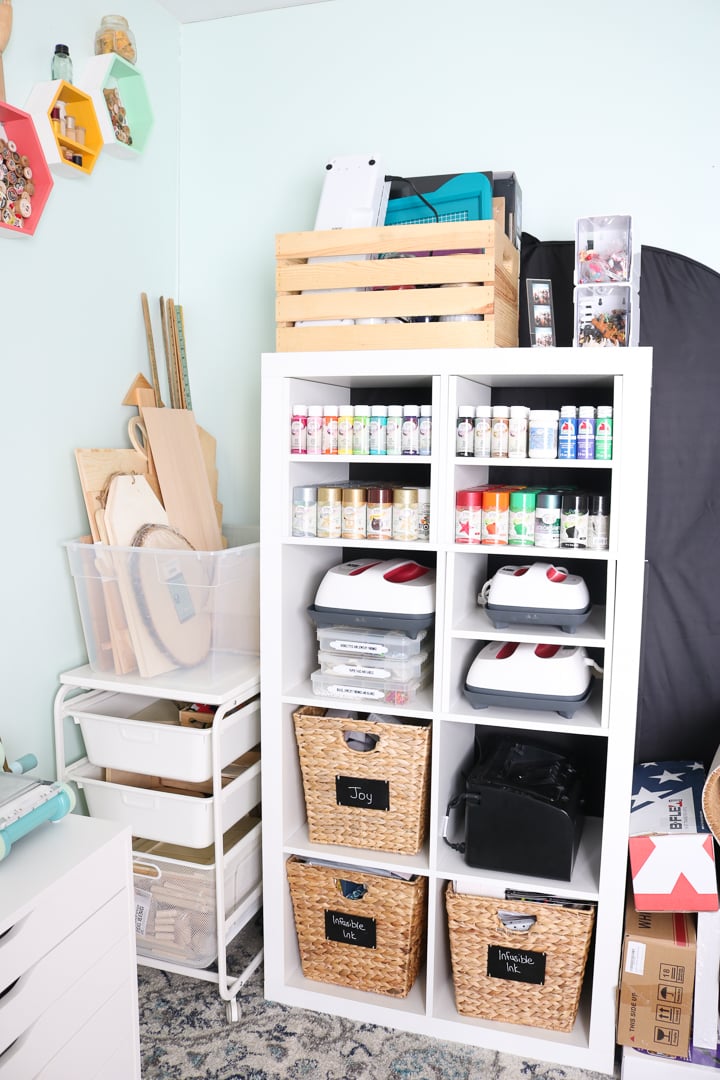
On the other side of the room, I have a third cube organizer. This one, however, has some of the h-shaped dividers. These are great for craft paint as well as your EasyPresses. The cart in the corner of this picture is from IKEA and holds my wood blanks.
Pegboard Storage for Craft Supplies
I also love adding pegboard storage to my craft room. I have a small sewing table in this corner of my Cricut craft room but that pegboard on the wall is the real star of the show. A pegboard is a great way to organize a ton of supplies visually.
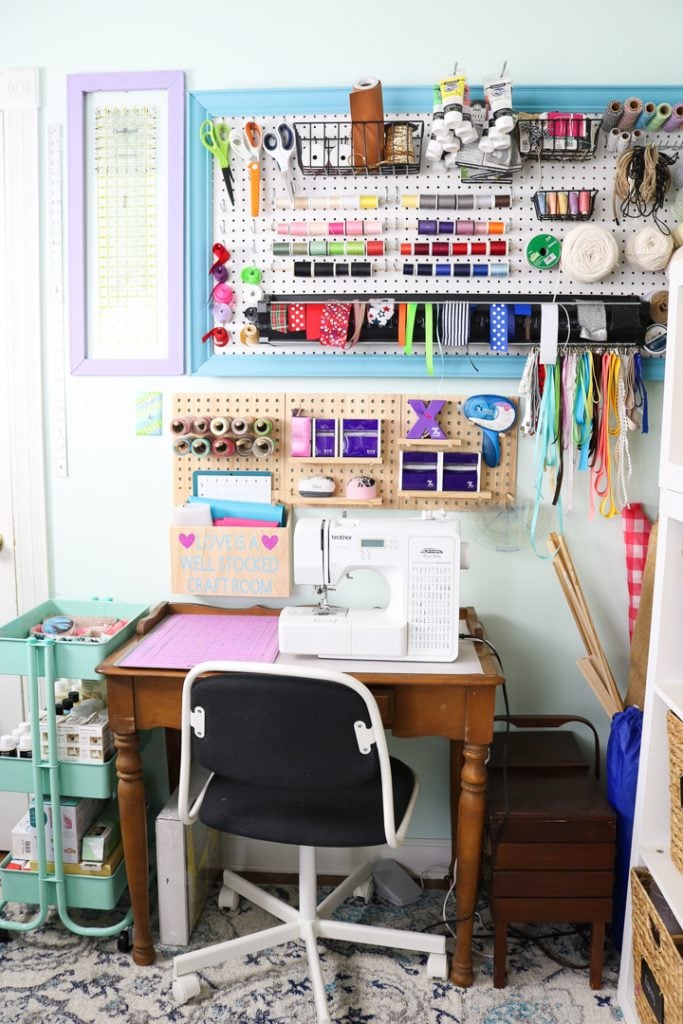
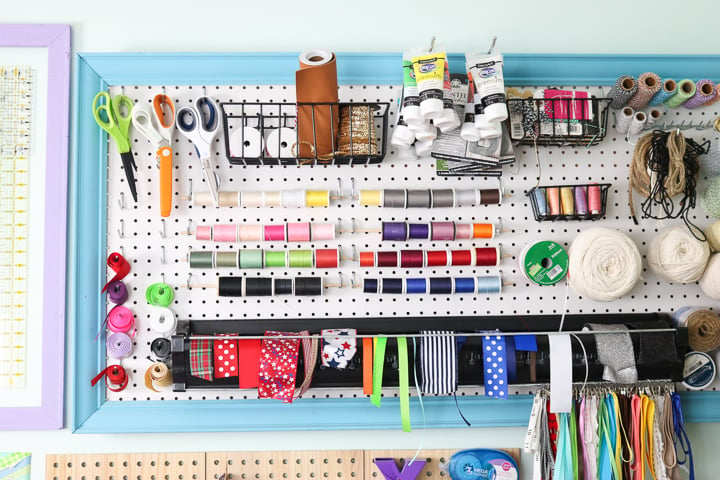
The first option is a traditional pegboard that you can get at your local home improvement store. This is one of those in a frame with pegs and hooks. I also added a clip it up organizer from Simply Renee as a ribbon organizer. Unfortunately, it has been discontinued as well, but similar products can be found at your local craft store.
The other option is a fairly new wooden pegboard system that I am in love with! Wooden dowels and accessories are available as a part of the system.
I am using the square accessories here, but they come in so many shapes and sizes.
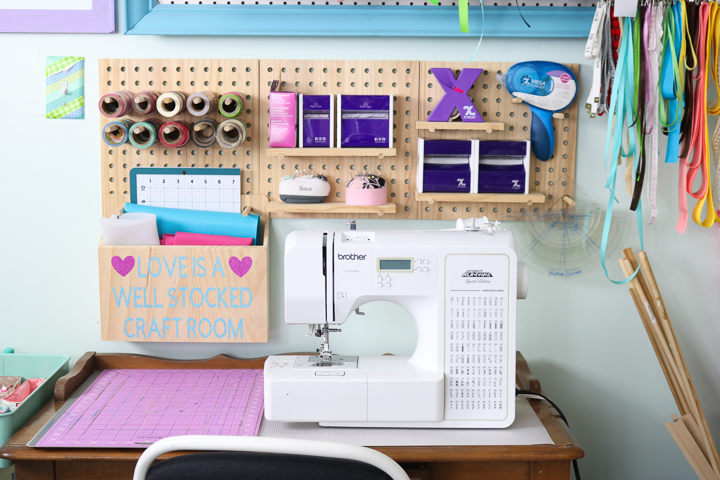
I even used one of the larger versions in the corner of this area. I love using every single available space as my room is not that large and I have a ton of craft supplies.
Cricut Workstation
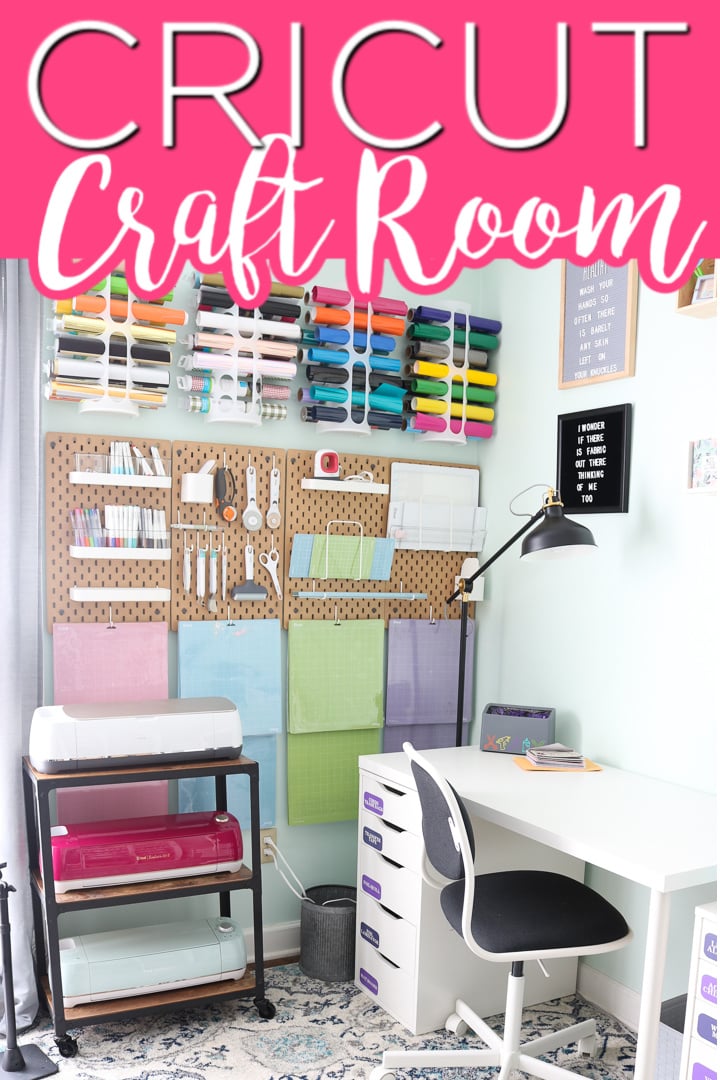
I just had to use a pegboard in the area of my craft room dedicated to Cricut as well. This time it is a pegboard system from IKEA. TYou really can’t go wrong with adding these to your space. I also know I will get questions on the rug in this space. I found it for a steal at one of those places that sell leftovers and returns! Lucky me!
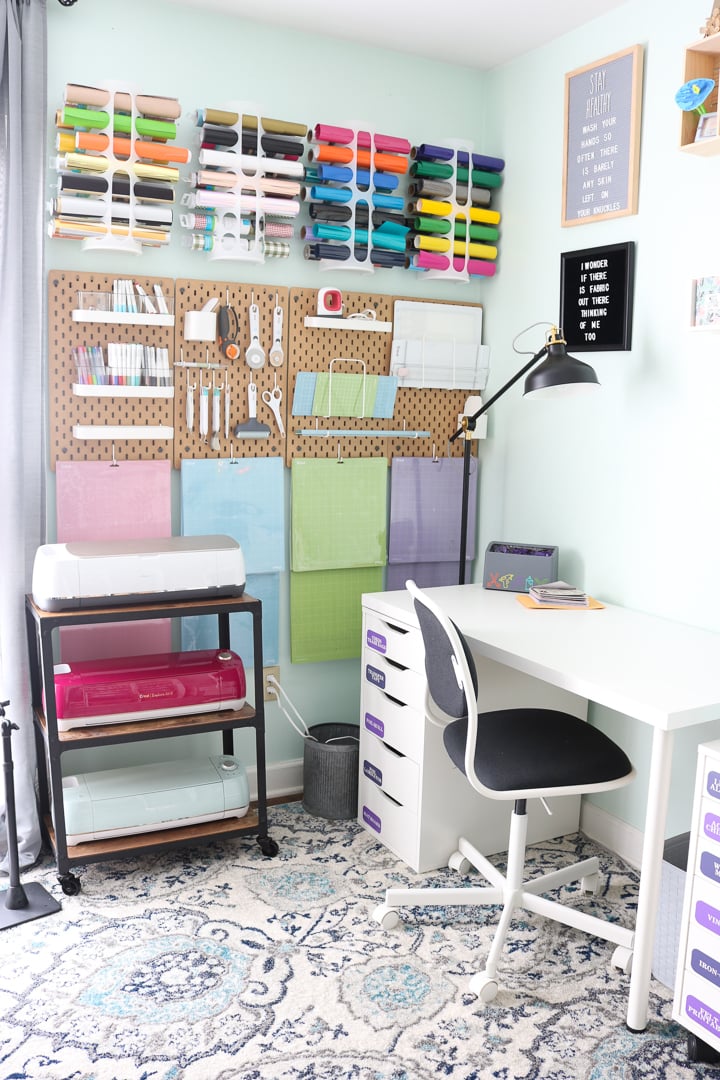
I used a variety of the IKEA hooks and bins to organize my Cricut blades, tools, mats, and so much more.
Some of my favorite items are the shelves with bins for the markers and pens. Plus hanging up your Cricut mats is life-changing y’all!
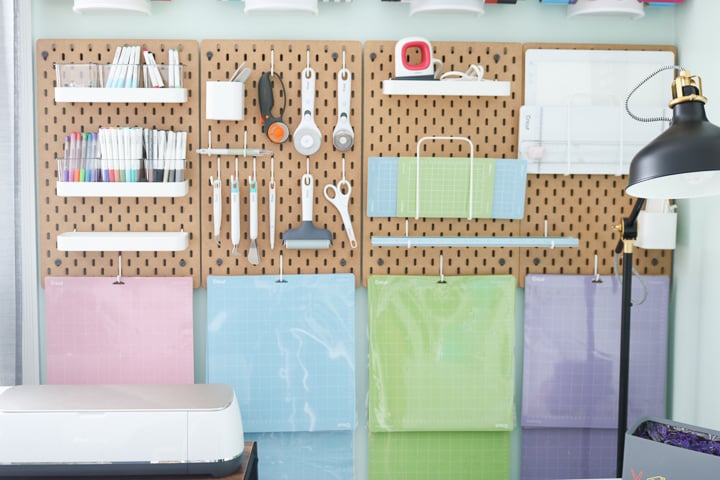
Above this, I added some IKEA plastic bag holders as a hack to hold my vinyl and iron-on. I actually like these best even after testing some other options. This is for roll storage only and I have smaller sheets and scraps in another area.
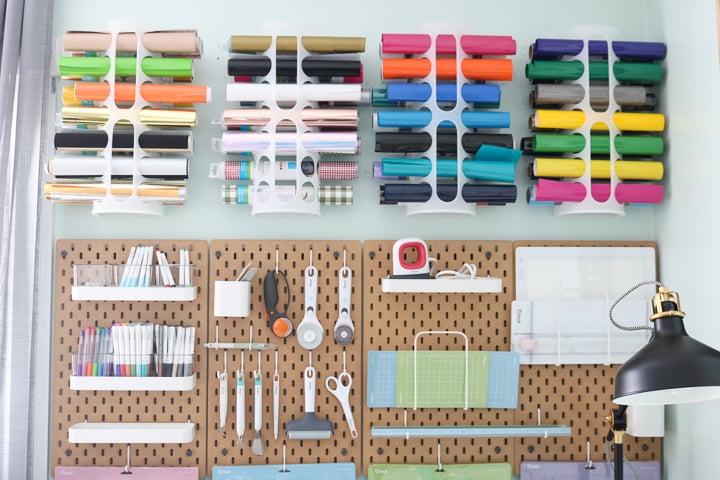
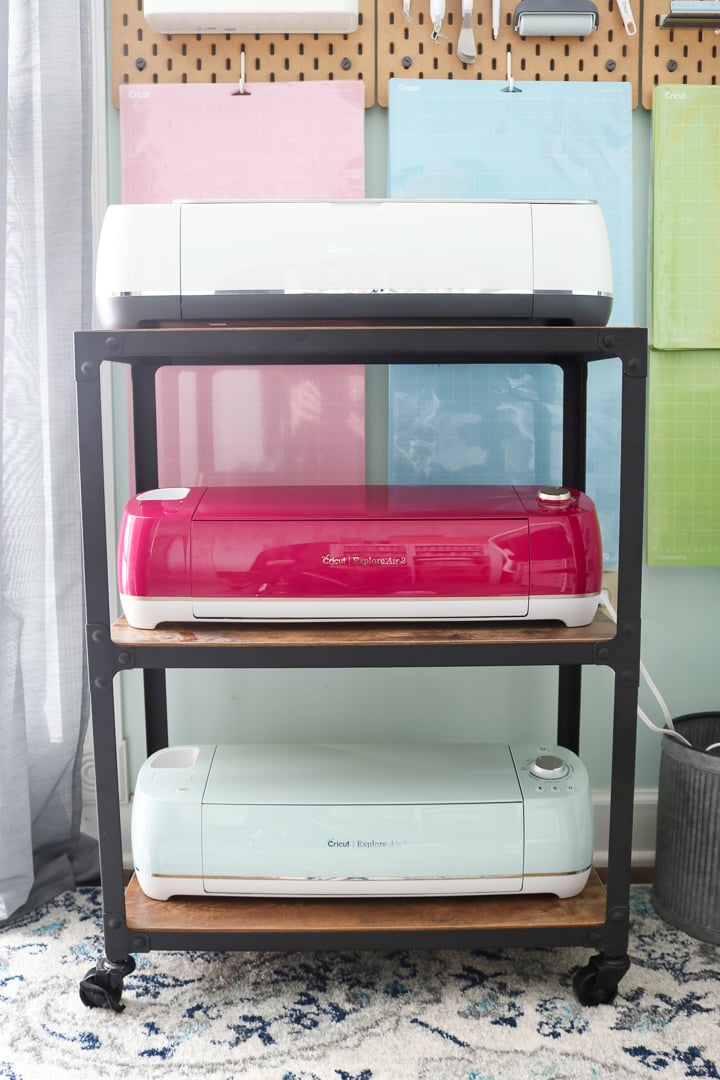
In front of this wall, I have my Cricut craft cart. This is one of my favorite things as it holds three Cricut machines and I can roll it around. It is sturdy enough to use the Cricuts right on the cart.
Beside this area, I have an IKEA desk with drawers. I put things like transfer tape, matboard, and foiling supplies in these drawers.
I have another rolling cart from IKEA beside the desk and this is where I keep a ton of my materials for my Cricut. From smaller sheets of vinyl and heat transfer vinyl to felt and more, this cart holds a ton and I use it every single day.
I used vinyl cut on my Cricut to label each of the drawers.
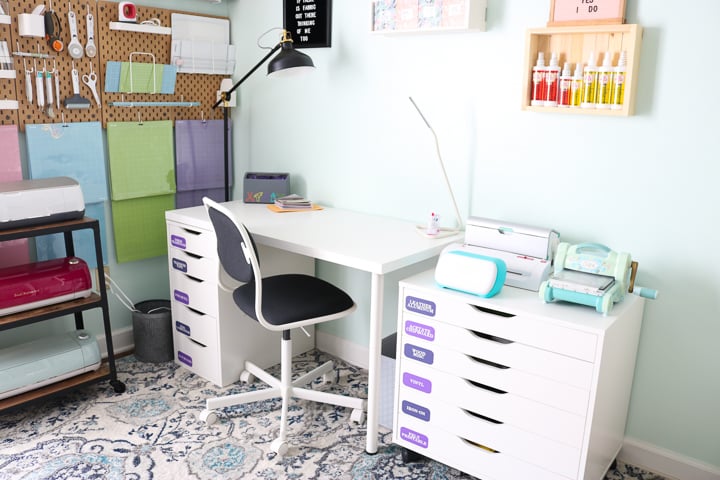
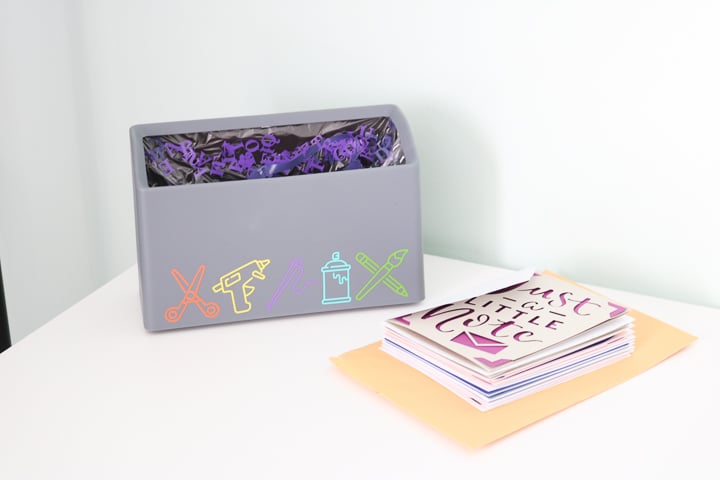
I try to keep the desk itself fairly clean but I do love this mini trash can from Lotsa Style shop. It is perfect for when I am weeding vinyl and iron-on.
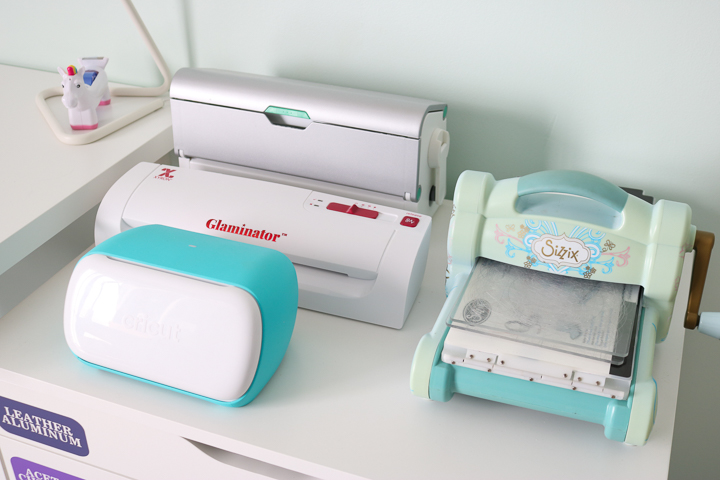
The top of the cart holds my Cricut Joy, Glaminator, Xyron Creative Station, and Sizzix.
Crafting Work Table
No Cricut craft room would be complete without a huge work table. I have a large one that my husband made me in the center of the room. It has storage on both ends as well as a plexiglass top. There is room for two people to sit and work comfortably.
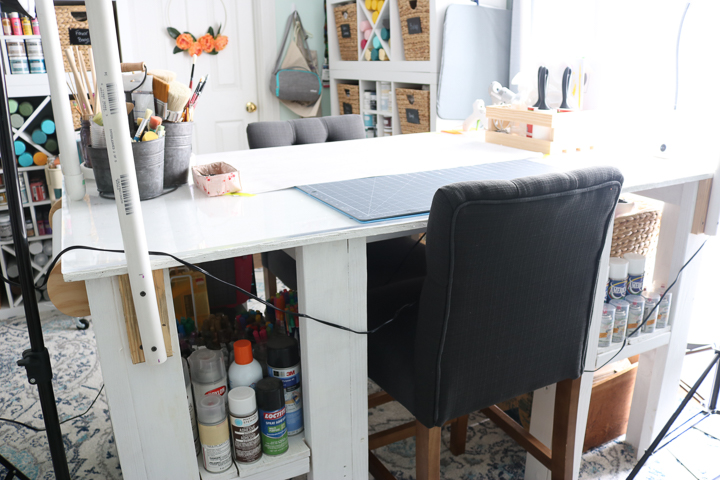
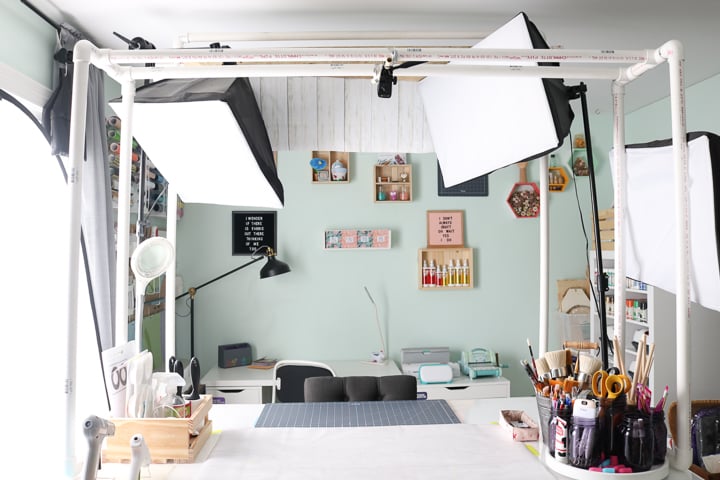
Keeping things real, this is what my work area looks like on a daily basis. I have a variety of lights and camera mounts so that I can make the videos and tutorials that you see here daily.
You can actually see more of how I use this area in the video above.
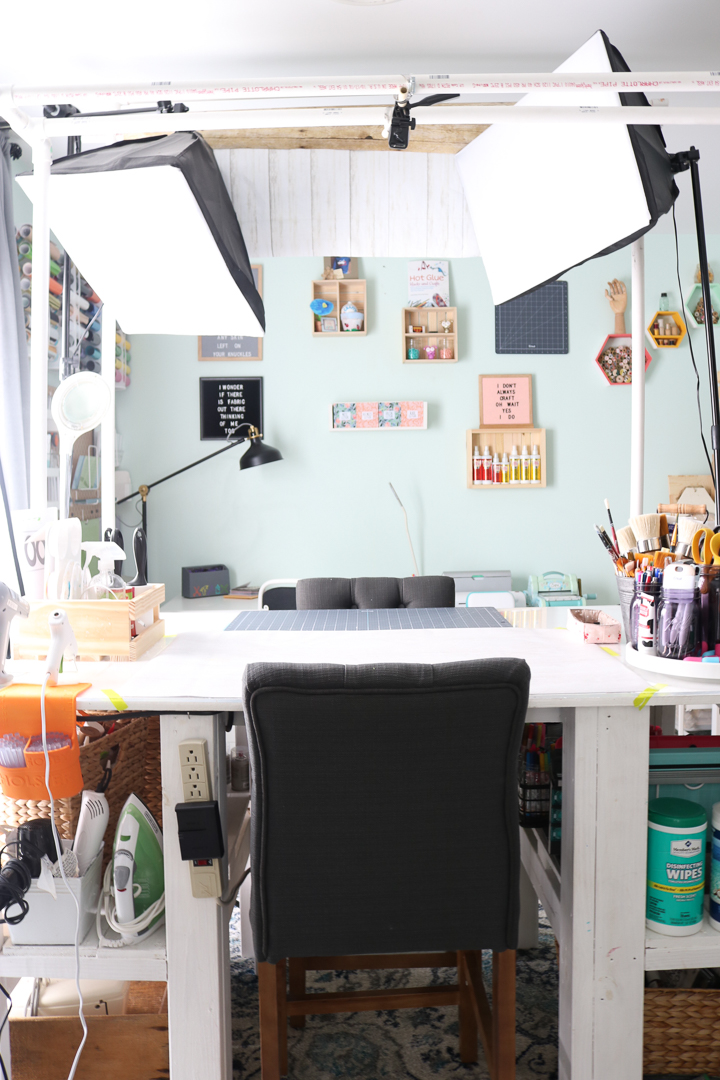
For those that are craft bloggers and YouTubers, most of my rigging is not fancy at all.
In fact, the overhead mount I use daily is actually made from PVC pipe. I love it and it works great for me! I also have a PVC pipe rig that holds backdrops and you can see me use that in the video as well.
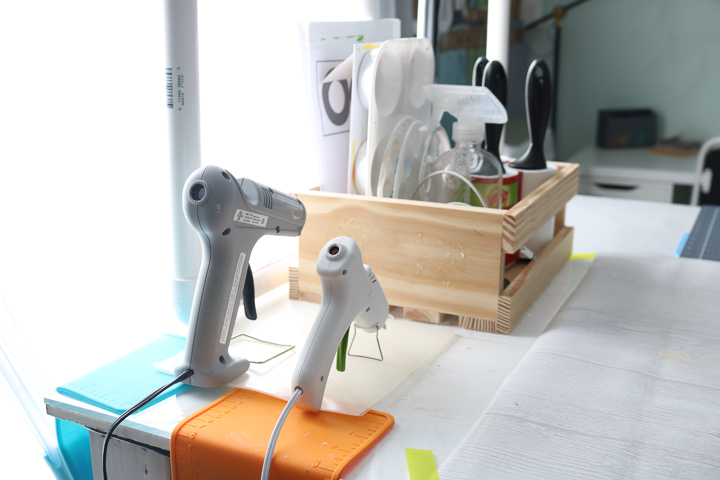
On my worktable, you will always find a hot glue gun or two with a non-stick pad to catch drips.
I always have two Hobby Holsters on my table to hold glue sticks as well.
The wood crate on this side holds scrap paper, paint trays, lint rollers, a water spray bottle, and cords.
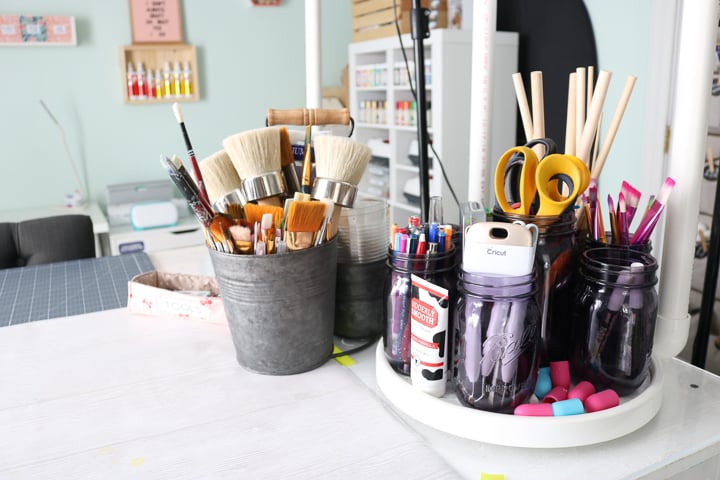
The opposite side of my table has a storage unit for paintbrushes as well as a lazy susan that keeps other supplies.
In it you can find:
- scissors
- Cricut tools
- paintbrushes
- dowel rods
- markers
- pens
- craft knives
- lotion
- hot glue fingertips
- and more
Basically any tool I like to keep handy goes in these containers.
Craft Room Decor
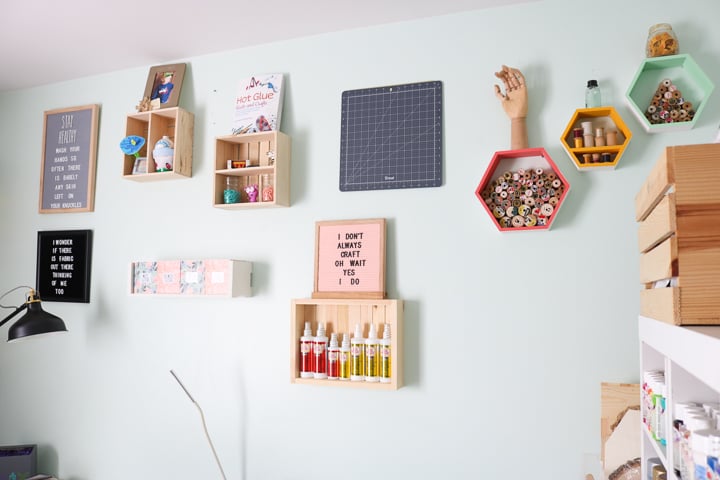
I do have one wall in the room that mostly has decor. However, a lot of these pieces are functional as well as pretty!
I have a set of hexagon shelves that house my collection of vintage thread spools. Then there is a cutting mat on the wall along with some crates for storage. The crates house my spray Mod Podge as well as some of my letterboard supplies.
If you follow me on Instagram, you will not be surprised to see that I have several letterboards along with the letters to use on them.
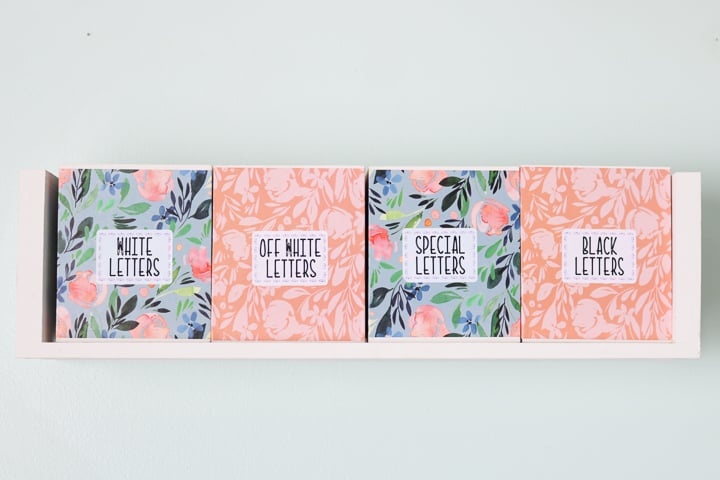
I keep a lot of those letters on this shelf I made here. I made new labels for it using the Cricut Joy and added in my letters.
Other Craft Storage Ideas
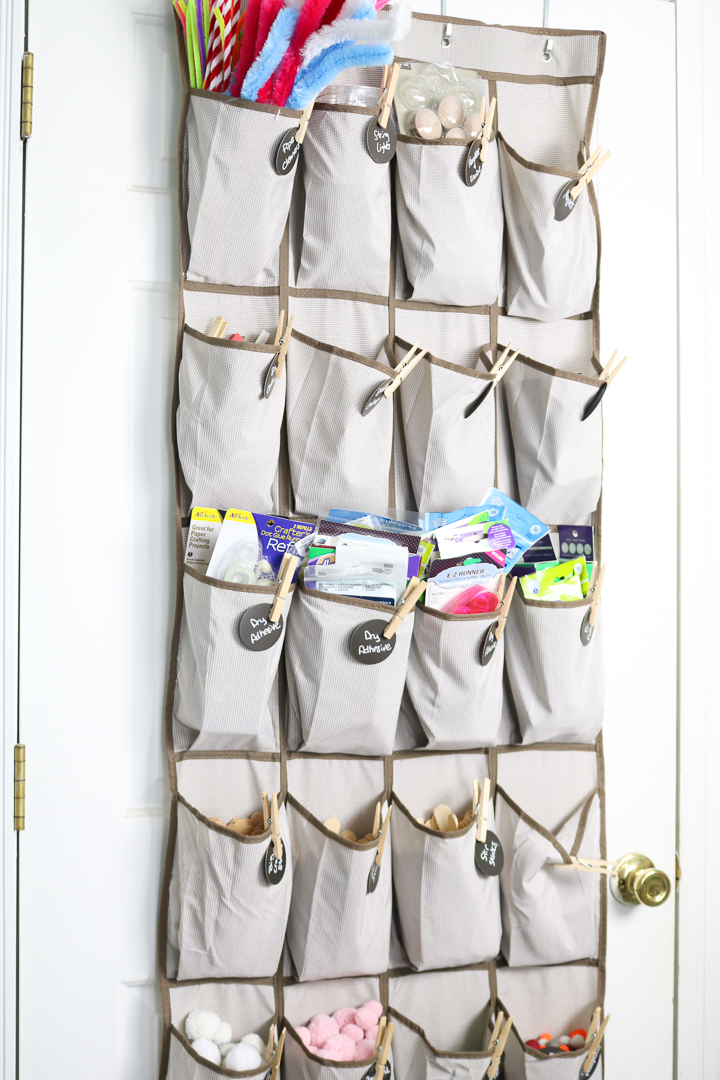
I told you that I don’t like to waste space in my craft room so even small areas are not safe. I use a shoe organizer on the back of one of the doors with chalkboard labels. This is perfect for all of those small craft supplies.
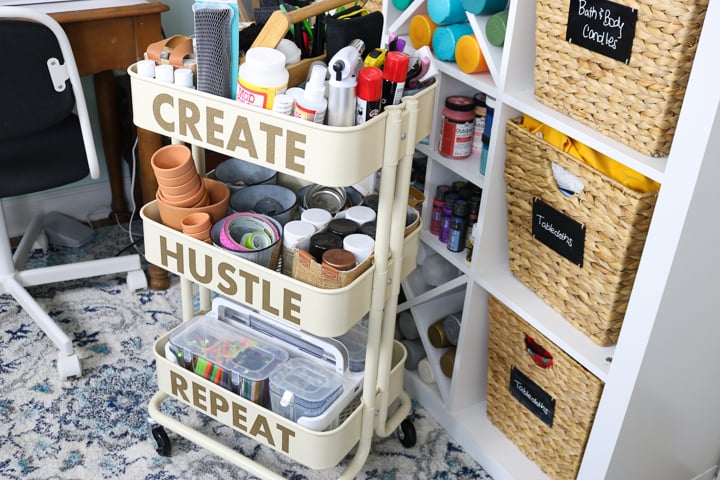
I also have a couple of these rolling carts. You can get them from IKEA or Michaels. They don’t take up a ton of room but hold so many craft supplies.
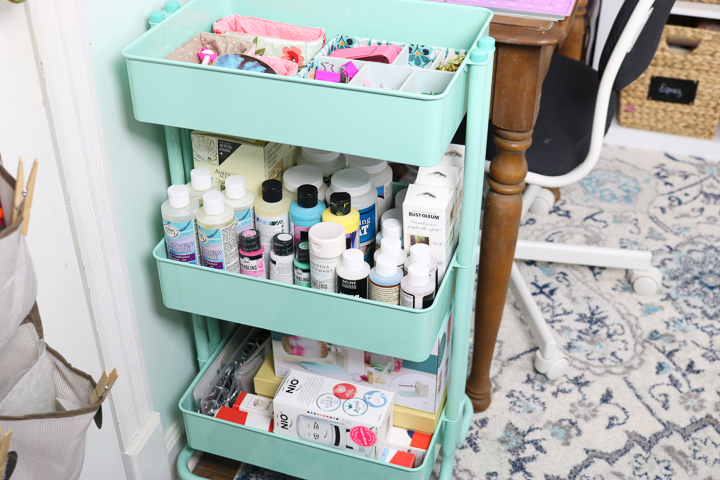
In fact, I keep this one behind where I work at all times. I can easily wheel it over to where I am and grab some of my most often used supplies.
Craft Closet Organization
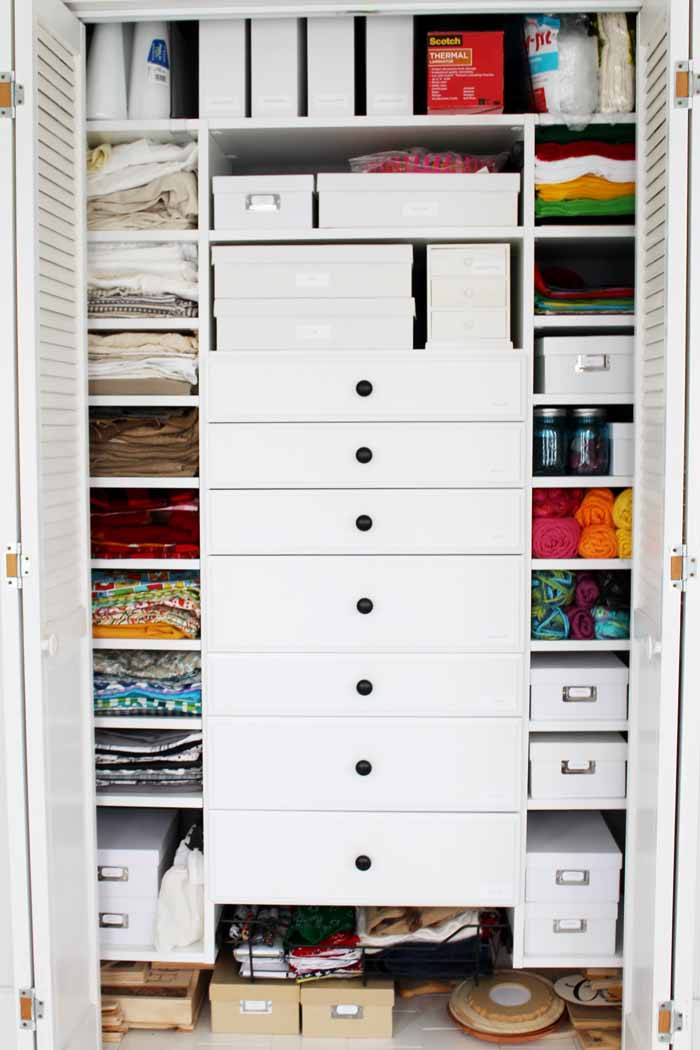
My craft closet hasn’t changed a whole lot so I thought I would just point you to the post I did on it here. It is actually in an adjacent room to my craft room as this room has no closet. But I do have a ton of my craft supplies in this area.
So, now that you have walked through my Cricut craft room, are you inspired to make your own creative space? Whether your area is big or small, I hope you find some ideas here that will work for you. Feel free to ask questions about the space below as well.
More Craft Room Inspiration
So, do you want to see even more creative rooms and ideas? I have some friends joining me for today’s series as well.
Click on each of the links below to be taken to the spaces.
- The Kingston Home Craft Room Tour
- 100 Directions Organizing Tips for Drawing Supplies
- Crafting in the Rain How to Organize a Craft Room
Will you create a Cricut craft room of your very own? Or perhaps dream about one after your kids move out?
New to Cricut?

Sign up for our email list to download the Beginner's Guide to Cricut Design Space for FREE today!
Sign up to get the guide emailed to you!



Hi Angie,
Thank you for showing us that we DON’T have to spend an arm and a leg to have a GREAT crafting room.
This is so perfectly organized. I’m looking for a good printer for my cricut projects cardstock and vinyl. Any recommendations? Thanks
I use an HP printer but I would love to try the new Canon printers that can print 12×12!
Hi Angie,
The link to the wood pedboard doesn’t seem to be working. Can you tell me what to google to find it? They’re beautiful!
Cheers,
Tempest
Yea the company went out of business. You can still get it here: https://amzn.to/3ebZry1
Where did you get the container that fits your ikea rolling cart?
Amazon! I added it to my shop: https://www.amazon.com/shop/countrychiccottage?listId=41HR47KQ7UUS
Where did you get your Cricut cart that holds you’re machines?
Amazon! Try this post for details: https://www.thecountrychiccottage.net/craft-storage-cart/