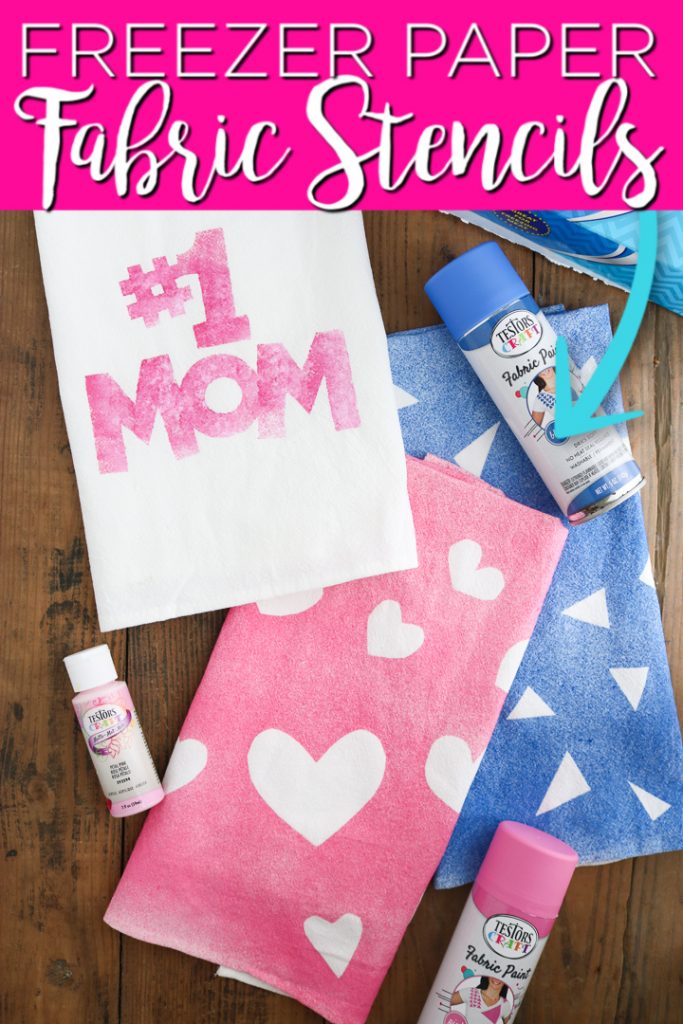
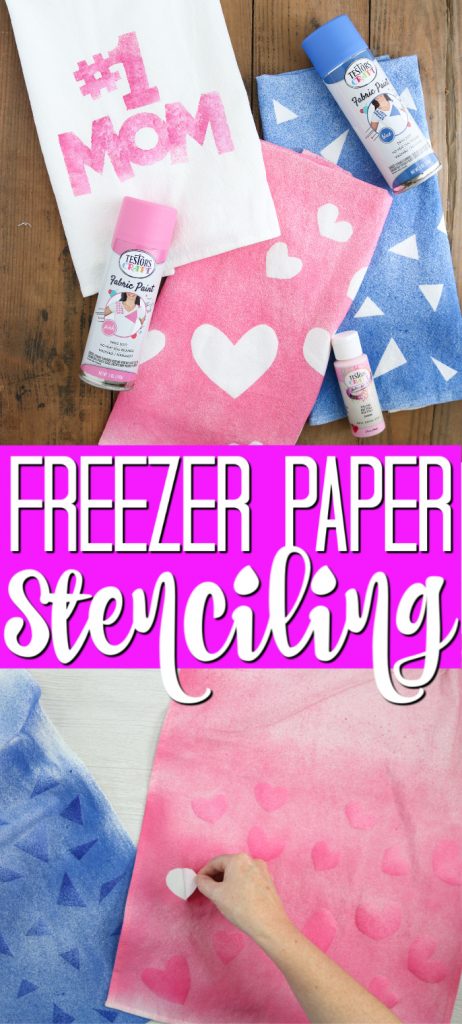
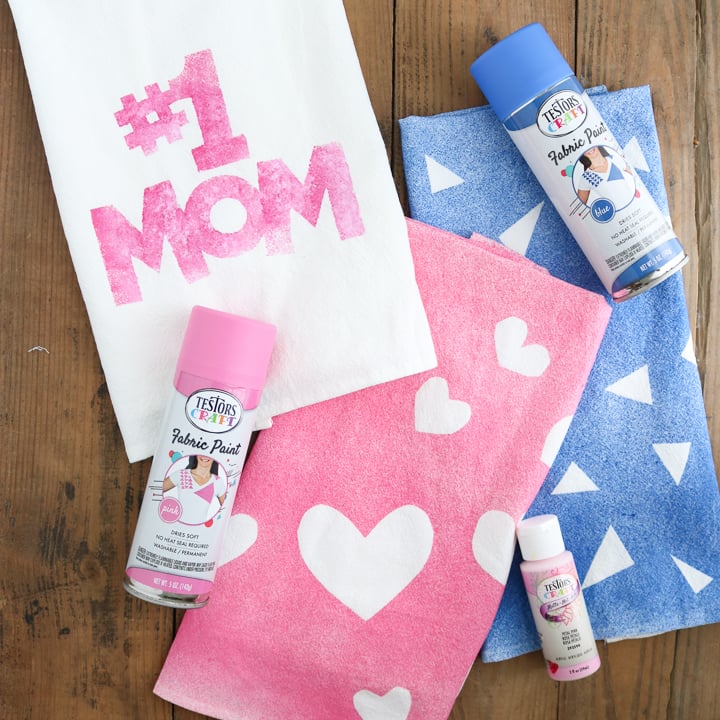
Learn how to make a freezer paper stencil so you never have to search for other stenciling materials! The process is simple and makes it easy to have a personalized stencil on hand any time you need one.
Most people think that you need some type of material that’s solid but flexible (like vinyl) to create crafting stencils. If that’s a belief you hold, then I have a surprise for you that might open up a huge new world of possibilities!
I use stencils in a lot of my projects, and I’ve found that many of my readers enjoy using stencils too. Stencils not only save time, but they also help you get more professional-looking results than free-hand lettering delivers.
And making a freezer paper stencil means that your supplies are cheaper, always on hand, and easy to throw away when you’re done!
Have you ever tried freezer paper stenciling? If not, you are in for a treat today! I am sharing a project using this method along with everything you need to know to get creative with this freezer paper stenciling method at home. If you have freezer paper and scissors, you can make something amazing, and so can your kids!
Note: if you love stenciling as much as I do, check out our DIY Stenciled Flour Sack Towel, Burlap Pillows with Stenciled Designs, and Stenciled Bookcase with Chalky Finish Paint projects.
How To Paint Fabric Using A Freezer Paper Stencil
I know, freezer paper stenciling sounds a little weird, but trust me on this one. It’s a terrific and versatile method for crafting!
Supplies Needed
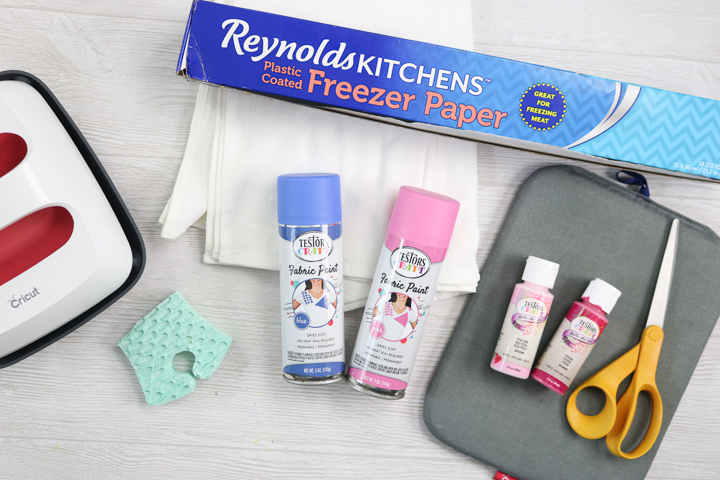
Here’s everything you’ll need to make this DIY stencil project! I’ve included some handy links to make finding certain items a little easier and faster.
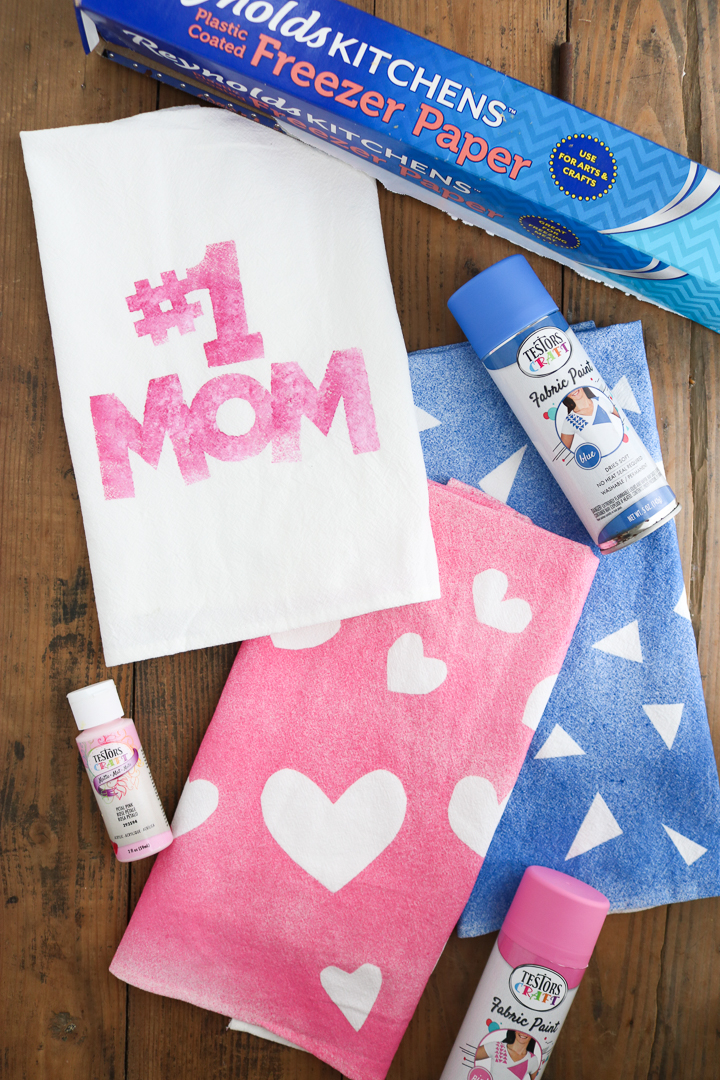
- Freezer paper – yes, the kind in your kitchen! (it MUST BE freezer paper – not waxed paper, butcher paper, or parchment paper)
- Testors paint – I have a method for using fabric spray paint as well as the craft paint
- Fabric surface – I am using tea towels and a pillowcase
- Iron or EasyPress
- Ironing mat, EasyPress mat, or towel
- Scissors
- Cricut machine – this is a great optional method of cutting more intricate designs
- Sponge – I recommend this if you’re using craft paint with little kids
- Paintbrush
Freezer Paper Stenciling Video Tutorial
You can watch me make two versions of these tea towels below. I use two different methods for both cutting the stencil and painting it to give you options when making your own designs.
Instructions
Can’t watch the video or missed some of the steps? You can also see the instructions below. I am using a tea towel as my base, but this same thing can literally be done on any fabric surface.
Step 1
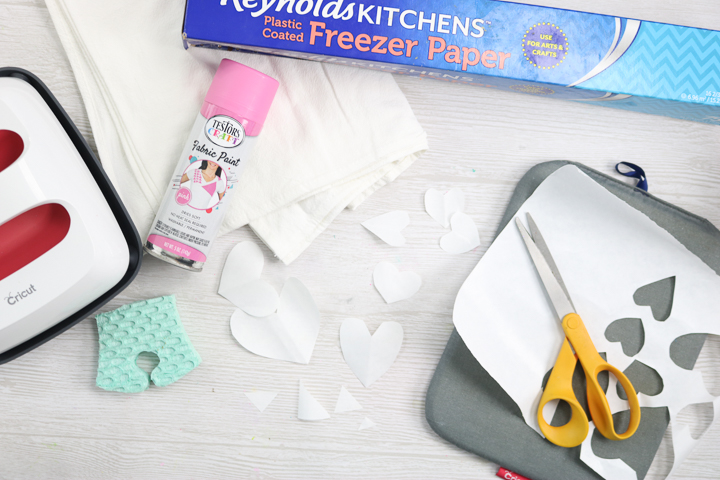
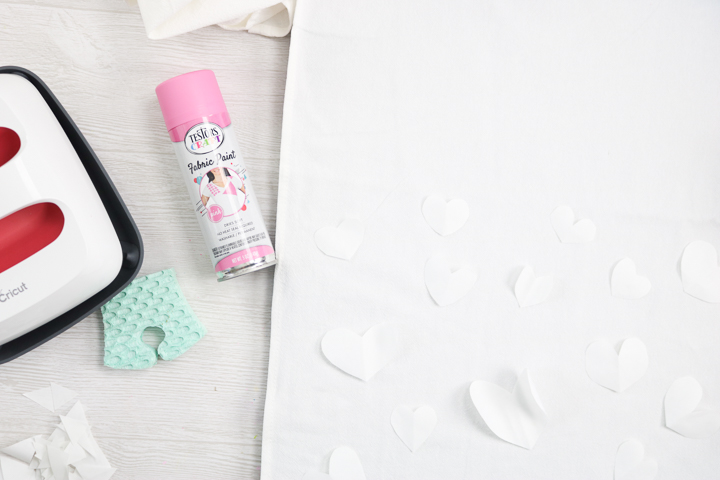
Both methods begin by cutting the shapes out of freezer paper.
This first method uses a pair of scissors to cut the shape you want. Easy examples could be hearts and triangles (like I did), but anything goes.
Get kids of all ages involved with helping to cut these shapes!
Step 2
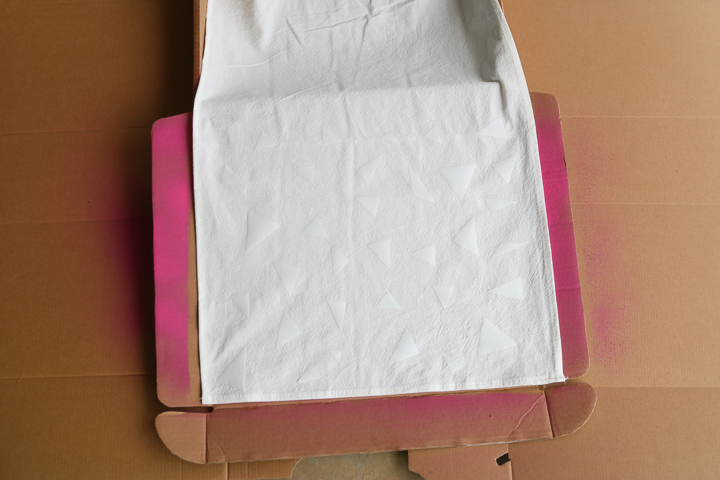
Next, place the SHINY side of the shapes on the fabric. This is crucial when stenciling with freezer paper.
Step 3
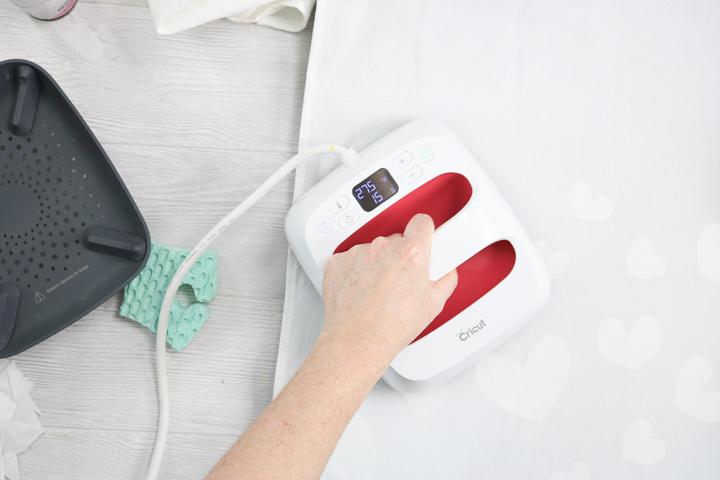
Then use an EasyPress or iron to press the stencils onto your fabric. Just press for a few seconds, so the freezer paper sticks into place.
Step 4
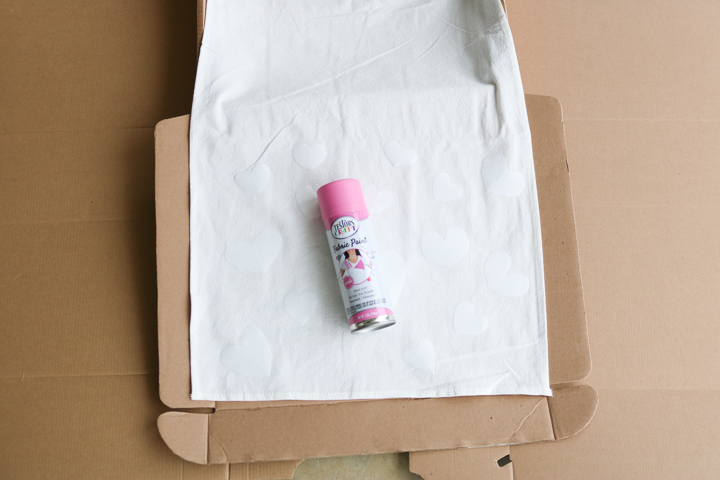
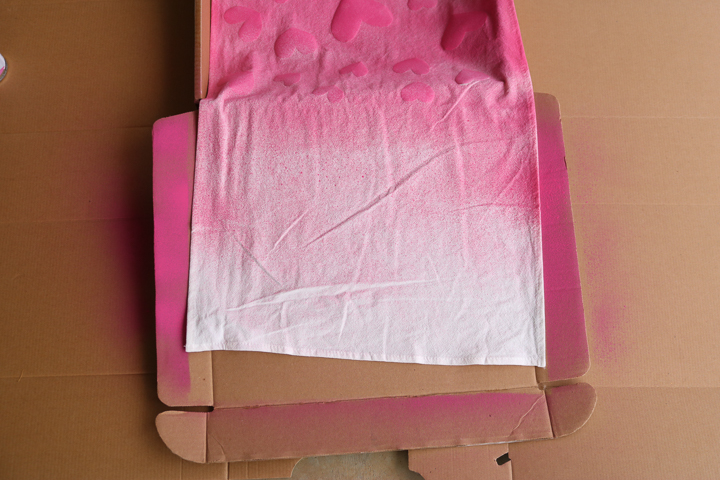
After you press all of the shapes into place, it is time to paint. I am using Testors Fabric Spray Paint here.
Step 5
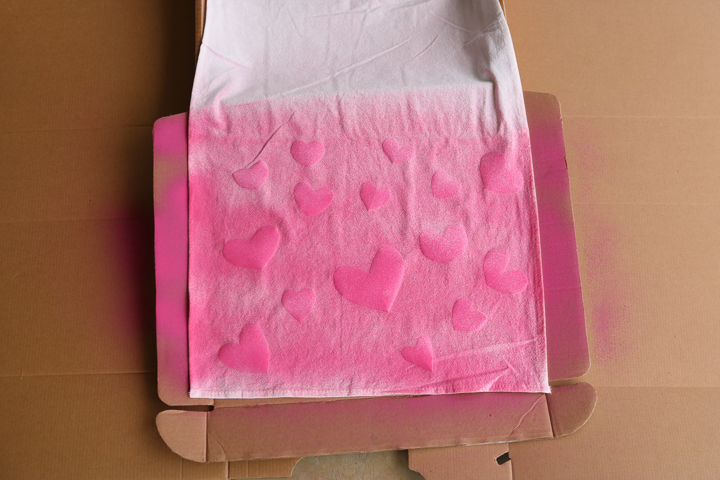
Shake the can well and spray your fabric. I recommend doing this outdoors to keep the mess to a minimum.
Note: Please wait about 30 minutes before handling your project. I would also recommend protecting your surface well to prevent spray paint from getting on it.
Step 6
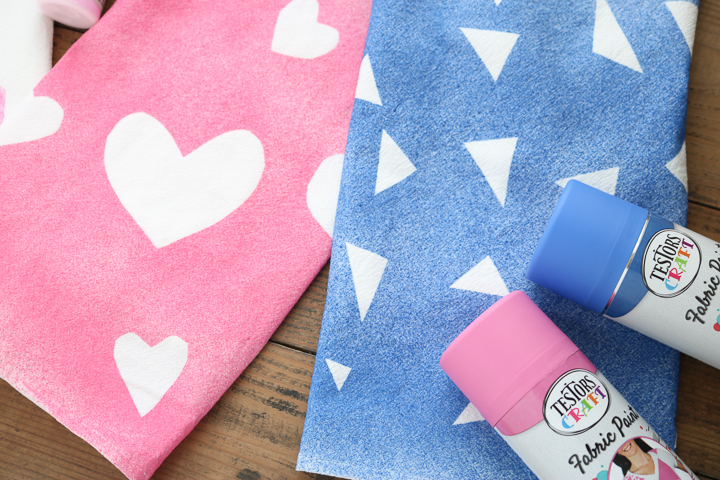
I did an ombre look to the towel with the fabric spray paint by spraying less paint as I moved towards the other end of the towel.
Step 7
Repeat the same procedure with as many towels as you would like.
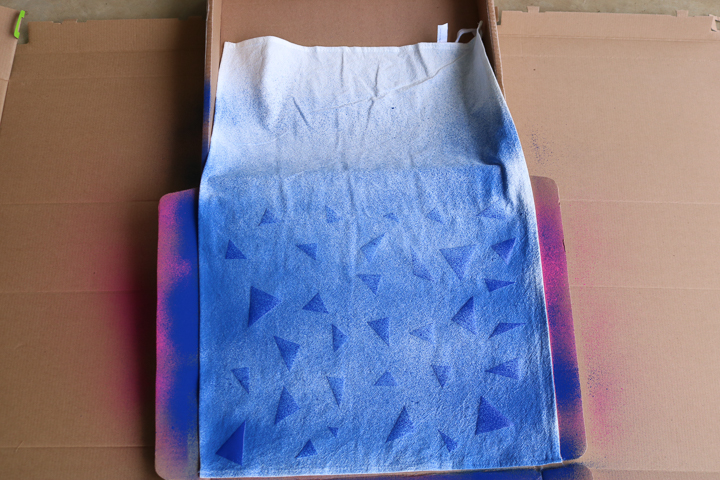
Here I used the small scraps from my hearts to make triangles on a second towel.
Step 8
For this towel, I used blue spray paint and repeated the ombre effect. Feel free to play around with your favorite colors on your tea towels.
Step 9
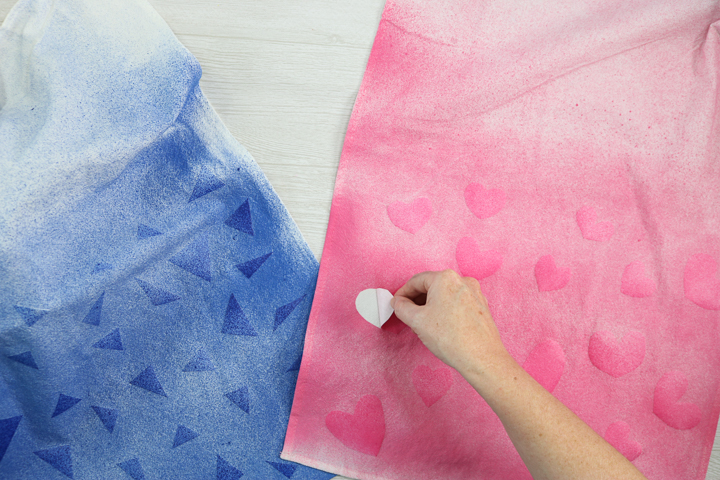
After the paint dries for 30 minutes, you can also remove the freezer paper pieces from the spray-painted towels. Just peel them back, as shown in the image below.
Step 10
Make sure to allow the paint to dry and cure completely. I also like to take the additional step of heat setting fabric paint with an iron once it is dry.
Now your tea towels are ready for gift giving!
Alternative Method Instructions
If you would like to use a more intricate design, you won’t want to use the previous scissors cutting method. Instead, I recommend using your cutting machine (such as a Cricut machine) to cut out your design. I’ve created both towels and pillows using this method.
This method is also great for young children who can’t make cuts with scissors. I made 2 different projects this way; another towel, and a pillow for my son’s room.
Step 1
For stencils that you cut using a cutting machine, make sure to add things like the centers of letters with your iron when you press the design onto the fabric.
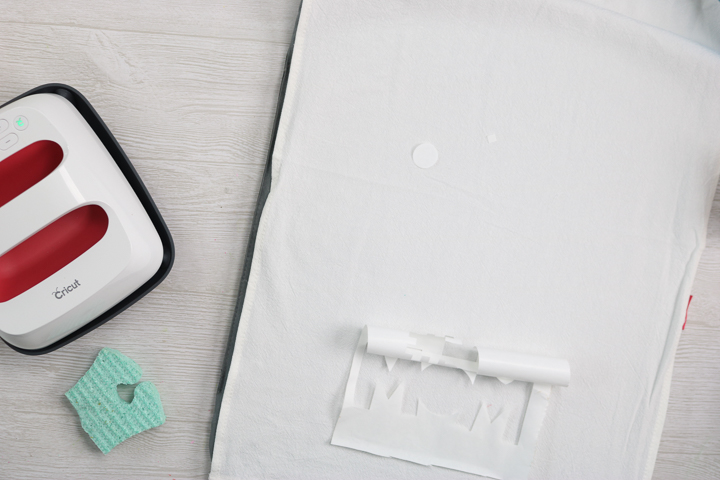
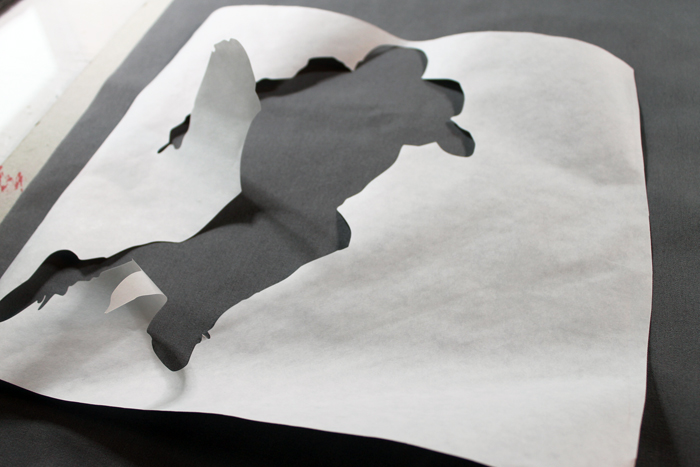
Step 2
If you are going to let small children paint this tea towel, I recommend adding more freezer paper around the edge or tape paper to protect the rest of the towel.
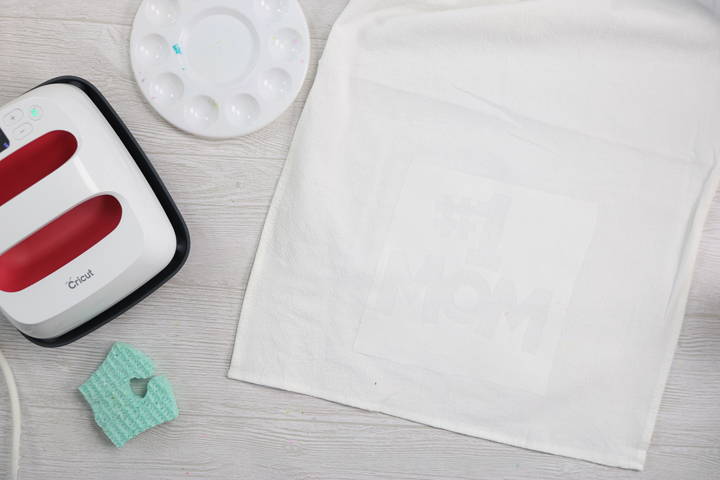
Step 3
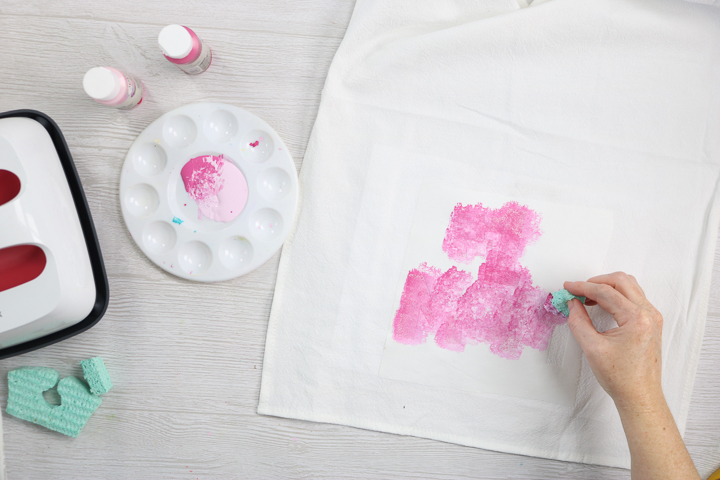
To make this easy for little kids, I cut a kitchen sponge into small pieces.
Then just dab on fabric paint. I used two different colors but you can choose as many or as few as you would like.
Note: Be sure to put paper under the towel or inside the pillow to protect your surface!
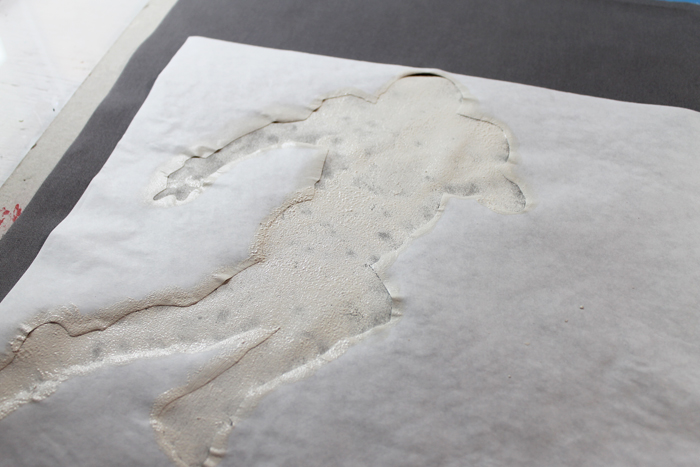
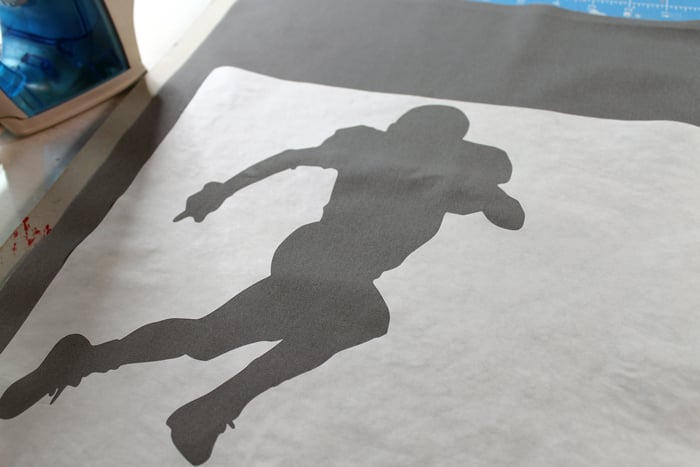
You can also use a paint brush to add the fabric paint. Just dab the paint on lightly. If you want a little more coverage, let it dry in between coats. The football silhouette below took 3 coats of paint to get the look that I wanted.
Step 4
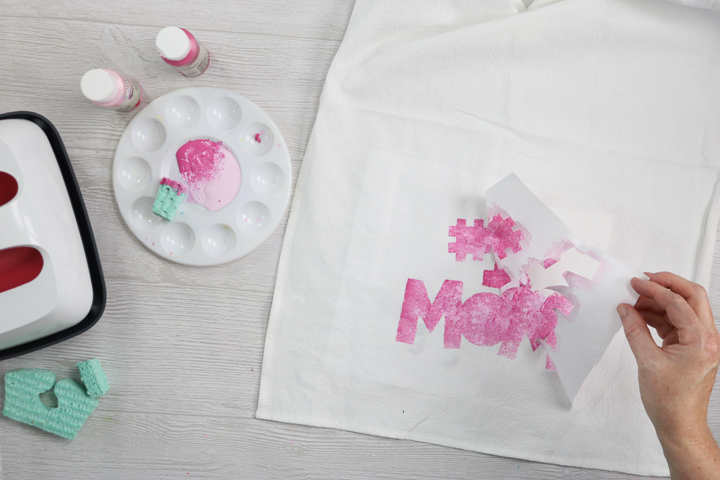
When using craft paint, you can remove the freezer paper right away by peeling it away from the fabric. It really does remove that easily!
Step 5
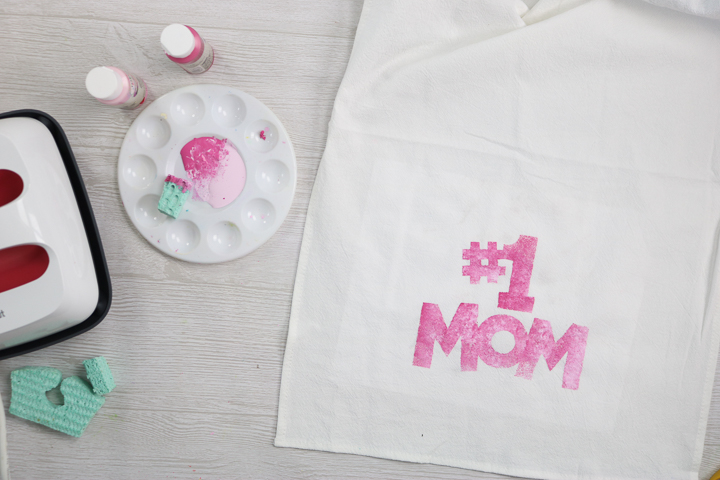
You can then remove the centers of letters. I used pair of tweezers to remove mine.
I love how these projects turned out! The tea towels are a perfect gift for mom or even as part of a hostess gift.
And the football pillows are super cute as well!
I personally love these stencil projects because most people have freezer paper in their kitchens. That makes this an easy project to make right at home.
If you have not tried the Testors Fabric Spray Paint yet, you are really in for a treat. It goes on great and feels amazing on the fabric. It makes these projects even faster and easier!
You can also use these same methods to make so many more craft ideas. Here are just a few of the things you can make.
- Aprons
- Shirts
- Curtains
- Tote bags
- Placemats
- Table runners
- and so much more!
Enjoy and get started with freezer paper stenciling today! In fact, you can give these tea towels with our handprint flowers on a watering can for a gift any mom will love.
More Painting Crafts
Love this project and want more ideas that use paint? Try these projects!
