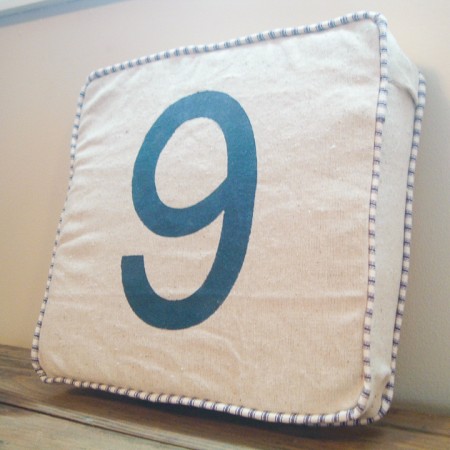
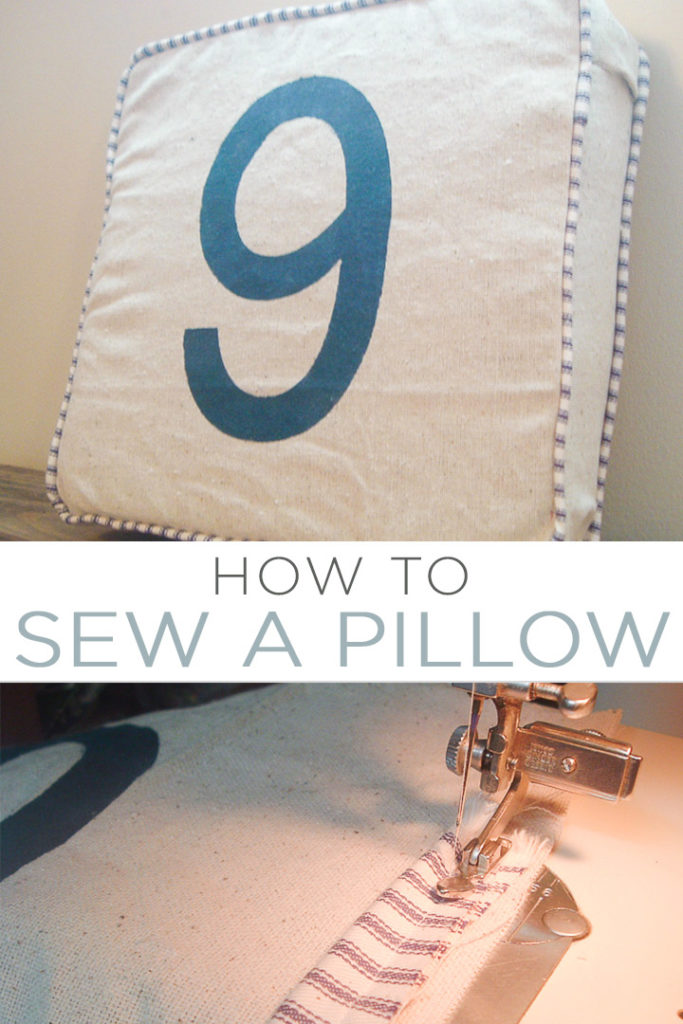
Are you ready to learn how to sew a pillow? This tutorial will walk you through stenciling a design on fabric then turning that fabric into a cute decorative pillow. I have talked about how to sew a bolster pillow before but this is more of a square decorative pillow. I am using it in a boy’s room but the same tutorial can be modified for any room in your home.
This post was originally published on February 10, 2011, but I am republishing with more information.
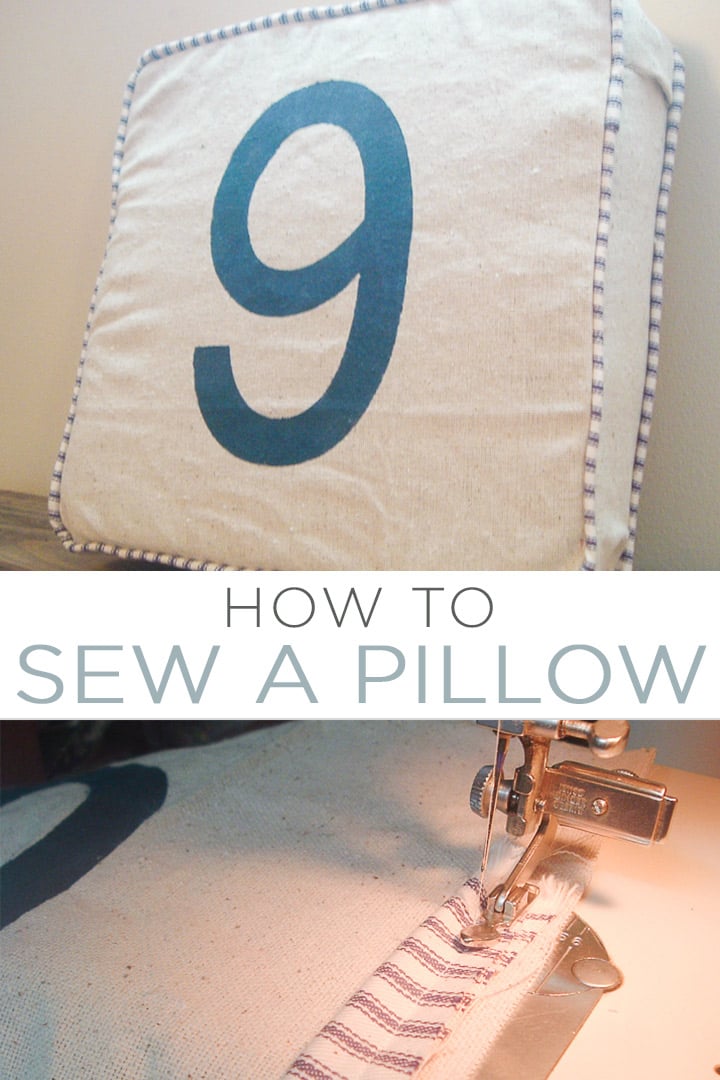
How to Sew a Foam Pillow with Cording
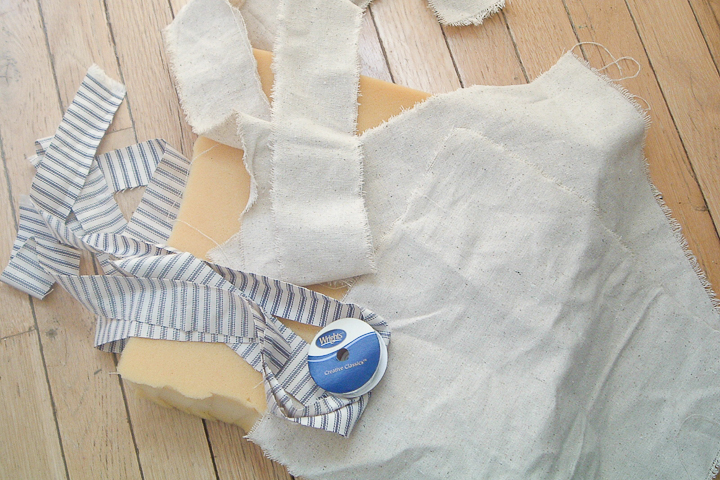
Supplies needed for sewing a pillow:
- Foam cut it into a square (a pillow form is also fine)
- Canvas drop cloth — cut two same-size squares (11 inches in this case)
- Canvas strip (the width of your foam plus 1/2 inch and long enough to go all the way around the edge of your square pieces)
- Ticking (I used two long pieces of ticking to do my cording. You can vary up the materials for different looks.)
- Cording (9-foot roll)
- Number stencil (I cut mine on my Cricut machine.)
- Fabric paint (You can also do an iron-on transfer instead of the stencil and paint.)
Instructions:
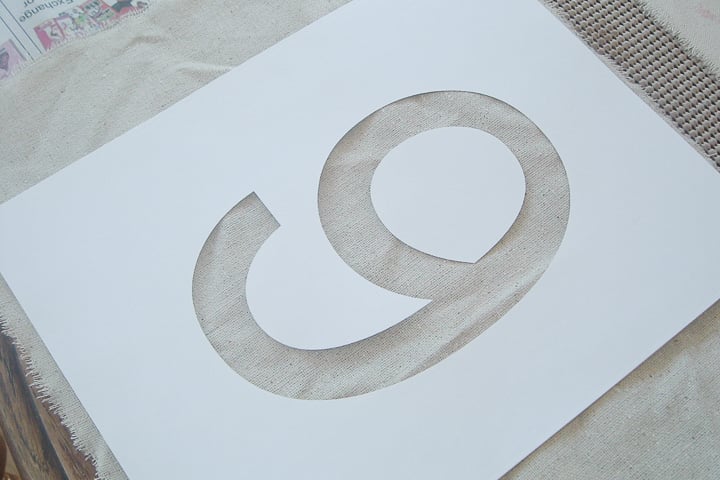
Use your Cricut machine to cut a number stencil and center on one piece of canvas. I just used cardstock to cut my stencil but there are a variety of ways to do this on fabric. You can see how to make a stencil with your Cricut here.
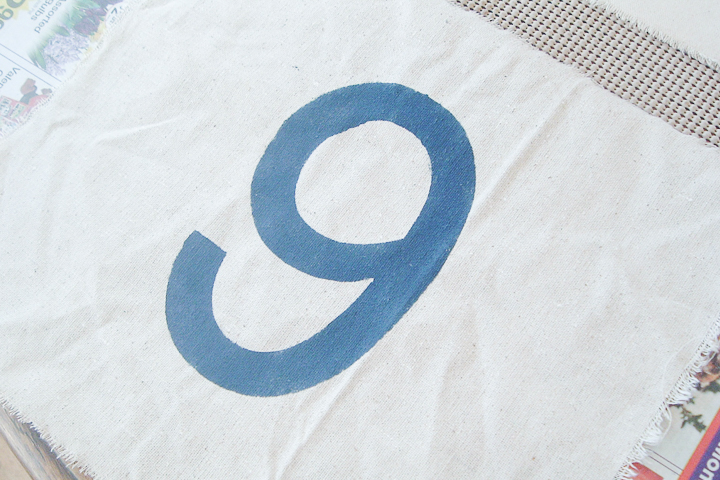
Use fabric paint to fill in your number and allow to dry completely.
While that dries, start sewing your cording. Now does cording scare you? Yep, it did me too. Then I found this tutorial at Blackberry House. She makes cording and zippers oh so easy!
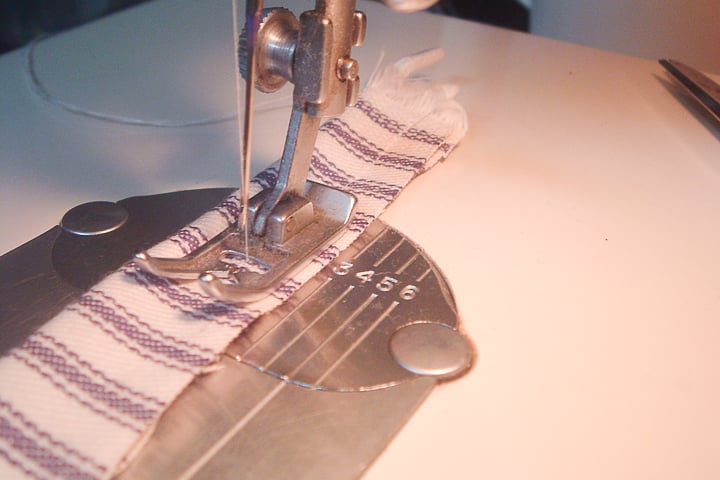
First, you will need to add the cording to a strip of fabric. I am using ticking but you can use any fabric you want on the outside edge of your pillow. Use your regular foot for this step as you don’t have to get it tight yet. Be sure to cut off any excess fabric when you are through.
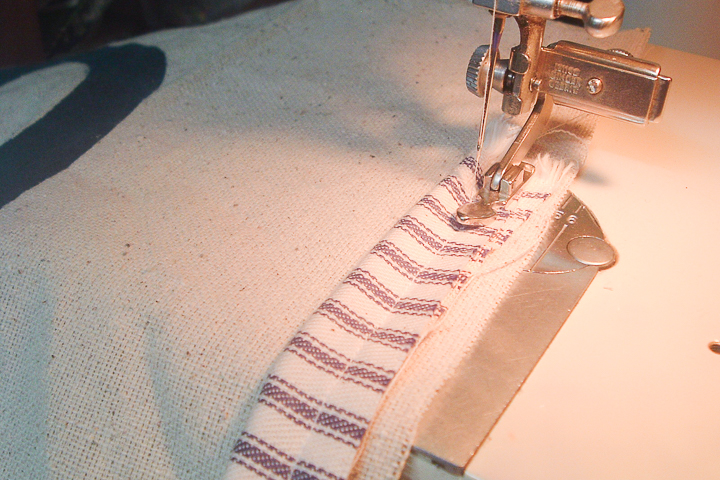
You will then want to add the cording you made above to both the front and back square for the pillow. Add to the right side of the fabric and this time use the zipper foot.
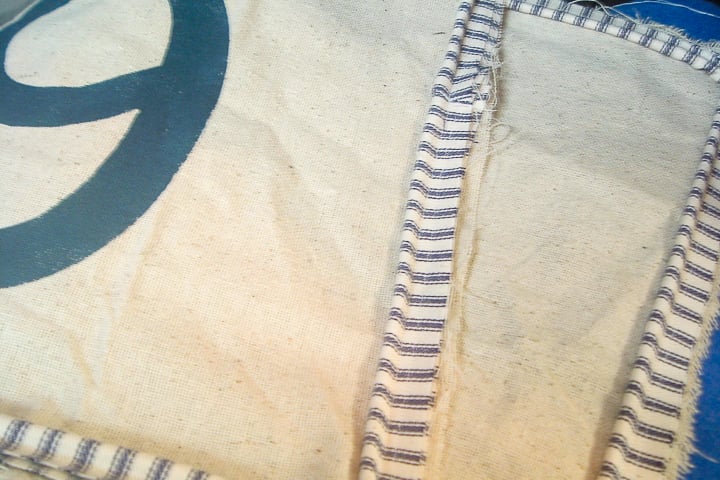
You will be left with a complete front and back that is ready to be turned into a pillow.
Now sew your long piece of canvas to the front. This time you are going to use that zipper foot to get CLOSE to that cording. Leave a little cording loose (about an inch) at the very start.
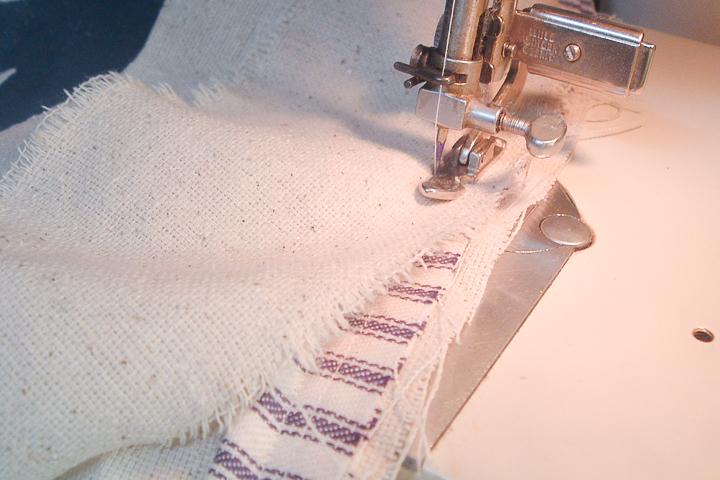
Sew it all the way around the front. When you get to the end, trim the long canvas piece off to size.
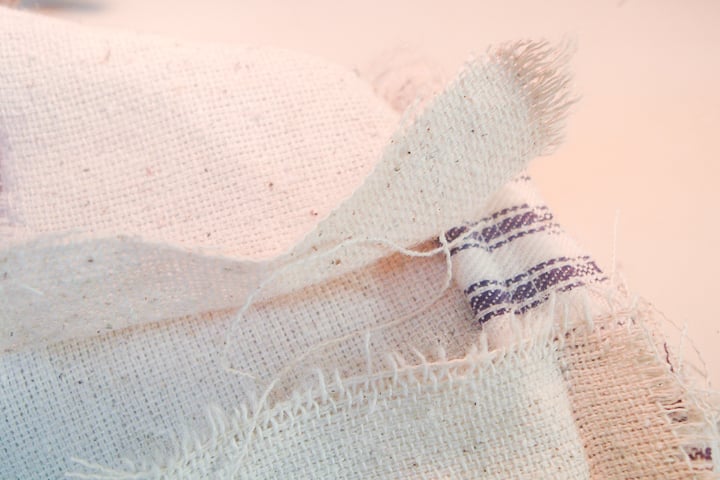
You can then sew those two ends together. Then go back and finish the cording in that area. Now sew that same long piece to your back using the same method and getting close to your cording.
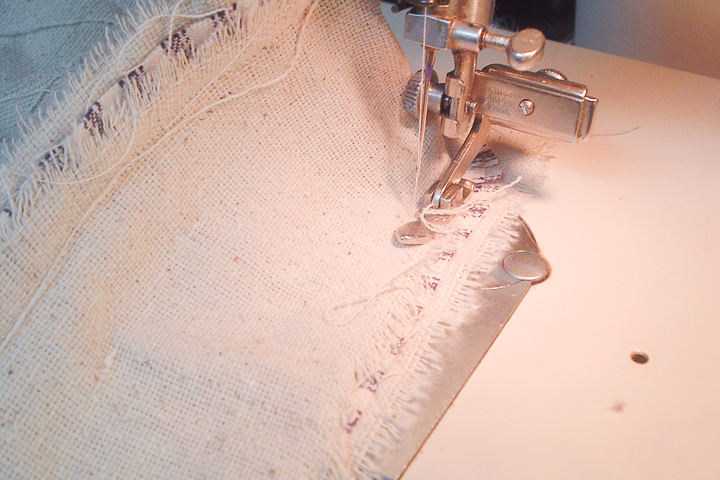
This time you are going to leave the bottom open. I went ahead and did the corners on the bottom but left the rest open. Turn it right side out through that hole.
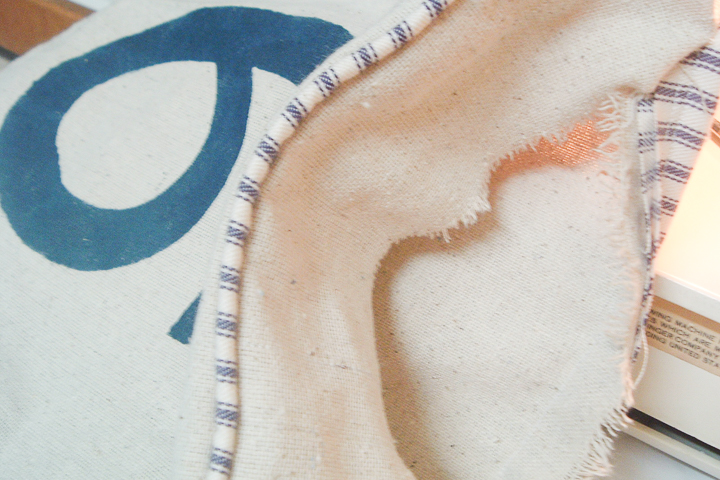
Now it is time to complete your DIY farmhouse pillow. Cut the corners off of the foam to make them look more rounded.
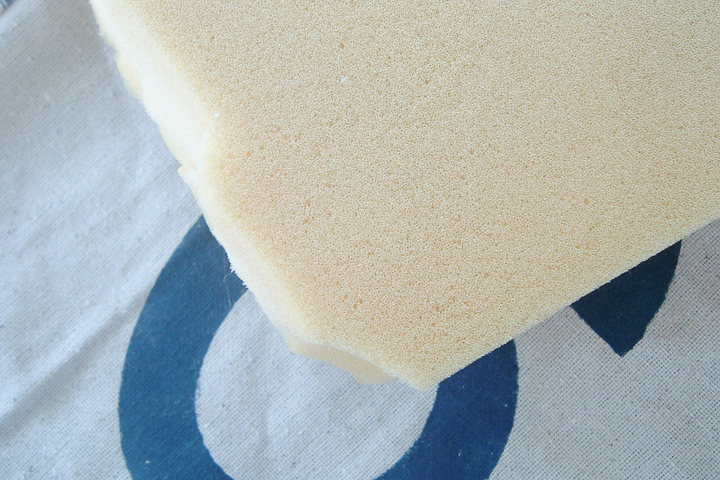
Then stuff your foam in your pillow.
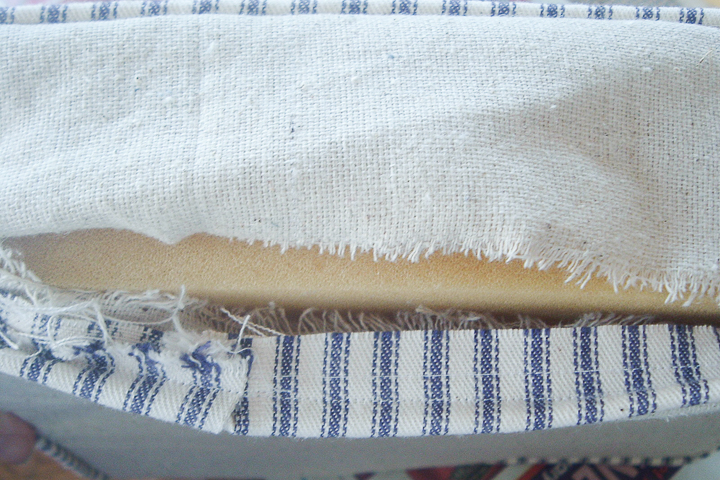
Sew the hold closed and you are done!
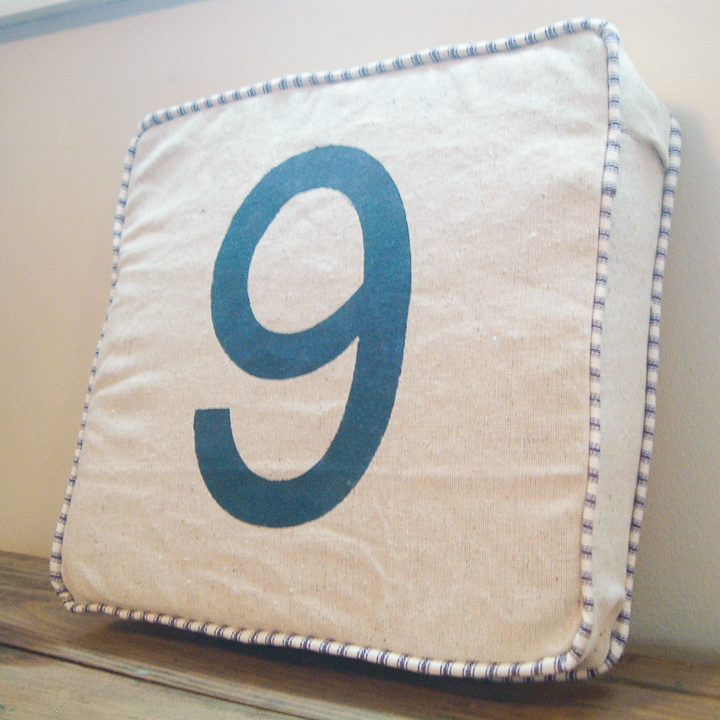
Now that you know how to sew a pillow, you can make one for every room in your home.
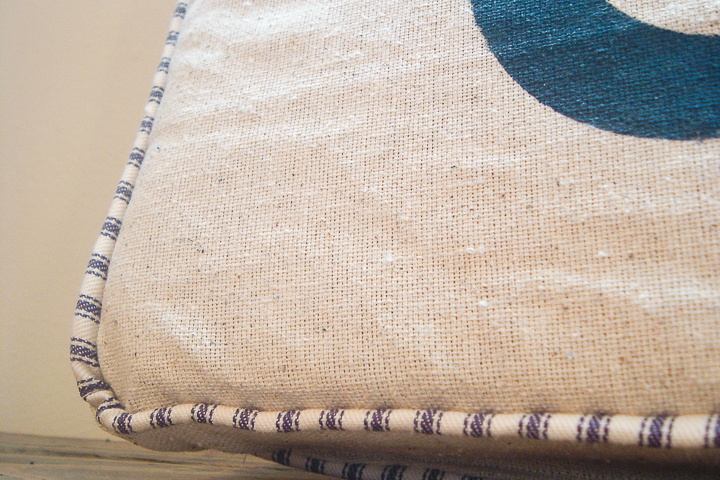
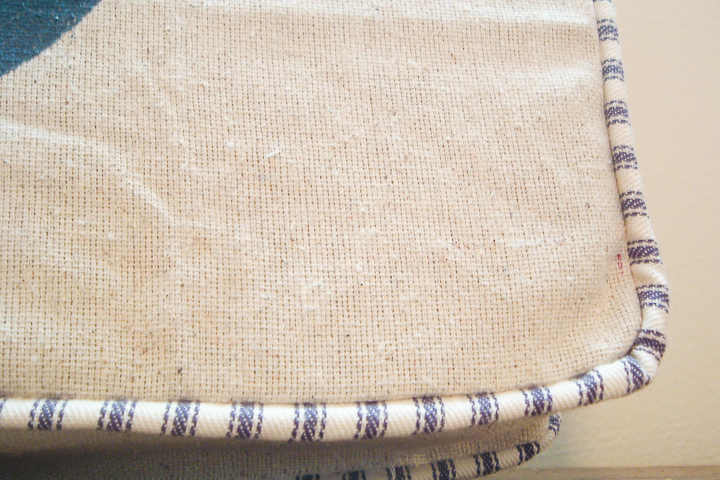
I will tell you that if I can do cording anyone can do cording!
You can pick any number or even a design you would like for the front of this one. That part is totally up to you!

A DIY farmhouse pillow is just an afternoon away. And you will love the results!
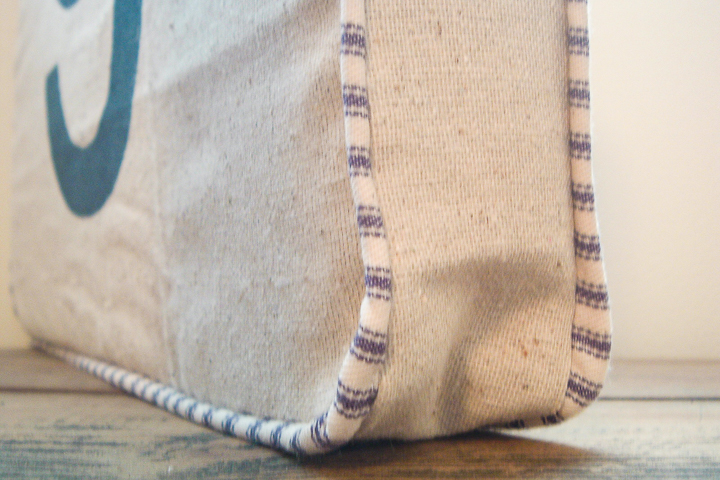
So, grab your fabric and start making your own DIY pillow today.
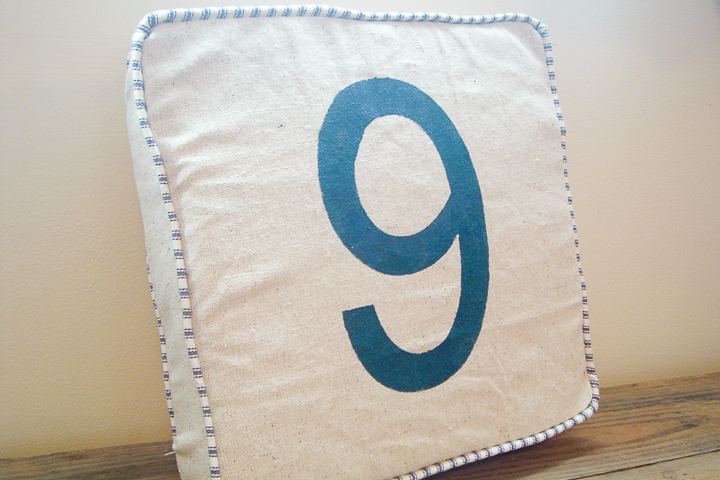
You are going to love the results and you might even shock yourself with your amazing sewing skills.
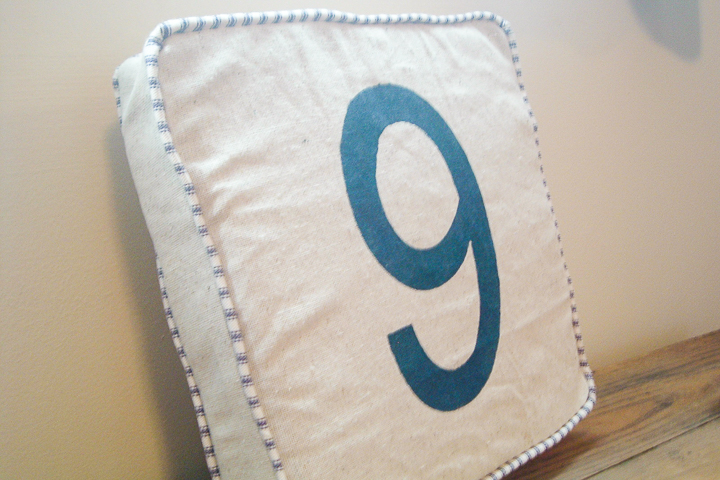
I know I did! So, will you be sewing a pillow for your home anytime soon?
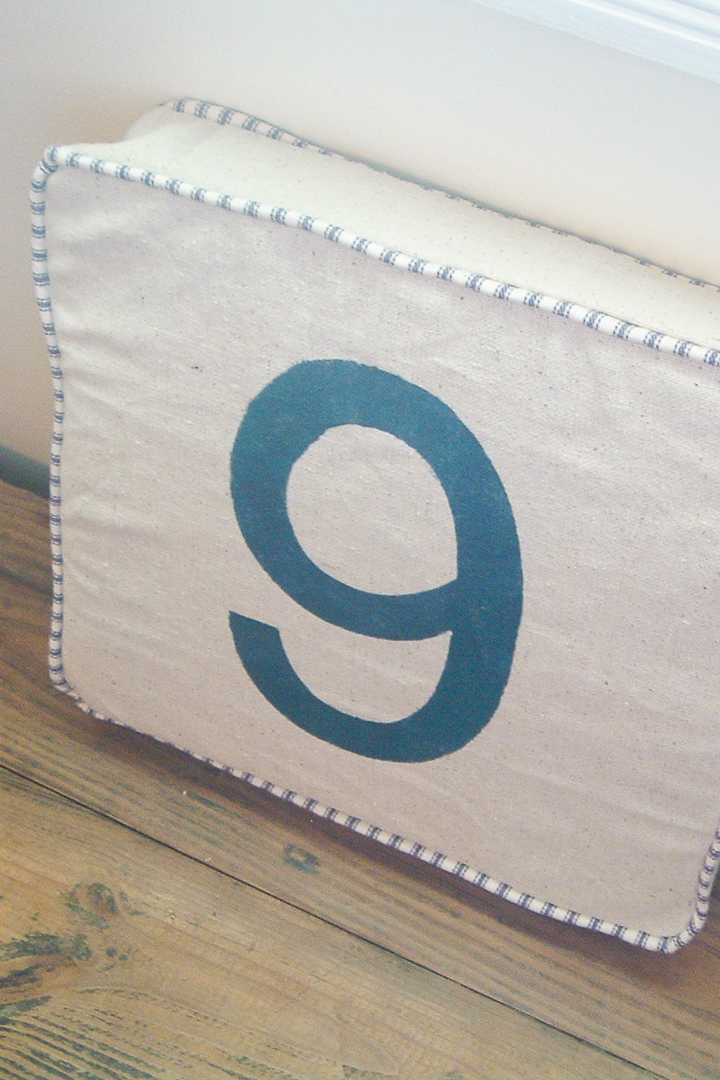
Love this tutorial on how to sew a pillow and want more ideas? Try the links below!
- How to Sew – Sewing Classes for Beginners
- Sew Your Own Felt Storage Baskets
- How to Sew Curtains
- Zipper Pouch Tutorial with the Cricut Maker
- Fabric Storage Bins for Your Cricut Tools
Equipment
- Foam cut into a square (a pillow form is also fine)
- Canvas drop cloth — cut two same-size squares (11 inches in this case)
- Canvas strip (the width of your foam plus 1/2 inch and long enough to go all the way around the edge of your square pieces)
- Ticking (I used two long pieces of ticking to do my cording. You can vary up the materials for different looks.)
- Cording (9-foot roll)
- Number stencil (I cut mine on my Cricut machine.)
- Fabric paint (You can also do an iron-on transfer instead of the stencil and paint.)
Instructions
- Use your Cricut machine to cut a number stencil and center on one piece of canvas. I just used cardstock to cut my stencil but there are a variety of ways to do this on fabric.
- Use fabric paint to fill in your number and allow to dry completely.
- While that dries, start sewing your cording. First, you will need to add the cording to a strip of fabric. Use your regular foot for this step as you don’t have to get it tight yet. Be sure to cut off any excess fabric when you are through.
- You will then want to add the cording you made above to both the front and back square for the pillow. Add to the right side of the fabric and this time use the zipper foot.
- You will be left with a complete front and back that is ready to be turned into a pillow.
- Now sew your long piece of canvas to the front. This time you are going to use that zipper foot to get CLOSE to that cording. Leave a little cording loose (about an inch) at the very start.
- Sew it all the way around the front. When you get to the end, trim the long canvas piece off to size.
- You can then sew those two ends together. Then go back and finish the cording in that area. Now sew that same long piece to your back using the same method and getting close to your cording.
- This time you are going to leave the bottom open. I went ahead and did the corners on the bottom but left the rest open. Turn it right side out through that hole.
- Now it is time to complete your DIY farmhouse pillow. Cut the corners off of the foam to make them look more rounded.
- Then stuff your foam in your pillow. Sew the hold closed and you are done!
New to Cricut?

Sign up for our email list to download the Beginner's Guide to Cricut Design Space for FREE today!
Sign up to get the guide emailed to you!



Cool, Angie! I hadn’t seen those pillows; yours looks awesome!
Thanks for joining!
Great knock-off. You make it look so easy!!! I love the ticking especially!
I love the combination of the ticking and the canvas. Great job!
Hi Angie! Love this! I’ve scheduled this post to be featured on Craft Gossip tomorrow evening so my readers can come and see. 🙂
Thanks for inspiration!
If you would like a “featured by” button, you can grab one here:
http://homeandgarden.craftgossip.com/grab-a-craft-gossip-button/