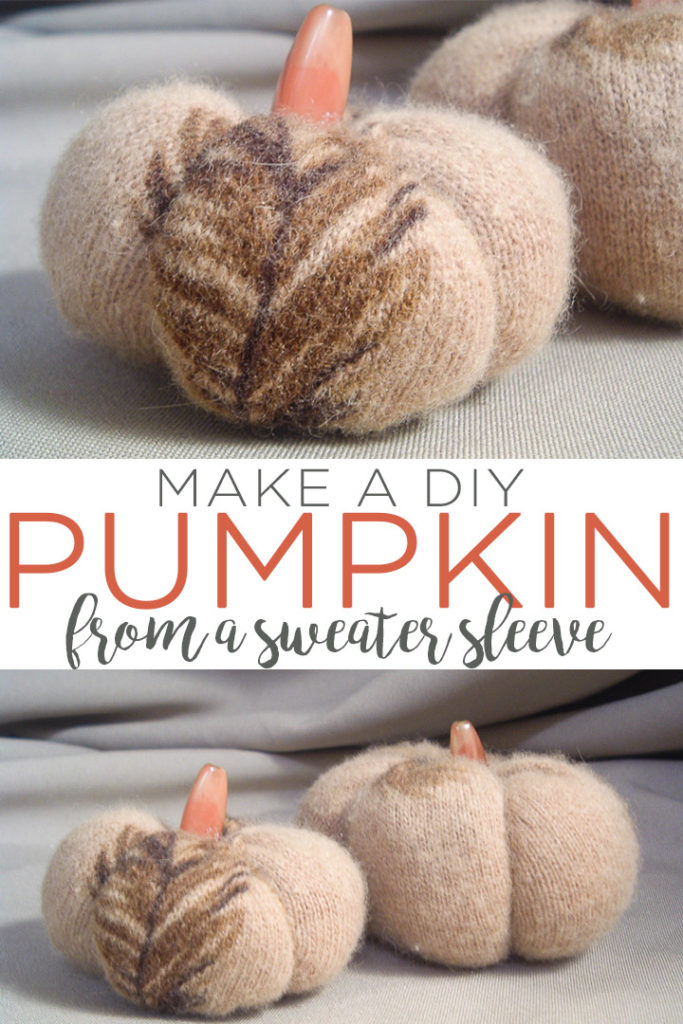
Did you know that you can make sweater sleeve pumpkins with no sewing required? Sweaters say warm. Sweaters say fall. Why not make one into a pumpkin? Or two?
You are going to love these cute little pumpkins and how they look in your home this season. All you need is a thrift store sweater and some craft supplies! Then add them to your mantle with a DIY haunted house for a spooky look!
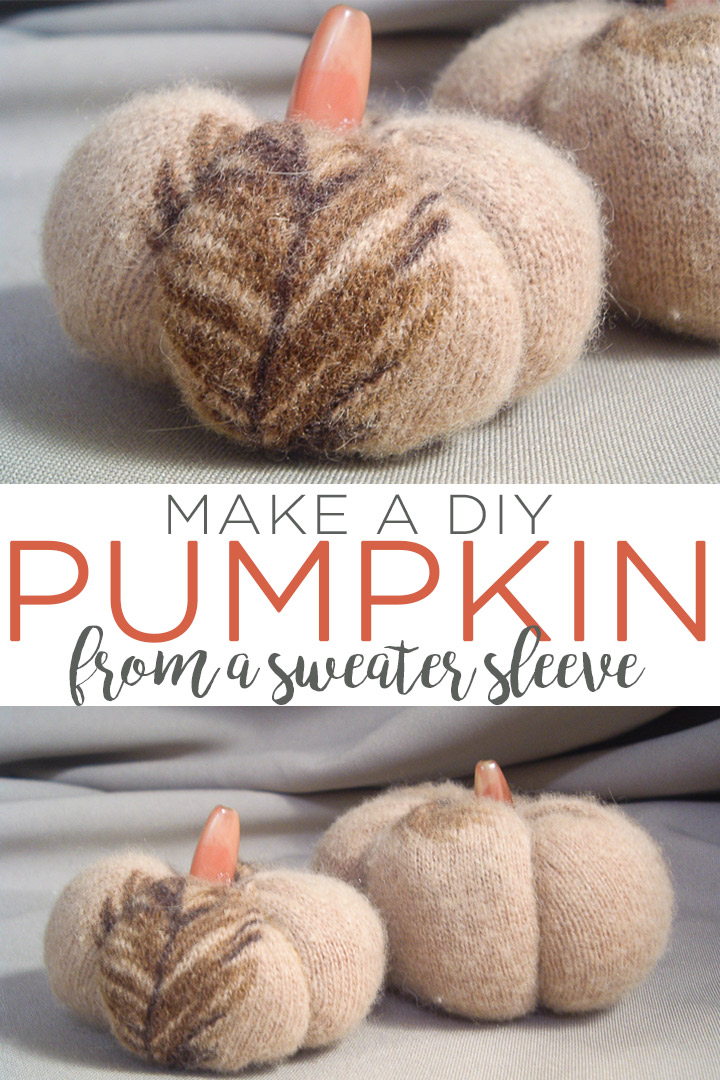
Sweater Sleeve Pumpkins Materials:
- Sweater sleeve
- Hot glue and a glue gun
- Rubber bands
- Embroidery thread
- Needle
- Button
- Stuffing
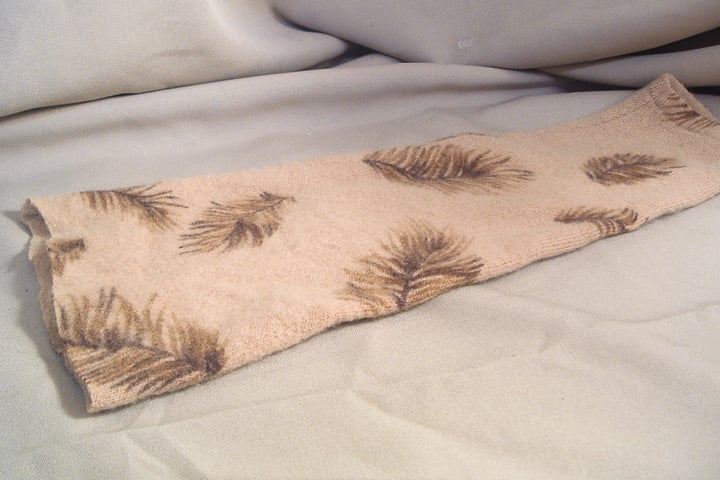
How to Make Sweater Sleeve Pumpkins:
Cut your sweater sleeve into three pieces. Or two if you want to make bigger pumpkins. The pieces can be any size that you would like.
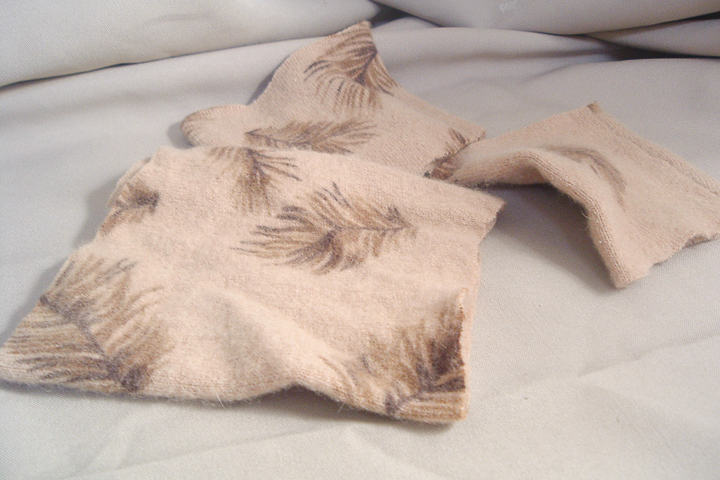
Turn your piece inside out and put a rubber band tightly on each end. Cut a small slit near the seam of the sweater arm.
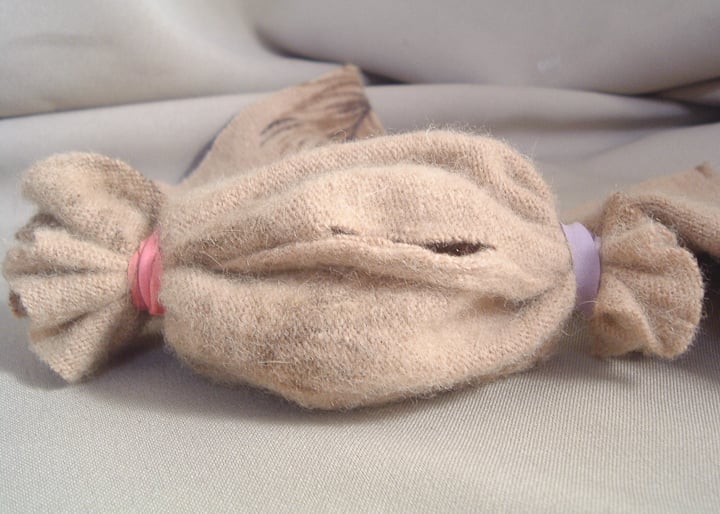
Turn the piece right side out through that slit you just cut and stuff it until it’s full.
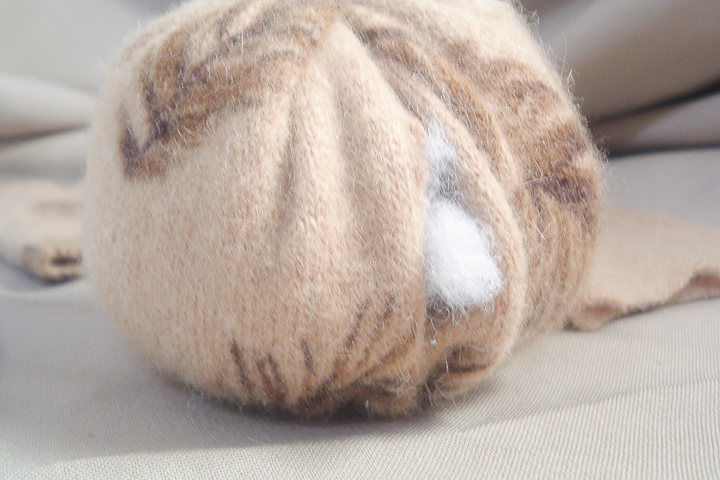
Hot glue that seam closed. Yep hot glue. I promise it will work. Then take a needle and embroidery thread and go all the way through the pumpkin through the center.
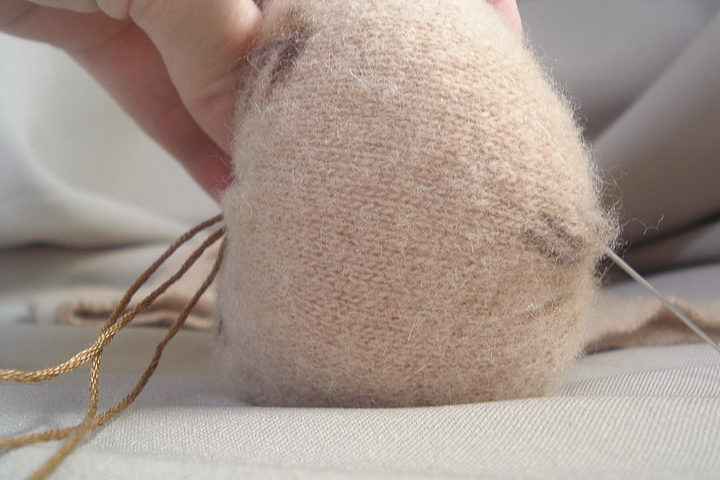
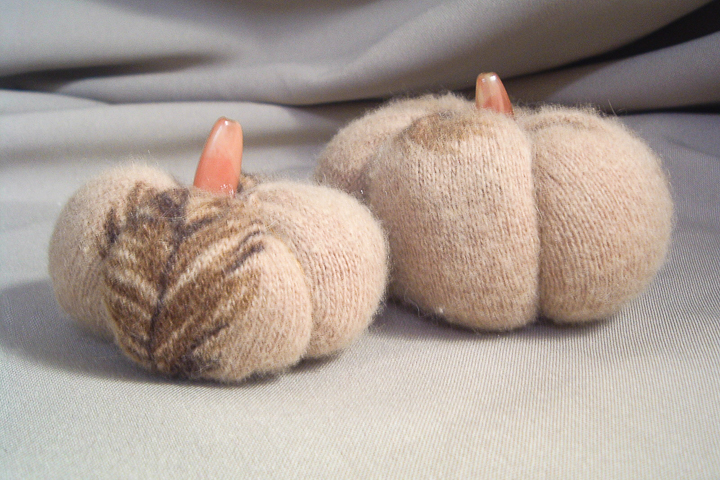
Keep going around the pumpkin and through the middle about 5 times in 5 different places. Pull tight each time. This makes it look all pumpkin-like. Tie off your thread and I added a bead at the top with hot glue as my stem. You can use anything you like as a stem for your sweater sleeve pumpkins.
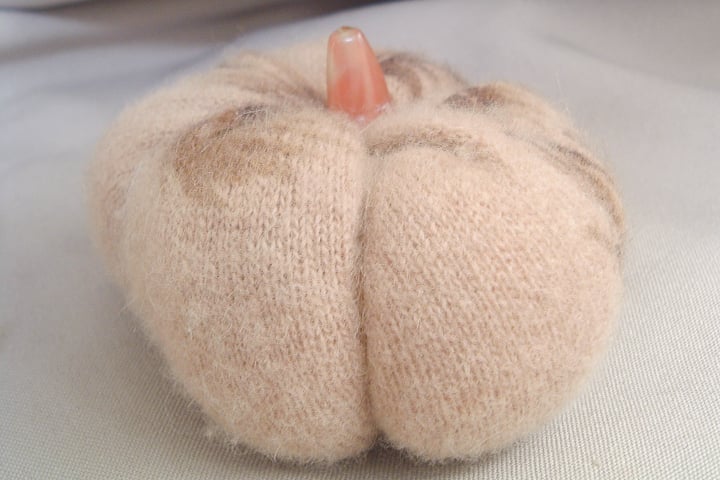
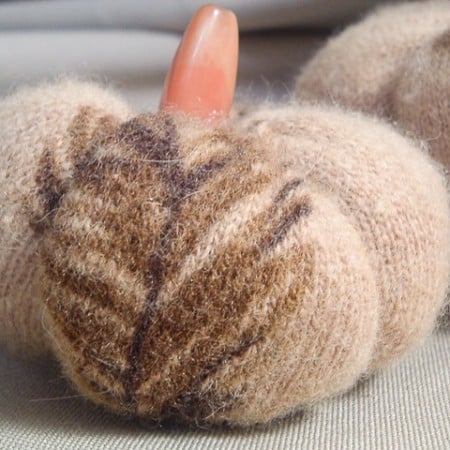
Mix it up and add a variety of things for stems! I made two of these beauties!
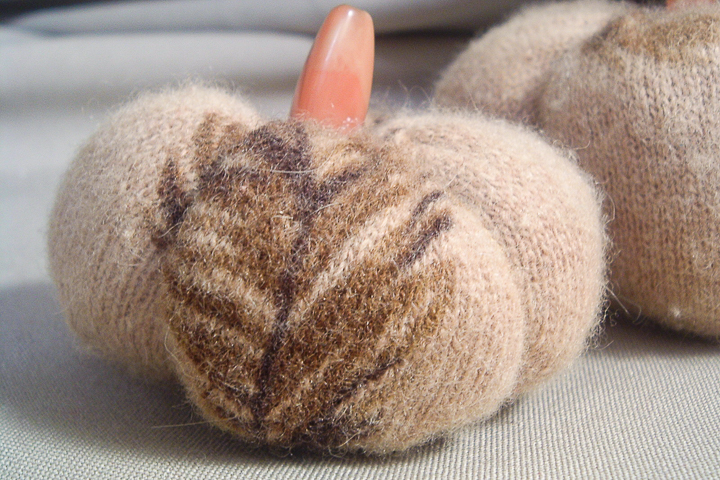
Too cute! And from an old sweater!
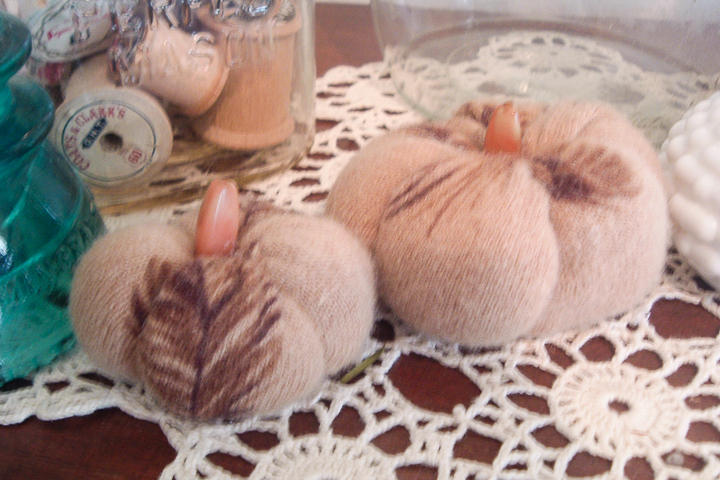
So I have given in and added this touch of fall to my home. Yes, it is like 95 here…sigh. Will you be making some sweater sleeve pumpkins for your home?
Fun DIY Pumpkin Projects for Fall Home Decor
Loving the pumpkin decor for fall? Here are a few more pumpkin DIY projects you can do to make your home ready for the season:
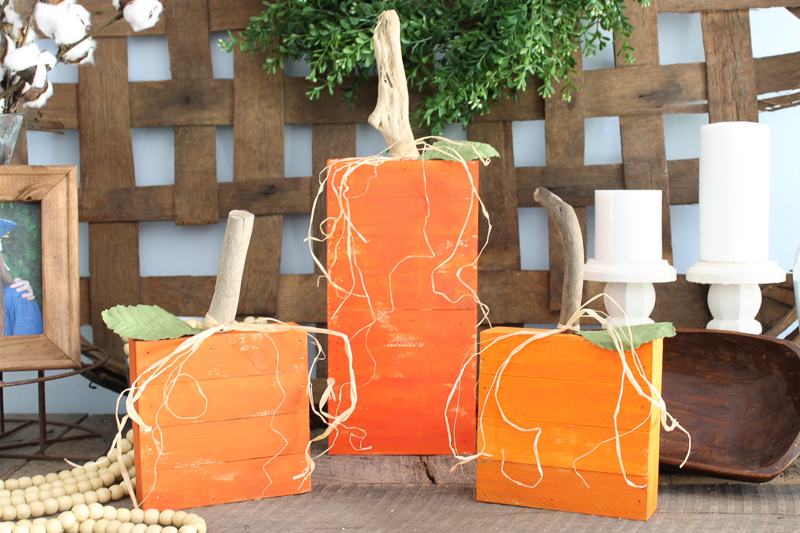
Easy DIY Pallet Pumpkins
You can have these gorgeous rustic pumpkins on your mantle or even in a display outdoors for fall.
The secret to this easy-to-make pallet pumpkins is that the pallet wood boxes are already premade. No sewing or nailing necessary! You can create these DIY pallet pumpkins in different sizes to give your decor more depth.
All you need to do is paint the pallet boxes orange and glue a few driftwood pieces for stems and a few fun leaves as well. Tie on a few strings of raffia to complete the look. Then your pallet pumpkins are complete!
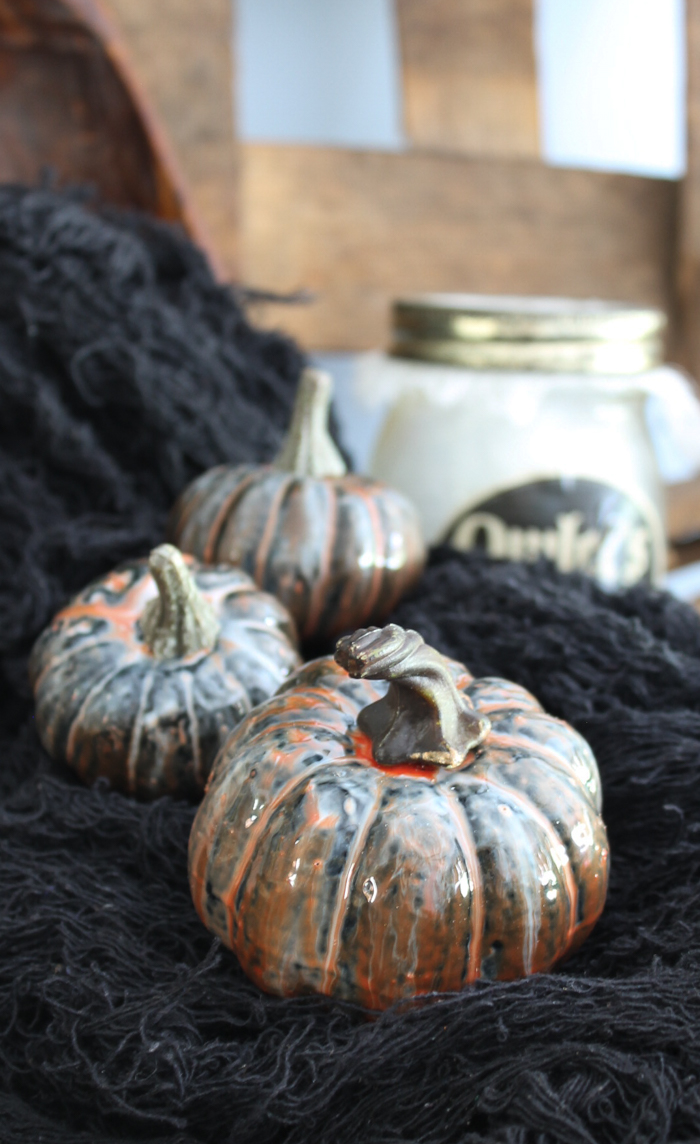
Marbled Pumpkins with Resin
The glossy opaque finish that resin leaves makes for some gorgeous finished pumpkins. These marbled pumpkins are made in a Halloween theme, but you can use any colors you would like on this project.
This project might take a while to complete as there are curing and drying processes involved, but I’m telling you, it’s all worth it.
For me, I added my marbled pumpkins to my Macbeth Halloween decor for some extra fright! I can’t wait for Halloween to get here already! It is one of my favorites!
If you’re intimidated by resin. Don’t be! You just need to know the basics and gain some experience with the medium.
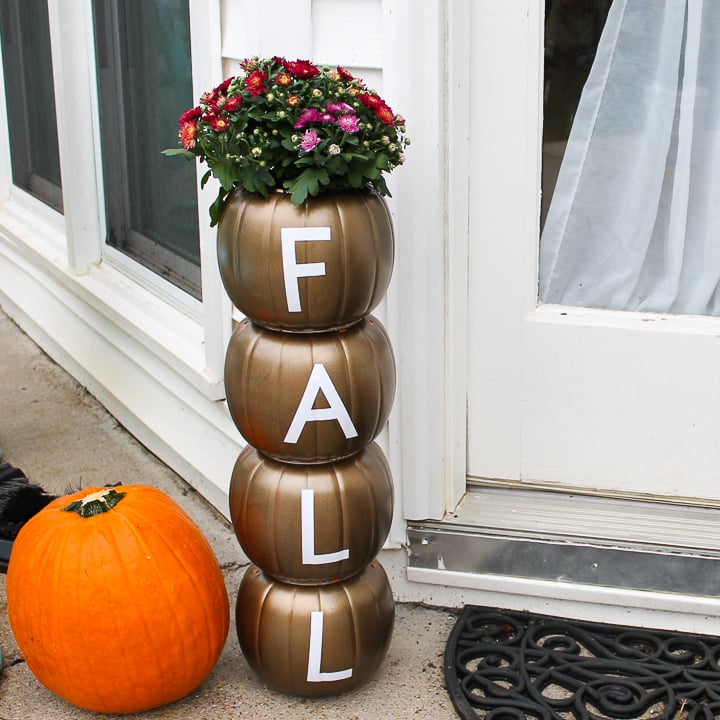
Cricut Pumpkin Planter
It is that time of year when a pumpkin planter will look great beside your door. When a project is easy to make, inexpensive, and looks great, it’s as if you’ve hit the jackpot.
Just pick up some plastic pumpkins and turn them into something amazing with a few supplies and your Cricut machine! This project will look great as part of your fall porch decor.
So, will you make a pumpkin planter for your home this fall? I’m sure you would. This project is so easy and so inexpensive that you can make as many as I would like!
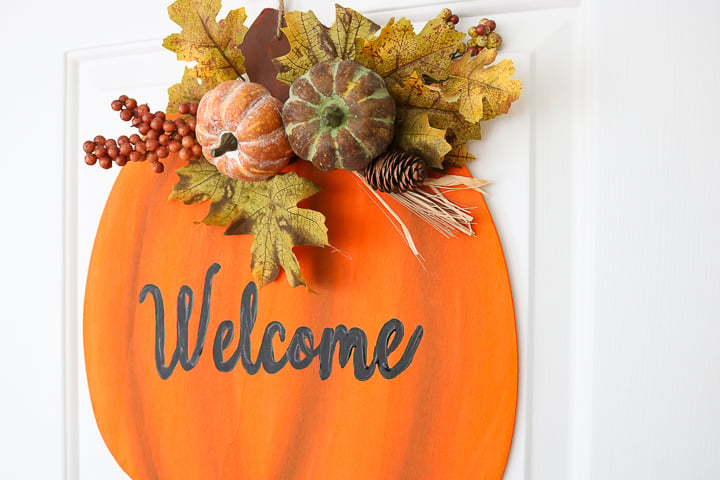
Pumpkin Door Hanger
If you haven’t planned a “crafternoon” of your own, you will love spending time with friends and family getting crafty, especially with this easy-to-make fall door hanger.
This project is easy to make because you can purchase large raw wood pumpkins in stores. Aside from that, all you need is some paint, brushes, and some items to decorate it with.
Will you make this wood door hanger for your home this fall? Follow the full instructions right here!
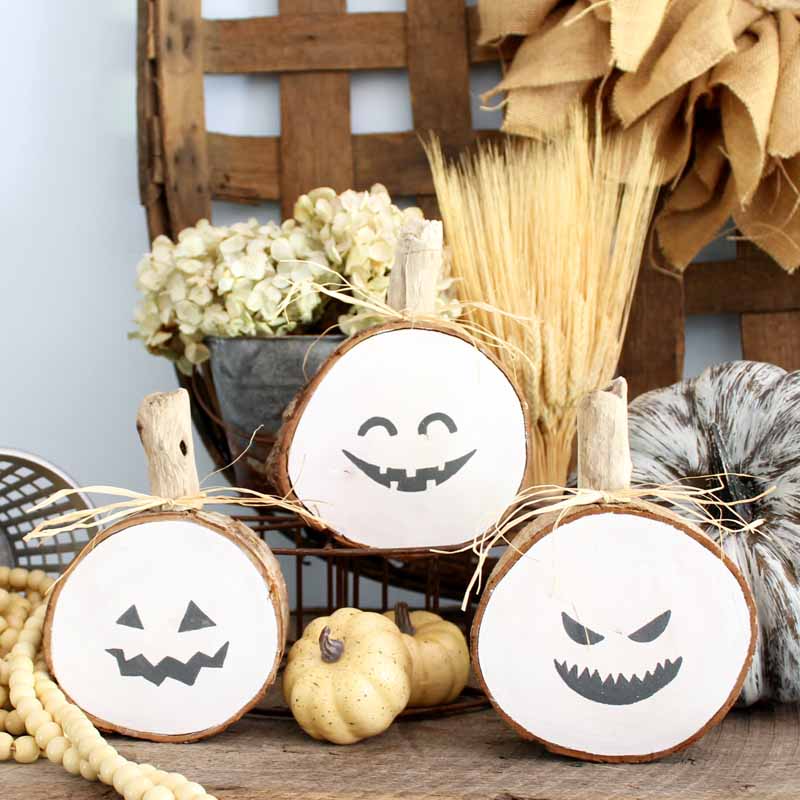
Wooden Pumpkins from Log Slices
Rustic, wooden pumpkins are the perfect way to decorate your farmhouse style home in the fall. I made a version from log slices that makes gorgeous decor for Halloween. Yes, you can have something pretty in your home that is also festive enough for Halloween!
This project calls for a few simple items and a free printable pumpkin pattern you can download. It’s easy to make and will give you awesome results.
I love the way these turned out and just how great these wooden pumpkins look on my mantle. Will you be making some for your farmhouse this fall?
You can also head on over to our fall projects gallery for lots of autumn decorating and craft projects.
Want more fall craft ideas? Try the links below!
- Fall Trail Mix Recipe with Pumpkin Spice
- Simple Fall Fairy Light Luminary
- Pumpkin Planter for Fall with Your Cricut
- Three Tier Stand for Fall Decor
- Free Fall SVG File for Your Cutting Machine
Want to print the instructions for these fall pumpkins? Try the printable card below!
Equipment
- hot glue and glue gun
Supplies
- sweater sleeve
- rubber bands
- embroidery thread
- needle
- button
- stuffing
Instructions
- Cut your sweater sleeve into three pieces. Or two if you want to make bigger pumpkins. The pieces can be any size that you would like.
- Turn your piece inside out and put a rubber band tightly on each end. Cut a small slit near the seam of the sweater arm.
- Turn the piece right side out through that slit you just cut and stuff it until it’s full.
- Hot glue that seam closed. Yep hot glue. I promise it will work. Then take a needle and embroidery thread and go all the way through the pumpkin through the center.
- Keep going around the pumpkin and through the middle about 5 times in 5 different places. Pull tight each time. This makes it look all pumpkin-like. Tie off your thread and I added a bead at the top with hot glue as my stem. You can use anything you like as a stem for your sweater sleeve pumpkins.



Thanks for sharing the Sweater Sleeve Pumpkins…so cute! And I think I even have an old fall colored sweater lying around!
Love it!!!!
Toooooooo cute!
I wanna make some!
Thanks for inspiring me!
Smiles, Dolly
So cute! Love the “no sew” concept!!
I really love these pumpkins — the color, the texture, all of it!
So pretty and such a great idea!
Thanks for linking up! These little guys are so cute. I hope you’ll link up each week! I shared your link on my Facebook page!
This is a great idea. It would work with socks too.
And if one is able to do a wee bit of hand sewing they won’t have to make a slit. The method would be:
Put the elastic on one end. Turn it right side out. Stuff it. Use a needle and strong thread or thin yarn to make a line of stitches about an inch from the top. Pull it close. Finish as above.