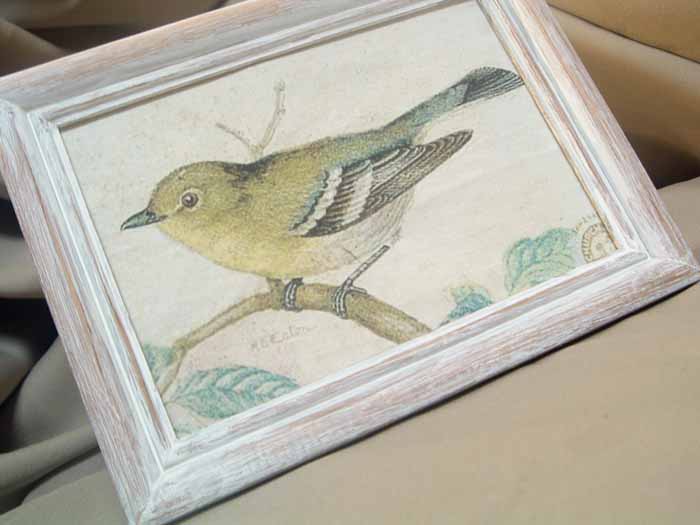
Did you know that you can print directly on fabric? What a perfect project for inexpensive art! Printing on fabric is actually much easier than you think. Use your home printer to make gorgeous art in just minutes, and for only $1. See our step by step instructions below.
You might also want to try our idea for printing on sheet music for additional budget-friendly home décor options.
How to Print on Fabric
Supplies needed for printing on fabric:
- Graphic (I used a graphic from the Graphics Fairy to print a bird image to white fabric.)
- Heavy to medium weight cardstock
- Fabric
- Spray adhesive
- Scissors
Step 1: Add Fabric to Card Stock
Spray some heavy to medium-weight card stock with spray adhesive then add your fabric. Be sure to smooth it out and remove any wrinkles. The fabric should be around the same size as the cardstock or slightly smaller. The side you want to be printed on should face up.
ALTERNATIVE: If you do not have spray adhesive, you can also use freezer paper. Just iron the freezer paper to the back of the fabric.
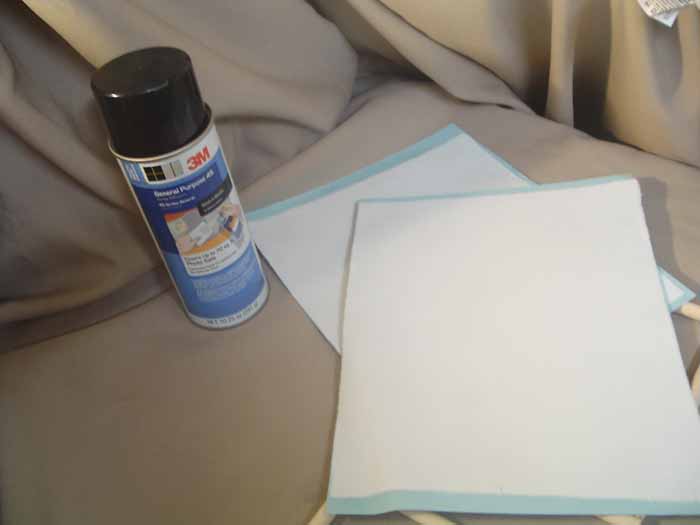
Step 2: Print Your Image
Print your image just like you are printing on paper. Ensure that the fabric will be the side that is printed on. You may want to print a test piece if you don’t know which side of your paper is the correct side for your printer.
NOTE: If you have a printer with a rear feed, use it for feeding in the paper. This is often better for printing on thicker substrates.
Print Settings
When printing art like this, I always like to adjust my print settings. Ensure that the quality is set to best and I find a matte paper setting works best for fabric. If your printer has a high speed or bidirectional option, then be sure to turn that off.
If you are getting lines in your print, the print settings need to be changed to fix that.
Step 3: Use Your Printed Fabric
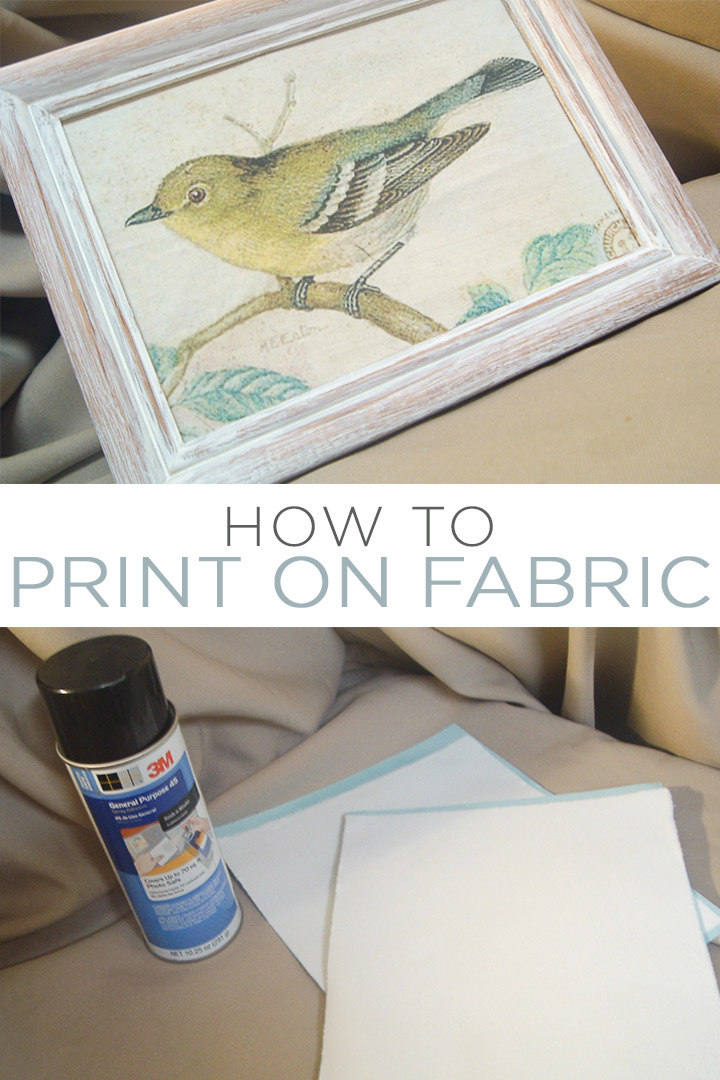
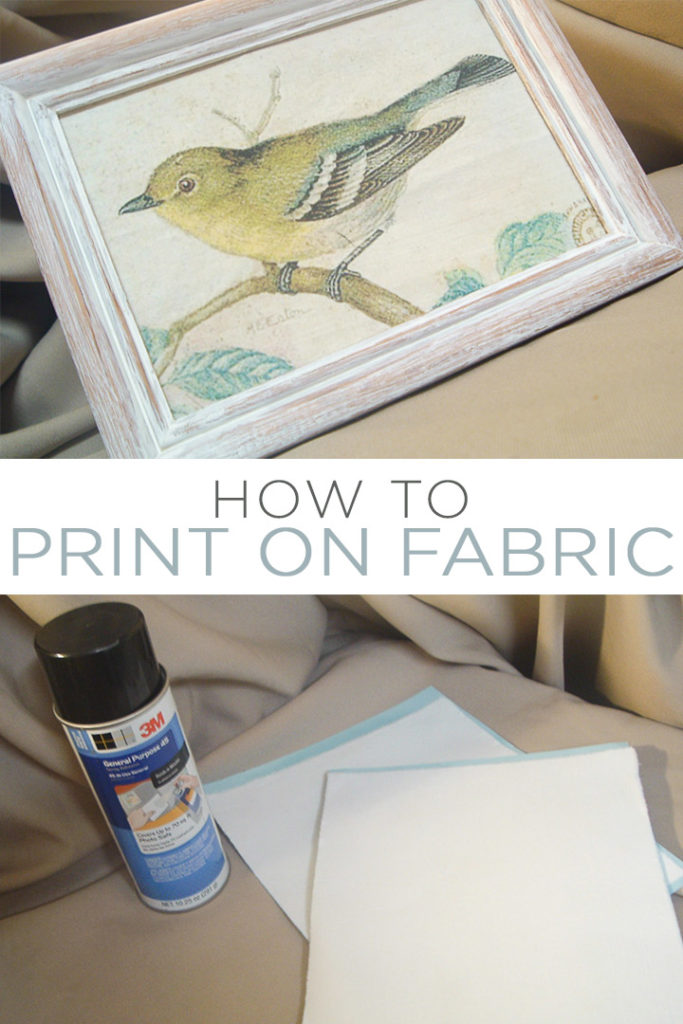
Yes, that is it! The only secret to printing on fabric is to add the fabric to cardstock so it will print just like on regular paper. Allow your print to dry for just a few minutes. Then pull the fabric off of the card stock after your ink has dried. Then you can add it to a dollar store picture frame.
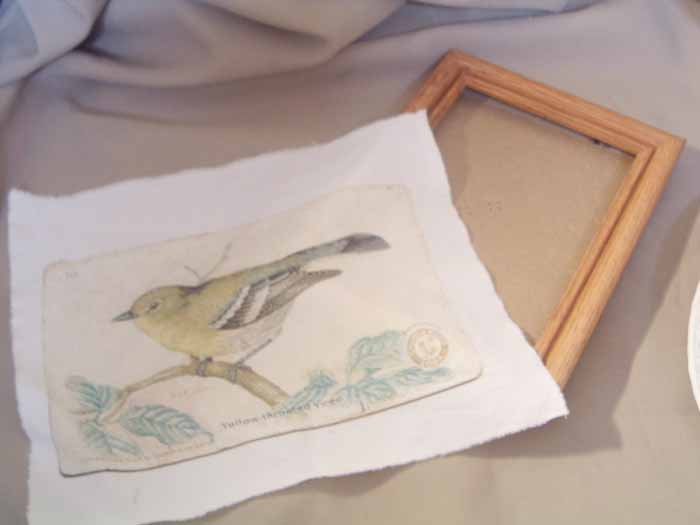
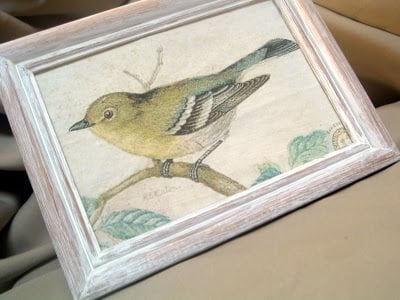
That picture frame was a little blah to me so I added a little whitewash and then sanded to get a rustic appearance. It looks so much better with my bird picture! So, now that you know how to print on fabric, what will you add to a frame?
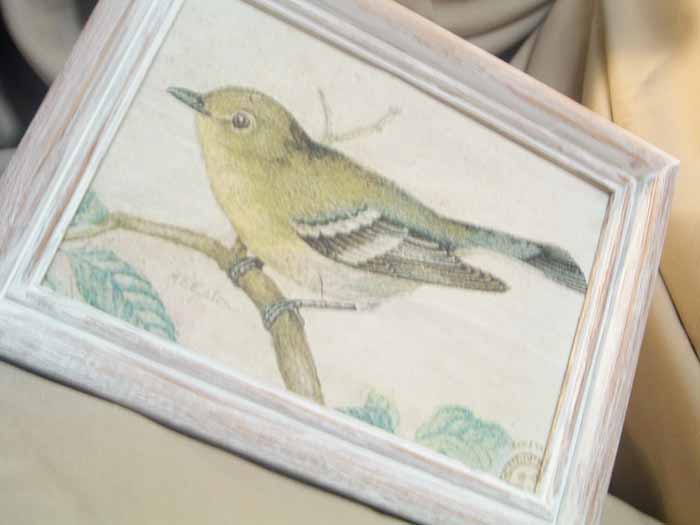
I left the glass off of my picture because it almost looks like a painted canvas. Gorgeous art for $1….that is my kind of project!
Now that you know printing on fabric is so easy, what will you make? Grab your spray adhesive and get started on your own project. They make an expensive printable fabric that you can buy but with this trick, you can print on fabric with less cost. Plus you will love the results and how budget-friendly this project is to make!
I love inexpensive home décor options. With so many trends these days, it’s hard to keep up! There are so many creative ways to bring inexpensive, stylish décor to your home…and this craft is one of them.
Whether you are strictly farmhouse or modern, you can use this tutorial to print your favorite pieces of artwork on fabric and frame them!
Love to print on fabric and want more ideas? Try these links as well!
- Printing on Tea Towels
- Printing on Dictionary Pages
- Printable Labels with Cricut for Organization
- Print Burlap Leaves
- How to Make Gold Foil Prints
Supplies
- Graphic of your choice I used a graphic from the Graphics Fairy to print a bird image to white fabric.
- Heavy to medium weight cardstock
- Fabric
- Spray adhesive
Instructions
- Spray adhesive onto heavy to medium weight card stock. Then, add your fabric to the cardstock and smooth.
- Now, place the cardstock into your printer and print your image just like you are printing on paper.
- Allow your print to dry just a few minutes. Then pull the fabric off of the card stock after your ink has dried. Then you can add to a frame.



What type of printer do you use ? Does it have to be a inkjet printer.. ?
Not sure. I did it on an inkjet.