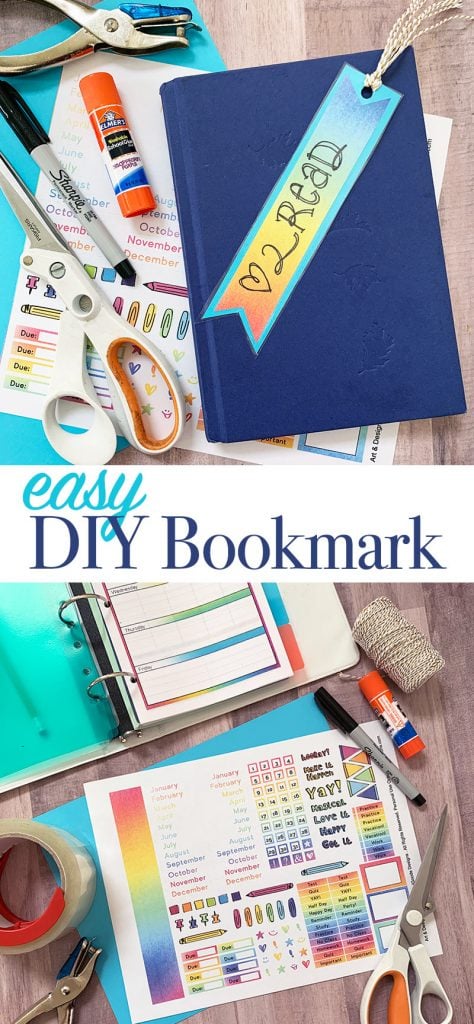
If you are an avid reader, a DIY bookmark may be just what you need. You can print a corner bookmark or follow along below as Jen Goode shares how to make an easy rainbow version that you are going to love.
Here’s a fun way to create your own DIY bookmark in just a few minutes. Add your own word art or doodles to create a bookmark that shows off your own unique style. You can also use this same technique to create bookmarks from all kinds of printables and coloring pages.
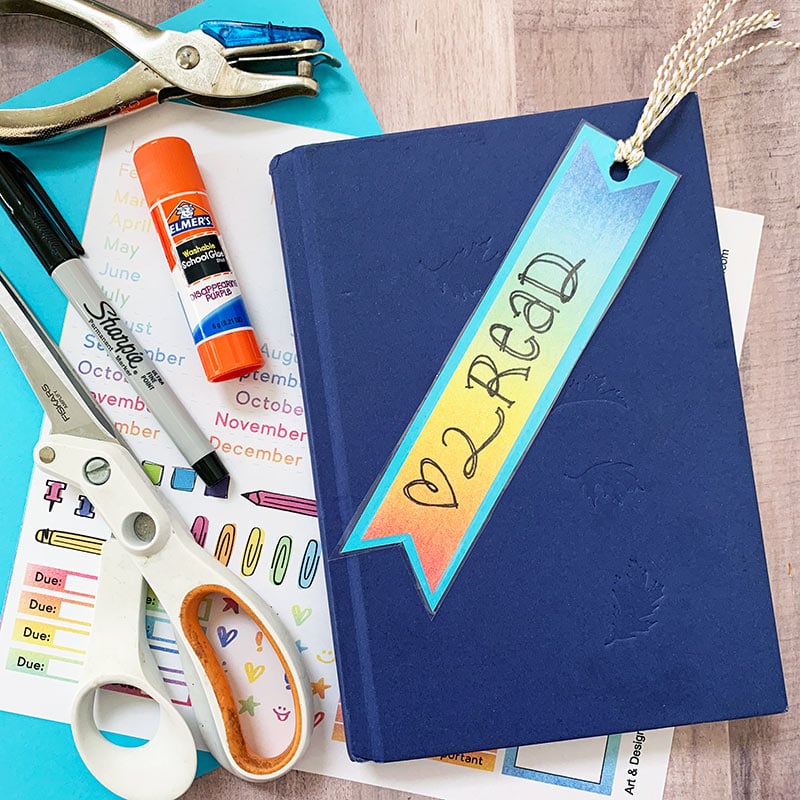
Creating bookmarks is a fun craft that combines creativity and functionality. With this free printable design, sturdy card stock, and packing tape, you can make your own bookmarks to give away or use as your own.
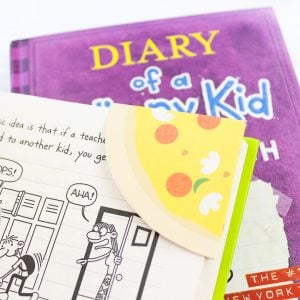
Looking for more bookmarks to make? Learn how to make a corner bookmark or a bookmark you can color for your next read. Or, try a Cat in the Hat bookmark, a pizza-themed corner bookmark, or learn how to make a sublimation bookmark. An adorable bonus idea are these free printable book stickers for all book lovers!
How to Make Your Own Bookmark with a Tassel
Supplies needed to make your own bookmark:
- Printer and white paper or cardstock
- Printable Planner Sticker sheet from Jen Goode
- Coordinating cardstock, I used light blue
- Glue stick
- Packing tape
- Scissors
- Holepunch
- Twine or ribbon
- Black marker
Instructions
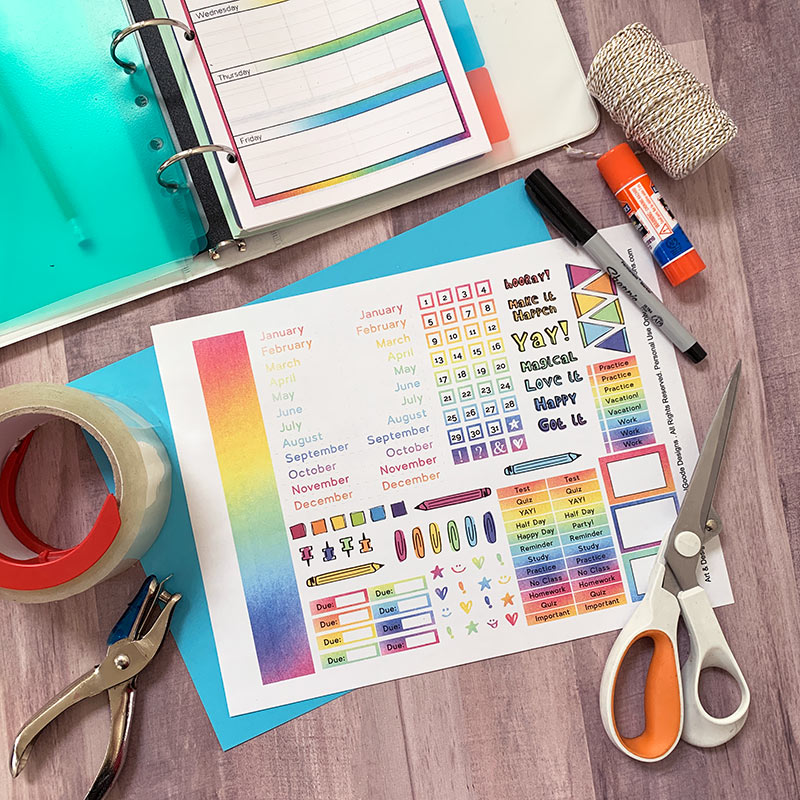
This bookmark project uses a DIY planner sticker sheet I designed. You can use the doodle sticker designs to decorate your notebooks, planner and even this bookmark we are making today.
For now, I’m just using the rainbow color strip and handwriting my own word-art design. You can customize yours however you’d like.
First, print out the rainbow planner sticker sheet. This includes a rainbow color strip you can use for all kinds of cute crafts. Cut out the color strip and trim to the size you’d like.
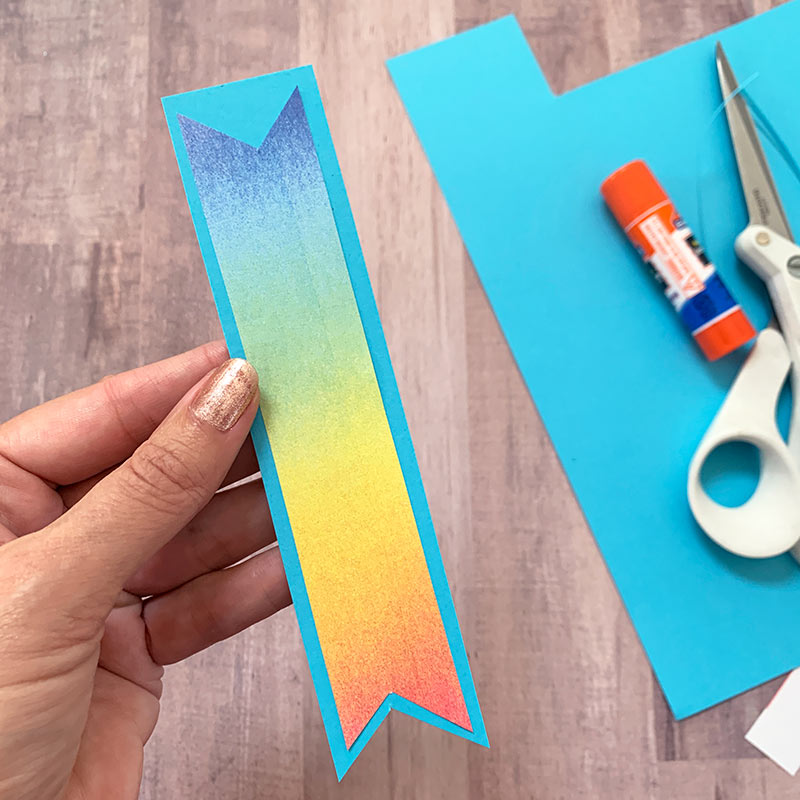
Using the glue stick, adhere the rainbow paper to the cardstock. Trim to size, leaving a small boarder of cardstock around the rainbow color. Using the marker, draw or write whatever you’d like on the bookmark.
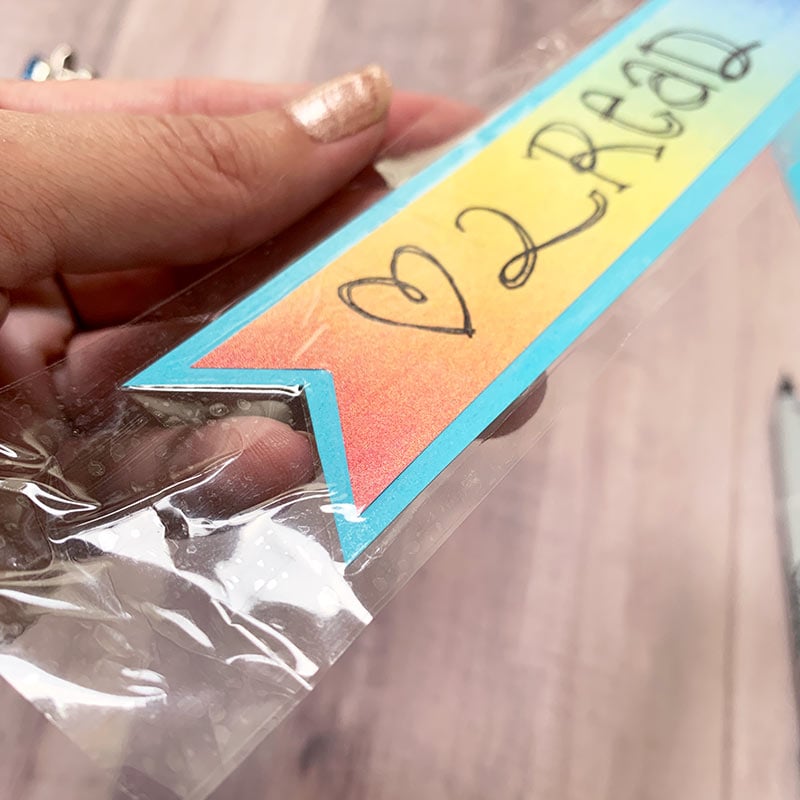
Seal the entire bookmark with packing tape by apply tape on both the front and back. Trim to size. I like to leave a small board of tape around the edges of the bookmark, but you can trim the tape flush to the cardstock if you prefer.
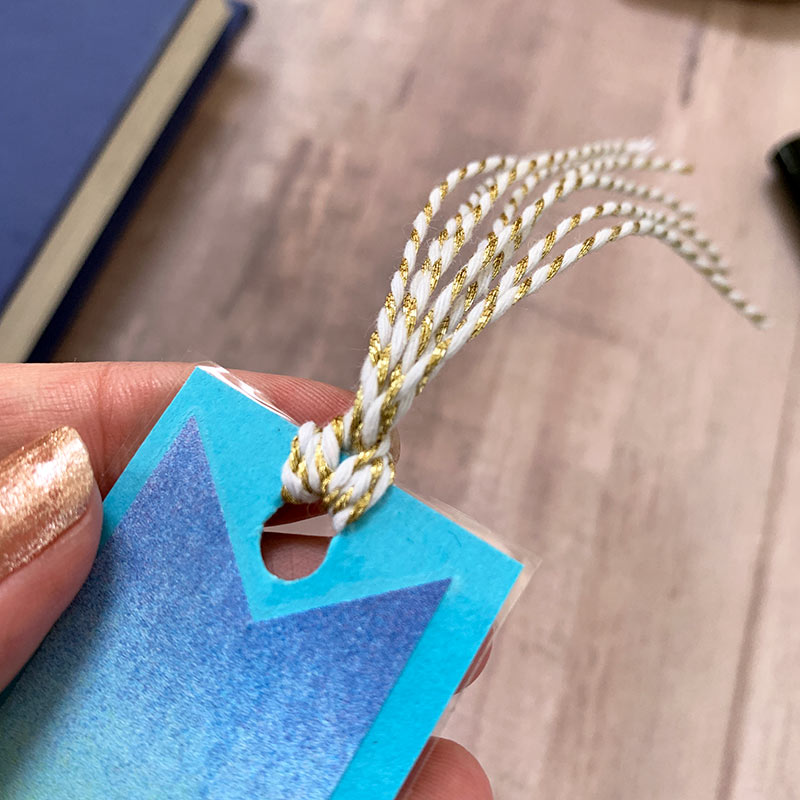
Punch a hole at the top of the bookmark and add twine or ribbon to create a tassel.
These bookmarks are so quick and easy to create. You can make them from all of your favorite printables and coloring sheets. Plus, a DIY bookmark is a great craft to create with groups such as class activities or scouts. For extra fun, use a coloring page that you first color and then cut down to a bookmark.
Supplies
- Printer and white paper or cardstock
- Printable Planner Sticker sheet from Jen Goode
- Coordinating cardstock I used light blue
- Glue stick
- Packing tape
- Scissors
- Holepunch
- Twine or ribbon
- Black marker
Instructions
- Print out the rainbow planner sticker sheet. This includes a rainbow color strip you can use for all kinds of cute crafts. Cut out the color strip and trim to the size you’d like.
- Using the glue stick, adhere the rainbow paper to the cardstock. Trim to size leaving a small boarder of cardstock around the rainbow color.
- Using the marker, draw or write whatever you’d like on the bookmark.
- Seal the entire bookmark with packing tape by apply tape on both the front and back. Trim to size. I like to leave a small board of tape around the edges of the bookmark, but you can trim the tape flush to the cardstock if you prefer.
- Punch a hole at the top of the bookmark and add twine or ribbon to create a tassel.
Love this craft idea and want more? Try the links below as well!
