Cricut screen print is just another thing you can do with your Cricut machine. That is right! You can do screen printing with your Cricut and vinyl. How? Well, read on to get the step by step instructions and make your own silk screens with your Cricut. You can, of course, make silkscreens with something like the IKONART but this is a way to make the screens without a ton of additional equipment.
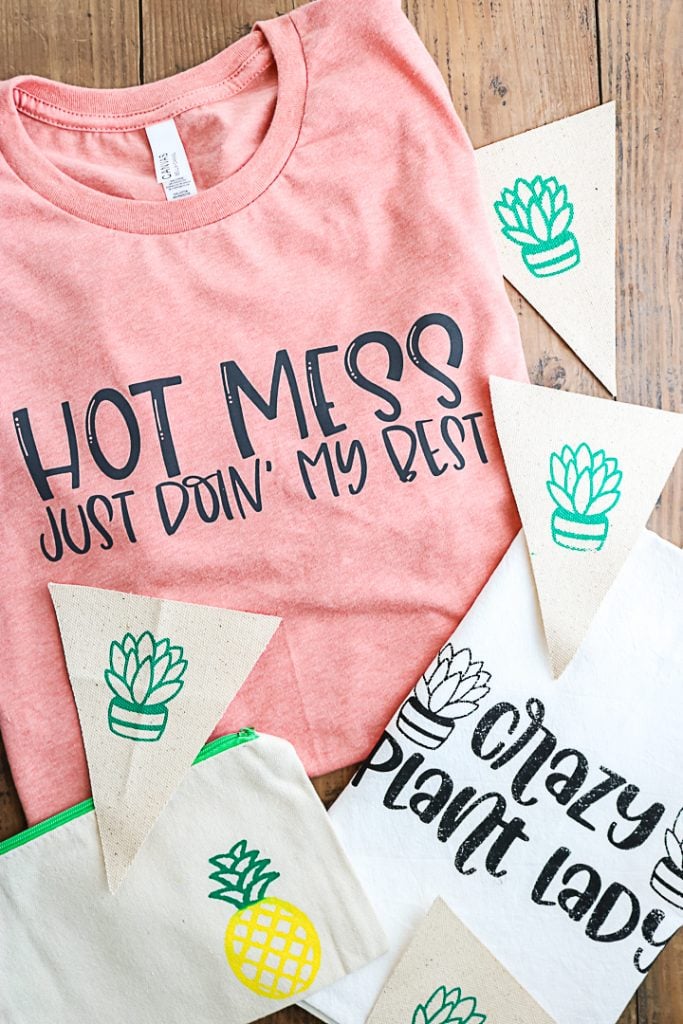
Cricut Silk Screen
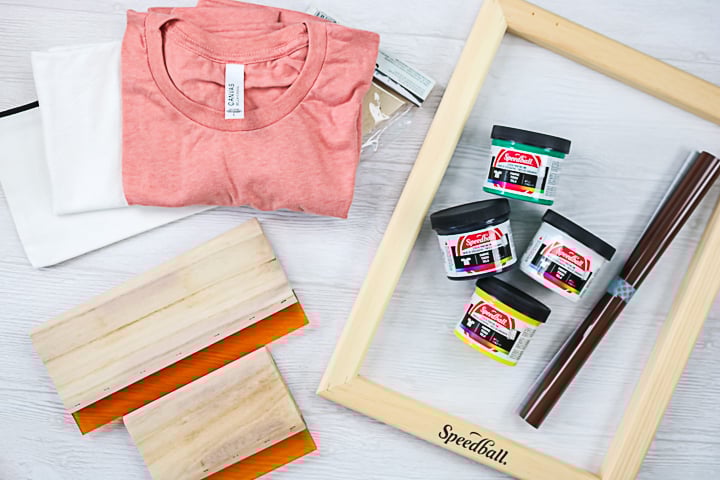
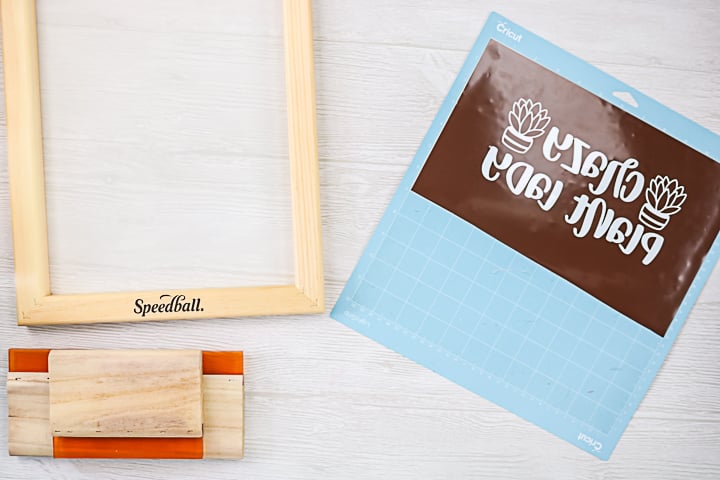
First, you will need a few special supplies to get started with this project. They are fairly inexpensive, however.
Supplies needed:
- Cricut machine
- Speedball Screen
- Speedball ink
- Squeegee
- Permanent vinyl
- Masking tape
- Transfer tape (see my comparison on different brands here)
- Weeding tools
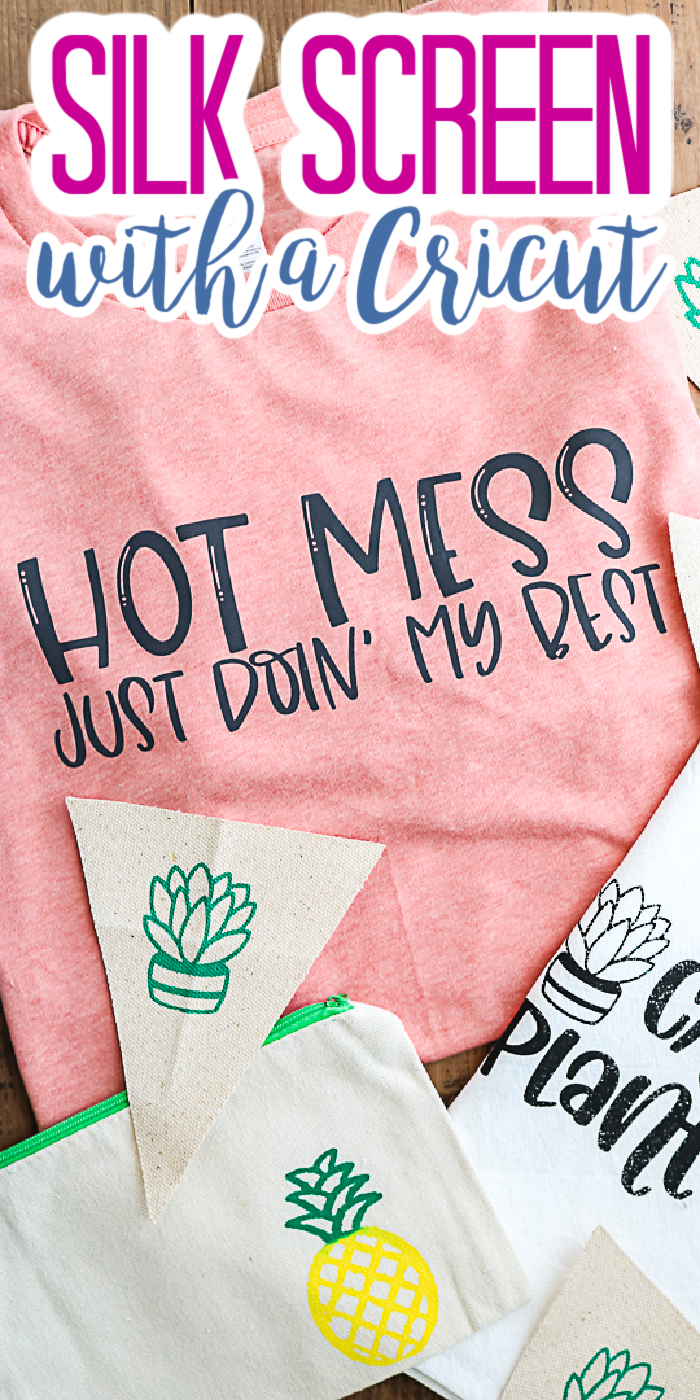
- Surfaces (I am going to use a shirt, zipper pouch, banner flags, and a tea towel.)
Cut files:
These are the cut files that I am going to use but literally any can be used with this same method. All of the ones that I am using are single layer as that is simpler when screen printing.
How to Make a Silk Screen with Your Cricut
If you’re new to silk screening, this post is perfect for you. This is a beginner’s guide to walk you through the first steps on your silk screening journey. You can definitely find some more advanced tips and techniques by surfing around on YouTube. There are some really great silk screening YouTube channels.
I am just offering a beginner’s guide because it’s something else you can do with your Cricut machine. Plus, if you are making shirts to sell, making multiple pieces is so much easier with a Cricut screen print technique. You can make a lot of shirts really quickly, one right after another that all look the same.
I am making a non-permanent version of a silkscreen. It would be good for say 10 shirts but if you wanted to make maybe 1,000 shirts you would want to look at using heat transfer vinyl instead of adhesive vinyl. I could definitely make 10 shirts all the same color, then rinse my screen and maybe make another project a couple of times with this method. But the vinyl will eventually start to come off the screen.
Cricut Screen Print Video
Want all of this information and more in a video? Just watch below!
This is a beginner’s guide to screen printing, however, if you want to learn more, I highly recommend taking this screen printing course. It is really great and will show you everything you need to take your screen printing skills to the next level!
Can’t watch the video or missed some of the steps? You can also follow along with the instructions below!
How to Screen Print with a Cricut
Just use the card below to create your silkscreen with Cricut vinyl. You can even print the instructions if you need to!
Supplies
- Cricut machine
- Speedball Screen
- Speedball ink
- Squeegee
- Permanent vinyl
- Masking tape
- Weeding tools
- Surfaces I am going to use a shirt, zipper pouch, banner flags, and a tea towel.
Instructions
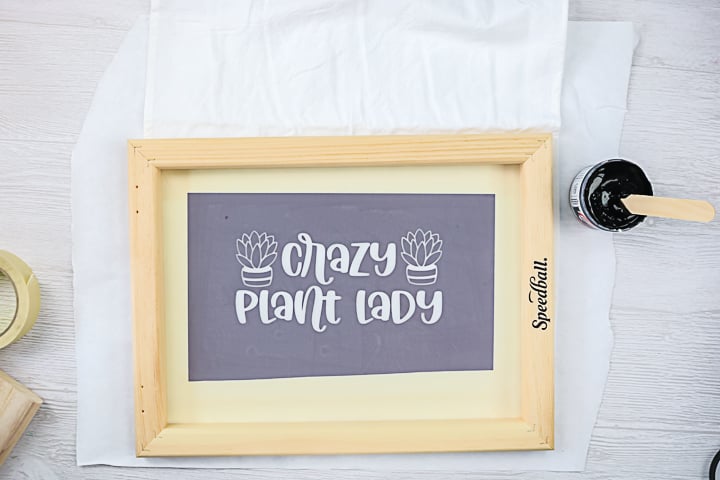
- Cut your adhesive vinyl just like you would adhesive vinyl for any other project, except you will want to mirror your design. So similar to the way you do for iron-on, but we're using adhesive vinyl here. And then you see how I moved my design towards the middle which leaves more room around the outside edge for taping. Once cut you can weed your design. Weed away everywhere that you want the ink to go. You can use any design with this method.
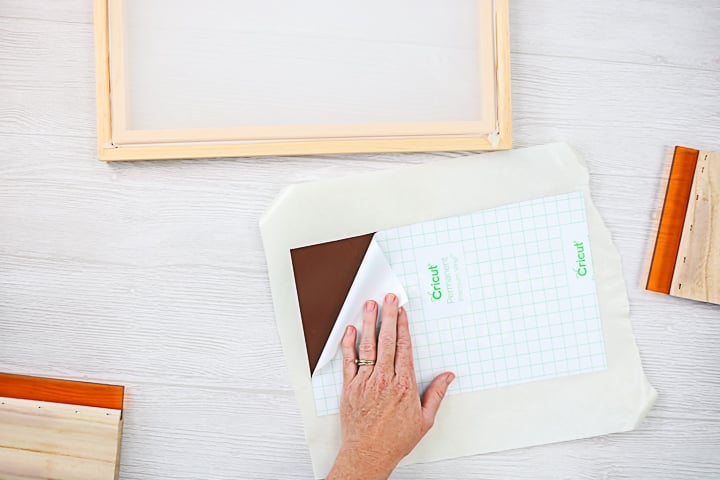
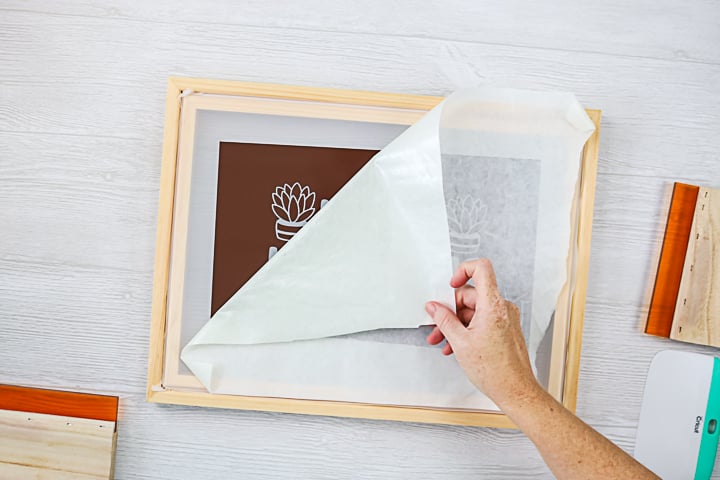
- I'm using some transfer tape from Vinyl Ease. Put the transfer tape over the top. Burnish over the top with a squeegee or scraper. Then peel back the backing paper leaving the vinyl on the transfer tape.
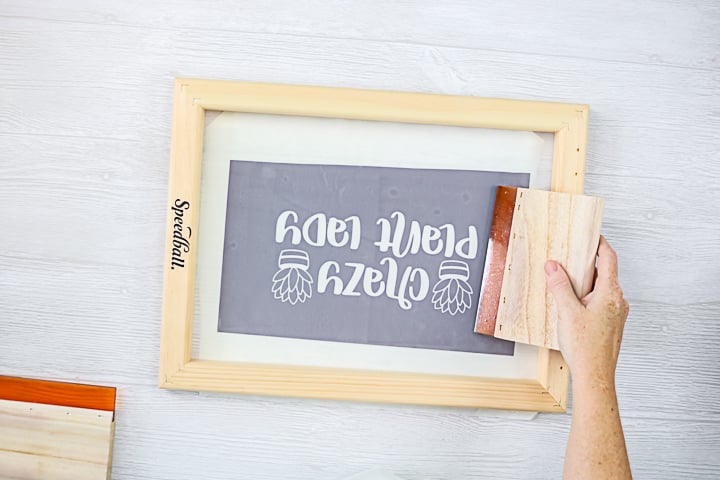
- Turn the screen over so the lip is down and you can see where the screen is attached to the bottom. Make sure this is pressed in well and the screen is tight. Then just put your design on the screen. Flip that screen over and burnish the design down well from the front. You will want to put the design on your screen approximately in the center.
- Then flip the screen back over and attempt to remove the transfer tape from the vinyl. flip this over. And we're gonna attempt to remove this transfer tape. The vinyl should be on your screen, and the transfer tape should just peel back.
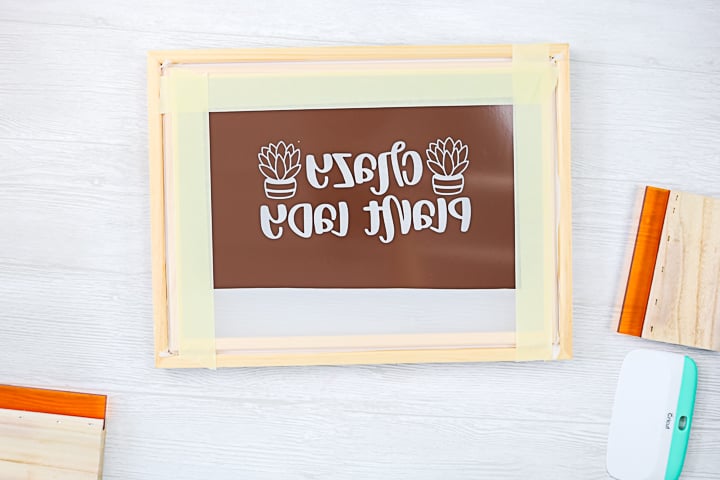
- Once everything's on our screen, tape off all of the areas around your design. You don't want ink to get in this area and get on your surface. The tape should touch the frame and touch the vinyl. You may have to use two pieces in some areas.
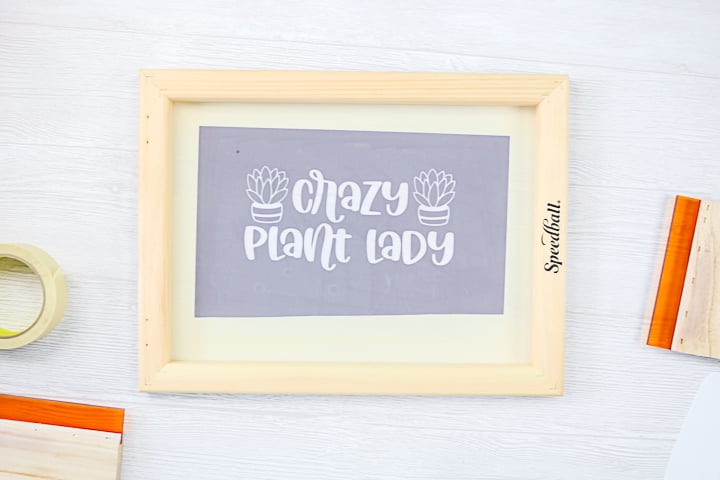
- Flip the screen over and burnish the tape down as well. Now your screen is ready for some screen printing.
Screen Printing with a Cricut
Now that you have your silk screen, it is time to use it to make a few projects. Here are a few tips to get you started:
- Protect your work surface with disposable paper.
- When making shirts, add paper in between the front and back to protect from bleed-through.
- Make sure your screen is straight and in the right location. To do this, you can fold and press your material to make a line you can use for alignment. You can also add small items from the back and tape in place.
- Iron all materials before starting to remove wrinkles.
- To just use part of a screen, use masking tape to cover all areas you are not going to use.
- The ink is permanent so be sure you only get it in the areas of your design.
- You can put any leftover ink back in the container. However, if you mix custom colors, you will need to throw out any excess.
- If you are making a bunch of projects with the same screen. Use a pencil or even tape to mark the location of your blank and screen so you can get it in the same location every time.
- Use scrap fabric or small pieces to experiment with your method before diving into large projects.
- To do two colors, do the first color then add a second without lifting up. If you lift up, you will need to align exactly to do your second color.
- When doing something like a zipper pouch, do the screen printing as far from the bulk of the zipper as possible. Then press down to flatten the zipper as much as possible.
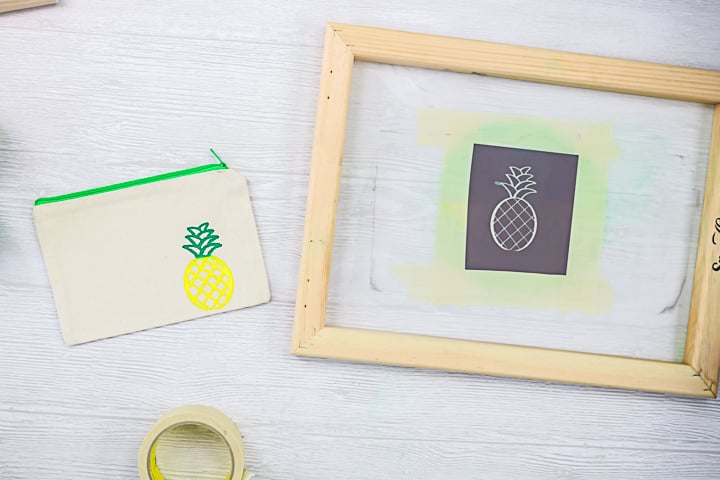
Adding Ink
Now that you have your screen and a few tips, you are ready to screen print on a variety of surfaces.

Supplies
- Cricut machine
- Speedball Screen
- Speedball ink
- Squeegee
- Permanent vinyl
- Masking tape
- Transfer tape see my comparison on different brands here
- Weeding tools
- Surfaces I am going to use a shirt, zipper pouch, banner flags, and a tea towel.
Instructions
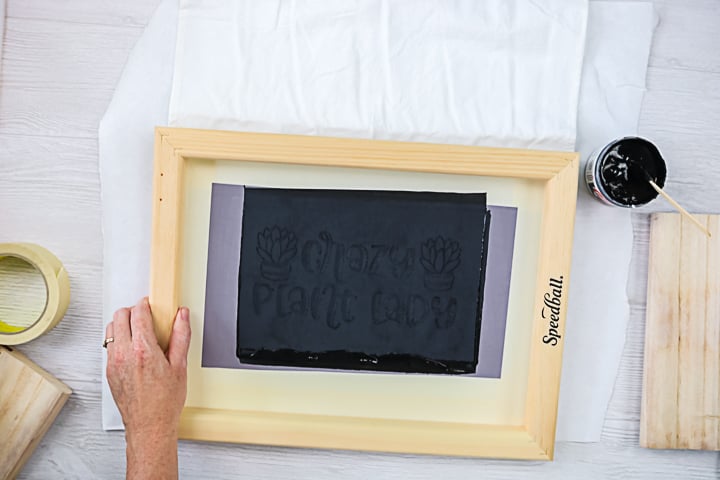
- Dab the ink across the top of your screen with something like a craft stick. The amount you use may take some trial and error.
- Pull the ink down with a squeegee at a 45-degree angle. Be sure the ink fills all of your screen. Use a squeegee that covers your entire screen at once or pull down more than once. Again this may take some trial and error to get the motion and pressure correct.
- You can pull more ink down if you need to.
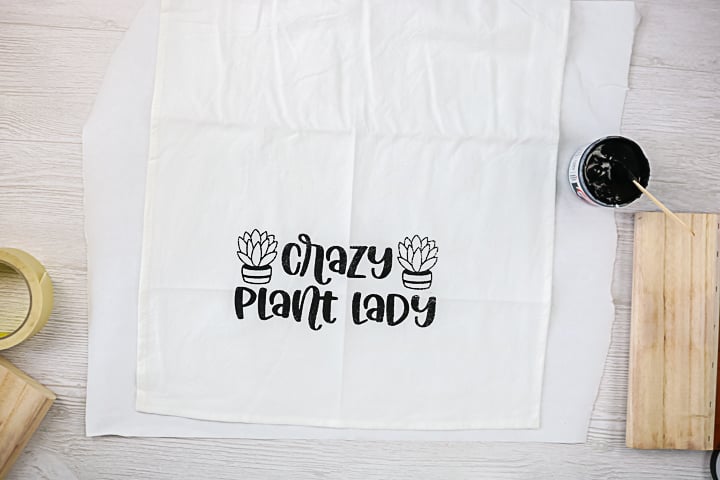
- Then lift off the screen to reveal your design.
- Allow to dry completely. I let mine dry for 24 hours.
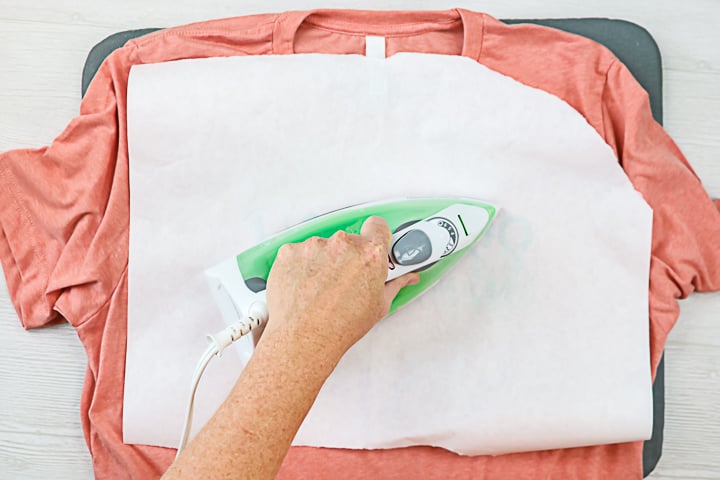
- Then heat set your ink with an iron or even an EasyPress to make it permanent. Put a pressing cloth or even parchment paper over the top and heat it on medium-high heat for three to five minutes on both sides.
How to Clean Up
The ink is water-based so the clean up is a breeze. If you are going to use the same color over and over, there is no need to do clean up. Just move on to your next surface. Once you are done, then you will want to clean your screen.
- Pick up any excess from your screen and put back in the container to use another time. If you have mixed a custom color, you will need to throw it away instead.
- Spray your screen out with water. I like to do this in the kitchen sink with the water on really low.
- Make sure you get all of the ink out of the screen. The ink may stain the screen, however, and this is okay.
- Once clean, you will want to dry the screen completely before doing your next project.
- If you notice your vinyl is lifting from your screen, you may need to make a new screen for your next project.
When to Make a New Screen
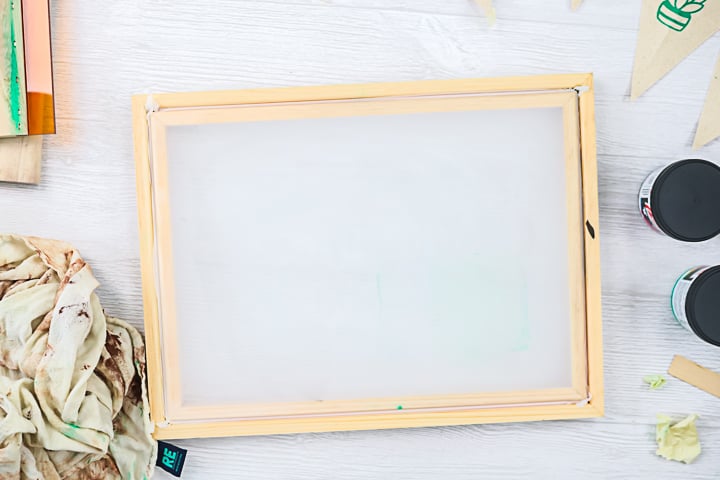
You will want to make a new screen, of course, if you want to change designs. But also if you find your vinyl is lifting, you may need to repeat the procedure above and make another screen. The vinyl is easy to just peel and remove. Then just add a new design in the same manner.
If you wanted a permanent screen, you would use iron-on or heat transfer vinyl to add your design to the screen. This means you would need one screen for every design. I would use a good quality heat transfer vinyl like Bflex that presses at 285 degrees for just 4 seconds. The screen material is polyester so that will prevent any melting.
Some of the designs I created have super small details. They actually did great! That means that you can make seriously any design with this method.
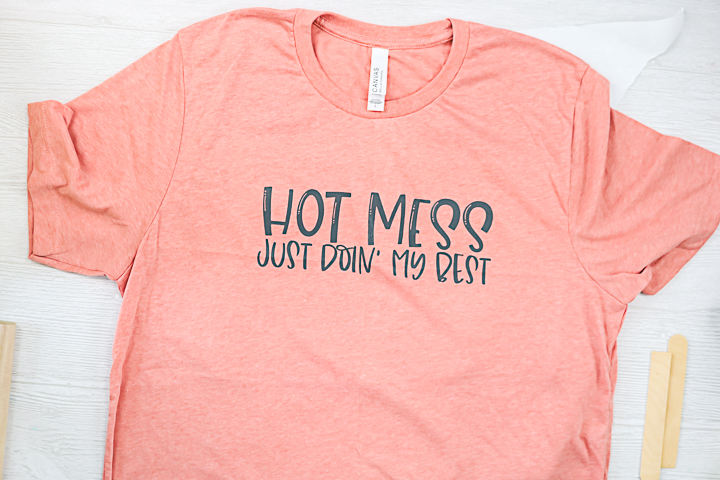
I would say that you can feel this less than maybe certain brands of HTV. It probably depends on the brand. So if you’re wondering about the feel of it, it’s probably kind of similar to heat transfer vinyl.
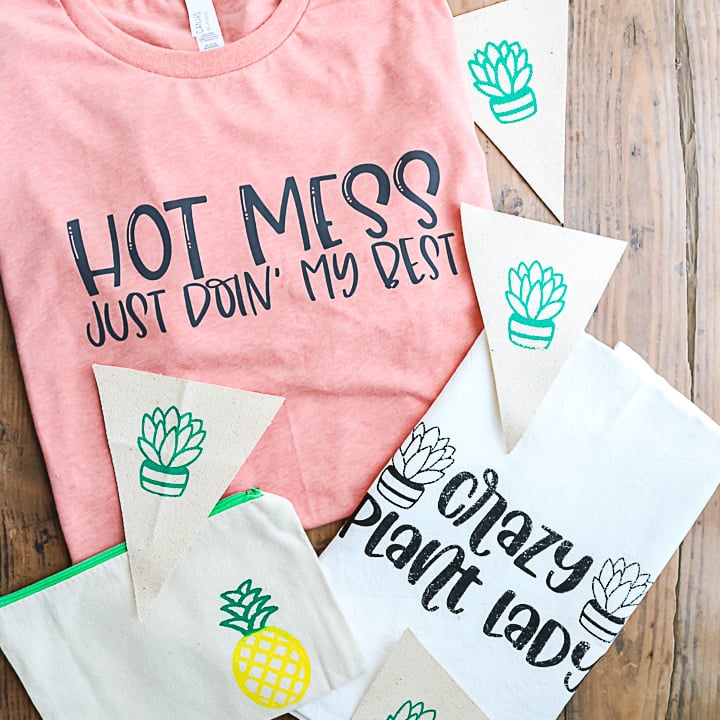
You can also stretch this. So it does stretch with the fabric. But when you stretch it apart, you will be able to see the base color of the fabric as the ink sits on the top of the fabric. That is something to note if you are adding to something stretchy.
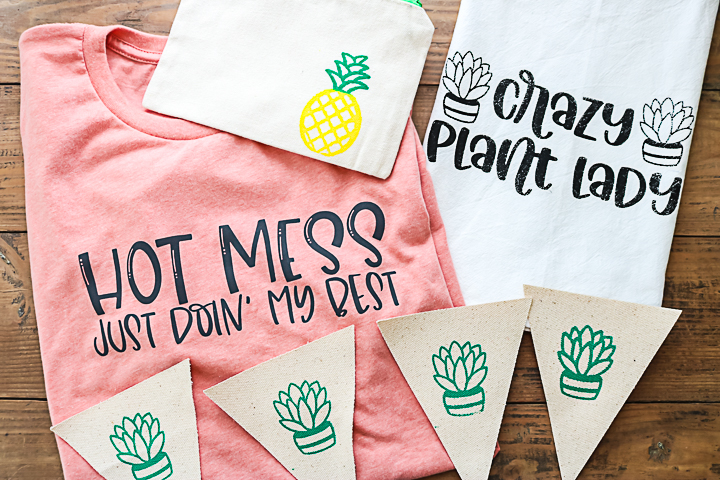
All these are fabric surfaces. There are definitely techniques to silk screen on paper and even wood. You can do so much with the same Cricut screen print technique. So, be sure to give it a try with your Cricut machine!
Love this screen printing tutorial and want more? Try the links below as well!




Loved the video! I’m trying it out for sure! One question. Can you do one color and let it dry then do another color over the top of the first color?
Yes definitely!
Can you put these in the wash and not have the ink run?
Yes. You do need to heat set.
This was by far the best screen printing tutorial I’ve watched! Thank you so much for explaining each step and pointing out even the smallest details!
I loved this video as I am new to using my Cricut with heat transfer vinyl. I bought lots of HTV to work with onto shirts, however I’m really not liking the feel of the vinyl itself onto the shirt. This is when I came to learn more about silk screening. This is such a better feel overall than the htv (depending on the project though). Thank you for explaining so many things in your video with all those things a person might consider when starting this type of project.
Hi! I am curious why you use permanent vinyl for the stencil versus stencil vinyl which also has a sticky back and easily removed? Great tutorial by the way, I’m motivated for this!
Both may work? I like using vinyl that I have no other use for when doing projects like this frankly.
Loved this video!!! it made it all so clear! Thank you!!
Just one question: would I be able to use this method to make paper napkins?
Interesting! I would say so but I have never tried it! You can add HTV to napkins!
Great video. My question is about light colored inks on dark fabrics. How do they do? Have you tried silk screening with white or yellow on a dark color yet?
Yes they work well!
I’m also struggling – my Oracle won’t stick to my screen either… and the transfer tape isn’t the issue- a scrap of vinyl won’t stick either.
I’m thinking my screen is the problem? It’s a brand new Speedball screen – polyester monofilament. I tried cleaning it just in case… no luck. Is there another screen material that works? Do I need to “rough up” the screen?
I haven’t had any issues with the screens so that is odd? You can use HTV instead?
So helpful. I’ve been doing plain HTV onto the shirts, but it wrinkles and cracks and doesn’t look great. Thank you for helping me get to the next level!
I’m so glad you found it helpful!!
Thanks for the cricut screen print tutorial. I love that crazy plant lady shirt!!