When I see a round wood door hanger on Instagram, I immediately fall in love. I just had to make my own DIY door hanger and, of course, pull out my Cricut machine to do it. The process to make one of these is so simple and you will end up with something gorgeous to hang on your front door. I think I need to replace all of my seasonal wreaths with a door hanger made from wood!
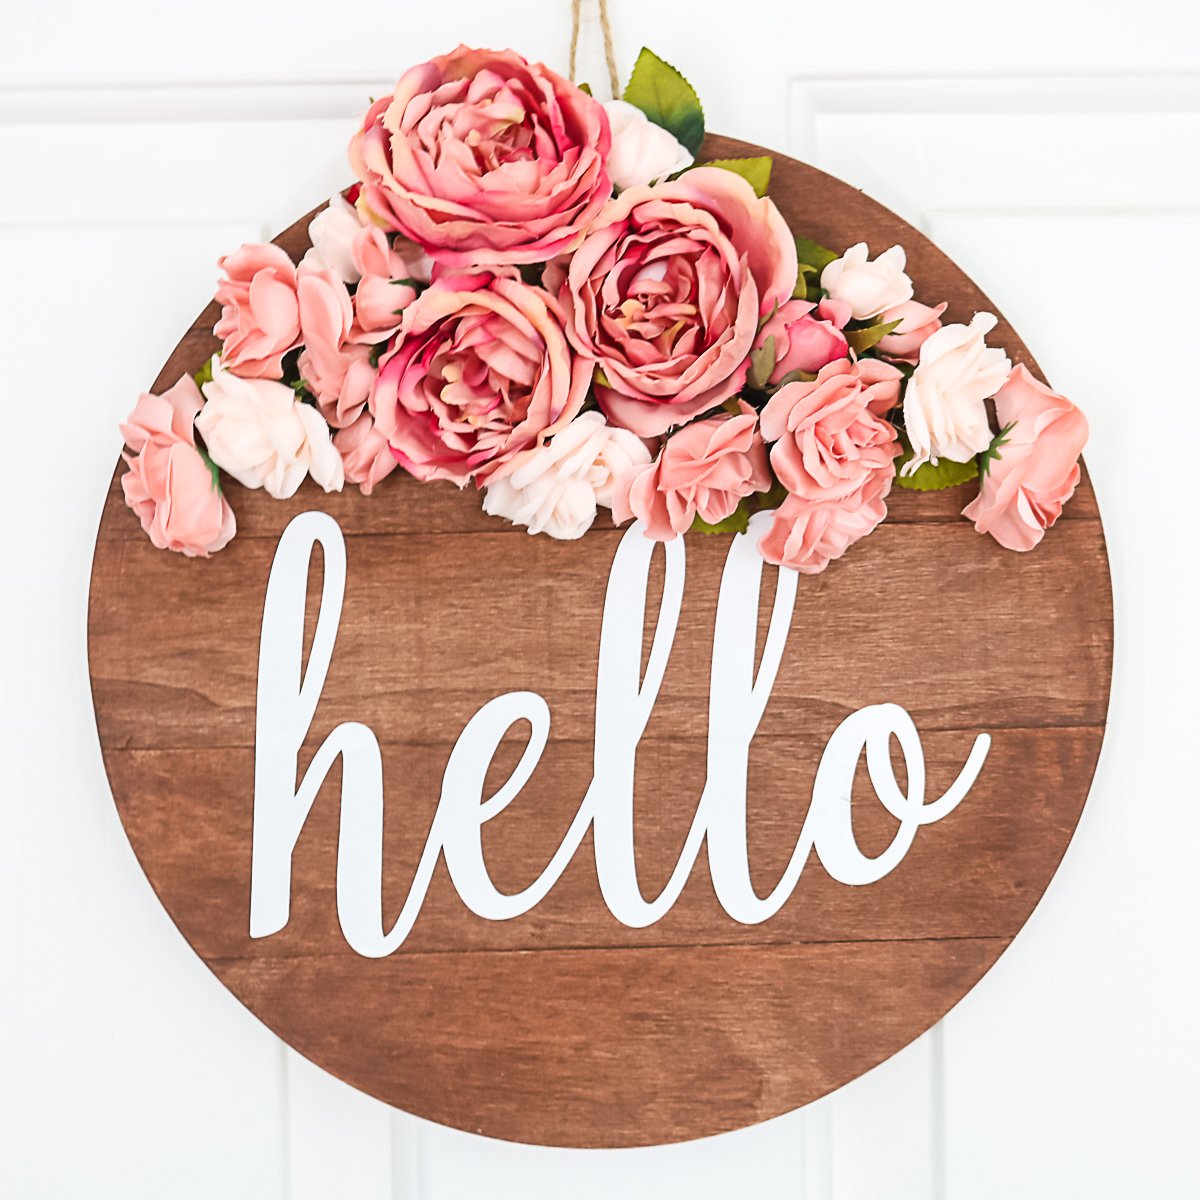
DIY Door Hanger
Probably the most challenging part of this DIY door hanger is going to be sourcing a wood round. I am going to drop a few options below but you can always check your local craft store as many places are stocking them now.
Supplies Needed For DIY Door Hanger:
- Unfinished Wood Circle (I used a 12-inch size like this one or but this 14 inch one would work.)
- Artificial Rose Sprays in Several Sizes (you can pick other colors you like as well)
- Wood Stain (my favorite gel stain is here)
- Paintbrush
- Rag
- Cricut machine
- Downloadable Cut File (you can see where to download below)
- White Vinyl (or any other color you love) (NOTE: Be sure to use a good quality permanent vinyl so your sign lasts a long time!)
- Transfer Tape
- Hot Glue and Glue Gun
- Scissors
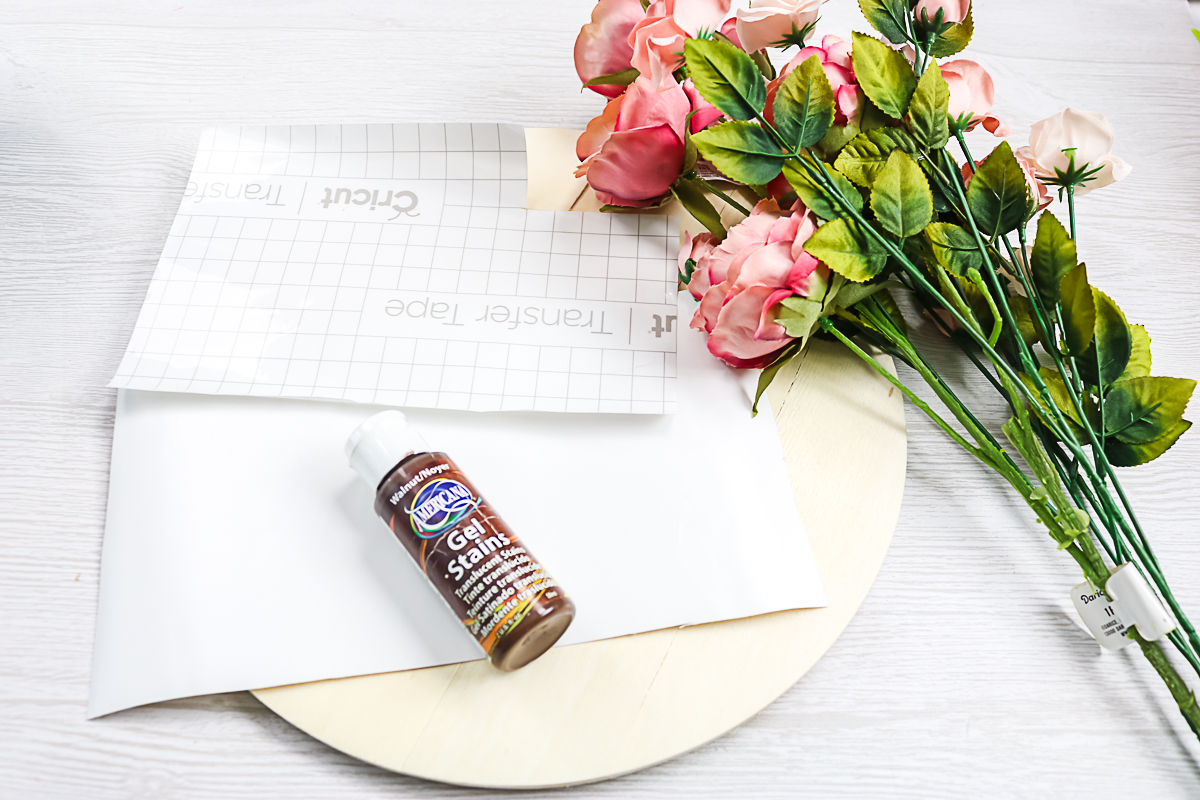
Hello Cut File
You can definitely change this project up with another word or cut file but I love this simple hello on this one. Just sign up for the newsletter in the box below and the file will be sent directly to your email address. If you already get our newsletter, add your information again as you will not be signed up for anything further. Be sure to look for a signup box with a picture of the file you want to download. Then check your email to get the file and upload it to Cricut Design Space. You can see more instructions for uploading on various devices here.
Please note that this file is for personal use only. If you have any issues, please check our FAQ page first then email me if you can’t figure it out.
How To Make DIY Door Hanger
Now that you have gathered your supplies, it is time to put them to use making your own round wood door hanger. The steps are easy so you might even want to pick up supplies to make several as these would make amazing gifts as well. With large vinyl applications like this, you might also want to consider the hinge method of application.
Step 1: Stain Wood Circle
Start by staining the wood circle with wood stain. Brush the stain on, allow to sit a few minutes, then wipe away all excess with a rag.
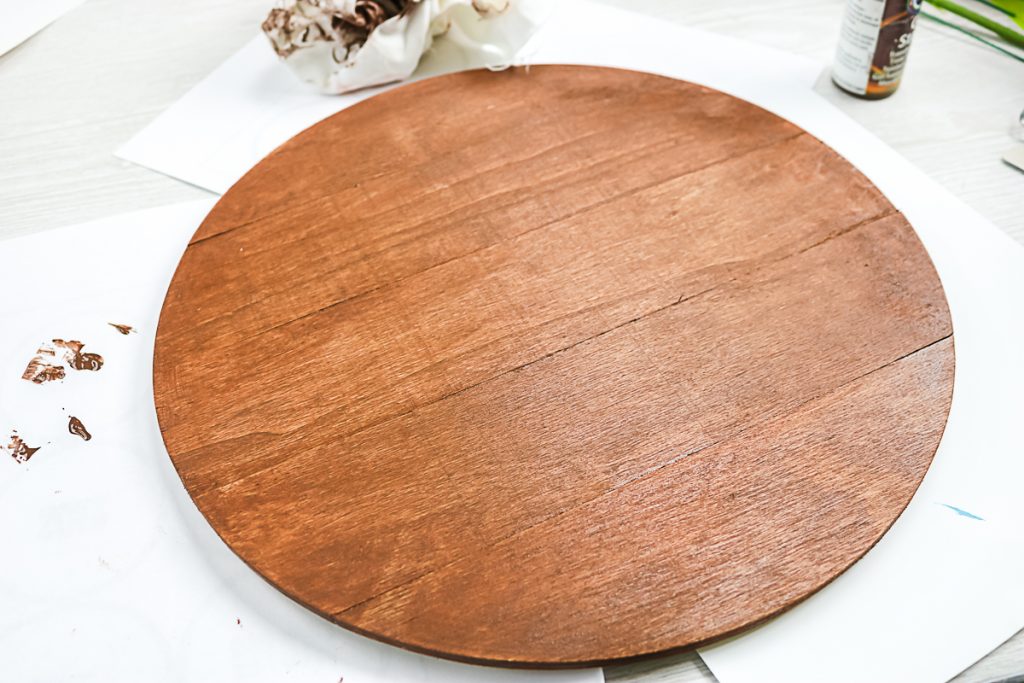
Step 2: Cut Hello File
While your circle dries, download the hello file and upload it to your Cricut machine. Cut the design from white adhesive vinyl.
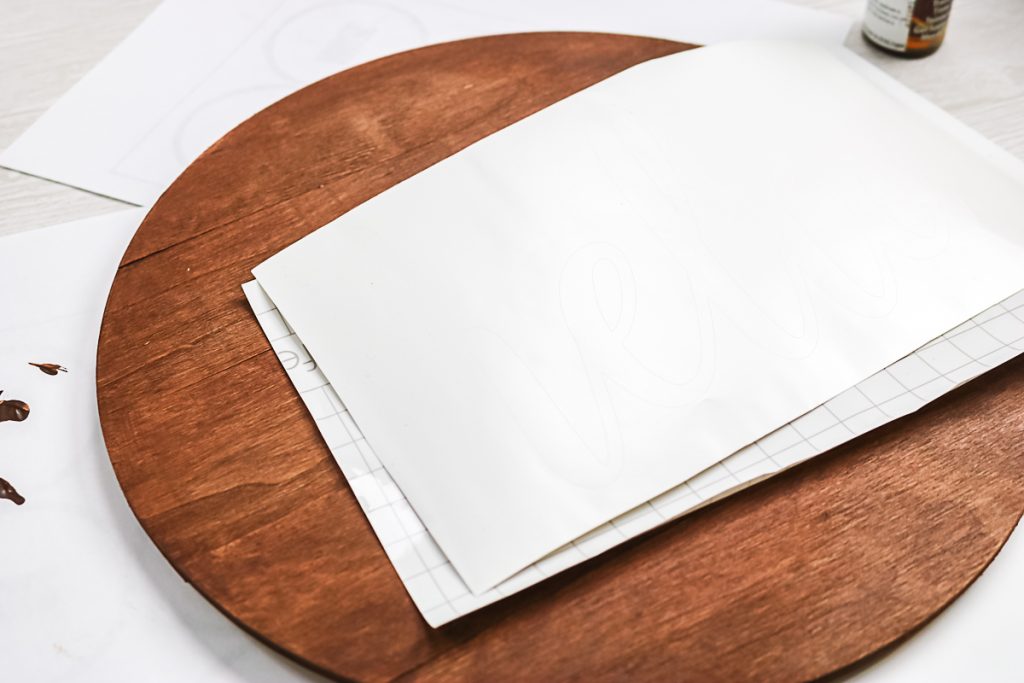
Step 3: Weed Hello Design
Weed away all of the excess material around the outside as well as the centers of letters. Then cover your design with transfer tape.
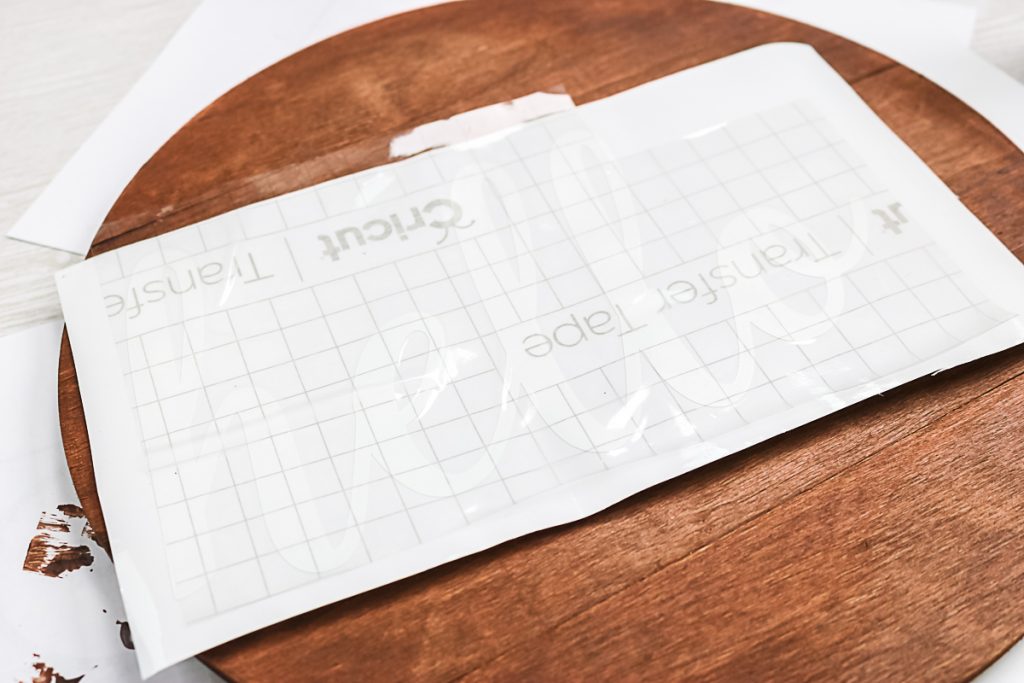
Step 4: Add Vinyl To Wood Circle
Burnish well on the front and back. Then peel the backing away from the vinyl. Apply the vinyl to the wood circle.
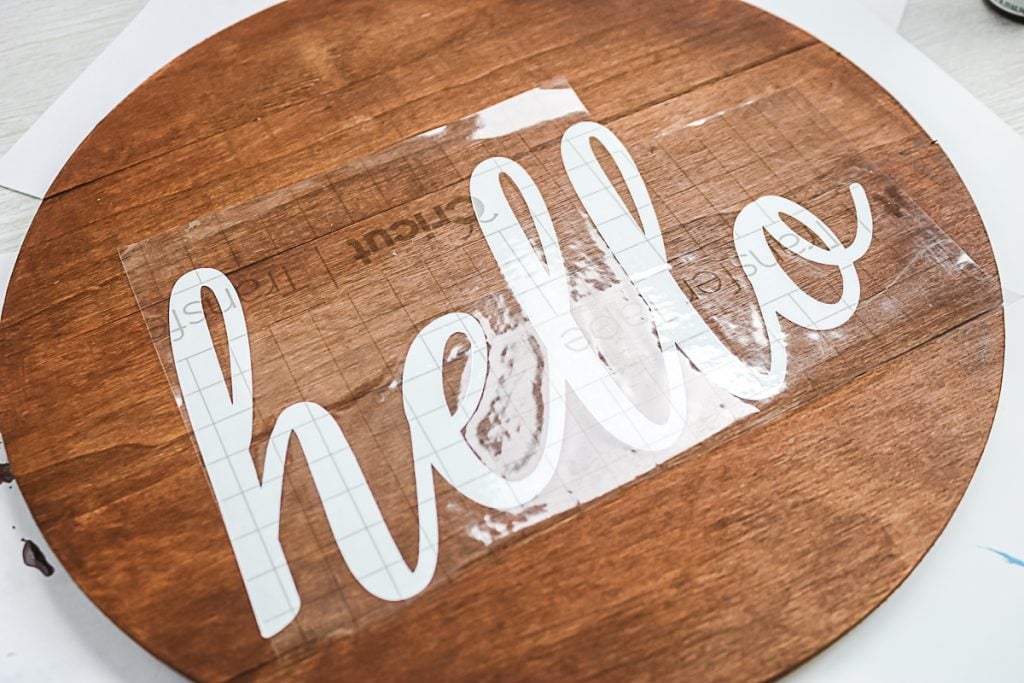
Step 5: Remove Carrier Sheet
Burnish down well then peel back the transfer tape. Start cutting the flowers for length and placing them on the top of the wood circle.
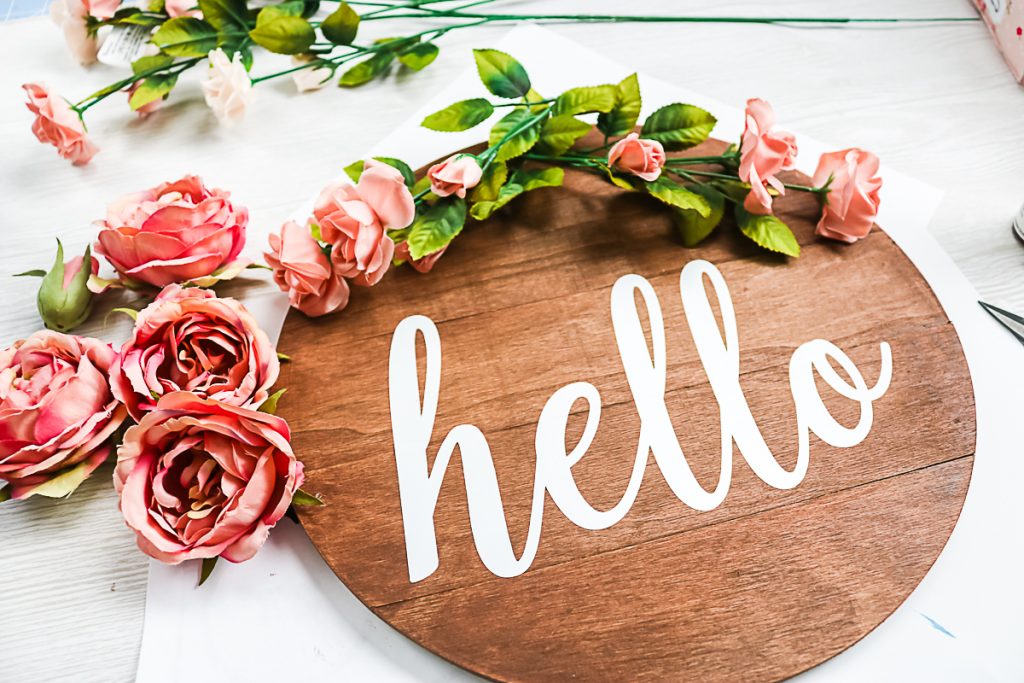
Step 6: Hot Glue Flowers To Wood Circle
Use hot glue to secure the flowers into place. You can add as many or as few flowers as you would like. Then just hang your spring floral door hanger right on your door to welcome the season.
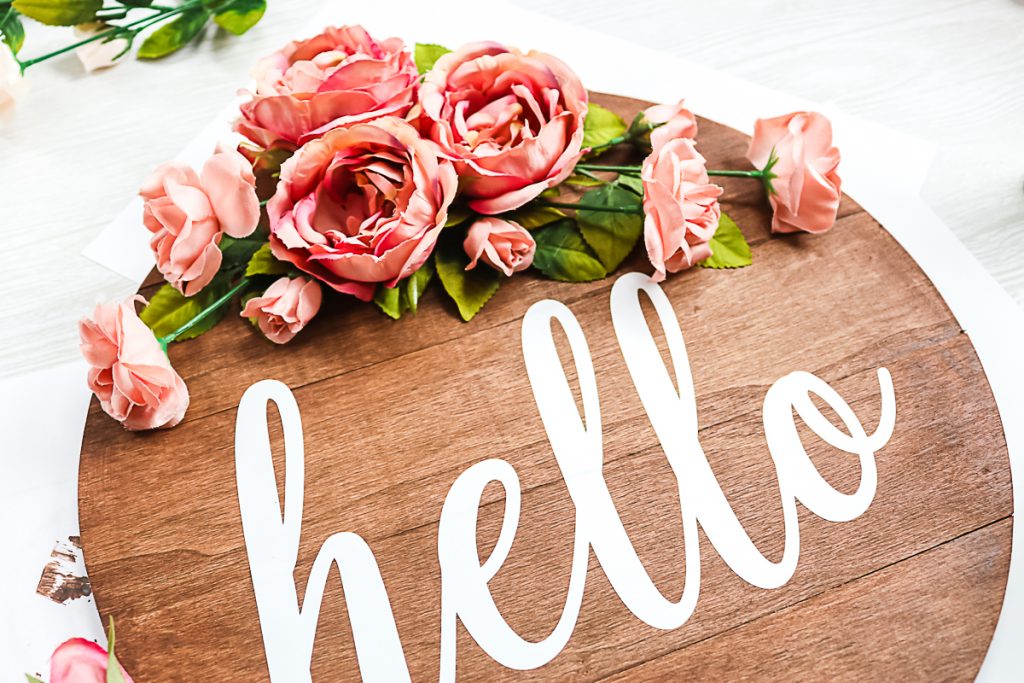
I do not seal over the top of my vinyl with anything. I just use permanent vinyl and burnish it down well. You would also want to wait 72 hours before putting this on your door to allow the adhesive to set. Otherwise, I think it will be fine. If you are worried about it, try adding Mod Podge or Polycrylic over the top after you make this DIY door hanger.

You can hang this one on an outer door but be aware that the flowers may not last very long. I have mine on an internal door or it would also look great above a mantel. Use this same idea to make a DIY door hanger for your home this weekend.
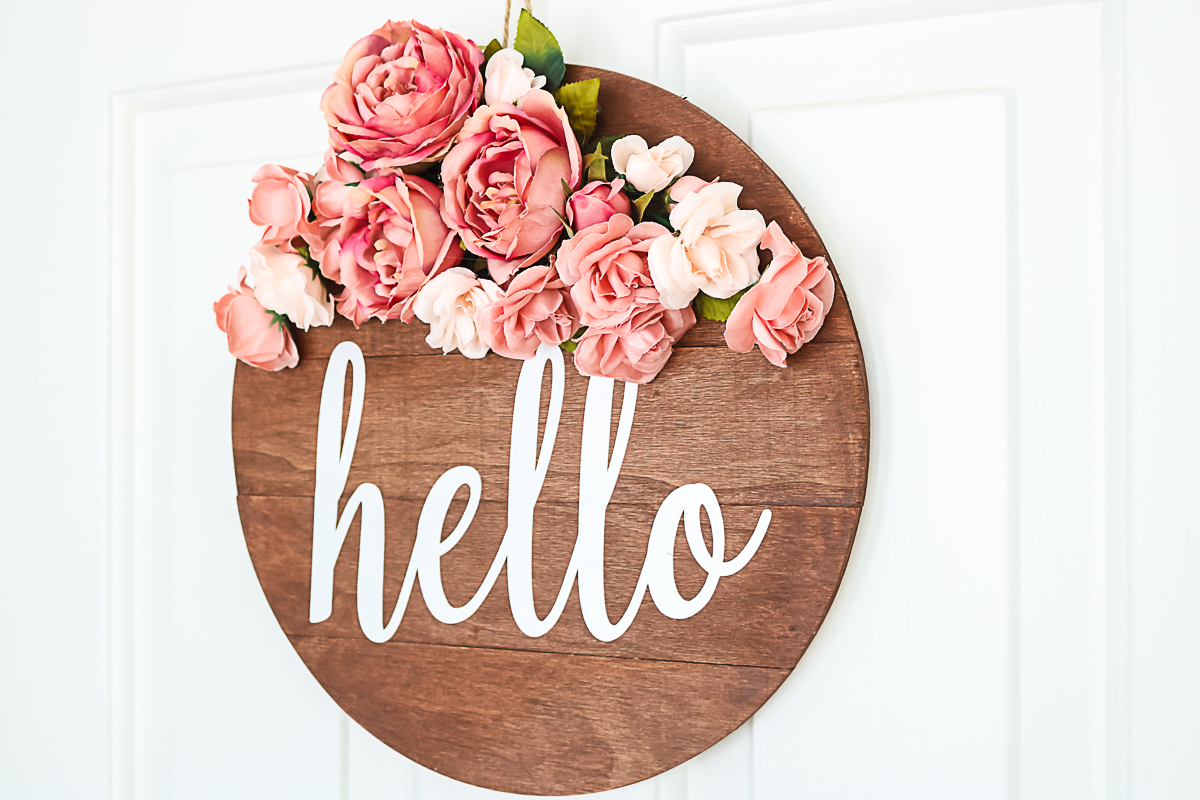
You can also change up this project for each season. I used pink roses and they work for a non-seasonal wreath. Think about using sunflowers for summer or mums for fall. I am sure you can come up with some ideas that will look great! Enjoy this DIY door hanger in your home.
FAQs About DIY Door Hanger
If you have questions about this DIY door hanger, I have answers for you! Please leave your question for me in the comments if you don’t see it already answered below!
Can You Use Any Size Of Wood Round For This Project?
Yes, you can! Depending on the size of your door and the look you are going for, you can easly size your wood round up or down.
I Don’t Have Wood Stain. Can I Paint My Wood Instead?
Yes, you can! If you don’t have wood stain you can either skip that step or use paint instead. Also, you can make your own ”stain” by watering down some brown paint, applying it to your wood round, then wiping it off with a cloth.
How Big Does The ”Hello” Need To Be?
Technically, the ”hello” wording can be any size that you wish. For example, when making my DIY door hanger, I wanted my ”hello” to be big and to take up a good amount of space on my wood round.
With that being said, before you cut the hello file, I recommend measuring the wood round that you have bought for this project so you can size your ”hello” appropriately. Doing this will ensure that you have the right size ”hello” for your wood round.
How Did You Hang Your DIY Door Hanger?
I glued a loop of twine on the back of the wood round to hang my DIY door hanger.
5 More Home Decor Crafts
If you loved this DIY door hanger and are looking for more home decor crafts, check out the projects below!
- Farmhouse Style Stenciled Door Tags
- Make Your Own Doormat
- Paper Leaf Wreath
- Felt Leaves Hanging Craft
- Pot Decoration Ideas for Testors Crafternoons



How large did you cut the word “hello”?
I would measure the wood round you buy and size it appropriately.
This looks usable to make. What font is it?
what did you put in the back to hang it? Thank you
The font is So Fontsy. And I put a loop of twine on the back.