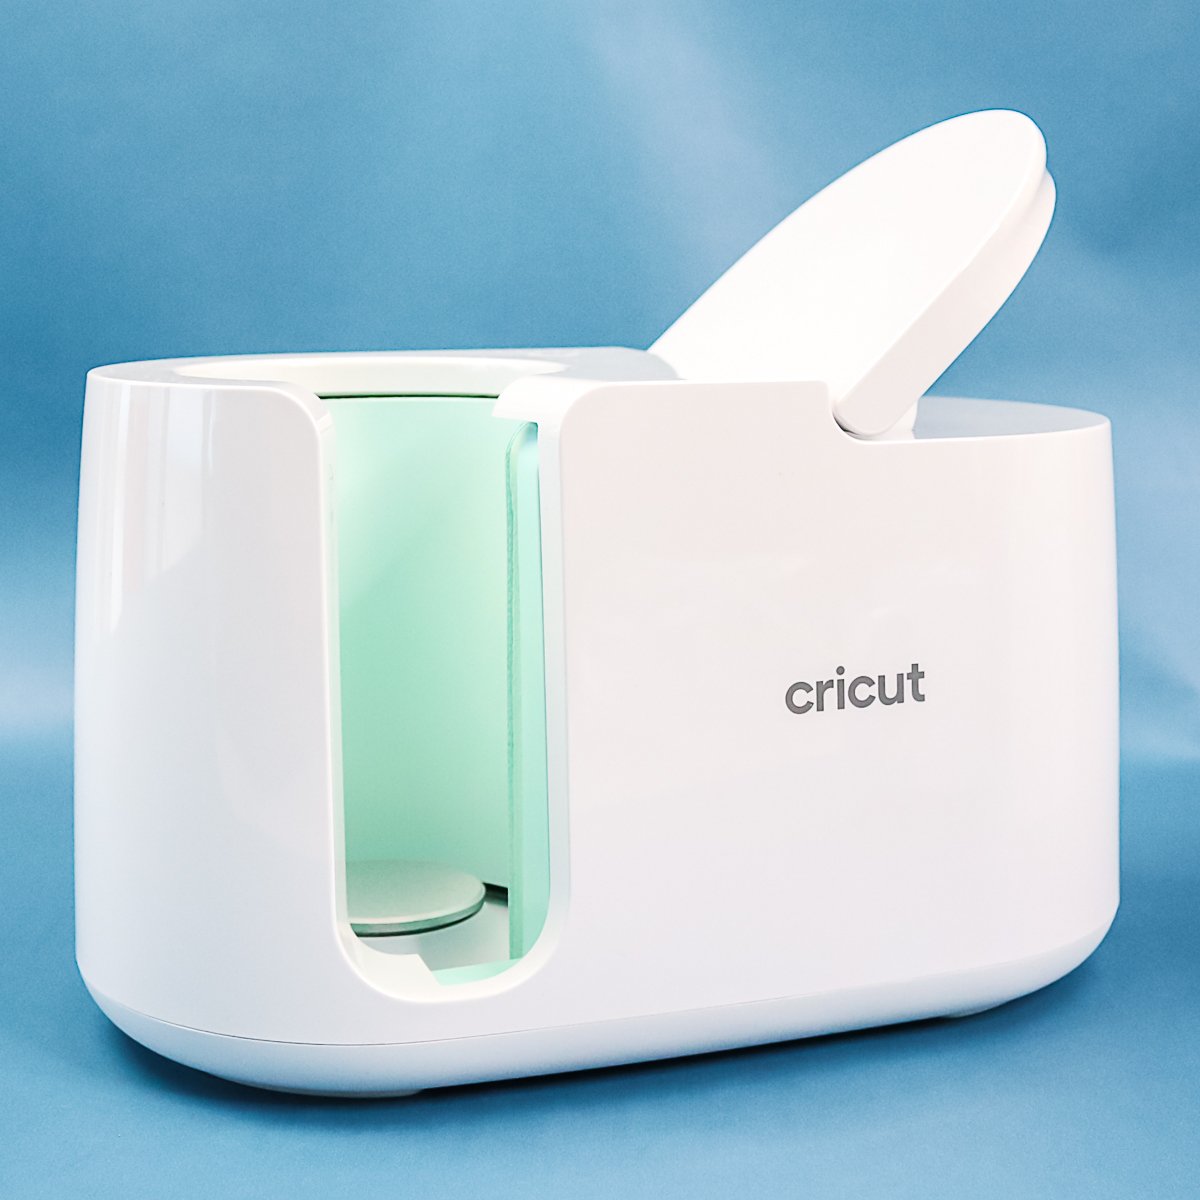
The Cricut Mug Press is here and I have Cricut Mug Press instructions for you! How does it work? How is it different from a traditional mug press? What mugs can you use in it? Can you only use it with Infusible Ink? Let’s explore this new Cricut heat press and see what you can do with it. Trust me, if you want to make dishwasher-safe mugs, you are going to want to keep reading!
Cricut Mug Press Instructions Video Tutorial
I have all of the information you need in a video below. If you want to just click play, you will find out everything you ever wanted to know about the Cricut Mug Press and so much more!
Can’t watch the video or missed some of the information? I have everything you need to know below as well so just keep reading.
Cricut Mug Press Instructions
Below I will be going over everything you need to know about the Cricut Mug Press and the instructions. Plus, I will be showing you how to make a mug! Then to wrap things up, I will be sharing a quick comparison of the Cricut Mug Press to a Traditional Mug press.
This is a blog post you don’t want to lose, so make sure you bookmark it so you can refer back to it later!
What Is The Cricut Mug Press?
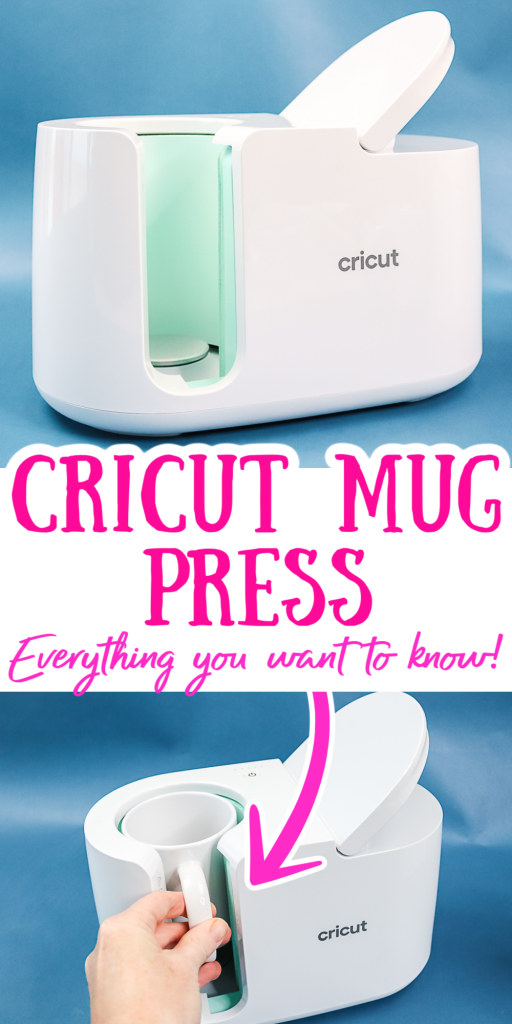
Cricut is releasing a special heat press just for mugs to add Infusible Ink to the surface. Now the mug press will work with other mugs and materials so keep reading to get information on how to find the right materials to work with your mug press. The Cricut Mug Press is special because no other Cricut EasyPress will work with the rounded surface of a mug. This is definitely the best way to make personalized mugs that last a lifetime.
How Does The Mug Press From Cricut Work?
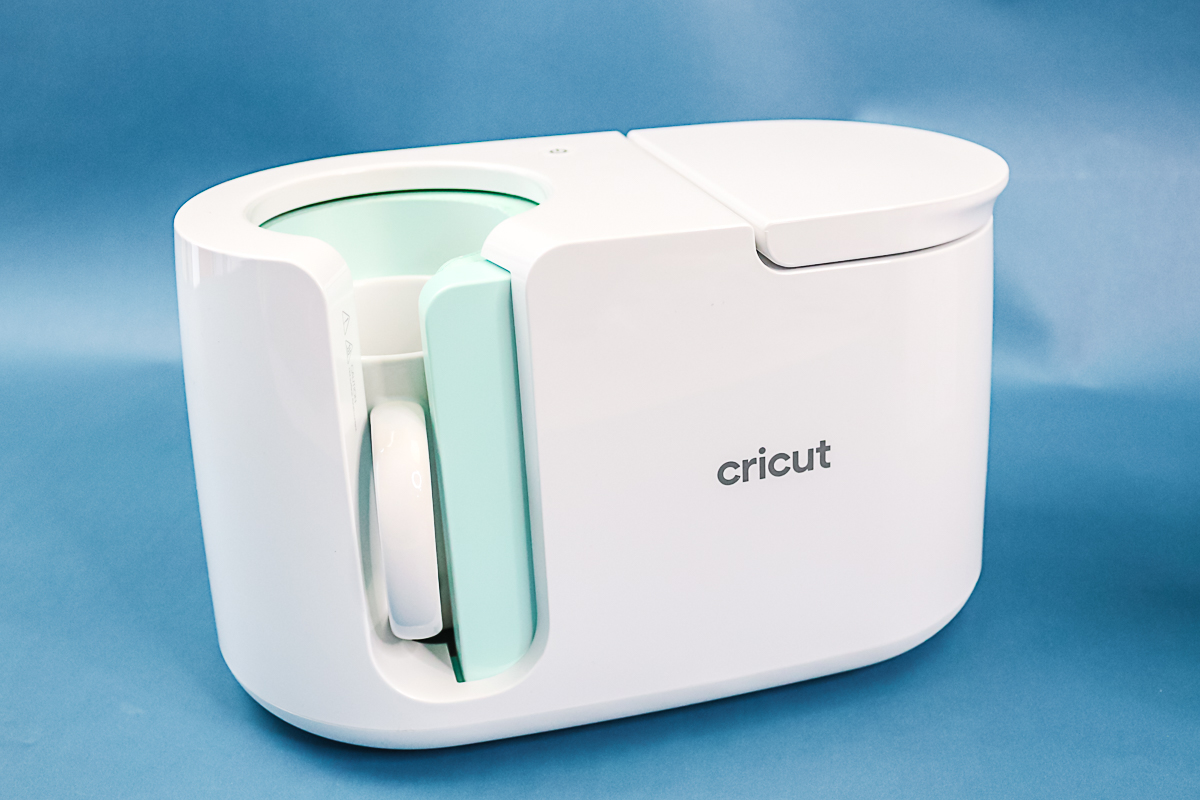
The mug press wraps around certain-sized mugs and heats them to an optimized temperature to get the best results every time. The heat surface is circular and the way the press closes makes it adjust slightly to accommodate a range of mug sizes.

Not sure which heat press is for you? Heat Press Roadmap has your answer! This extensive course is designed to guide you on your journey to deciding on the best heat press for your needs, space, and budget.
Join Angie Holden and Cori George as they explore 17 heat presses in 27 videos. Get the details and sign up for Heat Press Roadmap here!
What Do The Buttons And Colors Mean?
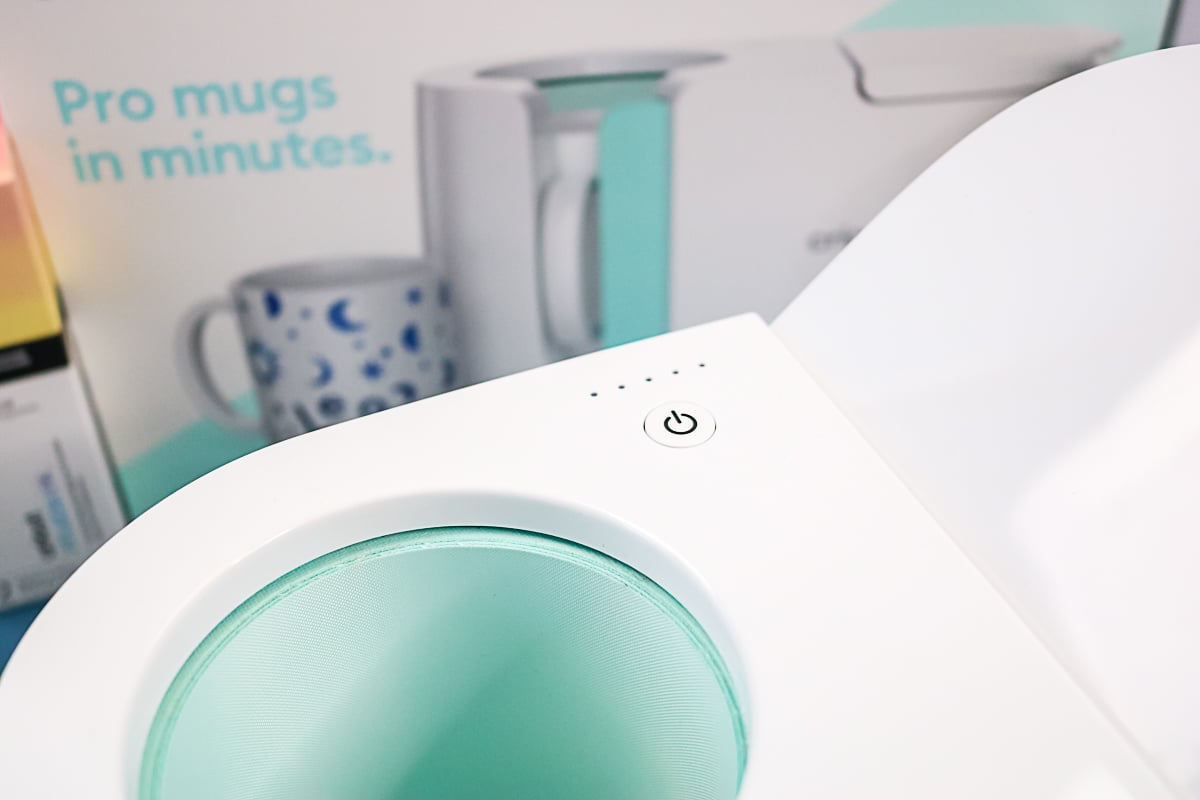
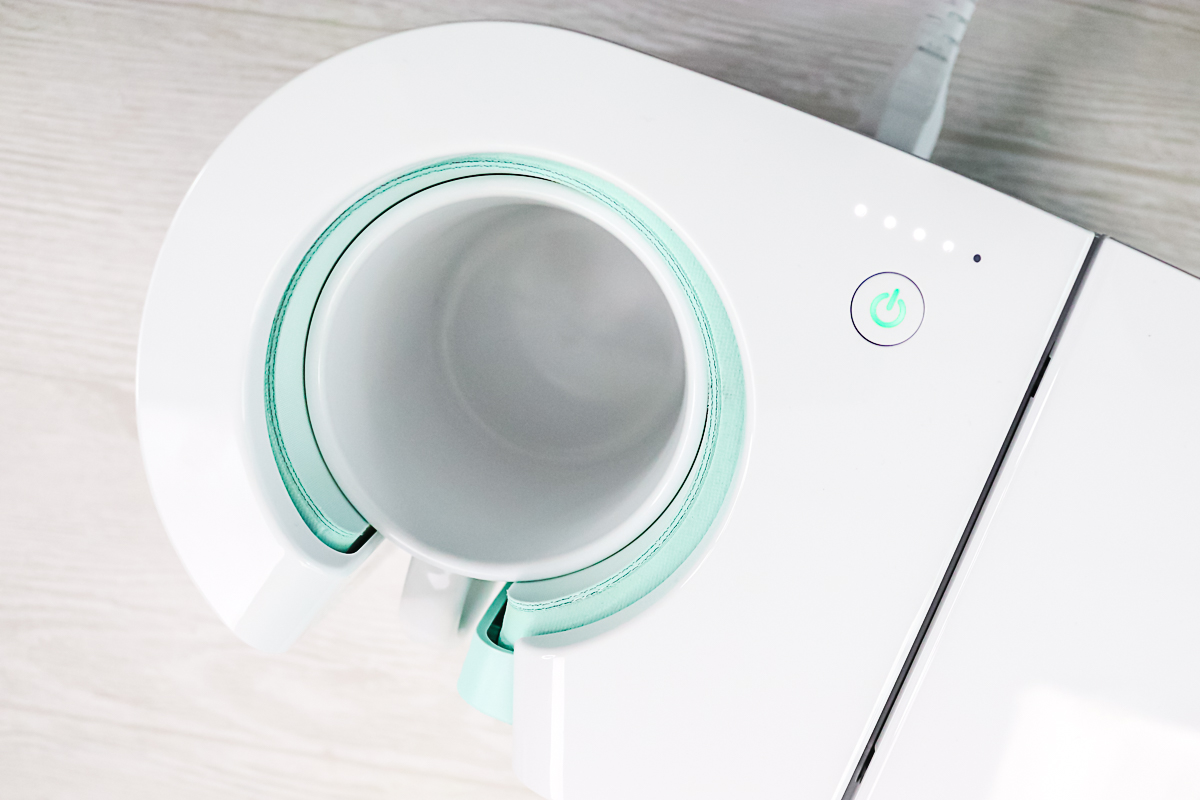
The press has one button and that is the power button. Here are the colors and meaning of that light:
- No light – standby mode
- Orange flashing – connect mode
- Solid orange – heat mode
- Solid red – error detection
There is also an LED progress bar that can be used to track transfer progress. It will light up as the mug is pressed and the closer to the end it gets, the closer your mug is to being complete.
How Do You Set The Time And Temperature?
The time and temperature are both set by the press. There is no adjustment. The press knows how hot the mug needs to get and even optimizes the process for things like ambient temperature. The average press time is 6 minutes. You do need to remember that the time may vary depending on room and mug temperature. To start the press, just add your mug and press down the lever. Pull the lever up to stop it.
Is There An Auto-Off Feature?
Yes! The machine will turn itself off after a period of inactivity. If you have your press on and you are not using it, it will start to beep to warn you it is about to shut off. You can press the power button again to keep it on.
Can I Put A Design On The Entire Mug?
The only area where you cannot add a transfer is under the handle and 0.5″ (12.7 mm) from the handle on both sides. Otherwise, you can add a design to the entire outer surface. For the Cricut mugs, those dimensions are as follows:
- Small mug: 8.75″ x 3.79″ (22.2 cm x 9.6 cm)
- Big mug: 8.75″ x 4.25″ (22.2 cm x 10.8 cm)
UPDATE: If you’re not a fan of that blank space under the mug handle, then you are going to love my tips for a full-wrap sublimation mug! You can watch me create full-wrap sublimation mugs and learn all my tips by checking out my How to Make Full Wrap Sublimation Mugs blog post!
Set-Up Of The Cricut Mug Heat Press
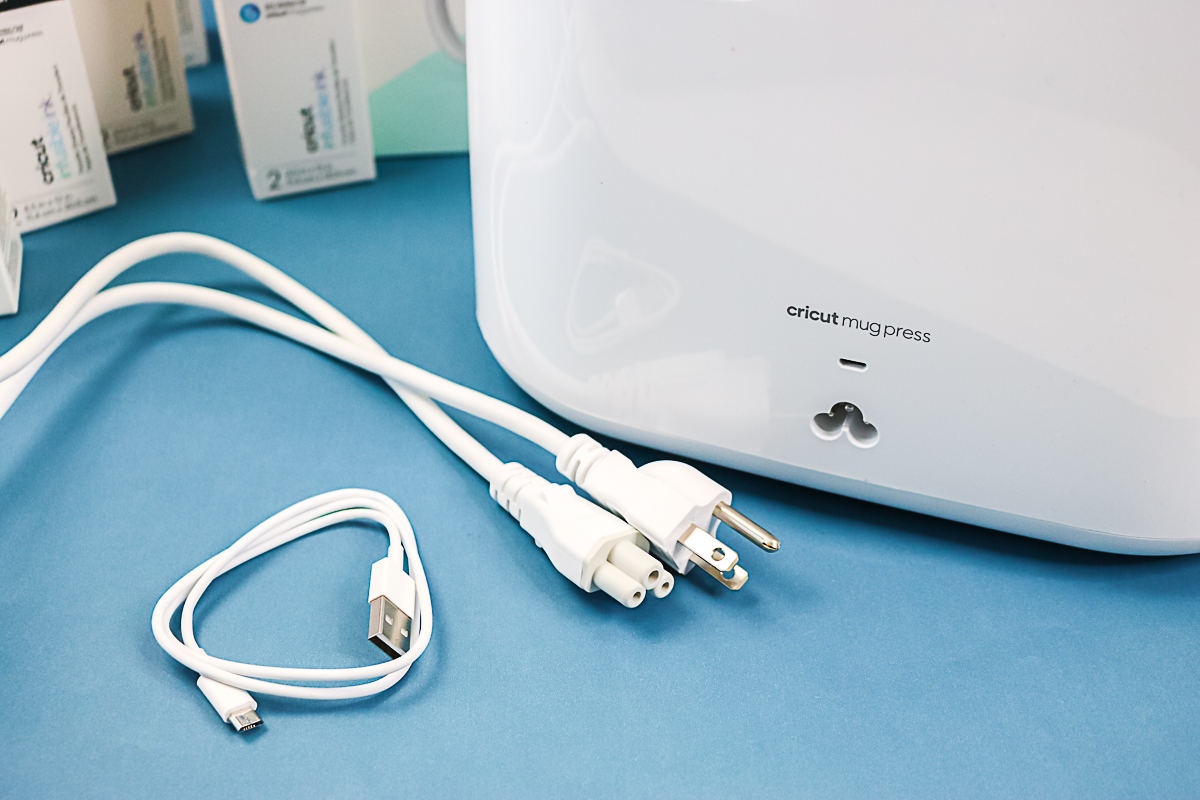
When you get your mug press, there will be a power cord as well as a USB cord. You will need to use the USB cord to hook the press up to a computer once for setup and to download any updates. Please note that you will need a computer and an internet connection for this. I went through the steps in the video above but here is a breakdown:
- Go to the website on the booklet that comes with the press or open up Cricut Design Space if you already have it installed.
- Click the three lines in the upper left-hand corner.
- Click heat press then mug press.
- Then you just follow the on-screen instructions for setup.
What Mugs Work In The Cricut Sublimation Mug Press?
You need to remember that mugs need a poly coating to work with the Cricut Mug Press. That means that you can’t go to the Dollar Tree and pick up mugs! You want to look for poly-coated sublimation-compatible products when shopping and mugs that are white or light in color work best.
Sizes For Mugs That Will Work
When considering non-Cricut mugs, you can find sublimation mugs on Amazon and other websites. The following are the sizes that work with the press:
- Capacity of 11 – 16 oz (350-450ml)
- Straight-walled drinkware only, avoid curves and uneven textures
- Outer Diameter between 3.2″ – 3.4″ (82 – 86 mm)
- Maximum height of 4.72″ (120 mm)
Information On Cricut Mugs
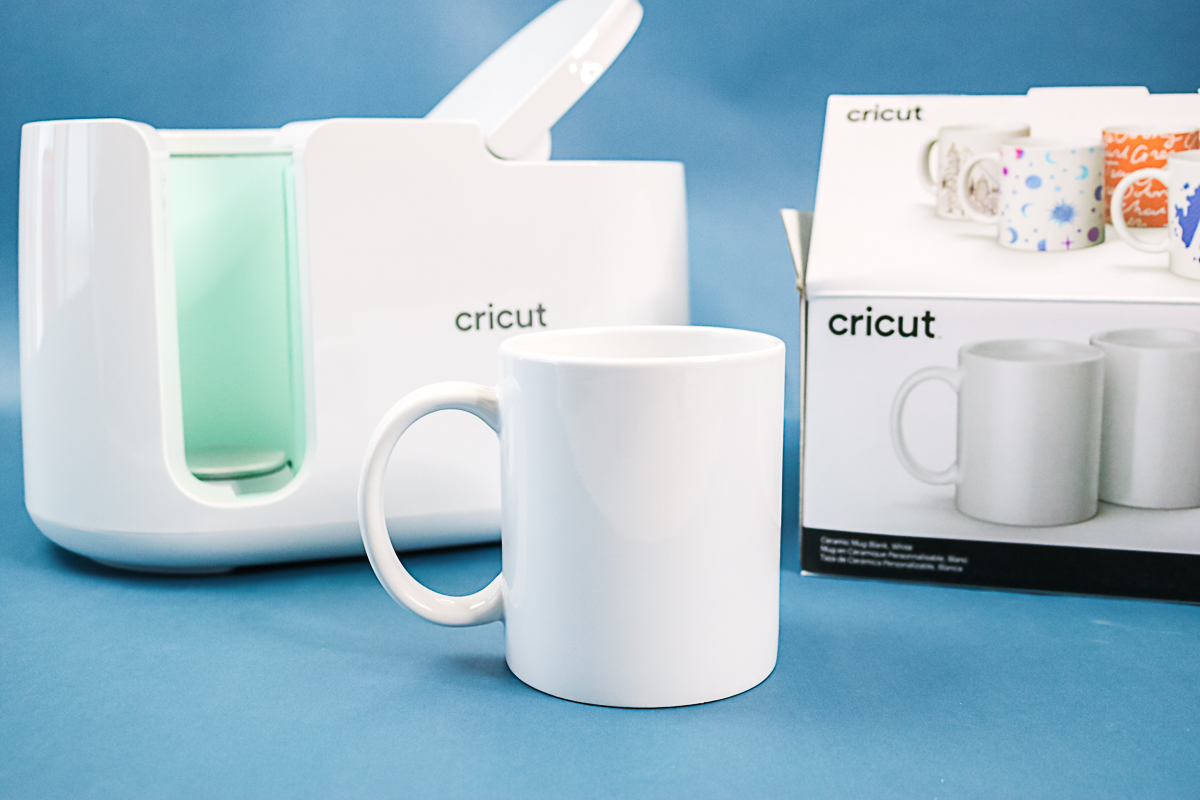
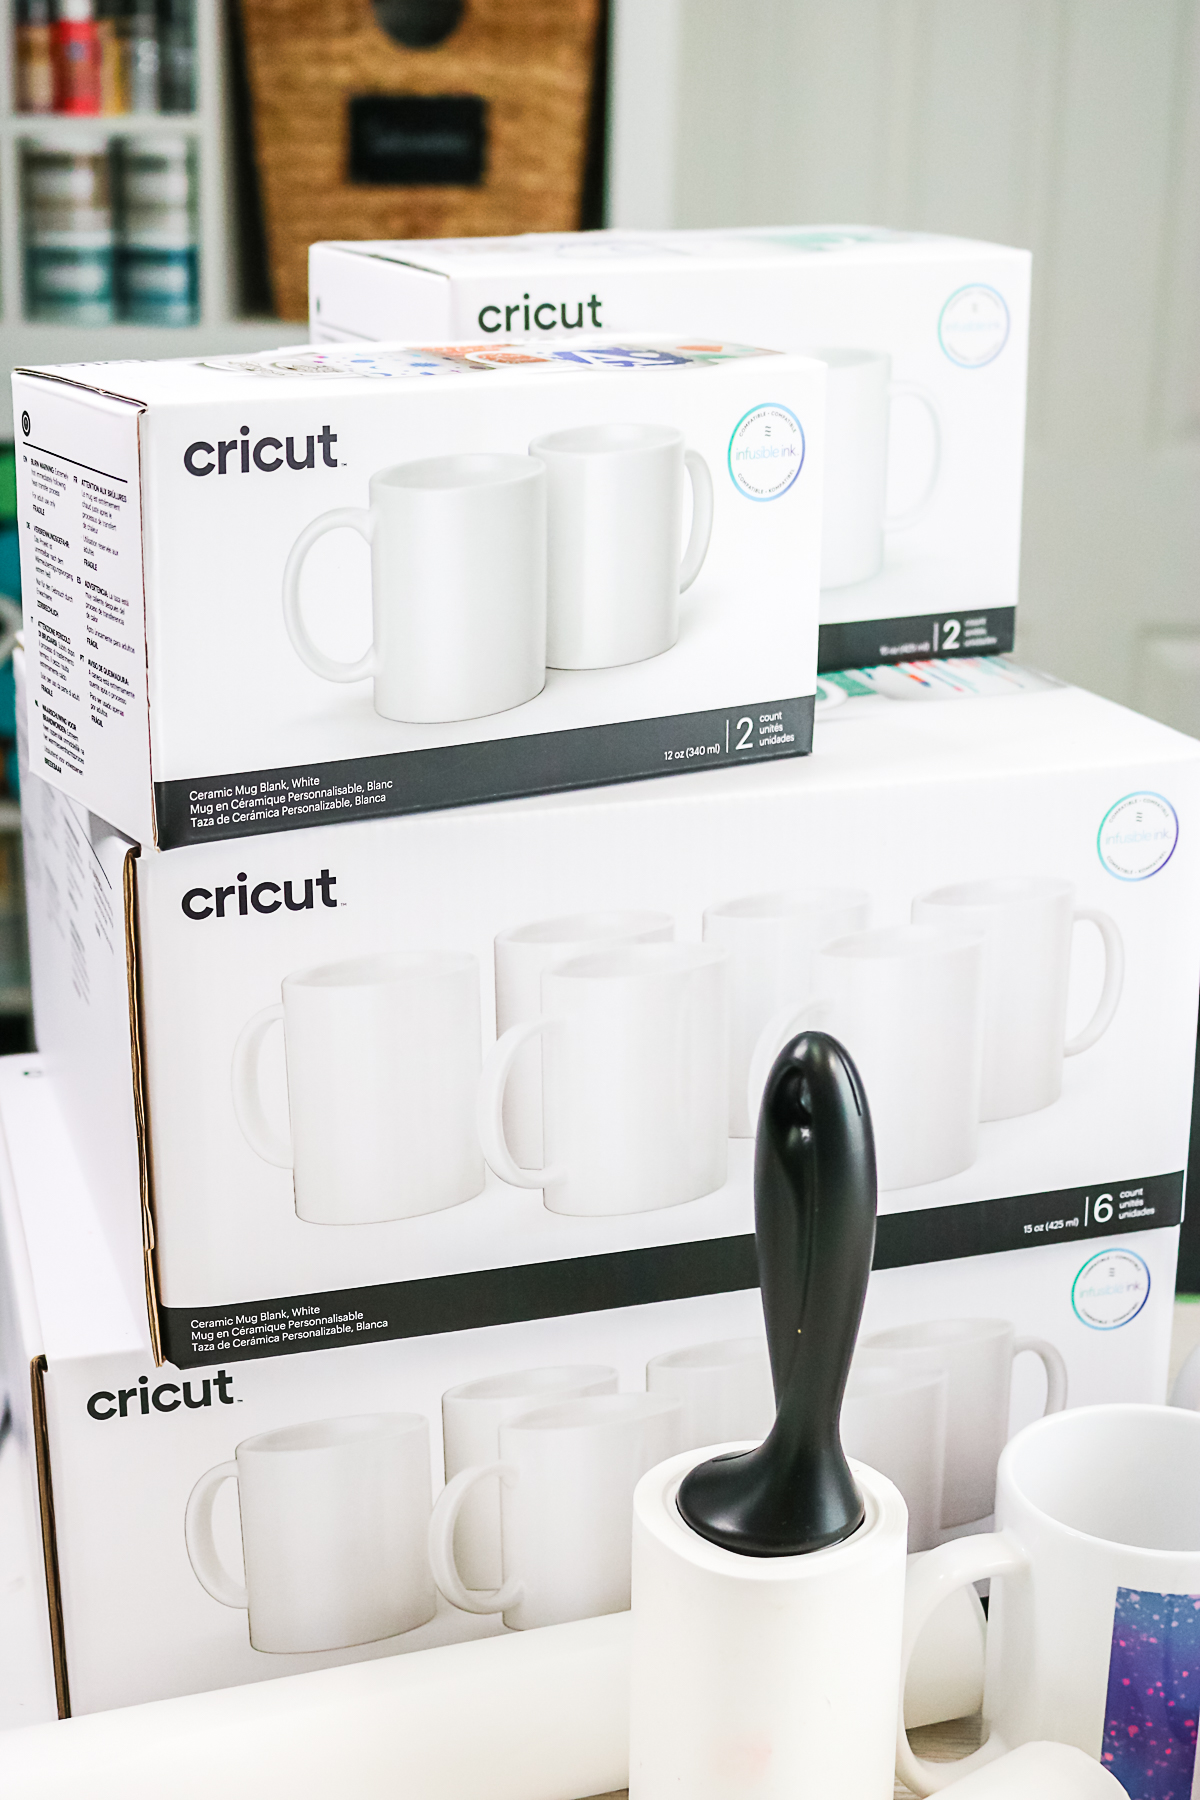
Cricut has its own line of mugs specifically designed to work with this press. Cricut Mugs have been vetted by the QA teams at Cricut to ensure they are the highest quality, perfect size, and most even poly coat. The even poly-coat and surface are very important to a proper press. Imperfections in the mug can ruin your projects. Right now there are two different Cricut mug sizes:
- Small 12 oz
- Large 15 oz (note that these come with their own gift box included with your purchase)
These mugs come in a 2 pack as well as large economy packs if you want a bunch of mugs. I will note that you may only be able to find the bulk packs on the Cricut website.
Using Other Blanks
The big question is will other blanks work in the mug press? Can you press other circular blanks that are not mugs?
Well, today, I will only be focusing on the standard Cricut mugs. However, if you want to learn more about other blanks and how they work with the Cricut Mug Press, check out the blog posts below!
- Tumblers in the Cricut Mug Press and Other Blanks
- Skinny Tumblers in the Cricut Mug Press
- Unique Sublimation Mug Blanks for Your Crafts
- Glass Mugs in the Cricut Mug Press: Do They Work?
Materials That Work With The Cricut Press For Mugs
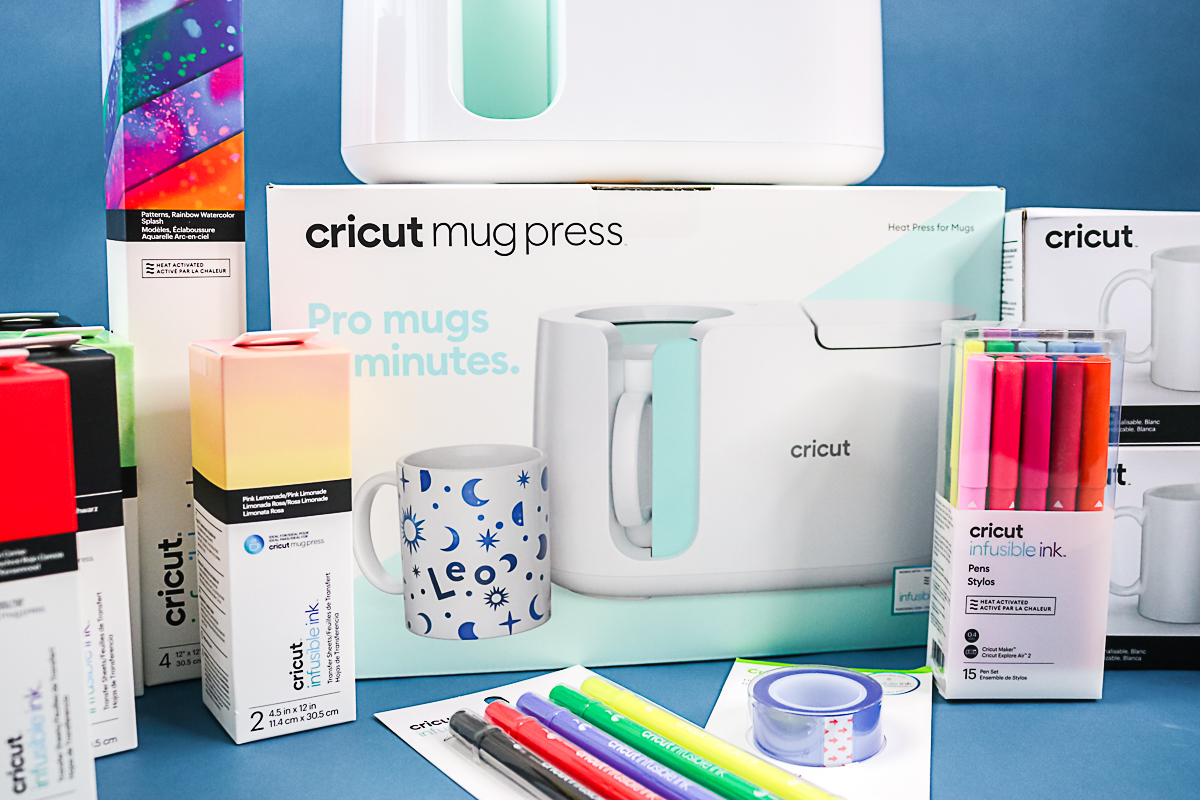
Infusible Ink Sheets, pens, and markers are compatible with the Cricut Mug Press. Other sublimation materials are also compatible, but the press is optimized for Infusible Ink. Let’s take a closer look at each material!
Does It Work With Infusible Ink?
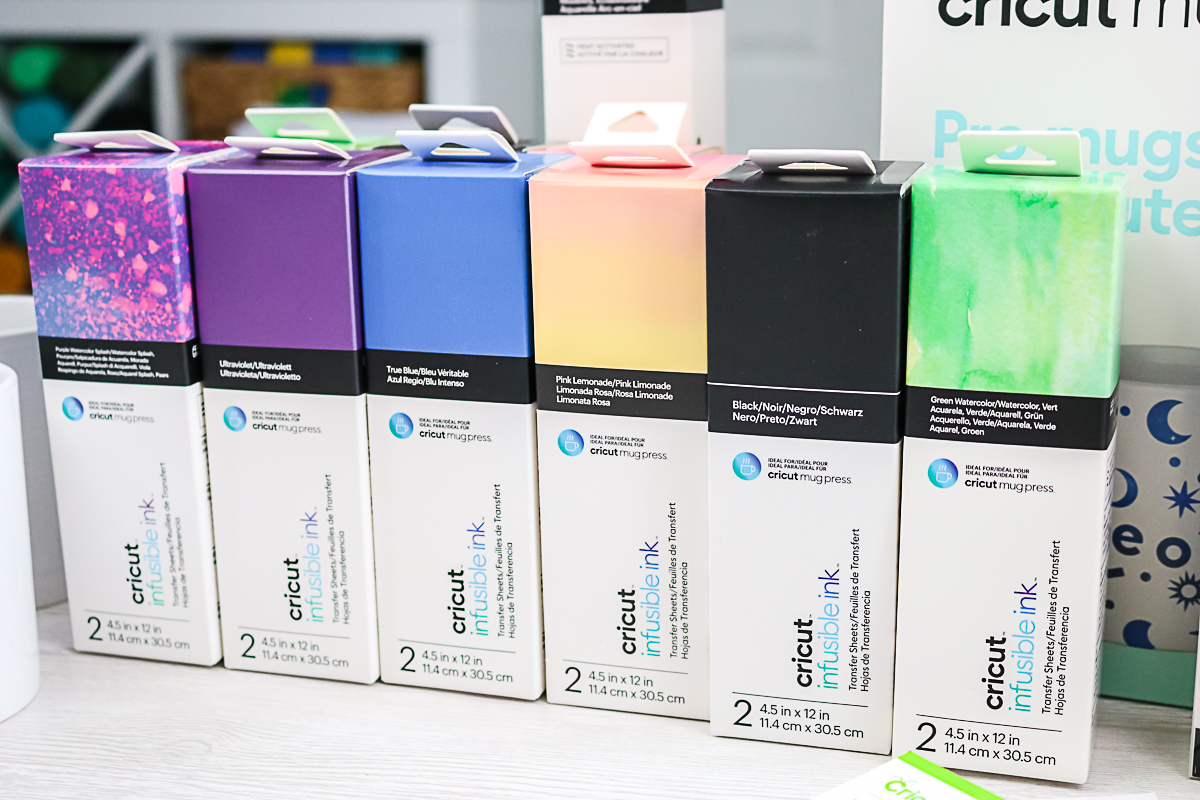
When used with the Cricut Mug Press, Infusible Ink products create vibrant, seamless designs that are dishwasher and microwave safe. There are even specially sized sheets of Infusible Ink for the mug press to minimize waste. You can find them in a box marked for the mug press. I will note that all Infusible Ink sheets and markers will work with the machine but the specially marked boxes will minimize the scraps that you have.
Does It Work With Sublimation Or HTV?
The press does work with sublimation prints! To see a full detailed tutorial on this topic check out my blog post called How to Print on Mugs using Sublimation and the Cricut Mug Press. In that post, I cover everything you need to know about sublimation with the Cricut Mug Press, plus I share a video tutorial.
Iron-On or HTV is NOT recommended to be used in the Cricut Mug Press. The material can burn and melt, which could damage the heat plate in your press. I actually don’t like HTV on my mugs as I find it really doesn’t last.
Other Supplies Needed
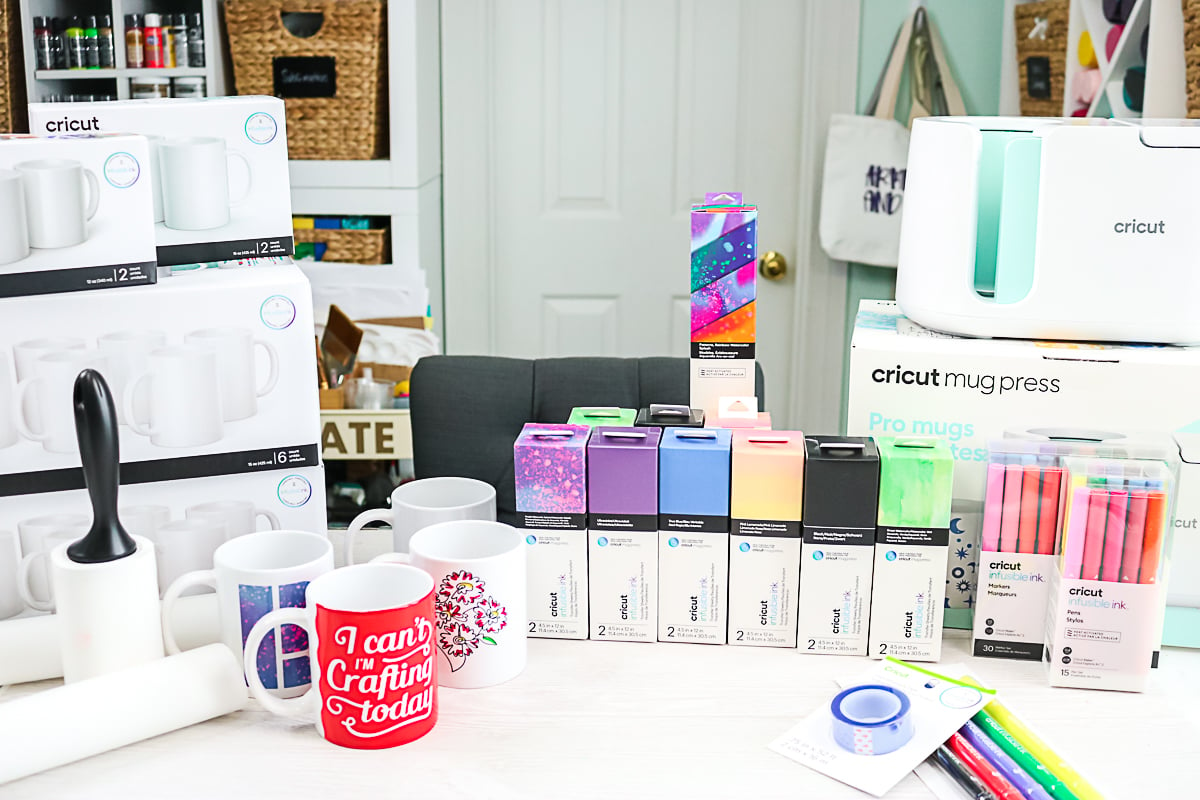
You will need a few other supplies when working with your mugs:
- Lint Roller
- Heat Resistant Tape
- Butcher Paper (this is when you are using the pens and markers only)
- Heat resistant gloves (optional)
- Copy Paper
- EasyPress mat or another heat resistant surface
How To Make A Mug With The Cricut Mug Press
Now that you have all of the information on the press itself, let’s make a mug!
I will note that for today, I am just making a simple mug with a design cut with an Infusible Ink sheet on both sides.
However, if you are looking for another post and video, check out my Infusible Ink Mugs Using the Cricut Mug Press blog post. In that post, I cover all of the basics of Infusible Ink that you need to know for making mugs. Plus, I go over full-wrap designs, layering Infusible Ink, and more!
Cutting And Weeding Infusible Ink
Before we make our mug we need to make our design. So, break out your favorite Cricut machine, and let’s get designing!
Step 1: Size Design For Mug
Size your design to fit on your mug.
Step 2: Cut Design
Cut using the Infusible Ink transfer sheet setting.
Step 3: Weed Design
Once cut, weed away all of your excess Infusible Ink sheet. There is a trick to weeding the sheets and you can find out more about that here.
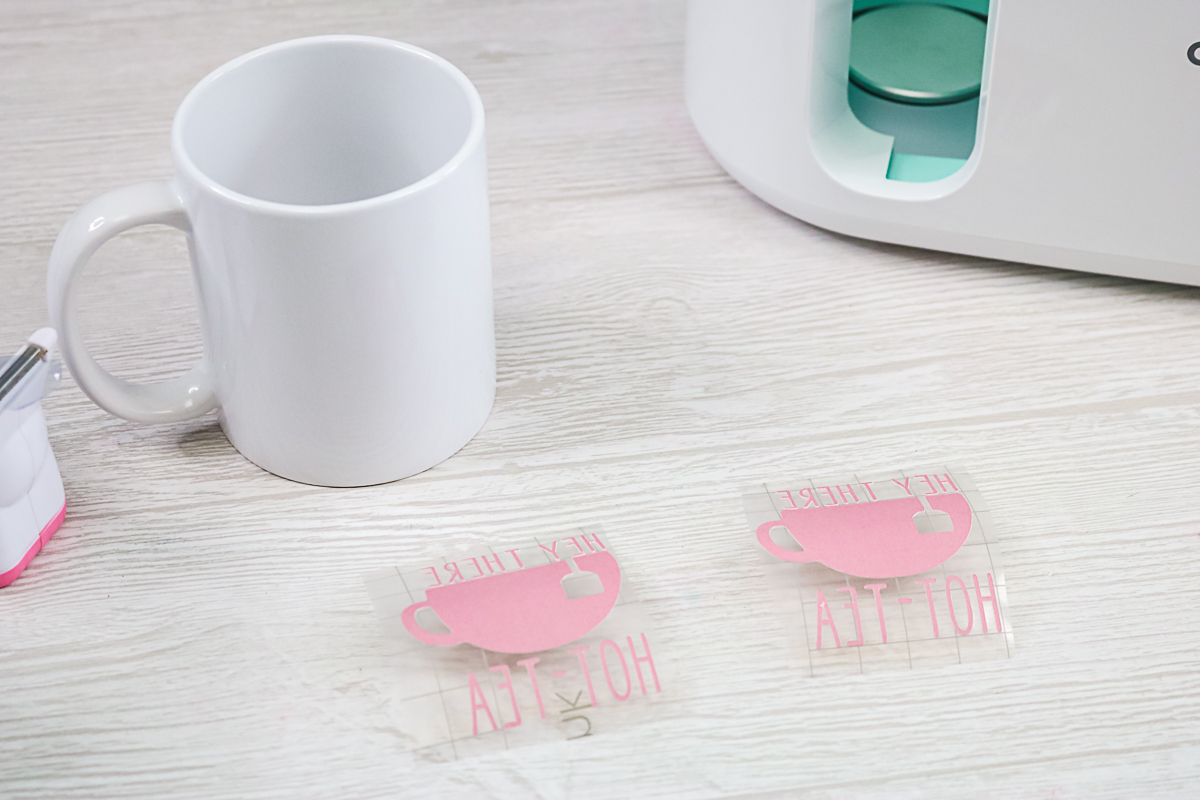
Step 4: Trim Excess On Carrier Sheet
Once weeded, be sure to trim away all of the excess on your carrier sheet. The excess around the design can pick up lint, ink pieces, and other things that can ruin your design. You want a small lip around the edge to apply to your mug but you don’t need much.
Adding Infusible Ink To The Mug
Now you are ready to add the Ink to your mug. First, you will need to find the center of your mug to locate your design then you can add your cut sheet.
Step 1: Find The Center Of Mug
Look down from the top of your mug and find the center. Place a piece of tape all the way across the top of the mug to mark that center.
Step 2: Lint Roll Mug
Roll the mug well with your lint roller to remove any debris.
Step 3: Line Up The Design With The Center Of The Mug
Then approximate the center of your design and locate it on the mug in the center. Make sure it is straight and in the right location.
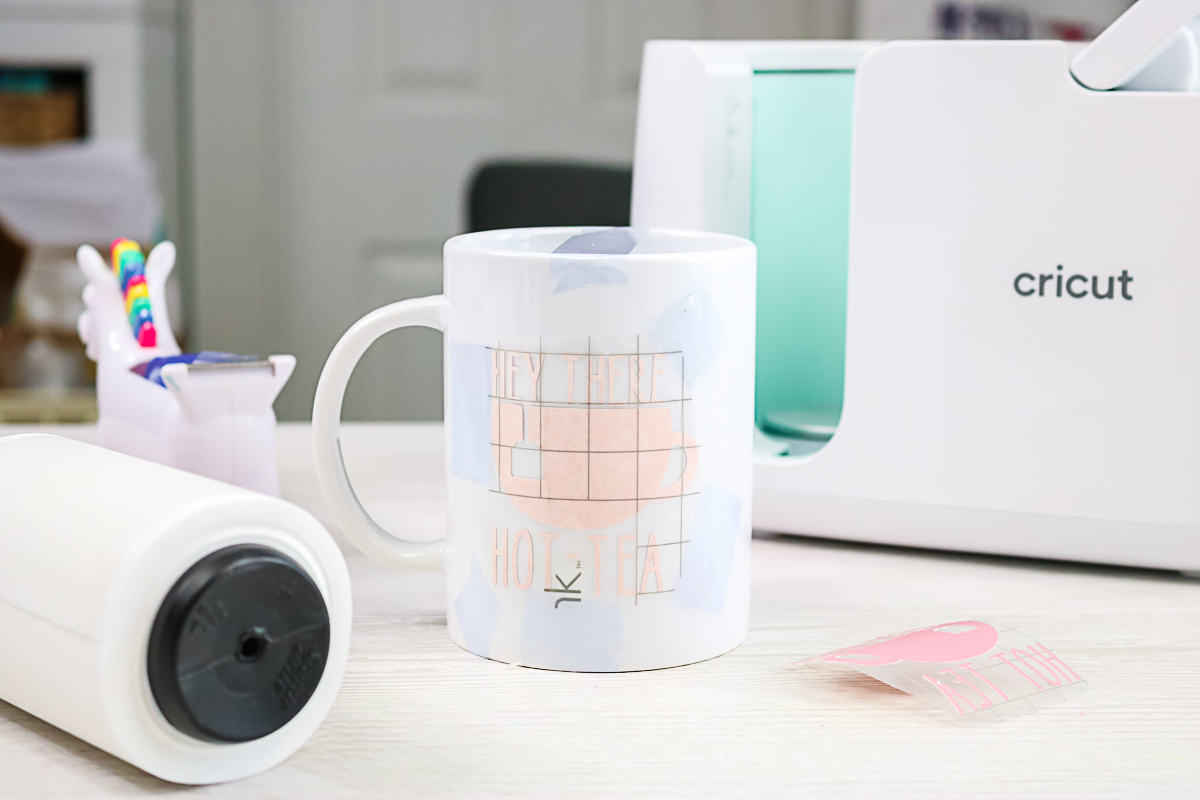
Step 4: Tape Design In Place
You will want to press the sheet down well and add heat-resistant tape to the edges. Tape at least on all four sides and maybe a bit more if there are areas that are lifting.
Step 5: Repeat On The Other Side Of The Mug
Repeat on the opposite side of your mug and don’t forget to lint roll! You can use the tape you put across the top to secure this second side once you have it in place. I also like to make sure my designs are the same distance from the bottom on both sides using a ruler.
Pressing Your Mug
We finally get to use the Cricut Mug Press for the first time! Remember that the white plastic outside of your mug press will be cool to the touch but the inside parts will be HOT. I will also note that it is best to use your press in a well-ventilated area so be sure to open a window.
Step 1: Heat Up Press
Heat up the press and wait for it to beep and the light to turn green.
Step 2: Put Mug In Press
Hold your mug by the handle and put it into the press. Please note that when using the transfer sheets butcher paper is not needed around the mug. You will want to see this blog post if you are using the pens or markers so you don’t ruin your press!
Step 3: Close Lever
Close the lever watching the mug handle as you close it. You want the handle to be in the center once the press is closed. You can just turn the mug with the handle to adjust the location.
Step 4: Let The Heat Press Do Its Work
Once the press is closed, just leave it alone! It does all of the work for you and will get your mug to the right temperature for the right amount of time. It will beep once it is done.
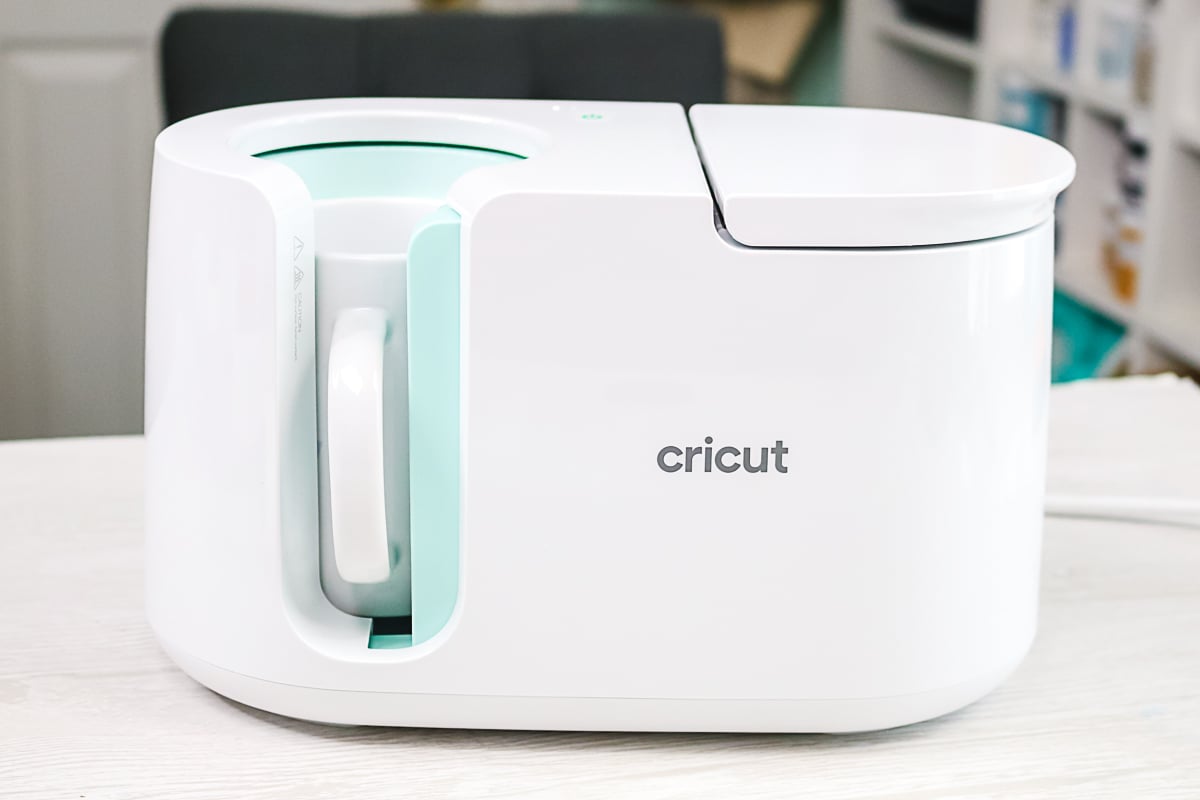
Remember that the mug press has the progress bar across the top and you can watch it to see how far along in the process you are. However, you don’t want to open the lever until the press beeps.
Finishing Your Mug
Once the press beeps, your mug is done and is ready to be removed.
Step 1: Lift Lever
Lift the lever to release your mug.
Step 2: Remove Mug From Press
Then hold the HANDLE of the mug only as it will be cool and remove it from the press. You can also use heat-resistant gloves if that makes you more comfortable.
Step 3: Place Mug On EasyPress Mat
Place the mug on an EasyPress mat or another heat-resistant surface.
Step 4: Let Mug Cool
Let your mug cool for 15-30 minutes before handling.
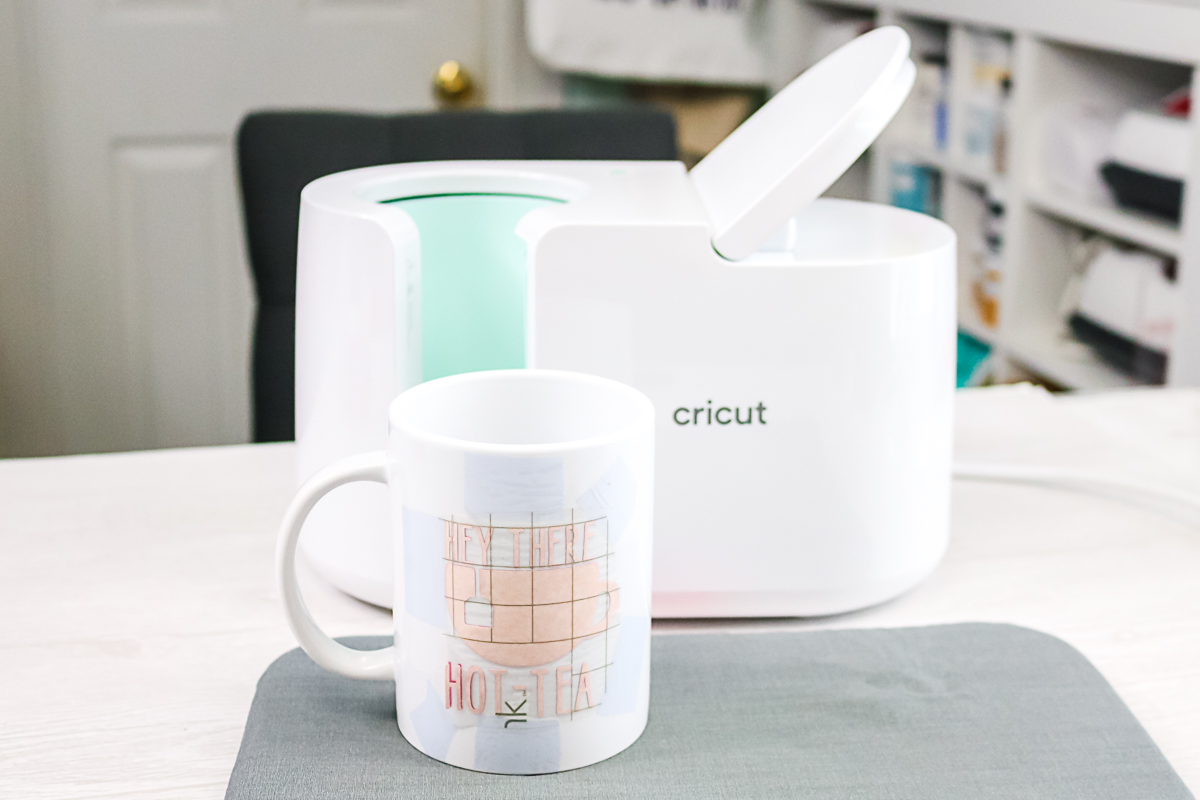
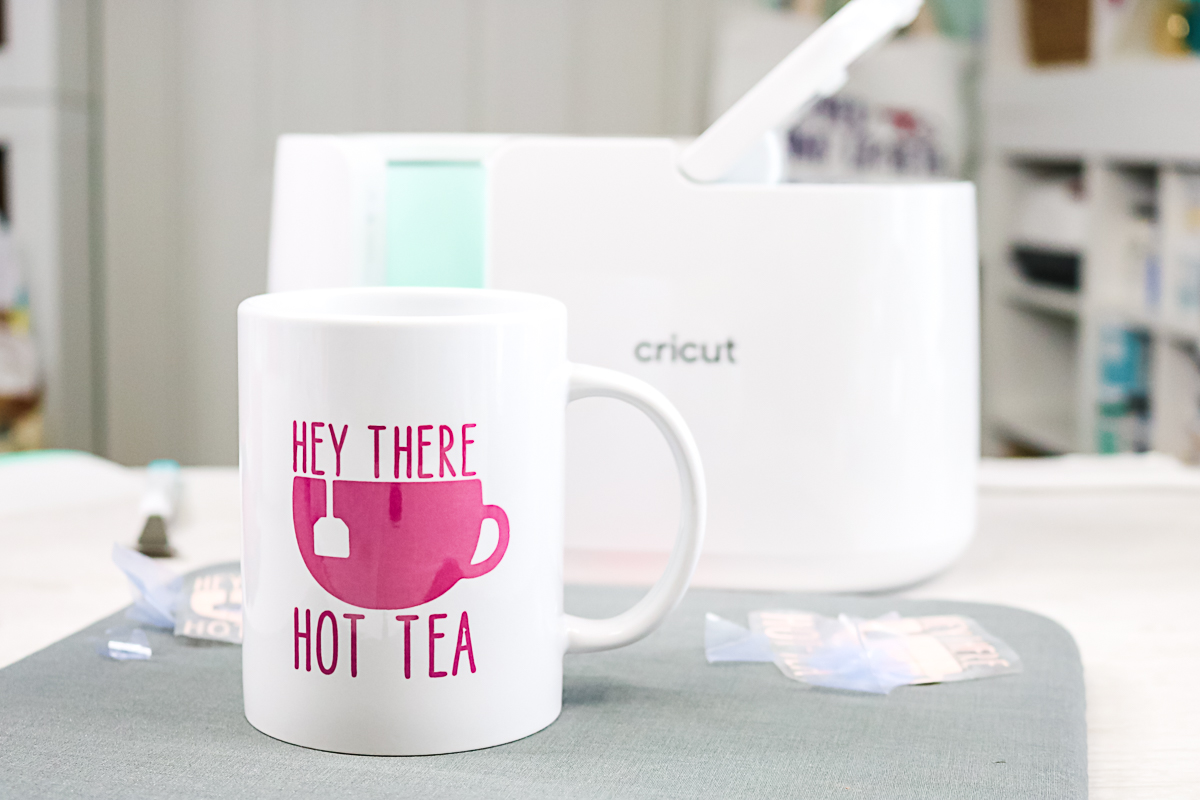
Once cool, peel back the tape and the Infusible Ink sheet to reveal your design. The mug is dishwasher safe, microwave safe, and the design is permanent right out of the press. There is nothing else that needs to be done to the mug.
Other Materials and Mug Designs
As I mentioned before, I created a blog post called Infusible Ink Mugs Using the Cricut Mug Press. I highly recommend that you check it out if you are looking for more information on designing mugs. This is because l cover the proper way to use the pens as you will need 4 layers of butcher paper. I also talk about using more than one color of Infusible Ink as well as how to do designs all the way around your mug. Cricut has made a template that makes the process super simple!
Cricut Mug Press Versus Traditional Mug Press
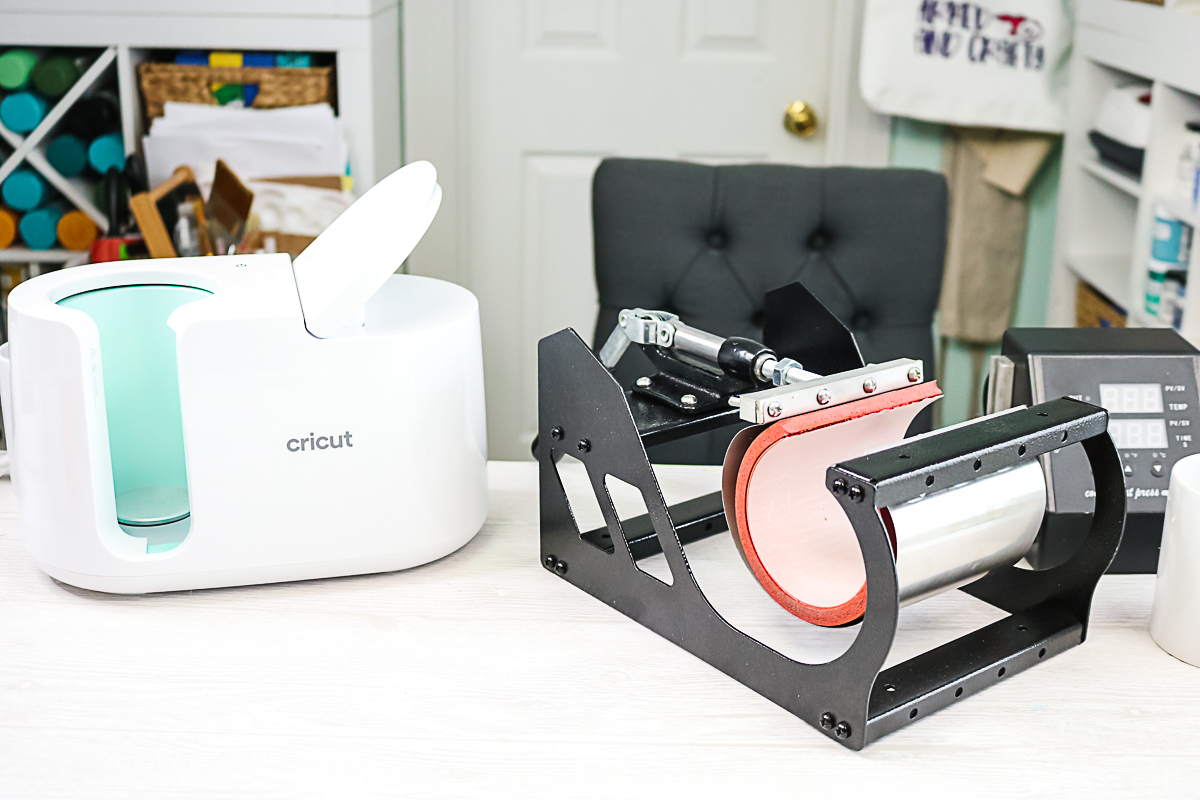
How does a traditional mug press compare with this mug press from Cricut? I thought I would go through some of the similarities and differences that I see. Please note that I have only used one brand of traditional mug press and there may be better options on the market.
Limitations
- Both mug presses have limitations as far as size. With the traditional mug press, you can buy inserts to fit different-sized blanks, however, this can get fairly expensive.
- Both mug presses also have limitations with being able to put a design under the handle. Although I don’t have documentation with the traditional heat press, it appears to be about the same size area.
Safety
- I hated how my mug press was hot basically everywhere once heated up. I didn’t feel safe using it. In contrast, the Cricut Mug Press is amazing in that the white plastic stays cool and I feel completely safe making mugs.
- The traditional mug press that I had needed to be held when opening and closing the clamp or it would need to be secured to a table with screws. I didn’t like either of those options as it is hot and I don’t want it in a permanent location. The lever on the Cricut version is easy to operate and I don’t have to hold the press down to work it.
- I have a lot of trouble closing a traditional mug press and adding a ton of pressure to hot glass just makes me nervous. I find it much easier to close the Cricut heat press for mugs.
- The insert in the traditional mug press that I used wasn’t secure inside so it would float around. This means that I have issues inserting my mug as well as getting it in the correct location for when it closes. I love that the Cricut version has a secure insert so I just need to worry about mug placement and not placement of the entire thing.
Heat
- With a traditional mug press, you will need to set a time and temperature. I see this as a drawback as most sublimation mugs come with ZERO instructions. There is just very little documentation out there on optimal times and temperatures. And, as we have talked about, those can change with the temperature of the room or your mug. So, I see the heating system in the Cricut Mug Press as a positive for that machine.
HTV
- With a traditional mug press, you can do HTV and Iron-on. My question would be why? The material definitely performs the worst on mugs from all tests that I have run so that is definitely not an issue for me.
I hope that comparison helps you decide if you are looking at both machines and are wondering which to purchase. I will stick with my Cricut Mug Press and give my traditional back to my neighbor as I have no desire to use it!
Buying The Mug Heat Press from Cricut
The Cricut Mug Press will be available everywhere starting on March 11, 2021. Try the links below to find the press and to purchase!
You will also find mugs and Infusible Ink sheets at all of those places.
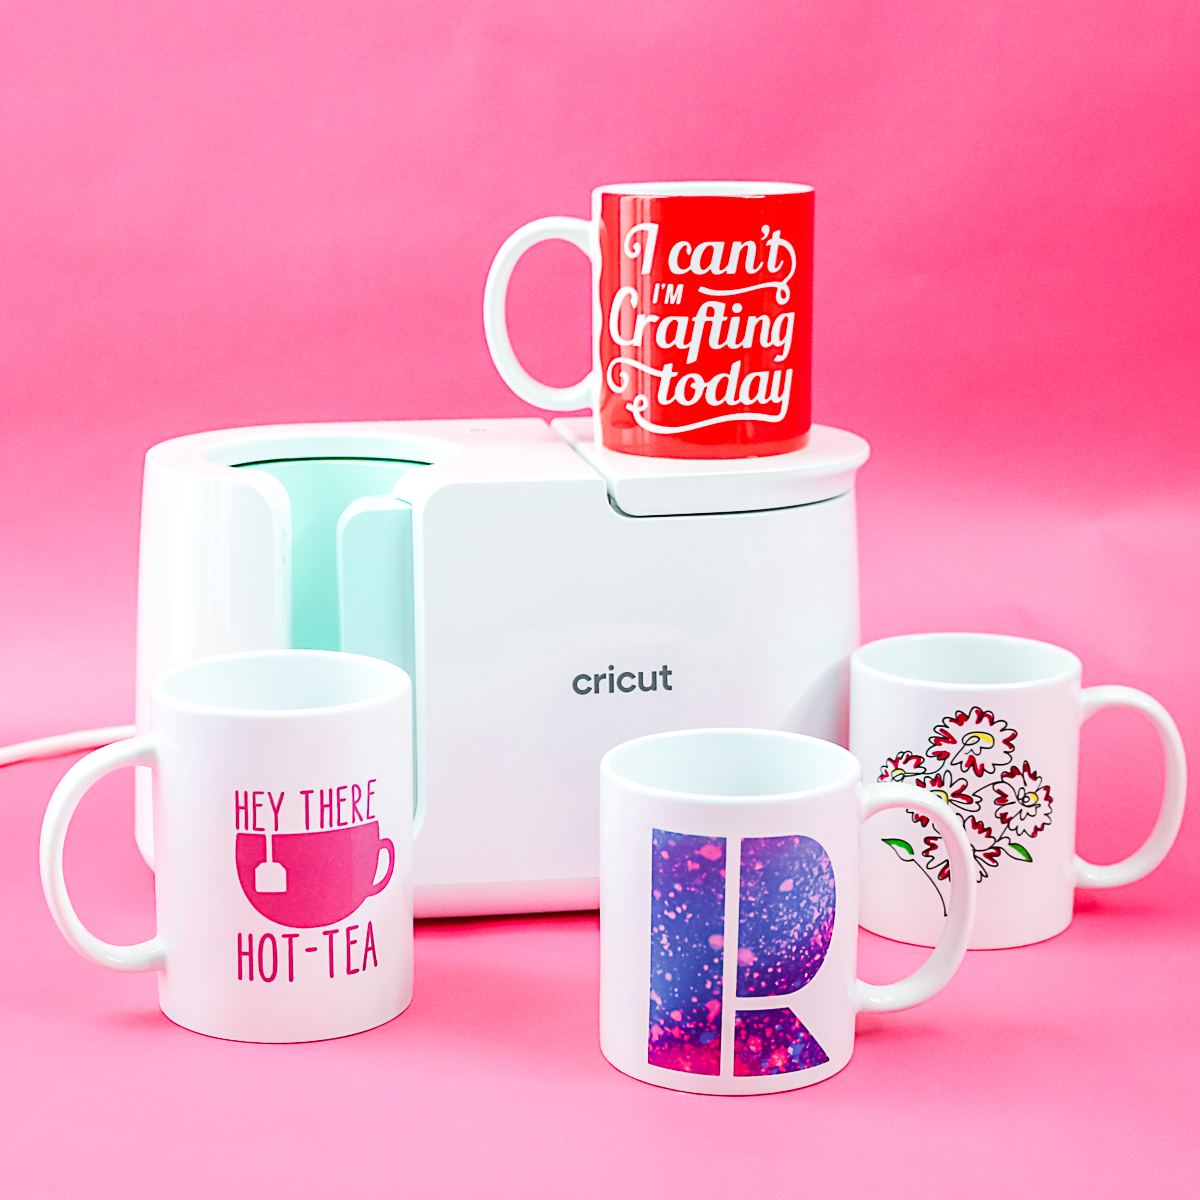
Remember to stay tuned as I have so much more planned with this press! There is no way to fit all of the information into one post or video. This post was designed to give you the basic Cricut Mug Press instructions and demonstrate how it works. So, to stay up to date on all things regarding the Cricut Mug Press, make sure you check out this page often or subscribe to our YouTube channel!
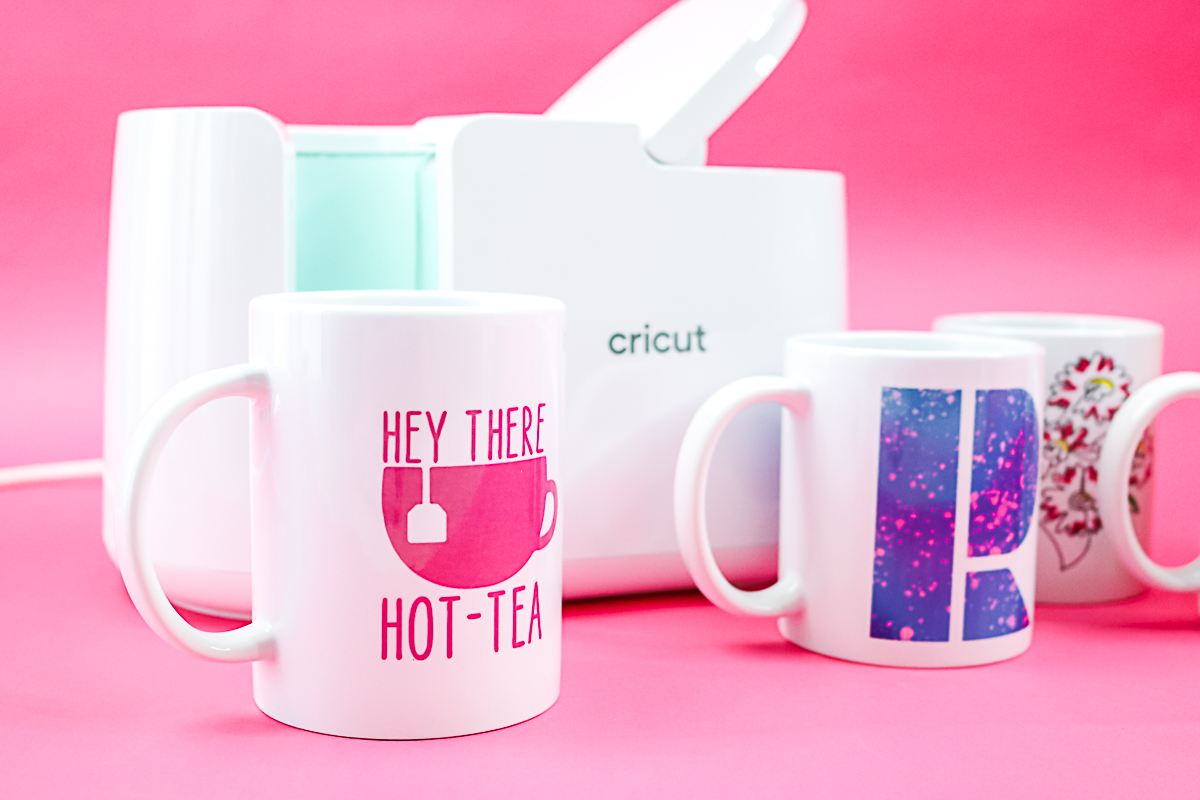
I would love to hear from you in the comment section. What questions do you still have about the Cricut Mug Press? Is there something else you would like me to cover regarding the Cricut Mug Press instructions? or What would you like to see me answer in future videos? Please let me know so I make sure to cover everything. After all, I want you to be informed about this sublimation mug press and everything that it can do!
Cricut Mug Press Instructions Recap
I know I just threw a ton of information at you regarding the Cricut Mug Press instructions. So, below are the 5 most important things to take away from this post.
- Cricut is releasing a special heat press just for mugs to add Infusible Ink to the surface.
- The time and temperature are both set by the press. There is no adjustment. The press knows how hot the mug needs to get and even optimizes the process for things like ambient temperature.
- The only area where you cannot add a transfer is under the handle and 0.5″ (12.7 mm) from the handle on both sides. Otherwise, you can add a design to the entire outer surface.
- When considering non-Cricut mugs, you can find sublimation mugs on Amazon and other websites. The following are the sizes that work with the press:
- Capacity of 11 – 16 oz (350-450ml)
- Straight-walled drinkware only, avoid curves and uneven textures
- Outer Diameter between 3.2″ – 3.4″ (82 – 86 mm)
- Maximum height of 4.72″ (120 mm)
- Infusible Ink Sheets, pens, and markers are compatible with the Cricut Mug Press. Other sublimation materials are also compatible, but the press is optimized for Infusible Ink.
4 More Cricut Mug Press Resources
Did you love these Cricut Mug Press instructions, and are looking for more Cricut Mug Press resources? Then check out the resources below!
- Cricut Mug Press vs. Oven: Which is best?
- Sublimation Mug Designs: 13 Free Downloads
- Troubleshooting Cricut Mug Press Problems
- Infusible Ink Mugs with the Cricut Mug Press



This is by far the best and most comprehensive post I’ve read about the mug press. Thank you so much! I was wondering about sublimation. My EasyPress is one of my favorite craft tools, so I can’t wait to get my hands on this.
Thank you Angie for sharing your valuable information on the new machine!!
Quiero ganar 🥰🥰🥰🥰🥰
Quiero ganar
I love your youtube videos, you are right to the point!
Hi, this does work with sublimation ink. I actually bought it specifically for that purpose, and have not had any issues. I am not a fan of traditional mug presses. Although you do have more options with them. The Cricut is great for standard mugs which is mostly what we do anyway!
Yes I have several blog posts and videos using it for sublimation.
Based on your video reviewing the Cricut Mug Press, I went out and got one. Oh my. GAME CHANGER. It put me in the sublimation game. I use sublimation. It’s like night and day. I used to make my mugs in an oven. Never again, no more, no more.THANK YOU.
I recently got the Cricut Mugpress and have made a couple of mugs. I absolutely love the multicolor infusible ink sheets. I’ve seen a lot of artwork that would work best drawn with ink rather than cut and weeded.
My thought is this: I want to do a resist. Similar to the way we use a wax crayon to draw patterns on eggs before dying for Easter.
You, being the queen of all things sublimation, might tell me if this would work. If I had a colorless oil pen that would fit my Cricut Maker so it could “draw” on the infusible ink sheet, the pattern produced would not fuse to the mug in the heat process. Washing the mug afterward would wash away the oil, leaving the white of the mug. Could this work? How do we get Cricut to try it/make the pens?
I am totally not sure if that would work or not! Maybe test with some oil first and see if the concept works?
Hello!
Is it possible to sublimate on wine glassesb or cups with the mug press? I just got mine!!
You would have to find them with a sublimation coating on them. Also I haven’t really found any that have a straight side for the mug press.
Any ideas on how to clear out an E04 error on the mug press.
I don’t know. Sorry.
Did you find some solution ?
how much time do you need to wait before putting in another mug.. is there a waiting period or can you just put in one mug right after taking out one to cool ??
You can do one mug right after another!
Thank you so much for all of your tutorials. I have found however that you can adjust the temp settings on the Cricut mug press. See link below. I just wish they would show you what the temps are. https://help.cricut.com/hc/en-us/articles/1500002844442-How-to-adjust-Cricut-Mug-Press-temperature
do you store your cricut mug press with the lid down or up
Both depending on the day!
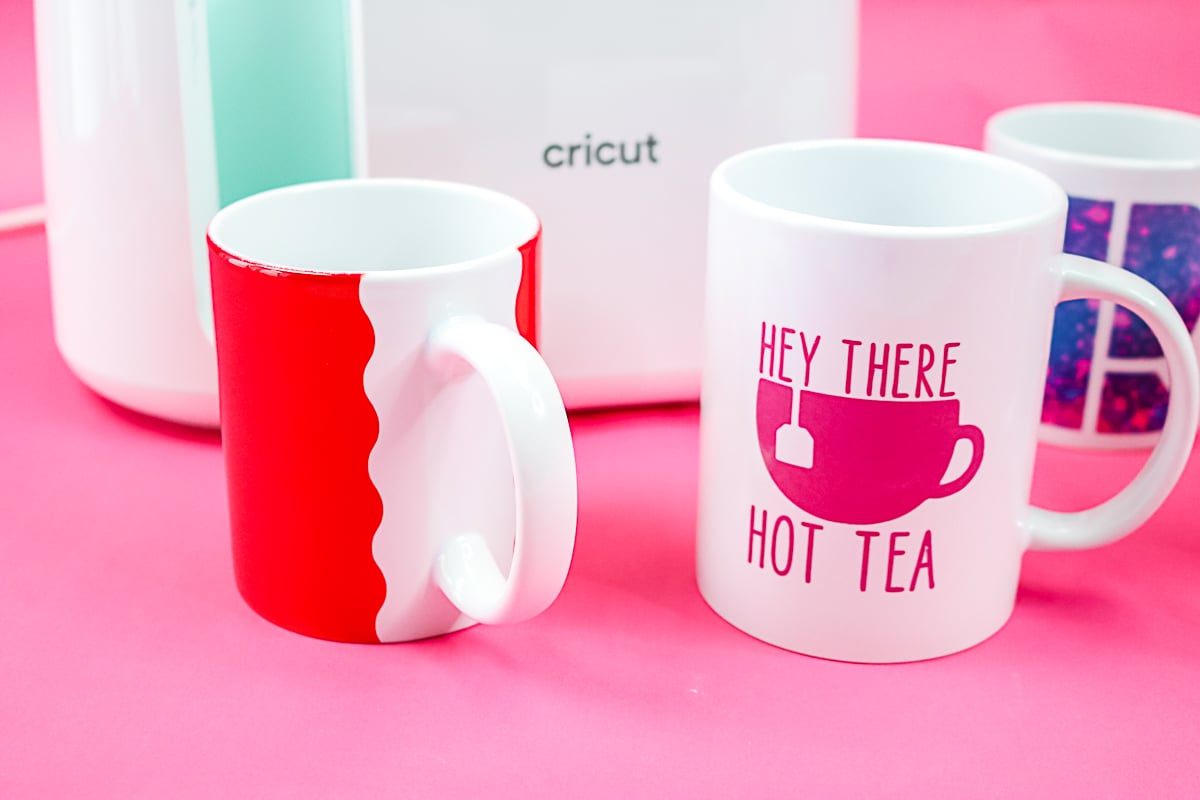
Is the Hey There Hot Tea file still available?
I’ve had a mug press for over a year now and never used it. Thank you for this article and giving me the confidence to finally try it!
Unfortunately that file seems to have disappeared from my Design Space account. I’m sorry!
Mug Press for mugs….what does everyone recommend for tumblers? I need to do both.
I like both the PYD Life oven and tumbler press. I have reviews of both on my site that you can find by searching Tumbler Press and PYD Life oven 🙂