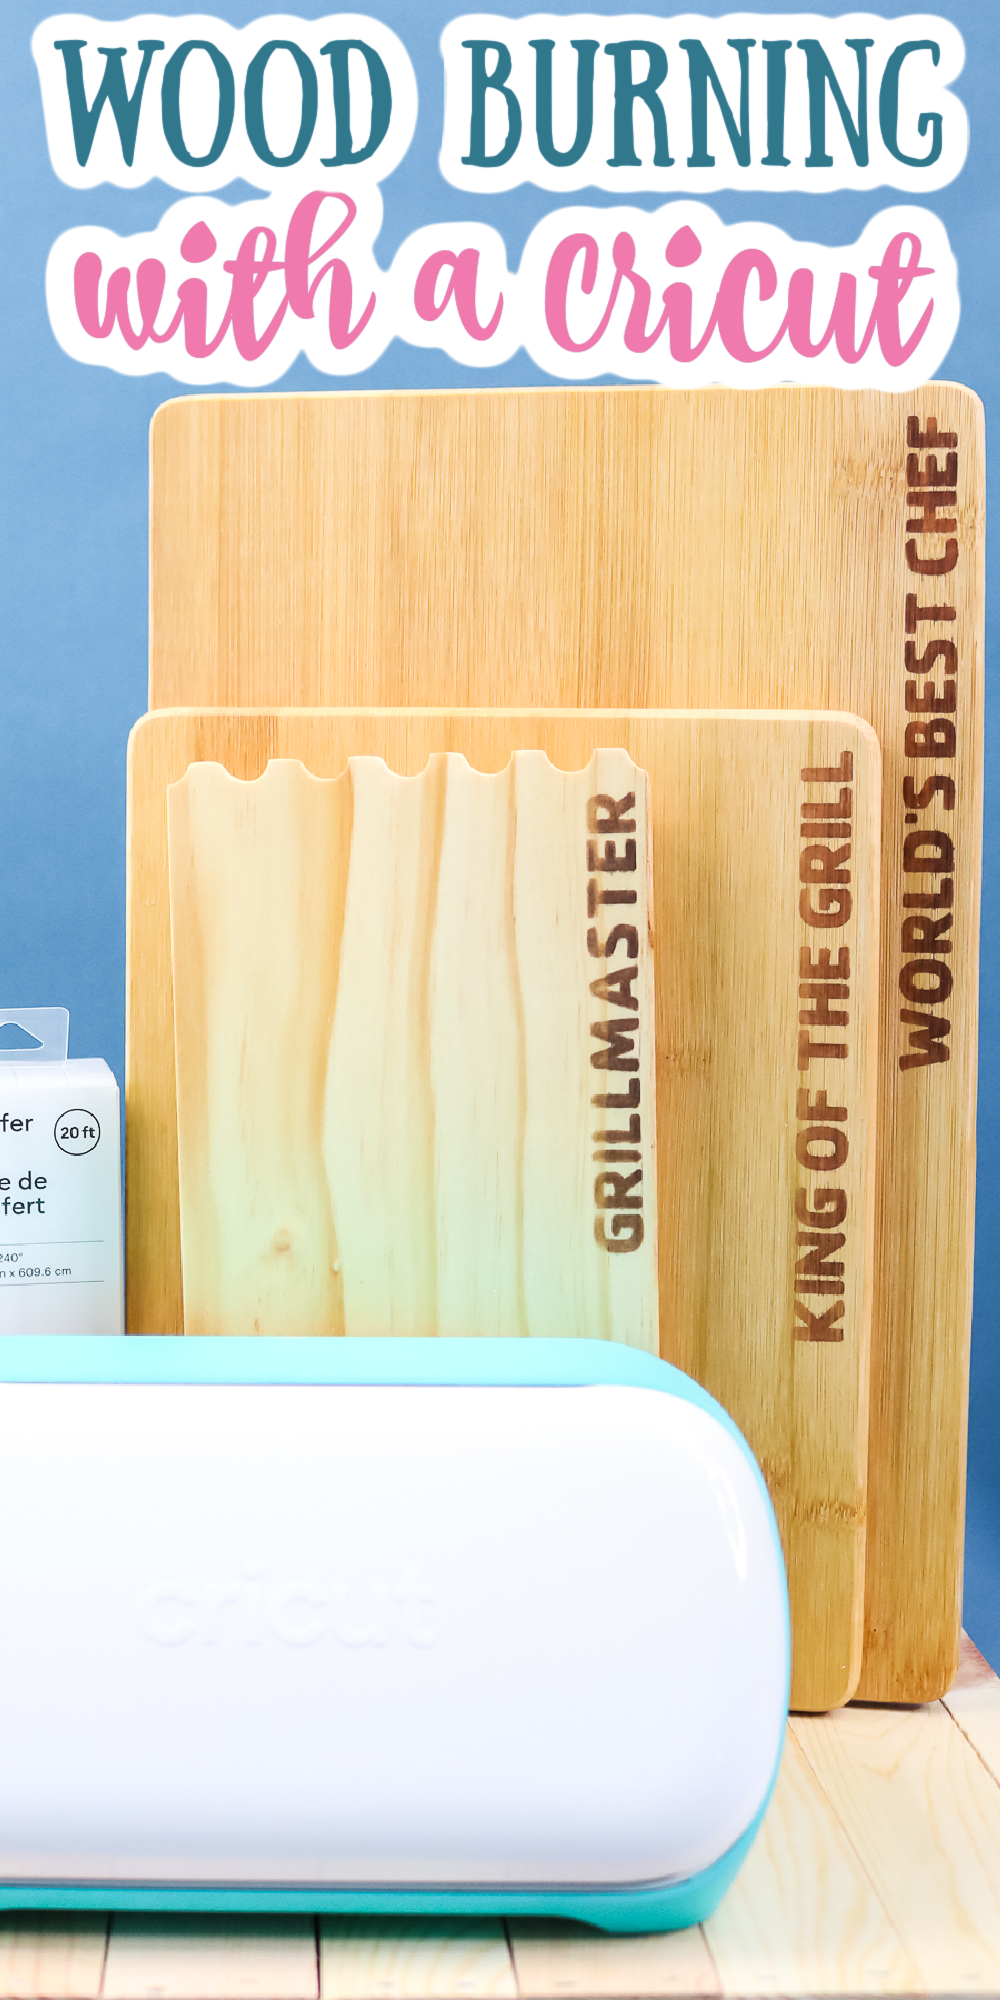
Knowing how to wood burn with Cricut allows you to take your crafting skills to a new level! Learn all you need to know about Cricut wood burning in this tutorial.
Have you ever seen those amazing wood items on Etsy that have custom wording burned into them? For a long time, I thought they looked amazing but didn’t know how to do them.
Then I decided to learn, and I can’t get enough because it’s easy to do with my Cricut machine. Yes, wood burning with Cricut is a thing!
Today, I want to show you everything about Cricut wood burning and use it to make a cute Father’s Day gift basket as an example.
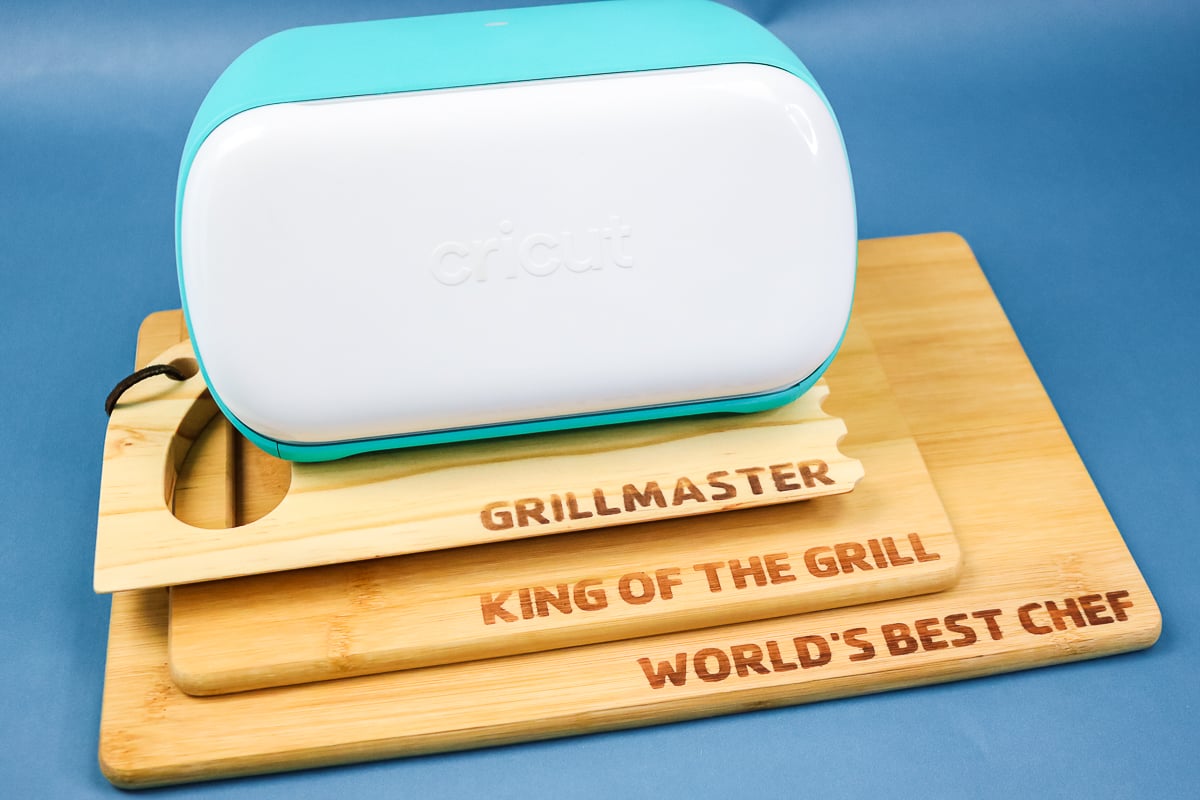
I am going to use the Cricut Joy model to customize this project. It will also allow me to show you the versatility of this machine and Smart Vinyl.
Note: If you want even more Father’s Day crafting inspiration, check out our Wooden Pencil Holder, Trophy for Dad, and 50 Handmade Father’s Day Gift Ideas!
Video Tutorial
If you want to watch a video on how to wood burn with your Cricut machine, I made this tutorial with you in mind. If you prefer written directions, scroll down because I have you covered, too!
How To Wood Burn With Cricut
If you can’t watch the video or missed some of the steps, use this written guide for Cricut wood burning to make a Father’s Day gift he’ll love.
Supplies Needed
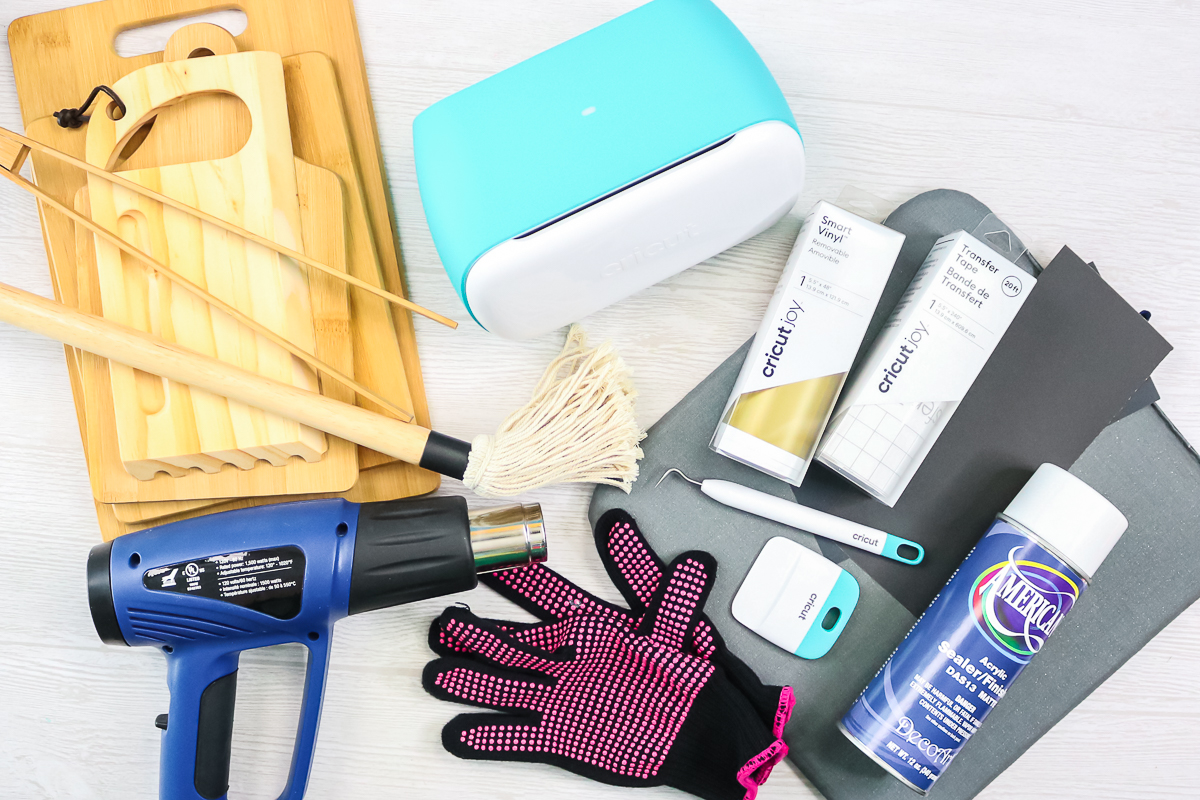
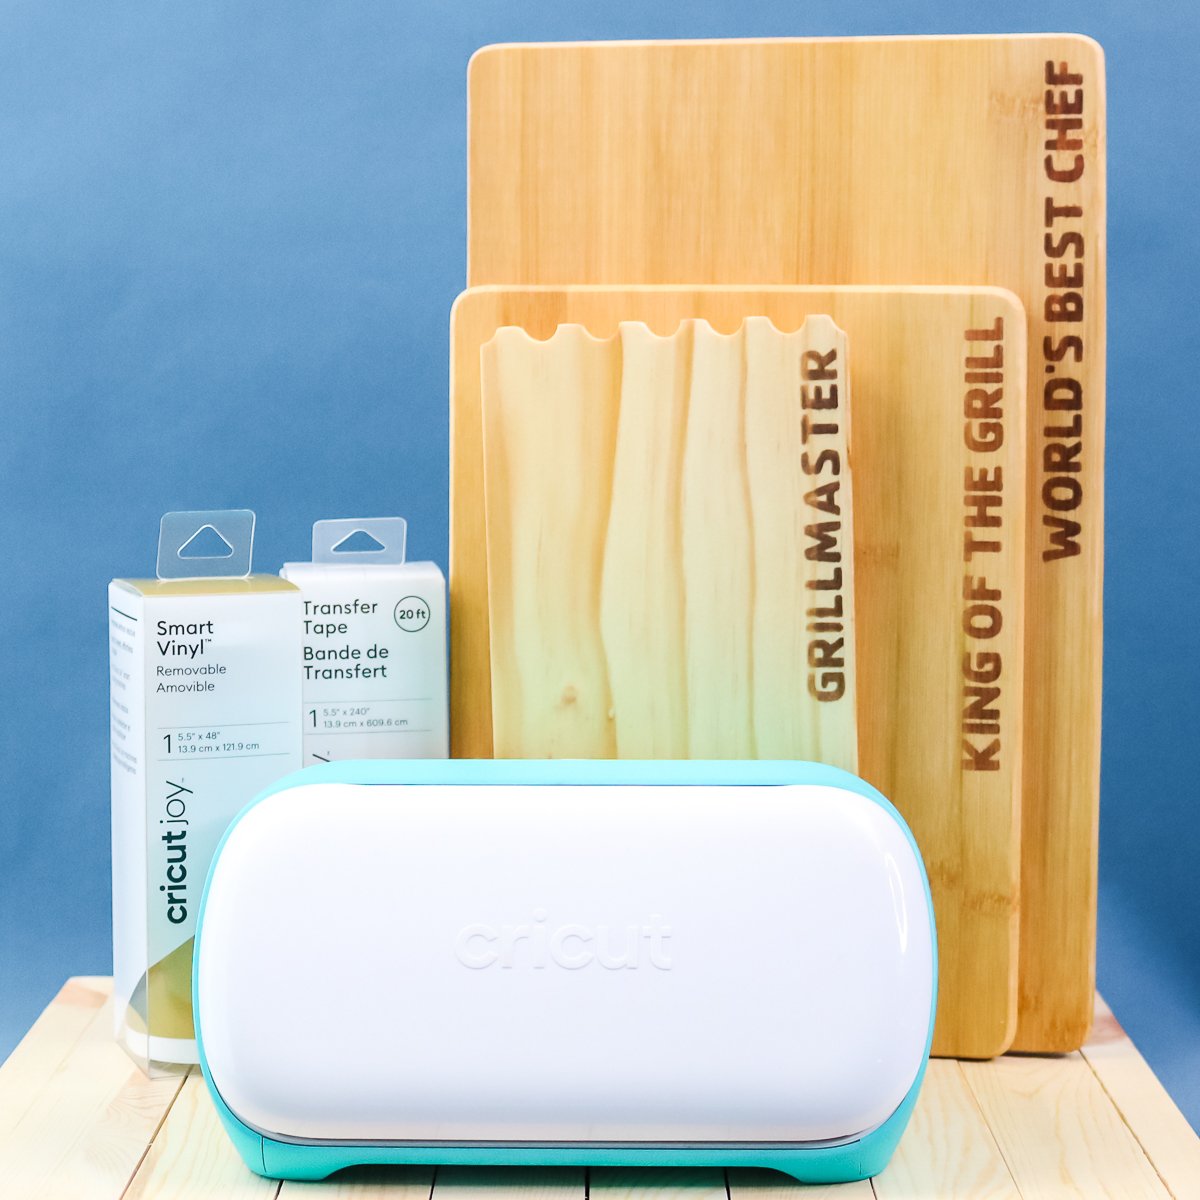
Here’s what you’ll need to gather together to make this project.
Note: Although I’m using a Cricut Joy, you can use any Cricut machine for this project idea.
- Cricut Joy (or any other Cricut machine)
- Cricut Smart Vinyl (I like removable vinyl for this.)
- Transfer tape
- Wood surfaces (see more below about which types are best for this)
- Sandpaper (400 – 600 grit)
- Rag
- Scorch marker
- Heat gun (needs to go to at least 900 degrees F)
- Weeding tool
- Scraper
- Heat resistant gloves
- Cricut EasyPress mat
- Sealer
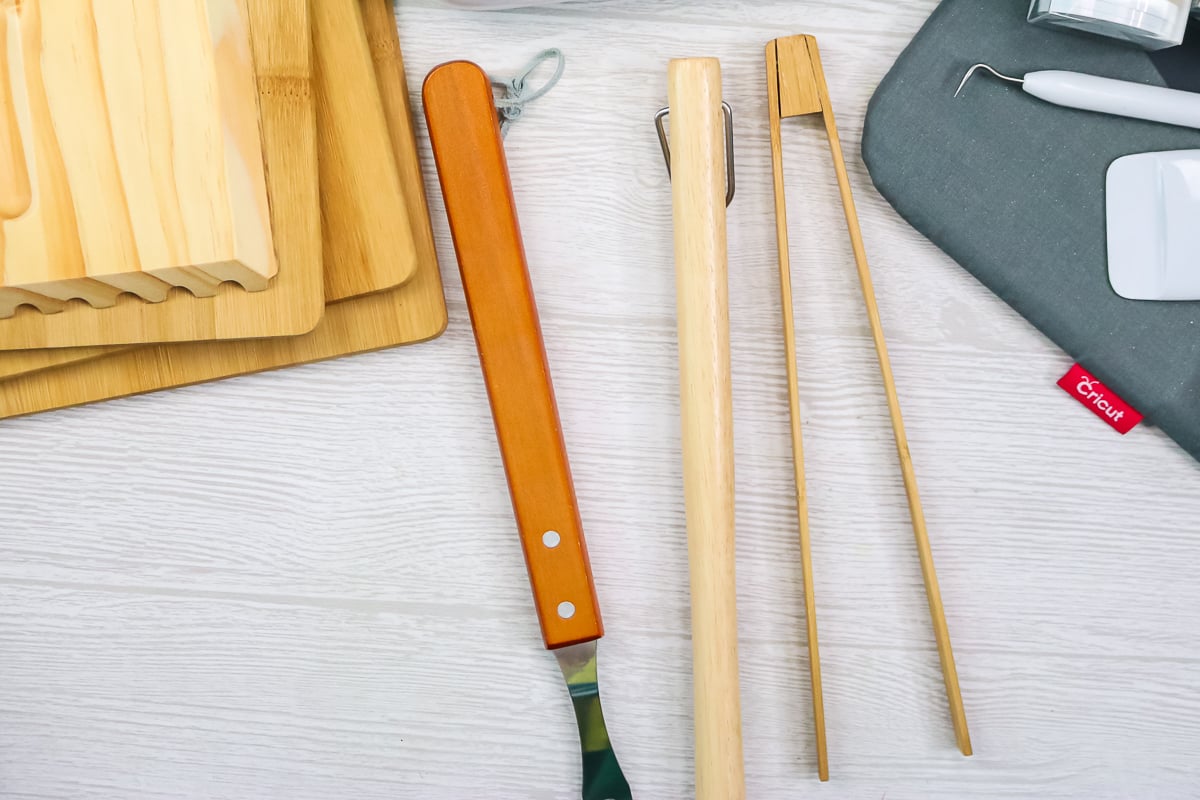
Types Of Wood That Work Best
Here are a few tips for picking good pieces of wood for this method of Cricut wood burning:
- Raw wood works best.
- Stay away from painted or stained wood.
- For wood with a light finish, you can sand away the layer before application.
Note: I would test each product before purchasing multiples because some wood works better than others.
Designing Your Stencils In Cricut Design Space
Let’s take a look inside Design Space and how designing your stencils works. It is really simple but if you want a starting place, feel free to start with my design.
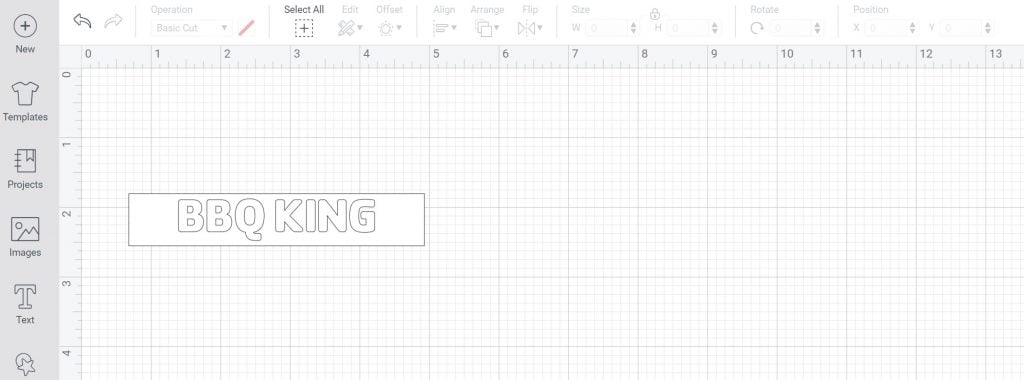
To create your own Cricut wood-burning stencil, start by typing the words you would like. I am using the font Cachet Pro Heavy. You want a font with fairly thick lines, but you don’t have to worry about picking a stencil font as we are using vinyl.

Size the letters for what you would like for your project. Then use the square tool to make a rectangle that is larger than your letters.
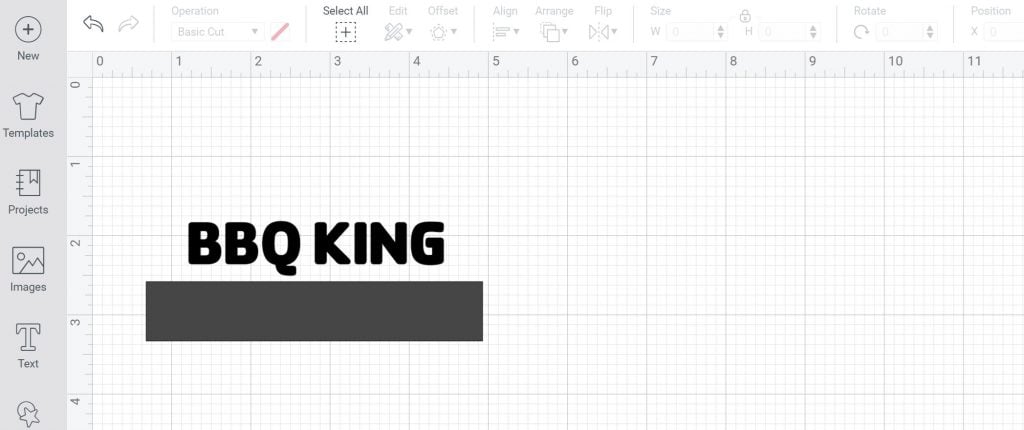
Put the lettering over the top of the square and click “align,” then click “center.” While you have both the lettering and the square highlighted, click “attach.”
You have just made a stencil! Repeat the same process to create stencils for as many projects as you would like.
Note: I also changed the color to white so that you would see it a bit more clearly.
Cutting Stencils With A Cricut Joy
First, you will need to design your stencils. Then send them to your Cricut Joy machine using the app.
I recommend using Smart Vinyl, especially if you have several stencils so that you can cut them all at once. Be sure to choose “no mat” when prompted, then load your material.
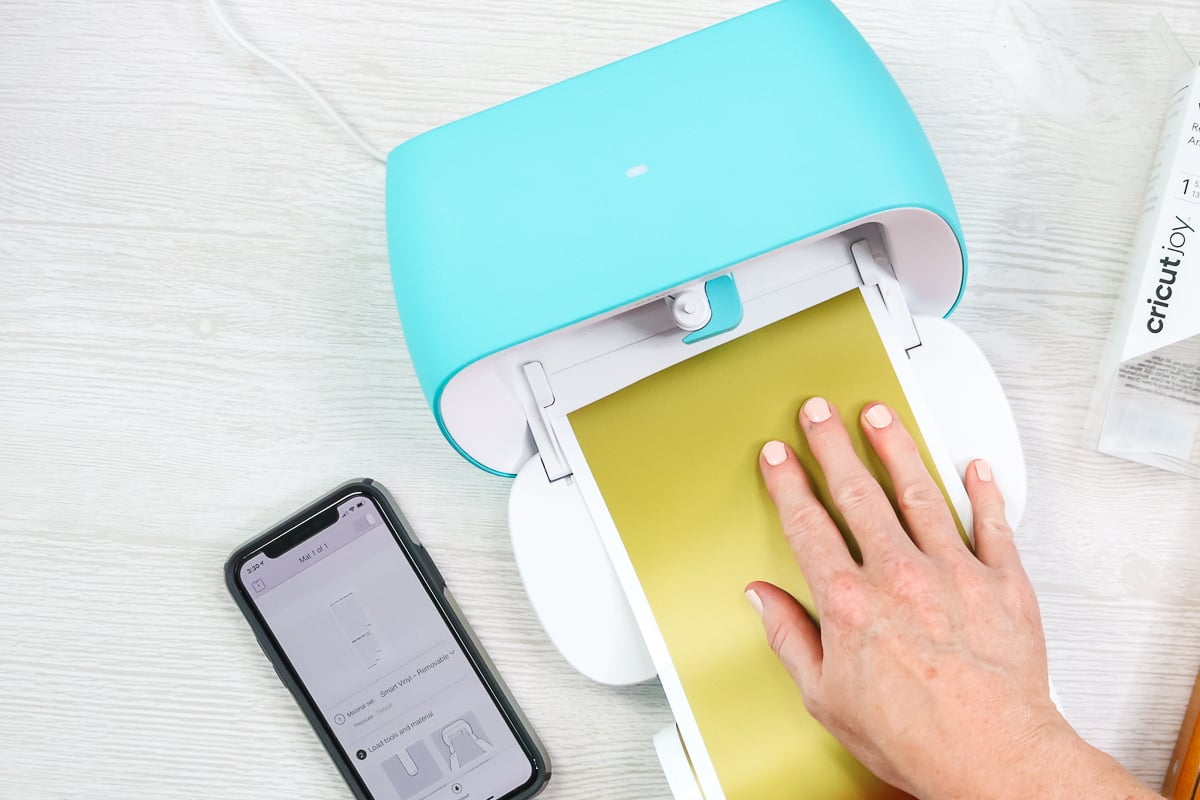
Click “go” once the machine is ready, and it will begin to cut your stencils.
Note: The Joy will measure the Smart Vinyl to make sure you have enough material to cut your entire sheet of stencils.
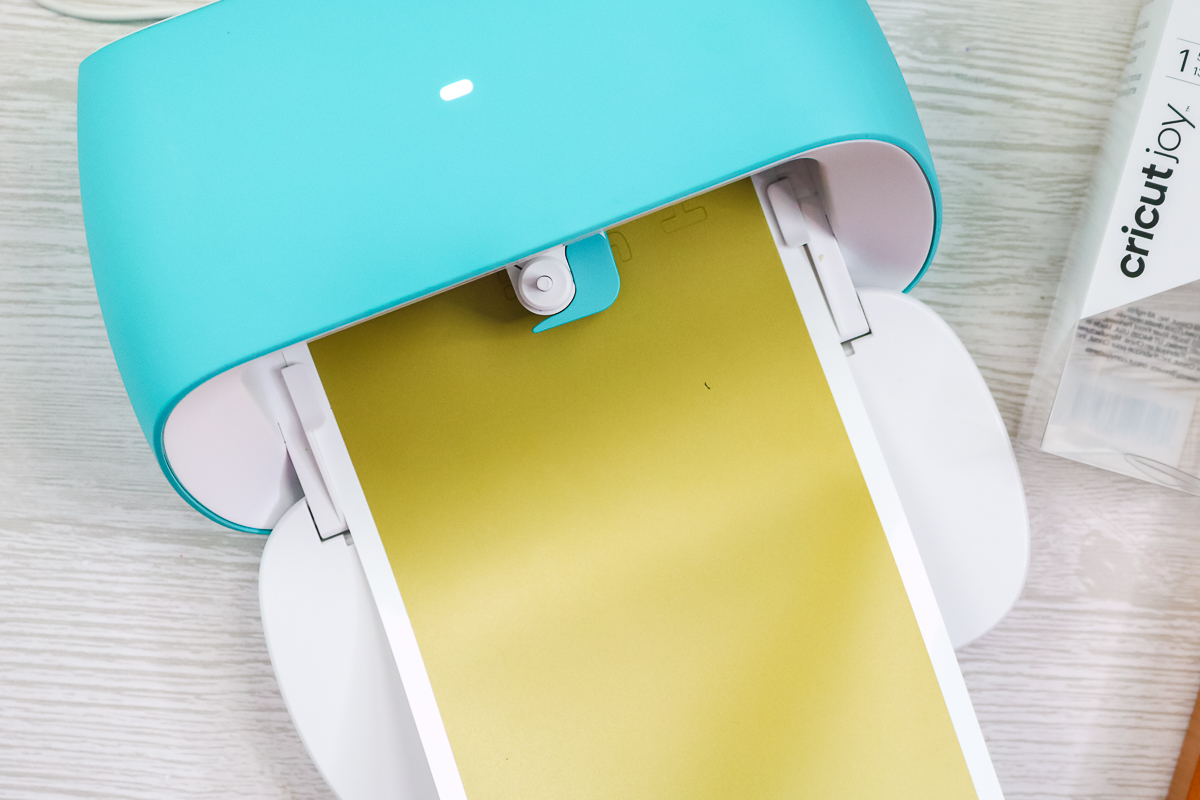
Once the machine is done cutting, click “unload” and trim off any excess material.
Applying Stencils To Wood
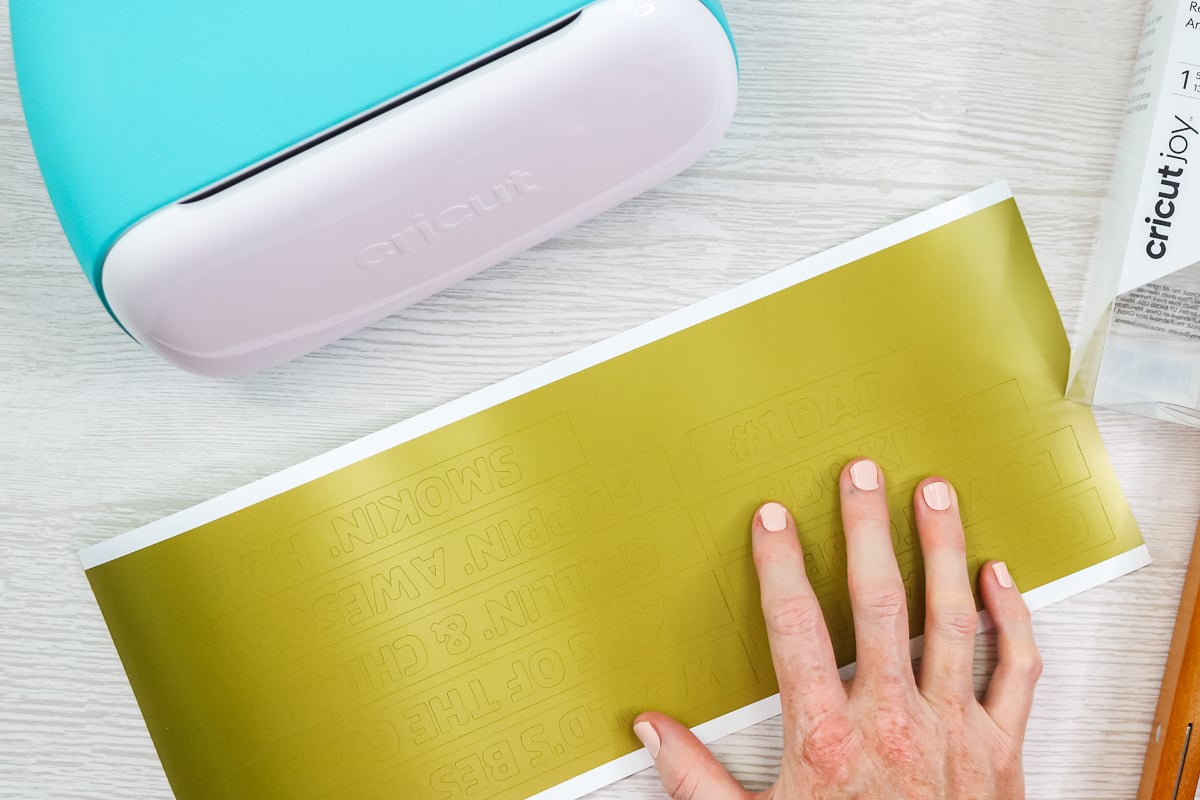
Now it’s time to weed away the excess from each of your stencils.
Remember that we are using this as a stencil, so the process is just a bit different than you would normally do. Here, you want a box around the outside with the letters removed from the inside. Things like the centers of the letters will remain in this case.
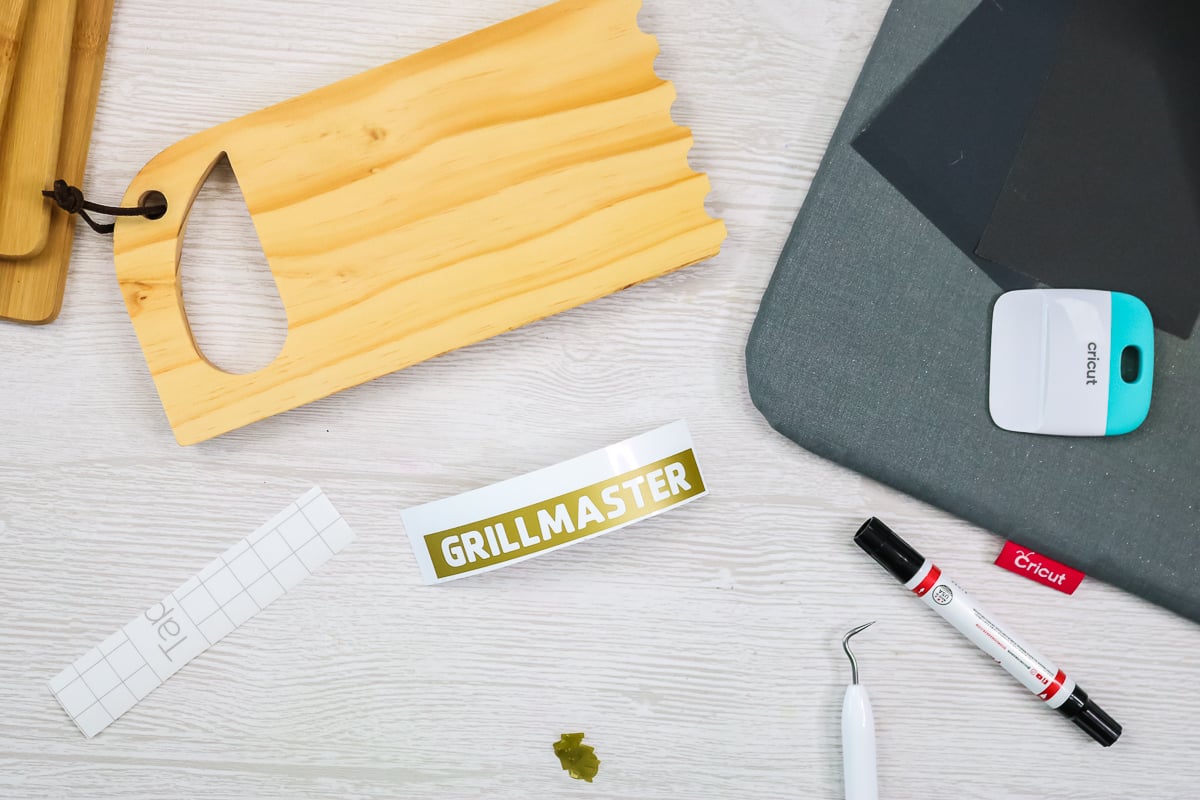
Lightly sand your wood in the area where you will apply the stencil to make sure it is smooth, then clean it with a rag.
Use transfer tape to add the stencil to the sanded location and press down well with a scraper to ensure it is stuck evenly.
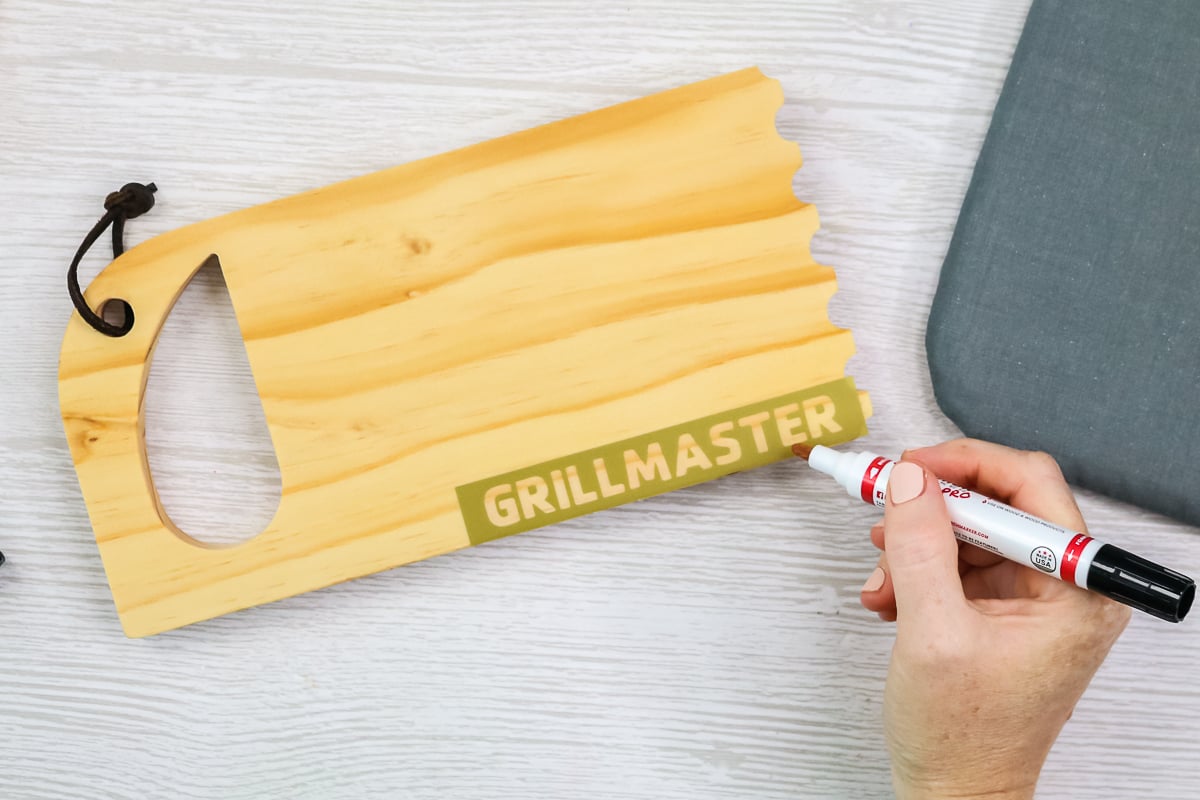
Using Scorch Markers For Cricut Wood Burning
Contrary to may have thought, you don’t actually use the Cricut machine for burning wood. Instead, we’ll use a special chemical marker and apply heat to the ink.
Use the pen end of the Scorch Marker to trace and fill in your stencil.
Remember to prime your marker on a paper towel away from your project, then fill in the stencil just by drawing. The liquid is a very pale pink color and will absorb into the wood.
You do want to wait until this is completely dry before removing the stencil.
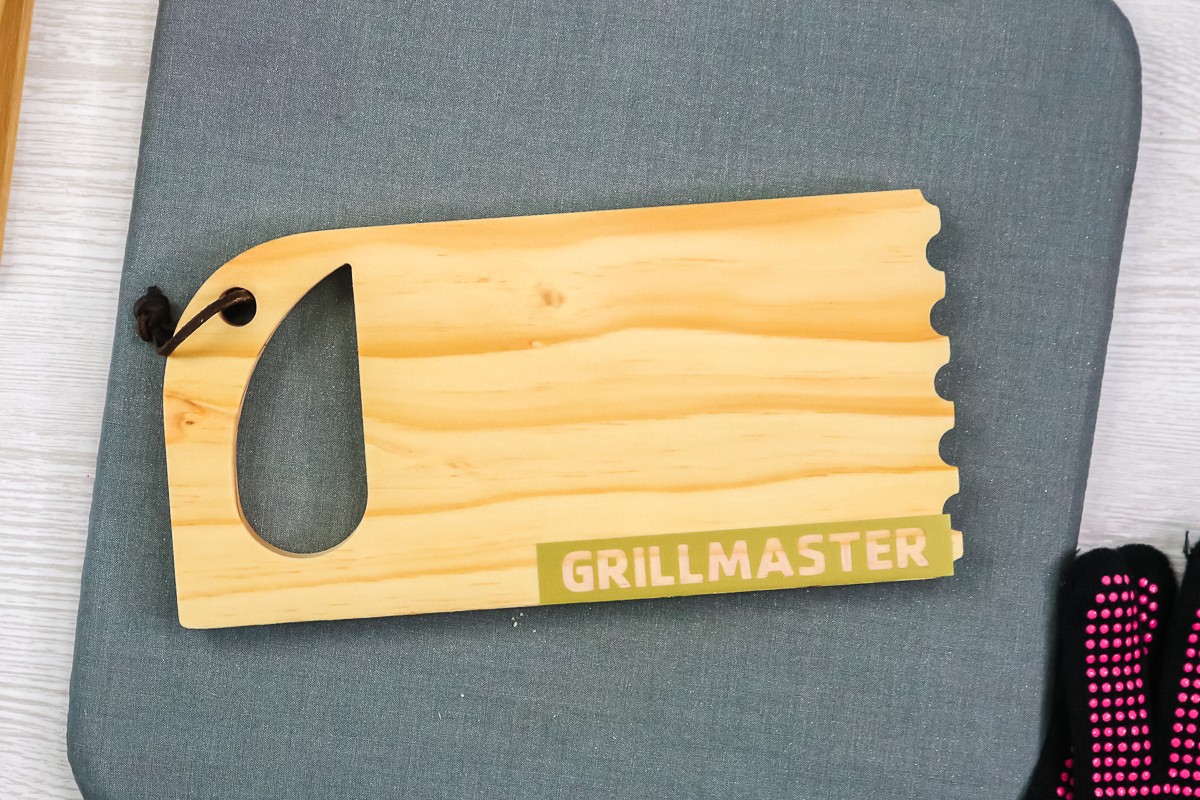
Once it’s completely dry, peel back the stencil, and you will see a faint outline of your words.
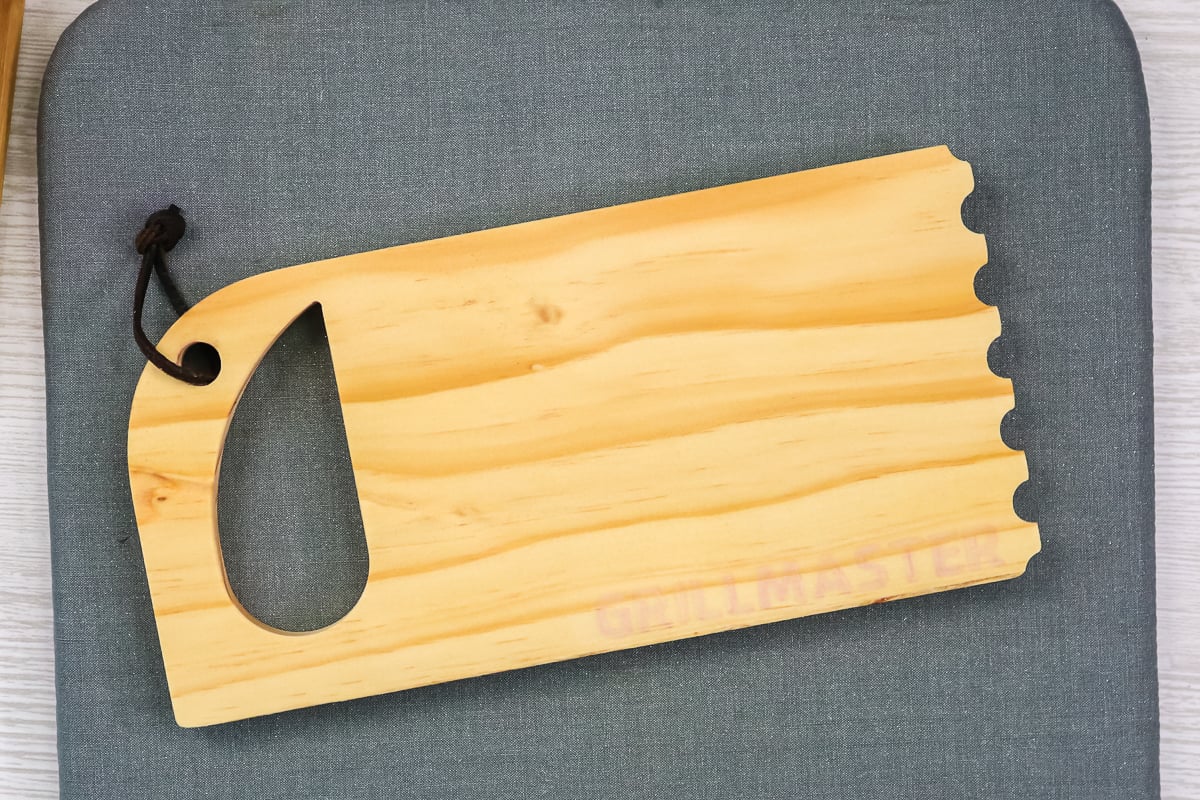
Then use your heat gun to go over the top of your design. Turn your heat gun all the way up and move it back and forth over your design.
Be sure to stay 2 – 3 inches from the surface and keep the gun moving the entire time. It took me almost 3 minutes to burn this word.
Pro Tip: I recommend adding your project to your EasyPress mat to protect your work surface.
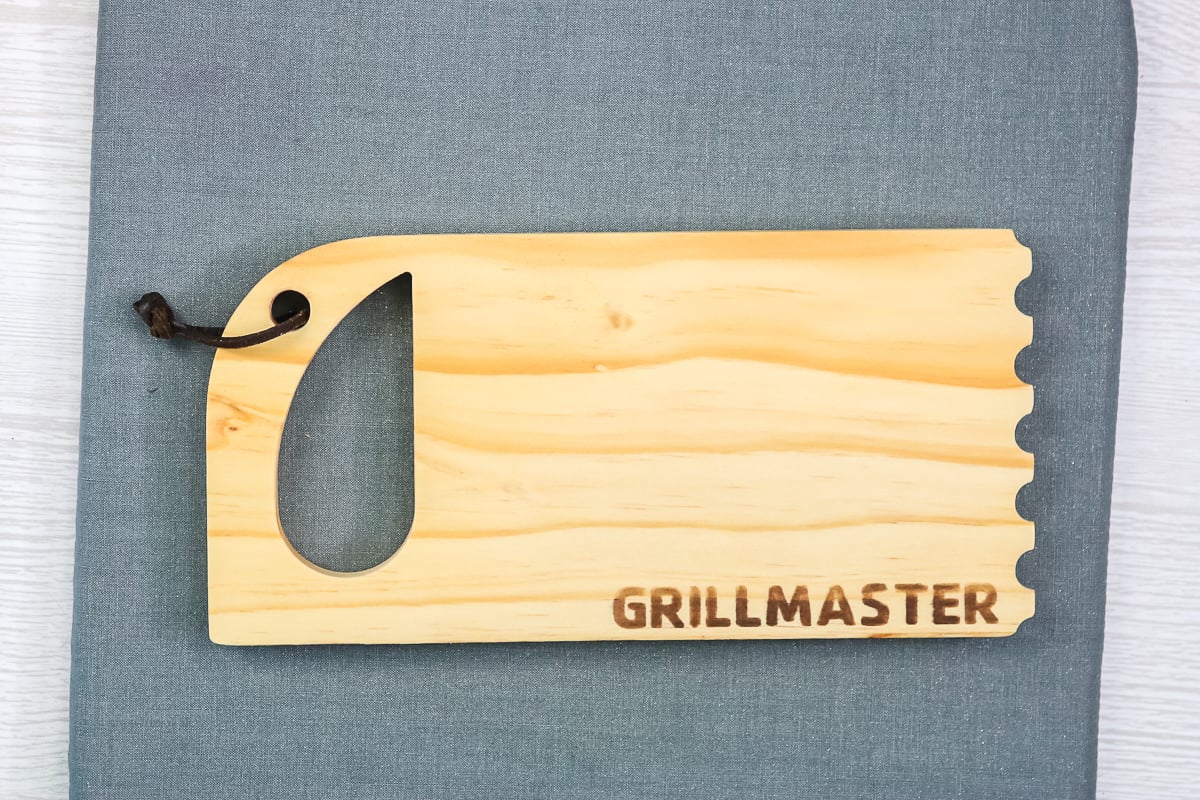
Finishing Your Projects
You will want to add a sealer over the top of these so that they last a really long time. If they are not going to touch food, you can use any sealer you like.
However, for things like cutting boards, I recommend using a sealer that says it is food safe.
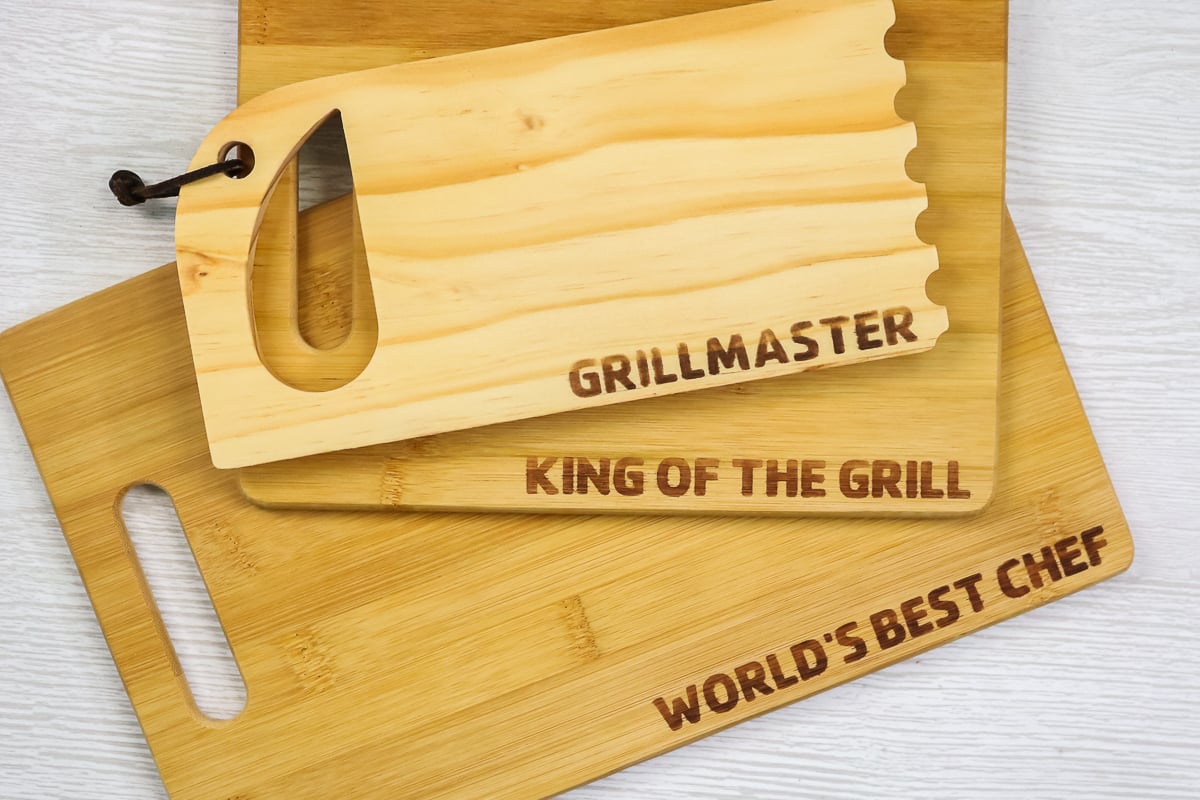
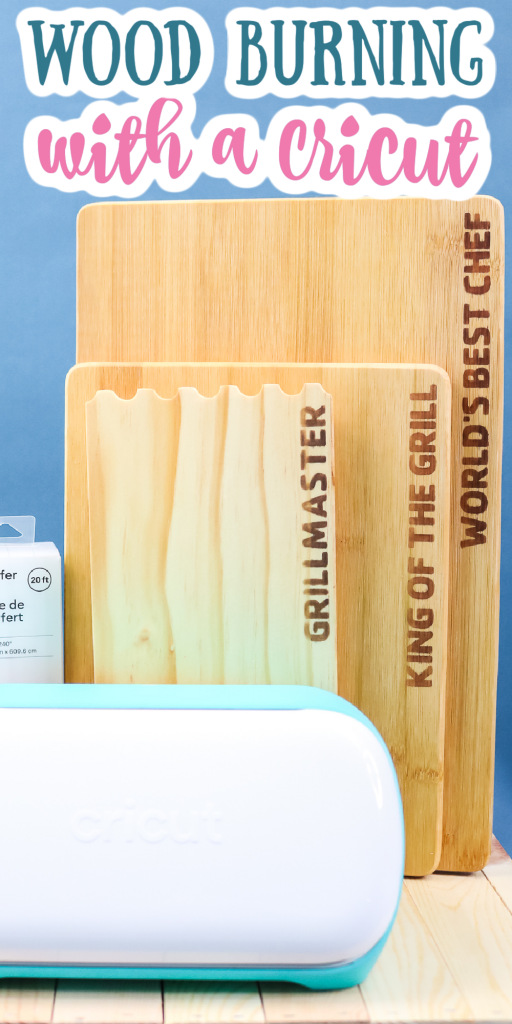
Didn’t these boards turn out so well? The steps for Cricut wood burning are simple, and the results are fabulous, so give it a try and get ready to really wow dad with a gift he will love.
Cricut Wood Burning Tips and Tricks
I did a few experiments and learned quite a bit! I want to let you know what works and what doesn’t when it comes to wood burning with a Cricut. Here are a few of my tips:
- Going over my stencil twice with the marker gave me better wood-burning results. With that in mind, I recommend doing two light coats across your stencil.
- If you make your stencil too small, it is harder to keep the heat gun moving so that it doesn’t stay in one area too long. Unfortunately, using a small stencil left undesirable burned areas in my wood.
Reminder: Some woods don’t work well with this procedure. I had some failures just because of the type of wood or something that was applied to it before I started.
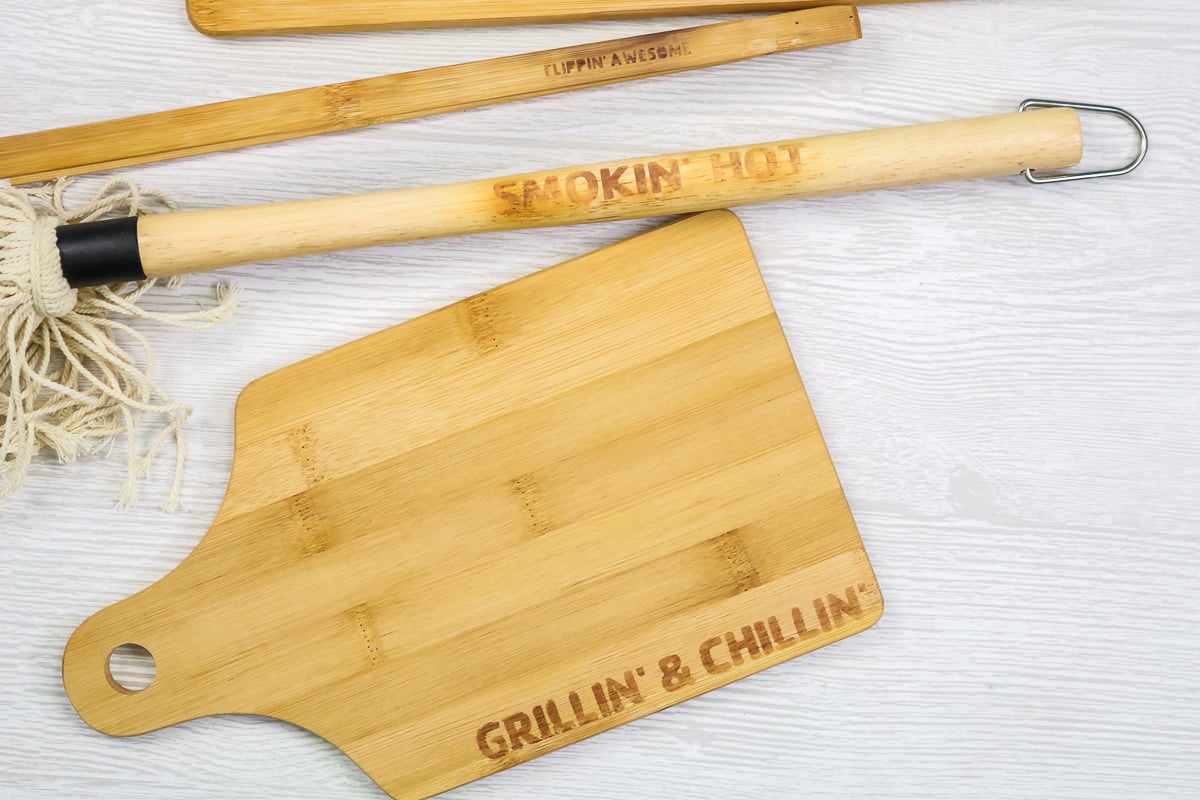
Overall, however, I love the way my Cricut wood-burning projects turned out. If you have ever wanted to try wood burning with your Cricut, I would highly recommend this method. I find it way easier than using a traditional wood-burning tool, and it looks more professional as well!
I chose fairly generic sayings for my version of this project, but you can get as personalized as you would like. Make a cutting board with dad’s name or anything else you can think of that will give it a custom touch!
FAQs
Here are a couple of questions that I see readers ask about using this process. If you have a question, please check to see if I’ve already answered it below. Don’t see your question? Leave it for me in the comments!
Can Cricut do wood burning?
Your Cricut machine can’t do the actual wood burning, but you can use it to make the entire process faster and easier by using it to make the stencils, as I demonstrated above.
How do I use other Cricut machines for wood burning?
The process is virtually the same, but there may be slight differences depending on which machine you want to use. I recommend looking at the instructions for the machine you’re using before starting to make sure you’re following them.
What other types of Cricut wood-burning projects can I make?
Let your imagination guide you! Besides cutting boards, wood signs like this one from Some of This and That are a great option. I also love the idea of wooden spoons and wooden ornaments.
Remember that using small stencils can leave scorch marks on your wood, so while there are a lot of options out there, be a little choosy in what you make.
How do I turn this Cricut-burned wood into a Father’s Day gift?
Turning all of these little projects into a Father’s Day gift was simple. I just had to make a Father’s Day gift basket to hold them. Fill a large basket with everything that dad needs for grilling, then add in your wood-burned creations.
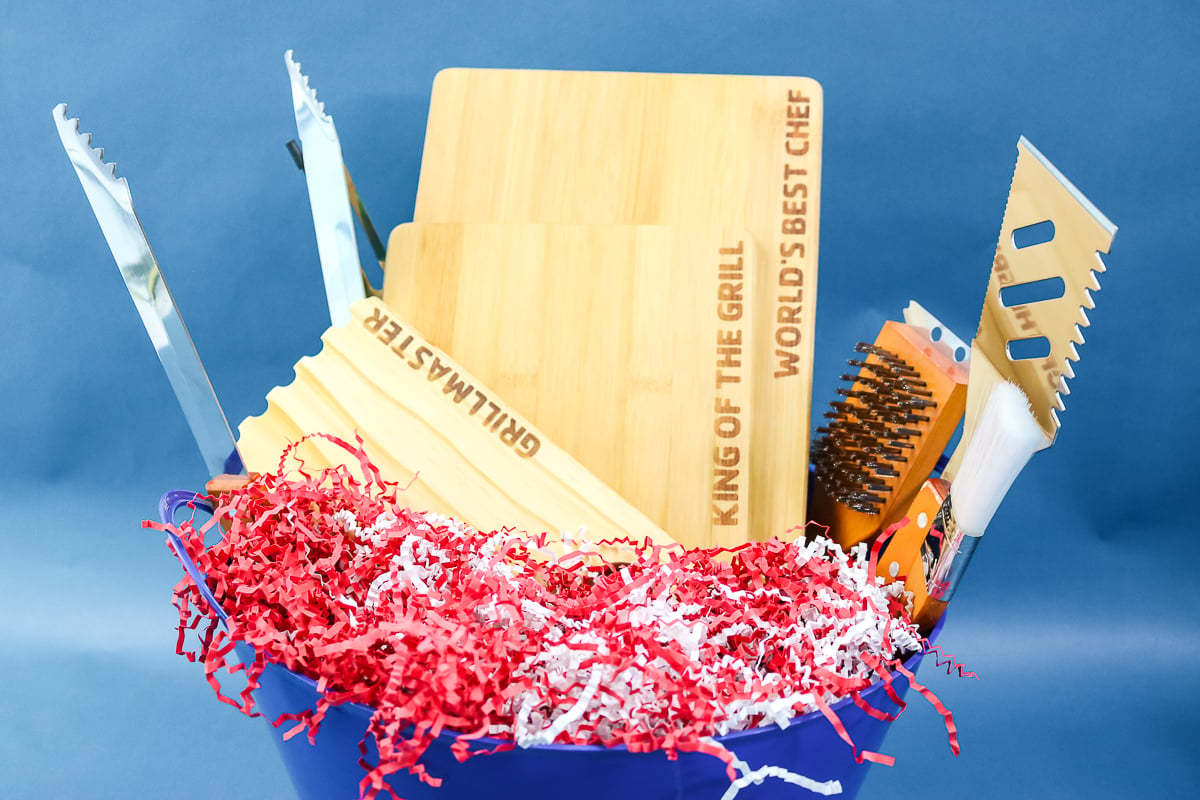
So, grab your Cricut Joy and some Smart Vinyl, and start giving Cricut wood burning a try. I know that you are going to love the results.
Plus, it is another great way to make amazing things with any Cricut machine. I love how versatile my machines are and all of the great projects that I can make for any occasion!
More Ideas To Make With Your Cricut
If you love crafting with your Cricut, put it to good use with these ideas for more crafting inspiration!




Beautiful outcome! Great dad gift idea. Thank you for the full tutorial and your tips to get the best results.
🤩💙🤩💙🤩💙🤩💙🤩💙🤩
The first thing that came to my mind I can have a hammer with ” pretty of nights ” written on it. I love this blog.
Hi Angie, I’m sorry to see that big bandage on your pinky. Hope it’s getting better! This project looks like so much fun to do 🙂
Ha! I was hoping no one would notice! It is all good. Just a cut but it was in a weird place so I had to use a large bandage. And you didn’t want to see it on video!
LOVE this tutorial. Thanks so much for sharing. Can I use my Maker for this project? I would have to load the vinyl on a mat, right?
Oh yes! You can use any vinyl and any Cricut machine!
What product do you recommend to seal so it’s food safe?
I generally use a shellac. You can usually get it at Lowes or Home Depot.
This is a great idea Angie! Thank you for sharing, I am definitely trying this one, I’ll have my son come up with what to put on a cutting board and tongs, and then make them.
Hi Angie, what brand heat gun did you use? I know it should at least be 900F but there are so many to choose. I want to make sure I get the right one. Thanks
I used one from Homeright but I am not sure if they even make them anymore!
If you are using unstained wood, do you stain before the wood burn or after?
I would stain after.
Hi Angie. I’ve been following you for a while. I LOVE this idea, thanks for the tutorial/instructions!
Question – have you tried other pens? Is Scorch the one you recommend/best results?
Thanks!
I have not tried other brands!
Love your tutorial. Thank you! Can I use this process on leather?
I am not sure! I haven’t tried.
What types of boards did you use?
I used a variety of different boards. I don’t have links for them. I highly recommend that you use raw wood, something that isn’t stained or painted.
I have a question. I have a few of the dollar tree cutting boards. They are bamboo. How can I get a vinyl stencil to stick to it so I can use burn gel? I use permanent vinyl should I be using now removable vinyl? Thank you so much for your help.
Bamboo is hard to use this method on. I would first sand it well as it probably has some finish on it that is preventing adhesion. Then clean well and try to stick the vinyl at that point.