Today I am putting the Cricut Joy Foil Transfer Kit to the test! You can see what is in the box, how to use this kit, and watch me make a few projects. I, of course, had to push the foil transfer tool to the limits as well and see just what I could and couldn’t make with it. Be sure to watch the full video so you can see a project fail as well! If you have a Cricut Joy or Cricut Joy Extra, you may want to add this kit to your craft room.
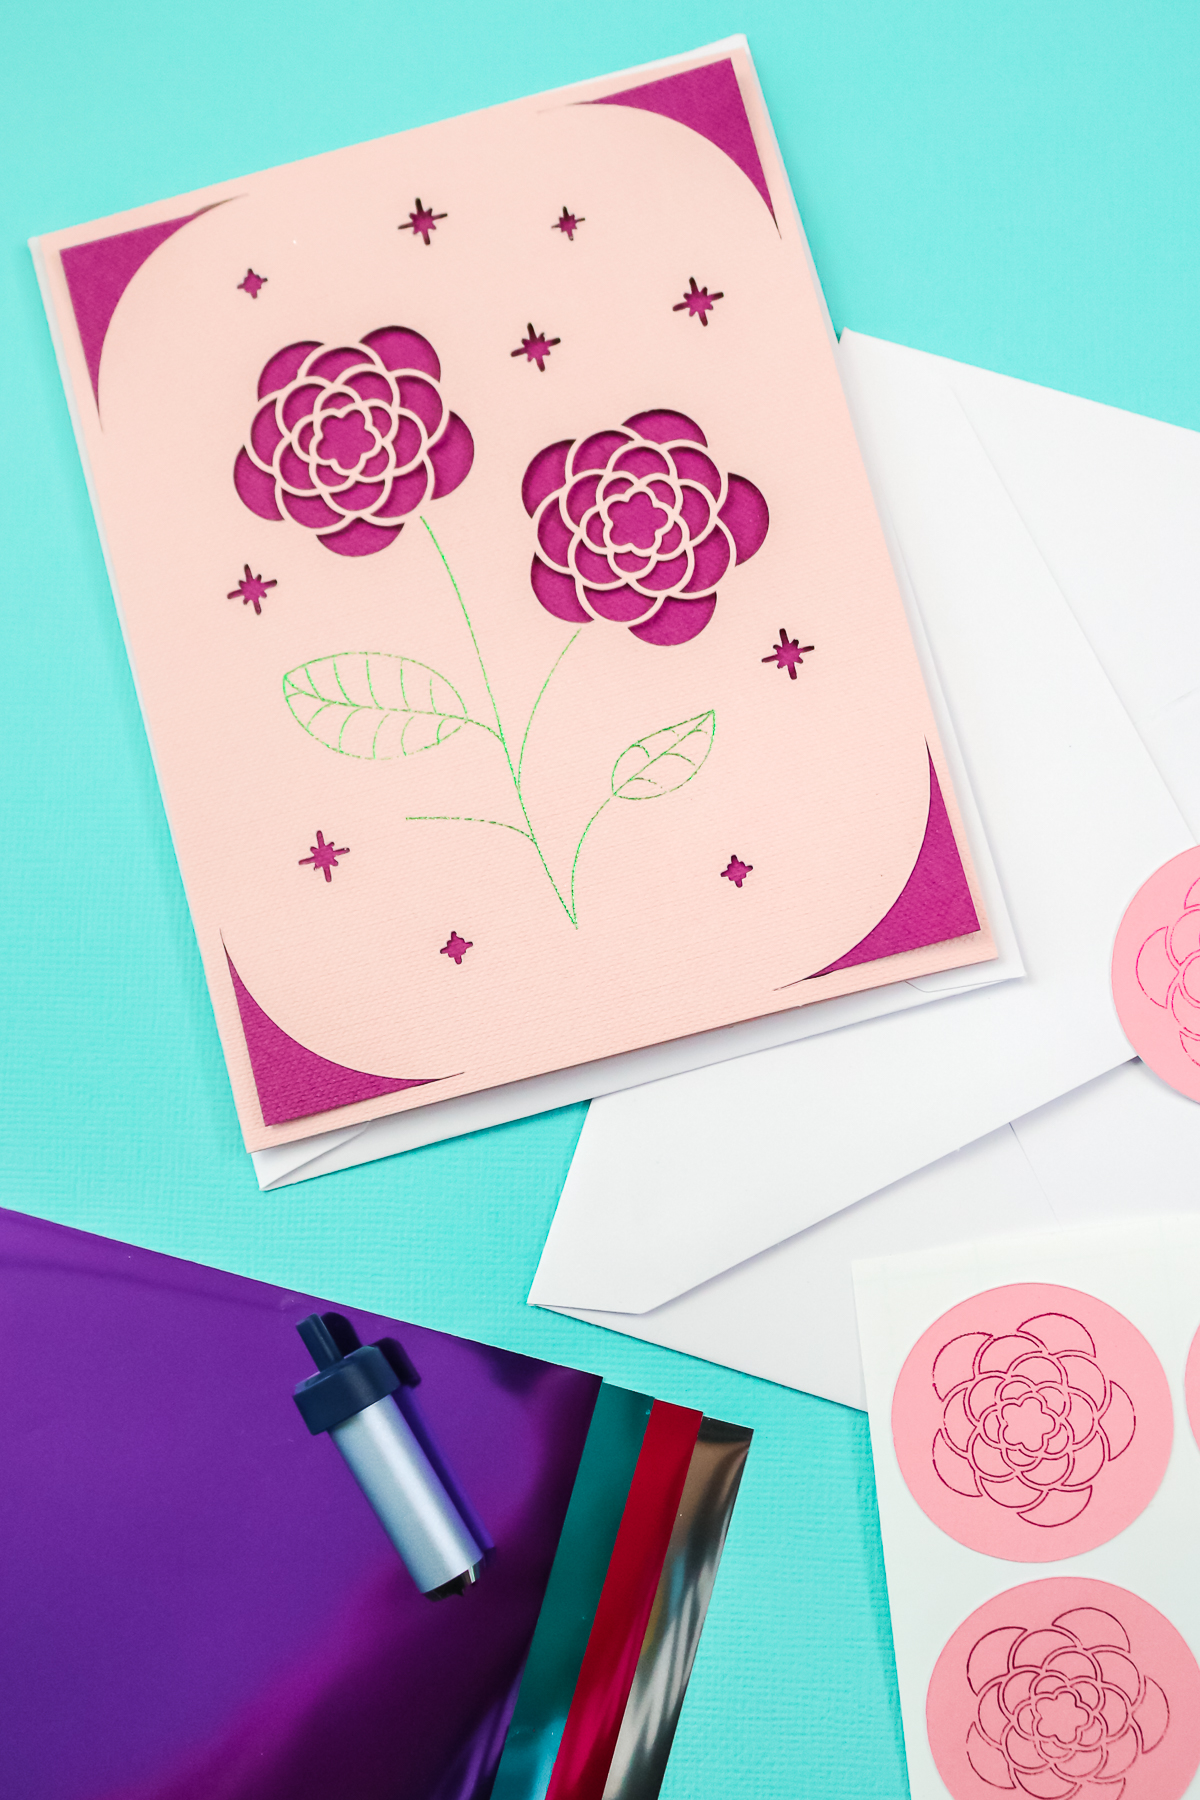
Cricut Joy Foil Transfer Kit
If you have one of the Cricut Joy machines, you might have heard that Cricut released a foil transfer kit specifically for the Cricut Joy series. I thought I’d do a video on it, just in case you’re interested in getting one, wondering what all the fuss is about, or maybe you’ve never seen a foil tool in action. The video below is going to answer all of your questions! Note: This video was created before the release of the Cricut Joy Xtra, but the tool works the same way with the newer machine.
If you don’t have time to watch the video, I’ll also walk you through the process below!
Supplies Used:
- Cricut Joy or Joy Extra
- Cricut Joy Foil Transfer Kit
- Foil Sheets
- Insert Cards
- Card Mat
- Smart Paper Sticker Cardstock
- Faux Leather
- Brayer
What is the Cricut Foil Transfer Kit?
The foil transfer housing will transfer metallic foil sheets to a variety of projects and surfaces. You do want to make sure to get the kit labeled for the Cricut Joy because the foil transfer tool inside will be specially sized just for your machine.
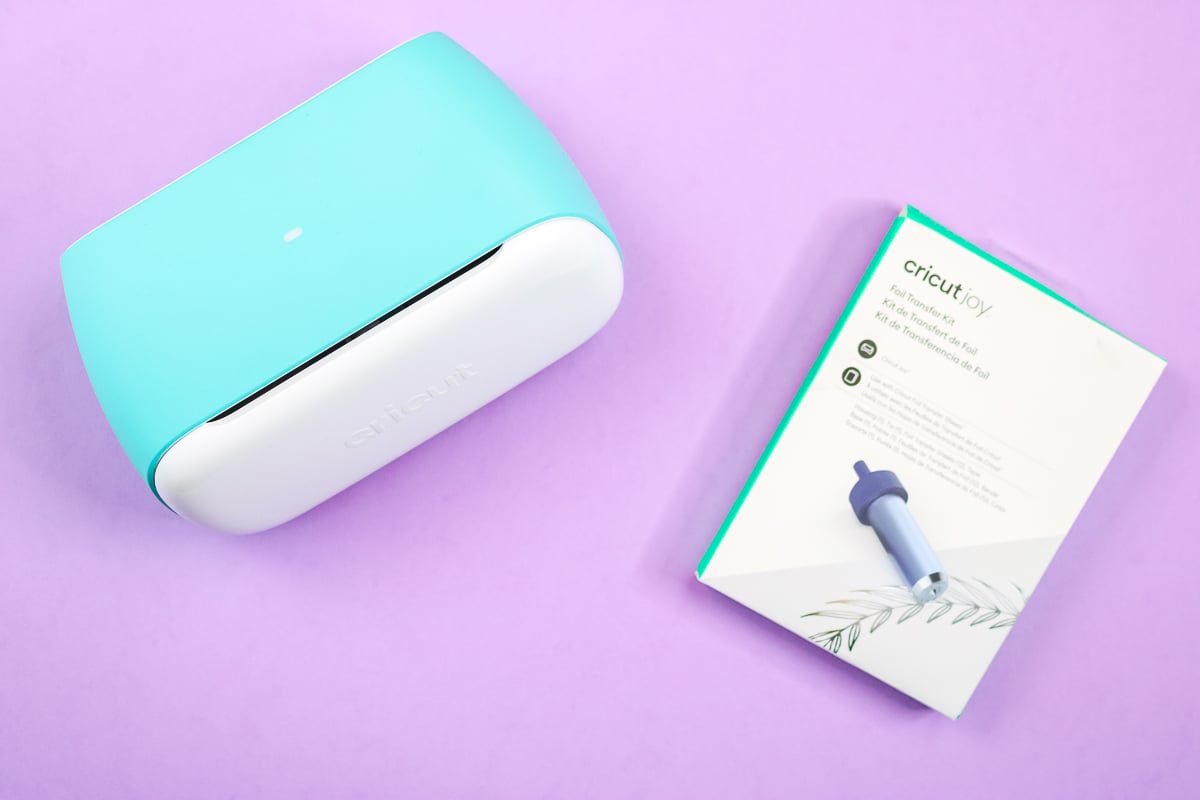
What is inside the Cricut Joy Foil Transfer Kit?
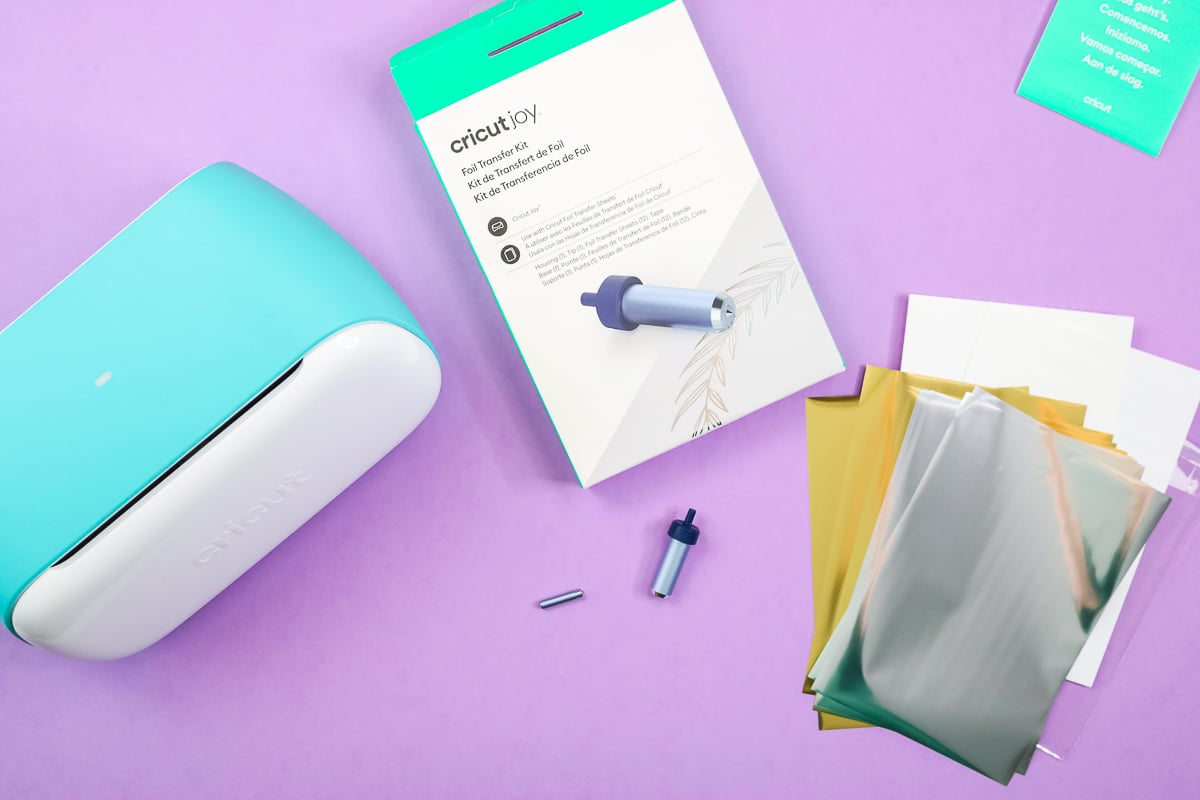
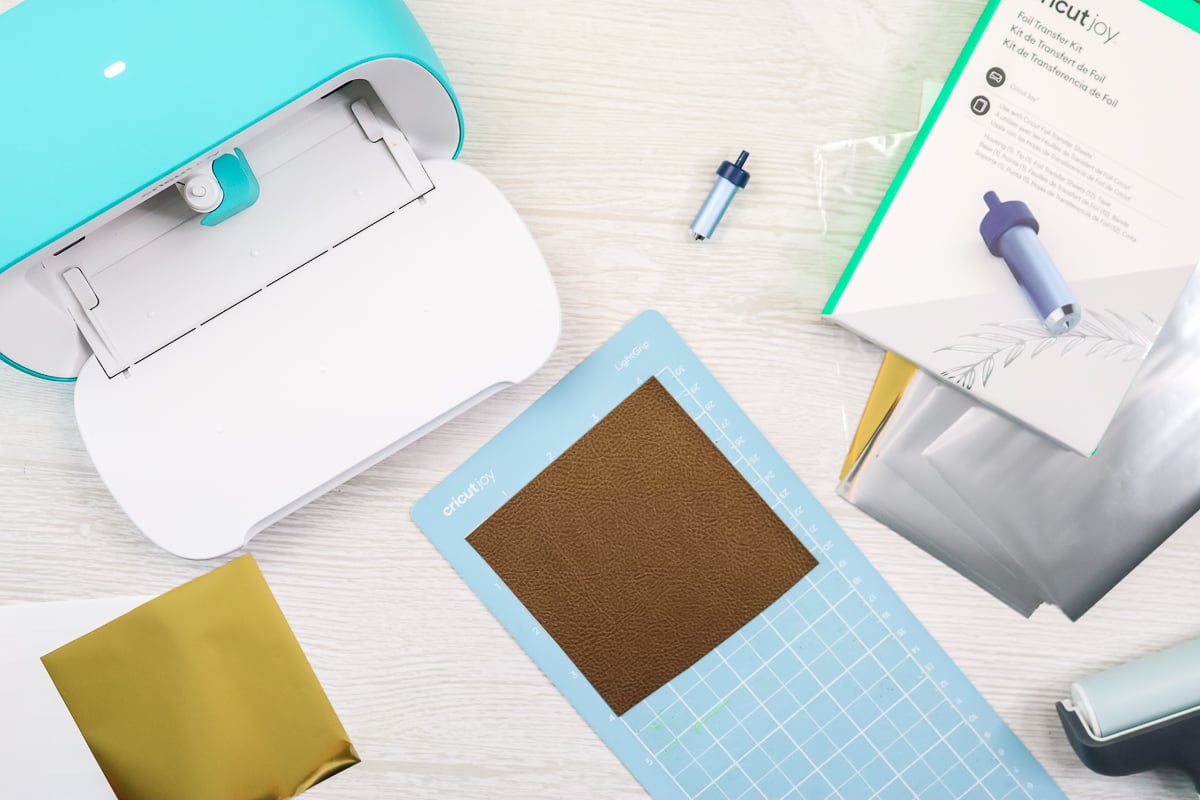
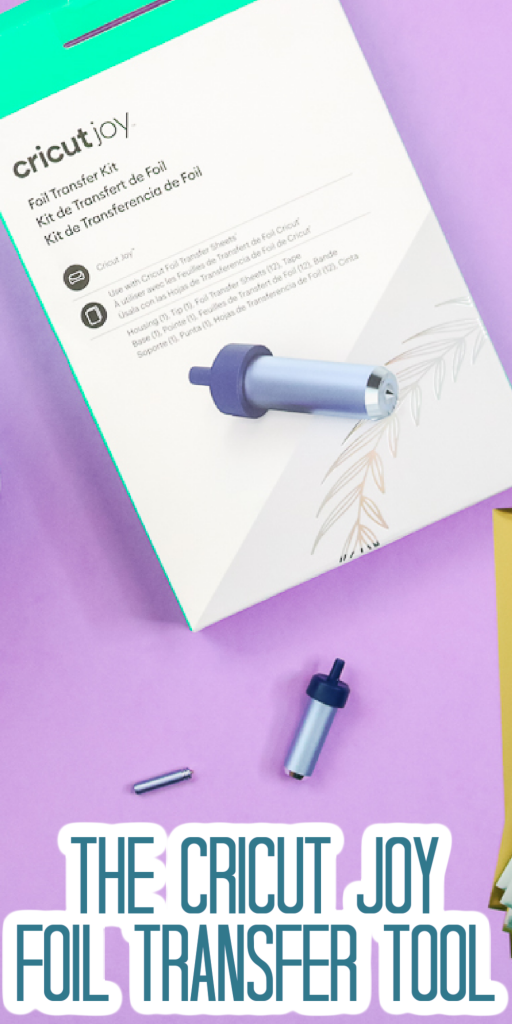
Let’s take a look inside the box! You will find the following in the kit:
- start guide
- foil transfer tool housing
- foil tip (NOTE: There is only ONE for the Cricut Joy.)
- some foil transfer sheets in both silver and gold
- tape
NOTE: If you want to branch out of the colors in the kit, you can buy alternative Cricut foil transfer sheets. In my opinion, the 4×6 size works best for the Cricut Joy machines, but you can also purchase 12×12 sheets and trim those down to fit on your mat or use them for a larger project.
How to Use the Cricut Foil Transfer Kit
To assemble, just press the plunger on the housing, pop the magnetic tip into place, and it’s ready to go!
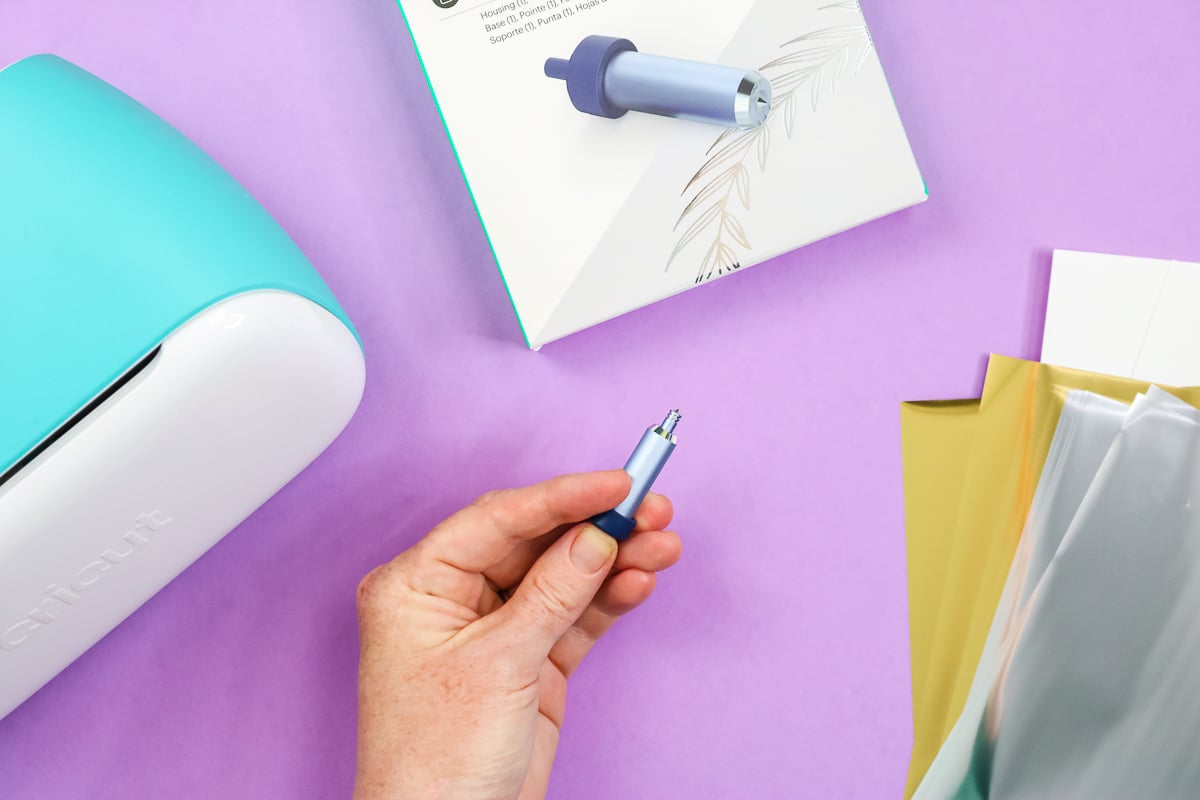
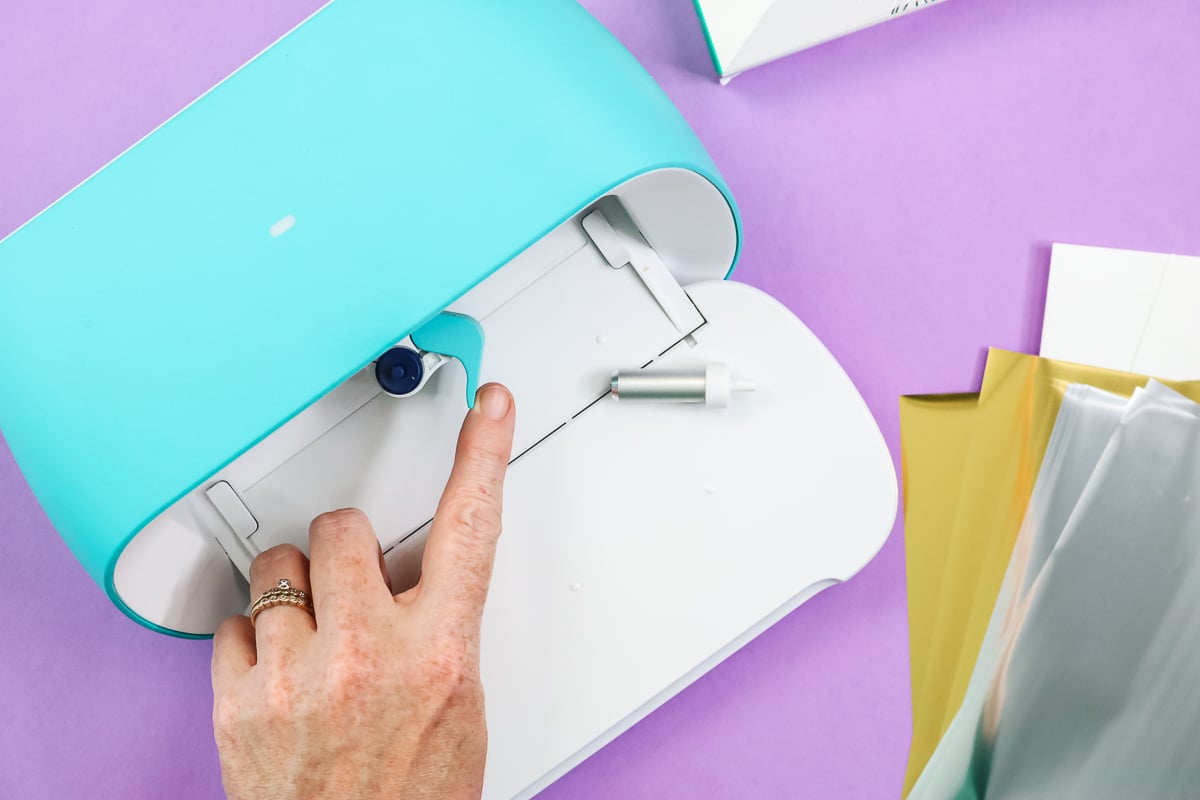
To add the foil housing to your Cricut Joy or Joy Xtra, just flip down the front on the machine, open up the clamp, and remove the blade. Then put the foil transfer tool into place and close the clamp.
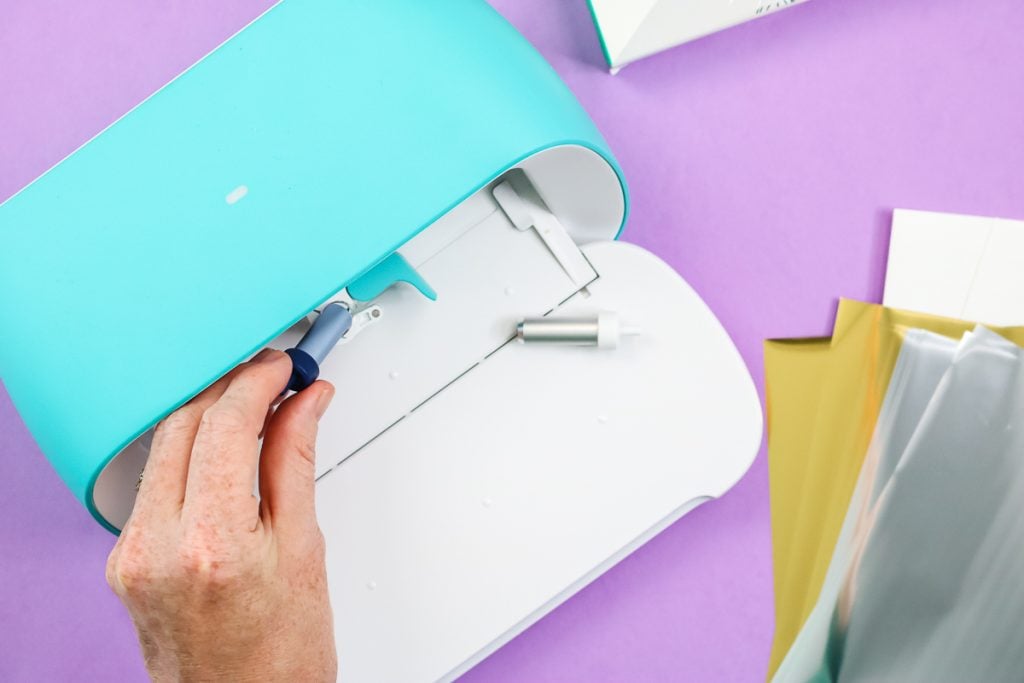
You are now ready to use the foil tool to transfer foil to your materials. I am going to test a few materials so keep reading to see how they work!
Adding Foil to Your Projects with the Cricut Joy
Let’s try to do three different projects with the Cricut Joy Foil Transfer Kit – a card, paper stickers, and faux leather earrings! NOTE: The foil tool can only currently be used on computers so it is not available for mobile or tablets.
Design the Card
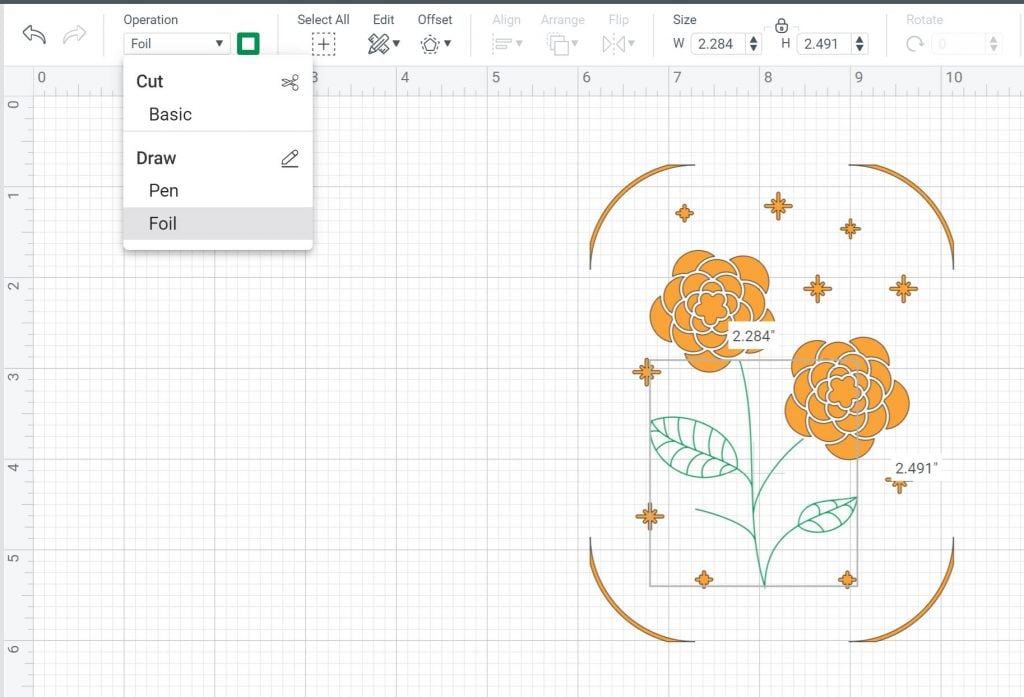
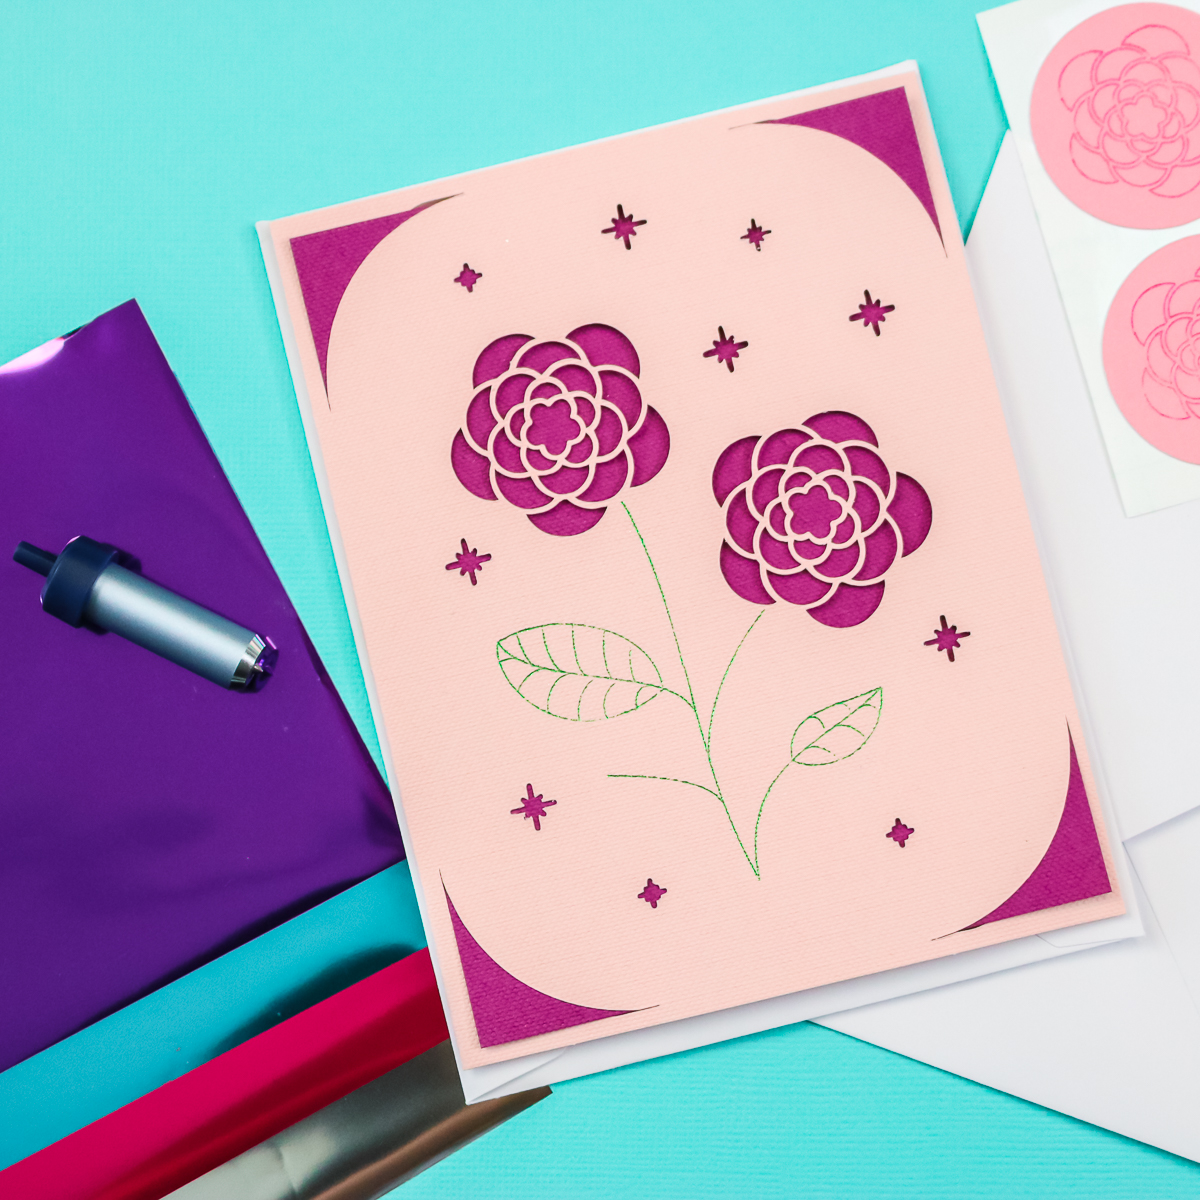
The first project I’m going to make is a card. I’m going to use insert cards that are for the Cricut Joy series, as well as my card mat. First, you’re going to pull a card into Cricut Design Space. The one I’m using has a pen drawing as well as some cuts. I’m going to pick the pen portion of the design and then pick foil. Here, you have the option to change the color, so I’m going to make this out of green foil.
Design the Stickers
Then, we’re going to make paper stickers. I used the card design and sliced away one of the flowers. Then just change that from a cut to a foil. Add a circle and attach the foil lines to the circle.
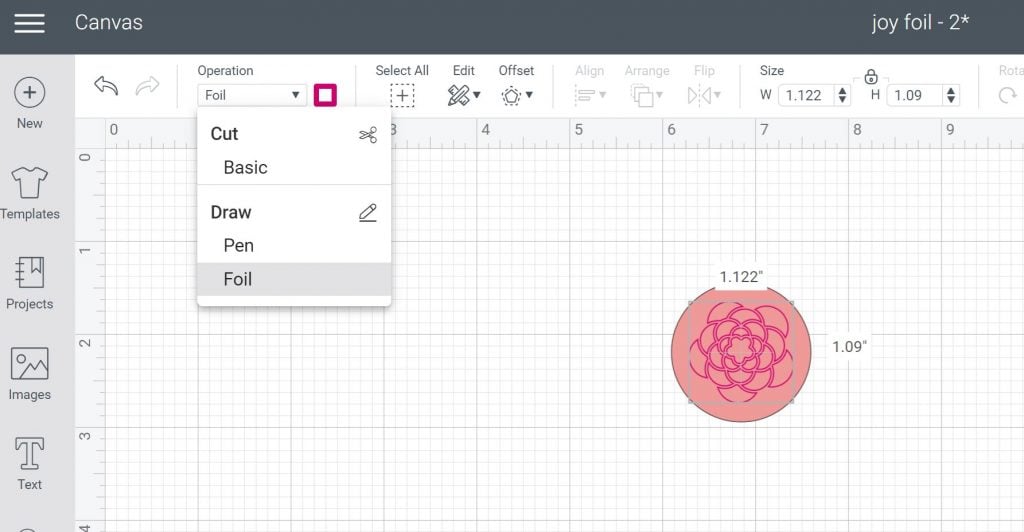
I’m going to use pink foil for this and pink card stock. The foil will first draw, and then the machine will actually need to switch to the blade to cut the circles. I think these would be cute as envelope seals on the back of the cards!
Design the Faux Leather Earrings
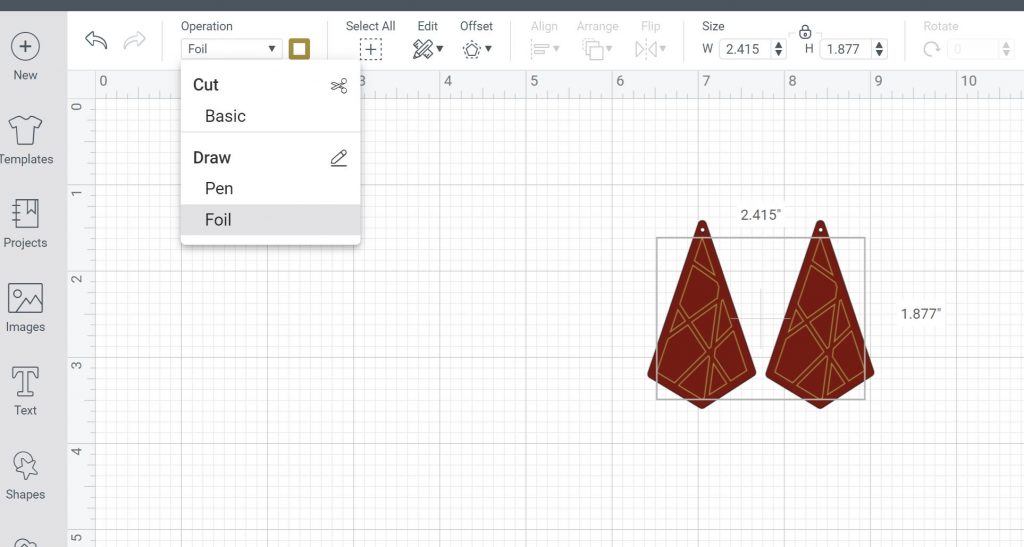
Our third Cricut foil transfer project is faux leather earrings, which have two different layers. I just picked an earring image in Cricut Design Space. Then pick the top layer and change that to foil. I’m choosing to do brown leather with gold foil on top. Click “contour” and remove the contour around the cut areas, so that way it just foils the lines in the center. Then attach the foil lines to the bottom layer before cutting.
Make Foil Stickers with Cricut Joy
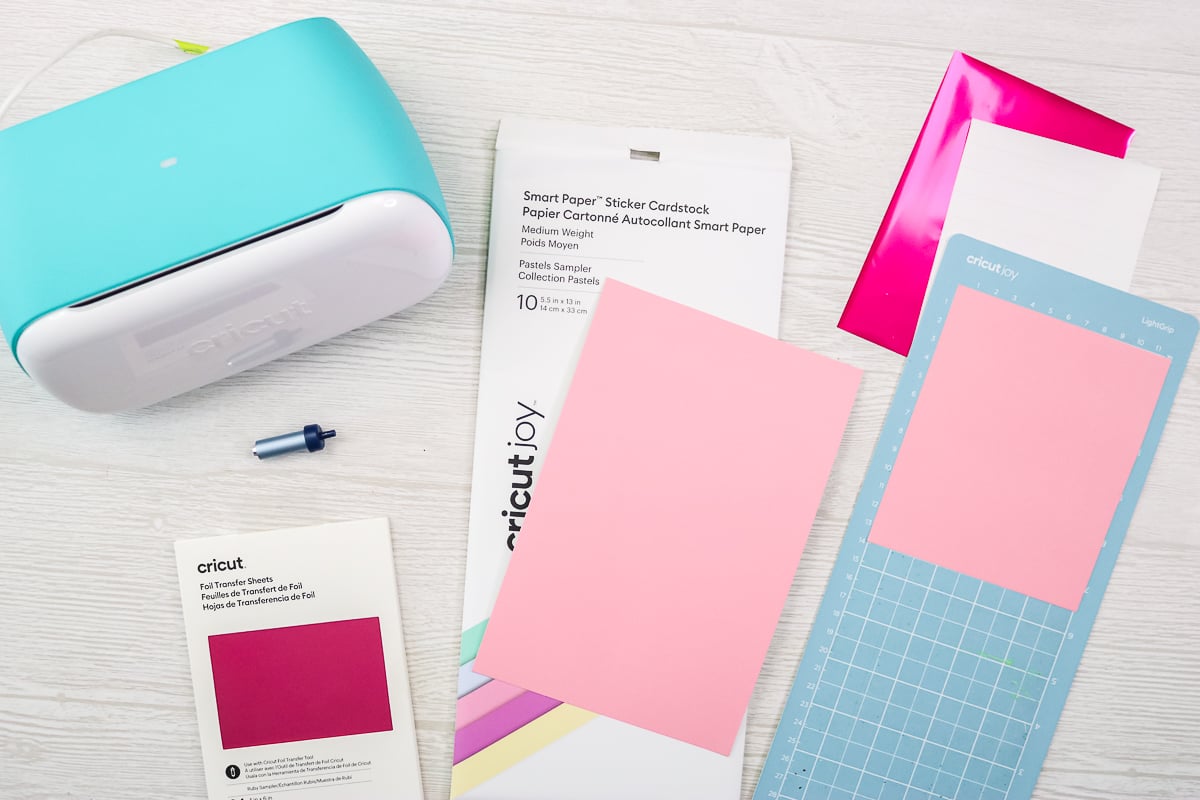
Take your Smart Paper Sticker Cardstock and trim a piece and place it on the mat.
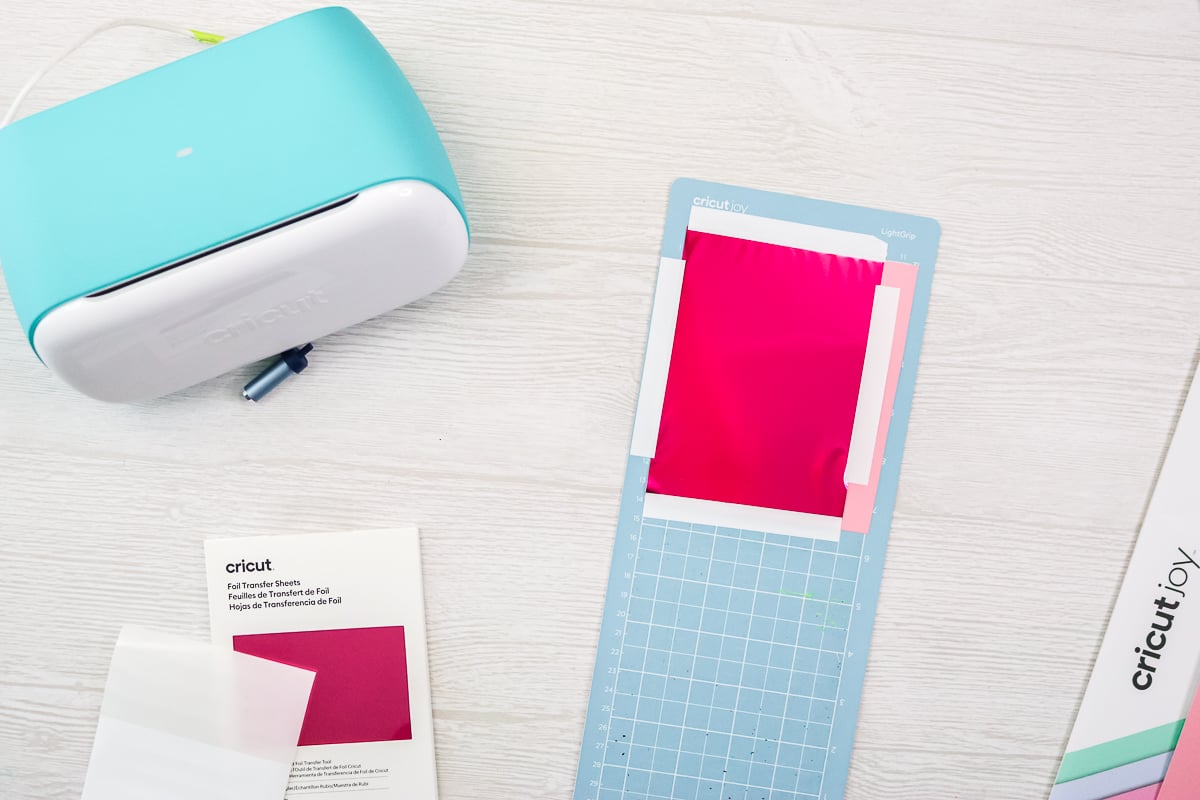
Then add a piece of foil over the top of the cardstock. Always trim your foil so that it doesn’t get on the sticky portion of your mat. You will also want to look in Cricut Design Space and see where your foil lines are going to be. You will want to make sure the foil sheet is covering that area. Next, secure your foil into place with the tape on all four edges. Be sure it is as tight as you can possibly get it. The tape does come with the foil transfer sheets as well as the kit. If you do run out of tape, I think you could use something like Washi tape.
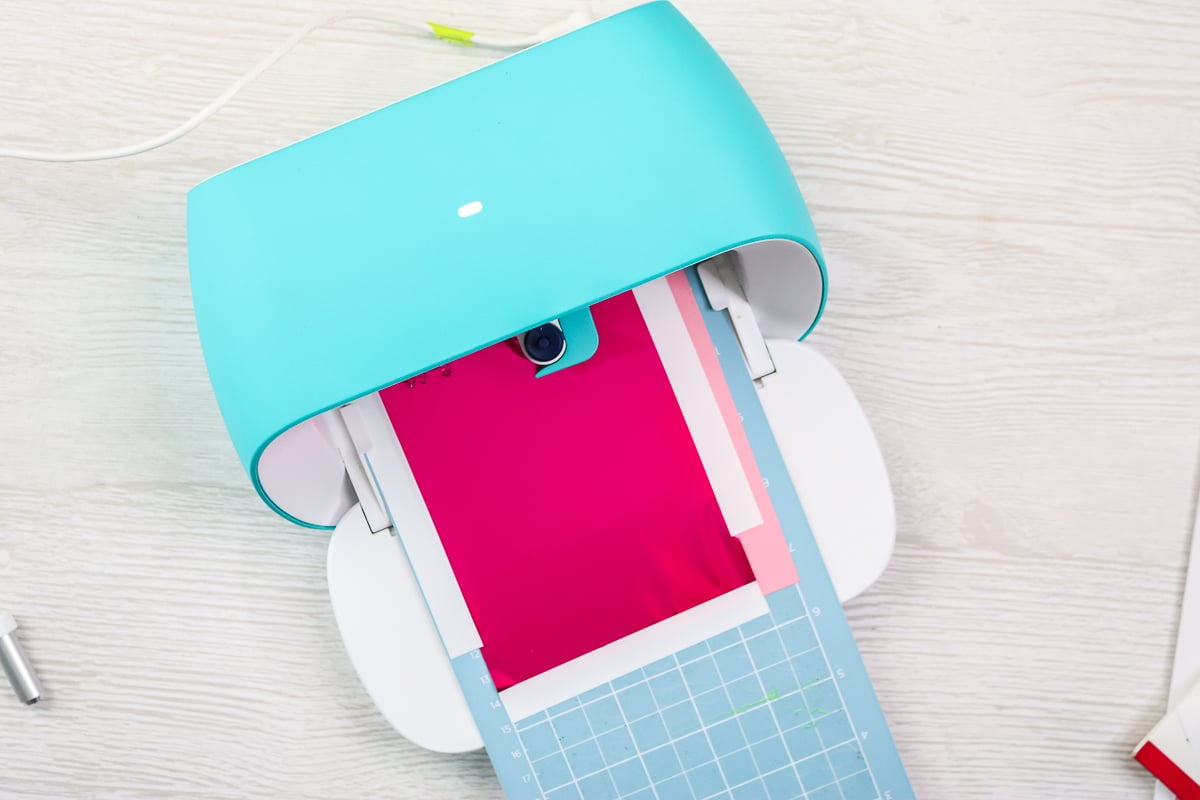
Now, it’s time to put it in the Cricut Joy. To start foiling, load the foil transfer housing first, put the cardstock with the foil on top into the machine, which will automatically feed it in. Click “go” in Cricut Design Space to start the foiling.
Once it’s finished foiling, follow the instructions on the screen. Remove the foil sheet and foil tool and add the fine point blade. Close the clamp then click “go” in Cricut Design Space to cut the stickers.
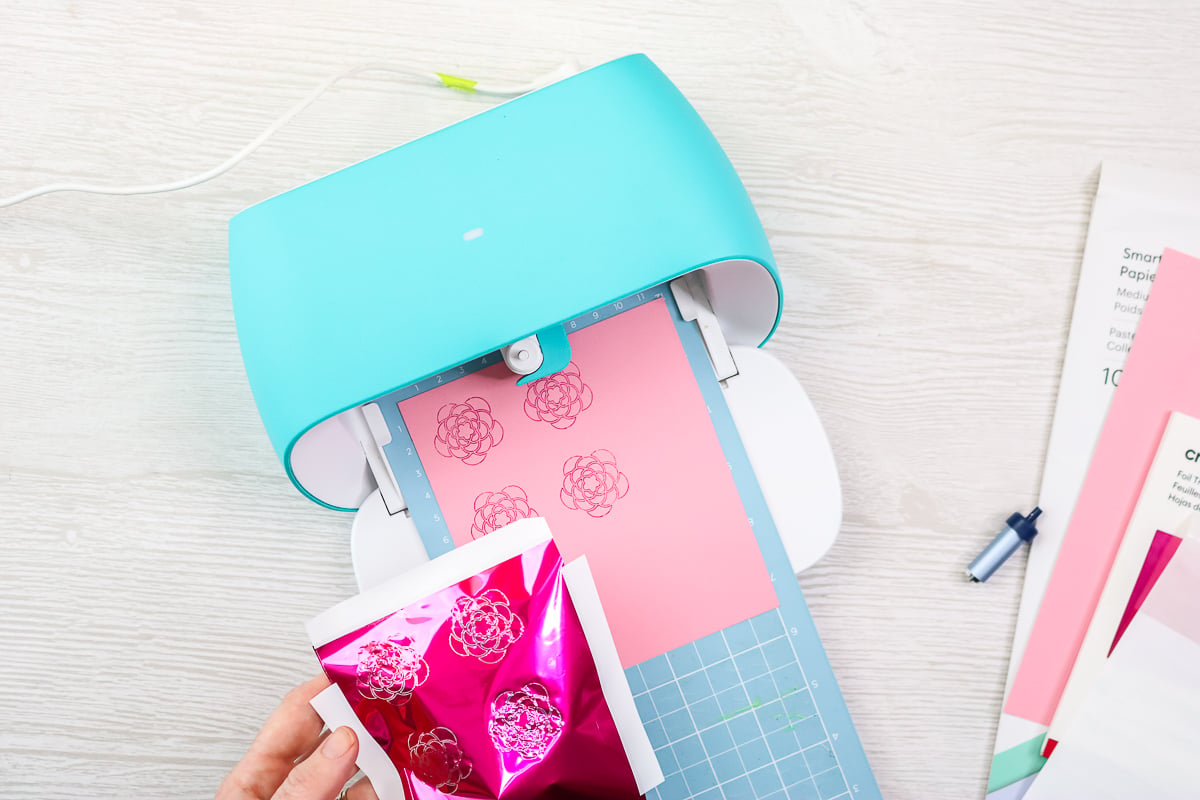
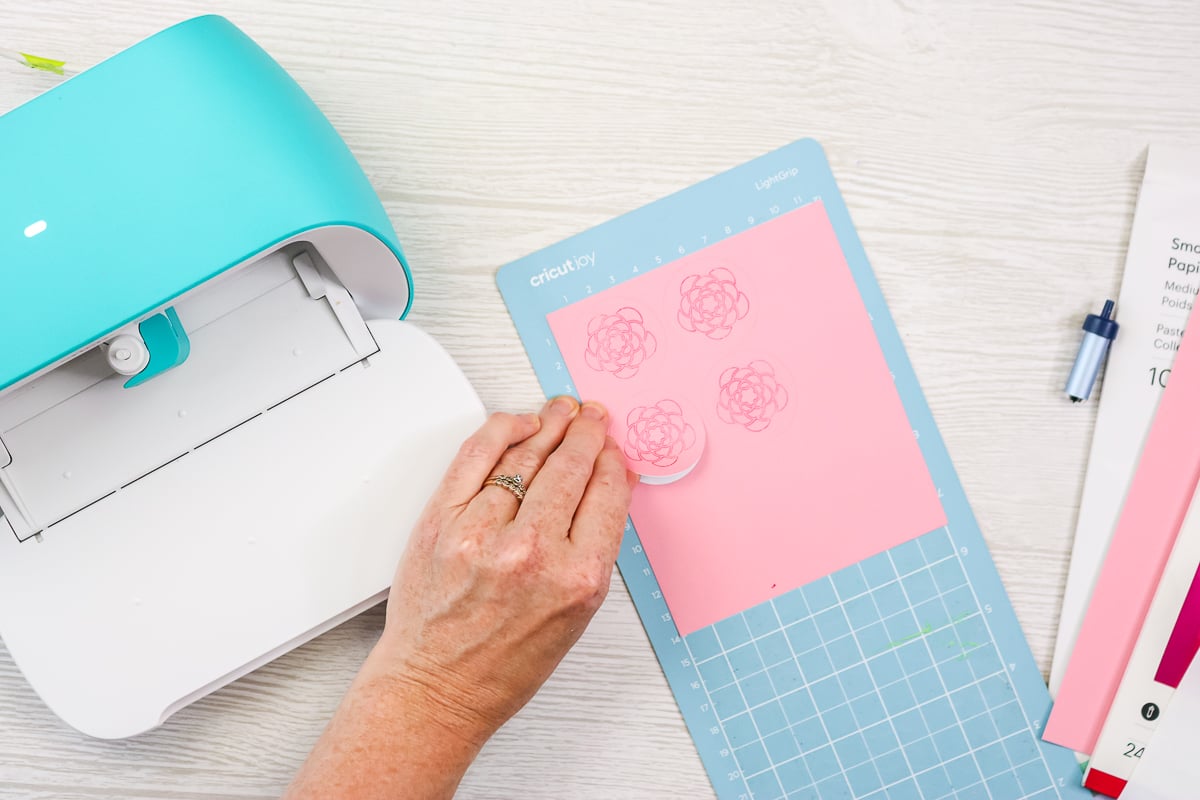
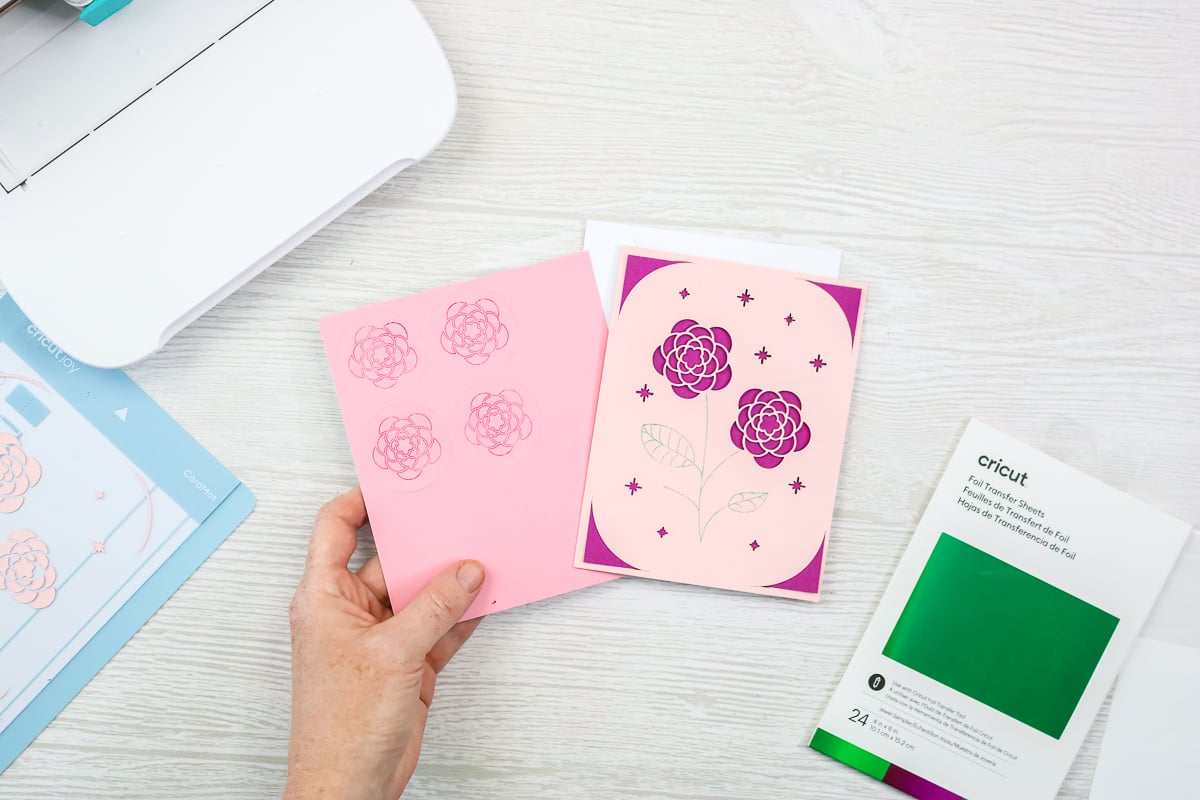
Once it’s done cutting, you’ll click “unload” in Cricut Design Space to remove the mat. Once the mat is ejected, we can take a look at these stickers! The foiling is gorgeous and it’s perfectly stuck on the paper and not going anywhere.
Making a Foil Card with the Cricut Joy
Let’s make a card that goes along with the stickers. I’m going to use a pink card, a purple insert, and a card mat. Start by putting the back of your card inside that card mat, laying it on the sticky portion of the card mat. One of the tricks to cards is to make sure it’s down really well on the mat.
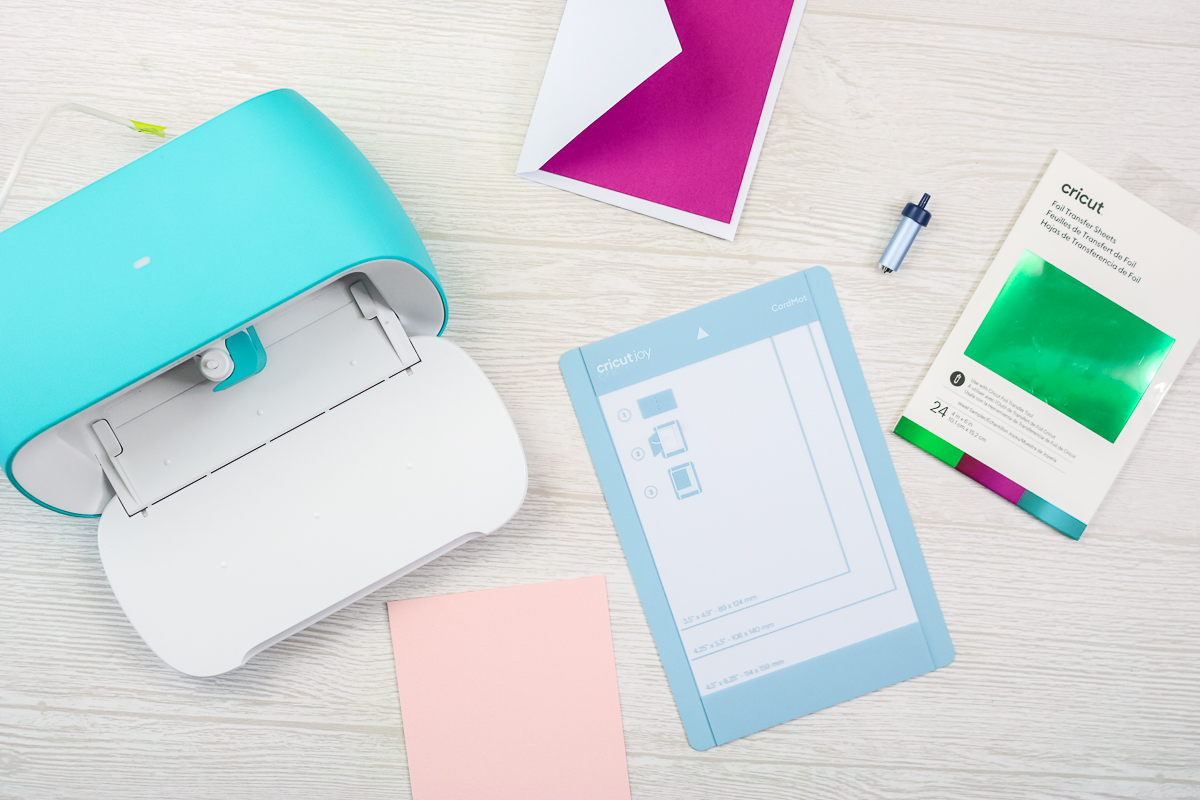
Then, you are going to use the foil tool, so put that in the Cricut Joy and put the foil sheet over the top of your card. Make sure your foil lines are not outside of your card size. You’ll just repeat the same process you did before and tape the foil into place.
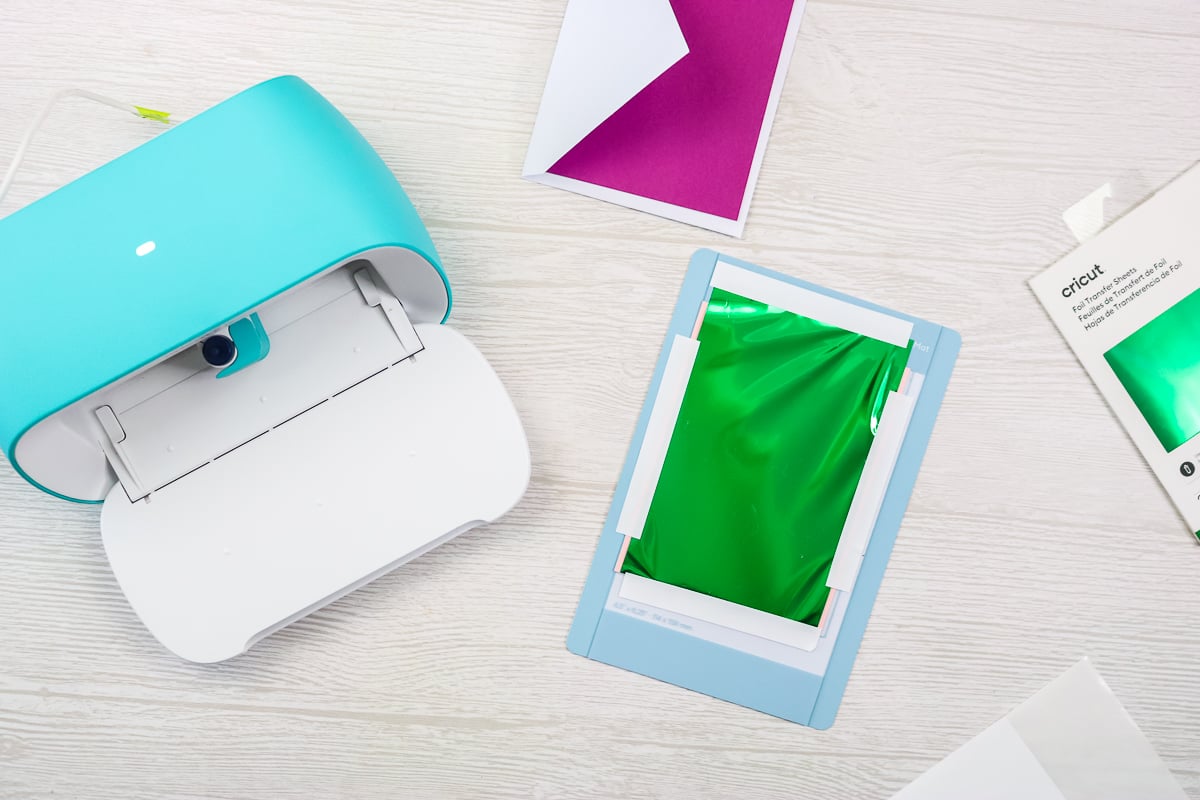
You will click “go”, and allow the machine to do the foiling.
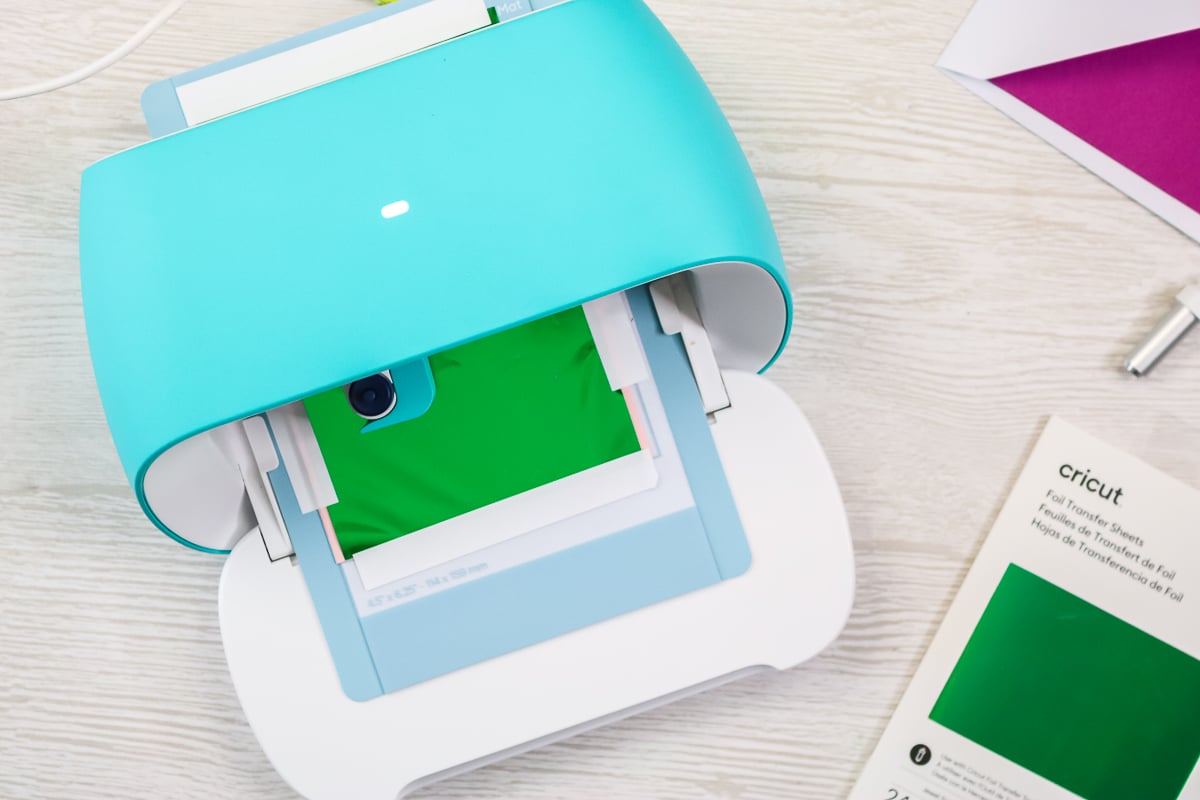
Then, once the foiling is complete, follow the on-screen instructions. You will need to remove the foil and foil tool then drop the blade into the clamp. Press “go” again in Cricut Design Space to cut the card details.
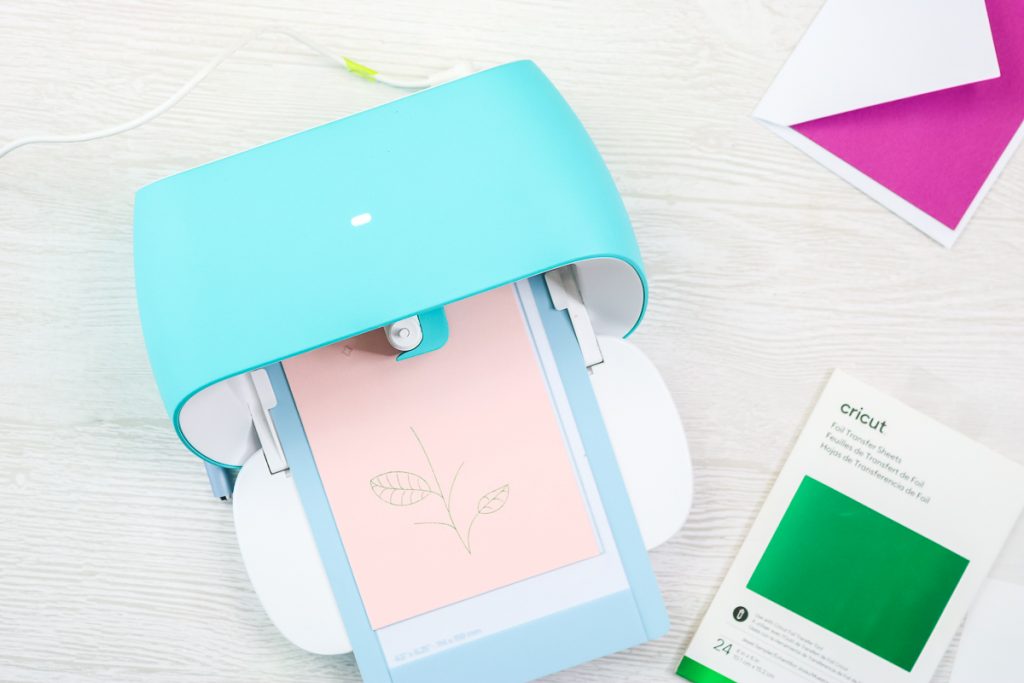
Now that the cut is finished, “unload” the mat in Cricut Design Space, and remove the card from the mat. You might want to use something like a scraper or a spatula to get under there and prevent ripping of the delicate pieces.
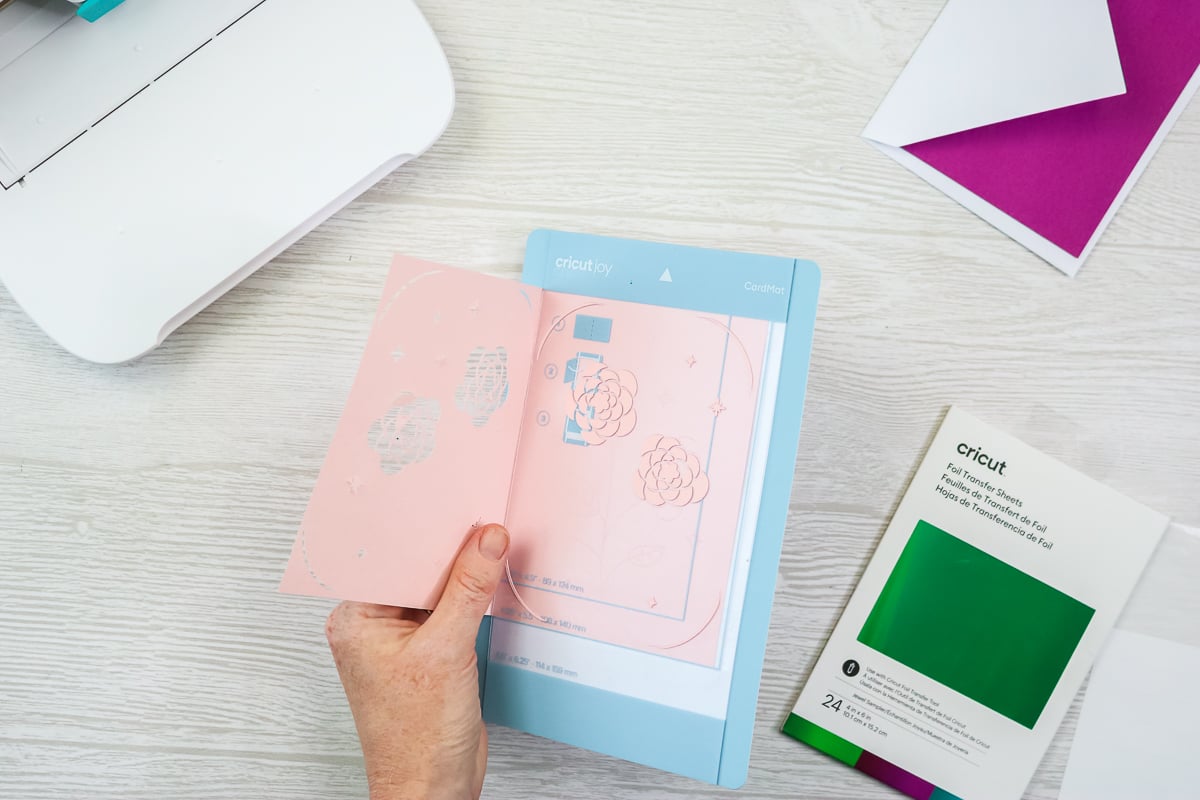
Once you’ve removed it, you’re going to add your insert to all four corners. Pick something that coordinates, but has a little contrast so that when you flip it over, you can really see those details and gorgeous foil pop!
Make the Faux Leather Earrings
Let’s move onto some faux leather earrings and see what the Cricut Joy machines do with them. For this project, I’m going to use the gold foil that came with the foil transfer kit. Put the faux leather down on the mat.
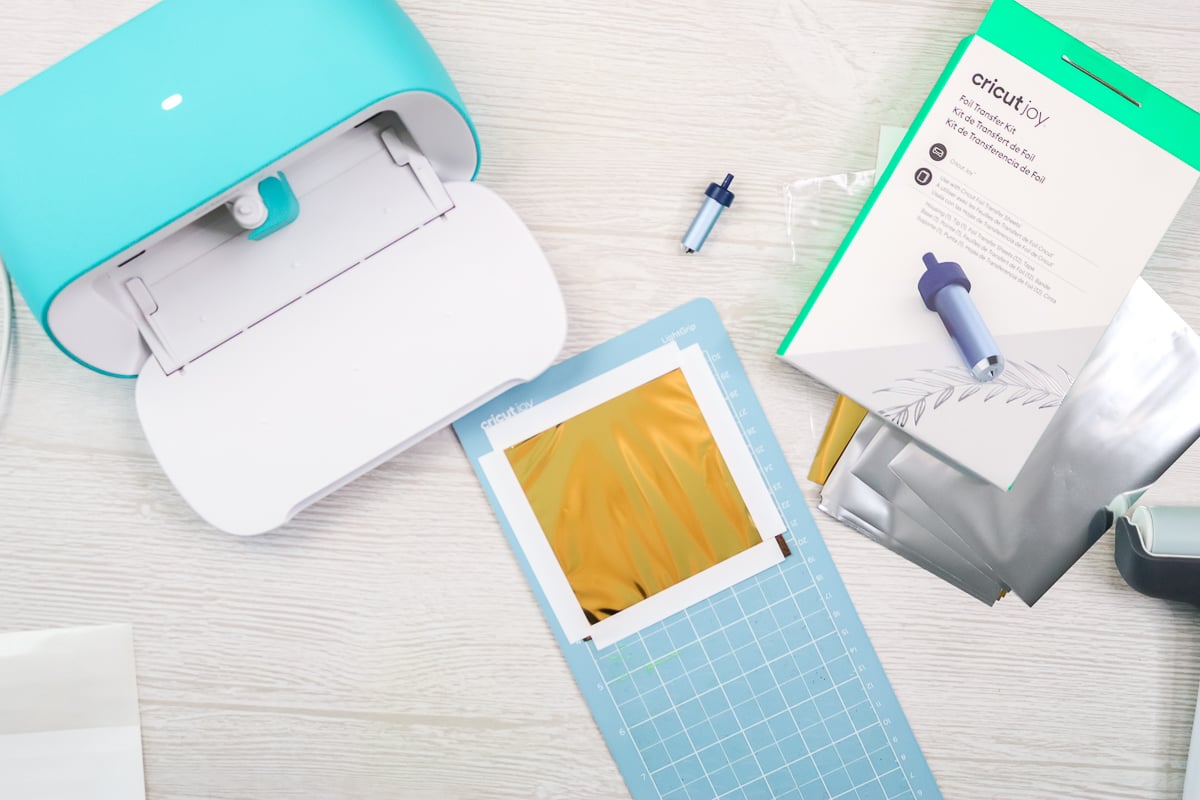
Repeat the same process for taping the foil sheet down over the top.
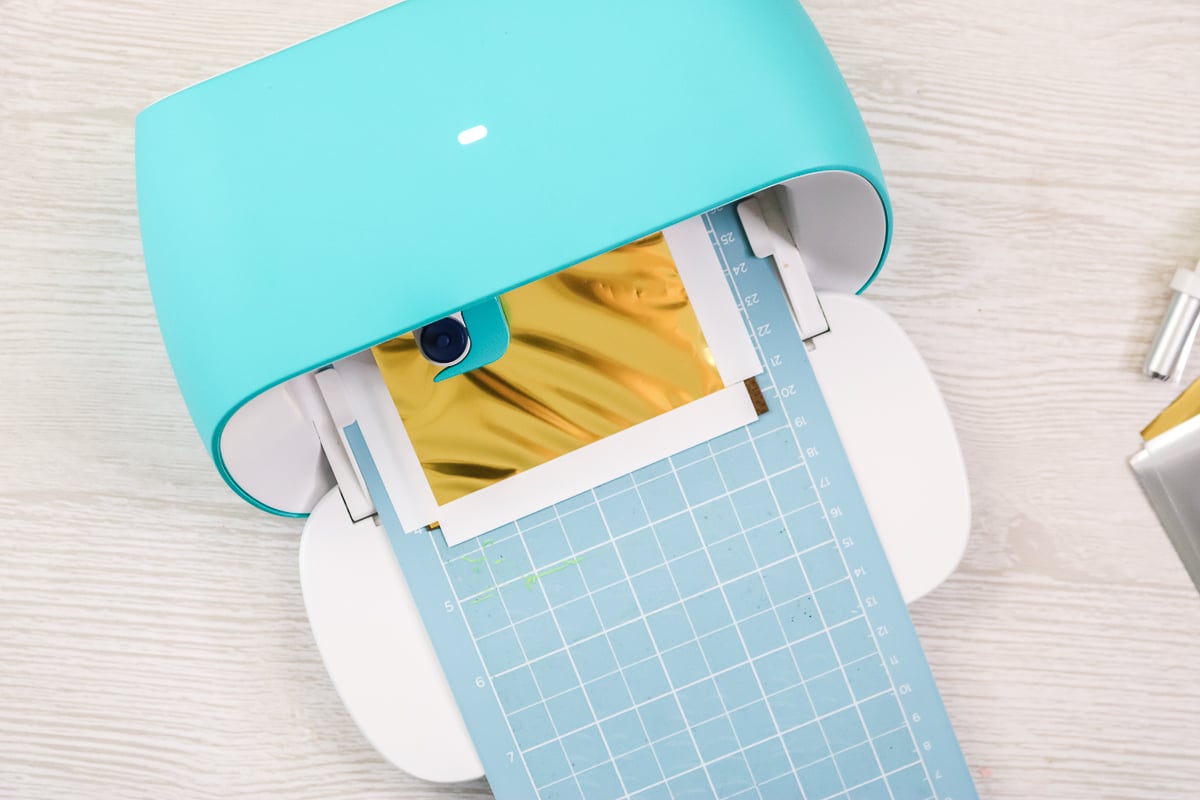
For this, I had to use the heavy cardstock setting as Cricut says the faux leather is not compatible with the foil tool. I wanted to test it for myself, however! Add the Cricut Joy foil transfer tool. Click “go” in Cricut Design Space, and let the foiling begin.
Then once the foiling’s done, put the blade into the Joy and click “go” to cut these earrings.
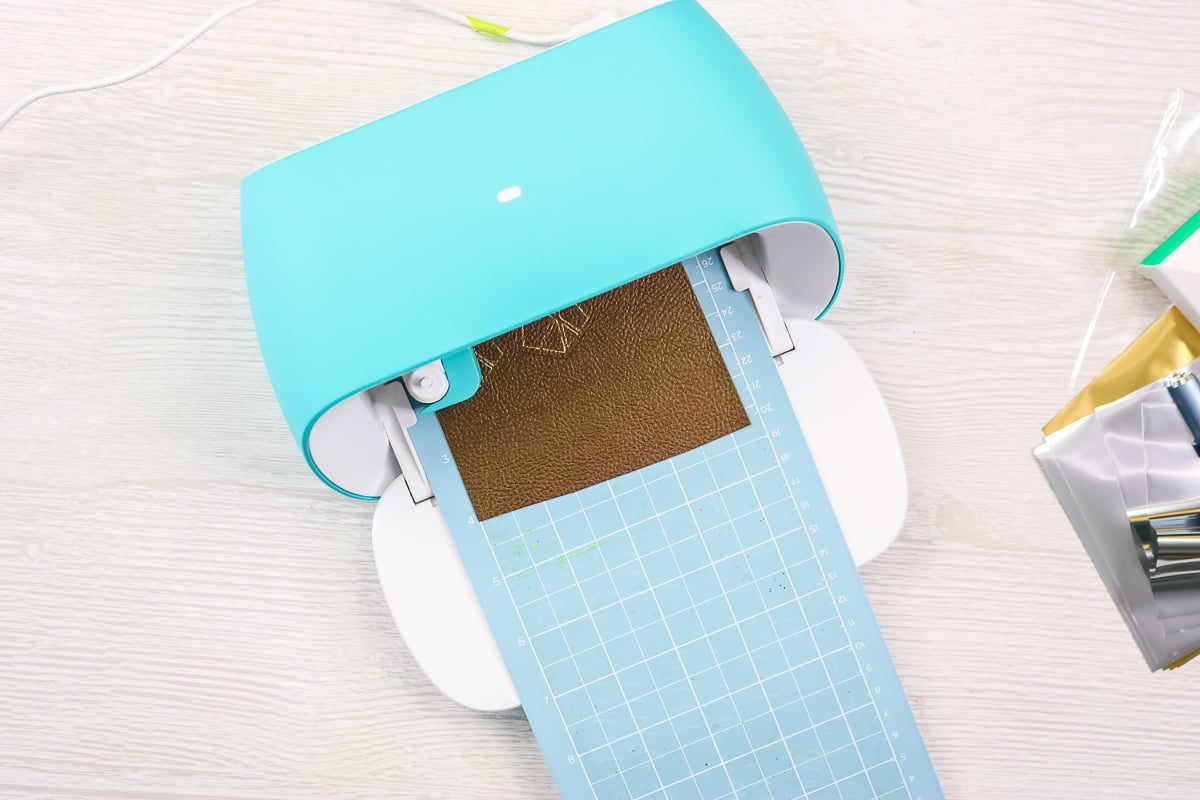
Once they are done cutting, click “unload” in Cricut Design Space and remove the earrings from the mat.
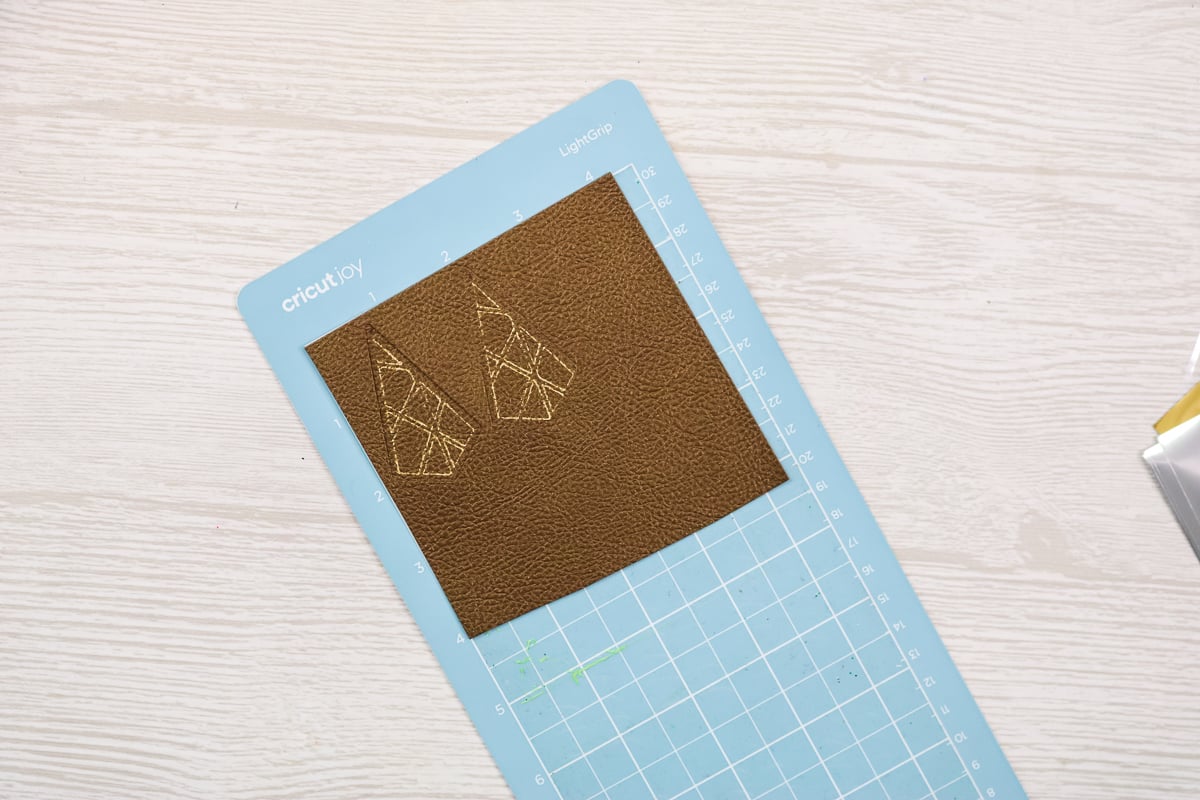
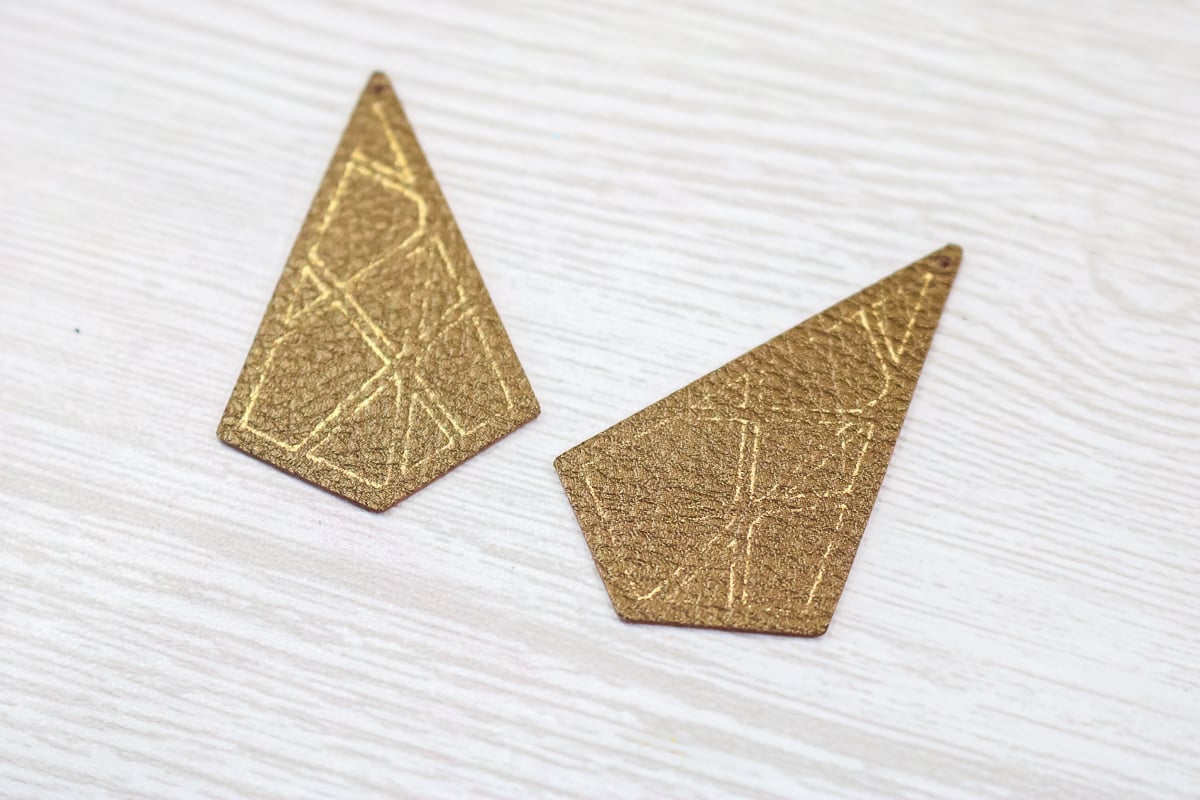
Once I looked closely at the earrings, the foil is actually lifting off of the surface. My guess is that the Cricut Joy just doesn’t have enough pressure to press that foil down into the faux leather. I would not recommend using the Joy to foil onto faux leather. I have done it successfully with my Explore here, so that would be an option.
Conclusion: Stick to Paper Projects!
I hope this helped you learn all about the Cricut foil transfer kit, and we made a couple of successful projects! I do believe that you should stick with the recommended materials in Cricut Design Space, which are basically all kinds of paper. I did push the foil transfer tool a little bit just to make sure that we couldn’t go a little further with it, and it doesn’t seem like it has enough pressure to do things like the faux leather.
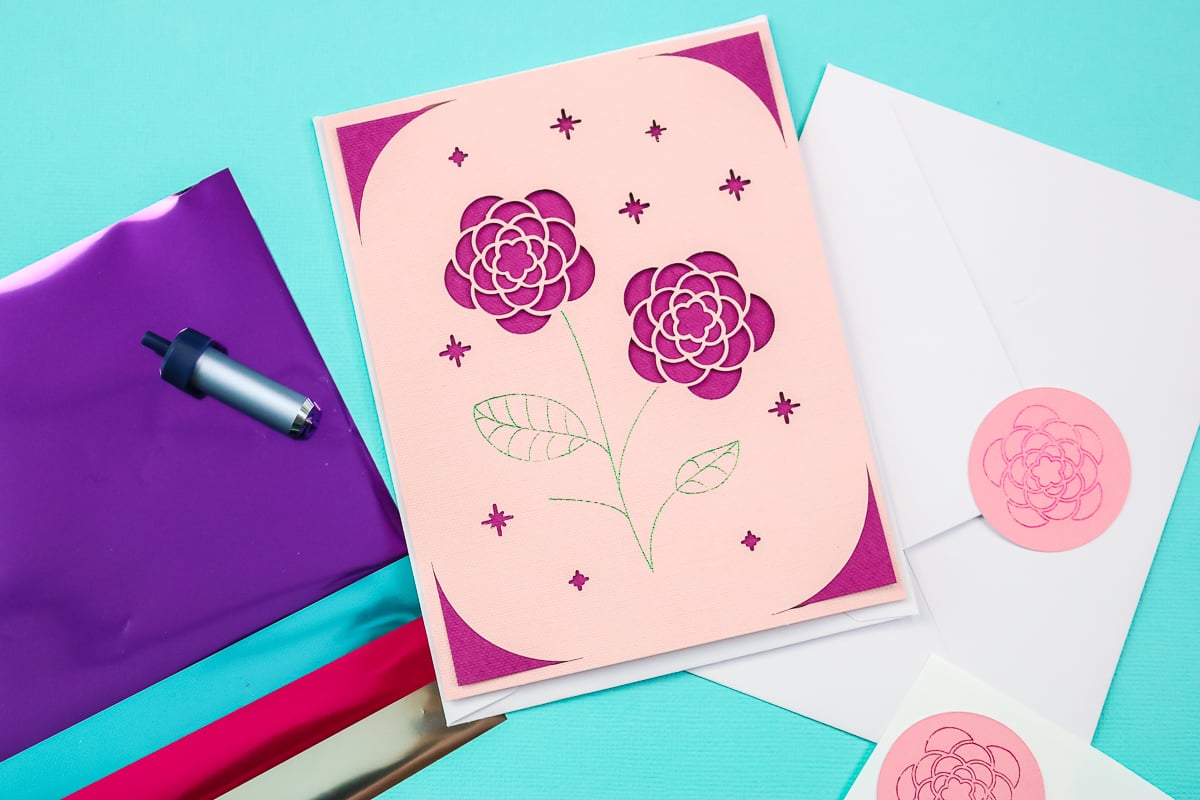
It does add an amazing touch to your paper projects though! I will be using this Cricut Joy tool in the future for sure. I definitely love it for adding a little something special to cards.
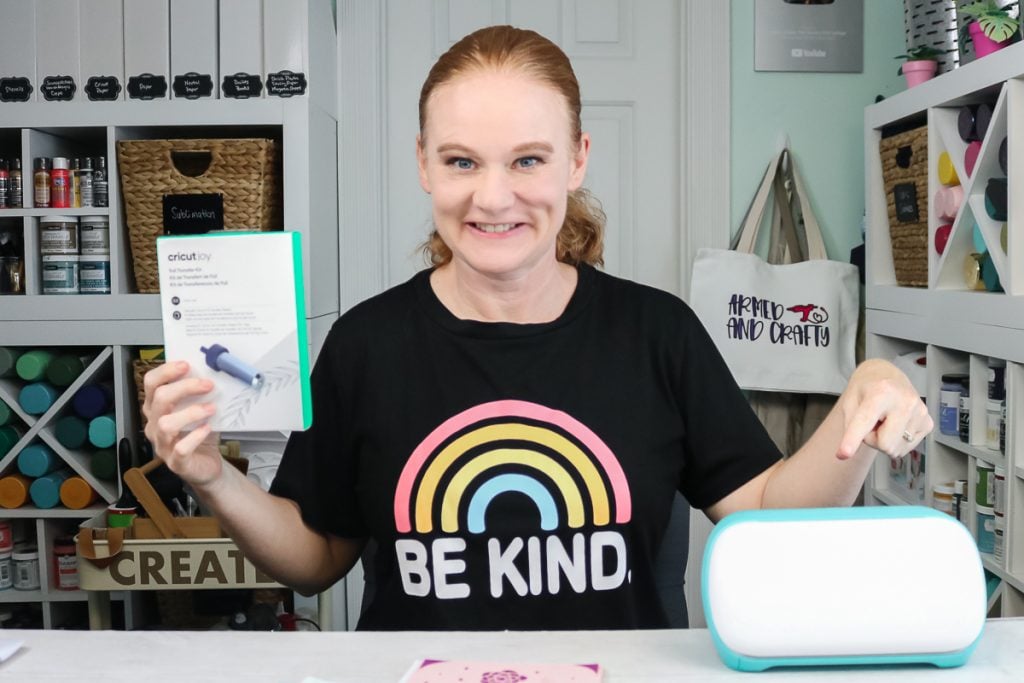
I mean who doesn’t love that metallic shine on their projects? I think making paper stickers is another fun way to use this tool. Remember that the original Cricut Joy does not do print then cut so the sticker paper cardstock is a great alternative for that.
So, will you be picking up the Cricut Joy foil transfer kit for your crafts? I really think you will love the effects it gives you and will find you use it more than you may think!


Excellent. Thank you