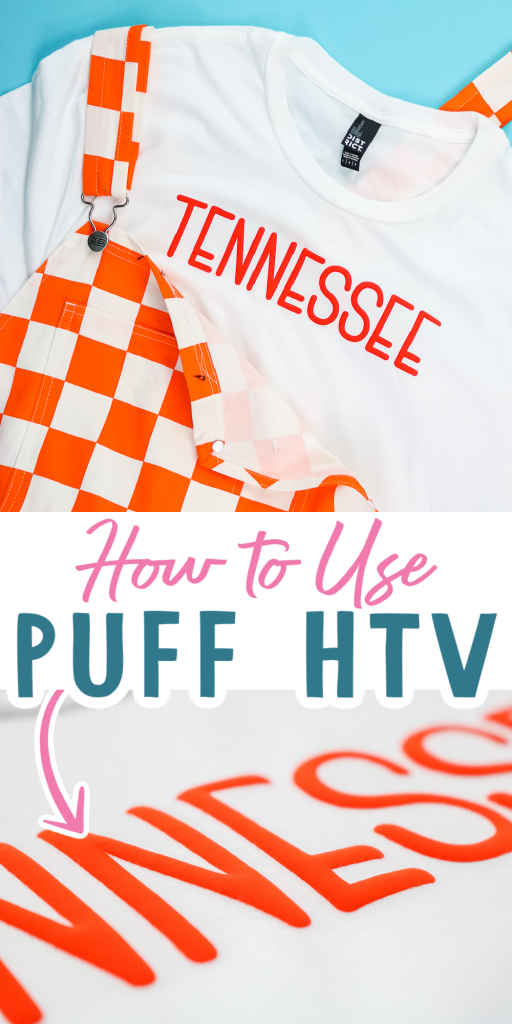
You may have seen or heard of puff HTV and wondered what all of the fuss is about. Well, I am here today to show you how this product works and inspire you to give it a try for yourself. I really think you will love this product and the amazing dimension it can add to a plain shirt. Be sure to pick up some and give it a try for yourself. I know you will love using puffy HTV for your heat transfer vinyl projects!
Can’t watch the video or missed some of the steps? You can also follow along below!
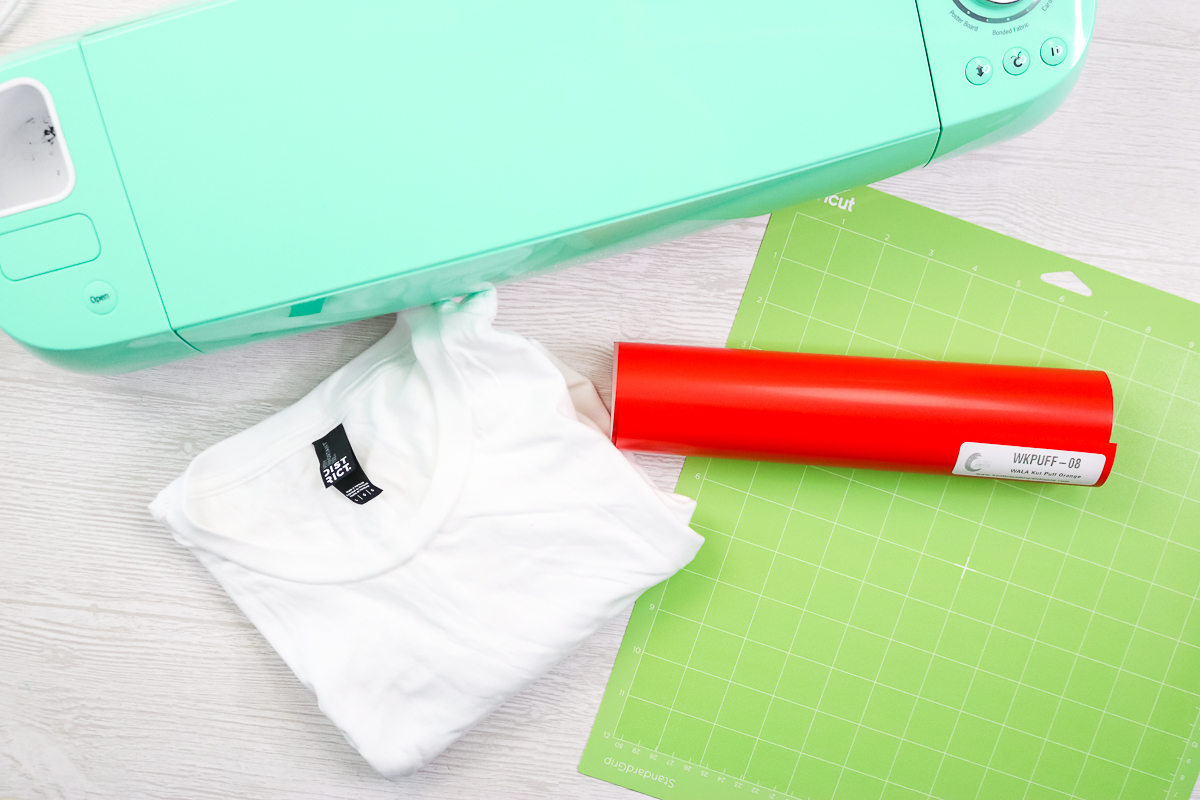
Supplies:
- Walakut Puff HTV (I’m going to use orange.)
- White shirt
- Cricut machine
- Weeding tools
- Heat press
- Green Cricut mat (This particular brand of Puff HTV sticks best to a Cricut green mat instead of a blue mat.)
How to Use Puffy HTV
Now let’s take a look at how to cut, weed, and apply this heat transfer vinyl product to a shirt.
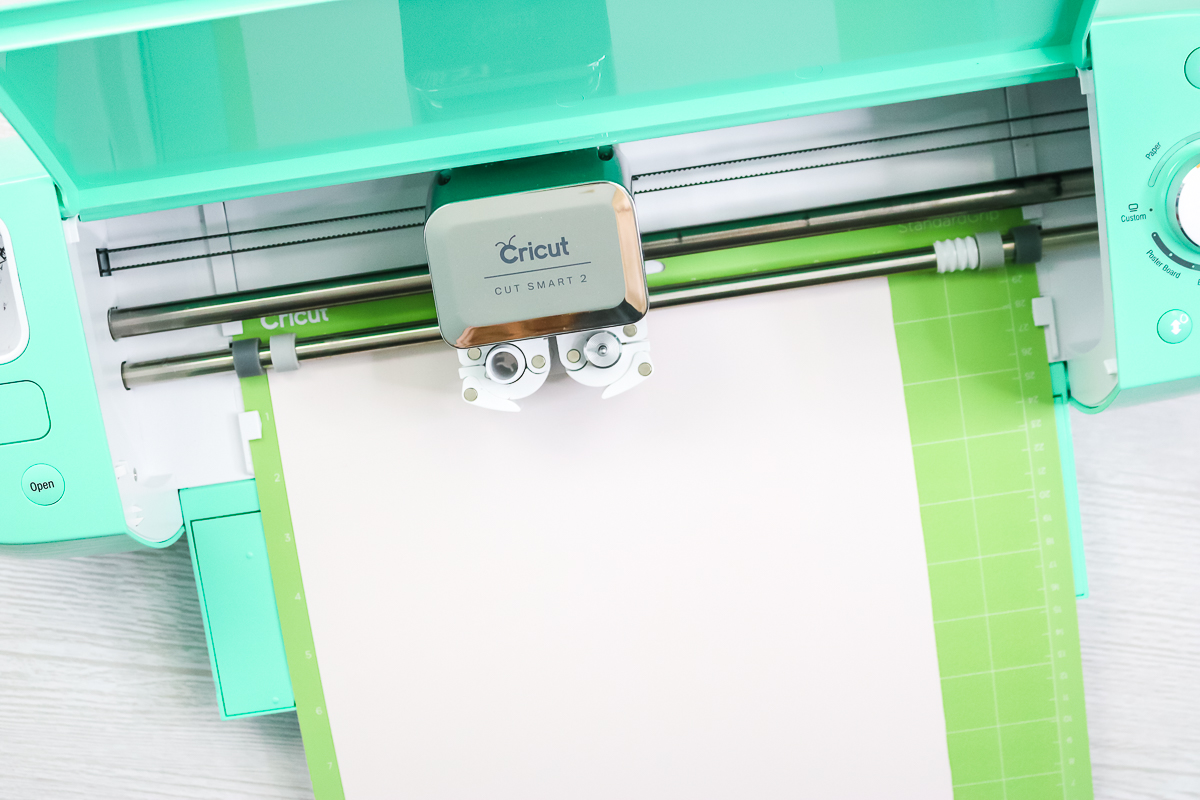
Adding to a Mat
The Puff HTV is white on one side and the color that you are using on the other. The white side is actually shiny and the color side is more matte. However, the color side is what goes against the mat. You will need to remember that when using this product.
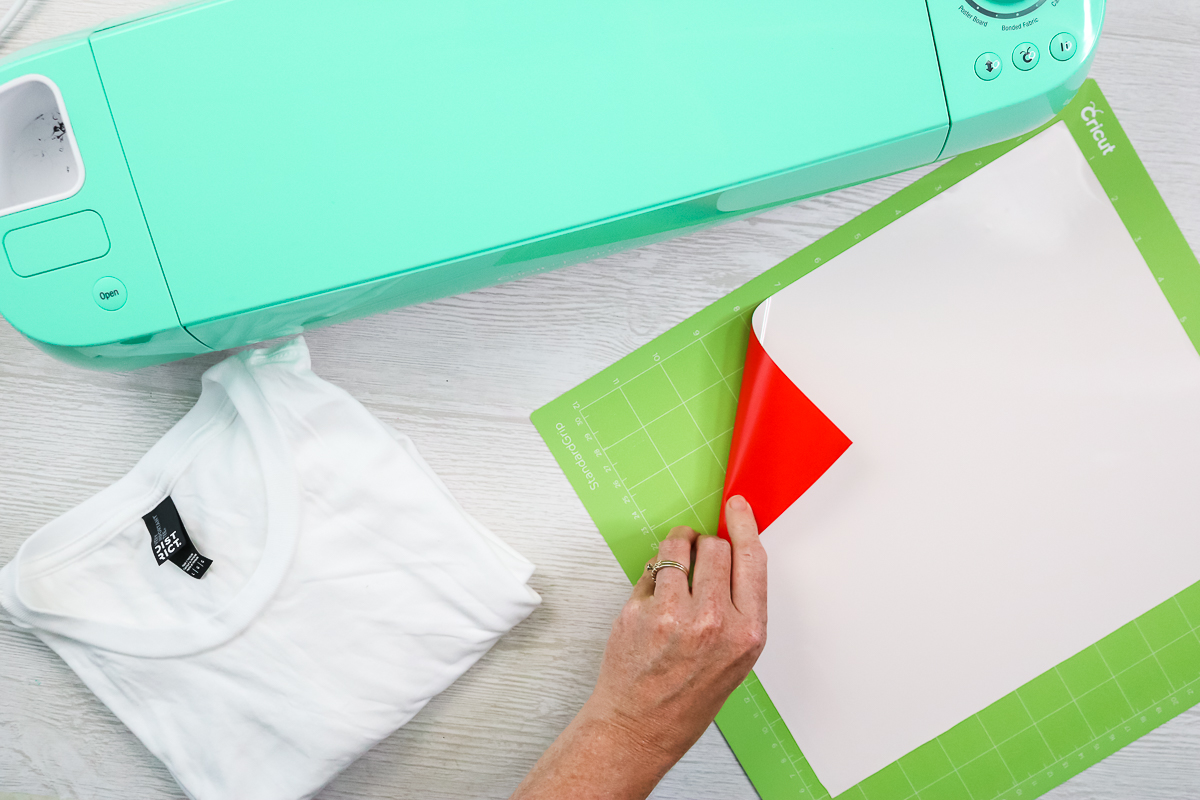
I think a lot of times you hear a shiny side against the mat, and that is not true in this case. If you want to check that on any product you’re using, just take the corner and peel back a little piece. Then you can tell the difference between the product side and the liner side. You want the clear liner down onto the mat, which in this case, is really not the shiny side. Then just apply it to the mat and I like to make sure it’s stuck down really well.
Cutting Puff HTV
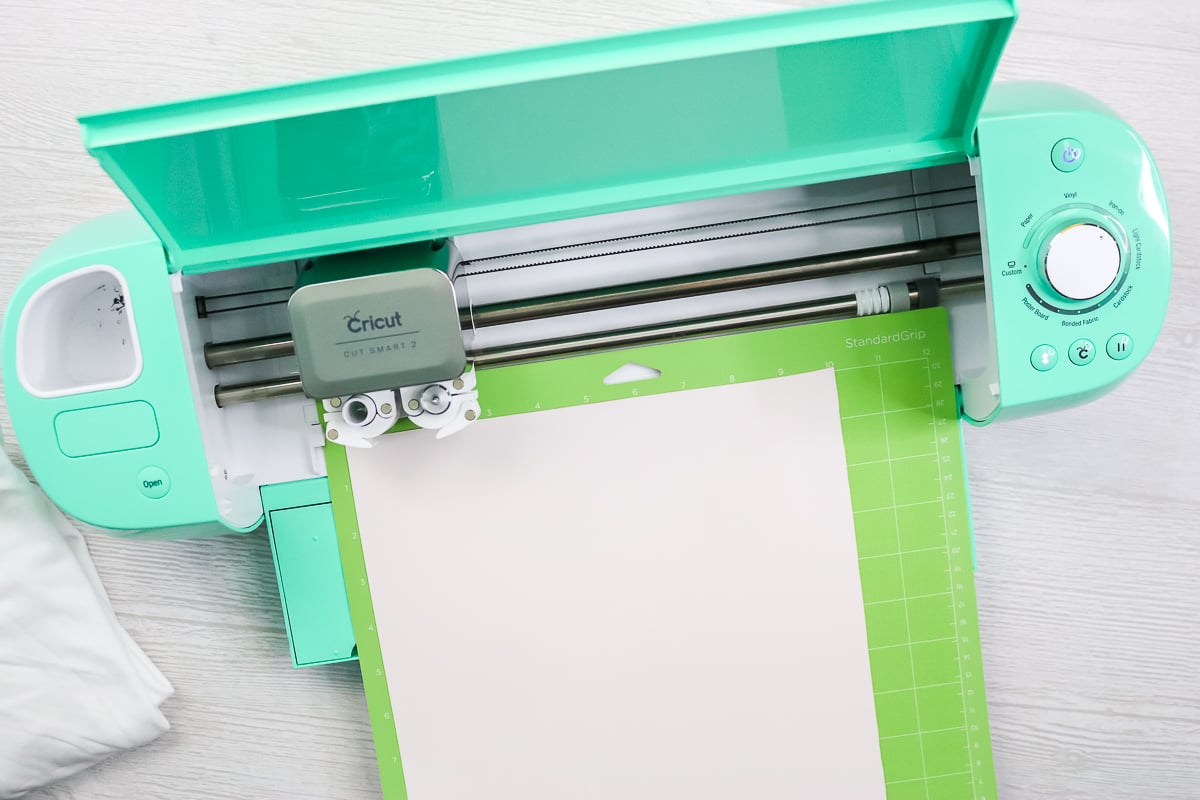
Now we’re ready to cut and you do want to mirror your design. Remember if the good side is down on the mat you always mirror. I find that just the regular HTV setting on my Cricut works. I just use the iron-on setting with the Cricut Explore Air 2. Once you have your setting, just load the mat into the Cricut machine. NOTE: Any Cricut machine will cut this product. Then, press the “go” button to cut. Once it’s done cutting, we’ll just remove the mat and move on to weeding the design.
Weeding
Weeding is similar to any HTV. You’re just going to weed away all the excess from around the outside, as well as things like the centers of any letters. I do find that this product weeds fairly easily. I don’t find a ton of difference in the puff versus regular HTV. Once your design is completely weeded, it’s time to press it onto our shirt.

Pressing
I went ahead and pre-pressed the shirt just to remove any moisture. I have my heat press set at 305 and we’re going to press this for 10 seconds at medium pressure. You might be able to get the same result with the Easy Press, but I would definitely use one that would cover your entire design and not a small one where you would have to move it. Locate your design onto your shirt then press.
NOTE: If you only have an EasyPress, check out this post where Color Me Crafty successfully used puff HTV.
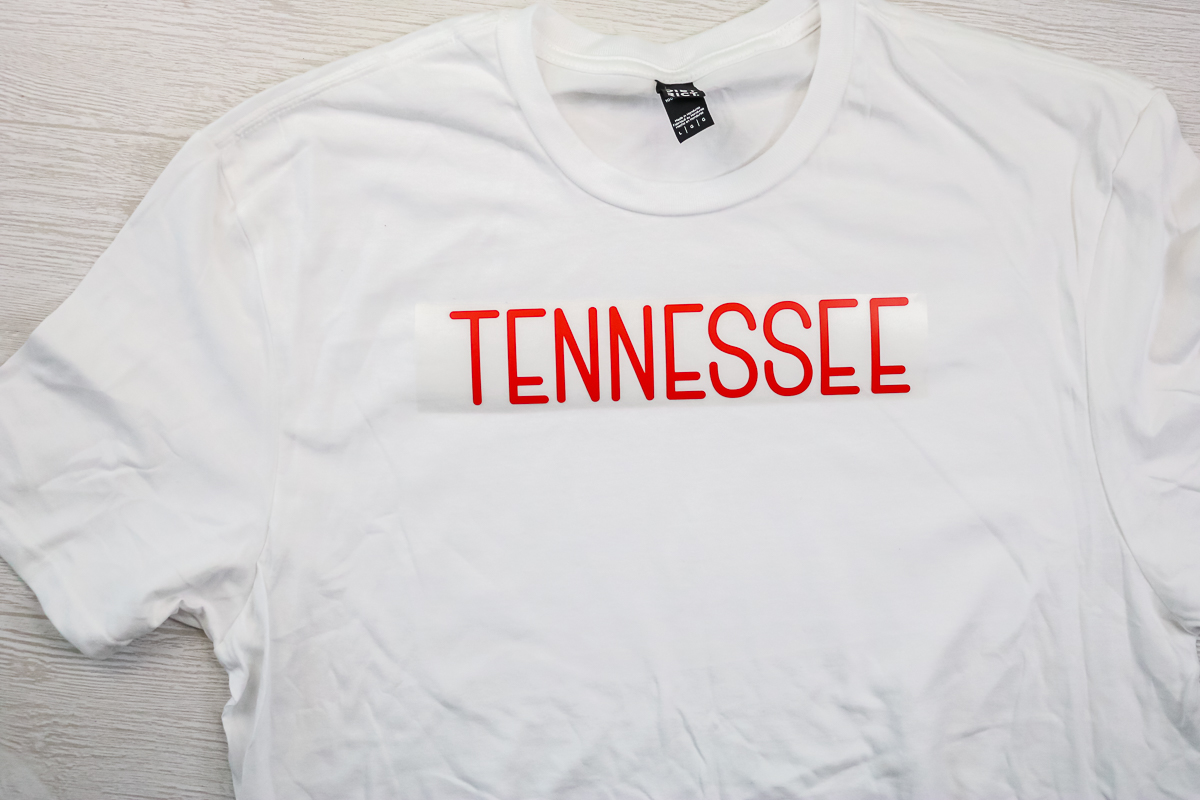
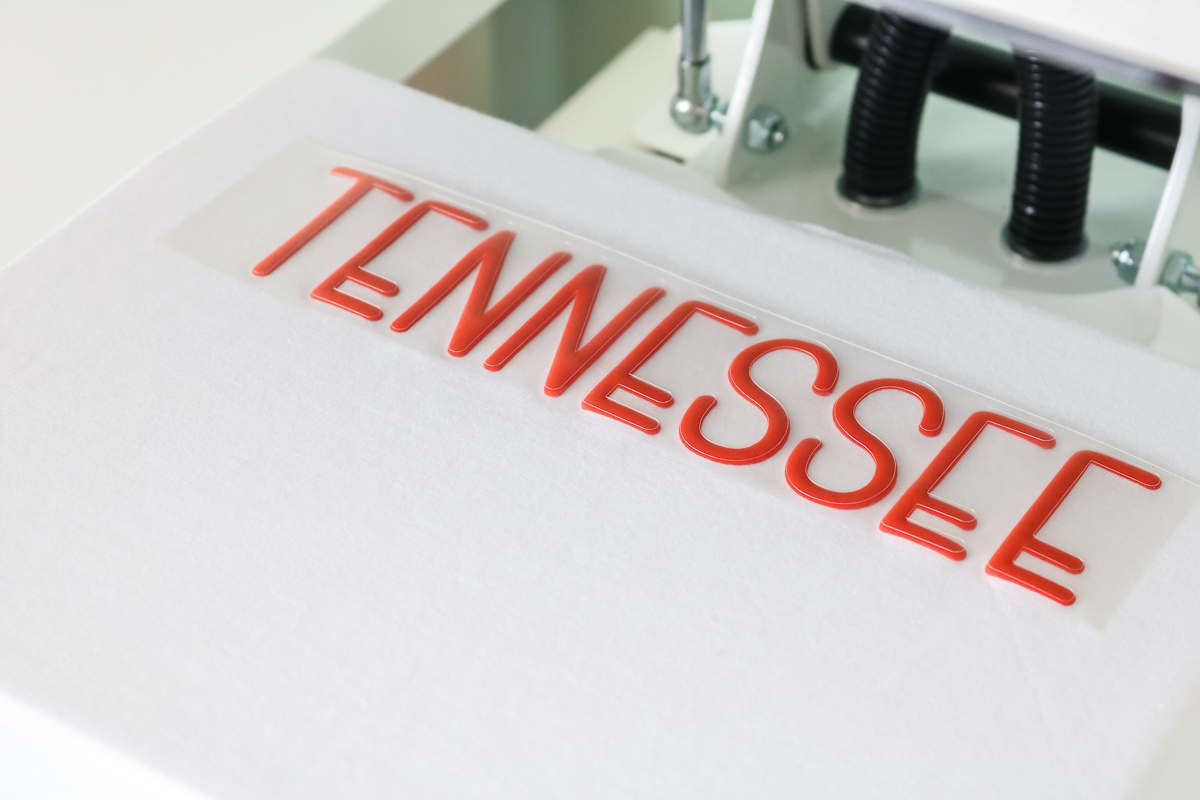
It is a hot peel, so just as soon as it is done, peel back the carrier sheet on the top. The material will already be puffy as soon as the pressing is complete.
Free HTV Cheat Sheet
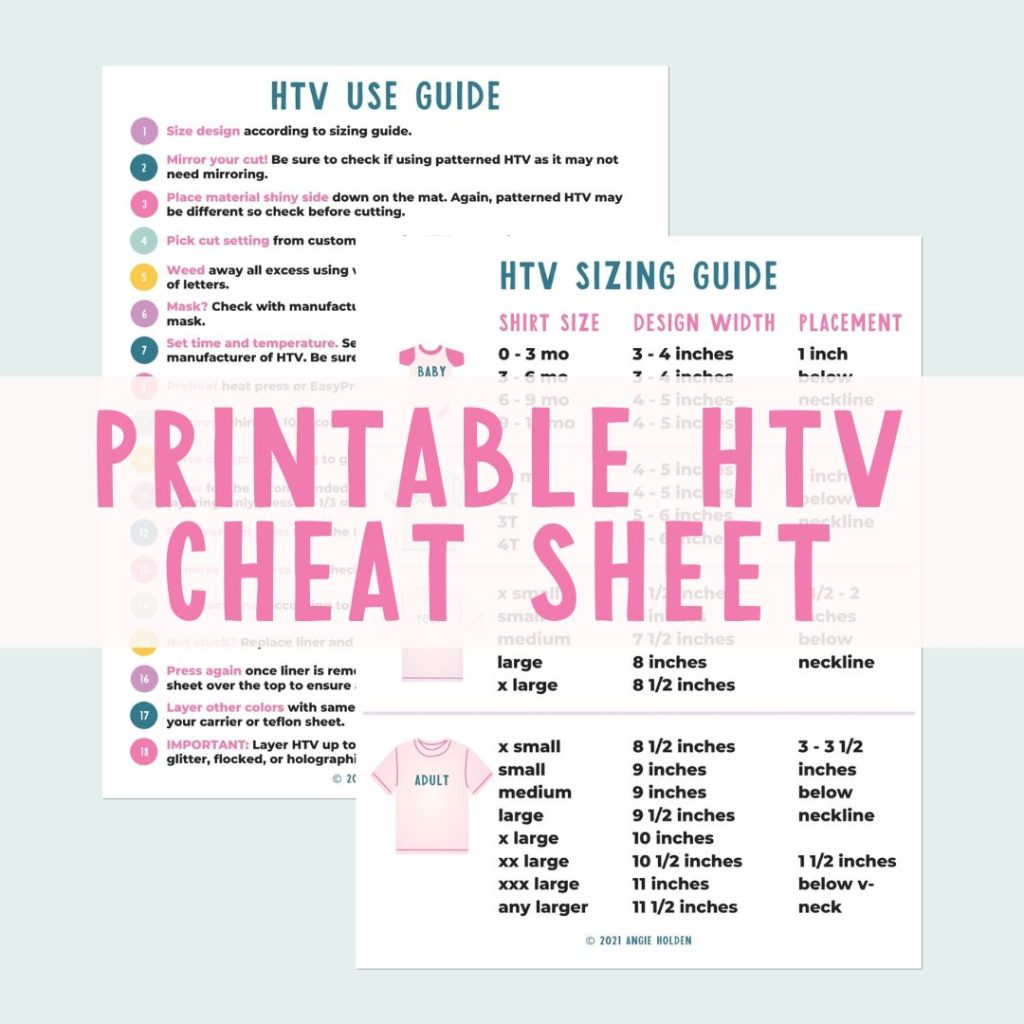
Get your FREE Printable HTV Cheat Sheet now! This guide has sizing and position recommendations for infant through adult shirts as well as a handy HTV use guide. Print this double sided guide and put it by any heat press you own!
3D Puff HTV Final Result
Now let’s take a closer look at just how much this puffs up now that it’s off the press and that carrier sheet is off.
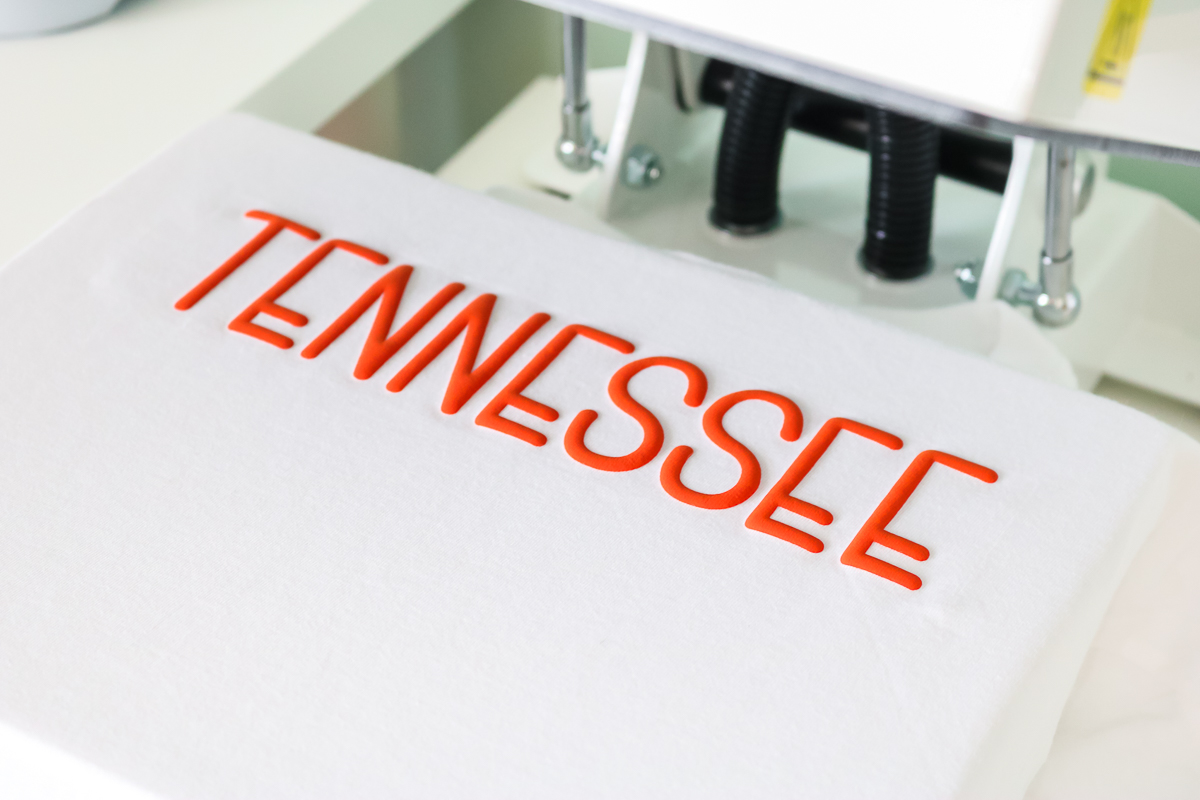
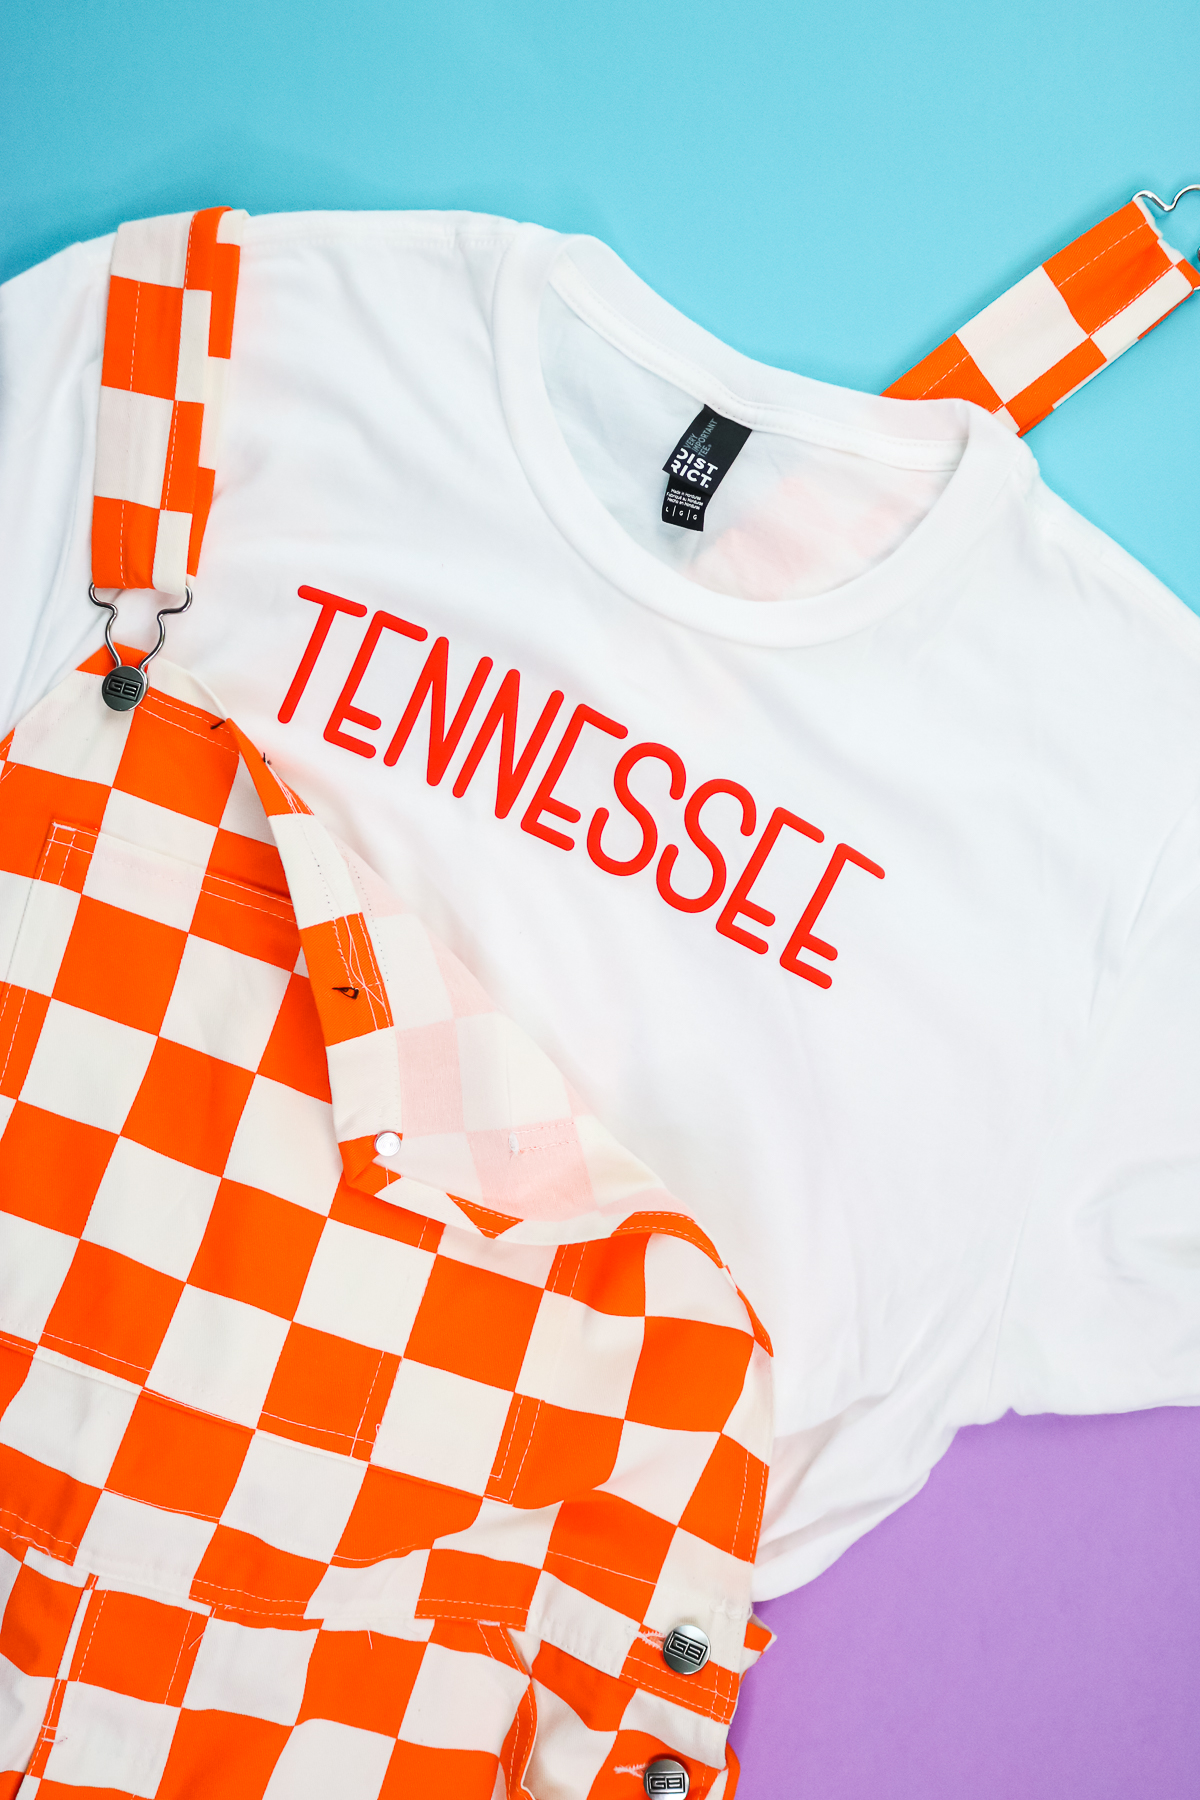
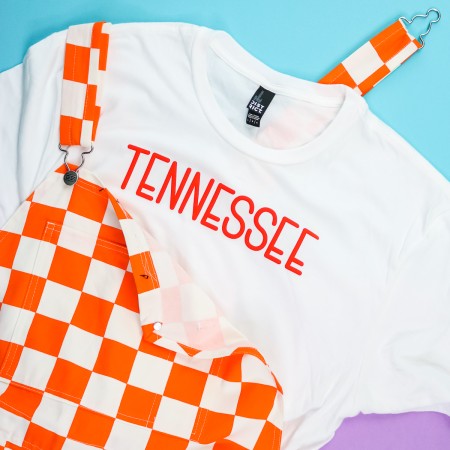
It’s pretty amazing in person! I hope you can tell just how much of a puff you get with this product. It can make an amazing addition to your crafts. This is just a word pressed on a shirt and it looks so good now that it’s off the press.
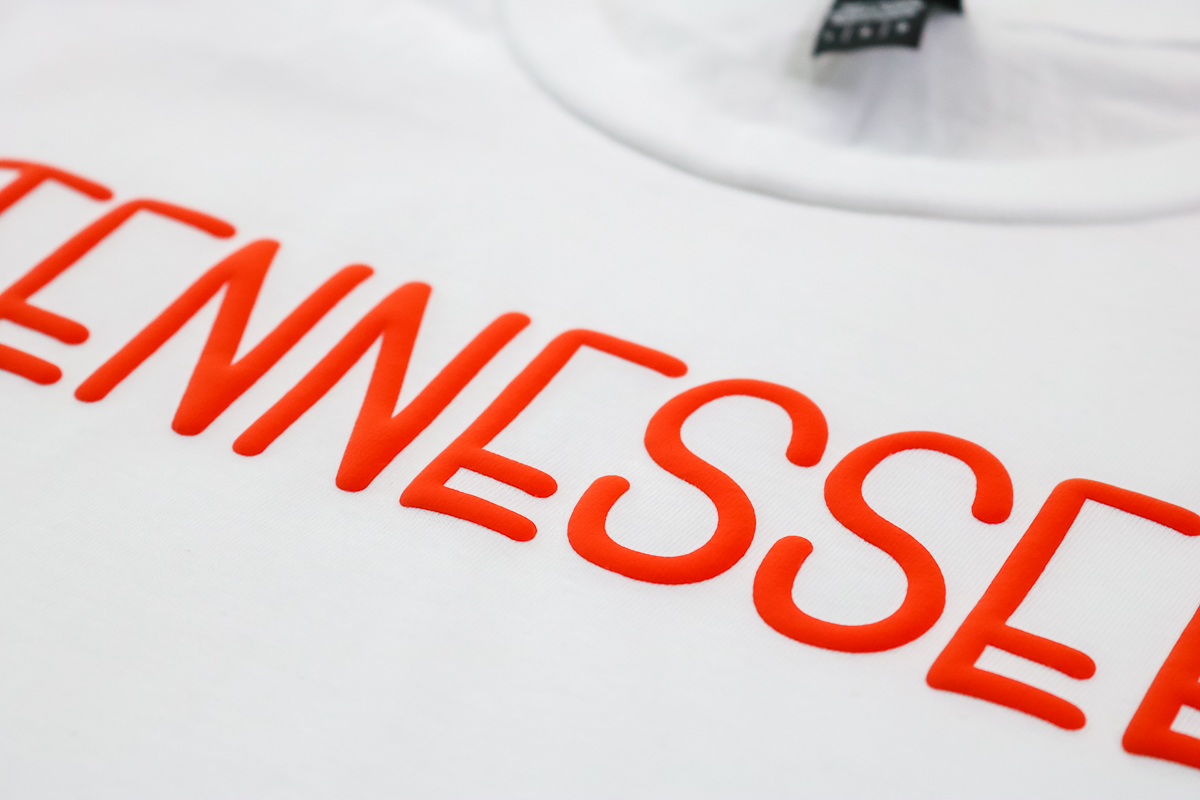
I think you’ll agree that the puff HTV looks amazing. It really stands off the shirt even more than a flocked HTV. If you’ve ever used flocked HTV, this stands up even more off of the shirt.
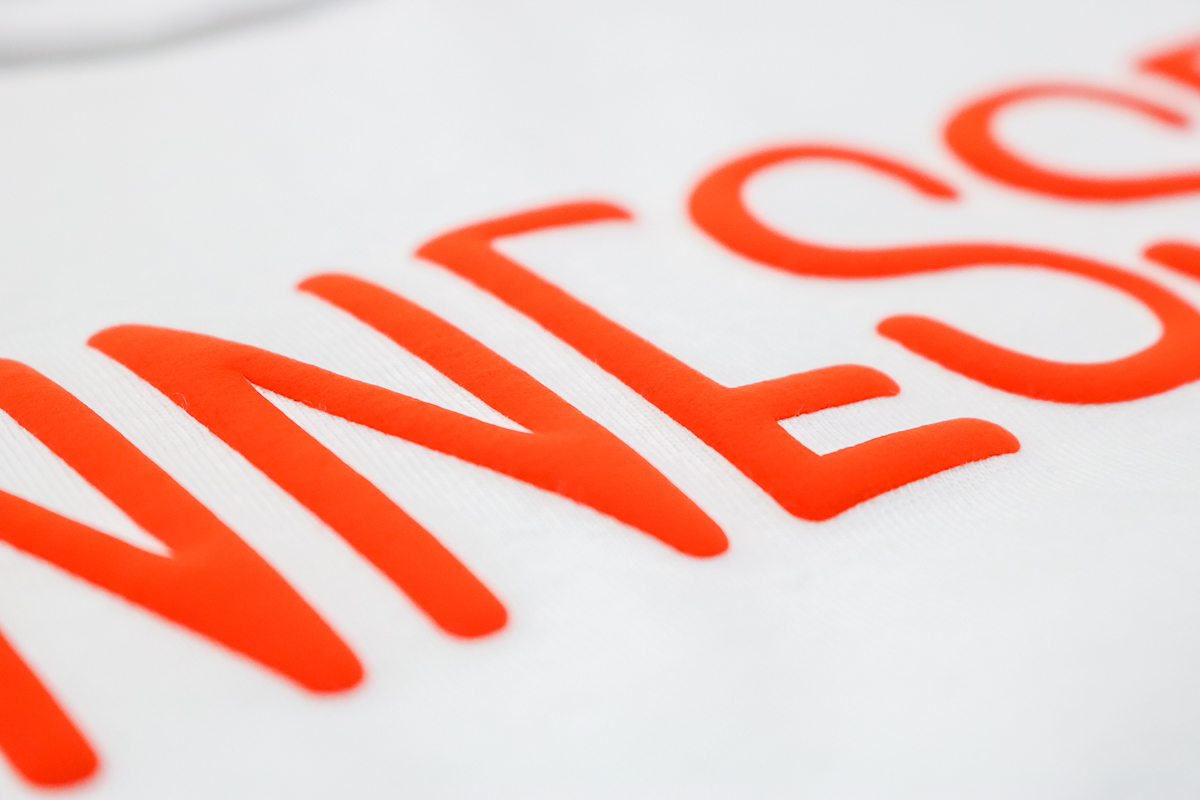
Care Instructions and Notes
They do recommend washing it inside out with cold water on a gentle cycle. You will want to note that on anything you make for yourself, that you make to give to others, or that you make to sell. I will also say this is good for cotton, uncoated polyester, fabric blends like polyester, acrylic, that type of thing, but no nylon. They specifically say that. I used it on a 100%-cotton shirt, and it worked amazing! Just note that you wouldn’t want to use something that’s nylon with this, but otherwise buy that puff HTV, have fun, create some amazing projects.
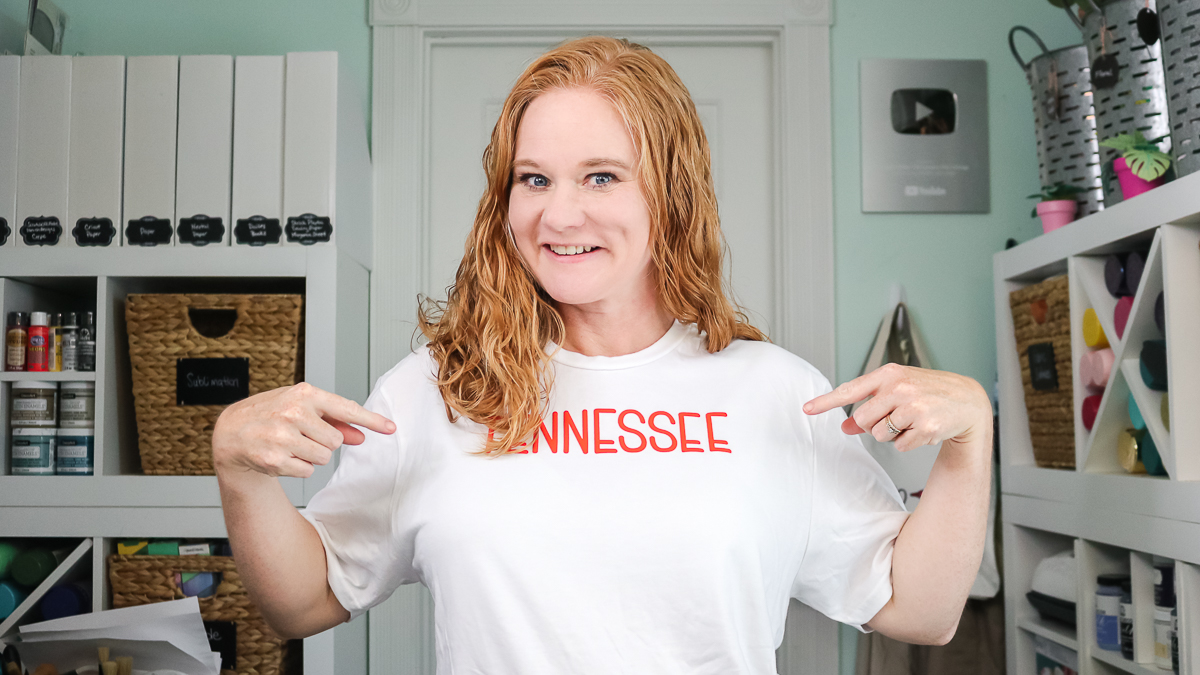
If you remember the puff paint craze of the 80s and 90s, this takes it to a whole new level with HTV that puffs up once it’s pressed to your garment. The puff on this stuff is frankly pretty amazing!
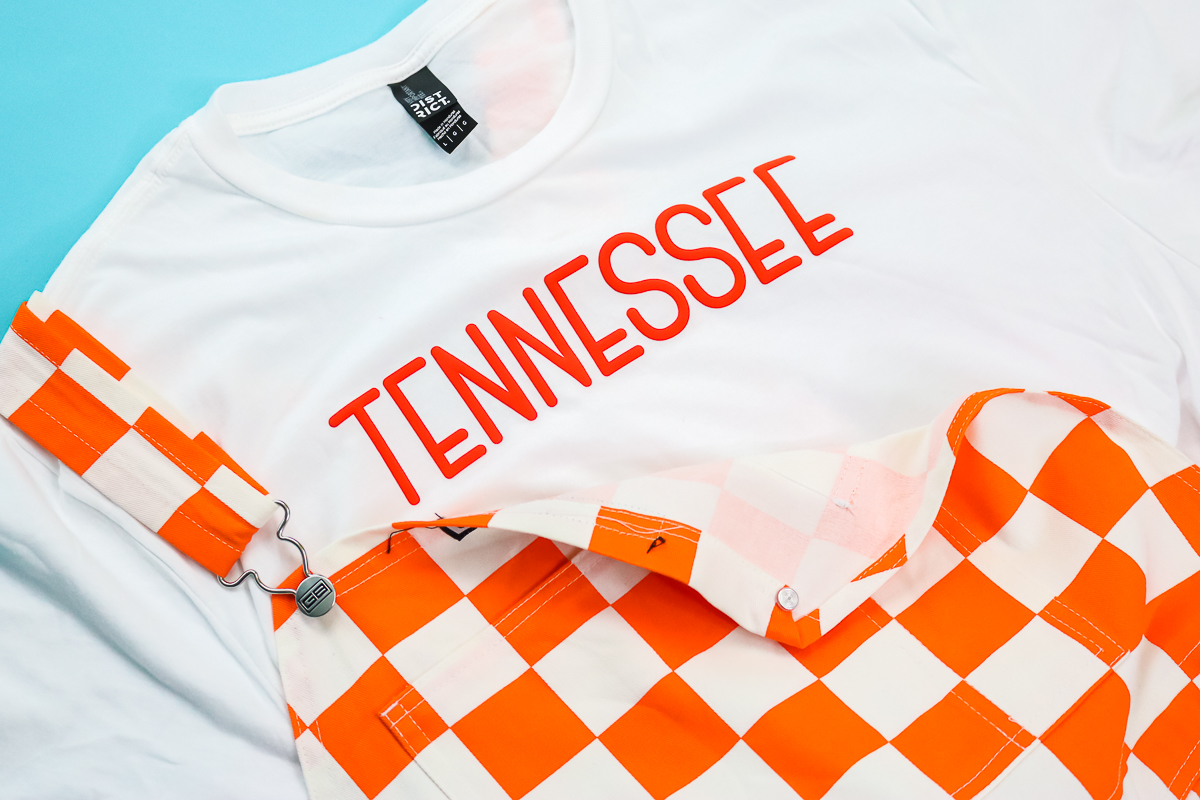
I really love this, especially for super simple designs because although the design is simple, once I make it out of that puff HTV, it takes it to a whole new level. All of a sudden, it looks stunning and amazing, and it’s all with one product, one simple cut, and a simple t-shirt.
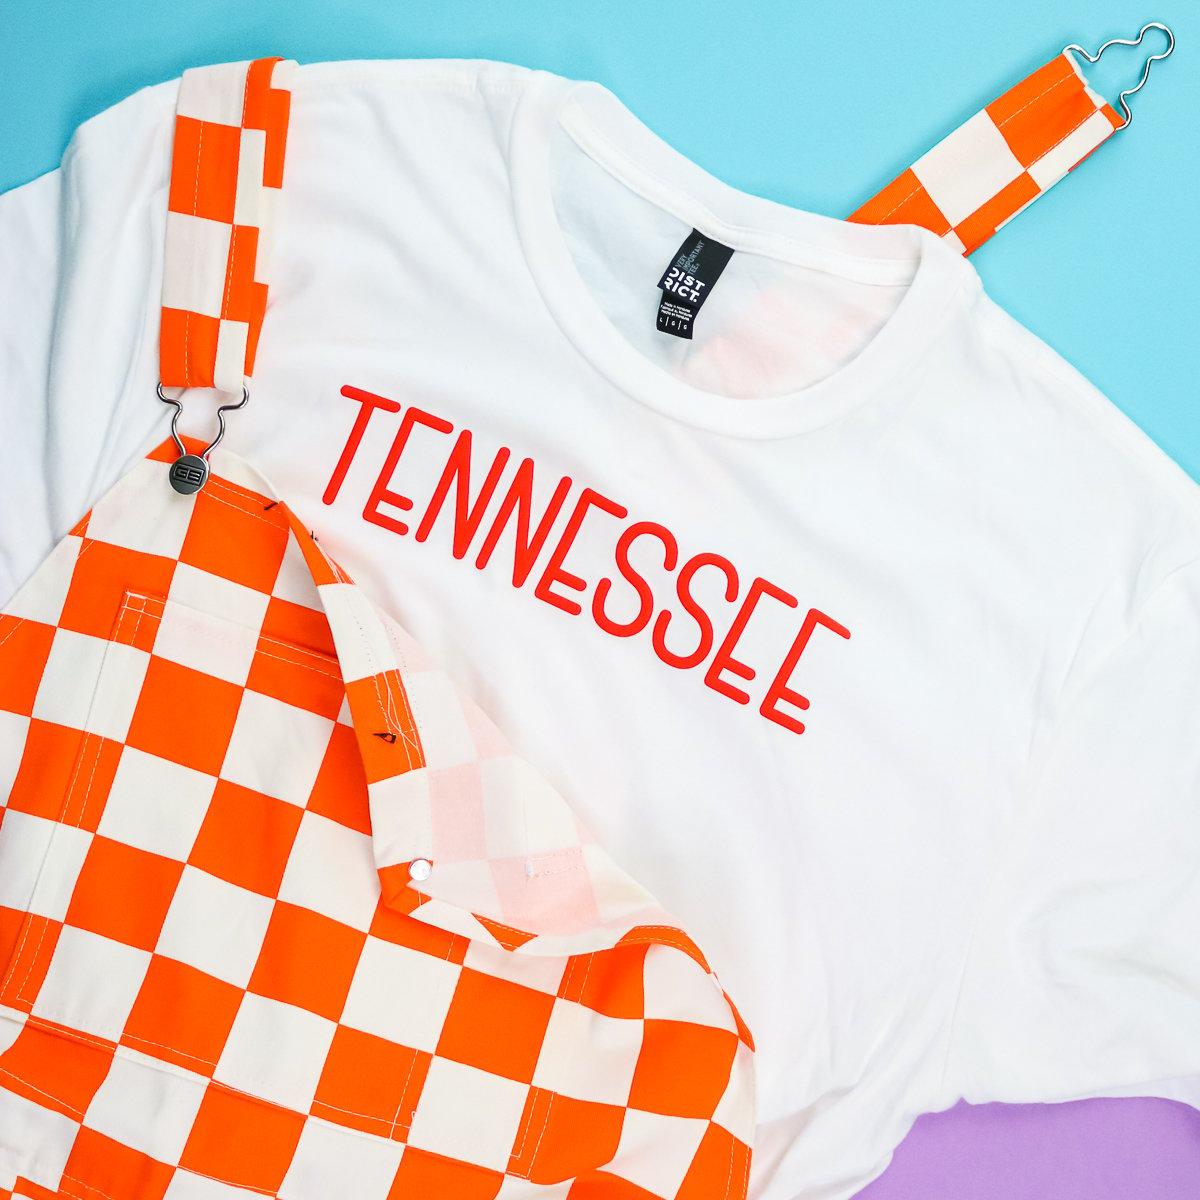
So, be sure to pick up some puff HTV and give it a try for a project soon. I know you are going to love how it looks on your shirt!
Need more ideas with your Cricut? Try the links below as well!


You can also use the card below to print the 3D HTV instructions!
Supplies
- Walakut Puff HTV I’m going to use orange.
- White shirt
- Weeding tools
- Cricut machine
- Heat press
- Green Cricut mat This particular brand of Puff HTV sticks best to a Cricut green mat instead of a blue mat.
Instructions
Adding to a Mat
- The Puff HTV is white on one side and the color that you are using on the other. The white side is actually shiny and the color side is more matte. However, the color side is what goes against the mat. You will need to remember that when using this product.
- I think a lot of times you hear a shiny side against the mat, and that is not true in this case. If you want to check that on any product you’re using, just take the corner and peel back a little piece. Then you can tell the difference between the product side and the liner side. You want the clear liner down onto the mat, which in this case, is really not the shiny side. Then just apply it to the mat and I like to make sure it’s stuck down really well.
Cutting Puff HTV
- Now we’re ready to cut and you do want to mirror your design. Remember if the good side is down on the mat you always mirror. I find that just the regular HTV setting on my Cricut works. I just use the iron-on setting with the Cricut Explore Air 2. Once you have your setting, just load the mat into the Cricut machine. NOTE: Any Cricut machine will cut this product. Then, press the “go” button to cut. Once it’s done cutting, we’ll just remove the mat and move on to weeding the design.
Weeding
- Weeding is similar to any HTV. You’re just going to weed away all the excess from around the outside, as well as things like the centers of any letters. I do find that this product weeds fairly easily. I don’t find a ton of difference in the puff versus regular HTV. Once your design is completely weeded, it’s time to press it onto our shirt.
Pressing
- I went ahead and pre-pressed the shirt just to remove any moisture. I have my heat press set at 305 and we’re going to press this for 10 seconds at medium pressure. You might be able to get the same result with the Easy Press, but I would definitely use one that would cover your entire design and not a small one where you would have to move it. Locate your design onto your shirt then press.
- It is a hot peel, so just as soon as it is done, peel back the carrier sheet on the top. The material will already be puffy as soon as the pressing is complete.


love the puzzle idea
GO VOLS!
i followed the instructions and tested various temps, times and pressures. sometimes it works and other times it shrivels instead of puffing up and it then easily starts to lift off of the shirt. what am i doing wrong?
I haven’t had this happen but my guess would be either the temperature or the pressure.
Thank you for replying! 🙂
Hello, I just watched the video about puff HTV. I’m glad for that information, but I am also wondering if you can layer and re-press over the puffed HTV once you have done the first layer. I wanted to use 3 different colors. I’m not sure that I can.
The type I used cannot be layered. I’ve been looking for one that says it can be layered and so far I haven’t found one. If I do, I’ll definitely do a video on it!
Can puff HTV be used on cotton canvas (i.e. canvas bag)? I have tried it and it keeps wrinkling and I’m not sure if it’s the canvas or if I’m doing something else wrong!
thanks!!
It should work fine. Are you using the Walakut Puff that I used in this post?
I have used puff vinyl several times before and am wondering if you have ever some across the vinyl coming off or lifting up after a while. I am very careful about washing and drying them, so I know that’s not the issue. Just wondering if you can offer some advice because I also sell some of my work and I know if my personal stuff is messing up I would like to be prepared for any product that may need to be repaired. Please advise if you have any advice. Thank you !
I have not come across that yet. What brand are you using?
What font did you use for “Tennesse”?
That is actually a design in Design Space 🙂