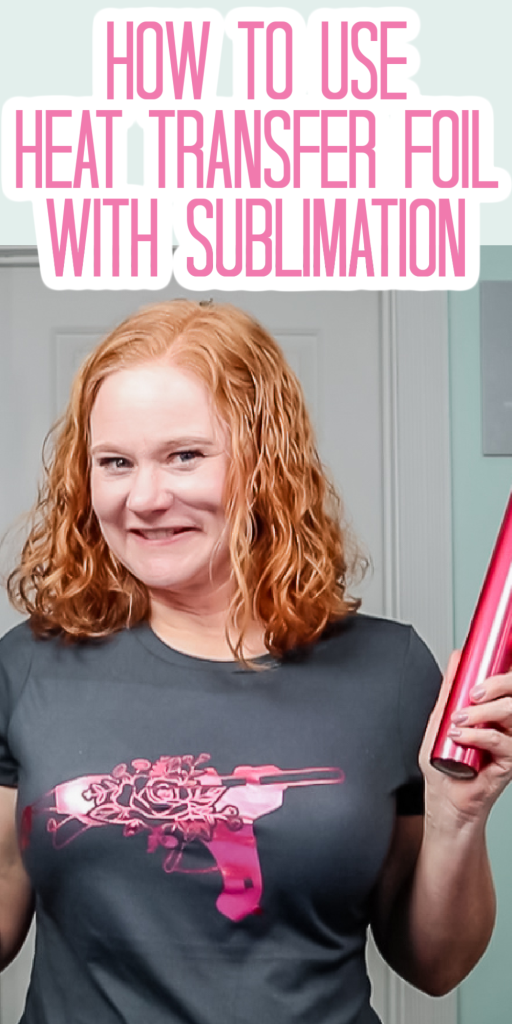
Did you know that you can use heat transfer foil with sublimation? In this post, I am going to test using Subli-Finishing Foil with sublimation. This product is good on cotton, polyester, or whatever shirts that you might have, (and, yes you can use it on dark colors!) What is it? It is a heat transfer foil product that comes in tons of different finishes and colors. If you’ve ever wanted to take your sublimation to the next level and add a foil finish to your designs, Subli-Finishing Foil might just be for you.

Heat Transfer Foil with Sublimation
There are several steps and products that you need to make this system work correctly. I am going to use it to make a shirt and a tote bag. You can click play on the video below to watch me do just that along with my best tips and tricks for success! If you want to add heat transfer foil to clothing, this might be the option for you.
Can’t watch the video or miss some of the information? You can also follow along below!
Supplies Needed
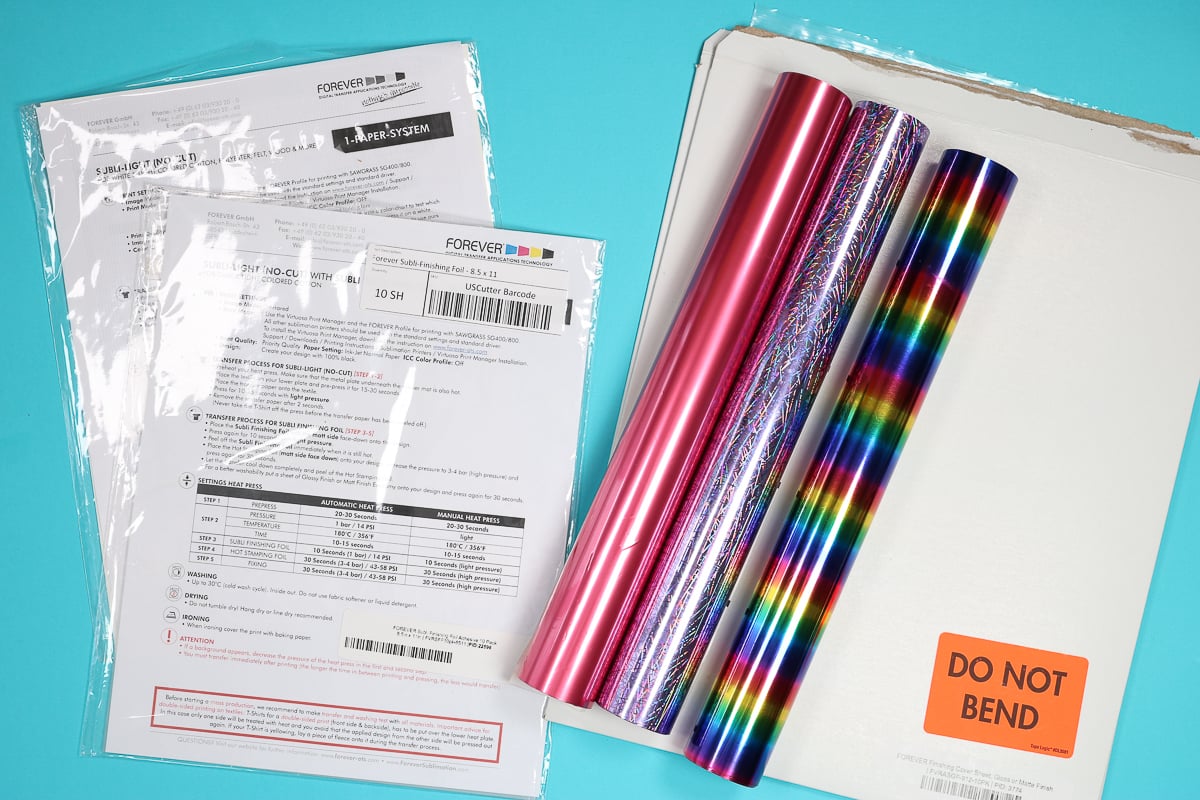
- Forever Subli-Light
- Forever Subli-Finishing Foil
- Sublimation Printer
- Sublimation Ink
- Forever Hot Stamping Foil
- Forever Finishing Sheets
- Heat Press
- Glue gun file used
Be Sure to Work Quickly!
I’m going to walk through the steps, but this is a quick process. You will print your print on a sublimation printer with sublimation ink installed onto the Subli-Light then IMMEDIATELY press it to your surface. It is important that you have everything ready as the steps need to happen one right after the other.
As soon as I print on the Subli-Light, I need to be ready to press and then immediately add the finishing foil. Be sure to have your heat press heating up and ready before you even send your design to the printer. The settings should be 356 degrees Fahrenheit or 180 degrees Celsius.
How to Print on the Subli-Light
This product can be tricky to print on especially if you are using an Epson EcoTank printer that you have converted for sublimation. Let’s walk through what I have found to be the best settings for heat transfer foil with sublimation.
Print Settings
The instructions for the Subli-Light say to print using the plain paper setting. However, when I did that, I got lines every single time. So, I experimented a bit on what worked best for me. I would say if you are using an Epson EcoTank printer converted for sublimation that these settings would also work for you. Now, with these printers, pizza wheel roller marks are common on some surfaces, including the Subli-Light. The more ink I put down the worse these marks will be. When I use something like the matte paper setting or the glossy paper setting, I get more pronounced pizza wheel marks on my paper, but I get fewer lines within the print itself.
For me, I needed to find a happy medium with my print settings. I ended up doing high quality with the matte paper setting and turning any fast printing off. The pizza wheel marks get a little worse with this method, but I’m going to show you what I do to minimize those. I will caution you that the ink stays wet on this product so it will smear. It will never dry on the Subli-Light. You do not want to touch any of the ink that you want to be pressed to your surface.
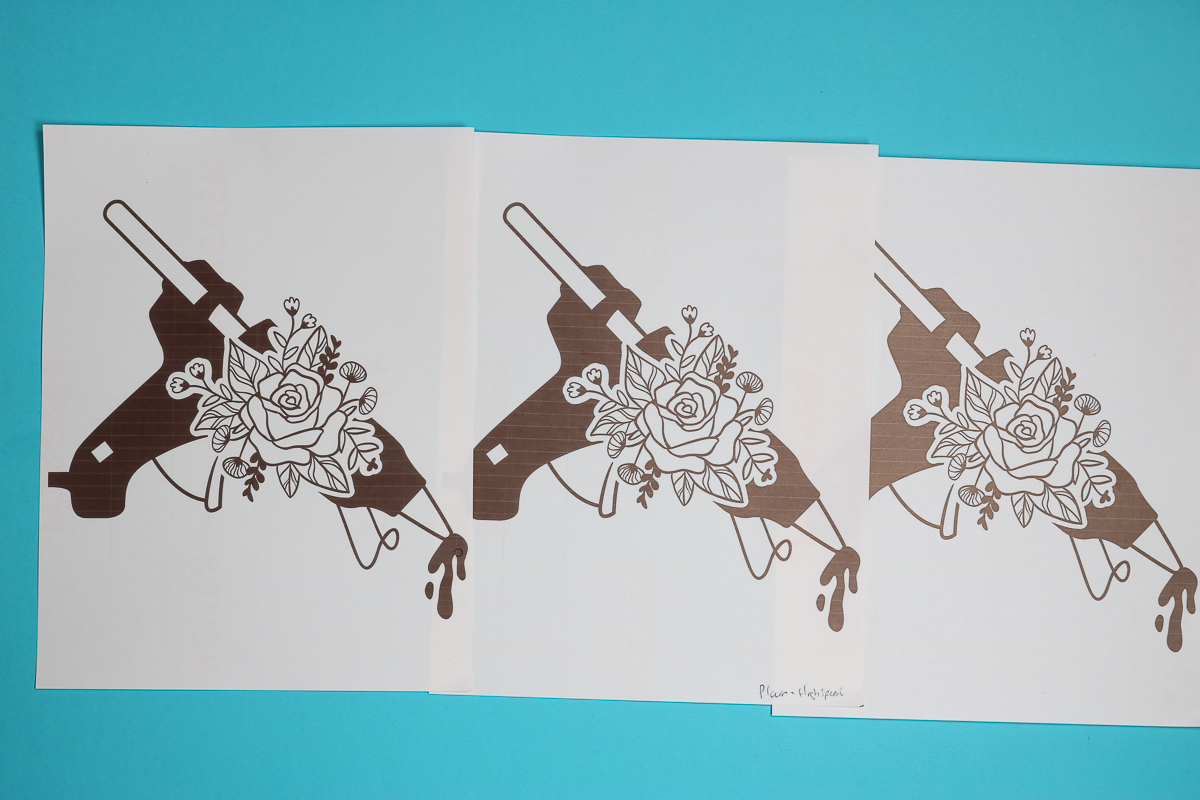
Image Type
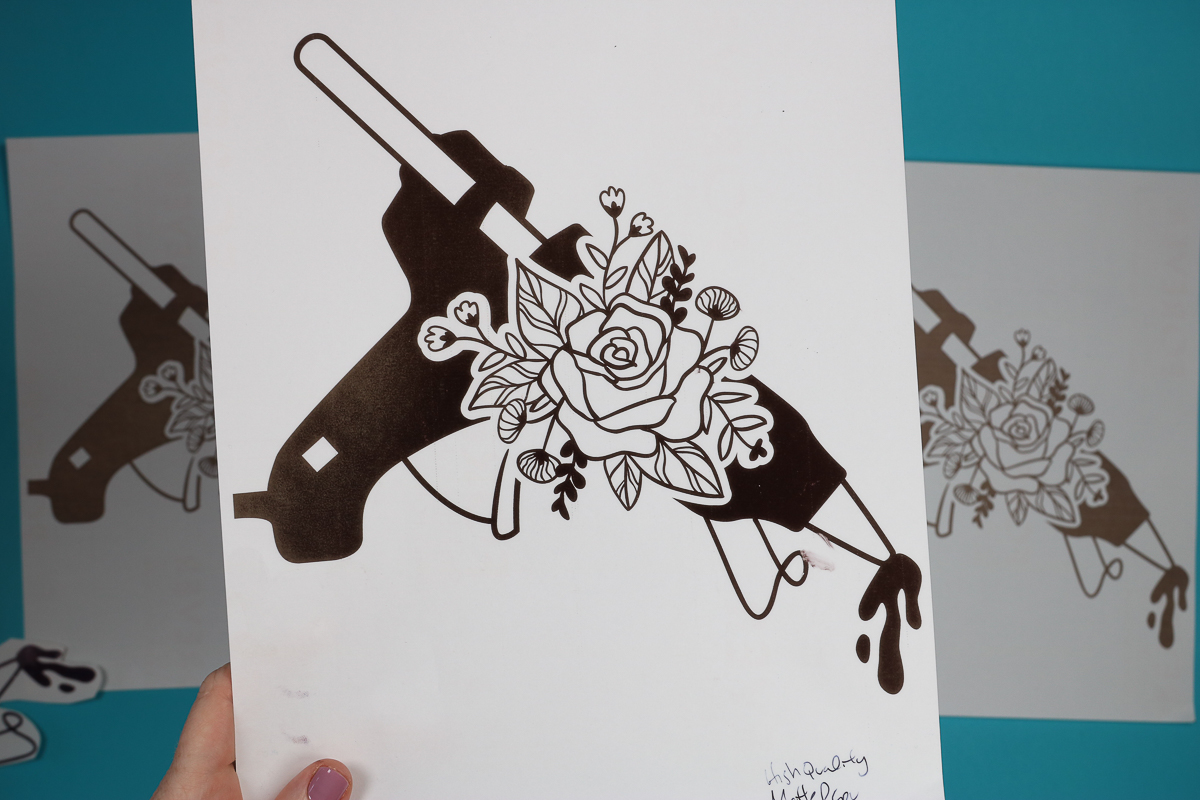
When using this product, you want to be sure to print an all-black image. If you have any color, you would need to pull it into a program like Photoshop and change all the colors to black. Resize it first to fit your Subli-Light sheet then change any colors to black. Hit print and be sure to turn off any ICC profiles by choosing printer manages colors. Pick the print settings mentioned above (matte paper setting and high quality). Then change the printer from printing in color to black/gray scale so it will only print black. You will want to double-check that your image is mirrored and high speed is off. Then just print your design onto the Subli-Light. Remember: as soon as it comes out of the printer, you will need to start pressing.
Pressing Procedure
Now that you have your print, let’s walk through the pressing procedure as there are several steps that you want to follow when doing heat transfer foil with sublimation.
Removing Pizza Wheel Marks
First, when the print comes out of the printer, I want to remove some of these pizza wheel marks. Use a slightly damp paper towel and carefully wipe away some of the pizza wheel marks. Remember that the ink will be wet so you don’t want to get too close to any ink that you want to save as it will smudge. Do this very, very quickly. I find that having slight pizza wheel marks doesn’t really affect the final product so you can just wipe away the really visible ones that are easy to get to.
Pre-heating
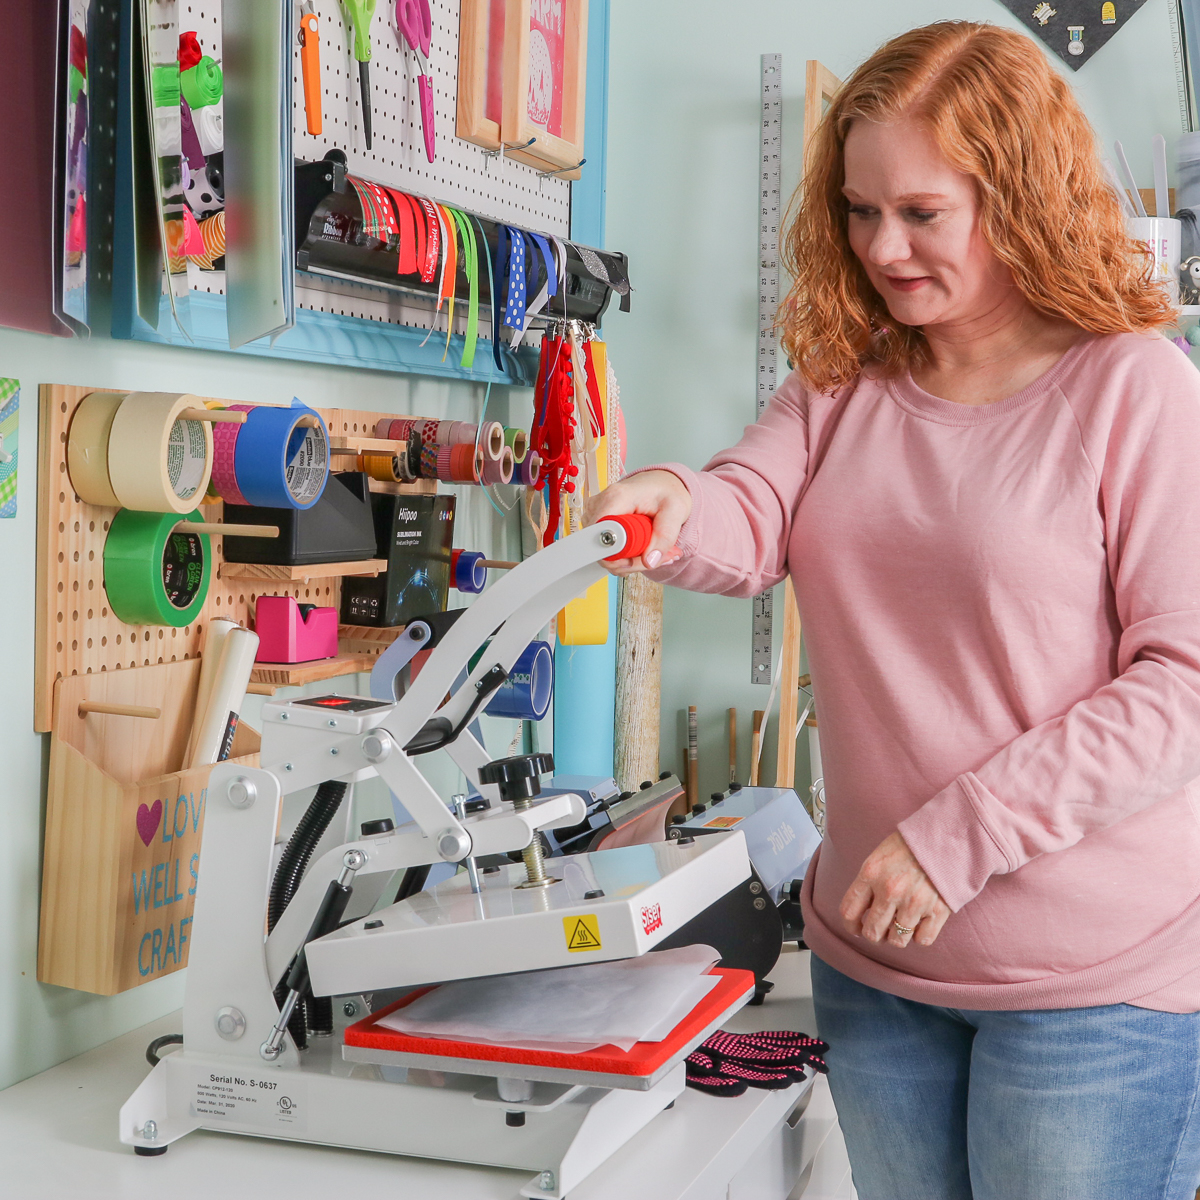
Your heat press needs to be hot along with the entire bottom plate and foam pad. Remember that you want your press to be 356 degrees Fahrenheit or 180 degrees Celsius. In order to get the plate hot, you’ll want to close the press with nothing in it several times. I do this while my printer is printing the design. You can also use this time to set your press at light pressure. Then pre-press your fabric for a few seconds.
Pressing Steps for Foil
- As soon as I’m done pre-pressing, place the printed Subli-light onto the fabric even if it is still hot. DO NOT REMOVE FROM THE PRESS. This should be done quickly as soon as the design comes off of the printer.
- Press the Subli-Light for 10 to 15 seconds with light pressure.
- Open up the heat press and wait for two seconds before you take the Subli-Light off. Then peel the sheet QUICKLY.
- Once the Subli-Light is off, immediately place a sheet of Subli-Finishing Foil with the matte-side face down onto your design. Press again for 10 seconds at light pressure.
- When that’s done, open up your heat press, immediately peel back the Subli-Finishing Foil while it’s hot, and place your foil matte-side down onto the design.
- Increase to high pressure and press for 30 seconds this time.
- After this press, let everything cool down completely before peeling that foil back.
- Once it’s cool, peel the foil back and add the fixing sheet (either gloss to matte). To make your foil last a little bit longer, you will want to add this step. Put the sheet onto your design, press again for 30 seconds on high pressure.
Foil After Transferring
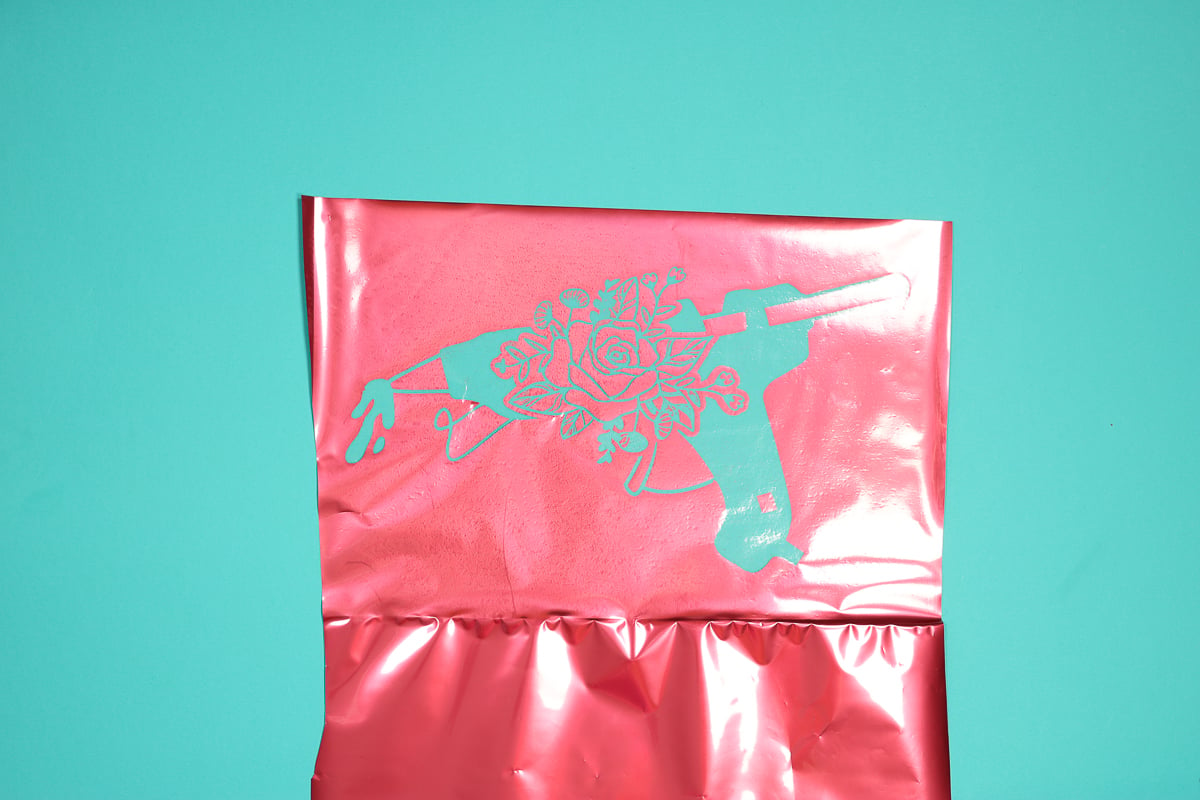
I did want to show you the foil after transferring. It definitely transfers to your shirt as you can see all the way through the sheet once the transfer is complete.
Finish Options
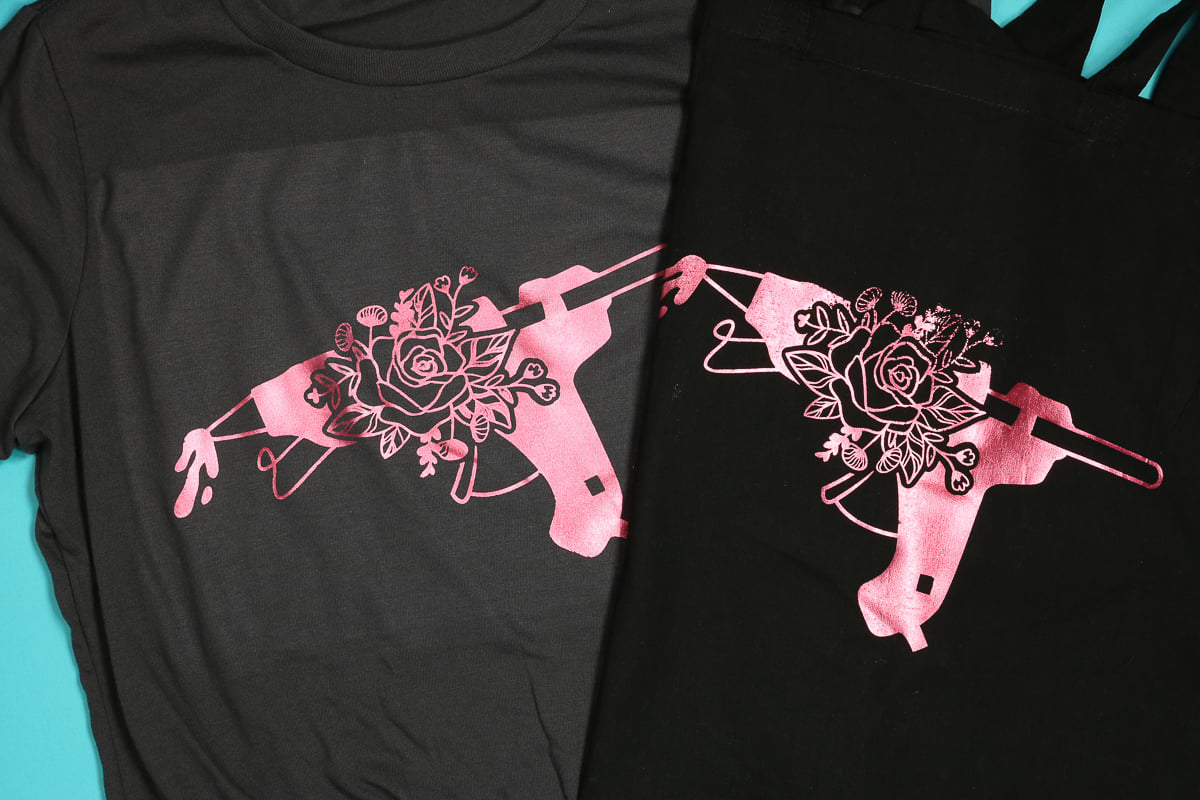
Here are a couple of things I made with the pink heat transfer foil with sublimation. One of these has the matte finishing sheet and the other has the gloss finishing sheet. I can’t really tell the difference between the two. I would say whichever one you would like to try, go ahead and give that a try.
NOTE: You can see more about avoiding press marks if you are using a polyester shirt here.
Common Mistakes
Here are a few issues that I ran into while testing this product and how you can avoid them.
- I had some areas that did not transfer. I believe that light pressure on the foiling step caused this issue. The higher the pressure you can get on that foil transfer step, the better luck you’ll have with the transfer of your foil.
- Make sure that you do this quickly, as soon as it comes off the printer. Any any ink that dries will also not allow the foil to transfer.
- I had some areas that were filled with a white film inside things like my leave. The white film does come out but this was from letting the Subli-Light sit too long on that first press before I peeled it off. Lift the press, wait two seconds, and remove the sheet quickly. Do not pull it off slowly!
Care Instructions
This is a cold wash cycle, inside out, no fabric softener, no liquid detergent, and no tumble dry. You need to hang it to dry it. If you’re ironing it, you need to cover the print with something when you’re ironing.
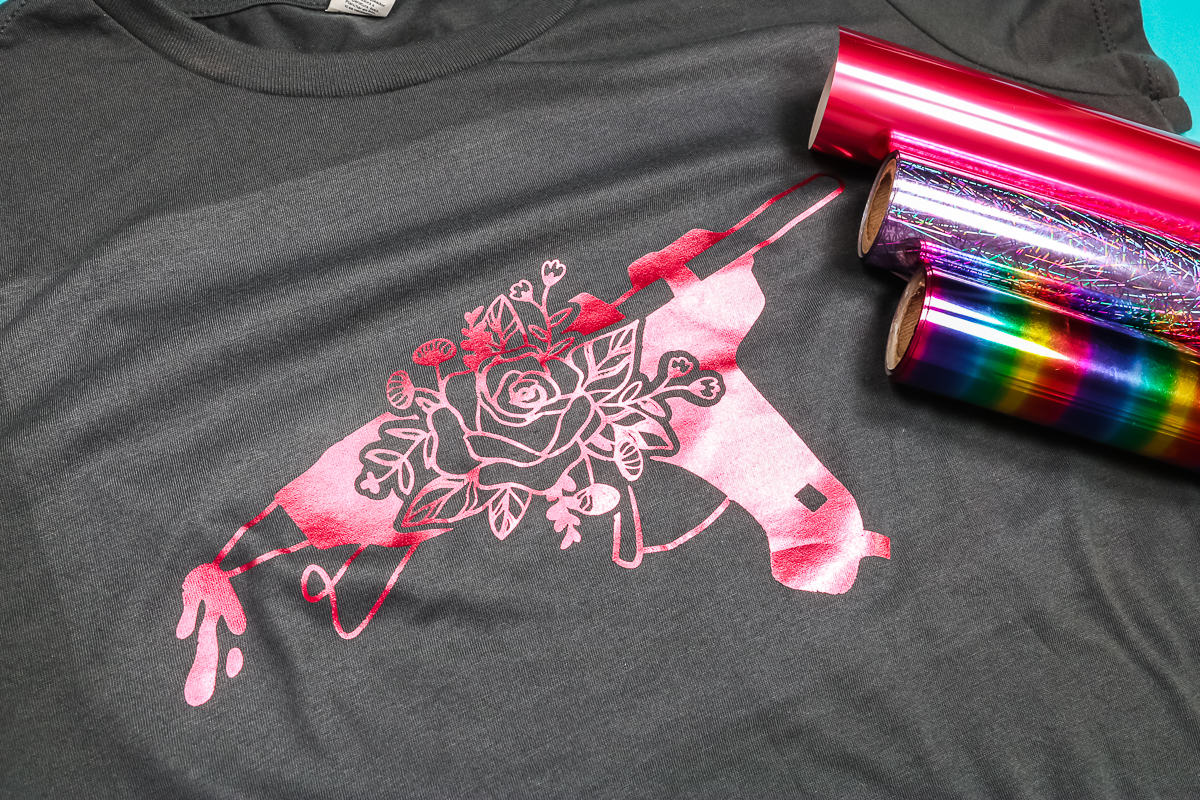
Now you’re ready to make your projects! I do think this is a product that you might have some issues with on your first few projects. Something like a cheap black cotton tote bag is a perfect thing to practice on. Definitely consider all of the testing that you might have to do to get it right, but if you’re looking for that foil finish, this product might just be for you.
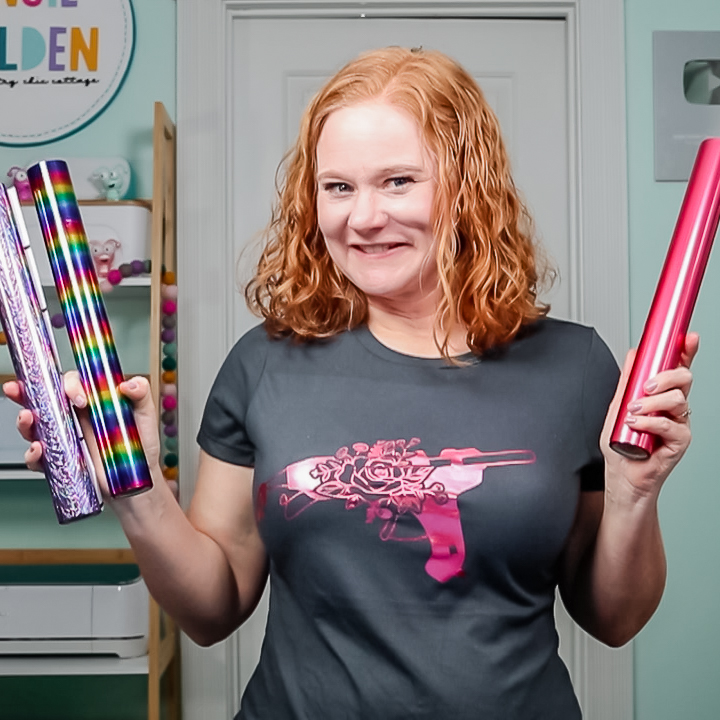
Hopefully, this gives you another option for sublimating on cotton and dark colors or just adding a gorgeous metallic foil finish to those polyester projects as well! Will you give heat transfer foil with sublimation a try?


Thanks for the info! A couple questions: How do you launder it if you shouldn’t use liquid detergent?
Also, if I have a design that is say, black & red that I want to surround with gold rings, is that possible? You mention having design be black, does that just mean the part that you want to add foil to?
I am moving into my new craft room today so I will be watching your videos soon to get started on some special shirts for my daughter’s 21st next month!
Part you want to add foil to should be black. And you would do powder detergent.