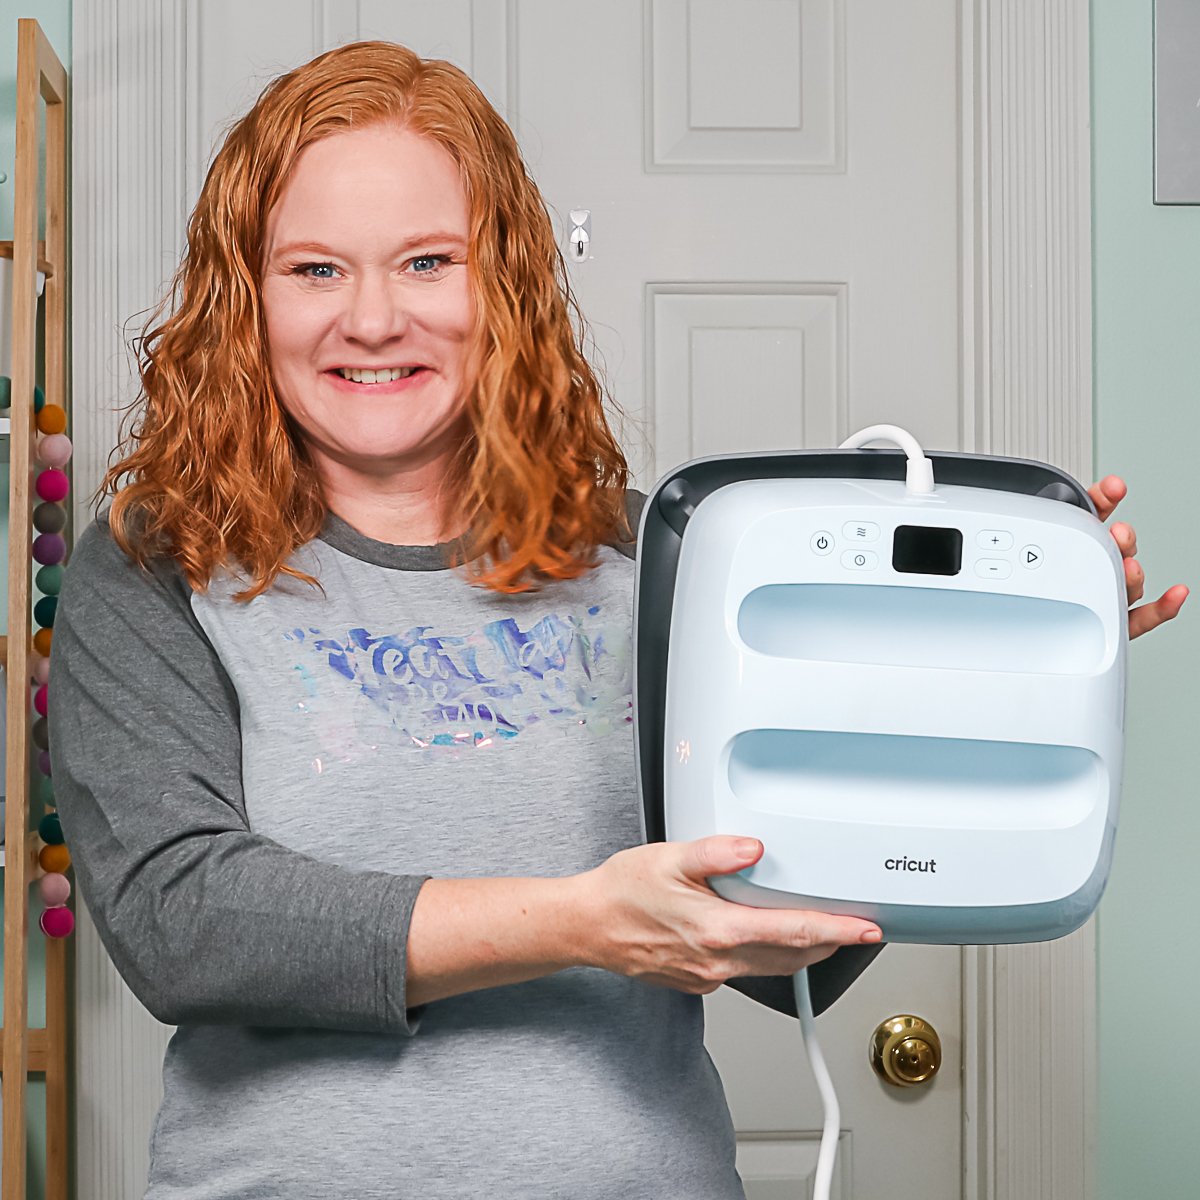
The Cricut EasyPress 3 is here today and I have one to share all of the details with you. How is it different? Do you need to upgrade? Let’s take a look at this Cricut heat press and all of its features. Then you can decide for yourself if you need to add this new EasyPress to your wishlist.
Cricut did send me this press, however, this post is not sponsored.
This is part of a series of releases today and you can see my posts on the Cricut Hat Press and Cricut AutoPress as well!
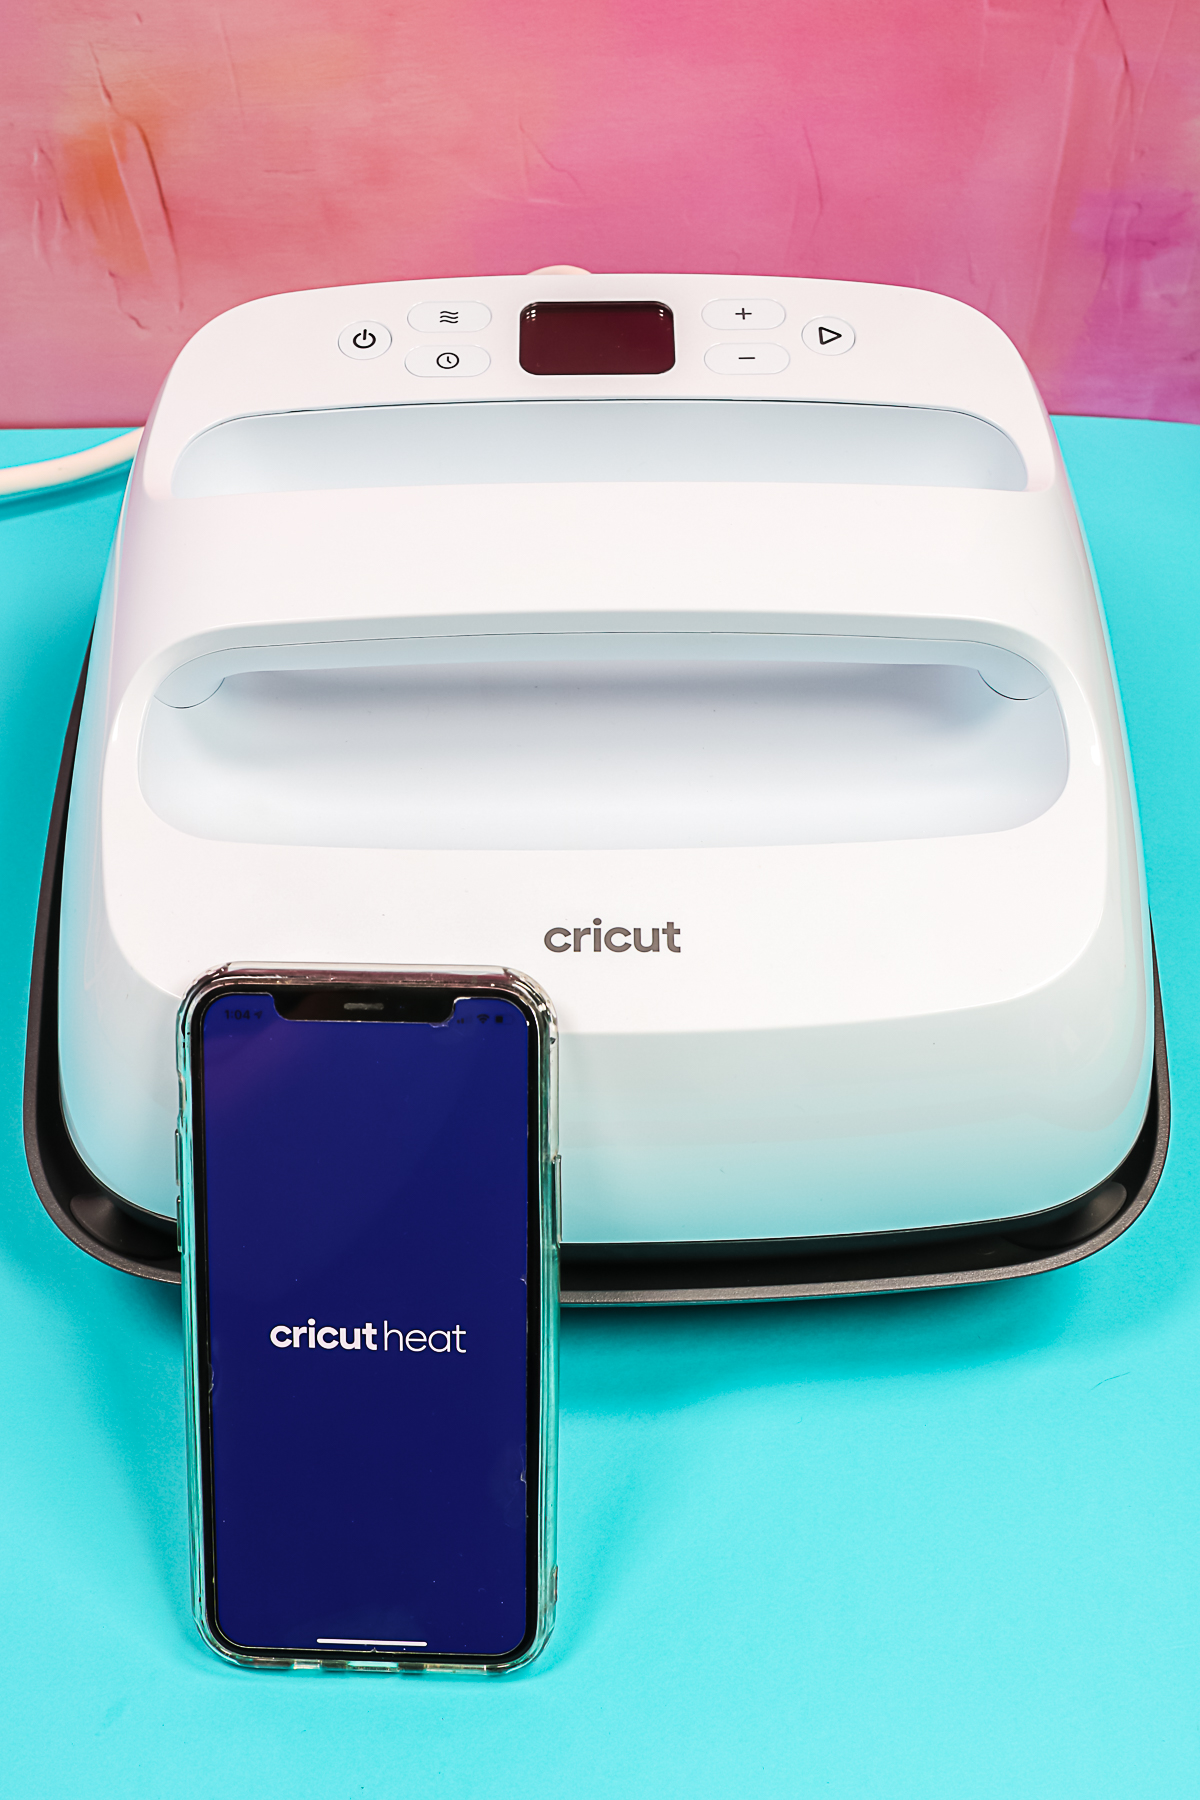
Cricut EasyPress 3
You can click play on the video below and watch me unbox and set up the Cricut EasyPress 3. After you watch, come back here and let me know what questions you still have. Hopefully, I can answer those in a future post!
Can’t watch the video or miss some of the information? You can also follow along below!
Where can you purchase the new EasyPress?
The Cricut EasyPress 3 will be available on March 13, 2022. You can get it at the following online locations at that time:
What is in the box?
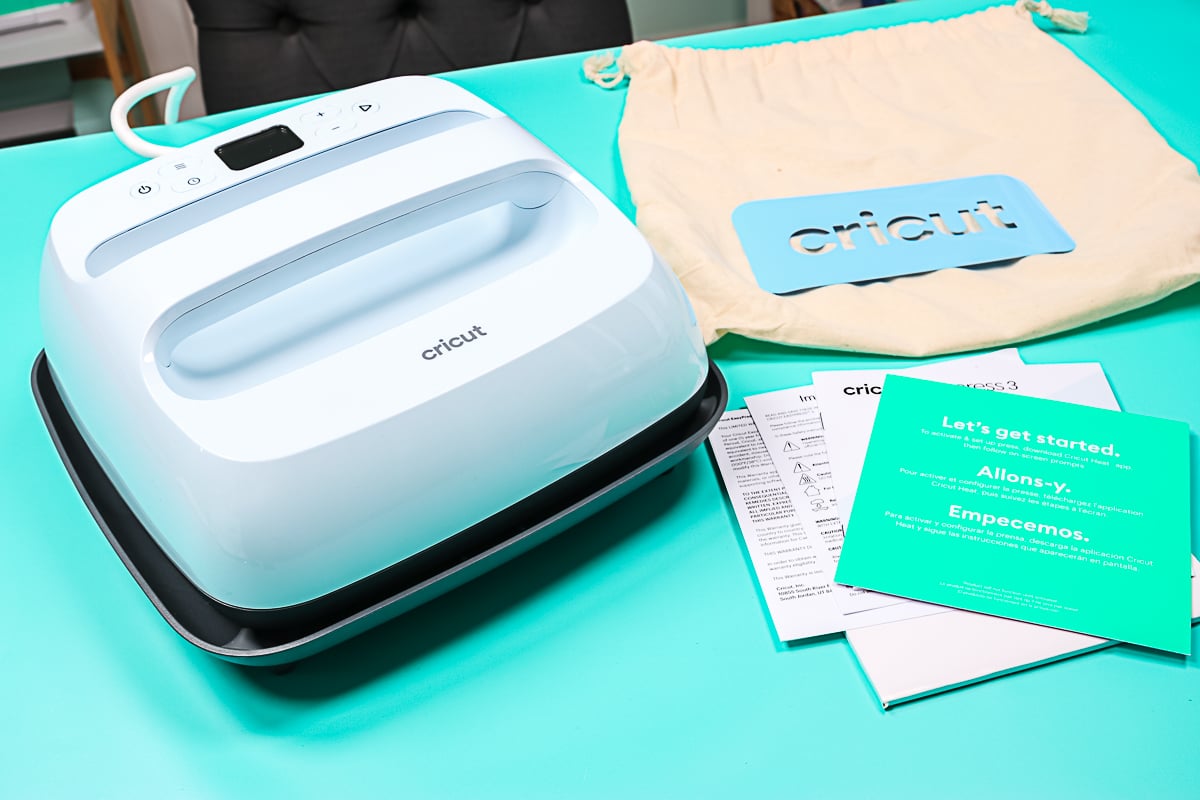
There is a start guide, user manual, safety and warranty information, as well as a cut piece of HTV for your first project. Then there is the press itself in a carrying bag that’s made out of a canvas material. You also get a safety base to rest it in.
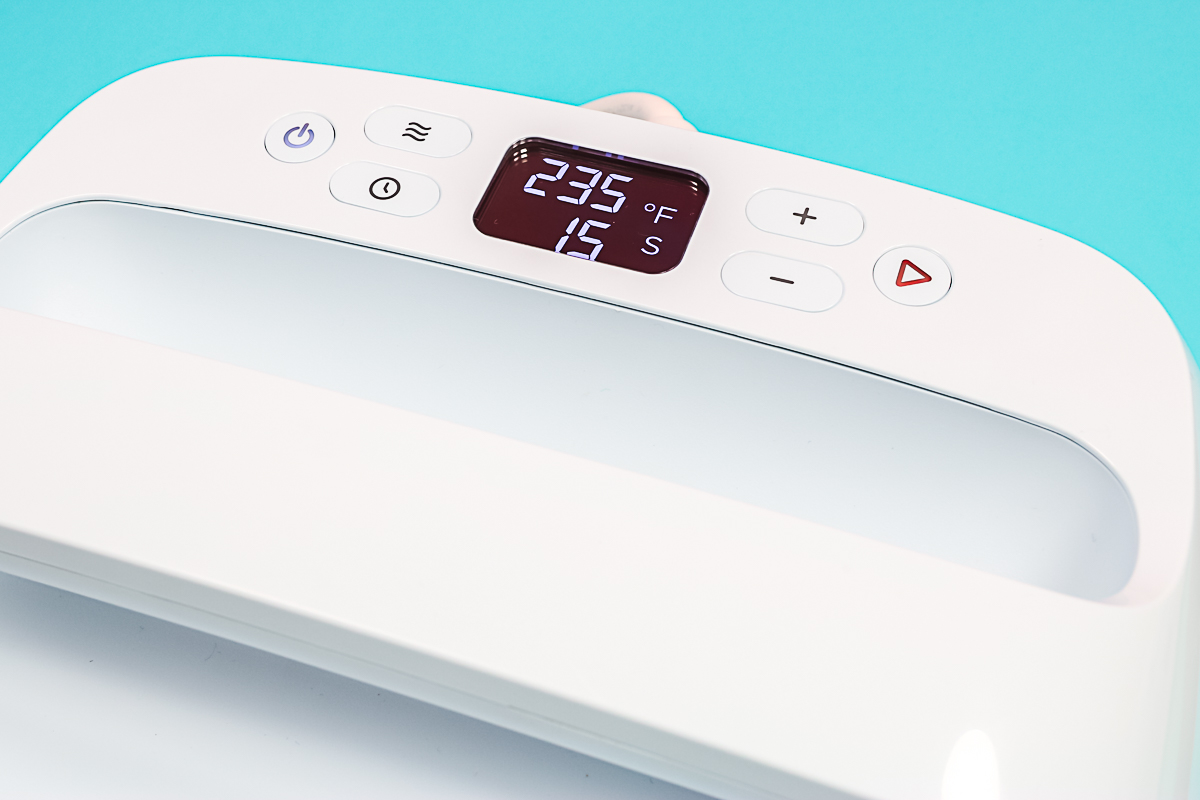
Cricut EasyPress 3 Buttons
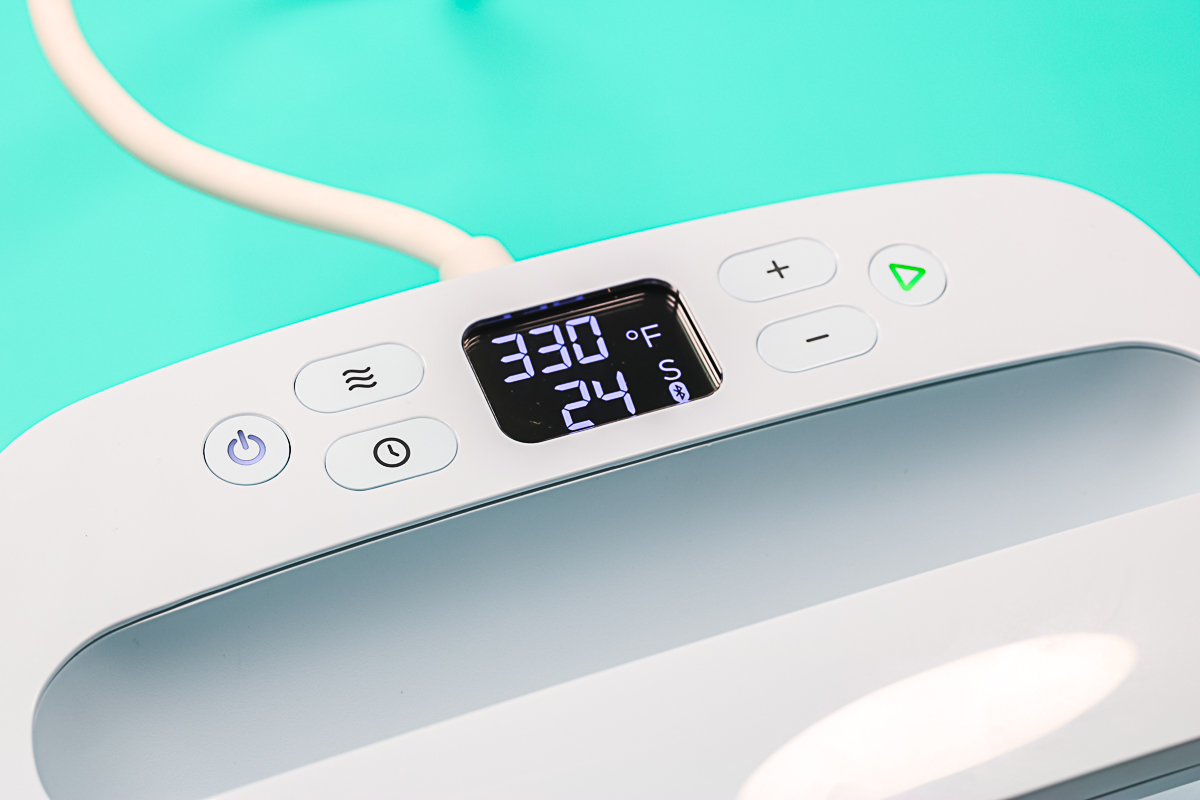
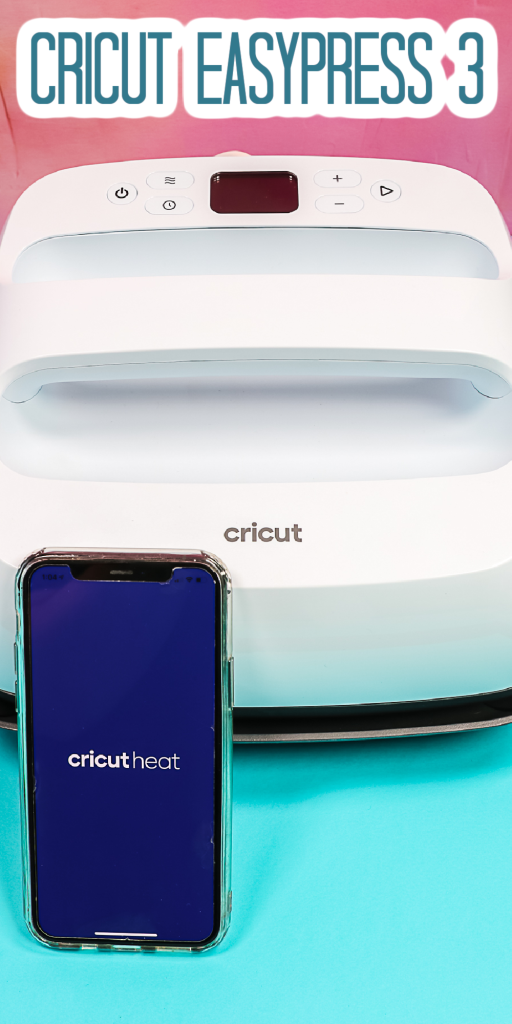
The EasyPress 3 will operate with the Cricut Heat app but you can also just use the buttons on the device to use your heat press. Here is a rundown of each button and its function:
- Power – turns the press on and off.
- Temperature – change the temperature setting up and down. Press this button then use the arrow buttons to go up and down. The maximum temperature is 400 degrees, so the Cricut EasyPress 3 will work for Infusible Ink as well as sublimation.
- Time – change the duration up and down. Press this button then use the arrow buttons to change the time.
- Go – wait until your press comes to temperature and the lights are green, then put the press into place and press this button to start the countdown.
The lights on the machine will be orange as the press is heating up and they will change to green once the press comes to the set temperature.
Activating the Press
To activate, you will need a mobile device with an internet connection and the free Cricut Heat app. You cannot activate and use Cricut EasyPress 3 without one. This includes all mobile phones as well as tablets and even the iPad. You cannot use a computer. You do not have to use the app to operate your device if you do not want to but you must use it for activation. Power on the heat press and open up Cricut Heat. Click to set up a new heat press and it will search for your device.
Just click connect once it finds the press. It connects via Bluetooth with your mobile device. Agree to the terms of use and click Activate. The Cricut EasyPress 3 will beep and go through a process, and then your app will let you know that it’s ready.
Once it is activated, you can make your practice project, or you can move on to something more complicated. Making the practice project is also a great idea if you are using Cricut Heat for the first time. Just power on your press and click start making. The app will walk you through a tutorial for your first project.
EasyPress Updates
You may find that an update is required and Cricut Heat will walk you through that process. This will just depend on when you’ve purchased and if a firmware update is needed. If you do update the Easy Press 3, it will beep during the update cycle. During this update process, the readout on the screen says app across it so that I know it’s communicating with the app.
Using the Cricut Heat App
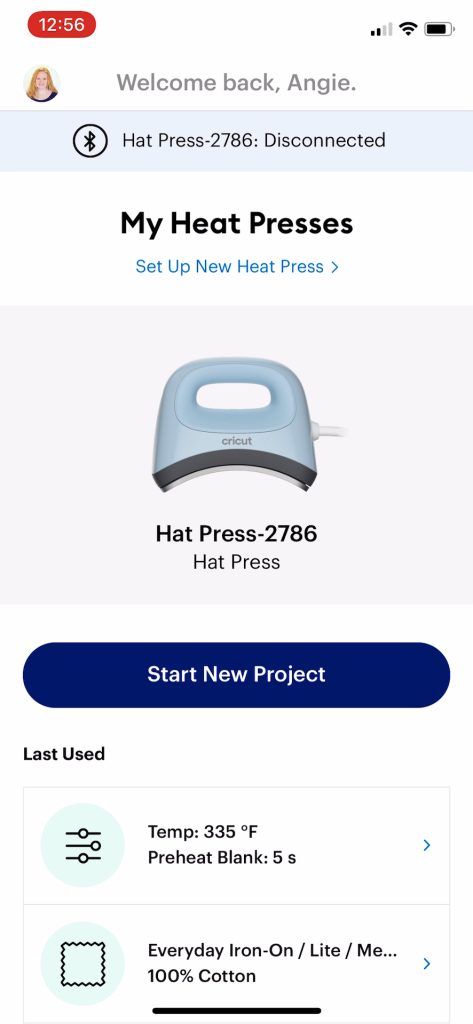
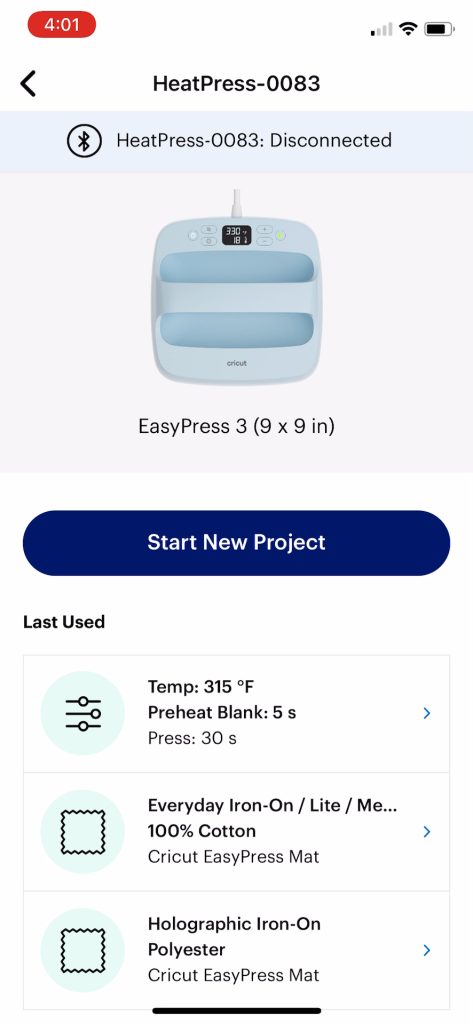
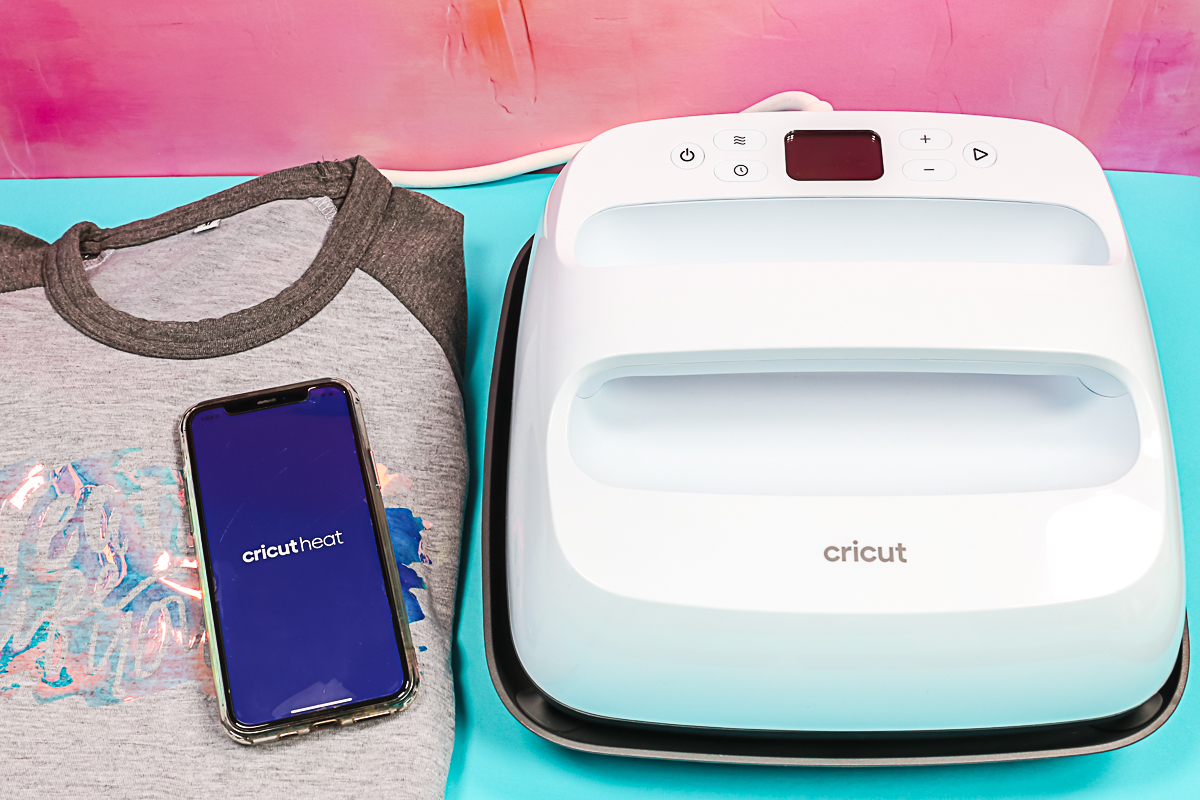
Let’s see how easy pressing is with the Cricut Heat app. On the first screen, pick your heat press. Remember that Cricut Heat only works with the Hat Press and the EasyPress 3 at this time. Once you pick the EasyPress 3, you will turn the press on and it will connect with the app via Bluetooth. When it’s connected, you will see a Bluetooth indicator on the screen.
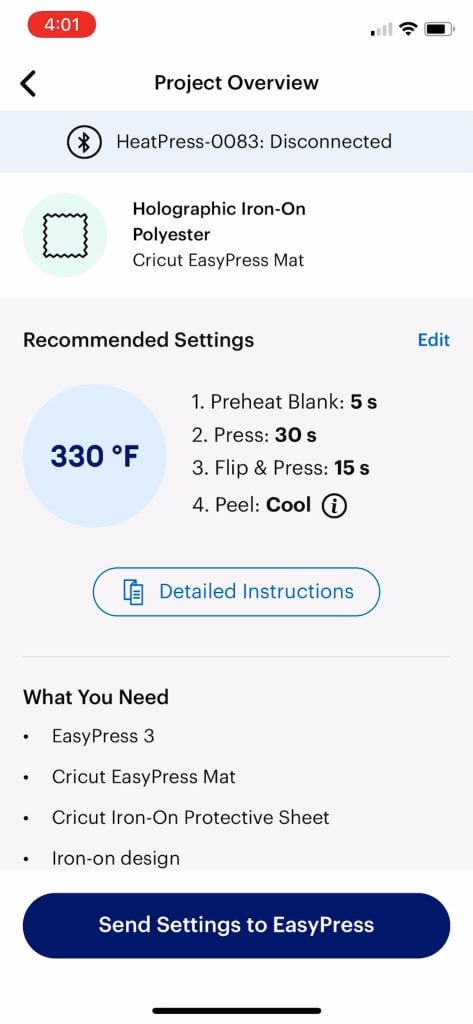
Once it’s connected, click start new project. You can also pick a previous project setting or enter your own custom setting on this screen.
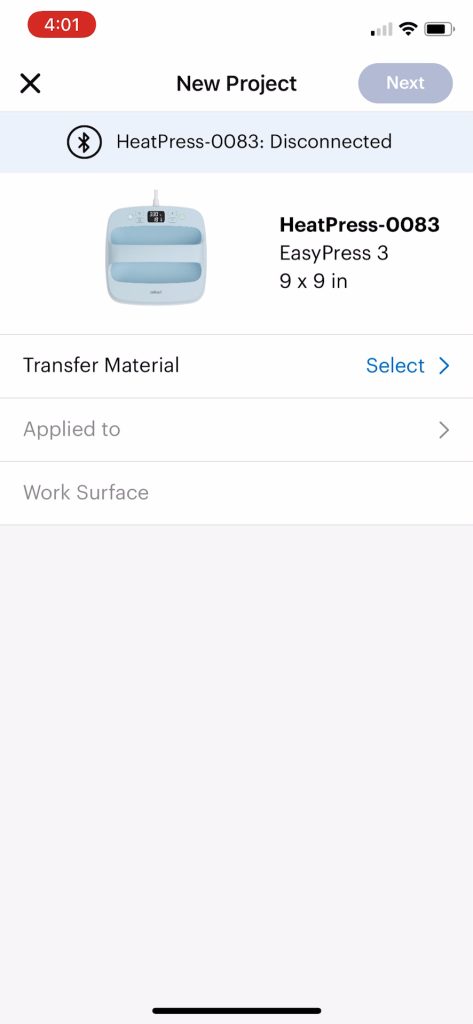
Pick the material and blank type you are using on the next screen. NOTE: If you don’t have an EasyPress mat you can click to get more information at the bottom and it will give you your recommended heat settings.
Then click send settings to EasyPress. You will also see materials and instructions throughout the app.
It will send the settings directly to the EasyPress. On the screen, it also tells me exactly what the time and temperature are on the EasyPress plus how long I have before it comes to temperature. So I can either look at the EasyPress screen or my phone screen to determine where the temperature is. When it’s at the right temperature, it will beep and the lights will turn green.
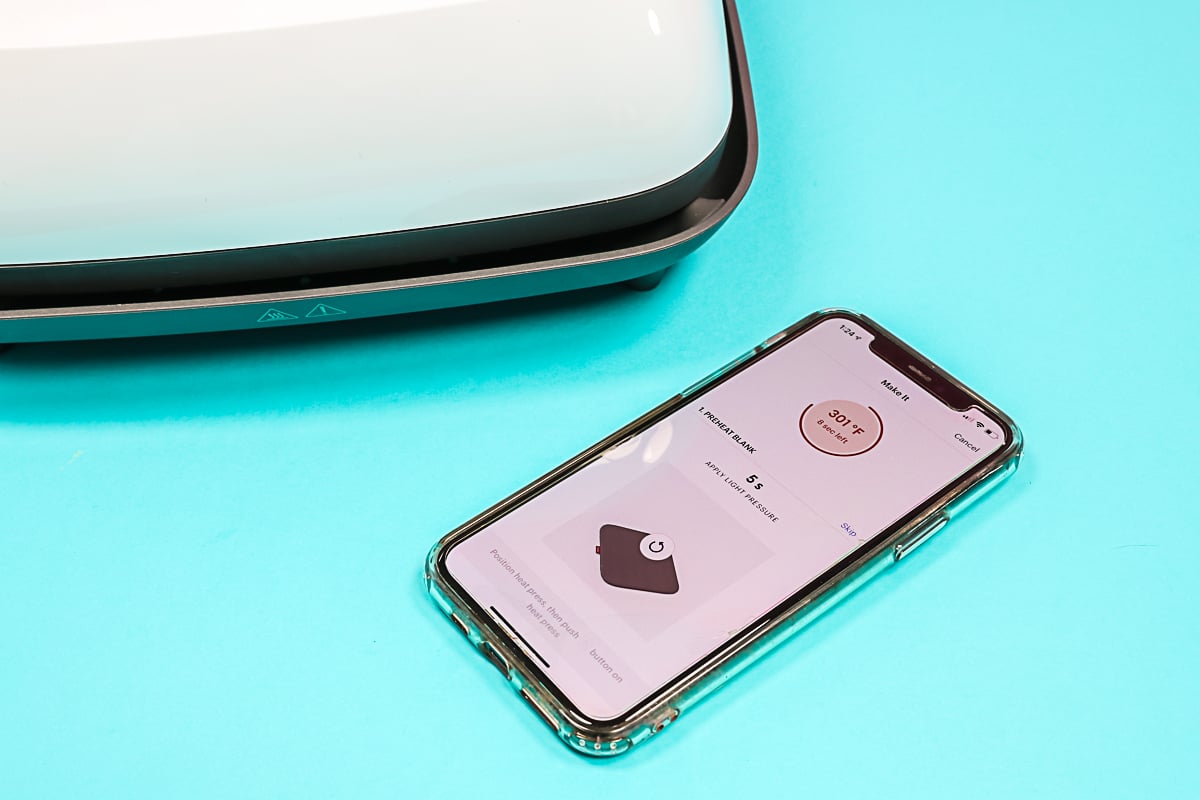
It will also tell you that it’s ready in your app. The first step in the app is to preheat the blank for five seconds. Put your press on the shirt and press the go button.
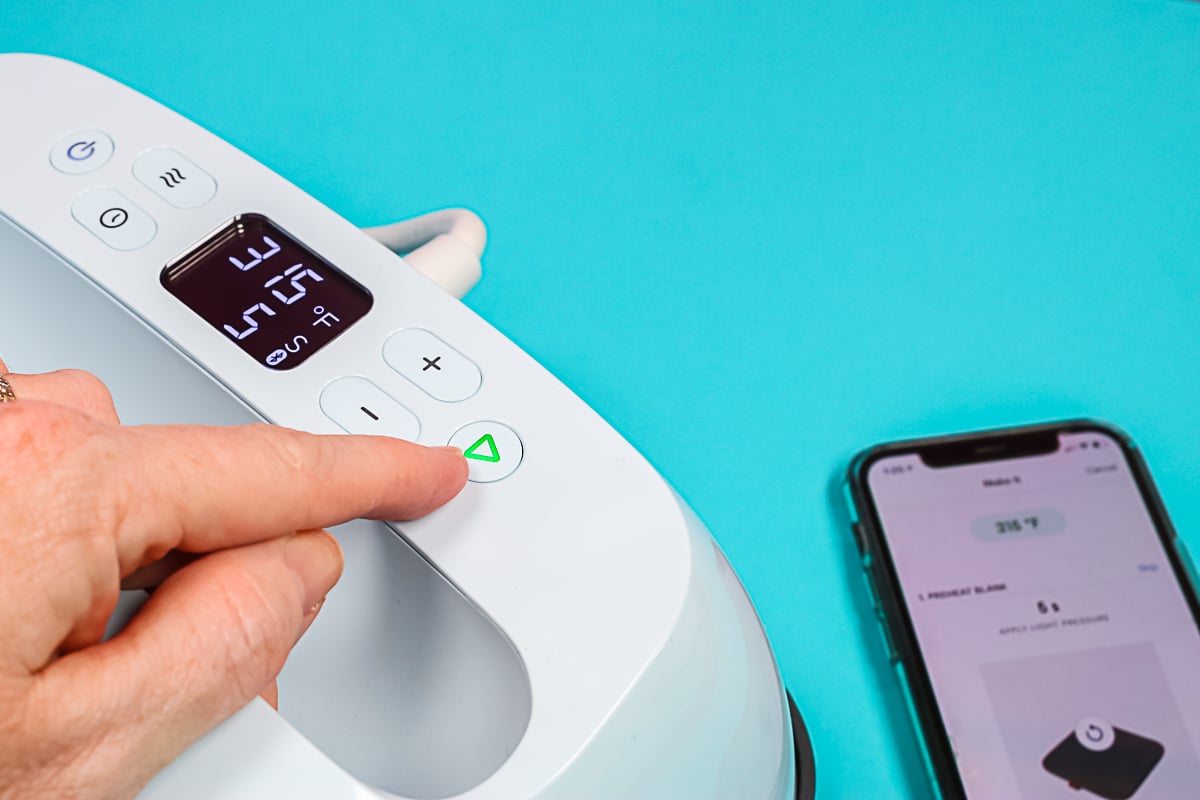
It now counts down on the EasyPress screen, as well as on the app. Once it’s done, it beeps and we can remove the press. Then the app tells us what to do next, which is to put our HTV on the shirt. The time will also change on the EasyPress in accordance with the guidelines in the app. You can also click for more detailed instructions in the app if you need them. Once your iron-on is in place, put the EasyPress on top and press the go button.
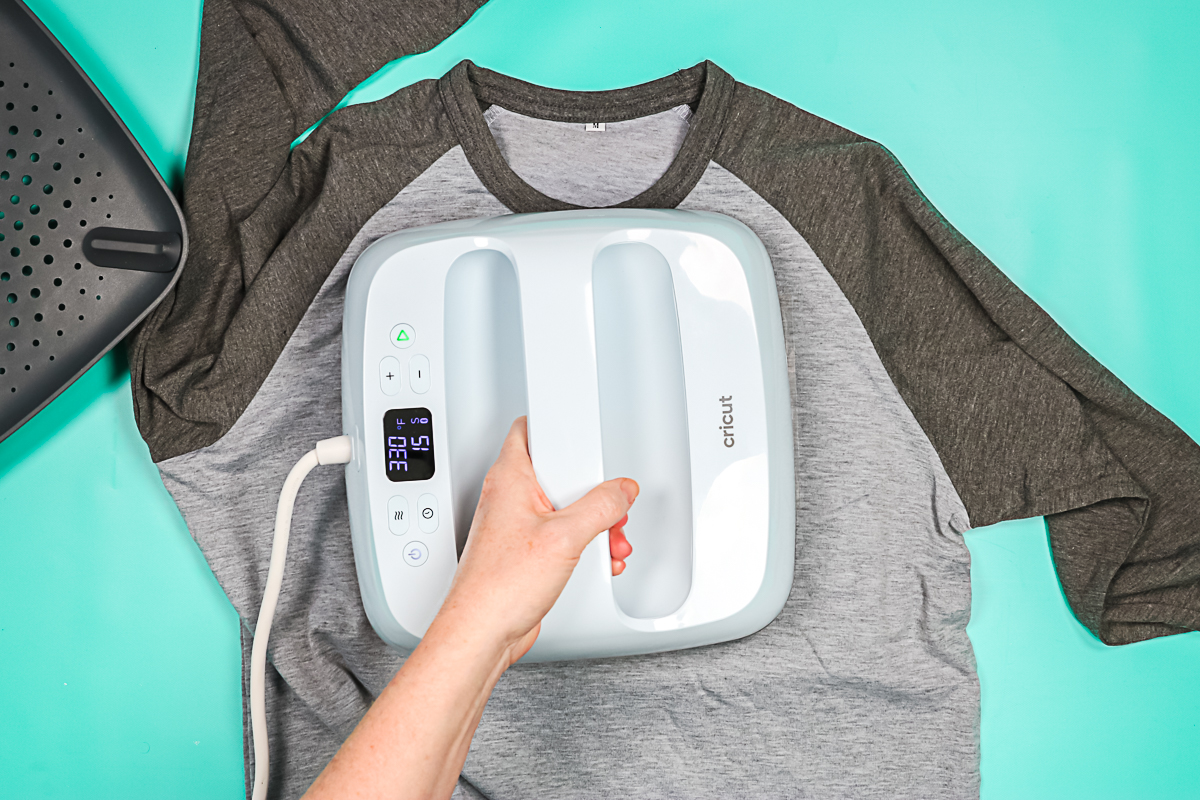
Once again, it counts down on the screen as well as in my app. It also tells me how much pressure to apply. Once it’s done, it beeps and you can remove the press. The app will now tell you to flip and press again. Once you have your shirt flipped to the backside, you can add the EasyPress and press the go button. Once again, the time changed on my EasyPress to match the recommendations.
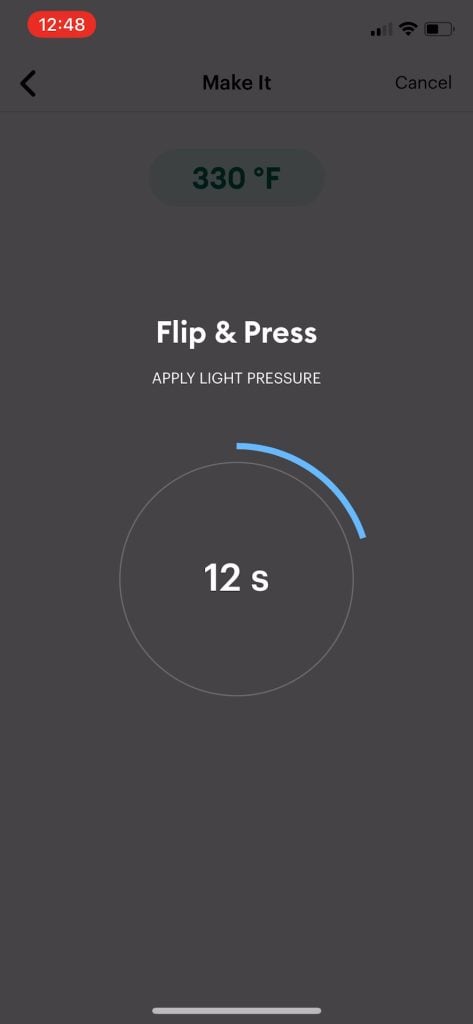
After pressing from the back, the app lets me know to allow everything to cool before peeling the carrier sheet. This is important for the Cricut brand of iron-on. I love that it reminds you of steps like these right in the app.
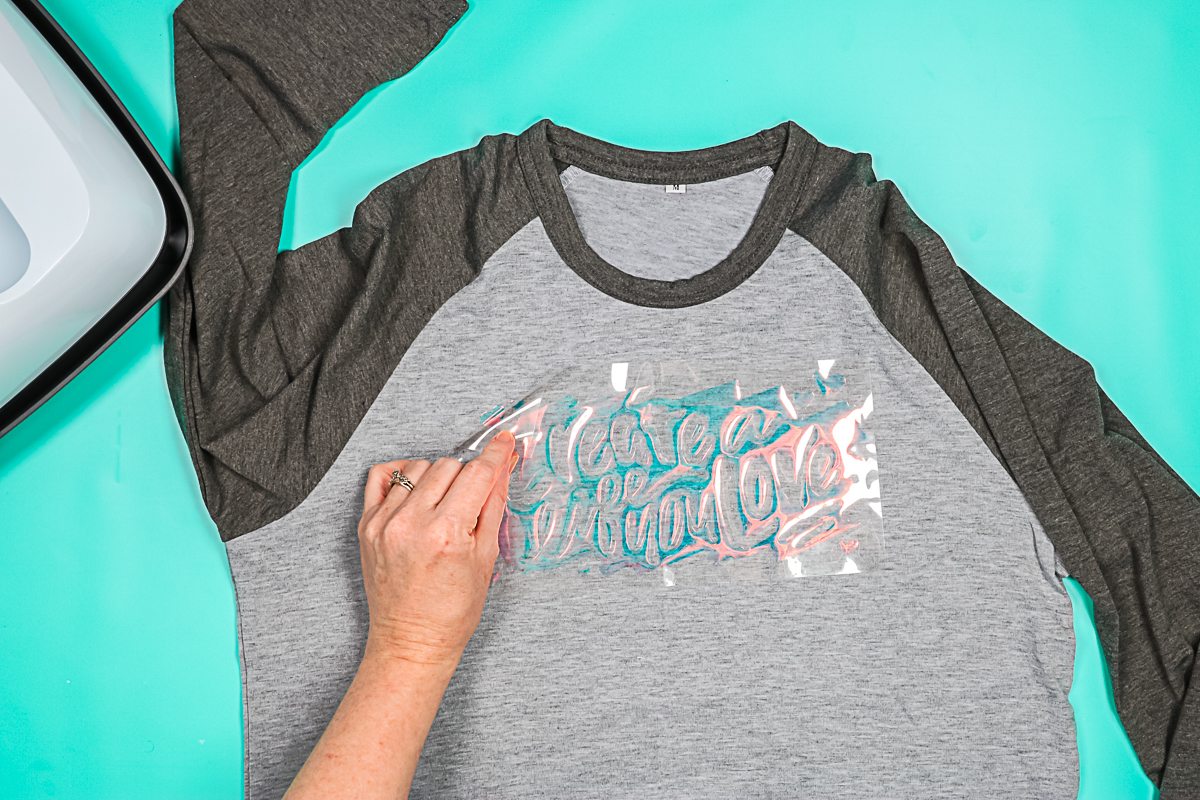
Then once this is cool, peel back the carrier sheet, and your Iron-on should be stuck to your shirt. Once you’re done with the shirt itself, you just press done in the app and it goes back to that first screen so you can start a new project.

Not sure which heat press is for you? Heat Press Roadmap has your answer! This extensive course is designed to guide you on your journey to deciding on the best heat press for your needs, space, and budget.
Join Angie Holden and Cori George as they explore 17 heat presses in 27 videos. Get the details and sign up for Heat Press Roadmap here!
Cricut EasyPress 3 FAQ
I know people are going to have certain questions so let’s address those now. If you have questions I don’t cover, you can ask those in the comment section below.
What is the difference between EasyPress 2 and EasyPress 3
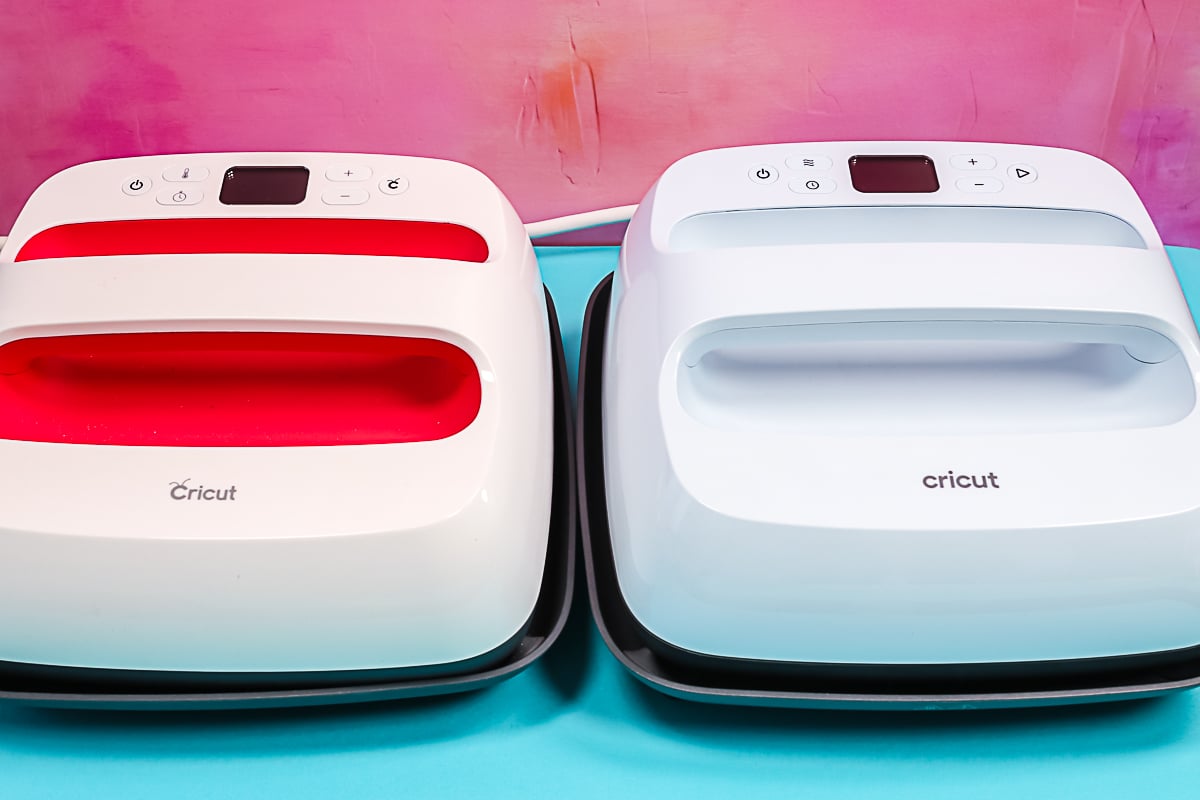
The only difference is that EasyPress 2 does not have Bluetooth capability. Cricut EasyPress 3 added the capability of Bluetooth. Otherwise, these two presses are the same. So if you’re looking for that ease of use with the Cricut Heat app, you might want to consider adding EasyPress 3 to your craft room. The EasyPress 3 does still come with the safety base to store it when it’s warm or when it’s on. Both machines have an auto-off feature.
What sizes does EasyPress 3 come in?
It comes in 9 x 9 inch and 12 x 10 inch. There are only two sizes of EasyPress 3.
What works with the Cricut Heat app?
EasyPress 3 and the Cricut Hat Press are the only two heat presses as the writing of this post that will work with the Cricut Heat app.
When will EasyPress 3 be available for sale?
On March 13th, you’ll be able to find it online, it will be early May before you’ll see it in stores. EasyPress 3 will eventually be available worldwide.
Do you have to have the Cricut Heat app to operate Cricut EasyPress 3?
The answer is yes and no. You must have the Cricut Heat app to register EasyPress 3 and start using it. It will not work without that first setup. So, you need a mobile device or tablet with the free Cricut Heat app. You will register and activate the device using the app. After that, you have two options. You can use it with the app, where the app sends the settings to the EasyPress 3 via Bluetooth. Or you can use the buttons on the front to adjust the time and temperature.
I will say that I do really love the Cricut Heat App, especially if you’re just starting out and confused by the steps for HTV or Infusible Ink. You can, however, find those same steps on the Cricut Heat Guide online. It may be a little more confusing to follow but they are all there.
Does the EasyPress 3 work with other brands of iron-on, HTV, or even sublimation?
Yes, it does. You can use any brand of HTV or sublimation sheets or even your own sublimation print with the EasyPress 3.
With other brands, how do you use the Cricut Heat app?
You can set a custom time within the Cricut Heat app. I will have another post covering the entire app and how to use it.
What color is it?
I know you are going to ask! It is a really light blue. Currently, there are not any other colors of the EasyPress 3 being released.
Do you need to upgrade to the EasyPress 3?
If you already have either the original EasyPress or the EasyPress 2, I think it is completely up to you. If you like the Bluetooth capability and integration with the Cricut Heat app, you may want to consider purchasing the Cricut EasyPress 3.
At this time, Cricut is not offering any type of buyback program, so you would need to either keep your old press or sell it. The only real reason to upgrade from EasyPress 2 to EasyPress 3 would be if you wanted Bluetooth capability. The original EasyPress, however, did not get as hot, so the EasyPress 3 might be something that you want to put on your wish list.
Why an EasyPress and not an iron?
Have you been frustrated with your HTV projects? Are you still using an iron? Trust me when I say an EasyPress will change your life. I was there. I was the person that did not like HTV projects and now HTV is one of my favorite craft projects to make. In fact, I would rather make an HTV project than a vinyl project. And what changed my mind was the original EasyPress. It made pressing iron-on so much easier than using my household iron. I would say that if you’re having trouble with your Iron-on and you’re thinking about upgrading an EasyPress is a great solution.
The EasyPress is small, compact, and perfect for a home crafter. It gives you professional results at home with something as compact as a 9 x 9 inch EasyPress. I often get questions on which size I recommend. I personally use the 9×9 most often and only use my 12 x 10 for large projects if I want to cover more area. Plus the larger version is fairly heavy.
So now I think you know everything there is to know about the Cricut EasyPress 3. What did I miss? What questions do you have about this new release? Leave them in the comment section below!


If I am making an adult small t-shirt does it matter if I use the 12×10 heat press? I am just starting to dabble in t-shirts etc and wondered if size matters. Thanks!!
If you’re using HTV the size of EasyPress/Heat Press doesn’t really matter because you can easily press different areas. If you’re using sublimation or Infusible Ink you want the heat plate to be larger than your image unless your image has a definite break so you’re not double pressing any areas.