Are you ready to try sublimation on glass? I’ve been so excited to test out sublimating on glass surfaces that weren’t tumblers or mugs and I couldn’t wait any longer. Keep reading to see how my projects turned out and learn how to do glass sublimation the right way!
To learn about sublimating on glass mugs and tumblers check out my post here.
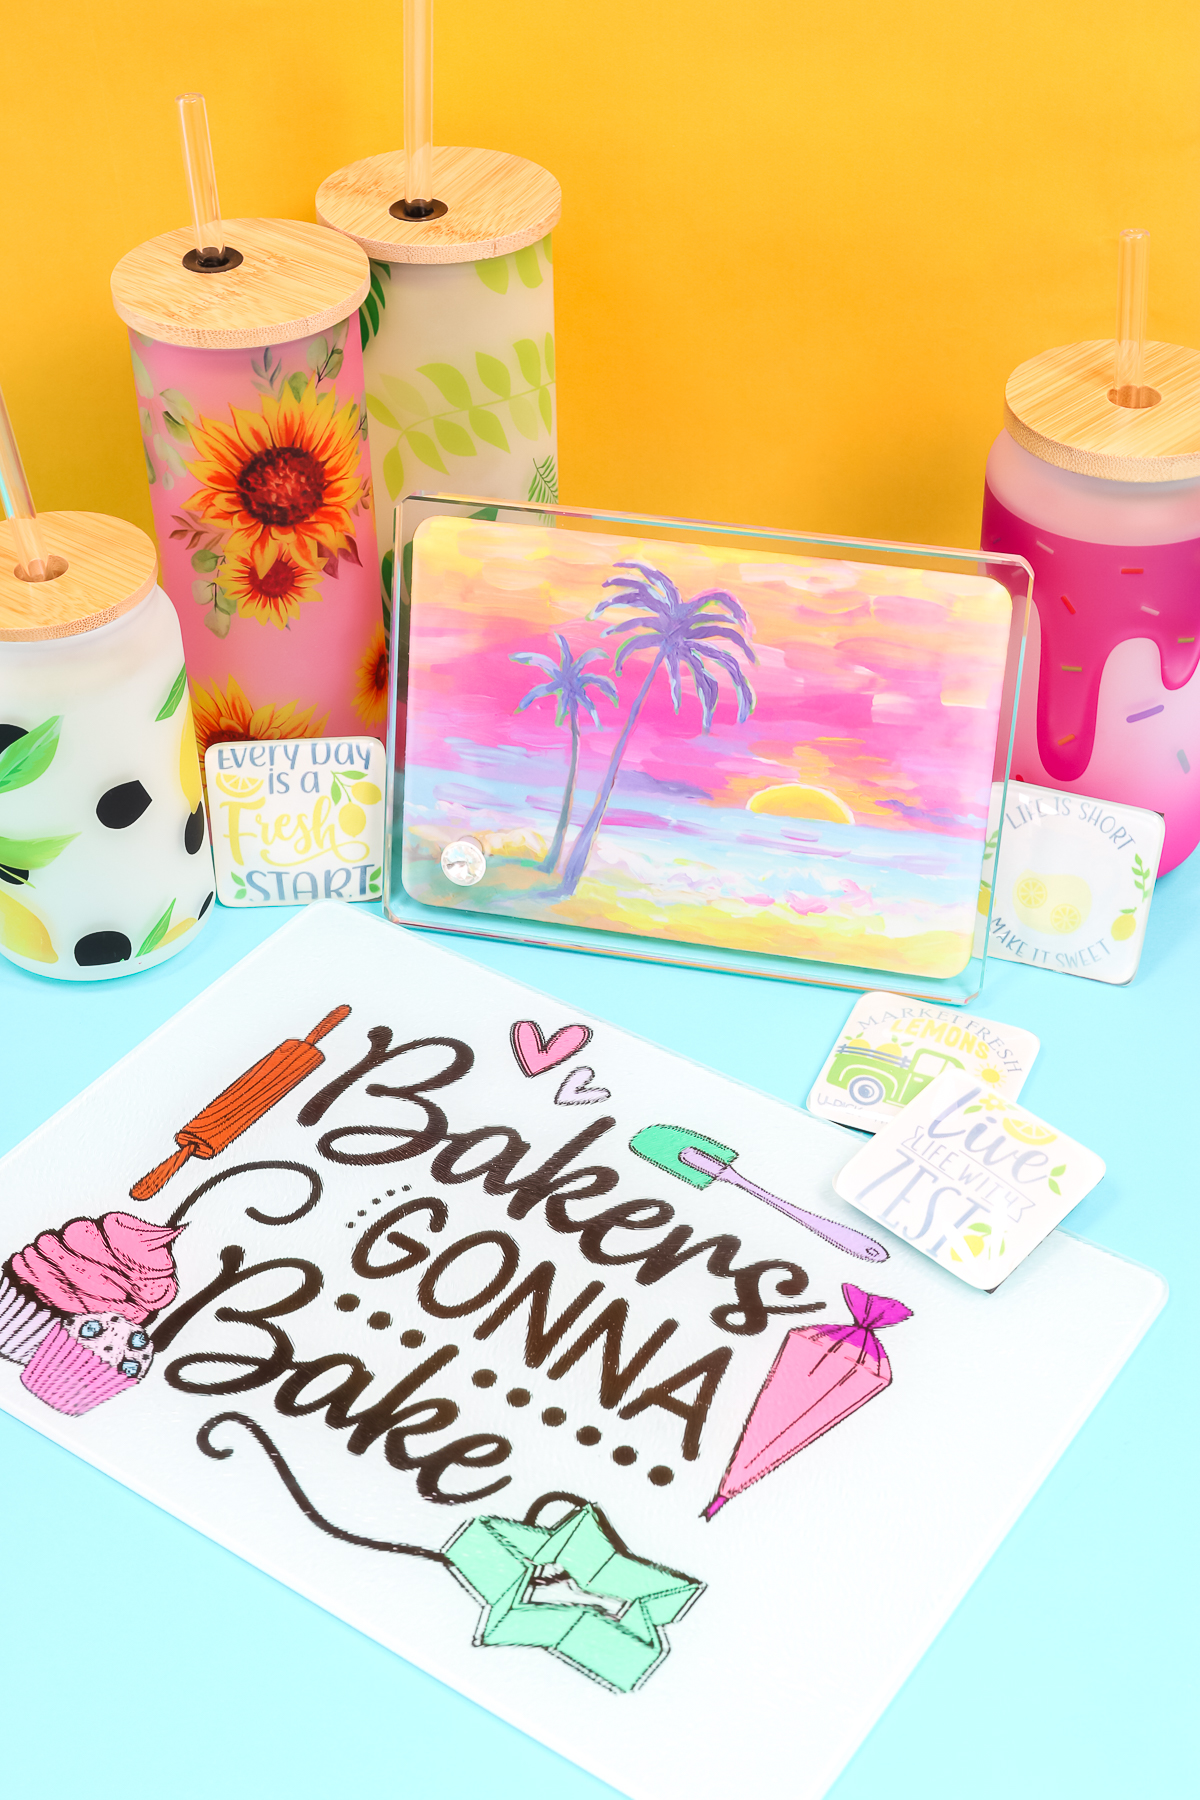
Sublimation on Glass
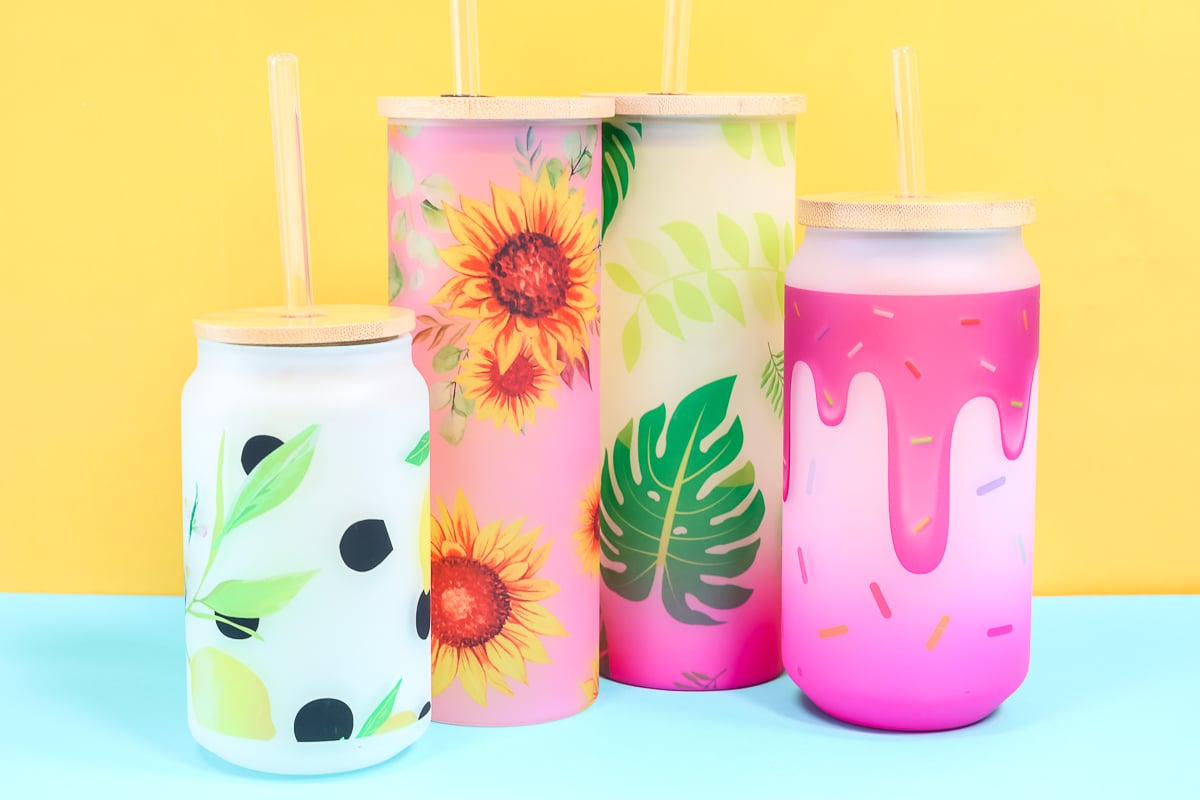
A couple of weeks ago I tried sublimation on glass tumblers and glasses in a tumbler press. Ever since then I’ve been excited to try sublimation on other glass surfaces.
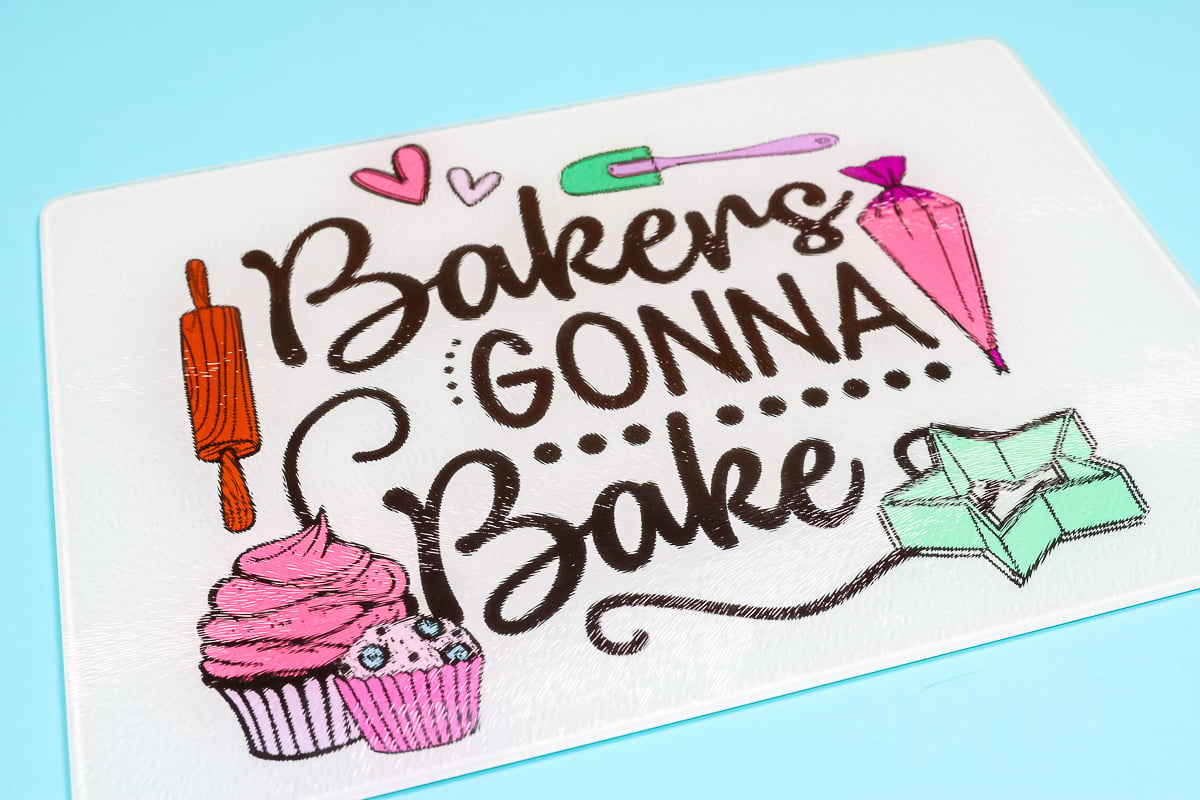
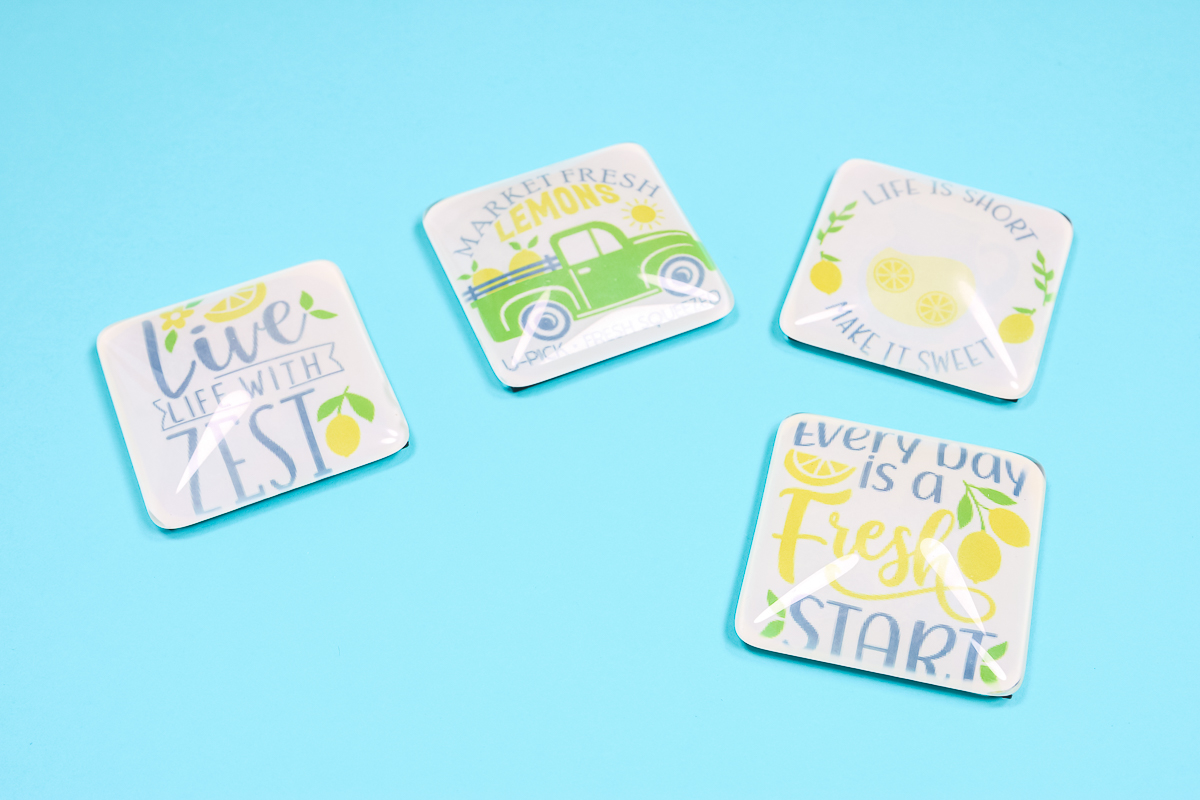
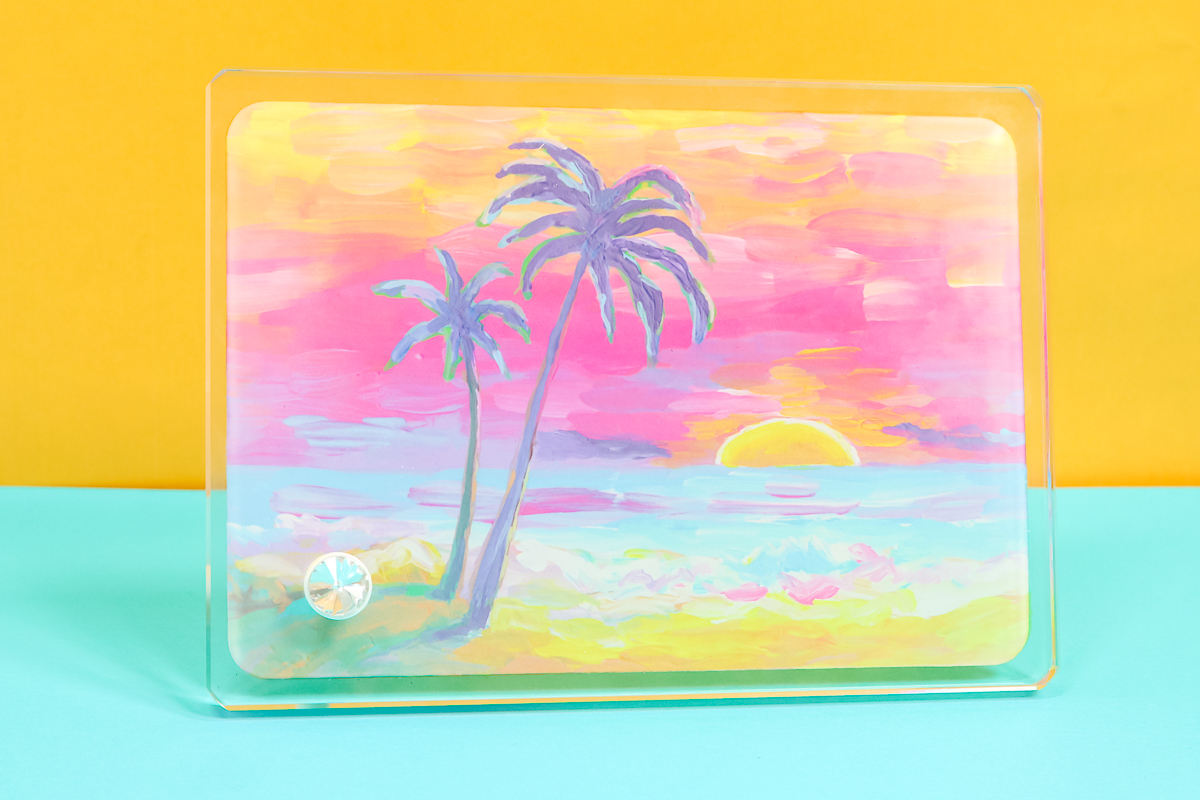
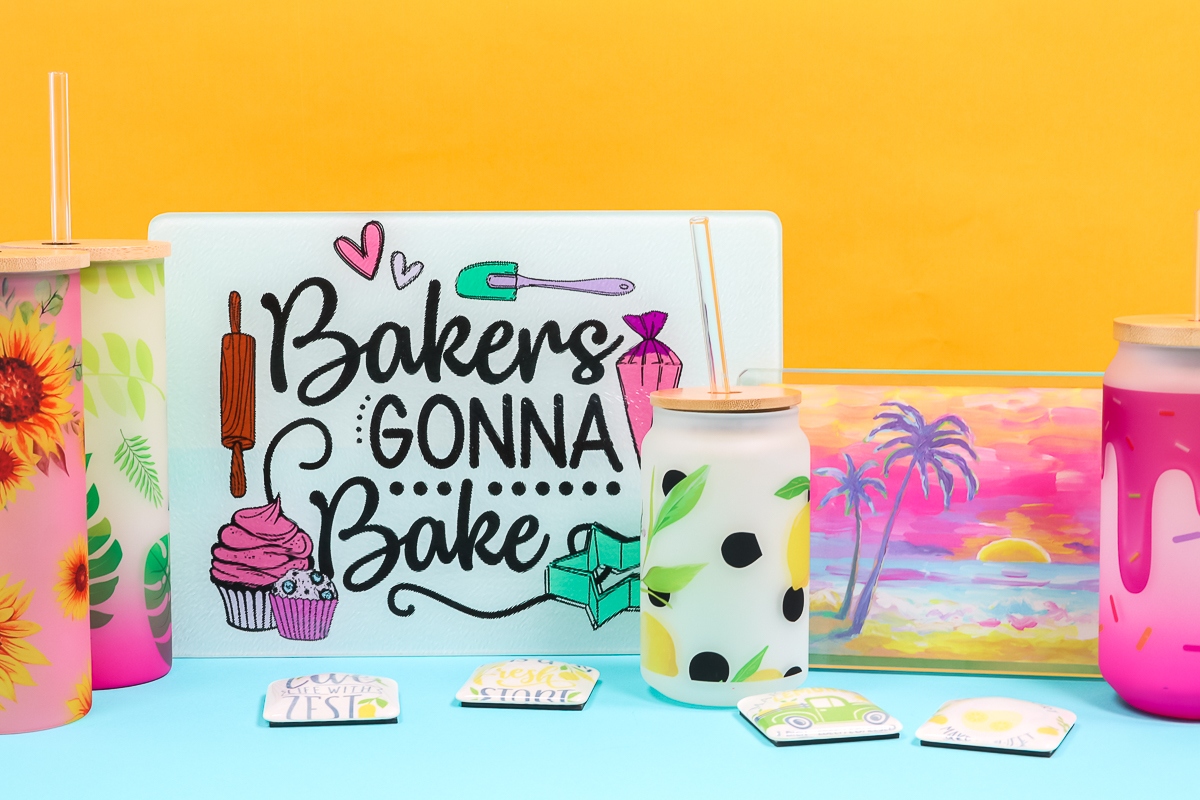
Today I’m testing a variety of flat glass surfaces. I have a glass cutting board, a glass frame, and glass magnets. These are great because, since they’re flat, you don’t have to have a mug press or tumbler press to make them.
You can watch me test out each of these sublimation blanks – just click play on the video below:
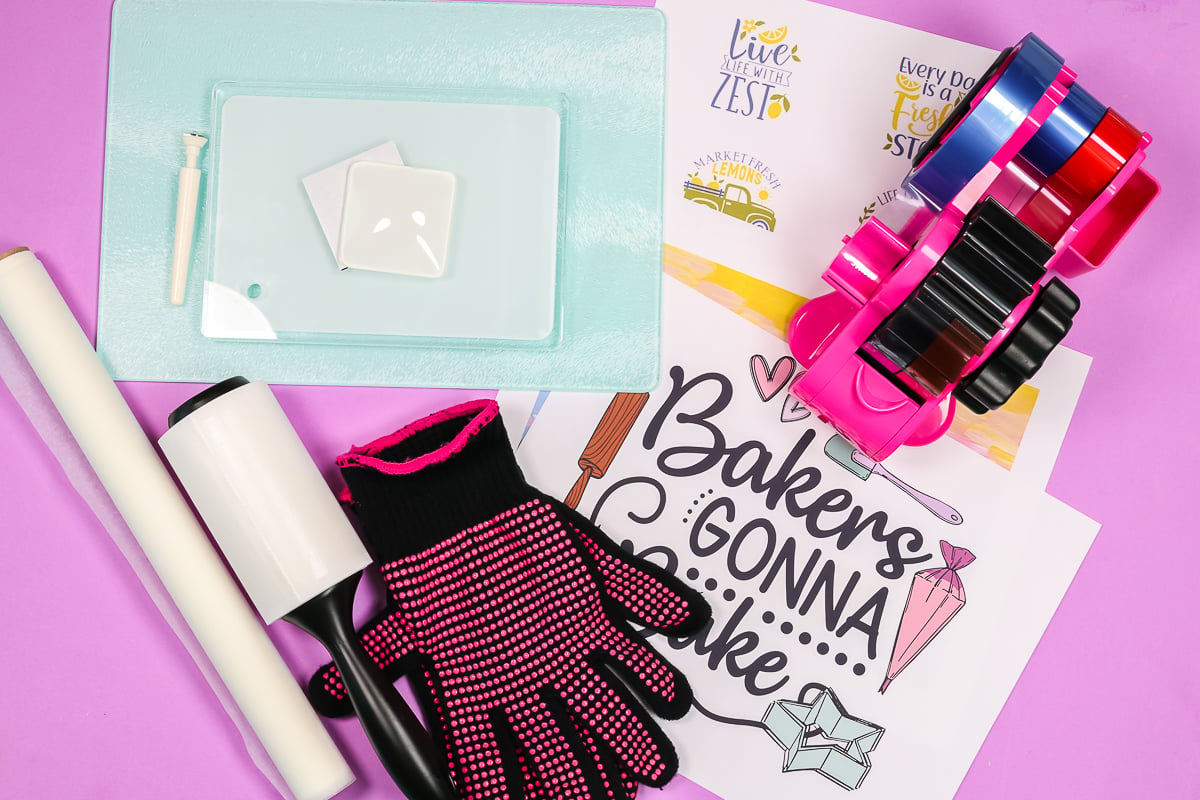
Supplies Needed:
Materials:
- Sublimation printer
- Heat press or AutoPress
- Sublimation ink
- Sublimation paper
- Lint Roller
- Heat Resistant Tape
- Tape Dispenser
- Artesprix Protective Paper Use code CCC10 for 10% off!
- Heat Resistant Mat Use code CCC10 for 10% off!
- Heat resistant gloves
- Nomex Pad (if using AutoPress)
NOTE: Remember, because each of these sublimation blanks has the poly coating on the back we are not mirroring our sublimation prints. If your poly coating is on the front of your sublimation blank you need to mirror your print. Because the poly coating is on the back of our blank that is where we are going to apply our sublimation print.
Blanks:
NOTE: Each of these items is a sublimation blank. That means they all have a poly coating applied to them that your sublimation print will react to. You can’t apply a sublimation print to just any glass surface.
Designs:
How to Sublimate on Glass
Now that we’ve gathered all our supplies let’s make a sublimation on glass project.
How to Prepare Glass Sublimation Blanks
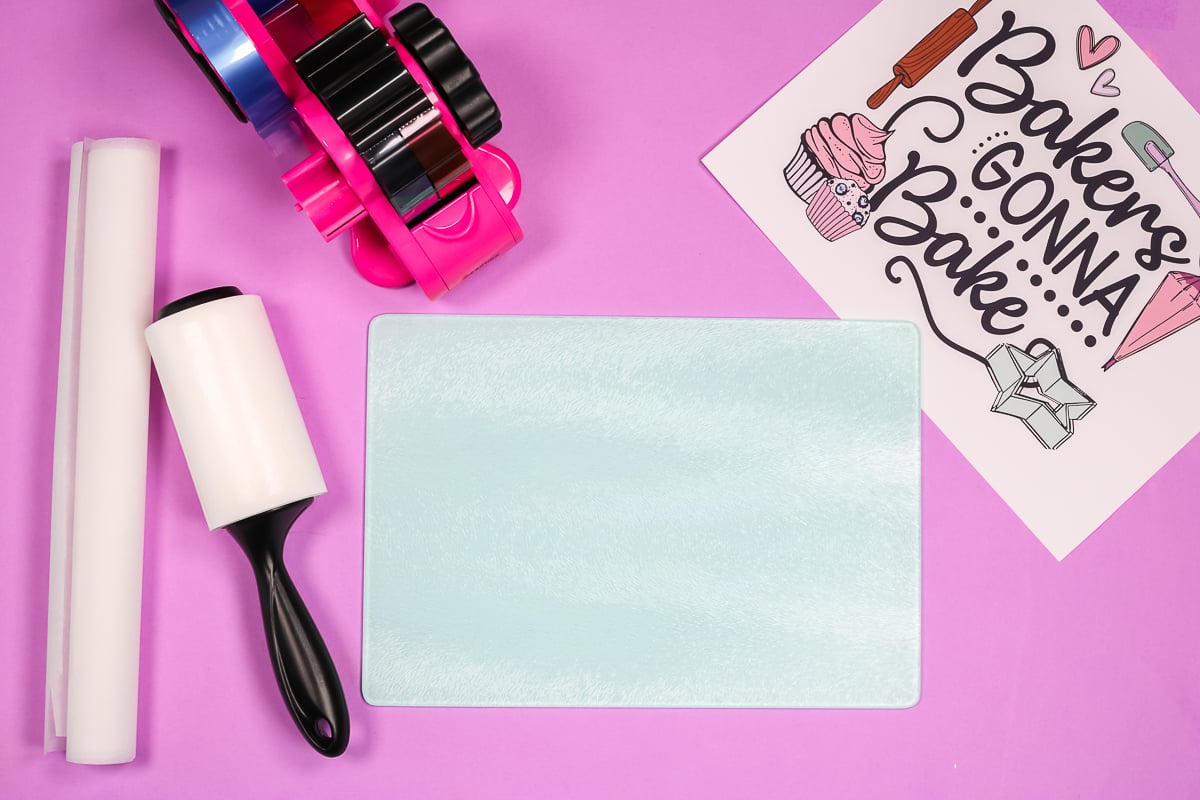
To prepare our glass sublimation blanks, we are going to flip each blank over so the poly coating side is facing up.
Now we need to prep the surface. I am using a lint roller, going over the whole area multiple times to remove any dust, lint, or hair. We want the surface to be free of anything that might cause flaws in the print. You could also clean your surface with rubbing alcohol. Make sure you’re using a lint-free cloth and that you allow it to dry completely before applying your print.
Applying Sublimation to the Back
With the glass blanks we’re going to use today, the sublimation coating is applied to the back. This is great because that means for items like the cutting board the front remains food safe. There is no sublimation coating or sublimation ink applied to the portion that comes in contact with food.
Because the sublimation print is applied to the back of your glass surface you don’t need to mirror your image. Also, the sublimation coating is white. Don’t let that worry you, like magic your sublimation print will transfer to the white sublimation coating and will show through to the front. I think going forward I’ll call these magic sublimation blanks!
How to Apply the Sublimation Print
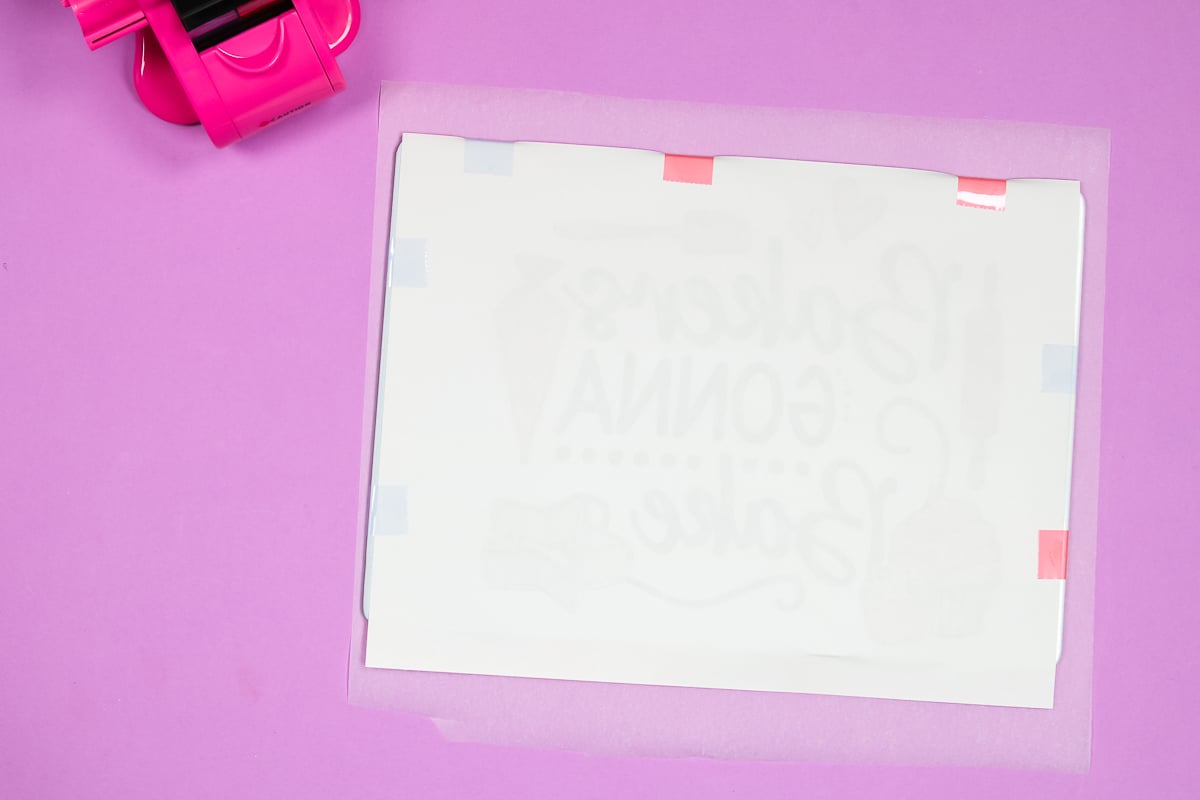
Now that our surface is clean and dry it’s time to apply the print. I like to lay my print image side up on a flat surface and then place my sublimation blank, poly coating side down, on top of the print. This allows me to see that I have completely covered my print with the sublimation blank or if my print is larger than the blank it allows me to make sure I have it centered how I want.
Once I have my blank where I want it, using heat-resistant tape I am going to tape it into place. Make sure you tape your sublimation print to your sublimation blank really well making sure to remove any wrinkles or air pockets. I add tape to all sides making sure my print is pulled tight from side to side and top to bottom.
How to Protect Your Heat Press
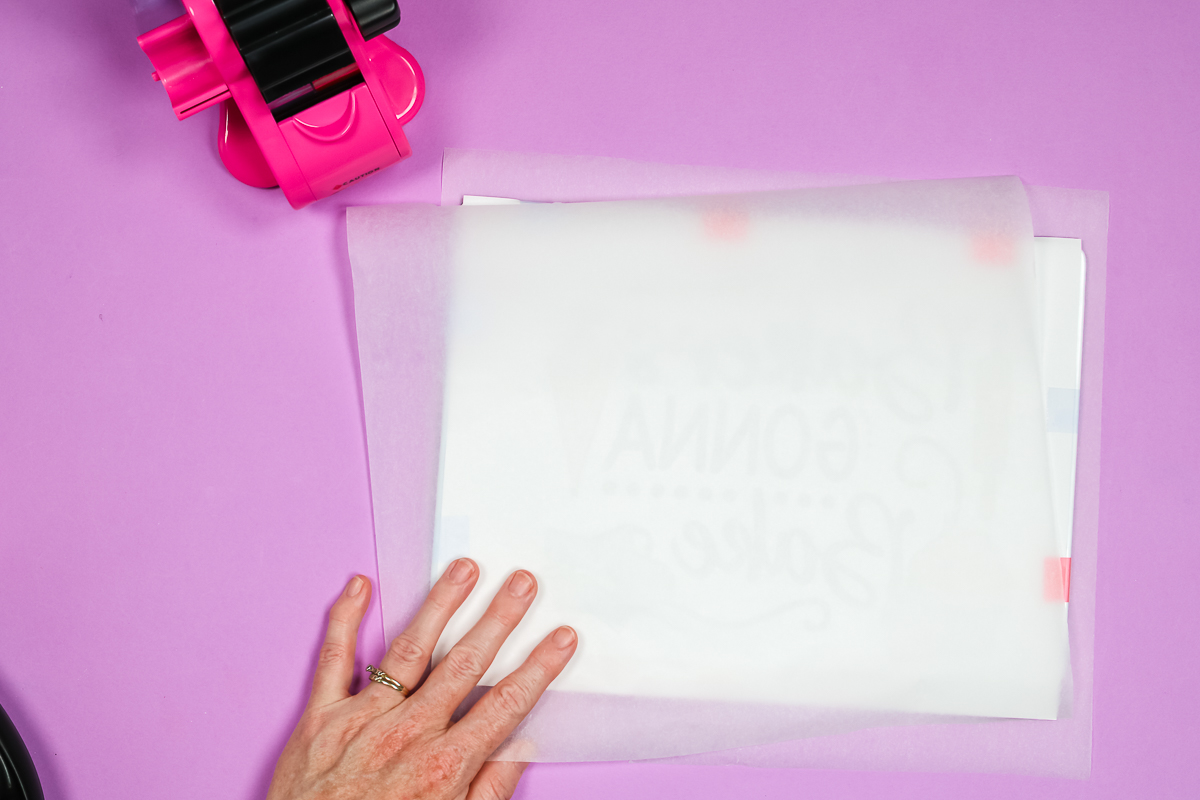
As with any sublimation or Infusible Ink project, we need to make sure and protect our heat source. Sublimation works by high heat turning the printed image into a gas that bonds to the poly coating on the surface of the blank. We never want to risk the gasses getting on the heat plate or the surface under the blank. If this happens you run the risk of those inks transferring to projects in the future, ruining them.
To protect your heat source and areas under your blank you want to use a protective paper of some sort. I really like the Artesprix Protective Paper, you can also use butcher paper. Make sure your protective paper is slightly larger than your sublimation print and use a piece on top and underneath your project.
How to Press Sublimation on Glass
Now that we have all of our glass sublimation blanks prepared we’re ready to start pressing. Before we start the pressing process, we need to preheat our heat source. You need to follow the time and temperature recommendations for whatever blank you are using. Your settings may be different than mine so make sure you’re following the manufacturer’s recommendations.
I like to check the manufacturer’s website or, since I purchased these blanks on Amazon, I read the Amazon listing but also check the comments and reviews to see what others have said worked for them.
Check the recommended temperature of each of your sublimation blanks. Just because they are all glass doesn’t mean the pressing time is the same.
I like to start with the blank that has the lowest temperature first and then just increase the temperature as needed. I feel it’s easier to increase the heat than to really make sure the temperature has cooled enough if a blank has a lower recommended temp.
Just add your prepared blank with the paper to your press with the sublimation print side up and press.
NOTE: If you are using the Cricut AutoPress, I find that using a Nomex Pad instead of the pad that comes with the AutoPress. I feel it is firmer and helps when doing sublimation projects.
How to Remove Sublimation Print
After pressing each of our sublimation projects we want to remove them from the heat press using heat-resistant gloves – THEY WILL BE VERY HOT – and place them onto a heat-safe surface to cool for a few minutes.
TIP: I highly recommend taking a quick peek at a corner before just ripping the sublimation print off. Sometimes a press isn’t perfect the first time. By checking a corner before removing the whole print you can see if you need to press for a little longer. If you remove the whole image it is extremely difficult to line it back up exactly to press again. Trust me, I’ve learned from experience.
Once you’re happy with your image peel back your sublimation print to reveal your beautiful finished project.
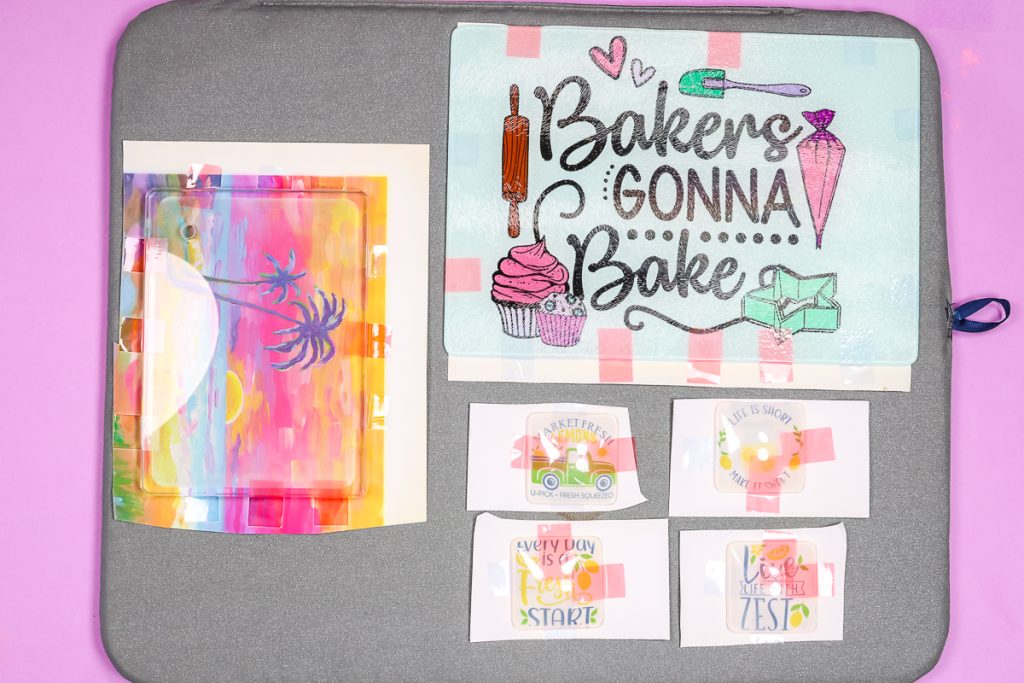
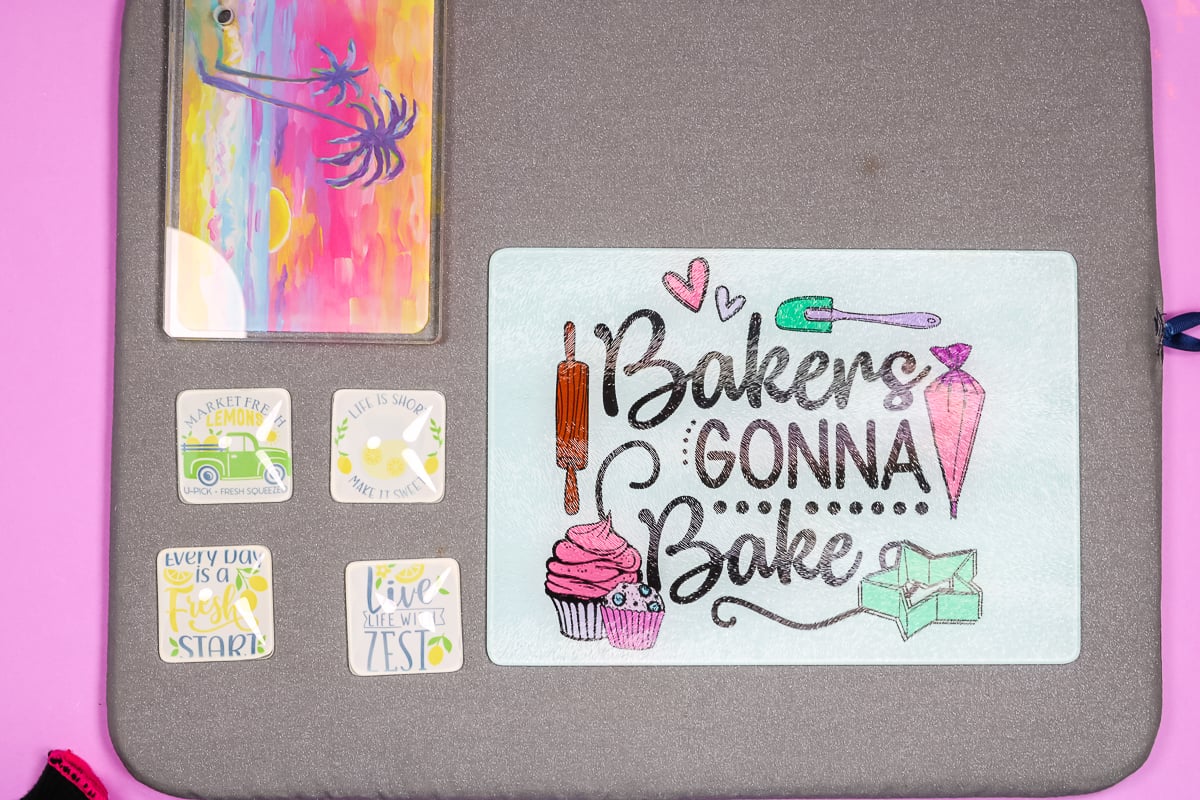
Sublimation on Glass Projects
I purchased all of these glass sublimation blanks on Amazon. I am really happy with how each of them turned out. Amazon can be very hit and miss with their sublimation blanks, some of them are absolutely terrible. Make sure you read reviews and when possible get a recommendation for a specific product someone used.
I love the way each and every one of these turned out. I did have to up the time or the temperature, one or the other, on my AutoPress to get it to sublimate correctly. It’s just going to depend on your situation, what heat press you have, and what sublimation printer you have. All of that will factor into how long you need to press and at what temperature.
I would start with the suggestions that I have here or the suggestions on the listing for the sublimation blank itself and go from there. When I purchase a new sublimation blank I am always prepared to lose a few in my experiments to get the perfect time and temperature.
Sublimation on a Glass Cutting Board
I absolutely love how this project turned out. I am thrilled that because the sublimation print is on the back this customized cutting board isn’t just for looks. It is completely safe to use with food. Can you imagine how special this project would be using a print of a handwritten recipe from a relative?
I did mess up the first cutting board I did. That was more my fault as I didn’t get the print size correct before pressing.
For my glass cutting board, I pressed at 365 degrees Fahrenheit for 360 seconds. This is a long press time so be prepared for that. If you’re using an EasyPress, you’ll be standing there applying pressure for a while.
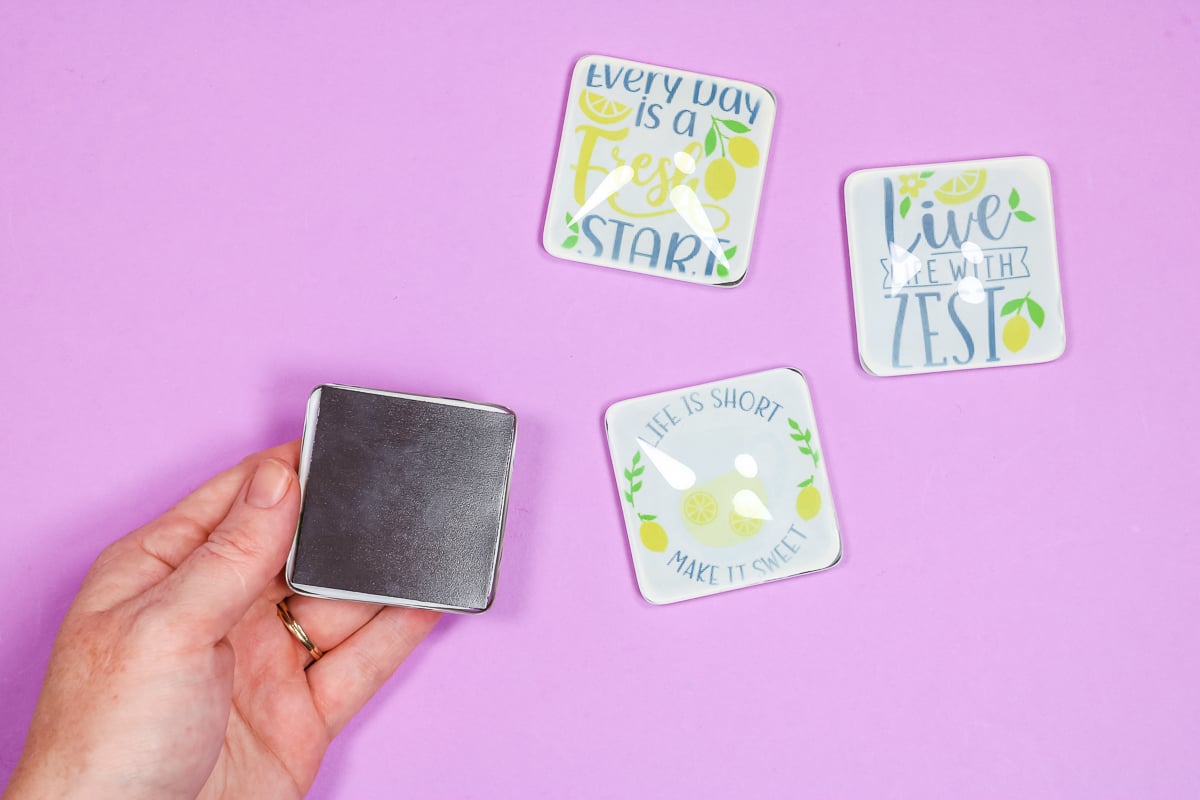
Sublimation on Glass Magnets
These glass magnets are such a fun sublimation project. For these sublimation glass magnets, the recommended time and temperature was 380 degrees Fahrenheit for 60 seconds and with my AutoPress that resulted in a really light and not vibrant finished project.
I kept my heat at 380 degrees and upped the time to 90 seconds and the print really popped at that time and temp. You may find a shorter time or lower temp works well in a different press, make sure you plan for trial and error the first time you make these.
Your glass sublimation magnets will come with a magnet piece. Just peel back the adhesive cover to expose the adhesive and attach it to the center back of your glass piece after you have added your sublimation design. Press it down really well and you have a sublimation magnet ready for your fridge. I really love these lemon images.
Sublimation on a Glass Frame
Finally, we have this glass piece with the photo that I sublimated on. I really like this blank. I like that the poly coating doesn’t go all the way to the edges so you get the print in the middle with the clean glass along the edges.
The only thing I really didn’t like about this sublimation glass frame is the stand part that is used to make it stand up. The whole piece is plastic and I don’t love the diamond shape on the front. To attach it to the frame you unscrew the diamond piece from the pole on the back and then put it through a little hole in the corner of the frame and then screw it back together.
With that piece in place your frame will stand up and it can be either horizontal or vertical. I really love the frame, just wish that piece was different.
The recommended 383 degrees Fahrenheit for 180 seconds for this frame piece wasn’t long enough, so after doing a quick corner peek, I stuck it back in for a little longer and it worked perfectly. This is why I recommend a peek test, as long as you don’t completely remove the image you can press it again.
I had a lot of fun with these projects. I really enjoyed learning how to sublimate on glass blanks that weren’t tumblers, mugs, or glasses. These are projects anyone would love to receive as a gift and they’re so easy to personalize you’ll find yourself reaching for them time and again. I have also made a ton of different glasses and you can see how to do those here.
I hope you found this tutorial helpful. If you have any questions please leave them in the comments below. Give sublimation on glass a try for yourself! I really think you will love it.



Can an Easy Press 2 be used to press on flat glass using the sublimation blanks and inks?
You would want to see what pressure is required for your blank. Heavy pressure is a little harder to get with an EasyPress, EasyPress 2 does get hot enough for sublimation.
What sublimation coating are you putting on the glass?
I tend to purchase sublimation blanks that already have a coating. I have not found a coating I like yet.
Is there a way to remove sublimation ink from the glass in the event of a mistake?
No there is not. I am trying some things to maybe cover up mistakes but no luck yet!
Can any piece of glass be sublimated in? If I wanted to take a random wine glass out of my cabinet, could I use it? Or does it need to be sublimation specific glass
No, you need specific sublimation blanks. It has to have a poly coating.
Hi Angie, I have watched your videos on the frosted beer can glass in the Cricut mug press with the wraps. Mine have turned out wonderfully. Have you tried the mason jar frosted mugs in it yet? I read want to but am scared of breaking my press. I will still need the thinnest wrap.
I don’t make anything glass in my Cricut Mug press.
Is a glass that has been sublimated dishwasher safe?
Generally yes. Wash top rack only on a no heat dry setting. Don’t use high heat or sanitize cycles.