Cricut keychains are easy to make and can make great gifts as well! Are you ready to make keychains with your Cricut machine? I’m going to teach you how to use your Cricut machine and Smart Vinyl to create customized acrylic keychains. You can definitely use other vinyl products if you don’t have a machine that can use the Smart Materials.
Looking for more ways to use your scrap materials? Check out my post all about using vinyl scraps here.
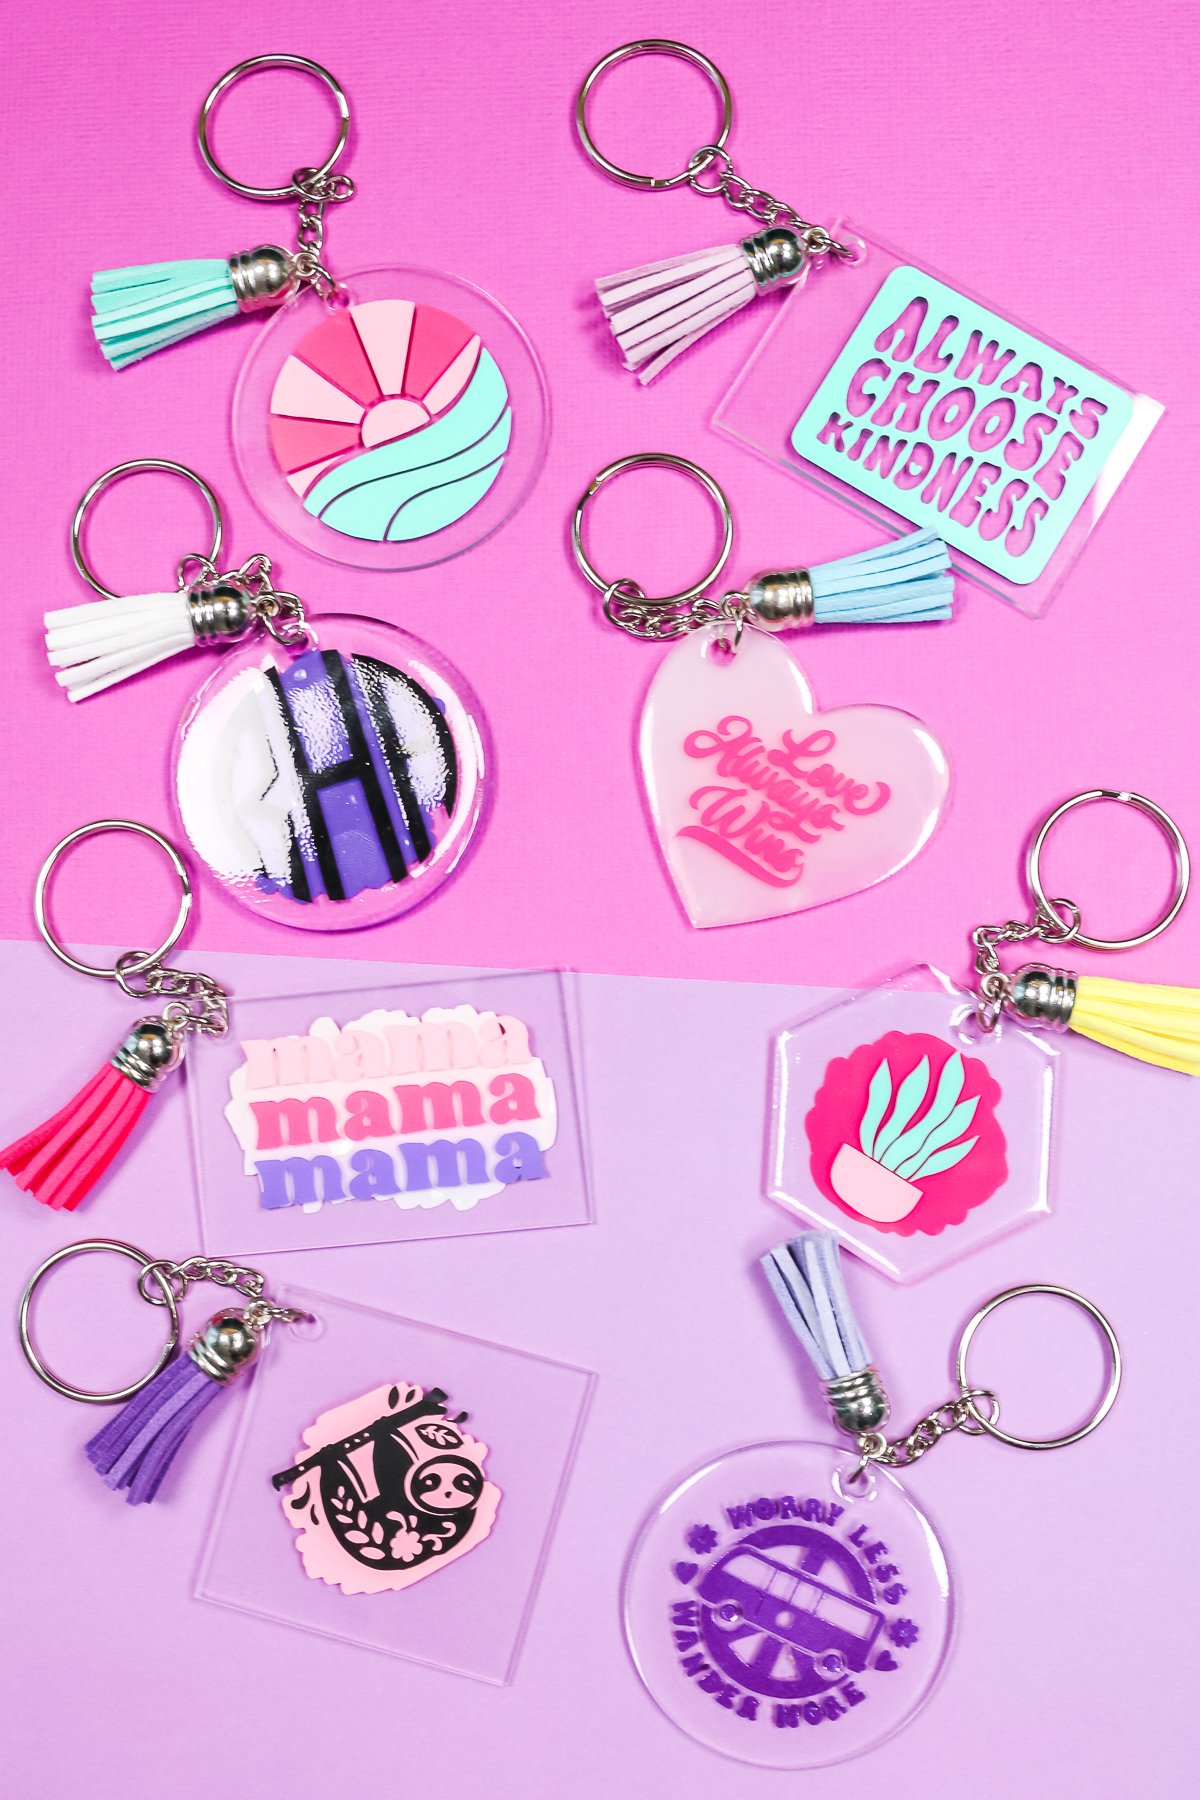
Cricut Keychains
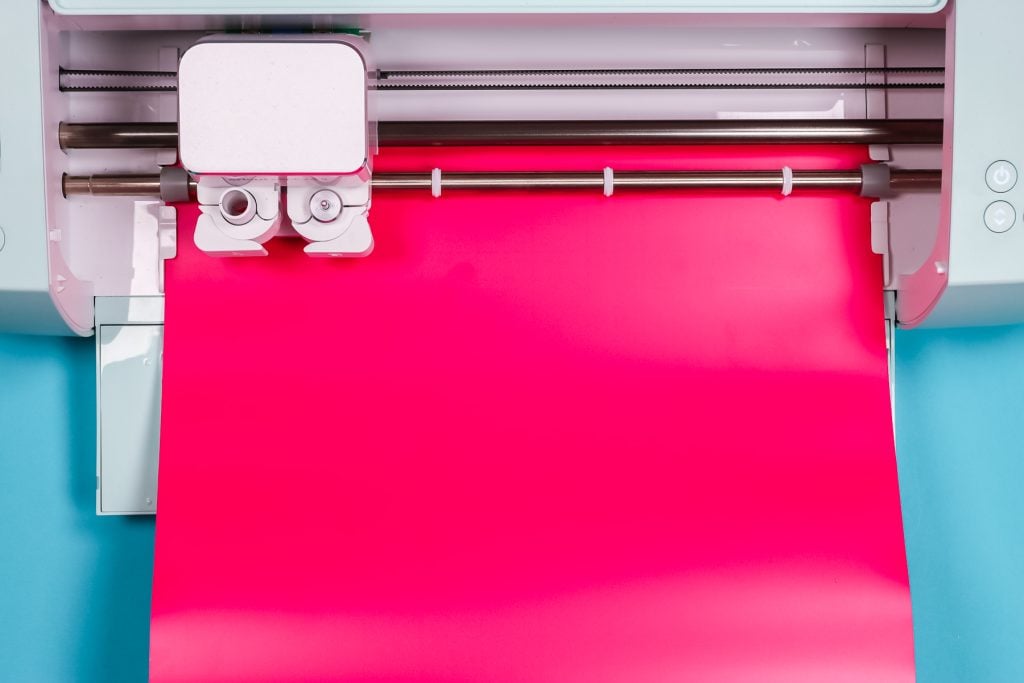
Making keychains with your Cricut machine is easier than you think. I’m using my Cricut Explore 3 and Permanent Smart Vinyl. You can use any Cricut machine to make these keychains. You do want to make sure you’re using Permanent Vinyl. Keychains are handled often and removable vinyl won’t last.
To watch me make all of these projects, click play on the video below.
Supplies used:
- Cricut machine
- SmartVinyl or Regular Permanent Vinyl
- Transfer Tape
- Weeding tools
- Scraper
- Acrylic Keychain Bundle
- UV Resin (clear)
- UV Resin (white)
- UV Light
- This project is made with Design Space files. Click here for my profile. Once on my profile, find the image of the project you want to create, click it to open it up, and then you can make it yourself.
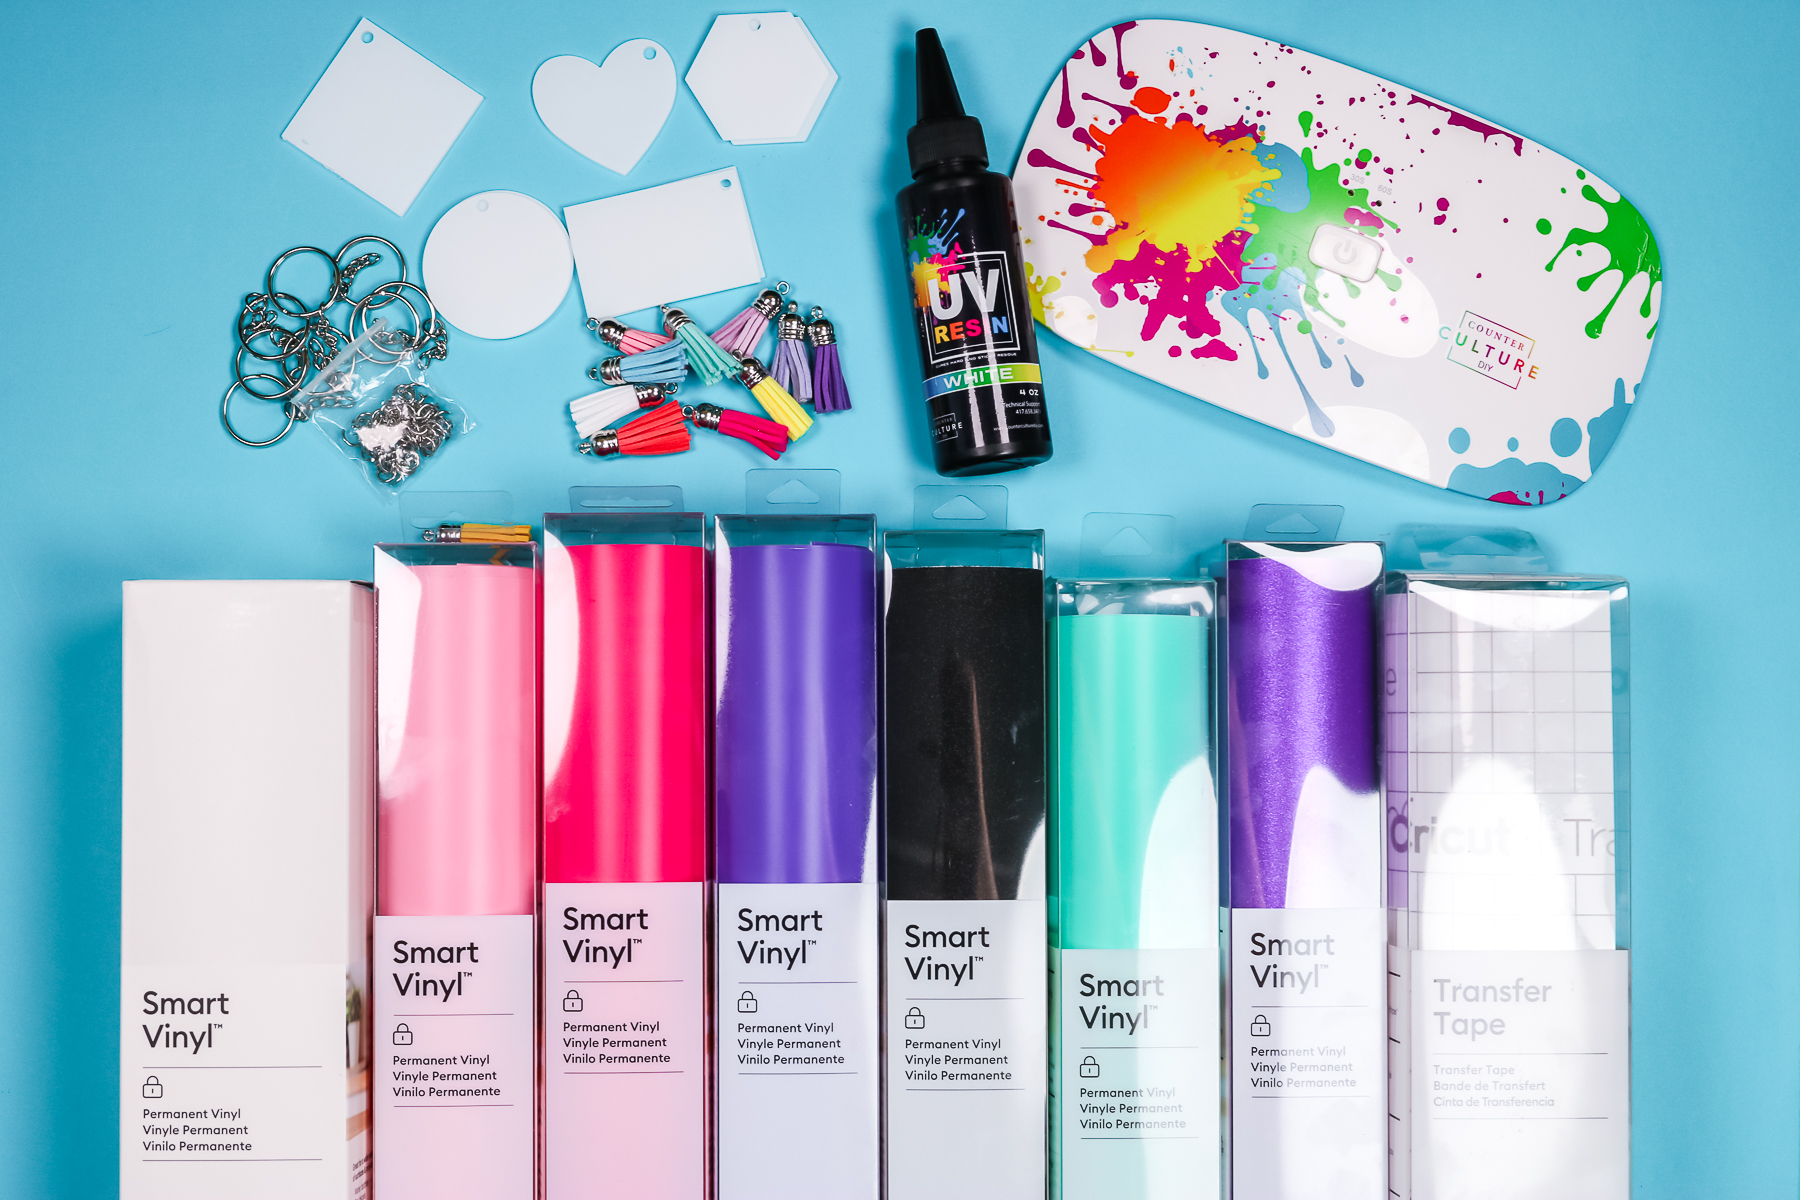
I am going to show you a variety of ways to use your Cricut to customize acrylic keychains. I found this bundle of acrylic keychains that includes a variety of different sizes and shapes of blanks, all the findings needed to make the keychain, and the cute leather tassel in a variety of colors.
Using permanent vinyl you can add designs to the keychains and I’ll teach you my favorite way to seal them.
Note – The acrylic keychains come with a protective film on both sides. Remove those before applying any vinyl.
How to Make Keychains with a Cricut Machine
To make our Cricut keychains, the first thing we need to do is decide on the image we want to add. I like to use these brush stroke images as a background.
Search “brush stroke” in Design Space and you’ll see a variety of different ones we can use. Select the ones you want to use and add them to your canvas. From there, you can resize them to whatever size you need to fit your acrylic blank.
I’ve also selected a lot of other images to use on the keychains. I just searched for what I might want to have on a keychain and just like with the brush strokes I sized them to fit the keychains. After everything is sized appropriately, go through and change each image to the vinyl colors you are using. This will help make sure the pieces that are one color are cut at the same time.
Different Types of Keychains
I have a few different ways I add the vinyl to keychains. They all use nothing more than vinyl but give you a different look.
Single Layer Vinyl Keychain
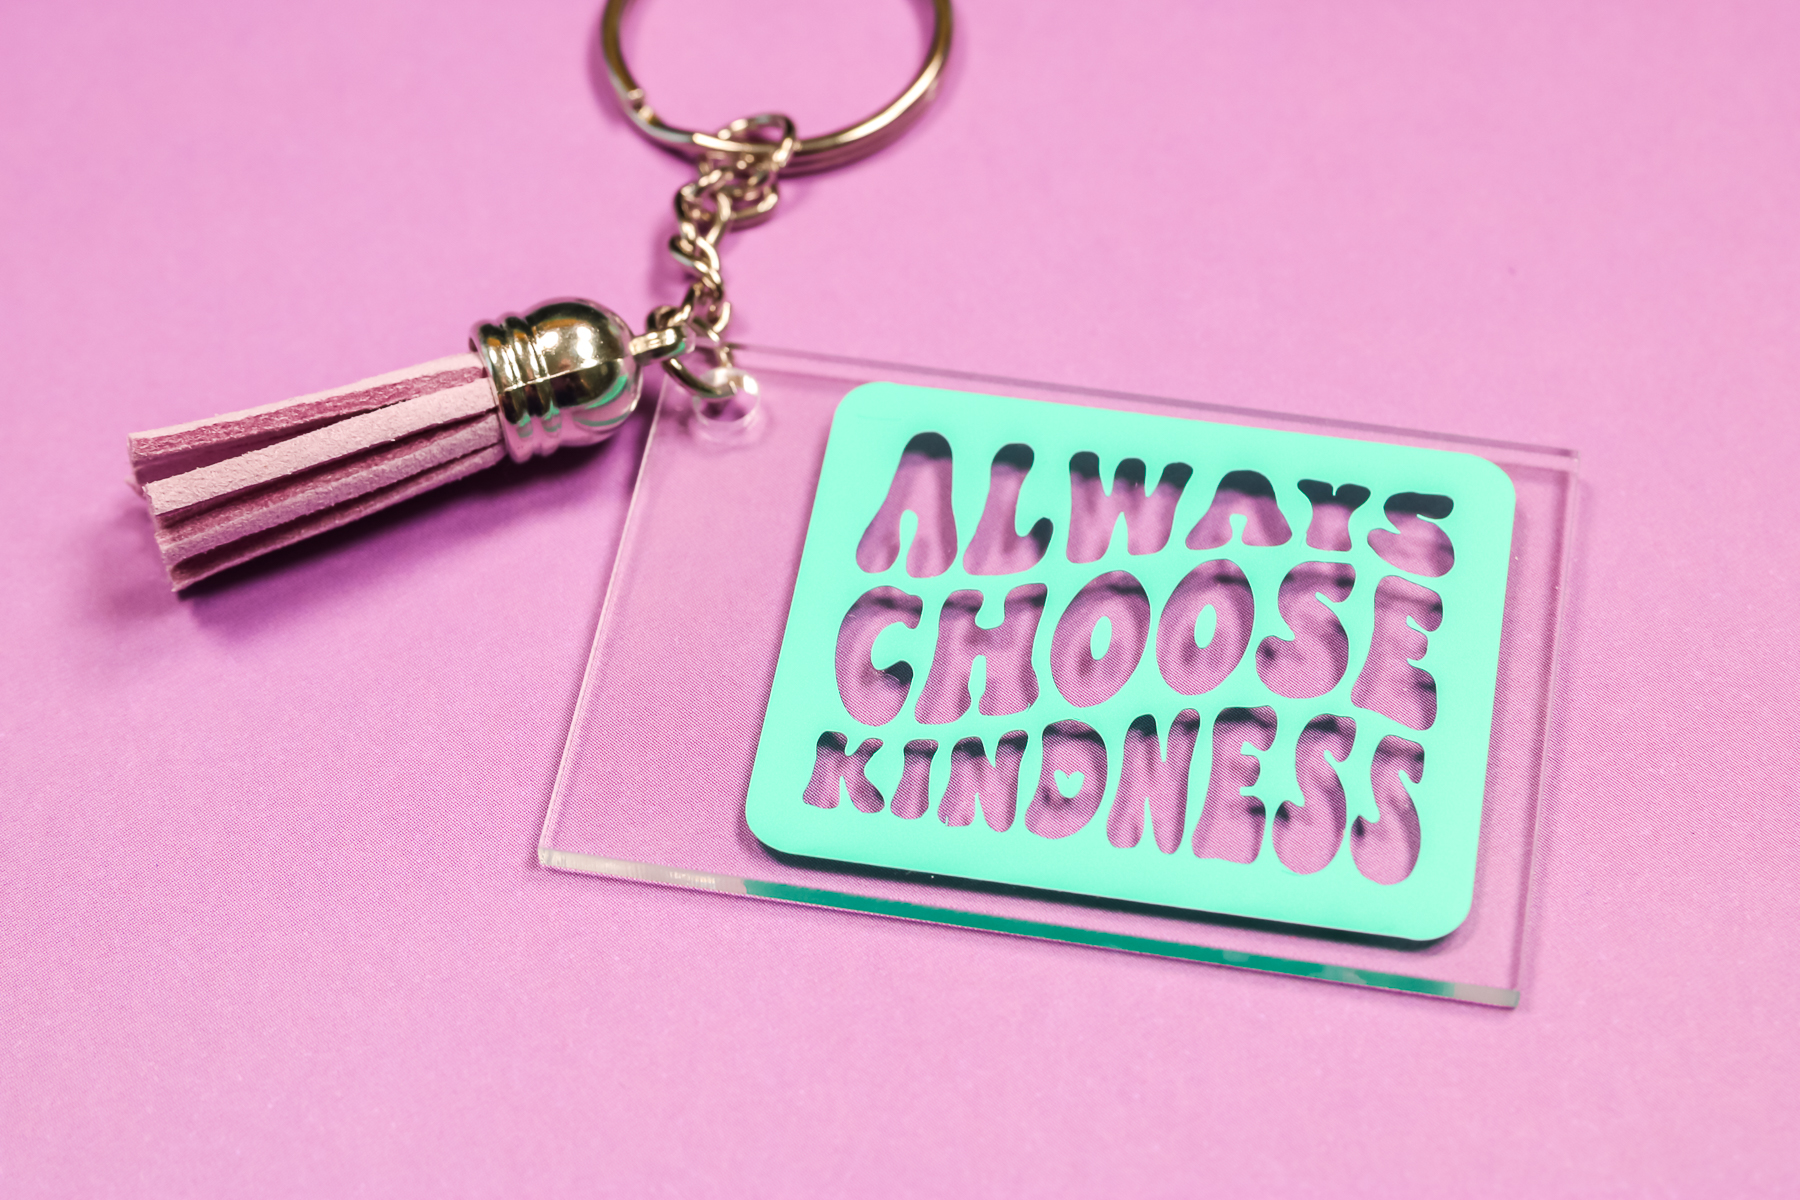
The simplest and quickest way to make a customized acrylic keychain is with a single image cut out from one color. Cut out the vinyl using your Cricut machine and weed out all of the excess.
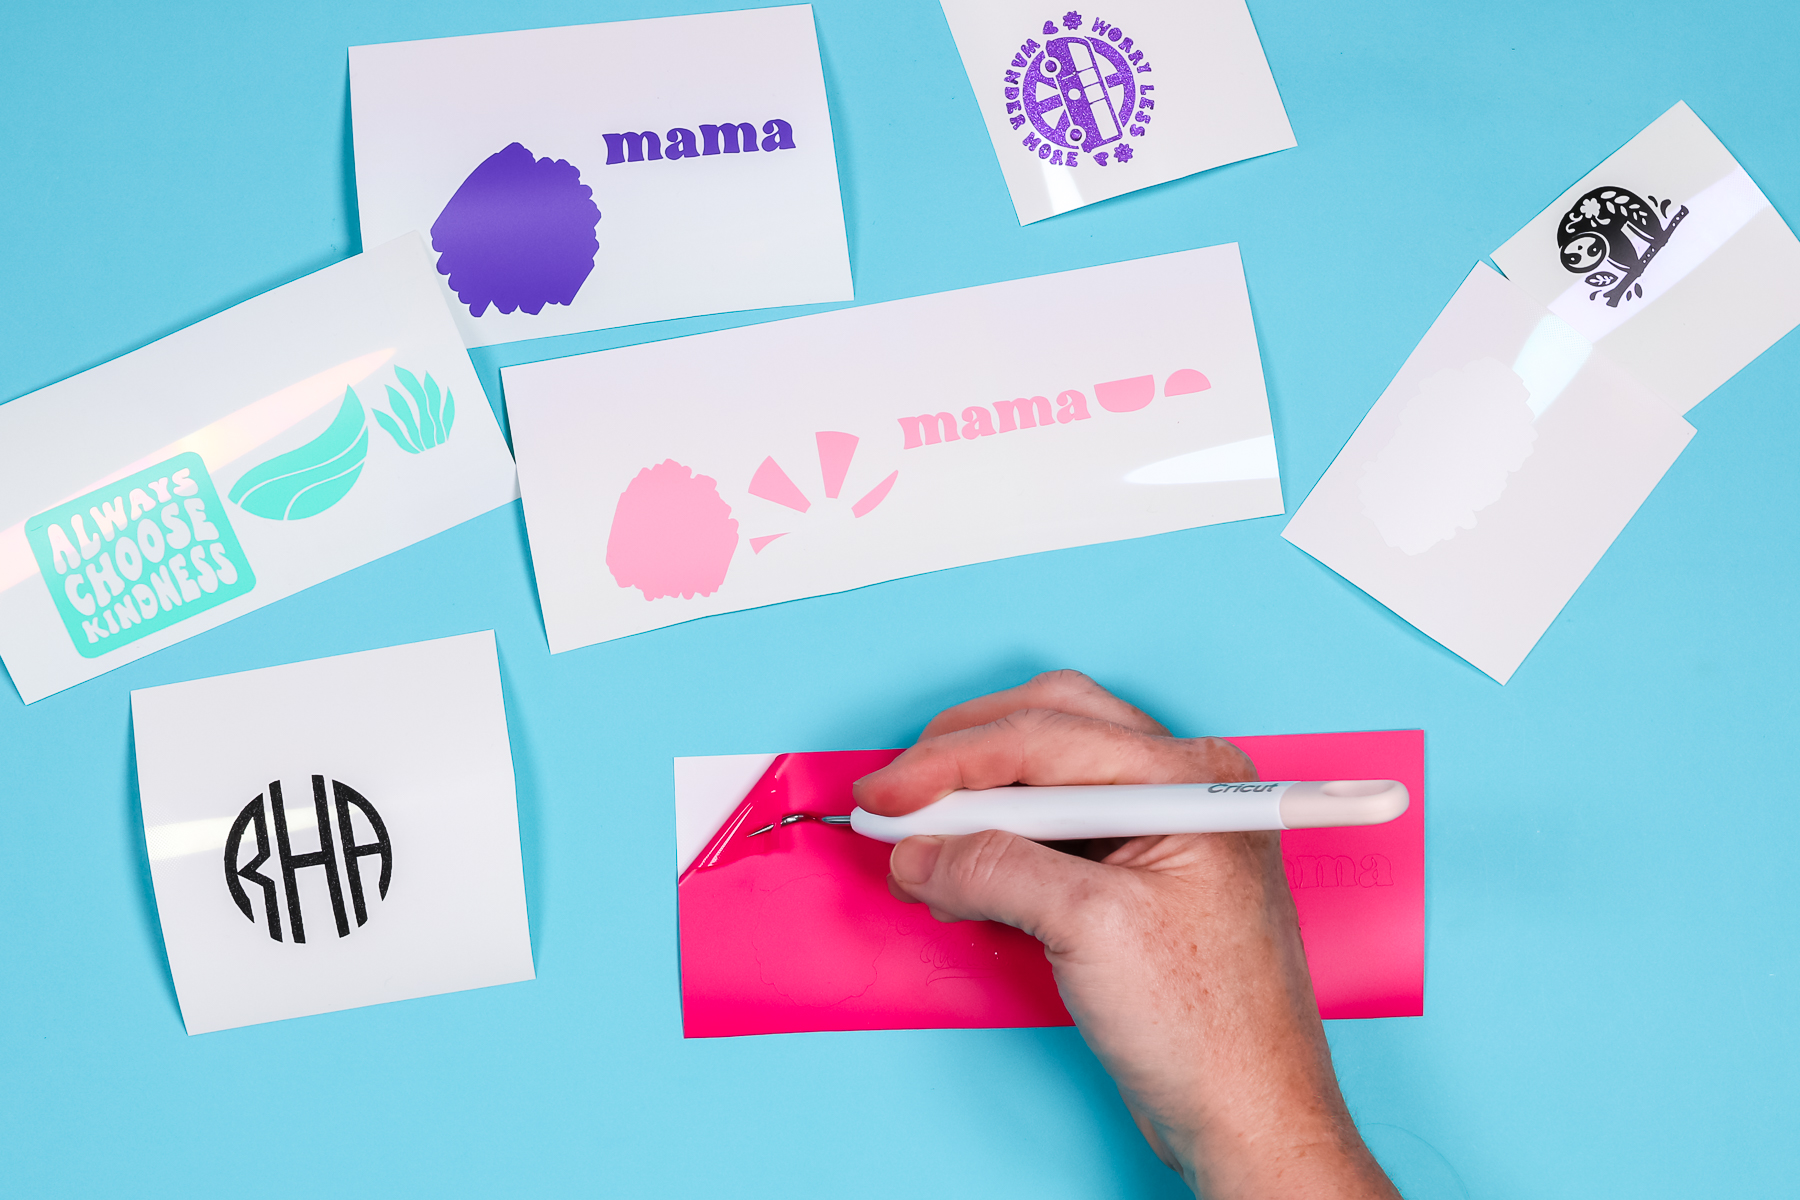
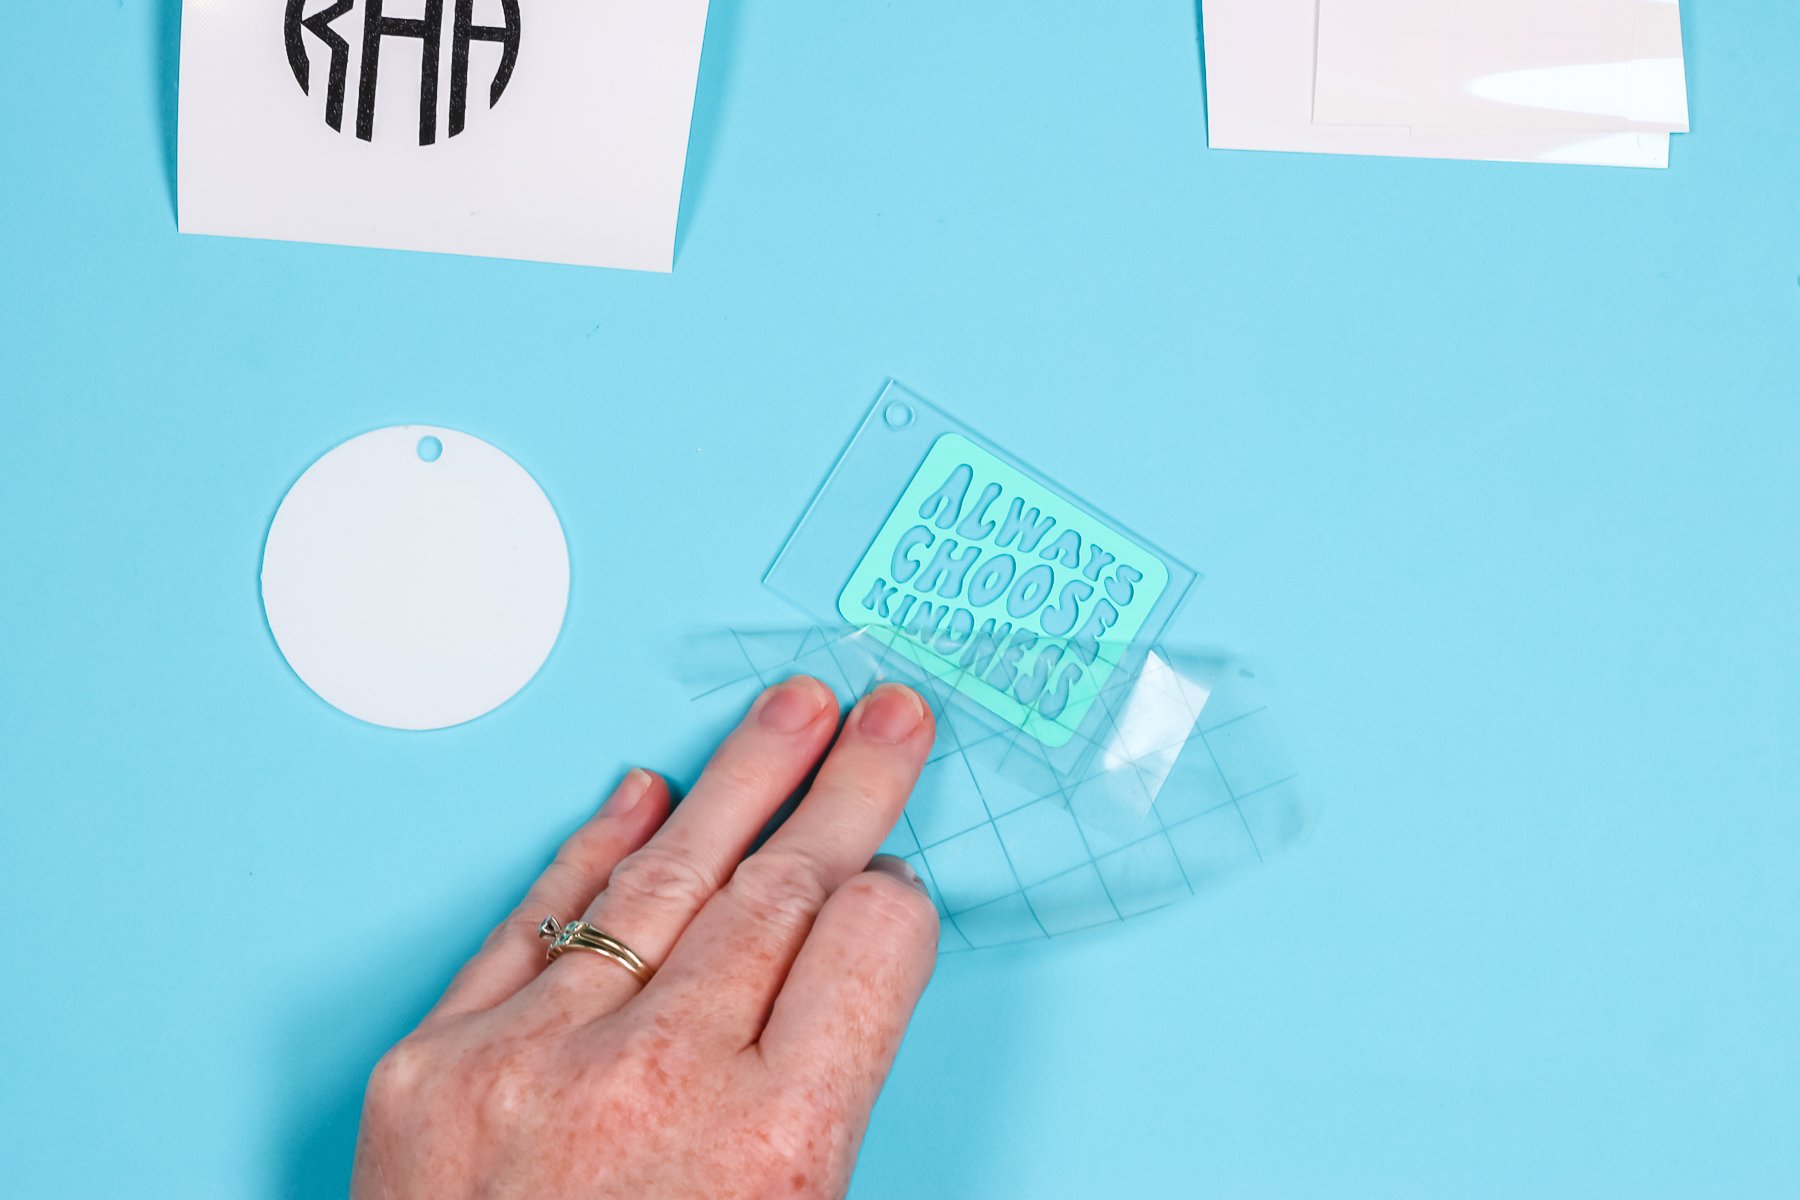
Once you have your images weeded, using the appropriate Transfer Tape (remember, glitter, shimmer, or foil vinyl all require a StrongGrip Transfer Tape) apply it to your blank.
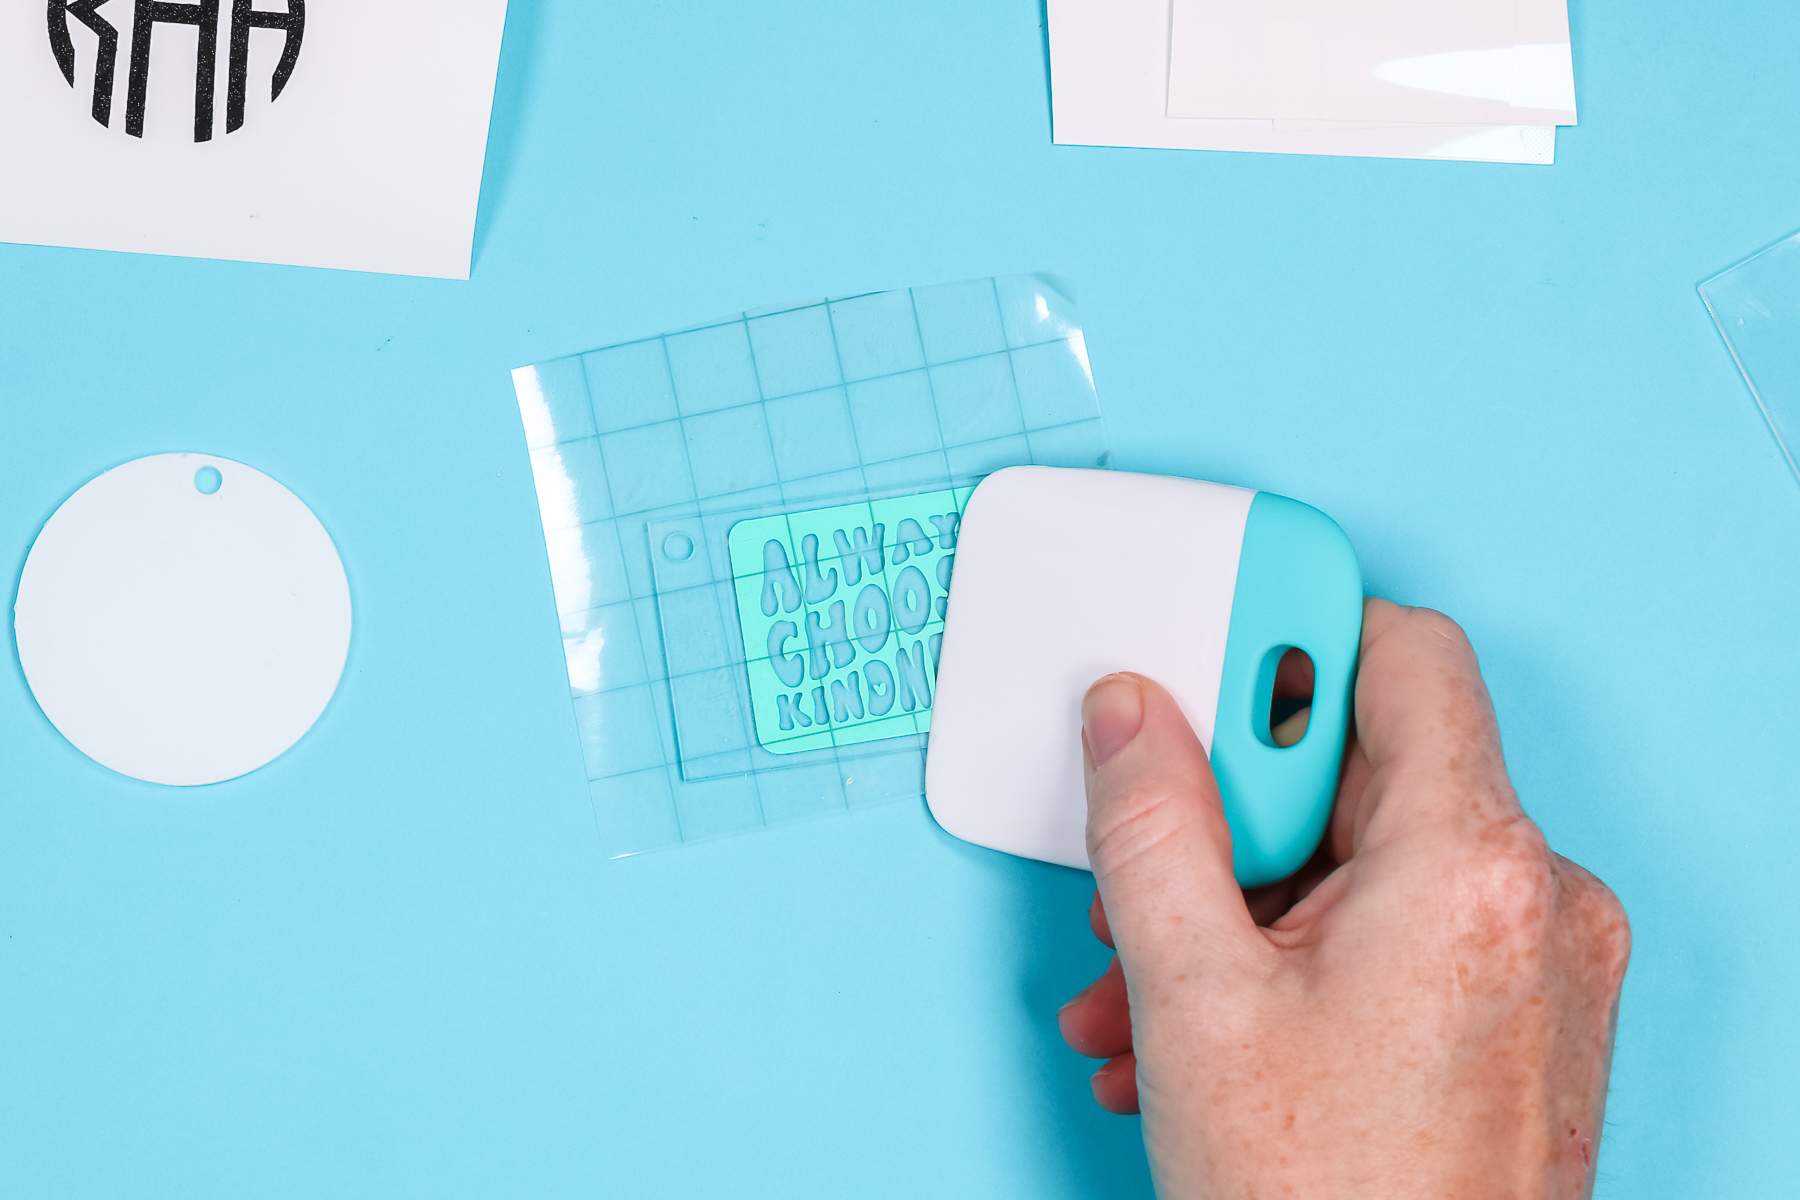
Use your scraper tool to make sure it’s stuck down really well and remove the Transfer Tape.
If you don’t plan on sealing the vinyl, make sure to let it sit for 72 hours before handling it so the adhesive has time to adhere to the acrylic.
Brush Stroke Keychain
There are two different ways to use the brush stroke images to customize acrylic keychains.
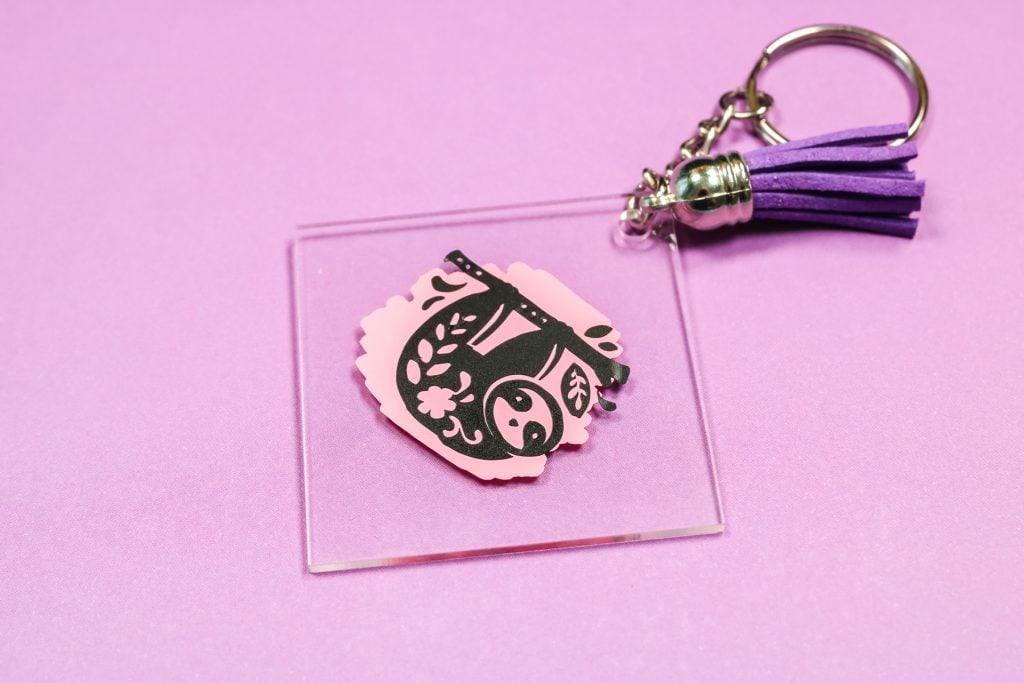
The first option is to apply the brush stroke to one side of the keychain and your design to the other side. This gives a cool 3D look and is my favorite.
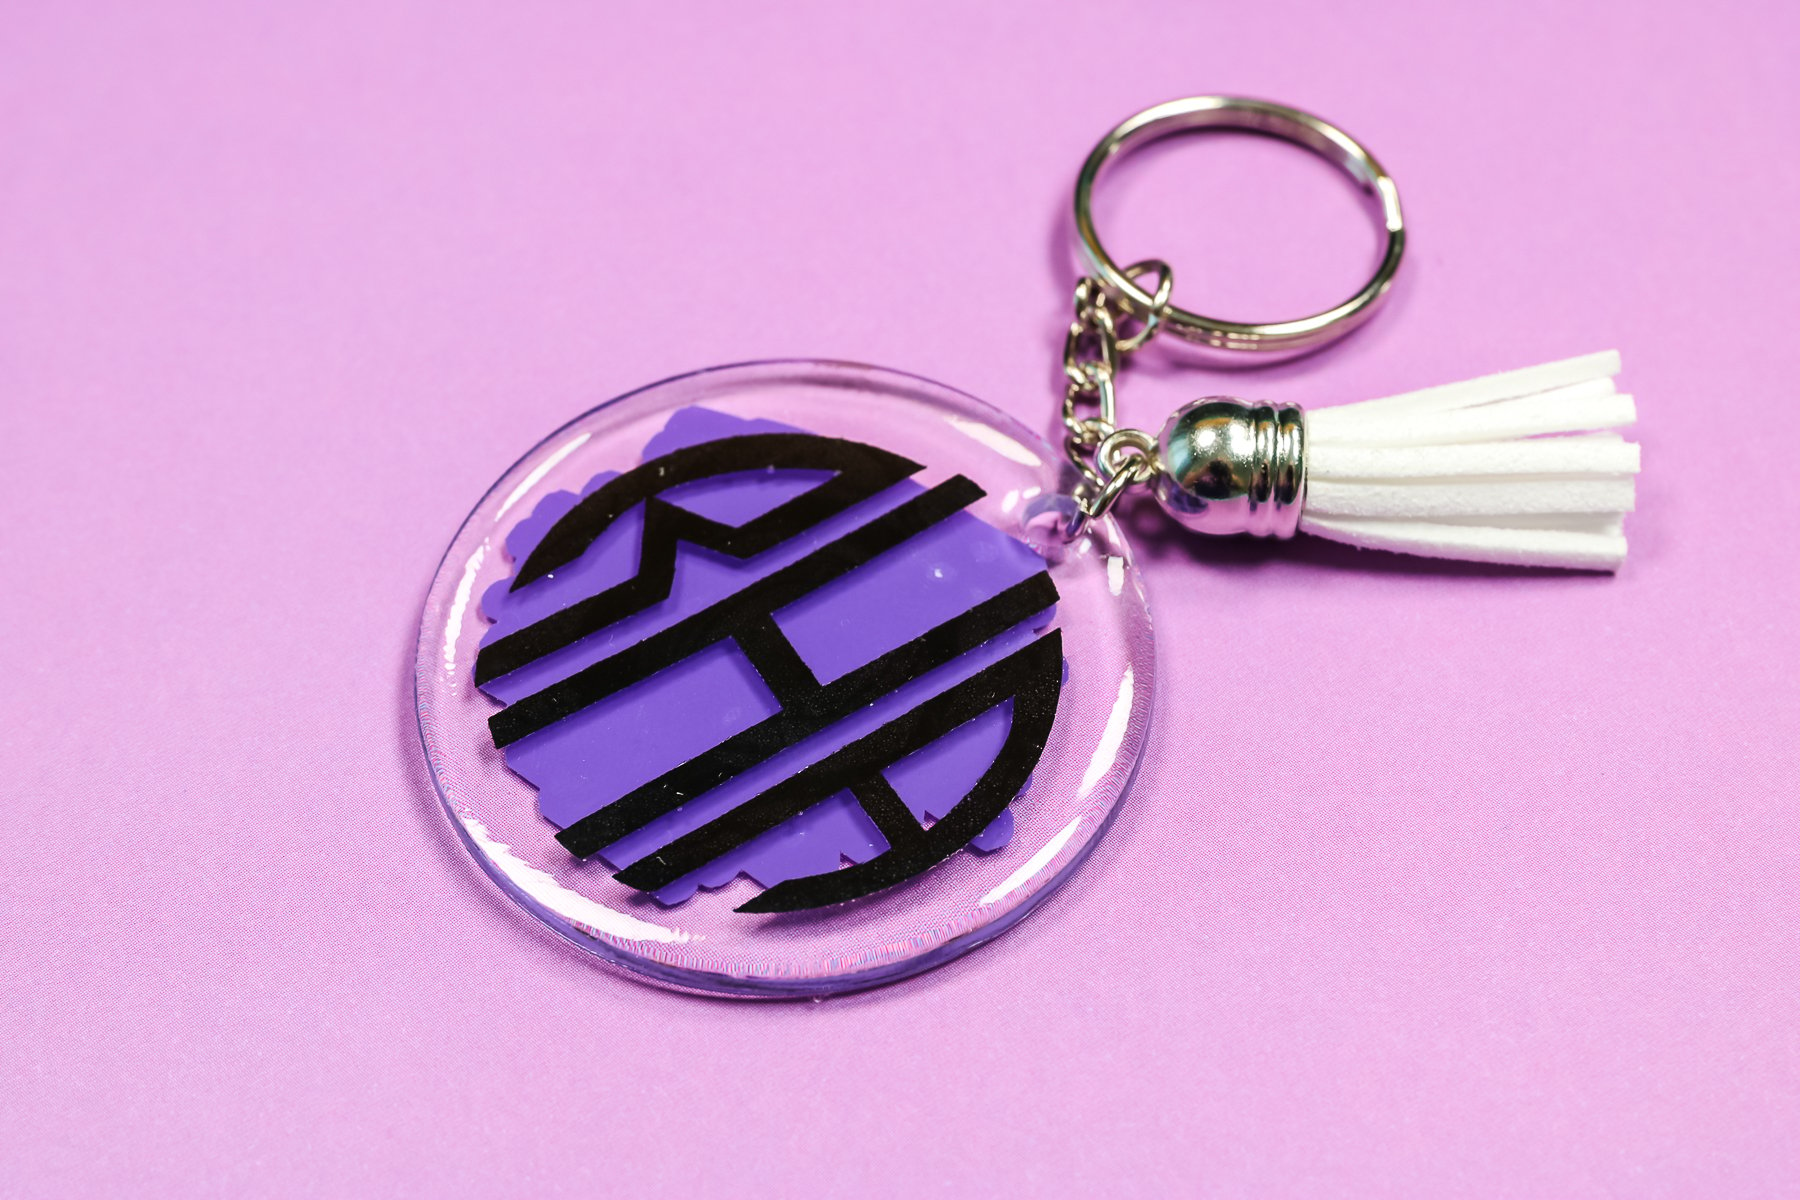
The other option is to lay the vinyl image right on top of the vinyl brush stroke. This is a great option if the back of your vinyl is a different color than the front. Make sure you check that, sometimes the back of the vinyl is white and not the color of the front of the vinyl.
Layered Vinyl Keychain
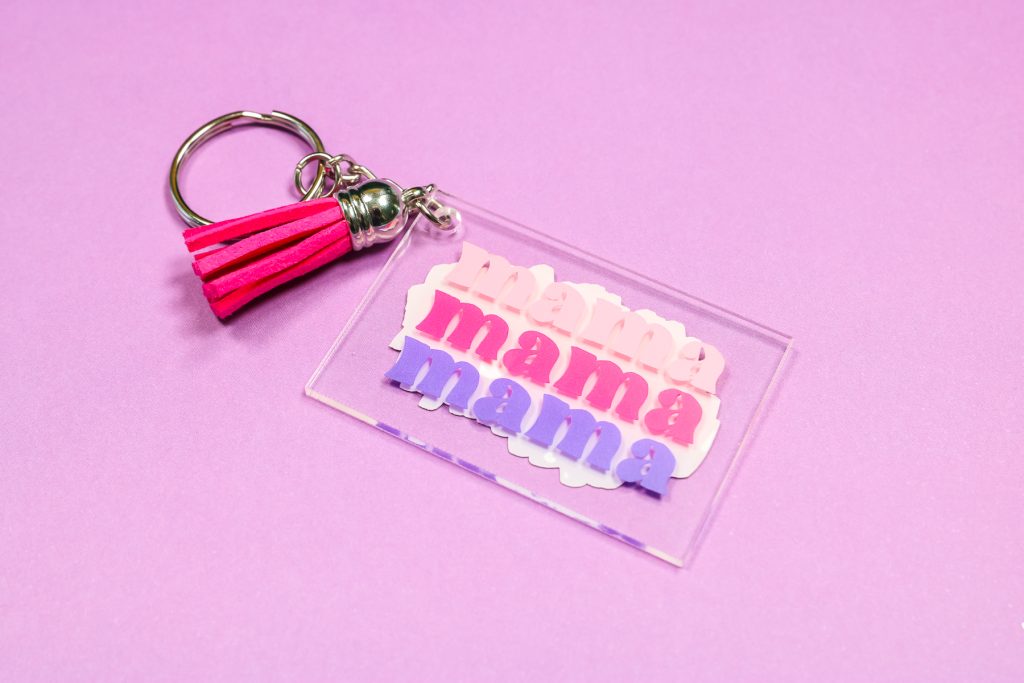
You can layer vinyl on a keychain just like you would with any other layered vinyl project. For all my best, layered vinyl tips and tricks check out my post here. I really like how this keychain turned out. The different colors of vinyl look great with the brush stroke behind them.
How to Seal Cricut Keychains
I really like to use UV Resin to seal my Cricut keychains. There are no lines from using a paintbrush (like with decoupage) which helps give your keychain a professional-looking finish. And it is a really quick process which is an added bonus.
Using UV Resin
The UV resin I’m using is awesome. It doesn’t require any mixing and is all in one bottle. Make sure you put something under the keychain to prevent resin from getting on your table.
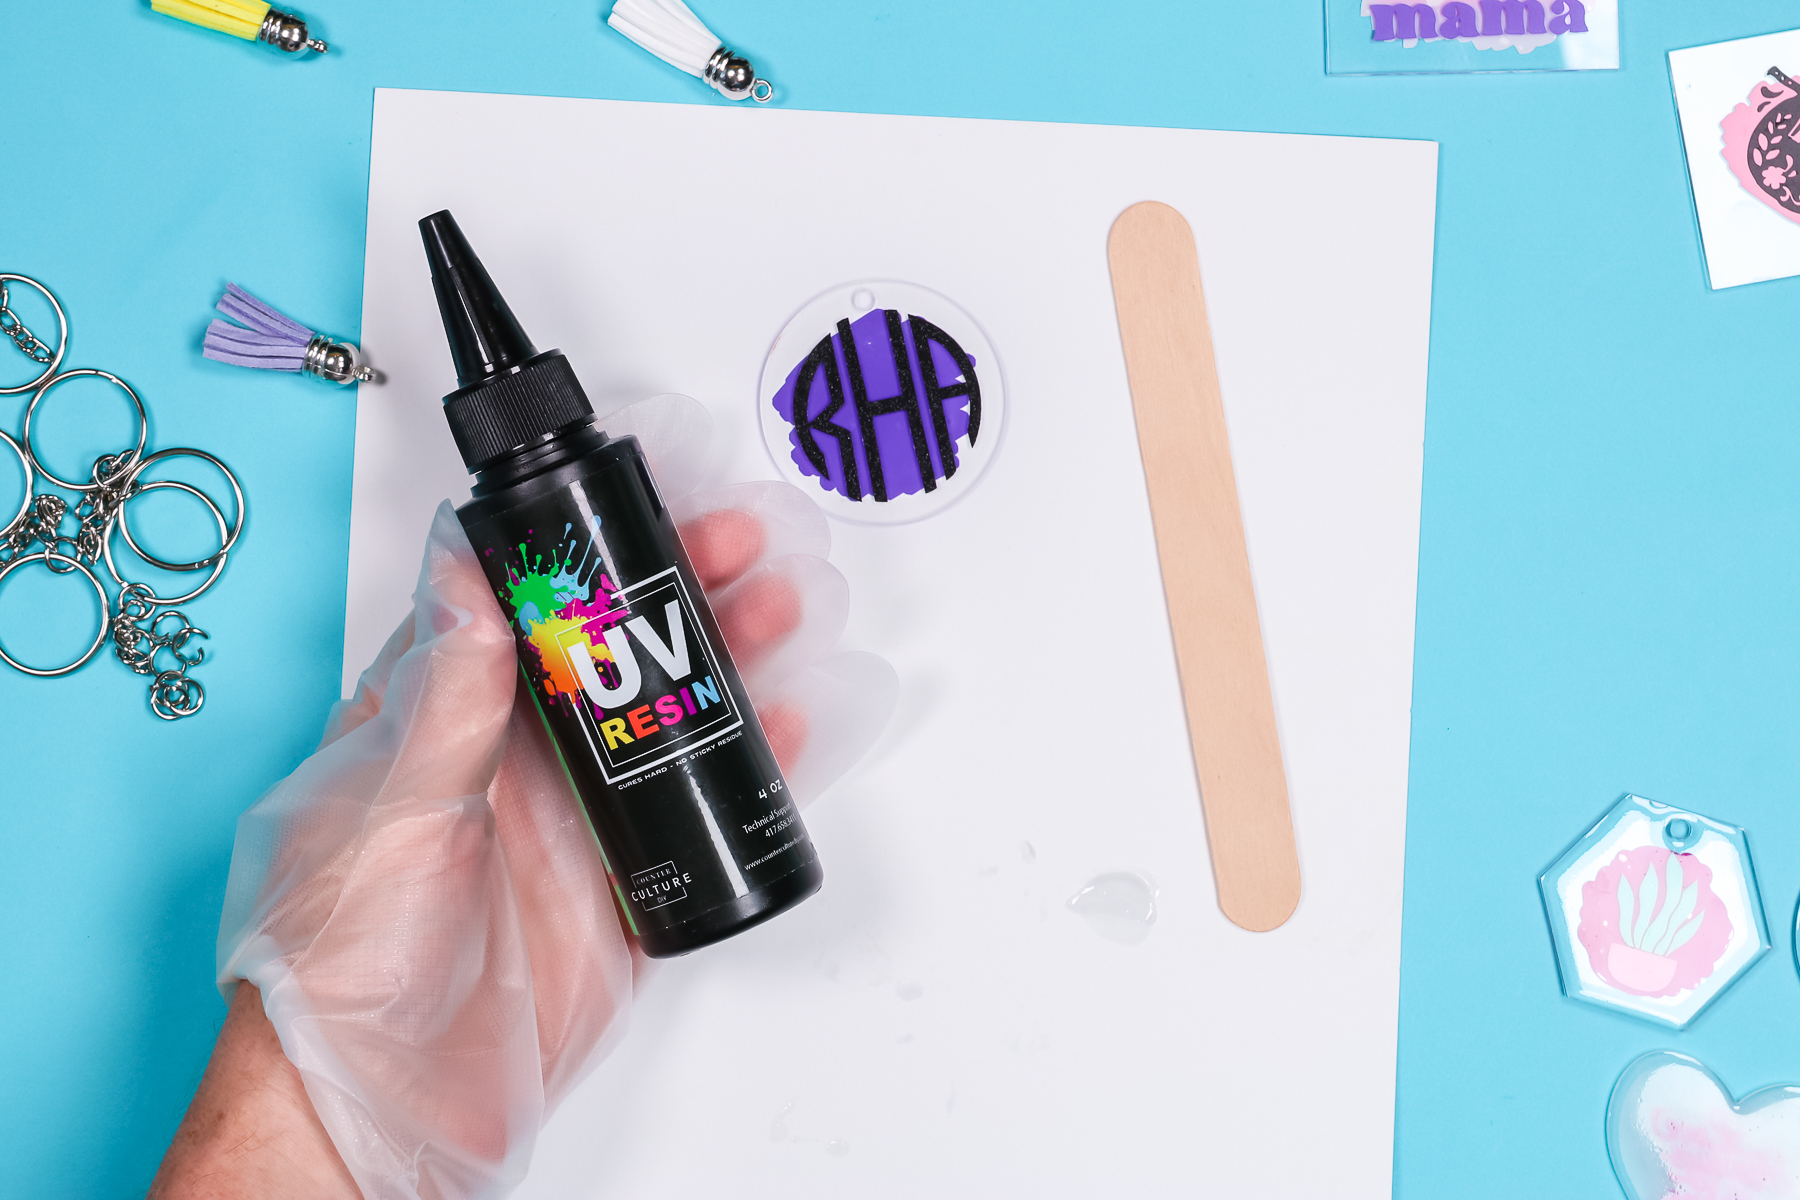
I wear a glove on the hand that may come in contact with the resin. I put a glob in the center of the keychain and using a popsicle stick move it around.
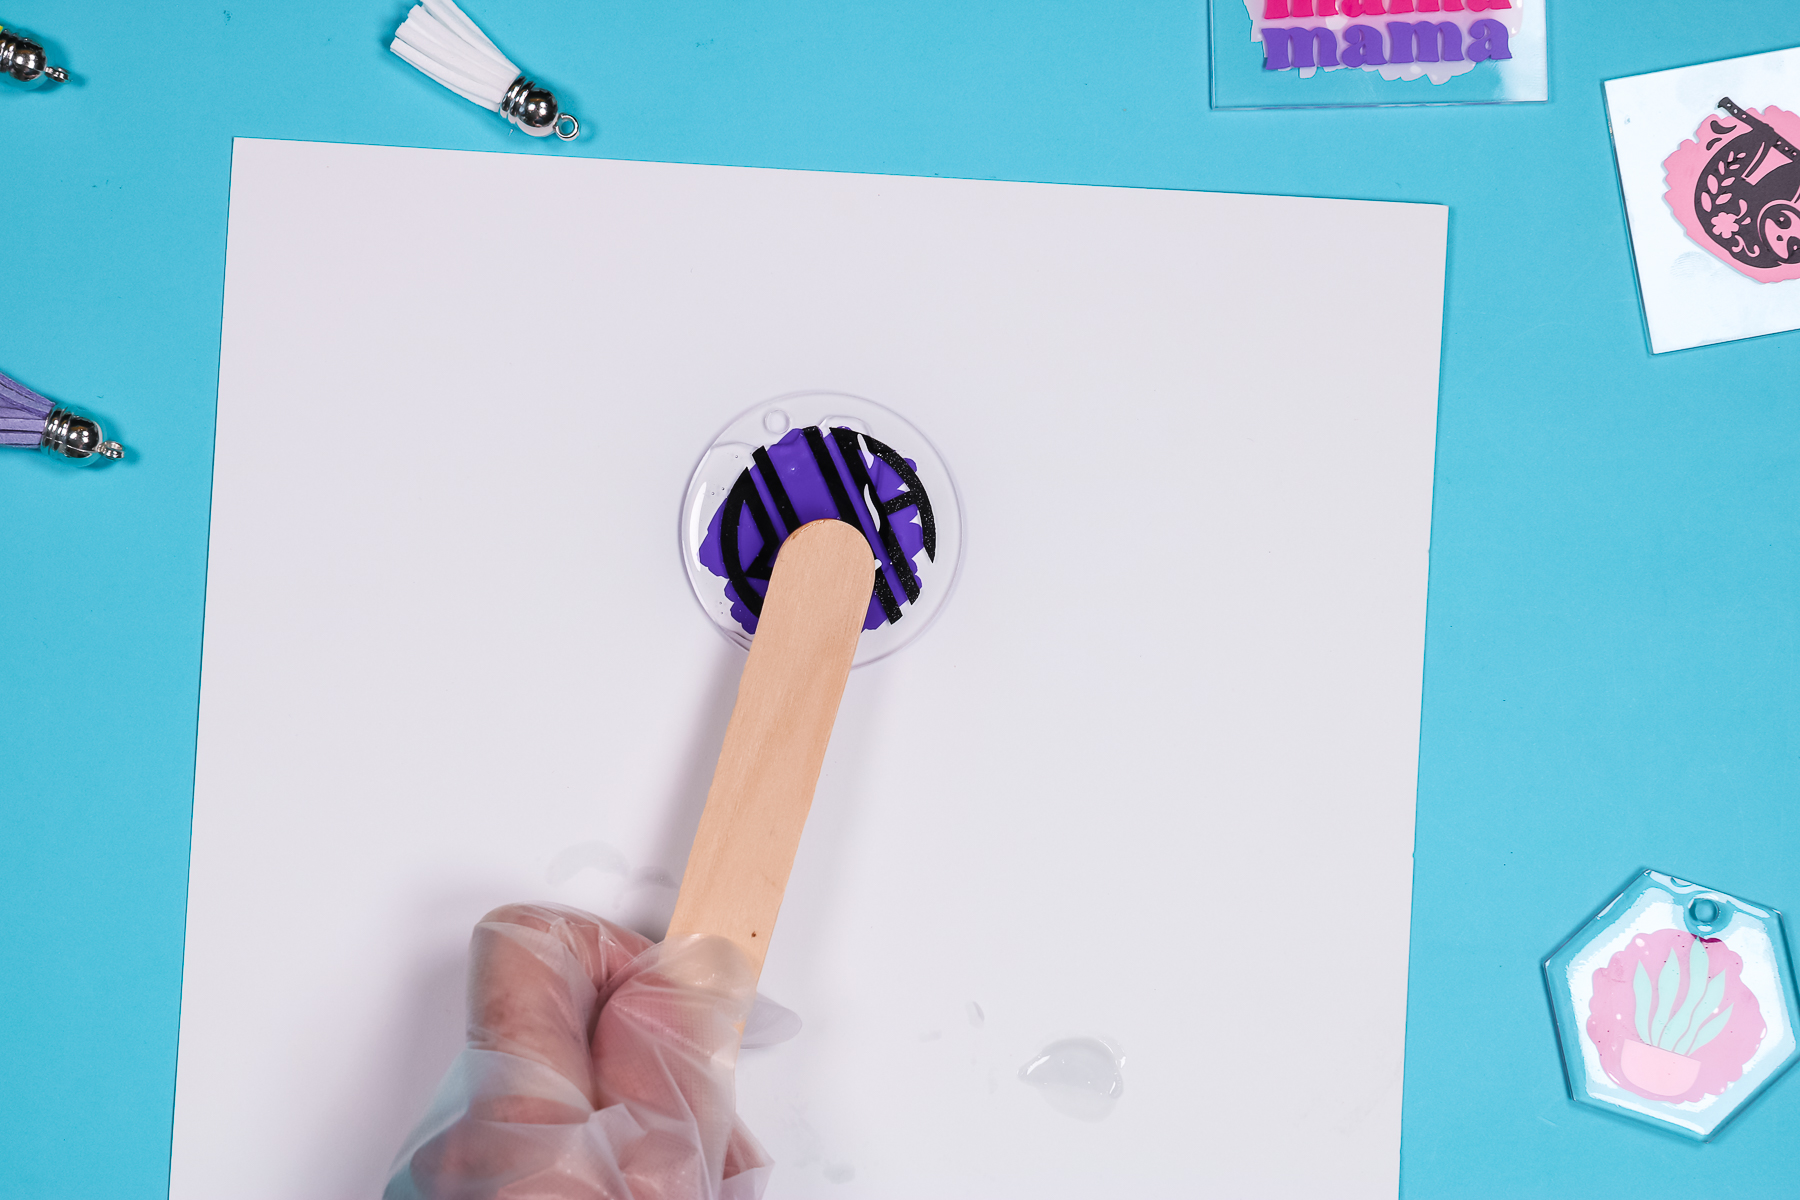
Resin domes up a little so, using the popsicle stick I push it to the edge of the acrylic making sure to cover the entire surface of the keychain. Once the whole surface is covered, you want to pop all the bubbles. I use my heat gun and holding it over the surface for a short time pops all the bubbles.
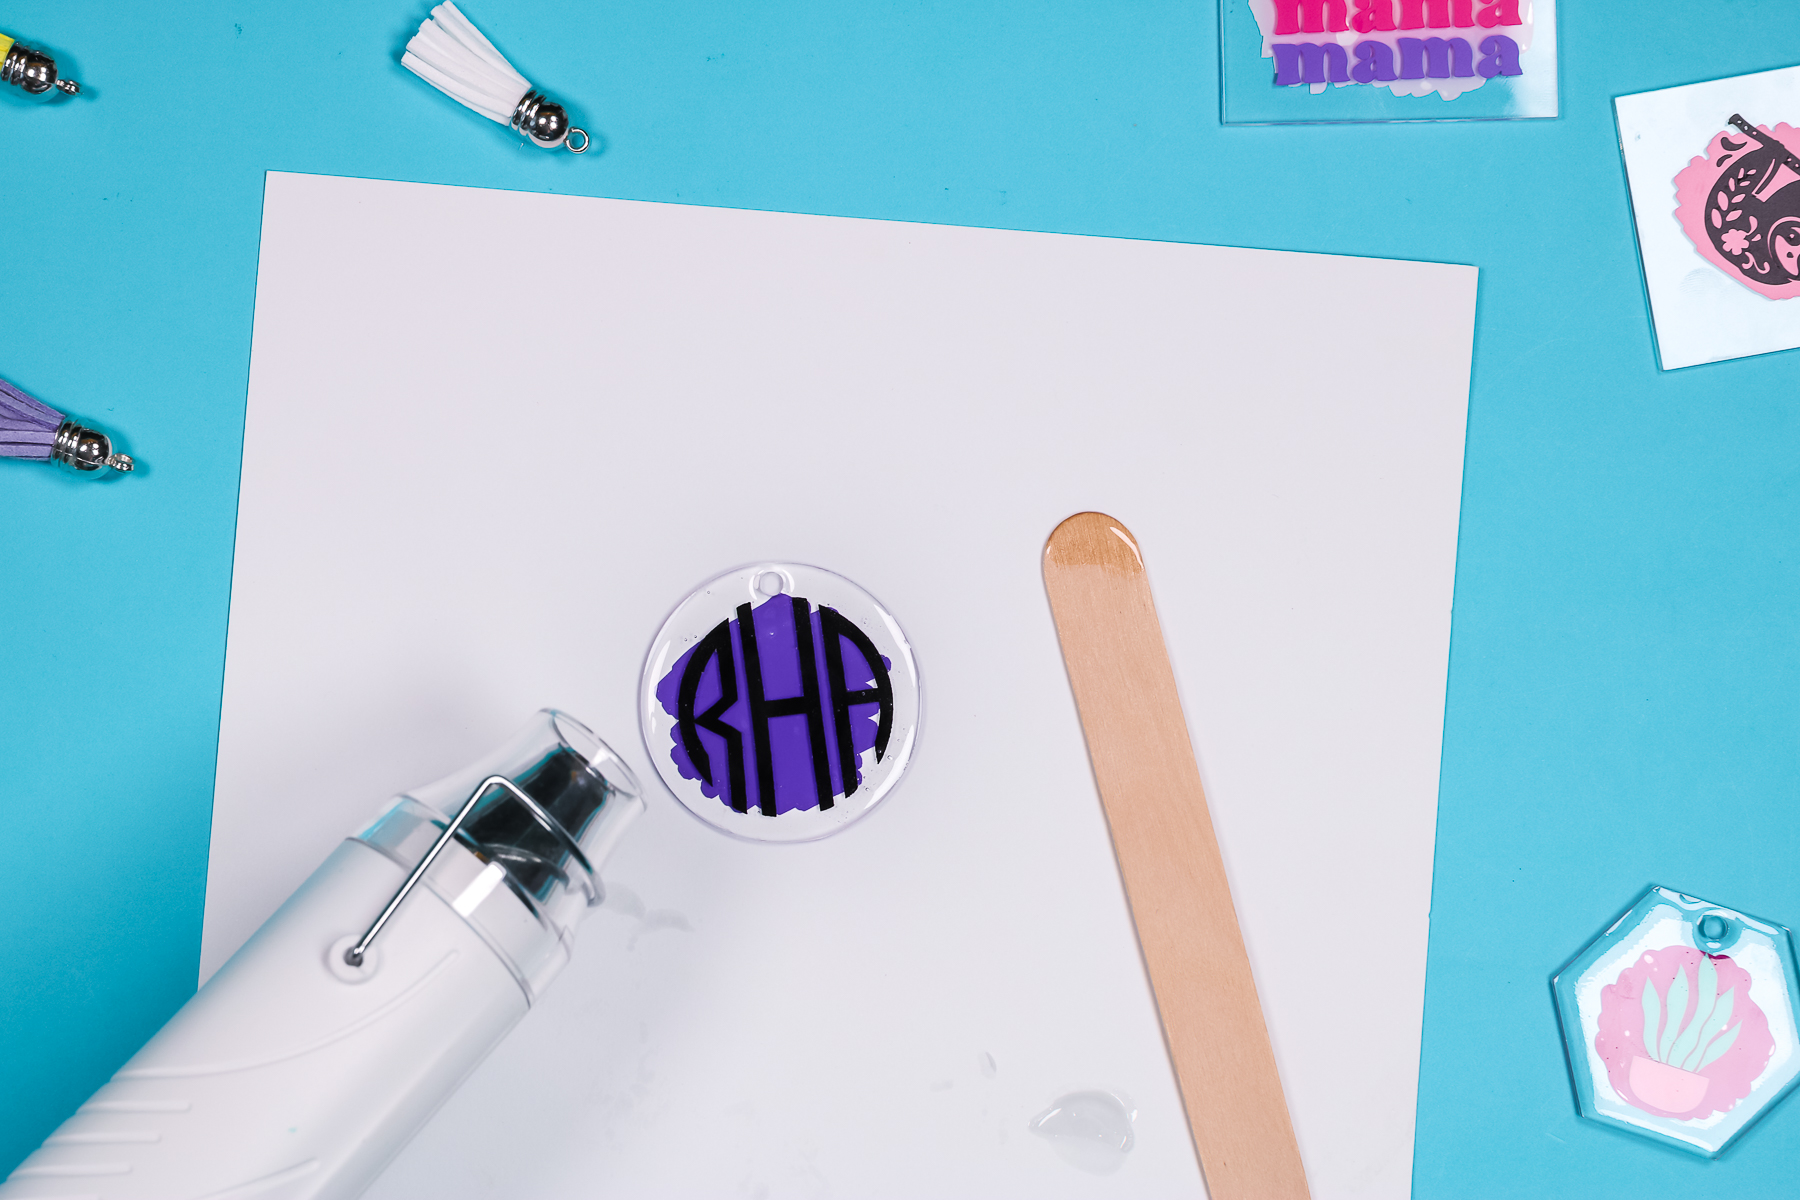
Curing UV Resin
Next, using your UV light, cure the resin. This resin calls for 2 minutes under UV light to cure it completely. I keep my popsicle stick with the resin still on the end next to the keychain. This way, when the 2 minutes are up I can check the resin on the end of the popsicle stick to make sure it’s done before touching the resin on the keychain.
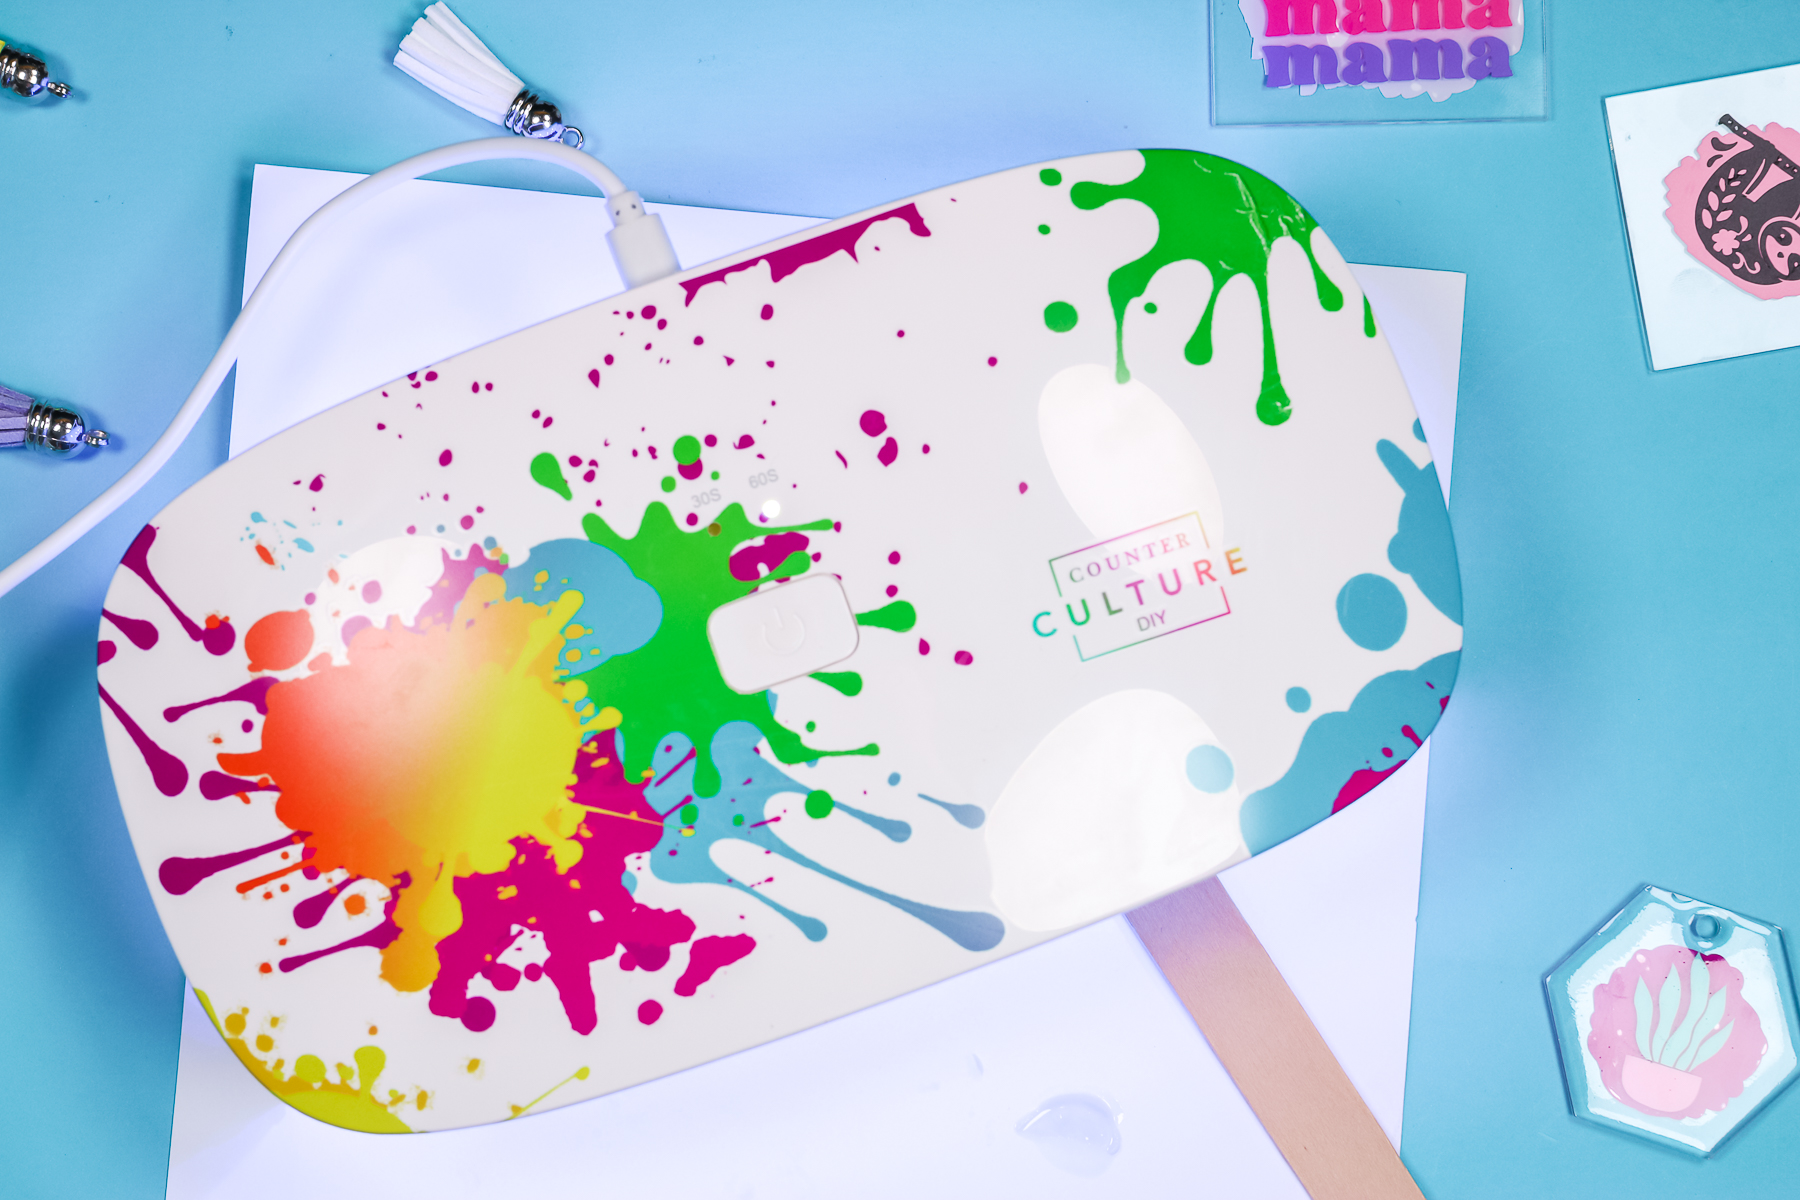
Once the time is up, check the resin on the popsicle stick. If it’s hard, you can check the keychain and make sure it is too. It’s possible it won’t be, if it isn’t, put it back under the light for another minute.
NOTE: If you have vinyl on the front and back of your keychain you’ll want to repeat this process on the back side to protect the vinyl on both sides.
Completing the Keychains
To complete the Cricut keychains, I am using my jewelry-making tools. I like to have two pairs of small needle nose pliers to help open and close the jump rings.
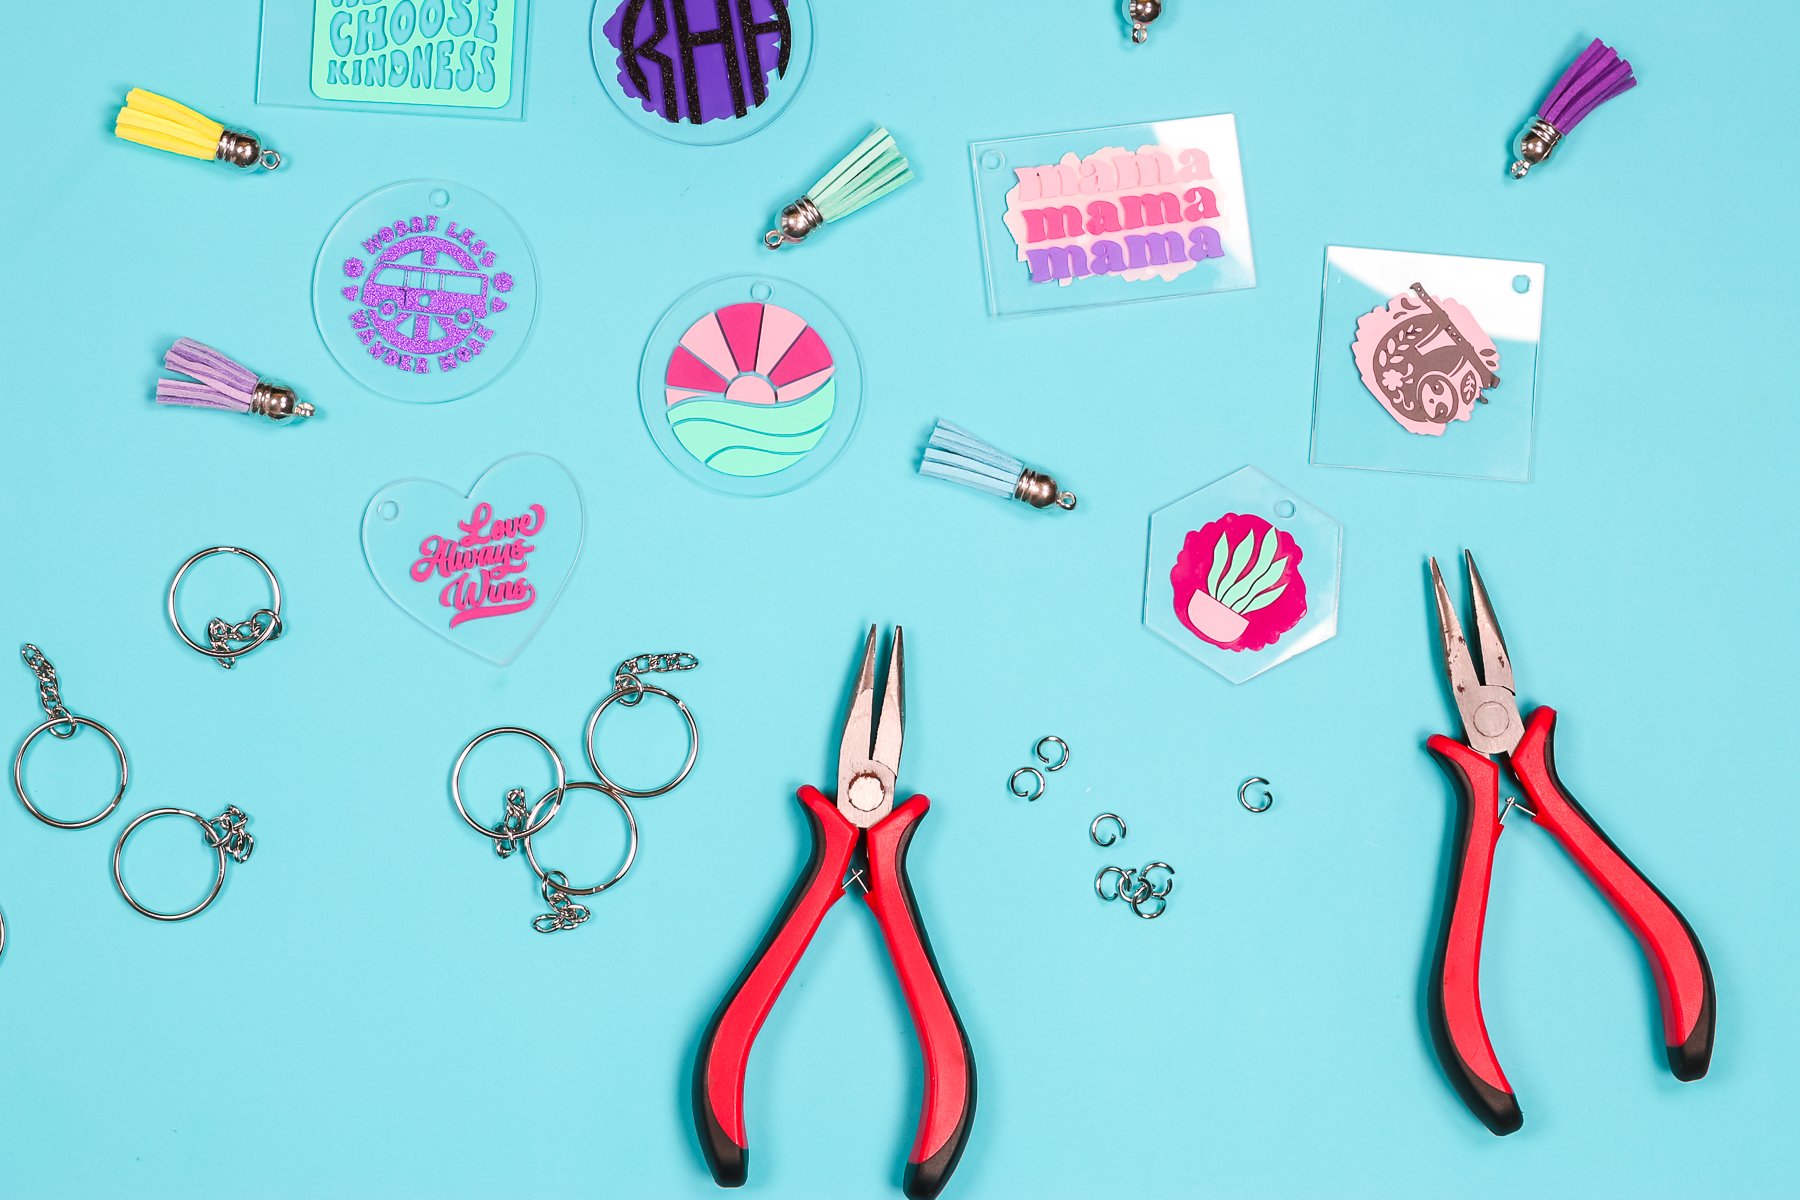
Slide the larger ring into the hole on your keychain. Then you will add the keychain attachment and if you want the cute little tassel to the same ring. Using your pliers close the large ring with the other pieces inside!
Final Thoughts on Cricut Keychains
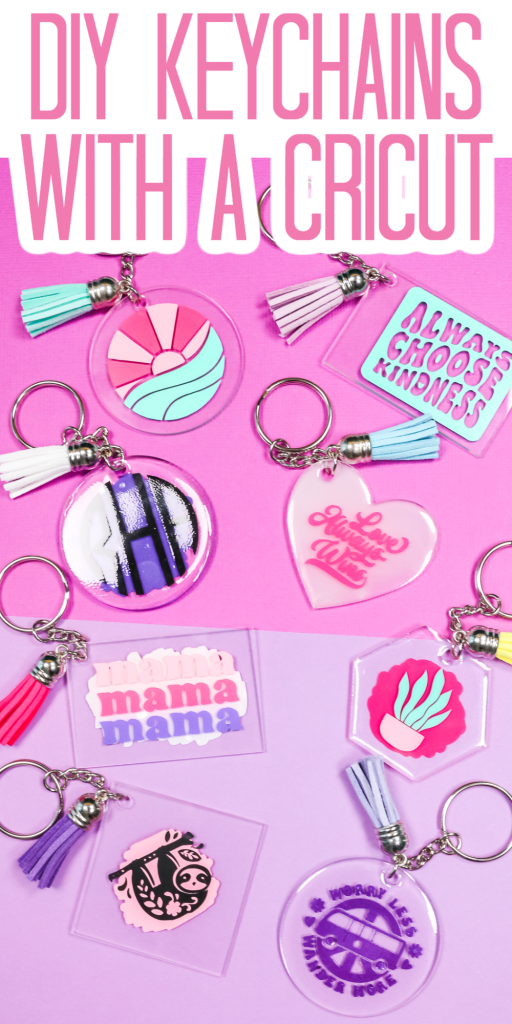
These are all the keychains I made today. I love how professional they look and feel with UV resin applied. I don’t have to worry about the vinyl lifting at all on all of these finished projects.
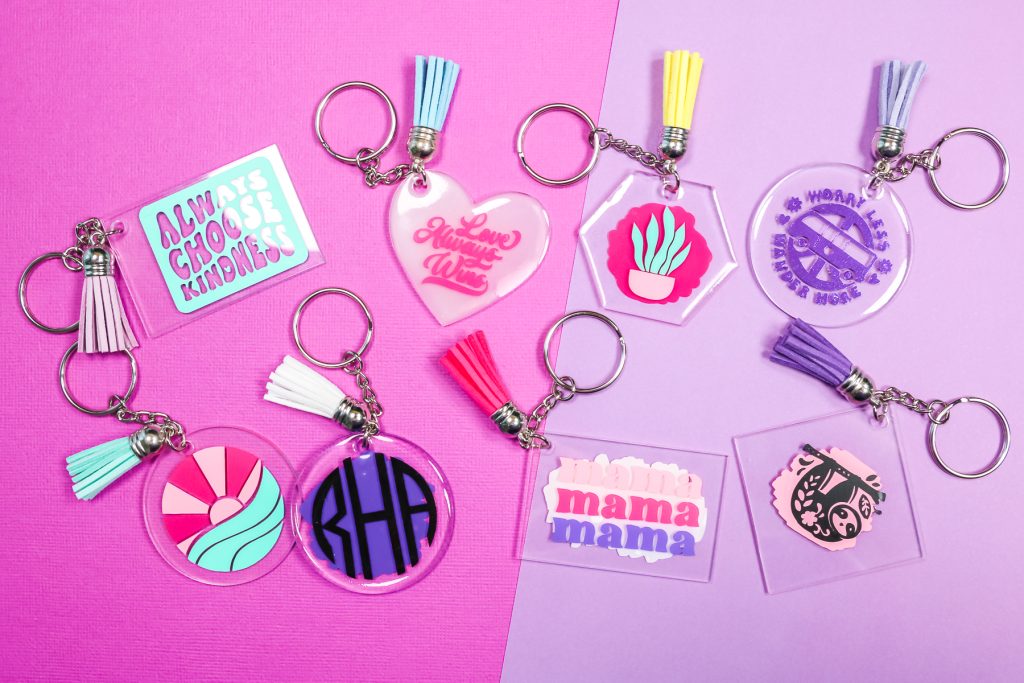
Did you know you can get resin with colors in it? With the keychain below, I added clear resin to the top to seal my vinyl and used white resin on the bottom. It gives it a different look than the vinyl or painted brush stroke look. I really like the way it turned out.
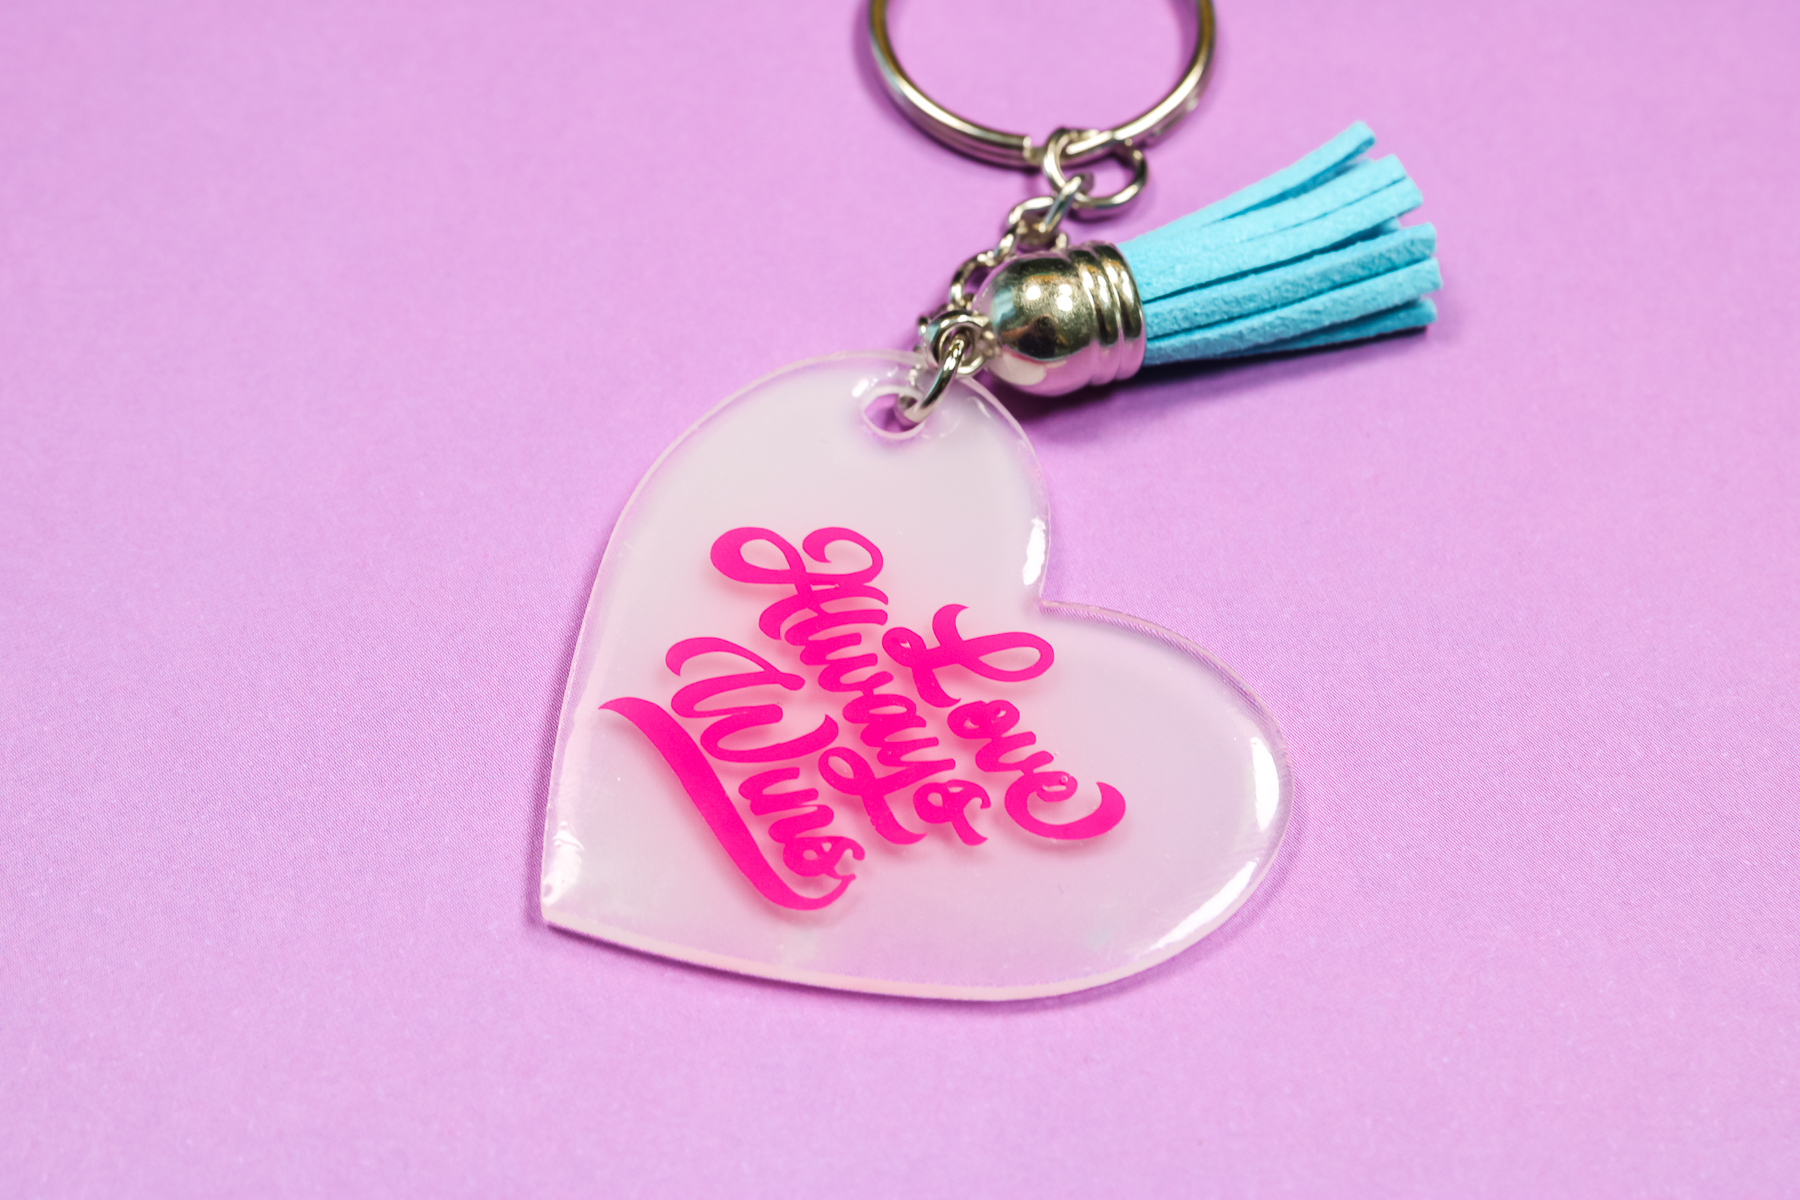
These are just a few options you have when using UV resin to seal your Cricut keychains. I really like them all and you can definitely try out the different styles to see which one you like best. I hope you found this helpful. If you have any questions, please leave them in the comments so I can answer them for you.
Love these Cricut crafts and want more ideas? Try the links below as well!



I want to try the resin on my ornaments but how do you make the hole with the resin?
The hole was in these keychains when I bought them. If you purchase ornaments they will likely already have the hole too.
Where do you buy the key chains?
There is a link in the post for the keychain bundle I purchased.