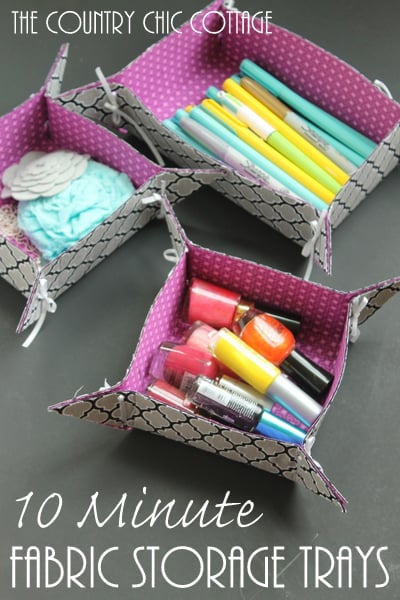
I am continuing with Crafty Hangouts today by making some fabric storage trays. These are perfect to make and organize anything in your home. Our videos are sponsored by Phoomph this week. What is Phoomphyou might be thinking? Find out more below and learn how it makes these fabric storage trays so darn simple to make. Phoomph is a product I personally love and would use even if they were not sponsoring our video series. Y’all be sure to check them out!

Watch the video below to learn how to make these fabric storage trays plus my friend Carolina with 30 Minute Crafts is also making some fun Phoomph “paper” dolls. You can also learn more about Phoomph and exactly what it is.
If you have trouble with the video above, here is a brief explanation of how to make the fabric storage trays:
- You can make any size box you wish. Start with stiff Phoomph in your choice of colors (I used black).
- For the square trays, start with a square piece of Phoomph for the rectangular version a rectangular piece.
- In the video, I start with roughly a 9 inch square piece of Phoomph.
- Apply fabric to both sides of the Phoomph by pulling back the paper and smoothing the fabric into place.
- Make a square template for the inside of your box from the packaging that the Phoomph comes in. I cut a 4 1/4 inch square from the package. Again the inside template should be the same shape as the outside.
- Place the template roughly in the center of your square (use a ruler to check). Then mark each corner with a sharpie.
- Cut from the outer corner to the sharpie dot on each of the four sides.
- Use a ruler to help you fold your box. Place the ruler from sharpie dot to sharpie dot and fold each side in.
- Then use those side folds to mark where your corners should fold. Fold in two sides then fold the other two sides on top of the first. This will give you those corners. Repeat for the opposite two sides.
- Fold up one corner together and use a crop-a-dile to punch two holes (one close to the top and one close to the bottom). If you don’t have a crop-a-dile, try using a craft knife and making slits instead.
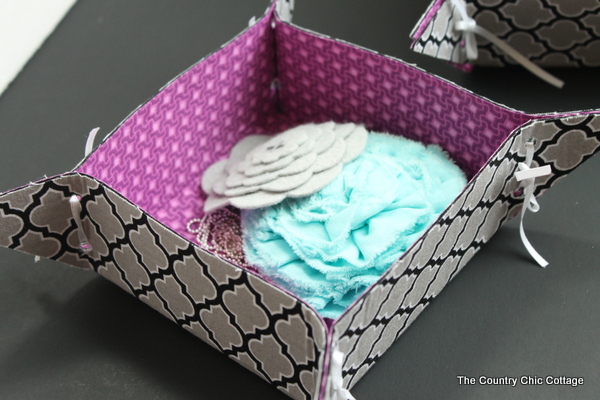
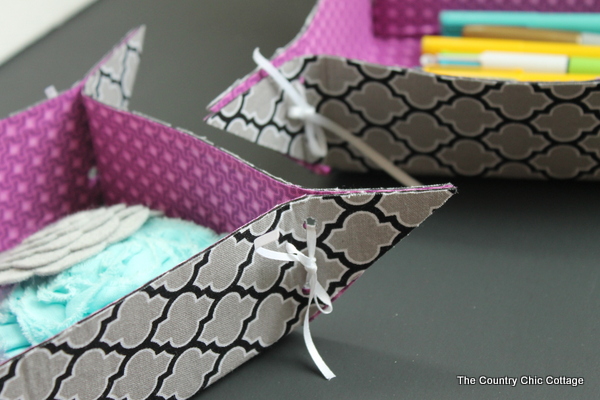
- After you have two holes punched on each corner, use ribbon placed through the holes to tie off your box.
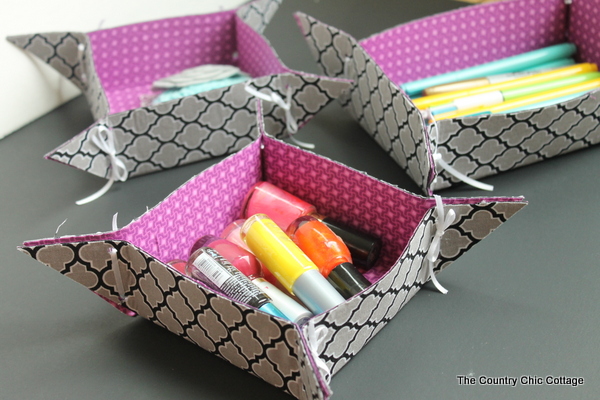
Your box is ready for some storage! Use this in a kids room for their supplies or even in an adult’s room. Make a few of these to organize a drawer or display them on top of a night stand. They would be perfect for some craft room organization!
Either way, my fabric storage trays are a simple craft that older kids will love to make. Let them pick the fabrics and sizes for some personalized storage that is all their own.
You can see even more Phoomph videos all week this week by heading over to Crafty Hangouts. I hope y’all enjoy!
This post is sponsored however all opinions and projects are my own.


