Have an old lamp that needs a little sprucing? Consider creating a unique lamp shade pattern using your Cricut! Creating a fun pattern in your complimentary color can really give your old lamp a new life!
I have been dreaming about adding a pretty pattern to the inside of this lamp shade for some time now. Every time I look at this lamp in my living room, I just think- ehh. BUT, using the Cricut, this DIY lamp shade pattern can be a simple project.
It does take a bit of time as you will have to weed quite a bit of vinyl as well as go really slow during the application. Otherwise, you will love how this lamp turns out and what it looks like when you are done!
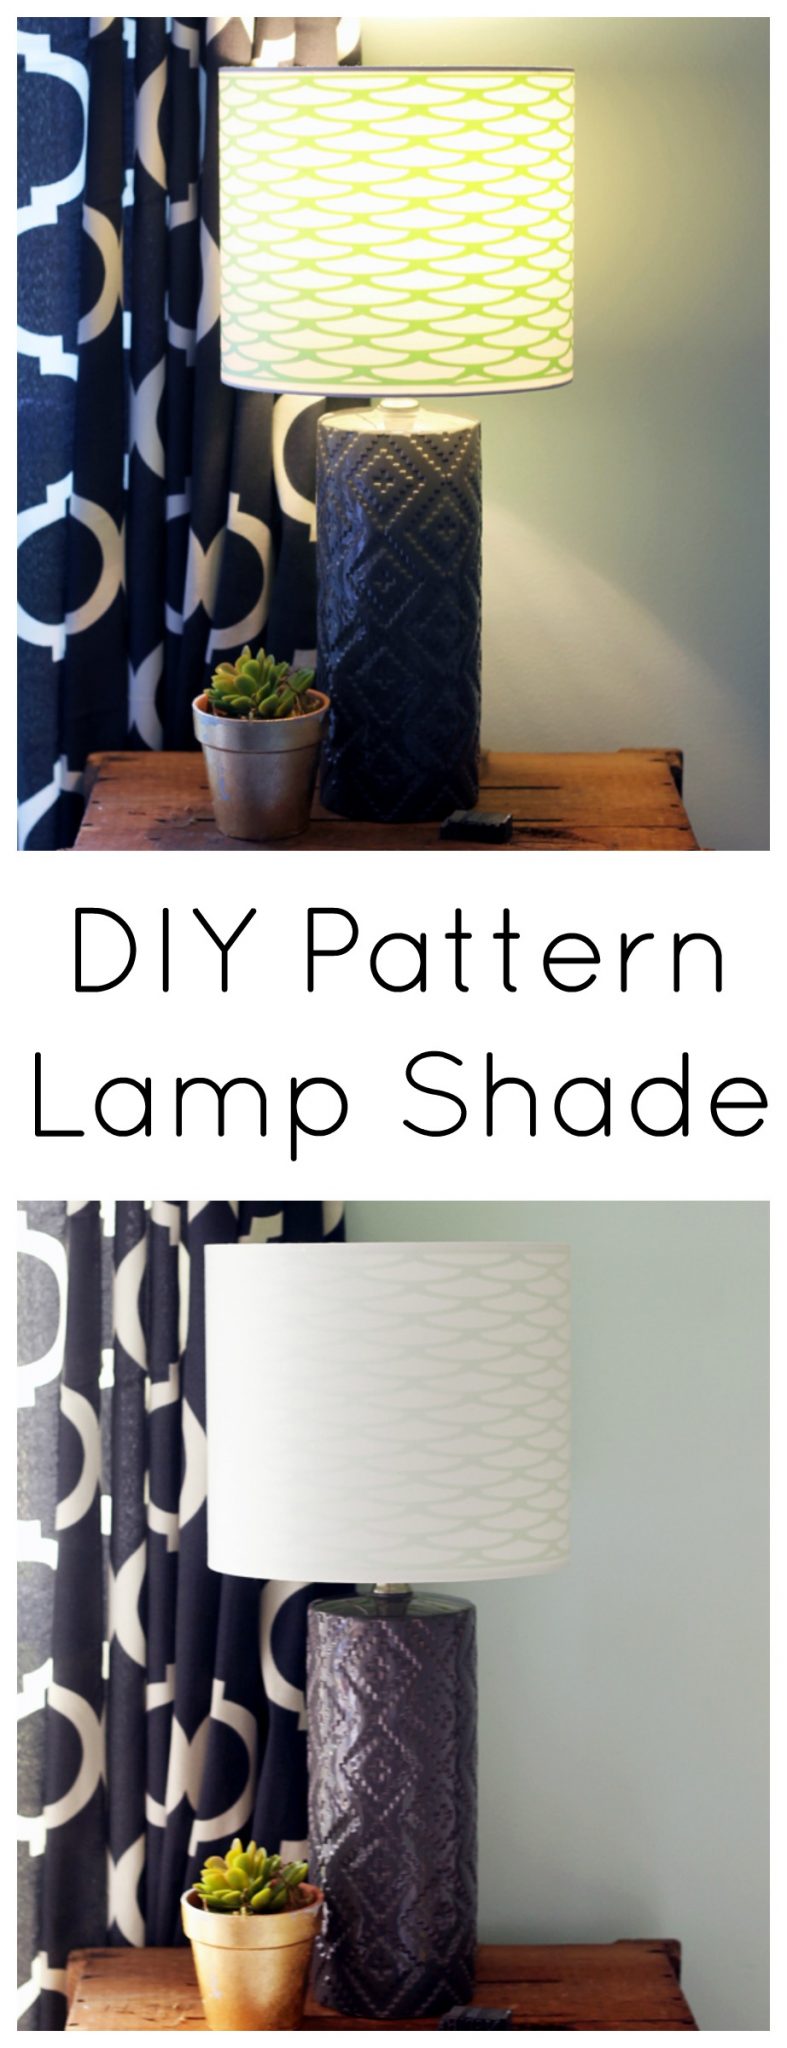
How To Add A Lamp Shade Pattern
Creating your own lamp shape pattern design is super easy! I personally like to look through Cricut Design Space and pick a few designs as inspiration.
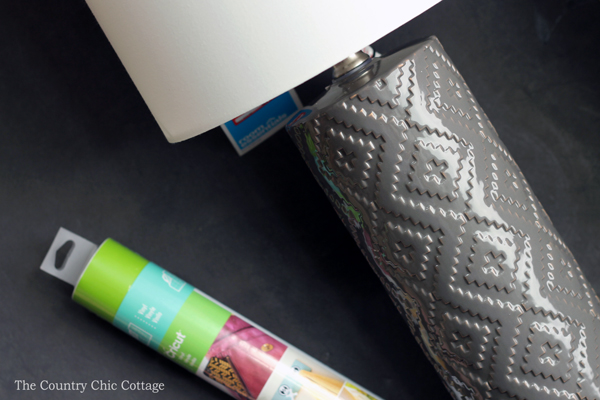
Here’s everything else you will need…
Supplies Needed
- Cricut Explore
- Cricut Vinyl
- Cricut 12 x 24 mat
- Weeding tool
- Lamp and shade
- Scallop pattern (from Cricut Design Space – Scale Pattern Overlay #M475F6)
Instructions:
Here’s how to add a DIY lamp shade pattern to the inside of your lamp…
Step 1
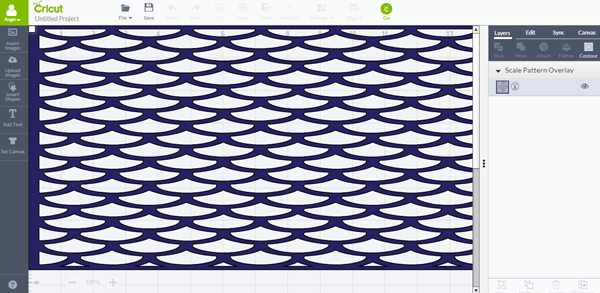
Start with your Cricut Design Space and add in the pattern of your choice.
I used a scallop design (Scale Pattern Overlay #M475F6), but you can choose any of the wide variety that is available.
Step 2
Measure your lamp shade. You will need to know how tall it is between the “binding” that is on the edges.
Also, measure the diameter and multiply it by 3.14. This will give you the length that your piece will need to be.
Stretch your pattern to the correct size in Cricut Design Space.
Tip: A drum shade works best for this project.
Step 3
I noted in the supply list that you will need a 12 x 24 mat. Most likely, this will not even get your entire piece on one sheet. I had a few inches that needed to be cut as a second piece.
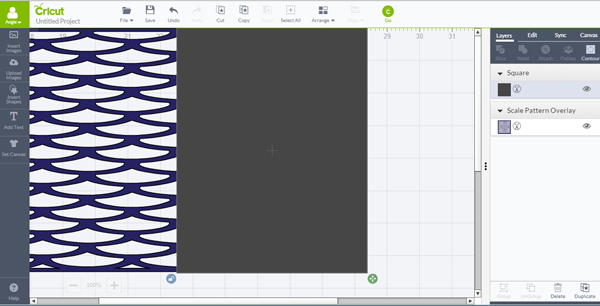
Pick an area where it will be good to split the vinyl (an area where it will be easy to line it back up and get everything straight). Draw a box from that area to the end of your pattern.
Step 4
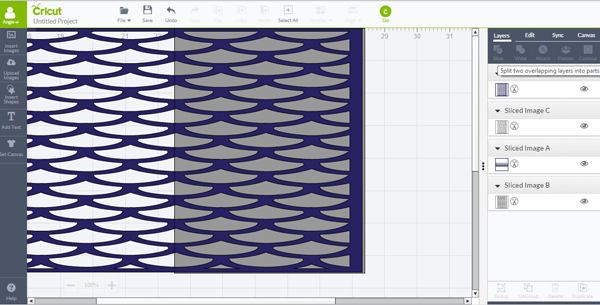
Click “Select All” at the top and then click “Slice Under Layers” in the right-hand toolbar. This will slice your image into several pieces.
Step 5
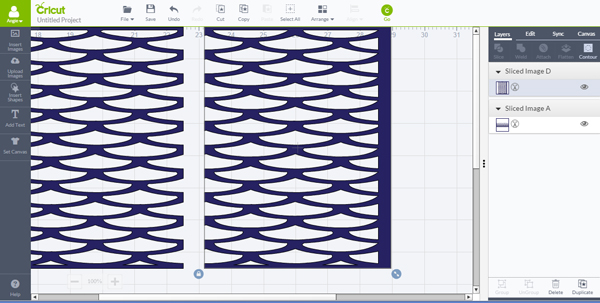
Delete the pieces you do not need until you are left with a split version of your original image, as shown below.
Step 6
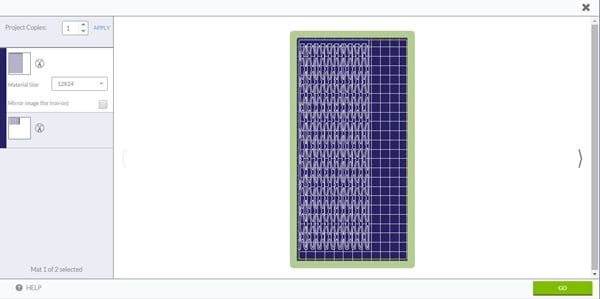
Now, when you click “GO”, you will see that the two will be on two separate mats.
Perfect! Just what we needed!
Step 7
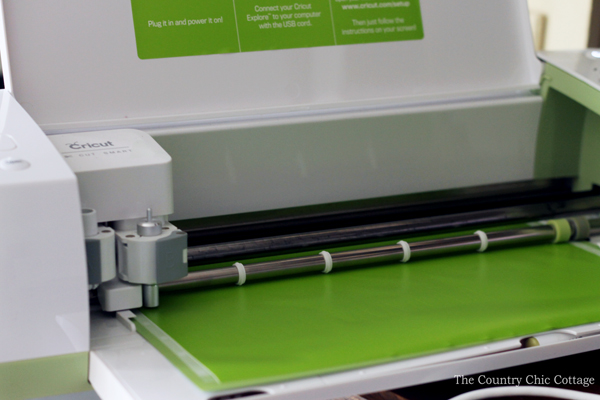
Cut both pieces of your pattern with your Cricut.
Step 8
Weed away all of the excess vinyl. A weeding tool sure does make large projects like this go faster!
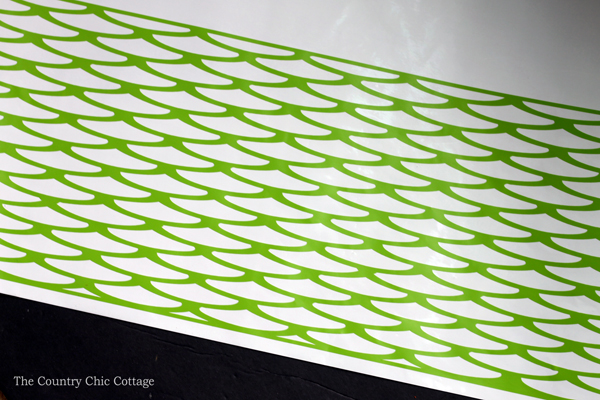
Step 9
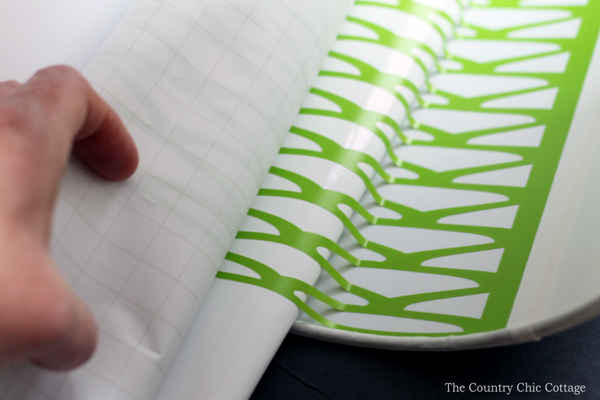
Now we are going to begin the slow and steady progress of putting this pattern on the inside of the lamp shade.
Start close to where the seam of the lamp shade is located. Lay down your vinyl nice and straight and lined up with the top of the shade.
Tip: You may have to trim away excess of the backing paper when starting and during the application process. Go a little at a time and keep everything straight, pushing the vinyl down onto the inside of the lampshade as you work your way around.
Step 10
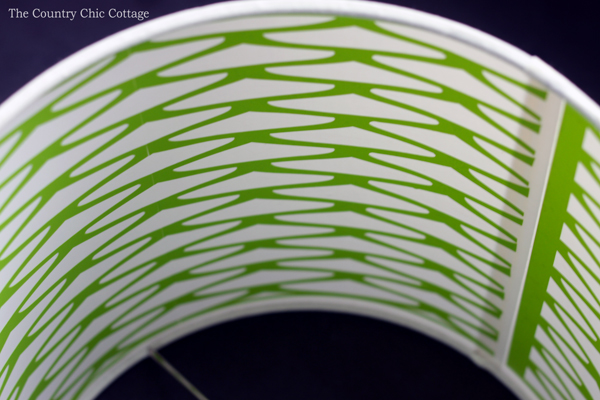
Line up the last piece where your original ends. The seam where the two come together is not very visible. You can, of course, see where the two ends are on my lamp shade. They are, however, on the seam of the shade.
There you have it! You have successfully completed adding patterns inside a lamp shade! Congrats!
Step 11
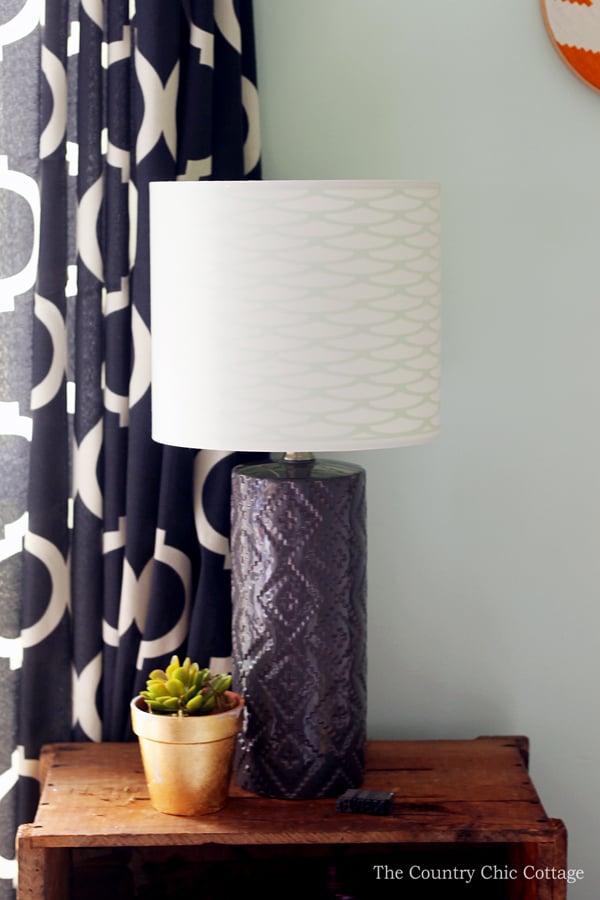
Add a low-wattage bulb to the lamp, and you are ready to add this one to any room in your home. When the light is off, you get a very subtle effect from the pattern on the inside.
FAQs
Here are a couple of questions that I see readers ask about creating this lamp shade pattern. If you have a question, please check to see if I’ve already answered it below. Don’t see it? Leave it for me in the comments!
Where can I purchase the design?
The lamp shade pattern is available as a free download in Cricut Design Space. But, you can also use any pattern you like.
What type of lamp shade works best for this project?
A drum lamp shade works best because it is easier to keep the vinyl straight when applying it to the inside.
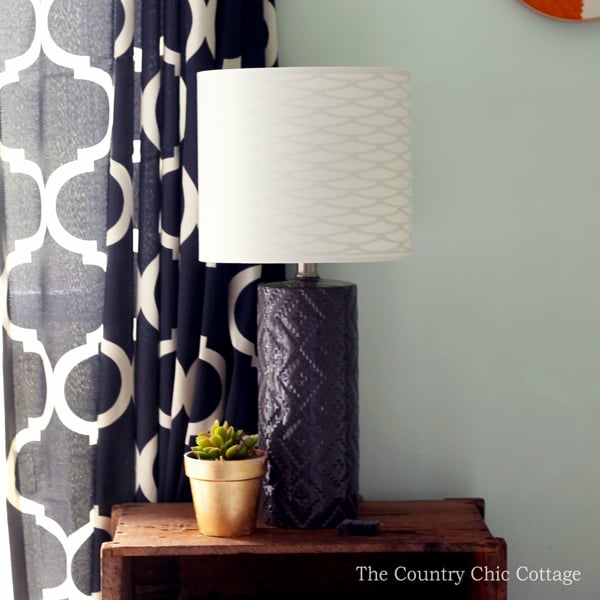
I love that it is subtle from straight on but close up, you can see the green pattern peeking out from the inside.
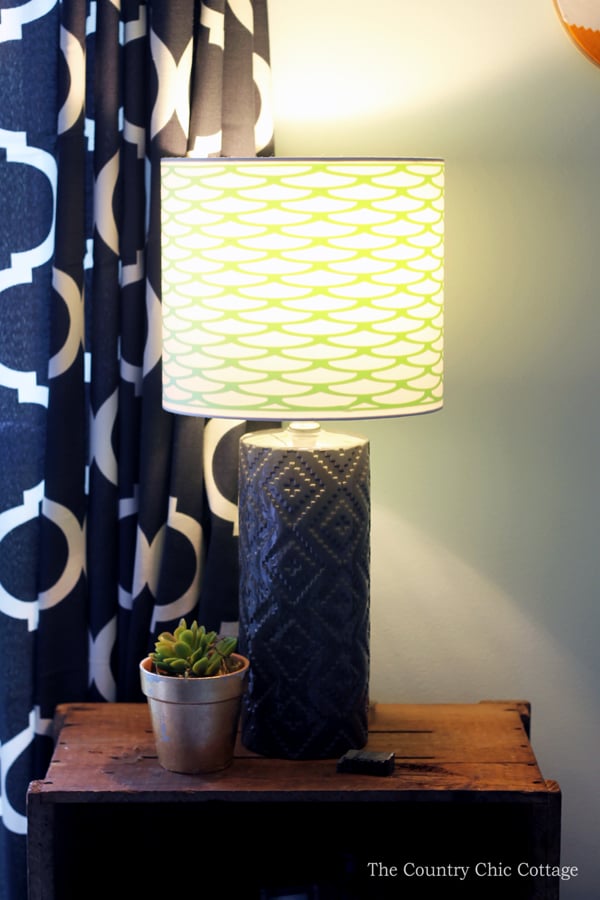
Then when you turn the lamp on…WOWZA!
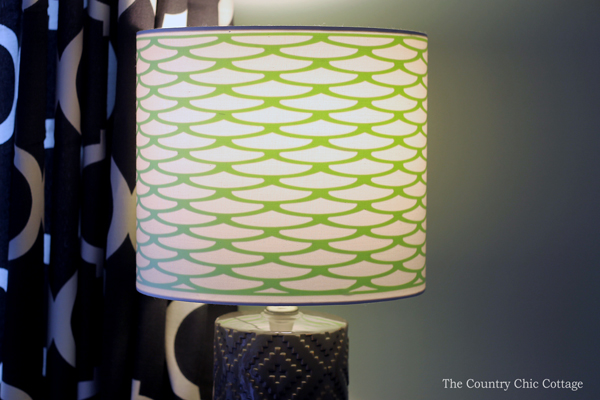
Such an amazing transformation that only took a few minutes to complete. Go slowly, so your vinyl lays out correctly and is perfectly positioned. You will love the effect that adding a pattern inside a lamp shade has on your home decor.
Grab your Cricut and get started on your own version today!
Check out more Cricut crafts:
- Cricut Bathroom Decor: Mason Jar Organizer
- How To Add Vinyl To Coasters
- Cricut Fabric Tea Towels
- DIY Welcome Sign with Cricut Machine
- DIY Cricut Round Wood Door Hanger
Supplies
- Cricut Explore
- Cricut Vinyl
- Cricut 12 x 24 mat
- Weeding Tool
- Lamp and shade
- Scallop pattern (from Cricut Design Space – Scale Pattern Overlay #M475F6)
Instructions
- Start with your Cricut Design Space and add in the pattern of your choice.
- Measure your lamp shade. Measure the diameter and multiply it by 3.14. Stretch your pattern to the correct size in Cricut Design Space.
- Pick an area where it will be good to split the vinyl (an area where it will be easy to line it back up and get everything straight). Draw a box from that area to the end of your pattern.
- Click "Select All" at the top and then click "Slice Under Layers" in the right-hand toolbar.
- Delete the pieces you do not need until you are left with a split version of your original image, as shown below.
- Now, when you click "GO", you will see that the two will be on two separate mats.
- Cut both pieces of your pattern with your Cricut.
- Weed away all of the excess vinyl.
- Start close to where the seam of the lamp shade is located. Lay down your vinyl nice and straight and lined up with the top of the shade. You may have to trim away excess of the backing paper when starting and during the application process. Go a little at a time and keep everything straight, pushing the vinyl down onto the inside of the lampshade as you work your way around.
- Line up the last piece where your original ends. The seam where the two come together is not very visible. You can, of course, see where the two ends are on my lamp shade. They are, however, on the seam of the shade.
- Add a low-wattage bulb to the lamp, and you are ready to add this one to any room in your home!


Super fun and great idea! Love the color combo with your curtains. Visiting from Mad Skills Party.
What a great idea! I love the pop of color when the light turns on.
What a brilliant idea. Love it. Thanks for sharing with us all.
Such a cute idea! i love that you can spruce up an old lamp shade without having to replace it! Lamps can get so expensive! Very clever, thank for sharing. 🙂
This is such a clever thing to create. I love the color and the pattern! I am really thinking that I need a cricut.
OH my gosh…I just LOVE this idea!
I would love for you to share this at my Facebook Group for Recipes, Crafts, and Tips and Tricks!! https://www.facebook.com/groups/pluckyrecipescraftstips/
Thanks for joining Cooking and Crafting with J & J!
This is brilliant! Love the color and effect when the light is off too! Pinning & sharing on my FB !
Genius! I wish I had a Cricut, seems like it would come in really handy! Thanks for sharing this at #HappinessIsHomemade this week, love it!
Great ideas! Where did you get the sports silhouette images?
It has been several years but I think I just googled sports silhouette.