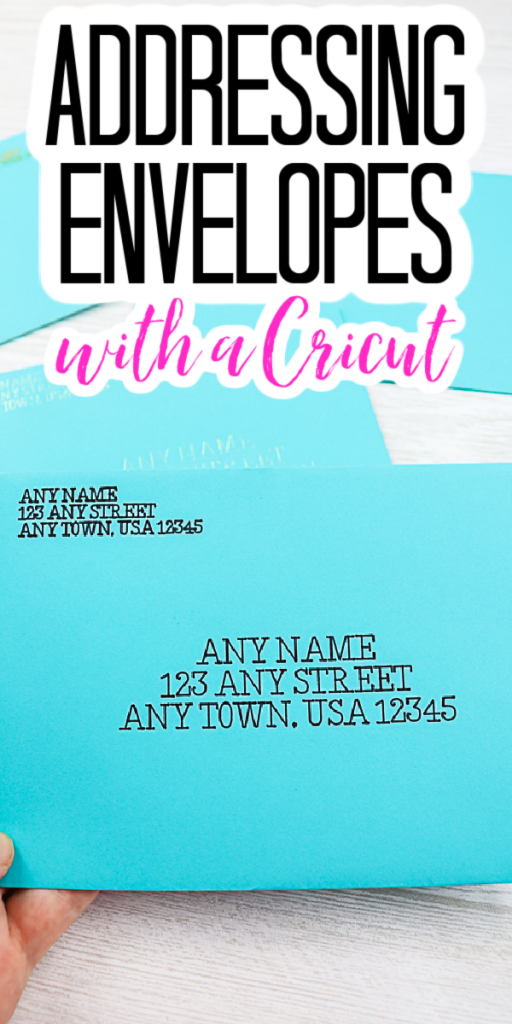
Did you know that addressing envelopes with a Cricut is super easy? I thought I would cover the process today so you might use this for greeting cards or even your holiday cards. This is the perfect solution if your hard writing is horrible (like mine!) You can actually write the address with Cricut pens or even use the foil tool. So many options for adding that address with your Cricut machine. It is a great addition to your handmade cards this holiday season.
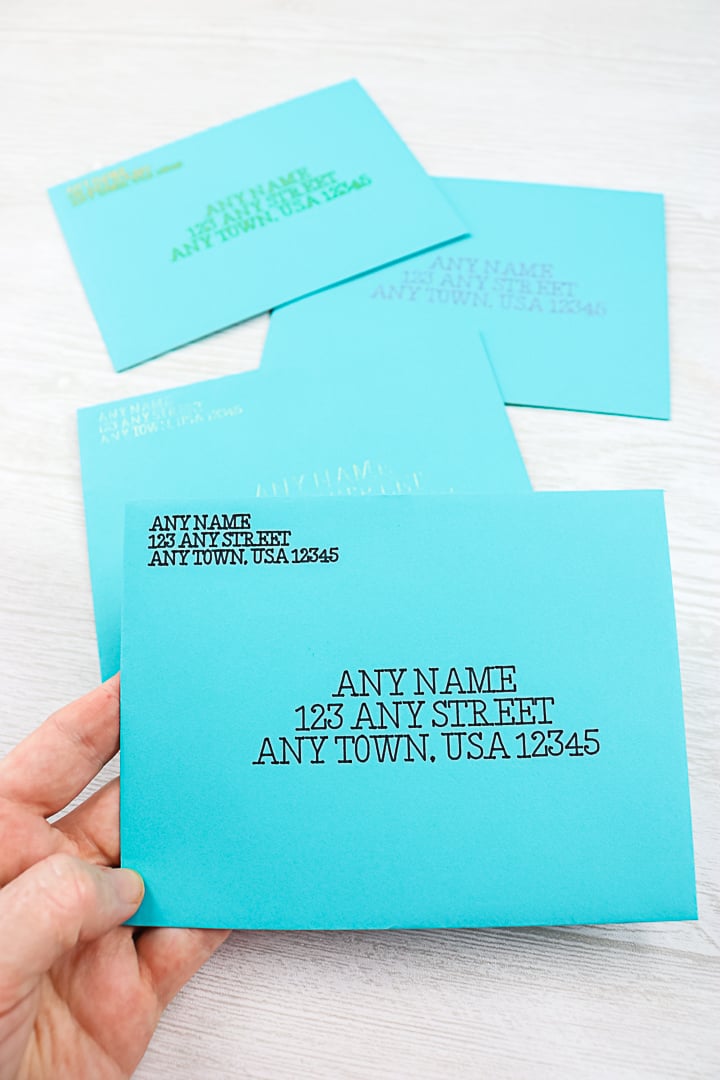
Addressing Envelopes with a Cricut
This process works for any envelope. So, you can use envelopes that are purchased from the store for this project. There is no need to cut and fold the envelopes yourself. You can however get a tutorial here on making envelopes if you need it.
Supplies needed:
- Cricut machine (any of the machines will work for this)
- Cricut pens (keep reading for notes on different pen types)
- Foil transfer tool (if you want to foil instead of write)
- Foil sheets (again this is only for foiling)
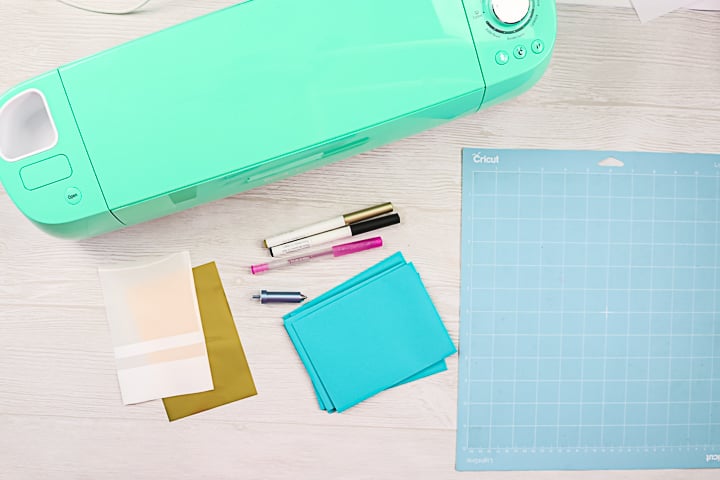
How to Address Envelopes with a Cricut
Now that you have your supplies, it is time to grab that list of addresses and get started. I have experimented with different pen types so you don’t have to! You can actually watch all of my experiments and results in the video below.
Can’t watch the video or missed some of the steps? Keep reading to get the instructions as well!
Adding Addresses and Locating in Cricut Design Space
The first critical step is actually getting your address in Design Space in the correct location. This can be a bit tricky so follow along in the card below for tips on getting this right the first time.
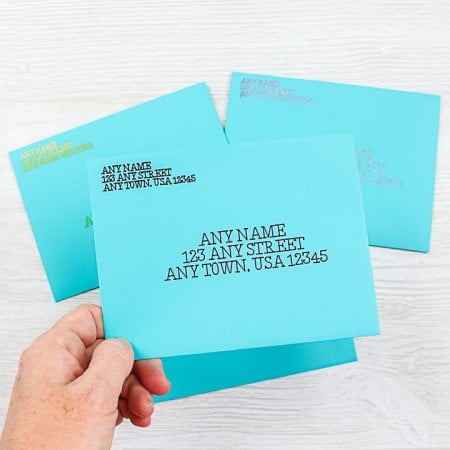
Supplies
- Cricut Machine
- Cricut Pens
- Foil Transfer Tool optional
- Foil Sheets optional
Instructions
- Start by drawing a rectangle in the exact dimensions of your envelope. This will be used to locate your addresses. I made it white just so I could see what my text looked like a bit better.
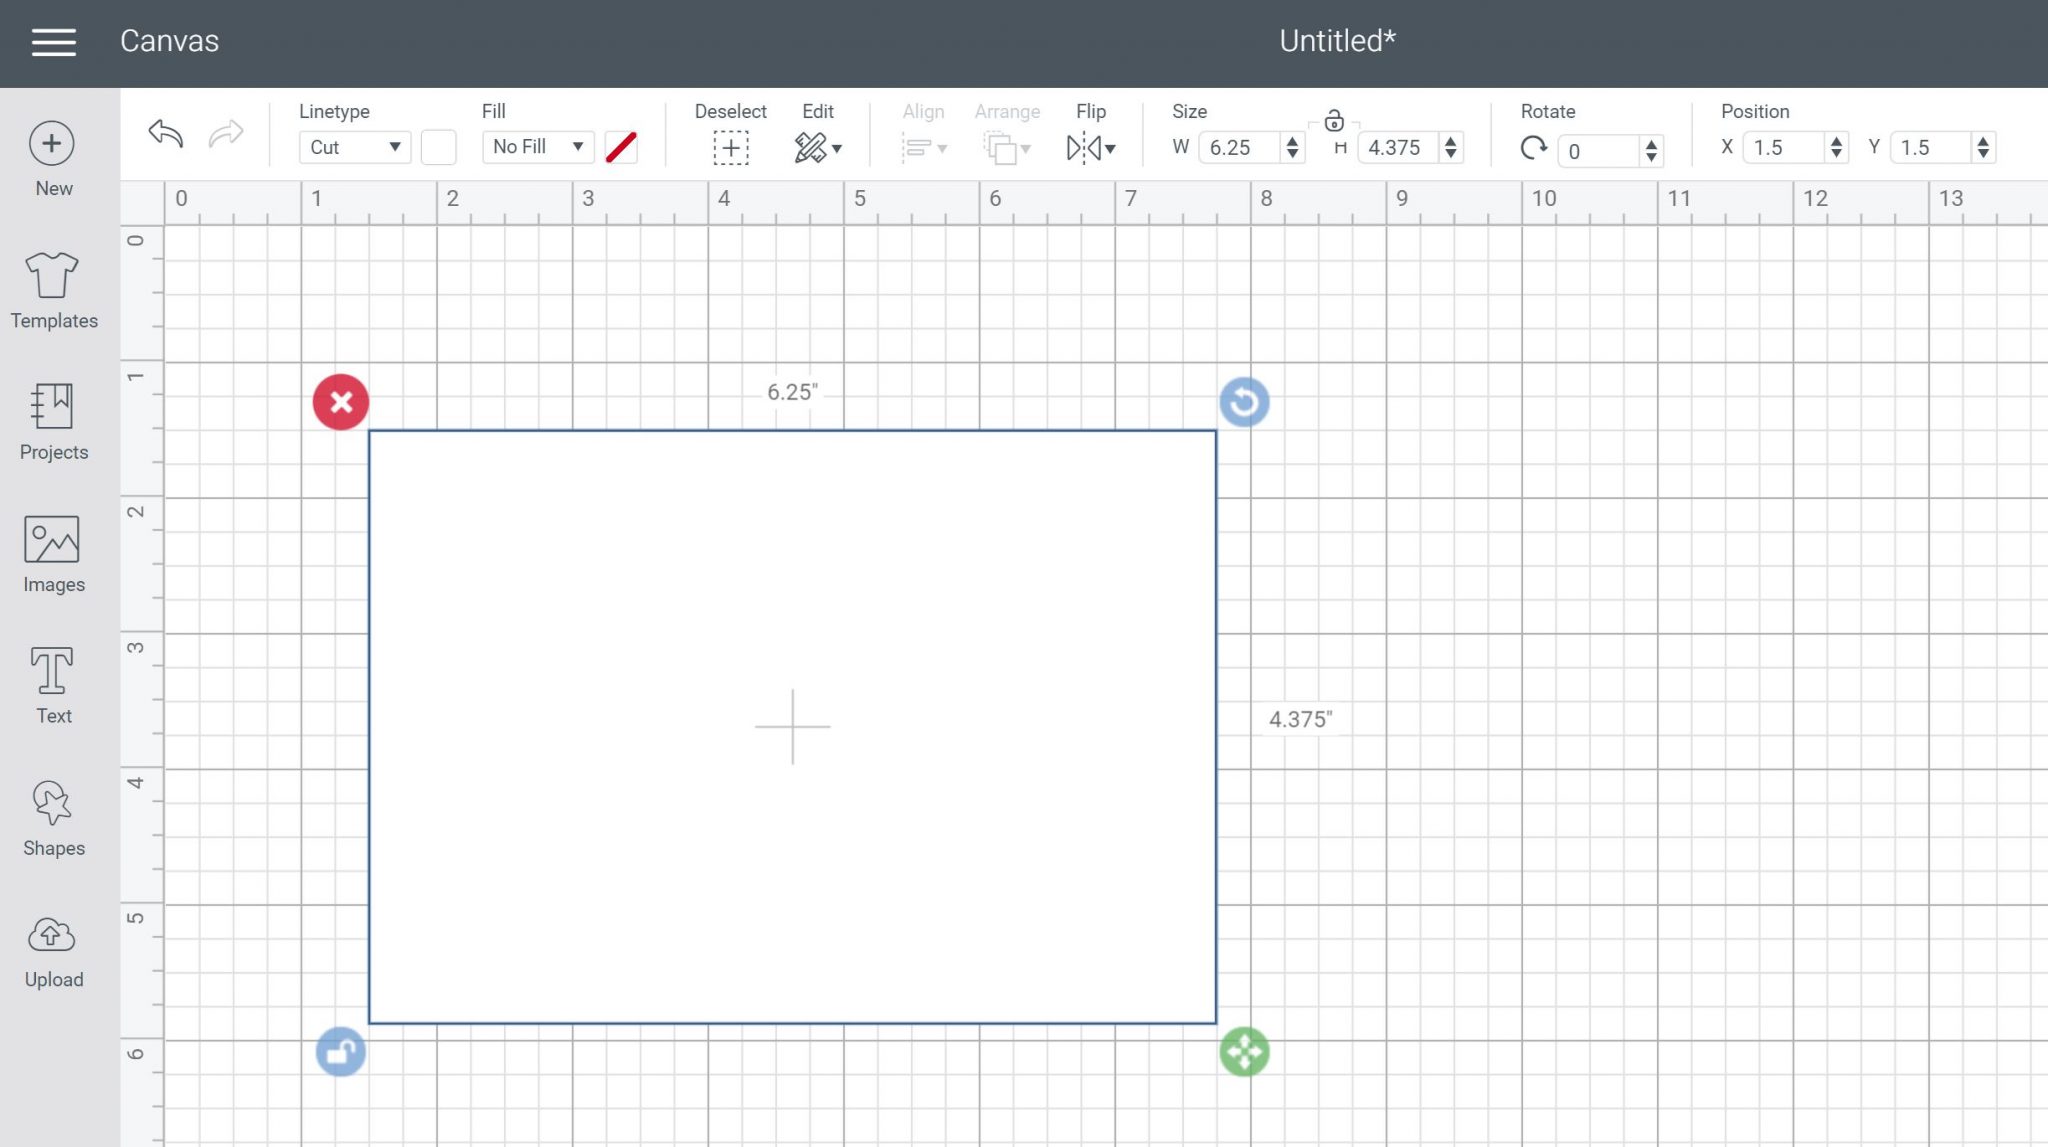
- Find a writing font you love and add an address of your choice. You will need to add a from and a to address.
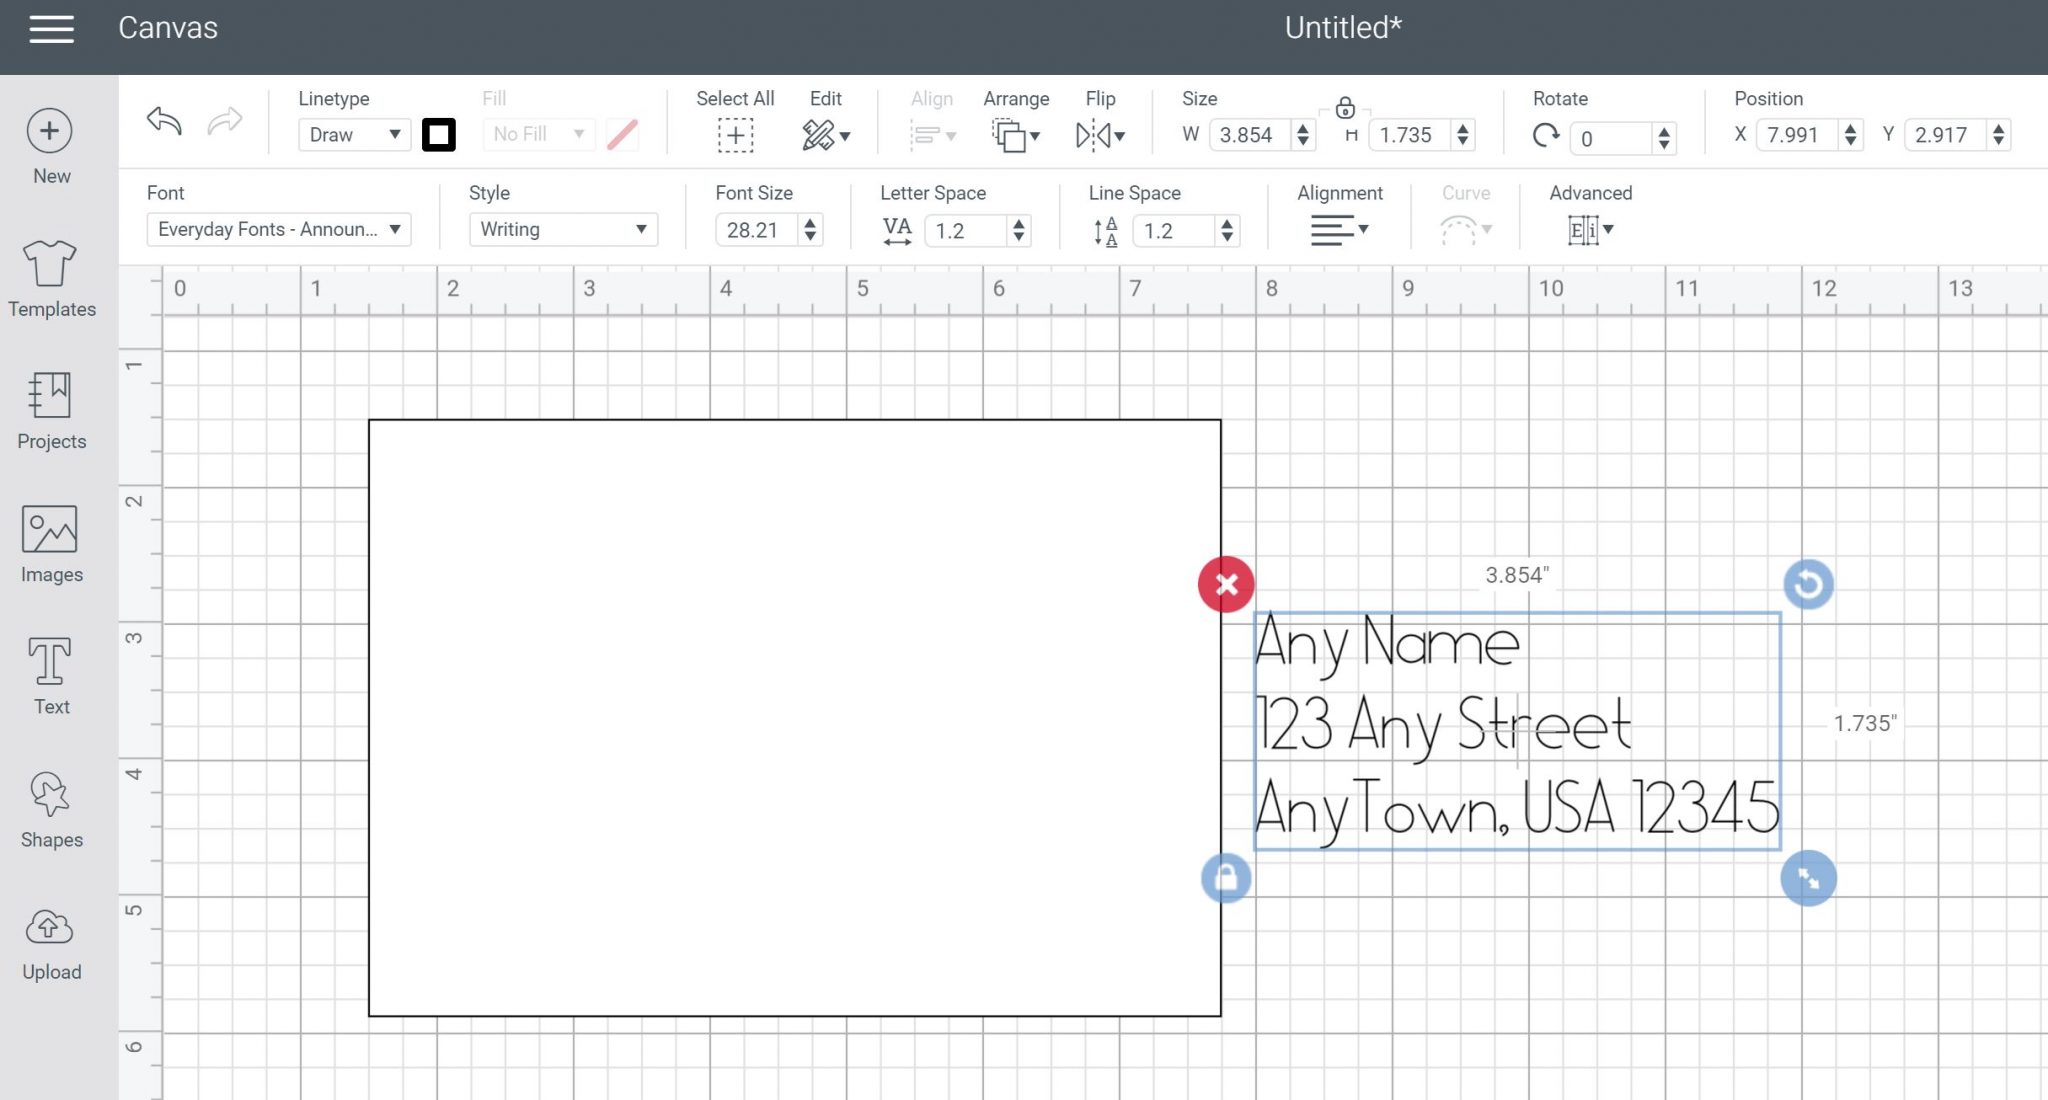
- Then use your rectangle to locate both addresses correctly. You will also want to make sure that your writing font is set to draw lines.
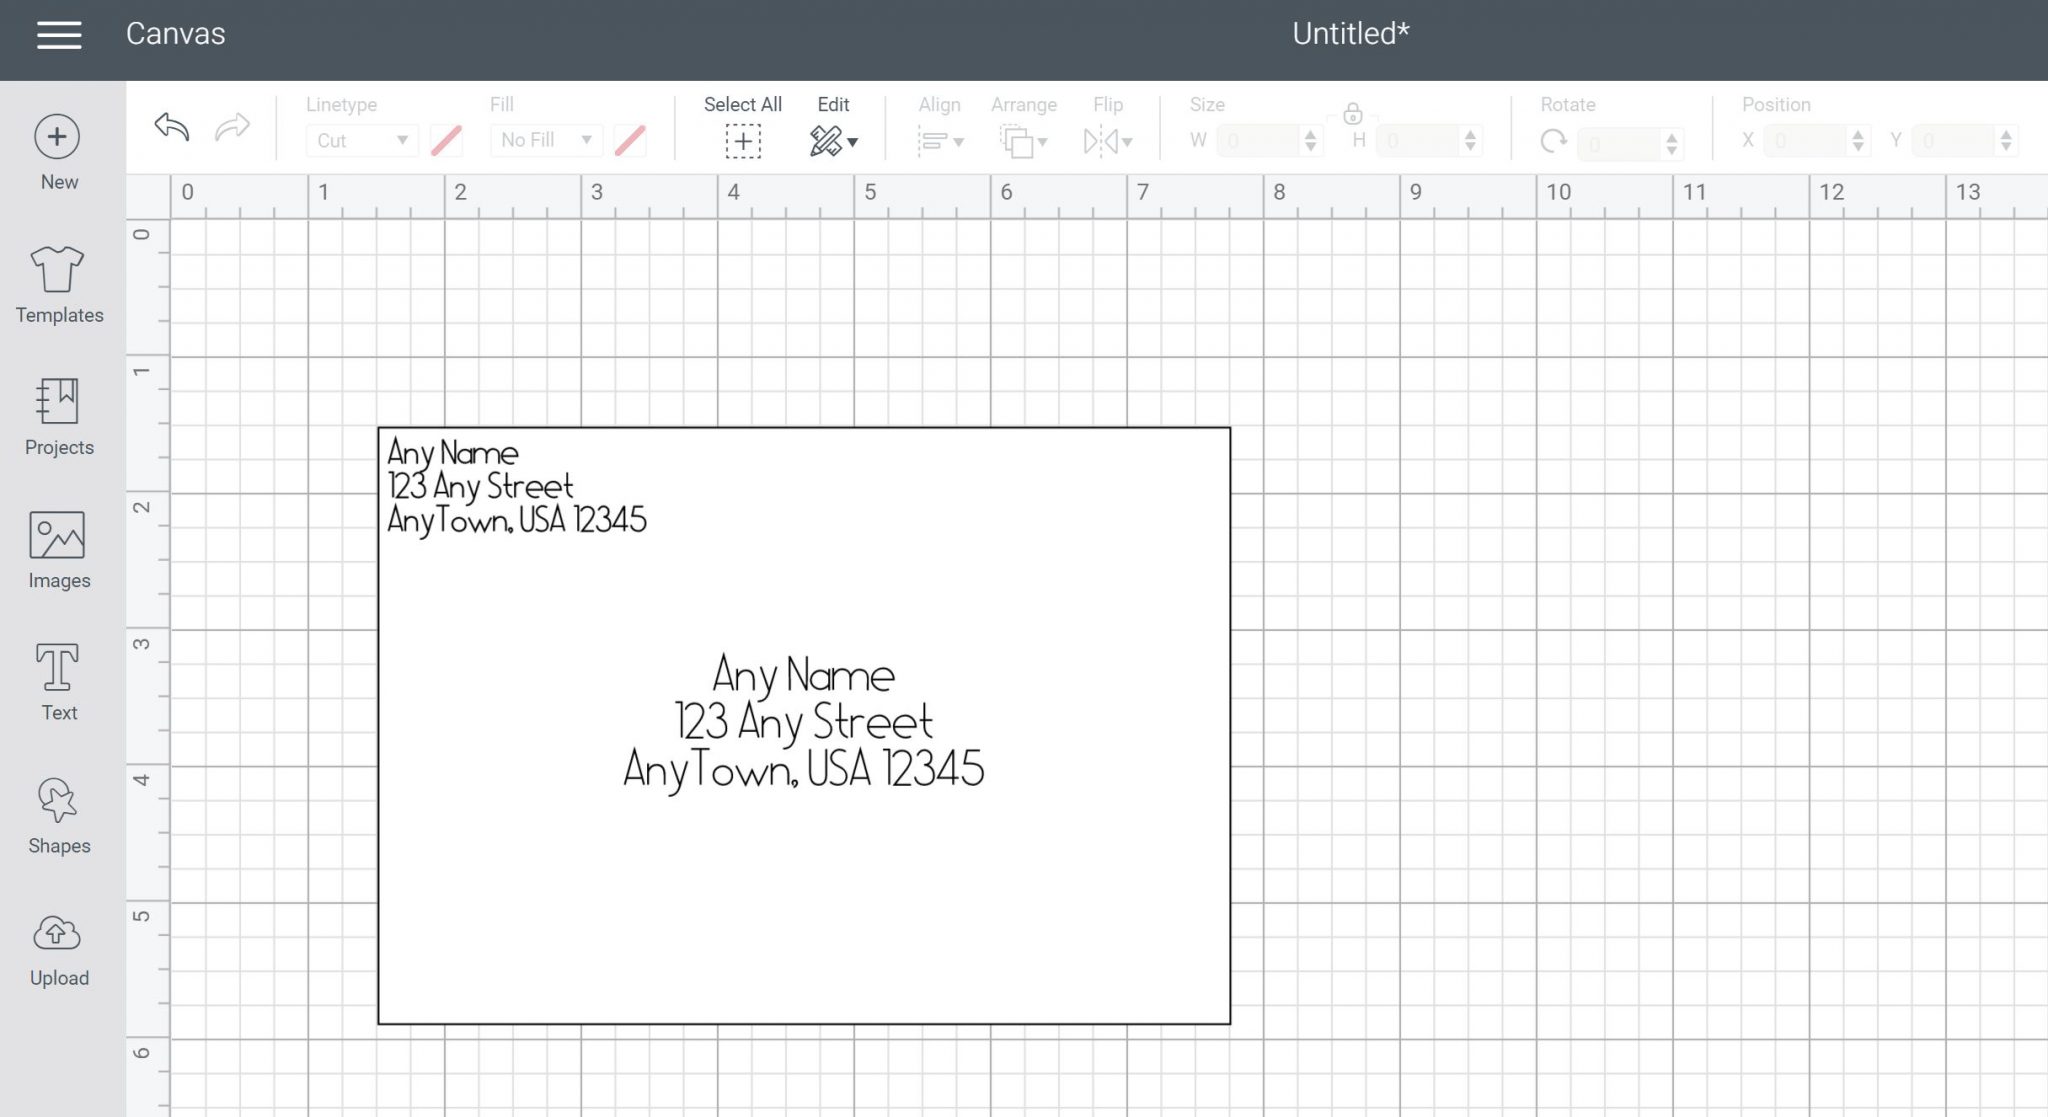
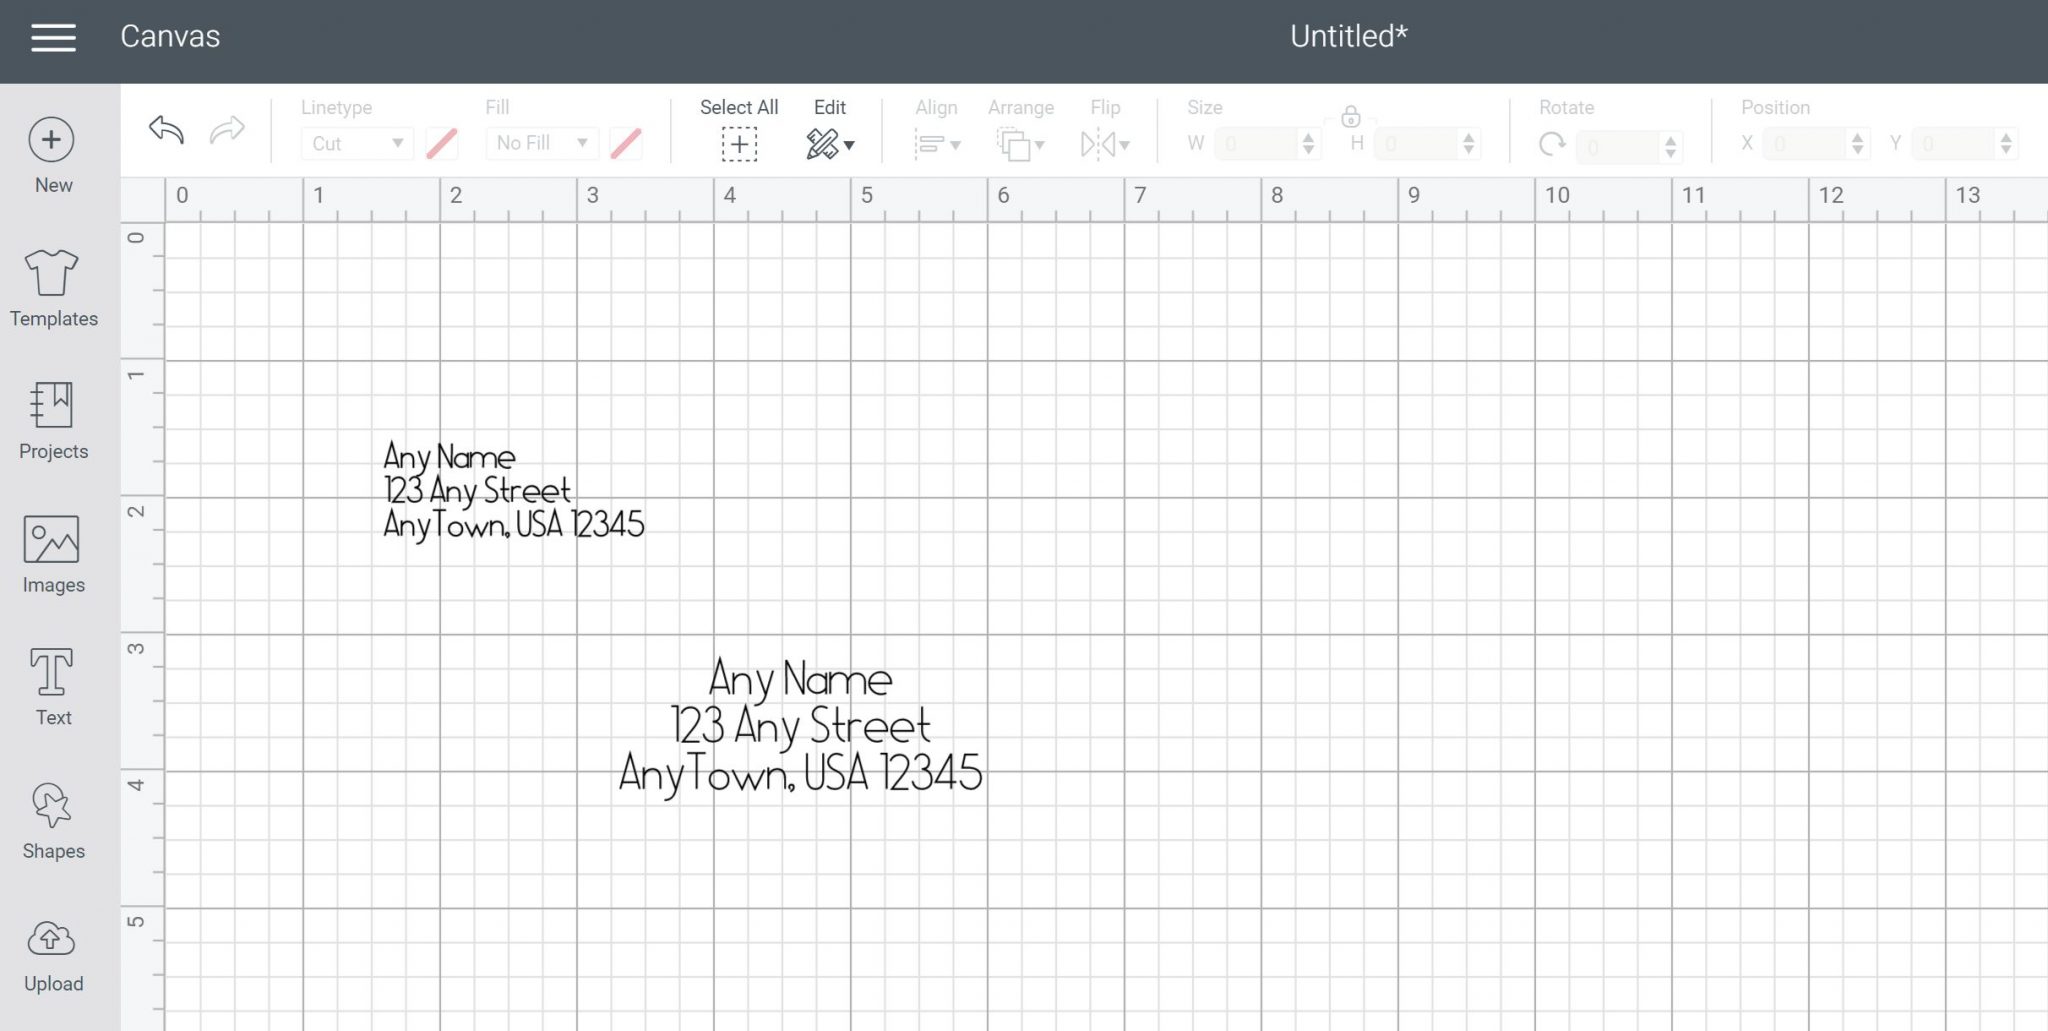
- Delete the rectangle and attach the two addressed together.
- Then click make it to see it on your mat. Do note here that your design is moved 1/4 inch in from both edges when drawing.
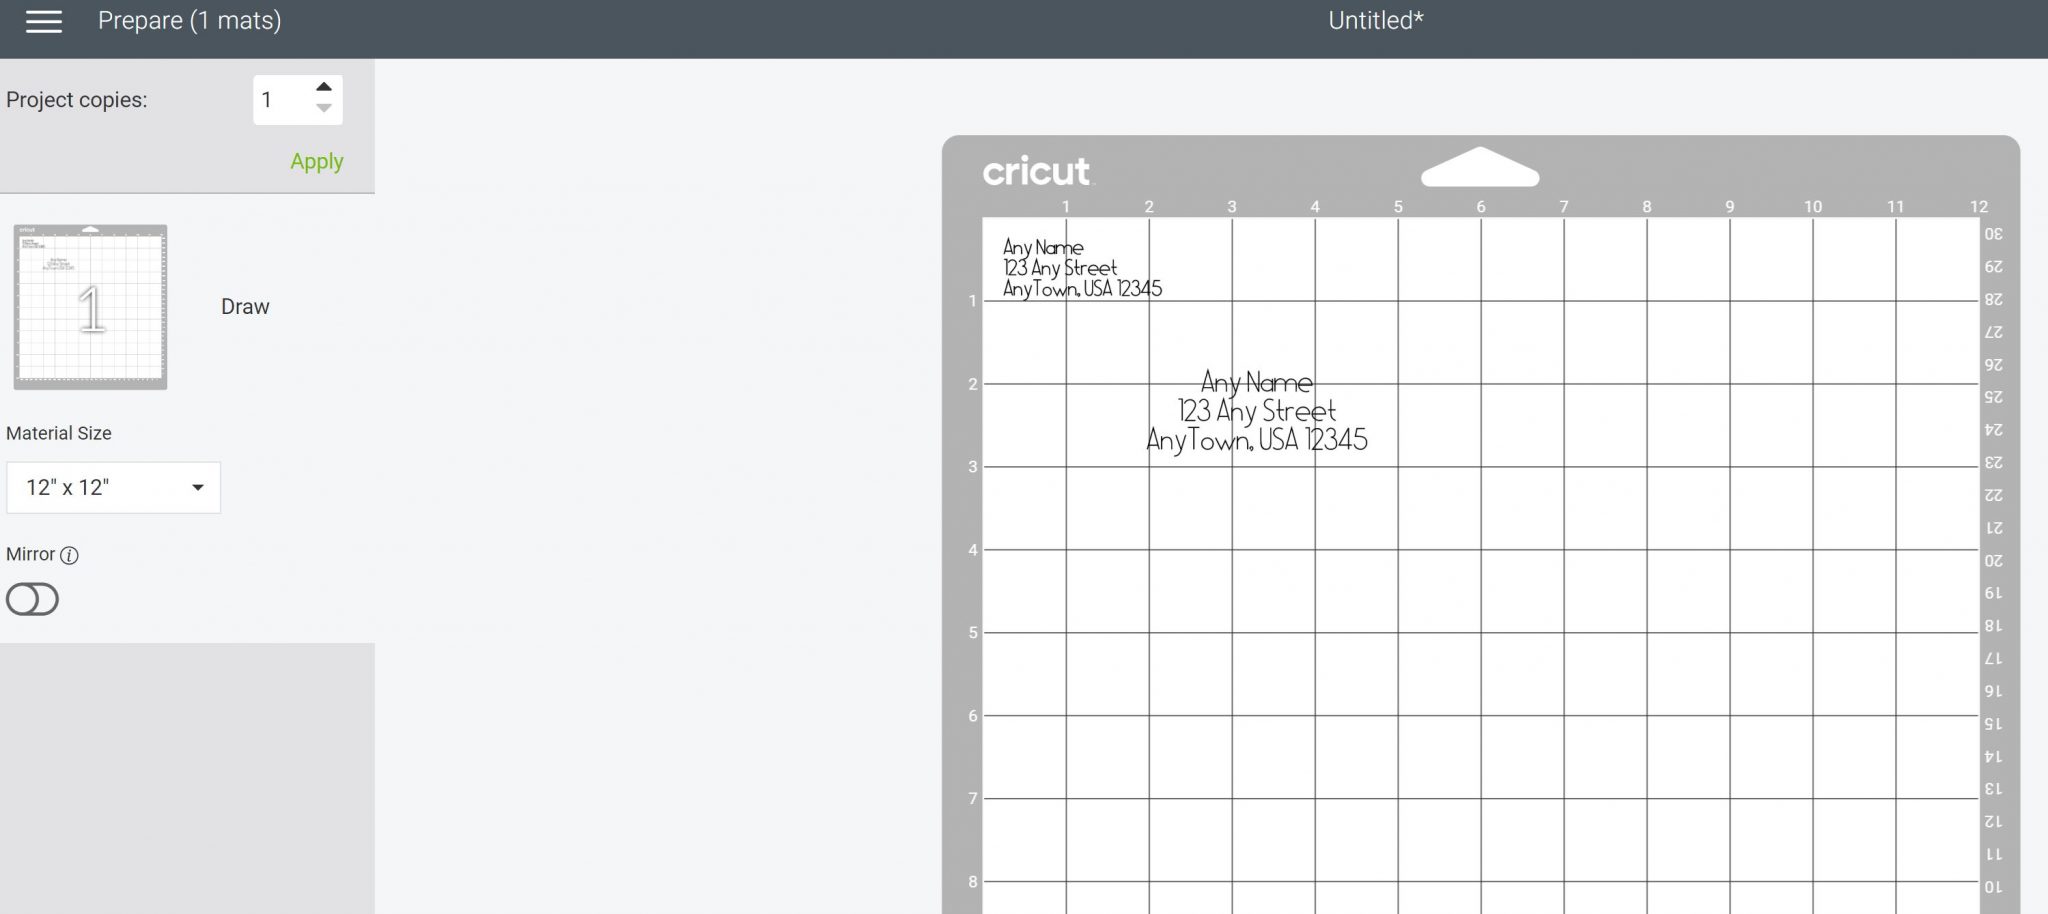
You will need to repeat this for each of your addresses but once you have your template set, you can just copy and paste a new to address into place then click make it each time.
How to Add the Envelope to the Mat
Now that you have everything in Cricut Design Space, it is time to add your envelope to your Cricut mat and draw your addresses.
- Add the envelope to the mat flap side down with the top of the envelope to the top of the mat.
- Put the envelope about 1/8 of an inch in from the side and top to account for the movement of your design that we talked about above.
- Press the envelope down really well.
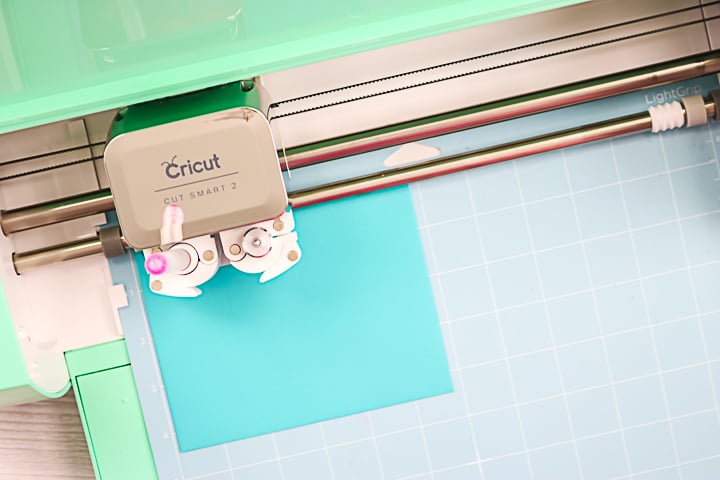
Type of Pens to Use to Address Envelopes
I used a few different options in the video to give you an idea of how each one works. Here are a few tips and tricks to help you decide:
- A standard 0.4 black pen will work perfectly with almost any font.
- The 1.0 tip pens may need specific fonts. You can also try two different sizes for the to and from addresses.
- If using gel pens, be sure to move the white star wheels all the way to the right. You may also want to locate the envelope and design on the 1-inch mark on the mat. The roller all the way to the left has a tendency to smear the writing from this pen.
- You can also try foiling your addresses. See this post for more information on adding foil lines. I think I would use a bold foil tip, however. This will make it show up better on your envelope.
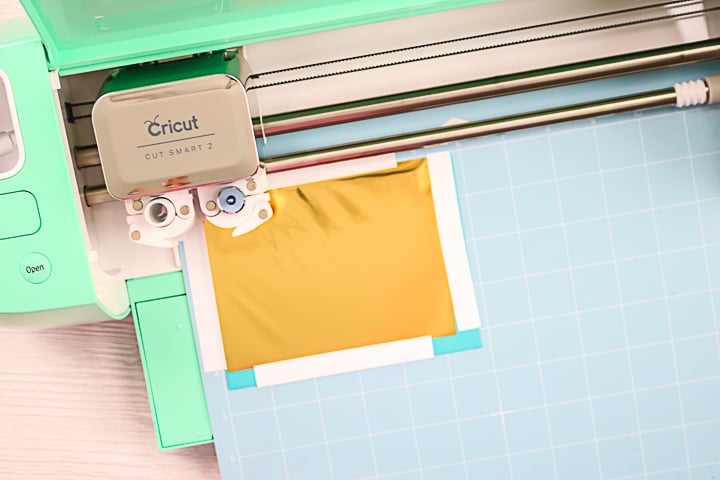
Run a few trial runs with your pen of choice then you can just repeat when you are happy with the results. Get a perfectly addressed envelope every single time with your Cricut machine and this technique. Addressing envelopes with a Cricut is so easy.
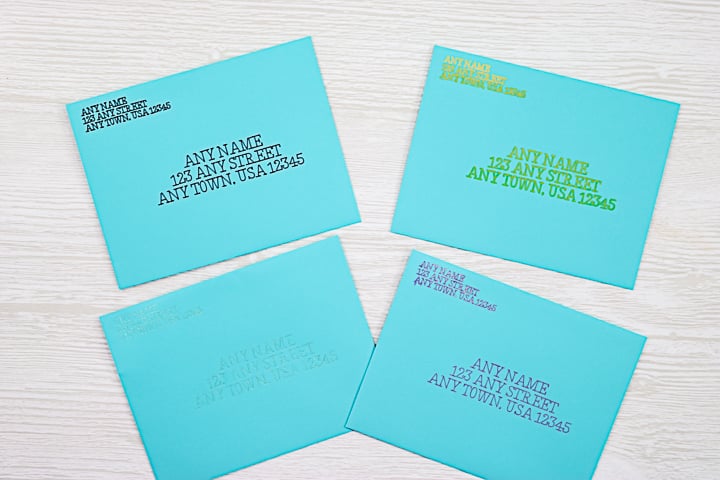
My personal favorite is the regular black pen but any of these would look amazing on your cards. Be sure to pick up a few different envelope and pen options to try so you can get this just right. After all, the outside of your card should be just as beautiful as what is inside!
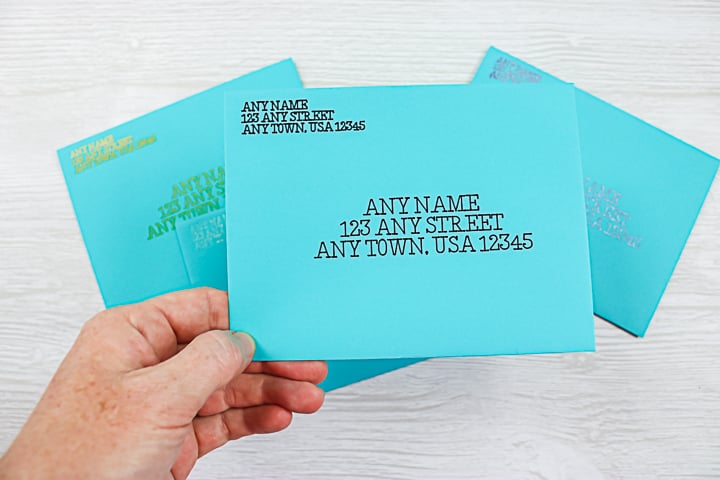
I think you will find that this goes fairly quickly once you get your template made and decide which pen combo you love. Then you can just copy and paste those addresses and let your Cricut machine do the hard work.
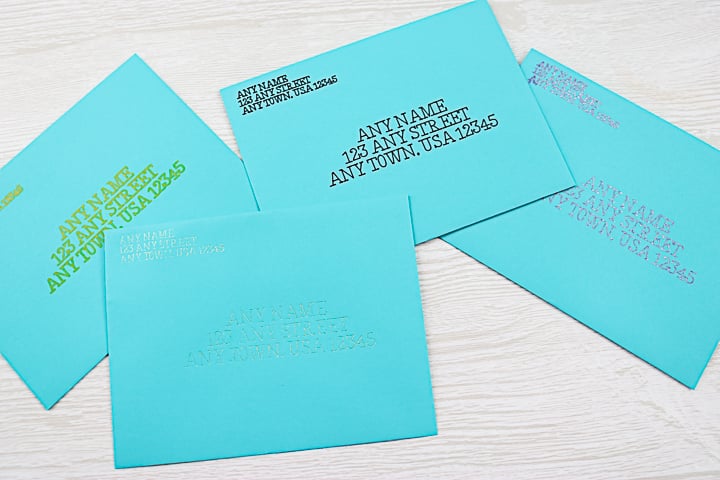
This idea is also perfect for those wedding invitations! I can remember hand writing all of those addresses for my own wedding and wish I had this option then! It would have been so much easier and would have looked so much better.
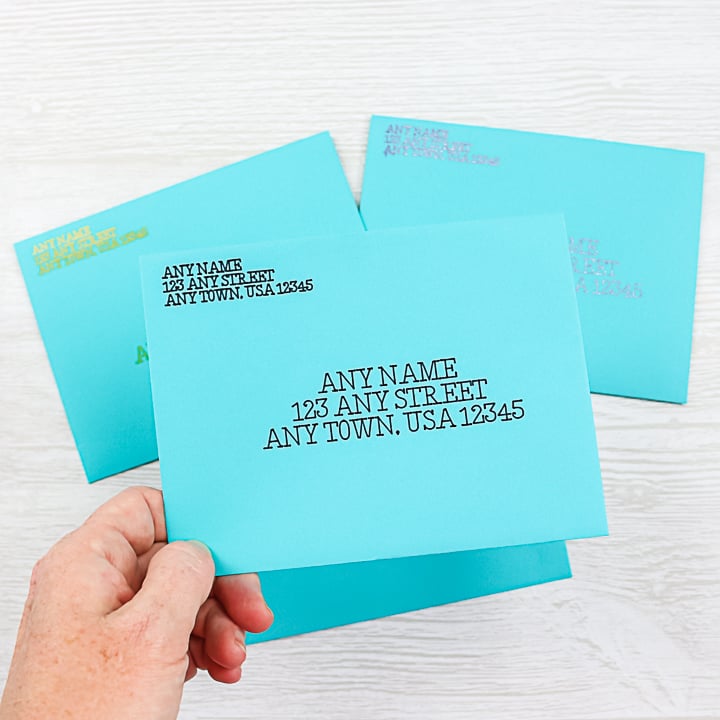
So, will you be addressing envelopes with a Cricut? You will love how easy this process is and how professional the results are! Add to any greeting card, invitations, and of course those holiday cards.
Love this Cricut tutorial and want more? Try the links below as well!




This was such a wonderful tutorial. You did a really great job at explaining all the steps. Thank you
This is probably the best way I’ve seen this explained! Any ideas on how to do multiple envelopes at once?
You can place them on the mat then move around the addresses in Design Space before you draw.
What a great tutorial, I love the trick of drawing the rectangle to ensure correct placement of the addresses. Do you have a favorite font for addressing envelopes?
Every time I attempt this, the letters aren’t filled in. Am I forgetting a step or do only certain fonts fill the letters in?
You need a single line or writing font otherwise you get the outline.
Hi. The rectangle won’t change to the dimensions I need. What can I do about this?
Be sure it is unlocked.
What material setting did you use? Heavy cardstock or something else? I’m using this method for graduation announcements and I have a Maker.
That should work.
Thanks for this great tutorial! How long would you say each envelope takes to print (writing and foil)? Thinking about getting a Cricut to address about 100 wedding invitations but wondering if it would take forever!
I don’t know if I can tell you how long but it would take a while to do 100 invitations!
That’s what I was guessing! 🙂 Is it safe to assume it takes one to two minutes to print one envelope? (Just the actual printing, not the set up involved).
I would think that would be close! More details will take longer.
This was extremely helpful! I’m new to using cricut and have many grand ideas that far exceed my experience. With this video I 1. Discovered I could use a pen with my machine 2. Successfully created customized (with a cute design), tiny envelopes to hold succulent seeds that went in tiny pots for a bridal shower party favors. Soooo glad this was so easy to follow, even when what I was creating was bit different to the project outlined here. Thank you for helping!
I am so glad you found it helpful. I love hearing about people using their machines and having success!