Learn how to age terracotta clay pots with paint. Aging terracotta pots is a great way to add rustic, farmhouse style to your porch, deck or garden. I just love the crackled, vintage look!
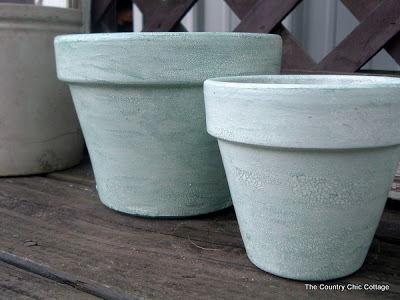
I love terracotta pots almost as much as I love mason jars! There are so many great crafts you can do with them…make flower pot people, garden lighthouses, tiered planters, and more.
But, I just love this antiqued, vintage look the DecoArt Crackle Finish gives these pots! It absolutely transforms them. I paint a little on the inside too, so the whole pot appears to be old and rustic. Let’s learn how to do it…
How to Age Terracotta Clay Pots
Supplies needed to age terracotta clay pots with paint:
- Terracotta pots
- Americana Paint in Warm White
- DecoArt One Step Crackle Finish
- DecoArt Elegant Finish Metallic Glaze in Old World Patina
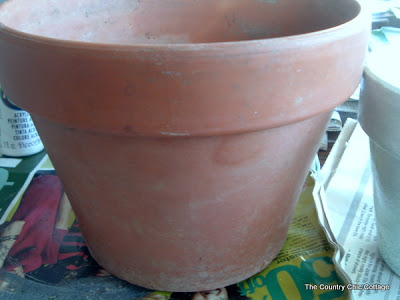
To get started, you will need some terracotta clay pots. I had a few around the house so I picked out two in different sizes.
Next up is my supplies from Decoart. The folks at Decoart were kind enough to send me some supplies to play around with. I used their Americana Paint in Warm White, DecoArt One Step Crackle Finish, and Elegant Finish Metallic Glaze in Old World Patina.
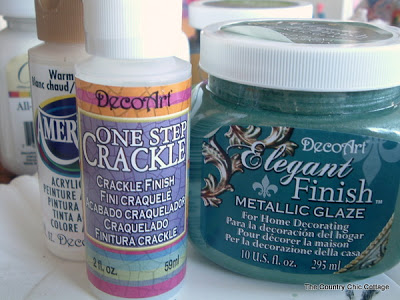
These products together will turn your pots from terra cotta to wonderful, crackled goodness…
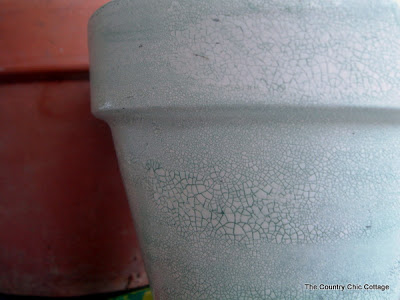
Start with about 2 coats of the white paint. Enough to cover the clay color.
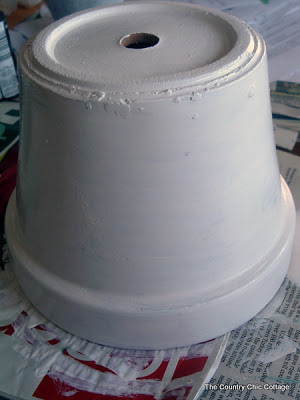
Let that dry to the touch. Then add a good coat of the One Step Crackle. Let that sit for at least an hour and watch the magic happen…
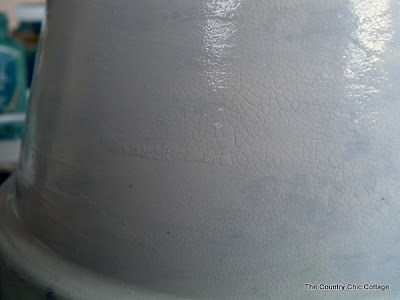
The One Step Crackle is so easy to use and is my new favorite product. I love that crackled finish! After at least an hour, break our your sponge and metallic glaze. Dab it on with your sponge is small areas.
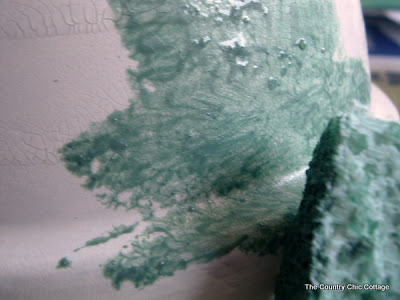
Then wipe it right back off. The following picture is a section on the left where I have just applied the glaze and a section on the right where I have already wiped it off.
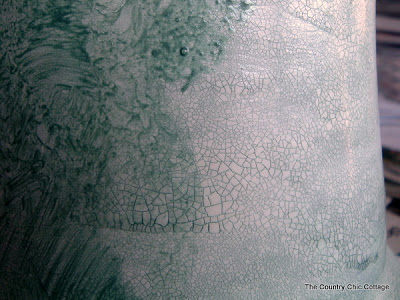
Continue around your entire pot. Sing to yourself the entire time cause you are so in love with the finish…
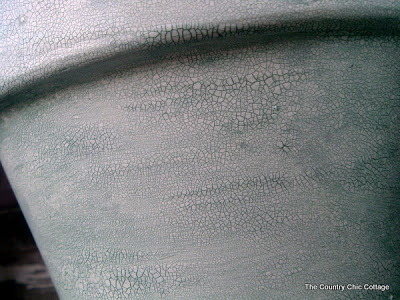
I also did a little way down on the inside of each pot. That way when I plant something in it, the inside will look crackled also.
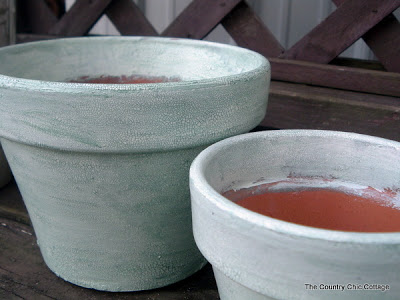
See all planted…and they look gorgeous inside and out.
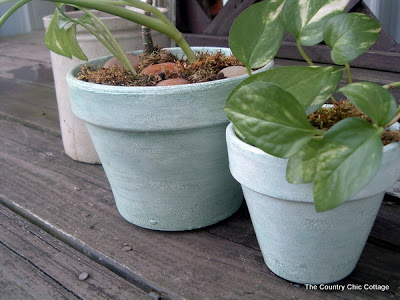
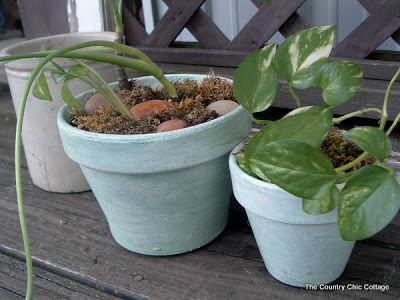
Some tips on planting: if you cover your dirt with smooth rocks and moss, the plants look oh so much better…
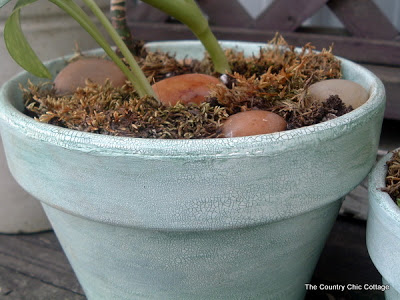
I grab my moss off of an old tree outside, so it is free. 🙂
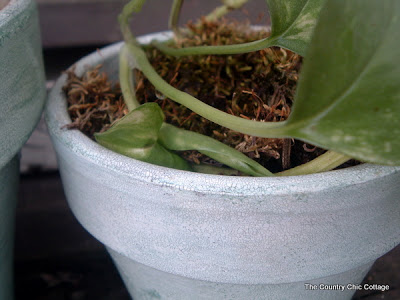
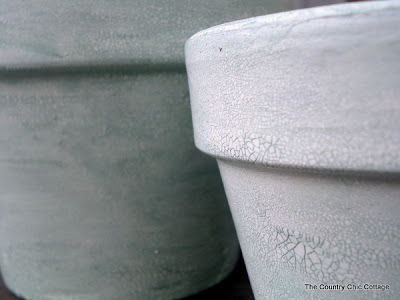
The finish totally looks like an old plate or cup that has crazing under the glaze. Love, love, love…
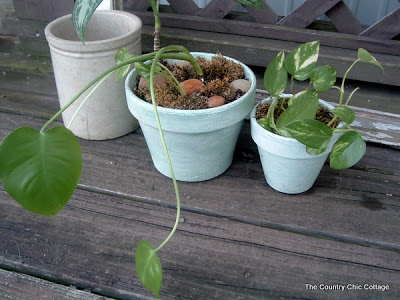
Here is a beauty shot of the little plants. I had started these off of some pieces of plants I already had.
I will be using my one step crackle on another project next week so y’all stay tuned! Told ya I was in love with it!
You can also add some of these mosquito repellent candles to your outdoor area!
Supplies
- Terracotta pots
- Americana Paint in Warm White
- DecoArt One Step Crackle Finish
- DecoArt Elegant Finish Metallic Glaze in Old World Patina
Instructions
- Add 2 coats of the white paint to the terracotta pots. Enough to cover the clay color.
- Let that dry to the touch. Then add a good coat of the One Step Crackle. Let that sit for at least an hour.
- After at least an hour, break our your sponge and metallic glaze. Dab it on with your sponge is small areas around the whole pot and just inside.
- Allow everything to dry, plant, and show off your aged terracotta pots!


I love how these came out. I’ll have to give it a go!
I’d love for you to link up and share at my link party: tutusandteaparties.blogspot.com/2011/10/pinteresting-linky-party-week-eleven.html
Angie can you resend the sign up sheet? I am going crazy with my open houses and I don’t want to forget you.
love those! so clean @ fresh looking!
Heeln
I just love how these pots look! Thanks for sharing this easy technique. Also just love the adorable 3-D snowman.
🙂 CAS
I love, love painting on Terra Cotta! Thanks, I’ve been wanting to try the crackle paint on them. Have a great day!