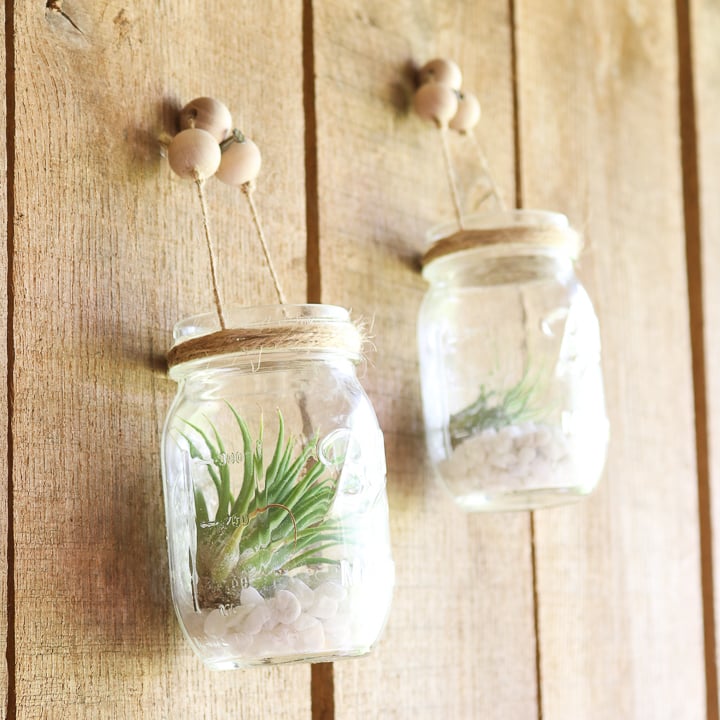
Air plants are pretty incredible to have around the house – and ultra-easy to care for. Learn how to make an easy DIY hanging air plant holder to enjoy these unique plants anywhere…and everywhere!
Did you know that you can make a hanging air plant holder from mason jars in no time at all? Air plants are an adorable addition to your decor but, unlike other plants, they don’t need dirt to stay alive!
So, what do you put them in? How should you display them in your home? Well, I have a great idea that you can make yourself that helps take care of all these concerns and more.
Grab some mason jars and make these hangers for any room where you want to add some air plants!
Tip: Want to try succulents instead of air plants? Try our Indoor Succulent Garden instead. If you love growing plants, check out The Best Indoor Plants for Allergies, Herb Garden Planter, and Beautiful Container Garden Ideas!
Video For Making Hanging Air Plant Holder
Want to see the entire process in a quick video? Just watch below!
Can’t watch or want more information on some of the steps? Just follow along below!
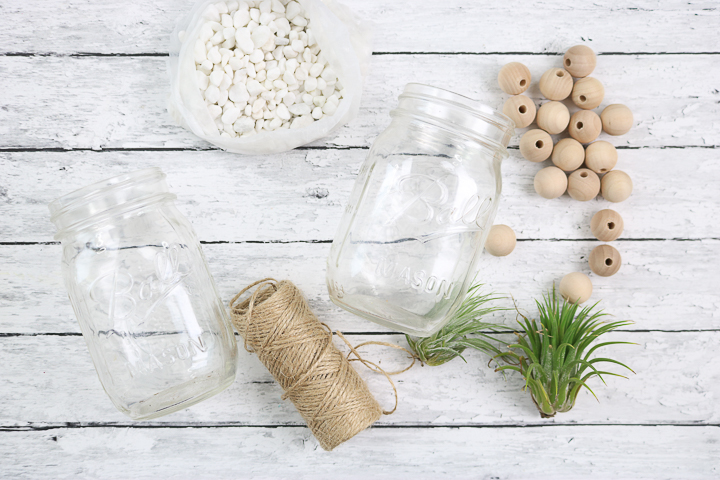
Supplies Needed To Make Hanging Air Plant Holder
Here’s a complete list of all the supplies you will need to do this project! They’re common items with the addition of your air plants.
How To Make Hanging Air Plant Holder From A Mason Jar
Before we make our hanging air plant holder, I wanted to say as a DIY note, don’t use any copper when making this project. That is because copper is toxic to air plants.
We will not be using copper in this DIY, but I know some crafters use what they have on hand or they like to make changes to DIYs. Due to that, I just wanted to briefly mention it in case you are planning on making this project.
Step 1: Add Rocks To Mason Jar
Begin by adding some aquarium rocks to the bottom of your mason jars. Fill the bottom 1/4 of each jar with your rocks.
Step 2: Hot Glue Twine To The Rim Of The Mason Jar
Hot glue the end of some jute twine to one side of the threaded area at the top of the jar.
Step 3: Wrap Twine Around The Rim Of The Mason Jar
Begin wrapping the twine around the jar 3-4 times.
Step 4: Secure Wrapped Twine With Hot Glue
Once you’ve wrapped the twine a few times, secure the end with another drop of hot glue.
Step 5: Tie Regular Knot To The Side Of The Mason Jar
Tie a knot to cover the drop of hot glue we made in step 4.
Step 6: Tie Triple Knot
Then, move up about 3-4 inches and tie a triple knot.
Step 7: Add Wood Beads
Thread on three wood beads.
Step 8: Tie Triple Knot
Tie another triple knot on the other side of the beads to hold them into place.
Step 9: Tie Regular Knot To The Other Side Of The Mason Jar
Then, move down another 3-4 inches and tie a final knot. Use some hot glue to secure this knot into place on the opposite side of the jar. You’re going to use this piece of twine to hang your mason jar, so make sure each end is glued to opposite sides of the jar.
Step 10: Wrap Twine Around Knots
Continue wrapping more twine around the threads until the knots are covered.
Step 11: Secure Twine End With Hot Glue
Secure the final end of the twine with some additional hot glue.
Step 12: Add Air Plant To Mason Jar
Pace your air plant into the jar and hang it anywhere in the house where you want to see it!
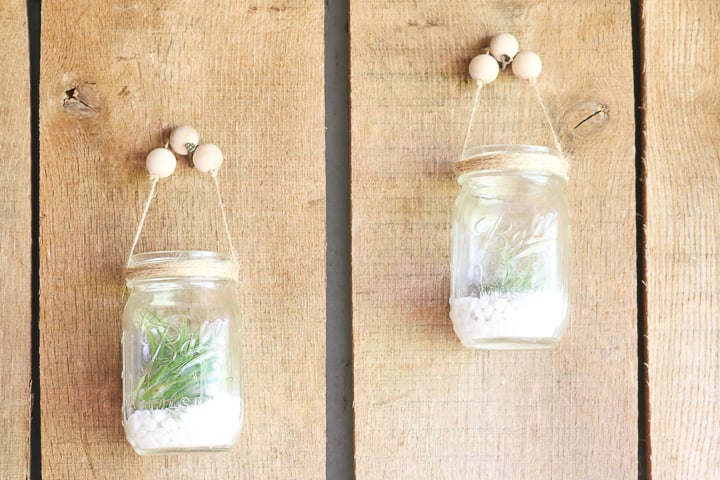
Don’t you just love how these air plant hangers look? Hang them on any wall to display your air plants in a perfect, beautiful rustic style.
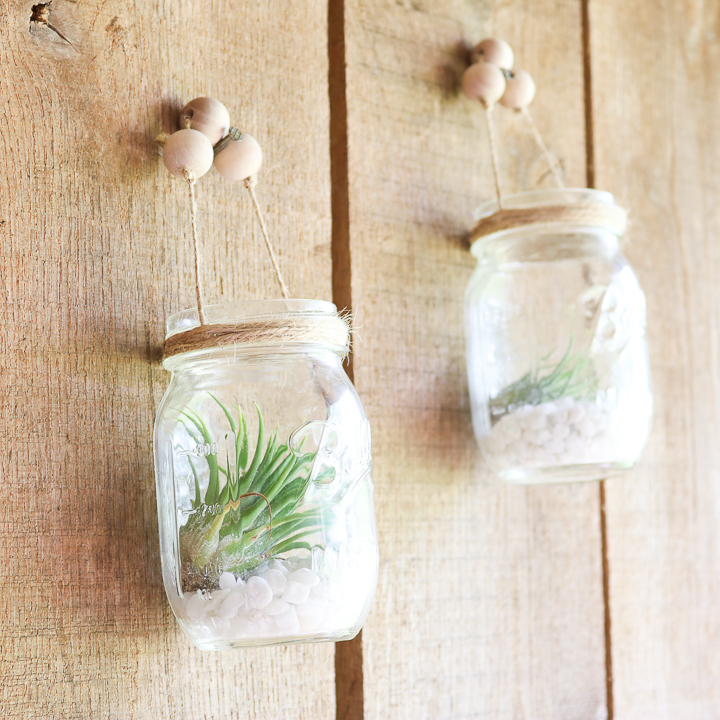
Just look at those adorable air plants inside the jar. I know you’ll love this rustic, gorgeous addition to your home. They look amazing anywhere you hang them!
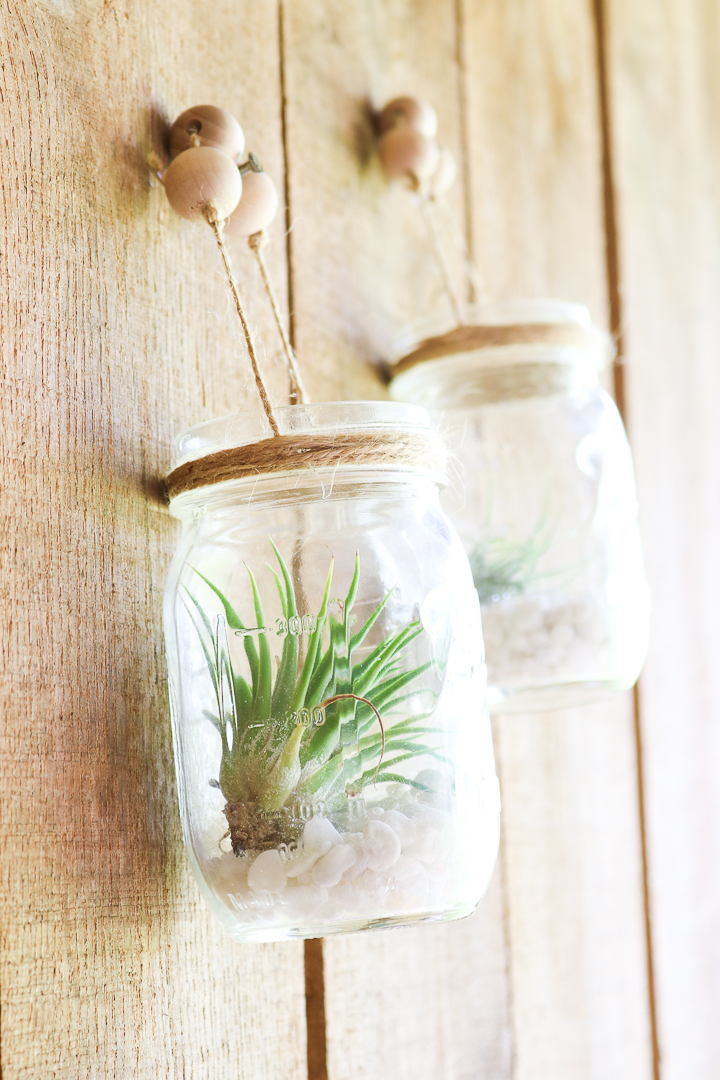
Tip: If you want to add a little variety to this project, try using different rocks inside the jar. You can find them in a variety of colors and they’ll add a fun splash of color. The same goes for the wood beads. You can find them in different colors too!

FAQs About Hanging Air Plant Holder
Here are the answers to some common questions I often get about this project. – Specifically, the questions are about air plants!
What Is An Air Plant?
An air plant is a plant that doesn’t need soil because it absorbs what it needs through its leaves and not its roots. This means that they are low-maintenance plants and are perfect for those who have little time to garden or who don’t have a green thumb.
Are There Different Types Of Air Plants?
Yes! Just like with regular plants, there is a wide variety of air plants that you can choose from.
All air plants come from the Tillandsia genus, so you will usually see that as part of the plant’s name. However, many of them do have nicknames, since the regular name can be a bit long. Below are some popular air plants.
- Tillandsia Ionantha ‘Druid’
- Tillandsia Tectorum
- Tillandsia Kautskyi
If you want to learn more about different types of air plants, I recommend checking out Taste of Home’s 20 Types of Air Plants to Brighten Your Home article to see pictures as well as a brief description of different air plants.
Can I Use Any Type Of Air Plant For This Project?
No. That is because you will need to pick an air plant that can fit inside your mason jar and that you can remove for watering.
However, if you choose a bigger size mason jar, that will give you more air plant options to choose from.
How Do You Take Care Of Air Plants?
Taking care of air plants is very easy since we are not dealing with soil. Instead, the three things we need to be concerned about are ”planting”, watering, and placement.
- Planting – This doesn’t refer to the soil, but to the containers you have your air plants in. For example, in today’s hanging air plant holder DIY we made the perfect container for air plants. This is because they have room to grow, and can easily be watered (which is most important).
- Watering – Unlike regular plants, air plants need to be watered in a certain way. There are different theories on what is the best method, but overall, you would want to take them out of the container and let them soak in water for 20-30 minutes once a week. After the air plants have soaked, you would want to take them out of the water, shake them off, and place them on a towel upside down so any excess water can drain out (for a few hours). Then you would place them back into your container.
- Placement – Since air plants grow in tropical climates, you need to place them in an area that gets bright sunlight, tends to get warm, and where air can circulate.
With all that being said, you should always look up the specific air plant that you have purchased to make sure there is nothing extra you need to do to take care of it.
What Is The Lifespan Of Air Plants?
The lifespan of air plants is 2-5 years, depending on how you care for them and the propagation method that you use.
Are Air Plants Toxic?
No! Air plants are considered non-toxic and are safe for kids and pets.
5 More Mason Jar Crafts
If you loved this hanging air plant holder, you’re going to love these other mason jar craft ideas!
- How to Make a Mason Jar Soap Dispenser
- Fairy Nightlight in a Mason Jar
- Mason Jar Gift Ideas with a Fairy Garden Top
- Mason Jar Tissue Holder with Your Cricut
- Fairy Lantern in a Mason Jar
A Year of Jar Crafts

Sign up for our email list to get a FREE book with an entire year of jar crafts! 12 months, 12 crafts, tons of fun!


