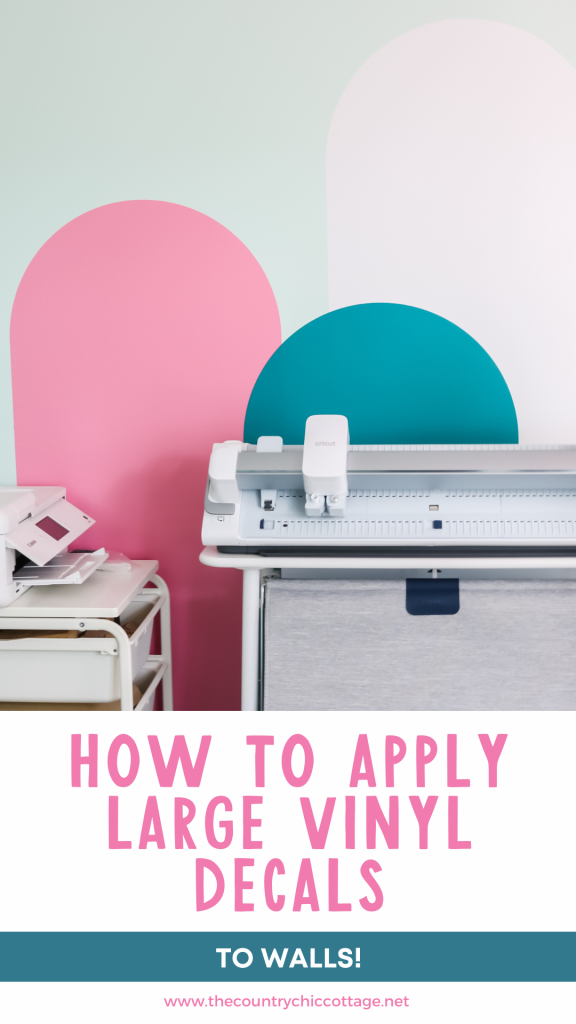
Today we’re going big! I’m going to teach you how to apply large vinyl decals to walls. If you’ve ever wanted to create your own wall murals, you’re going to love my tips and tricks for applying vinyl with and without transfer tape.
I am using my Cricut Venture for this giant wall mural. Whether or not you own a Venture, you can use these tips and tricks to create beautiful wall murals. Want to learn more about Cricut Venture and all it can do? Check out my Cricut Venture Ultimate Guide today.
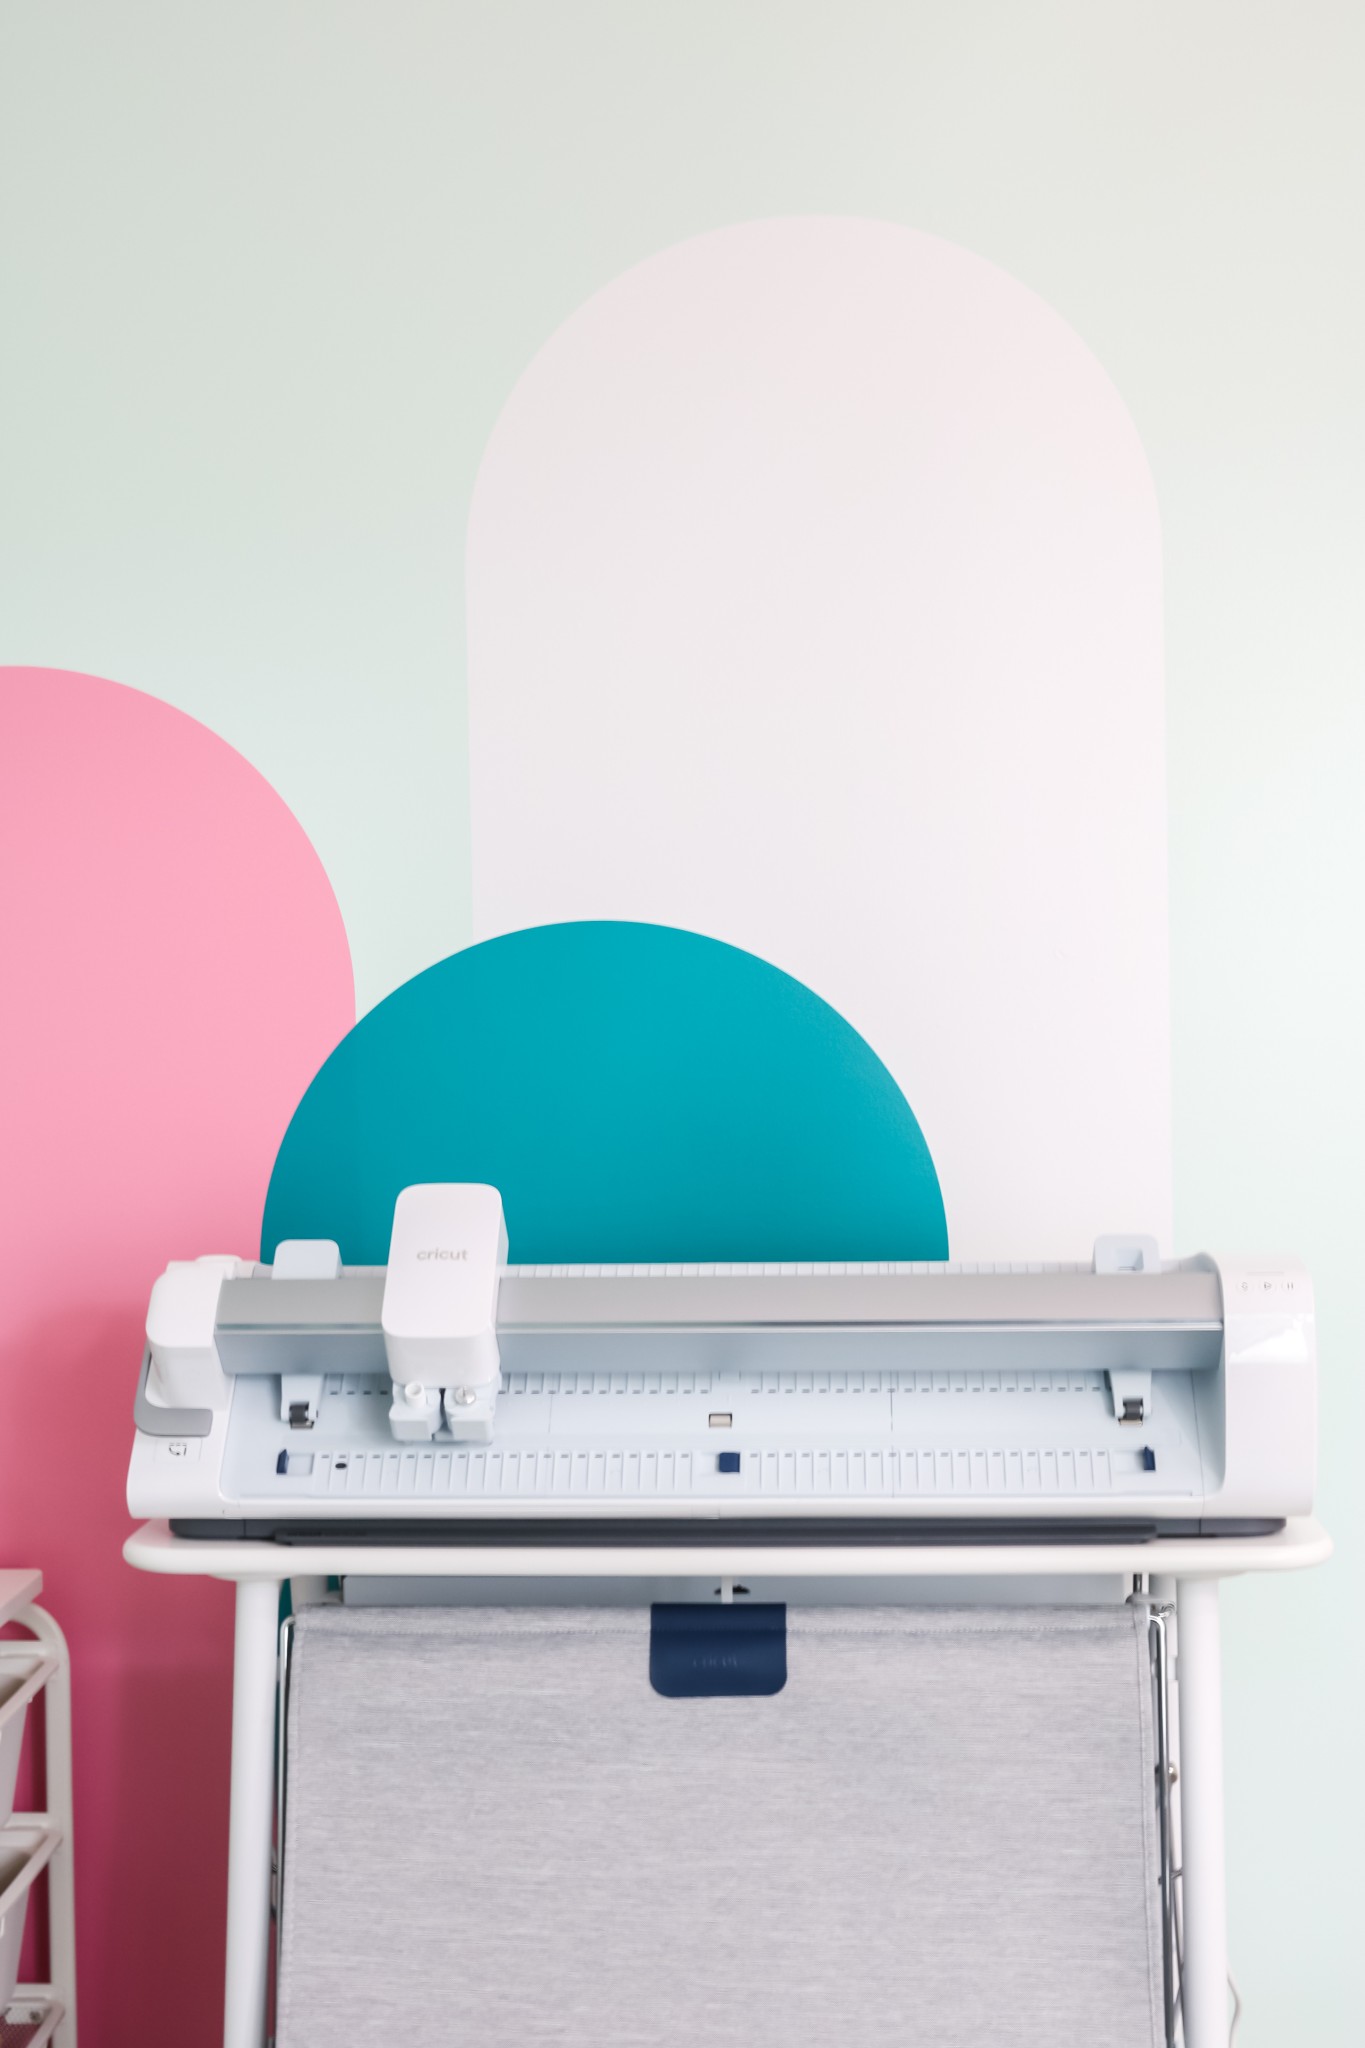
Large Vinyl Decals
You can actually watch me walk you through the whole process of creating this wall mural by pressing play on the video below.
In the video, you’ll see the tools I use to apply transfer tape to vinyl straight. What type of vinyl do I recommend for these projects, and my tips for applying decals straight on the wall.
Supplies Used
- Cricut Machine (Where to Purchase Cricut Venture: Cricut, HSN, and Michaels)
- Cricut Smart Vinyl
- Weeding Tools
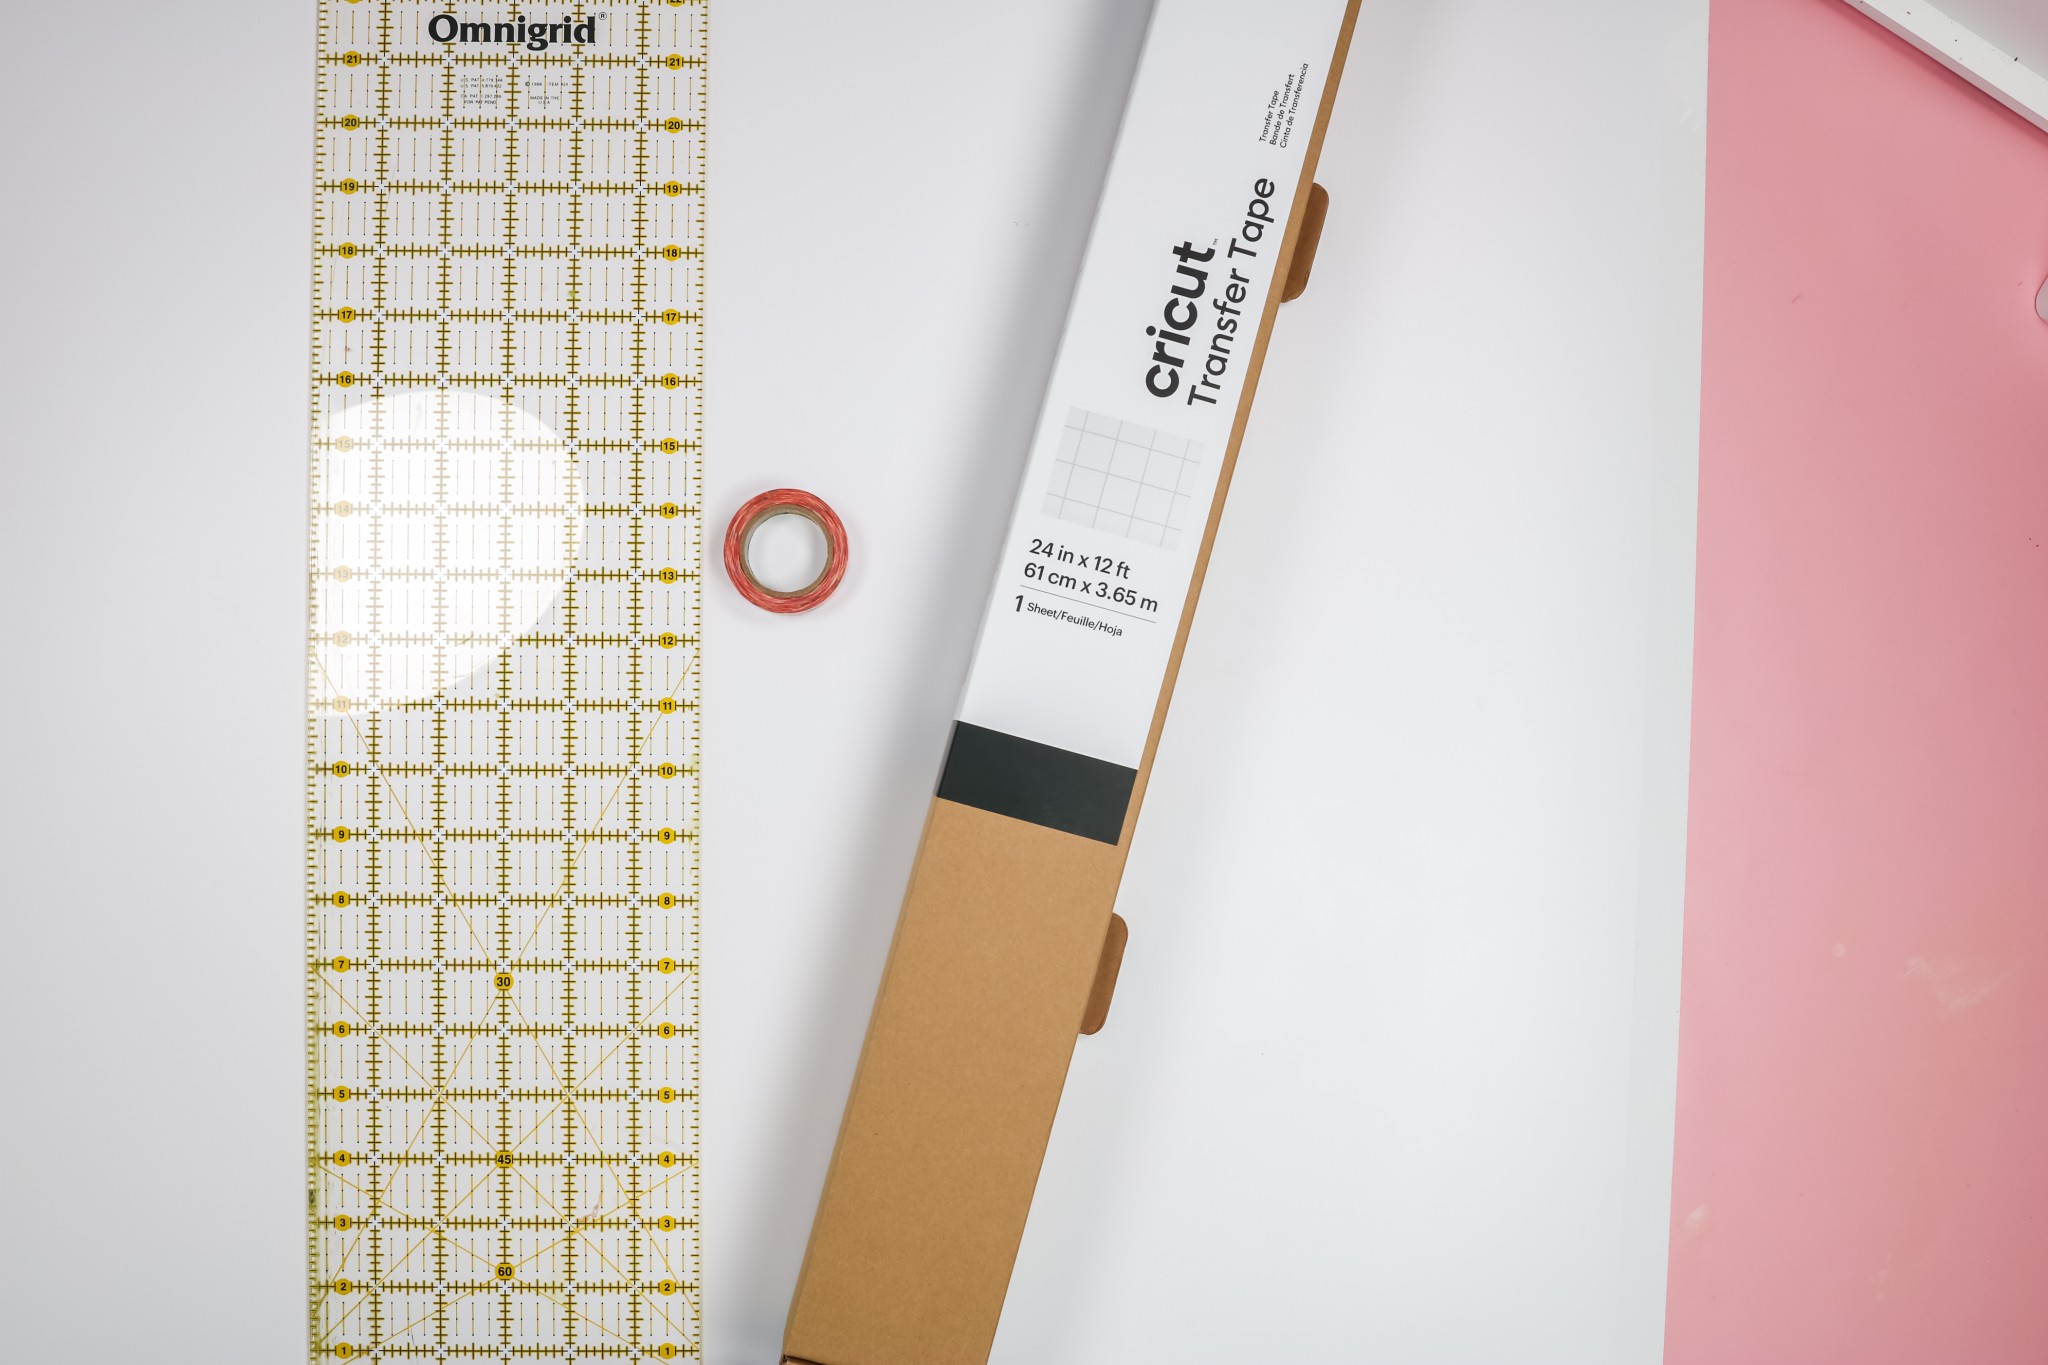
- Transfer Tape
- Auto Cutoff Blade
- Scraper
- Painter’s Tape
- Quilting ruler
- Level
- Tape Measure
What Type of Vinyl Should You Use for Wall Murals?
For this project, I am using Cricut Smart Removable Vinyl. I always use removable vinyl when I’m applying vinyl to walls.
Cricut removable vinyl can be applied to walls and left for up to 2-years without damaging the surface. Always make sure you check the specific material you’re using to see how long they say it can be applied to surfaces without causing damage.
Whether you use permanent or removable vinyl for your project, the process will be the same.
How Long Should Paint Dry Before Applying Vinyl to a Wall?
Whether you’re applying vinyl to a painted wall or sign it’s important the paint is dry before applying vinyl. I always recommend 72 hours of drying time to ensure the paint is completely dry. If you apply vinyl to paint that is not dry, the adhesive will not stick and can ruin the paint.
If your vinyl isn’t sticking to the surface, it’s likely because the paint is not dry enough.
We’ve talked about the type of vinyl we’re using and how long the paint should dry let’s look at how to cut out our design.
Cutting Smart Vinyl on a Cricut Venture
Since I am cutting a large wall mural I am using my Cricut Venture. I am also using Smart Vinyl. This means I do not need to use a cutting mat.
If you want to learn more about cutting vinyl on the Venture, check out my video here. For this project, my design is simple but large.
Once the design is cut out, use a weeding tool to remove excess vinyl leaving only the design.
How to Add Transfer Tape to Large Vinyl Cutouts
Once you have the vinyl cut, you will probably want to apply transfer tape to the vinyl before transferring to your surface.
Do You Need Transfer Tape?
I know you’re probably asking yourself if we actually need transfer tape for this project. Because the design is one solid piece I’m going to test applying the design to the wall with and without transfer tape to show you how both options work.
If your design has multiple pieces or small details, you’ll definitely want to use transfer tape.
What Type of Transfer Tape Should You Use?
First of all, you should use the transfer tape that is recommended for the vinyl you’re using. Since I am using Smart Removable Vinyl I will be using Standard Grip transfer tape. You also want to make sure the transfer tape is as large or larger than the piece of vinyl you’re using.
My decal is 24 inches wide. My transfer tape is also 24 inches wide. That means it should fit my decal perfectly. With both materials being the same size, it’ll be very important to make sure they’re lined up carefully.
How to Keep Transfer Tape Straight
To keep your transfer tape straight, make sure that as you start it is lined up perfectly. To do this, I begin by using removable tape to hold my cutout in place.
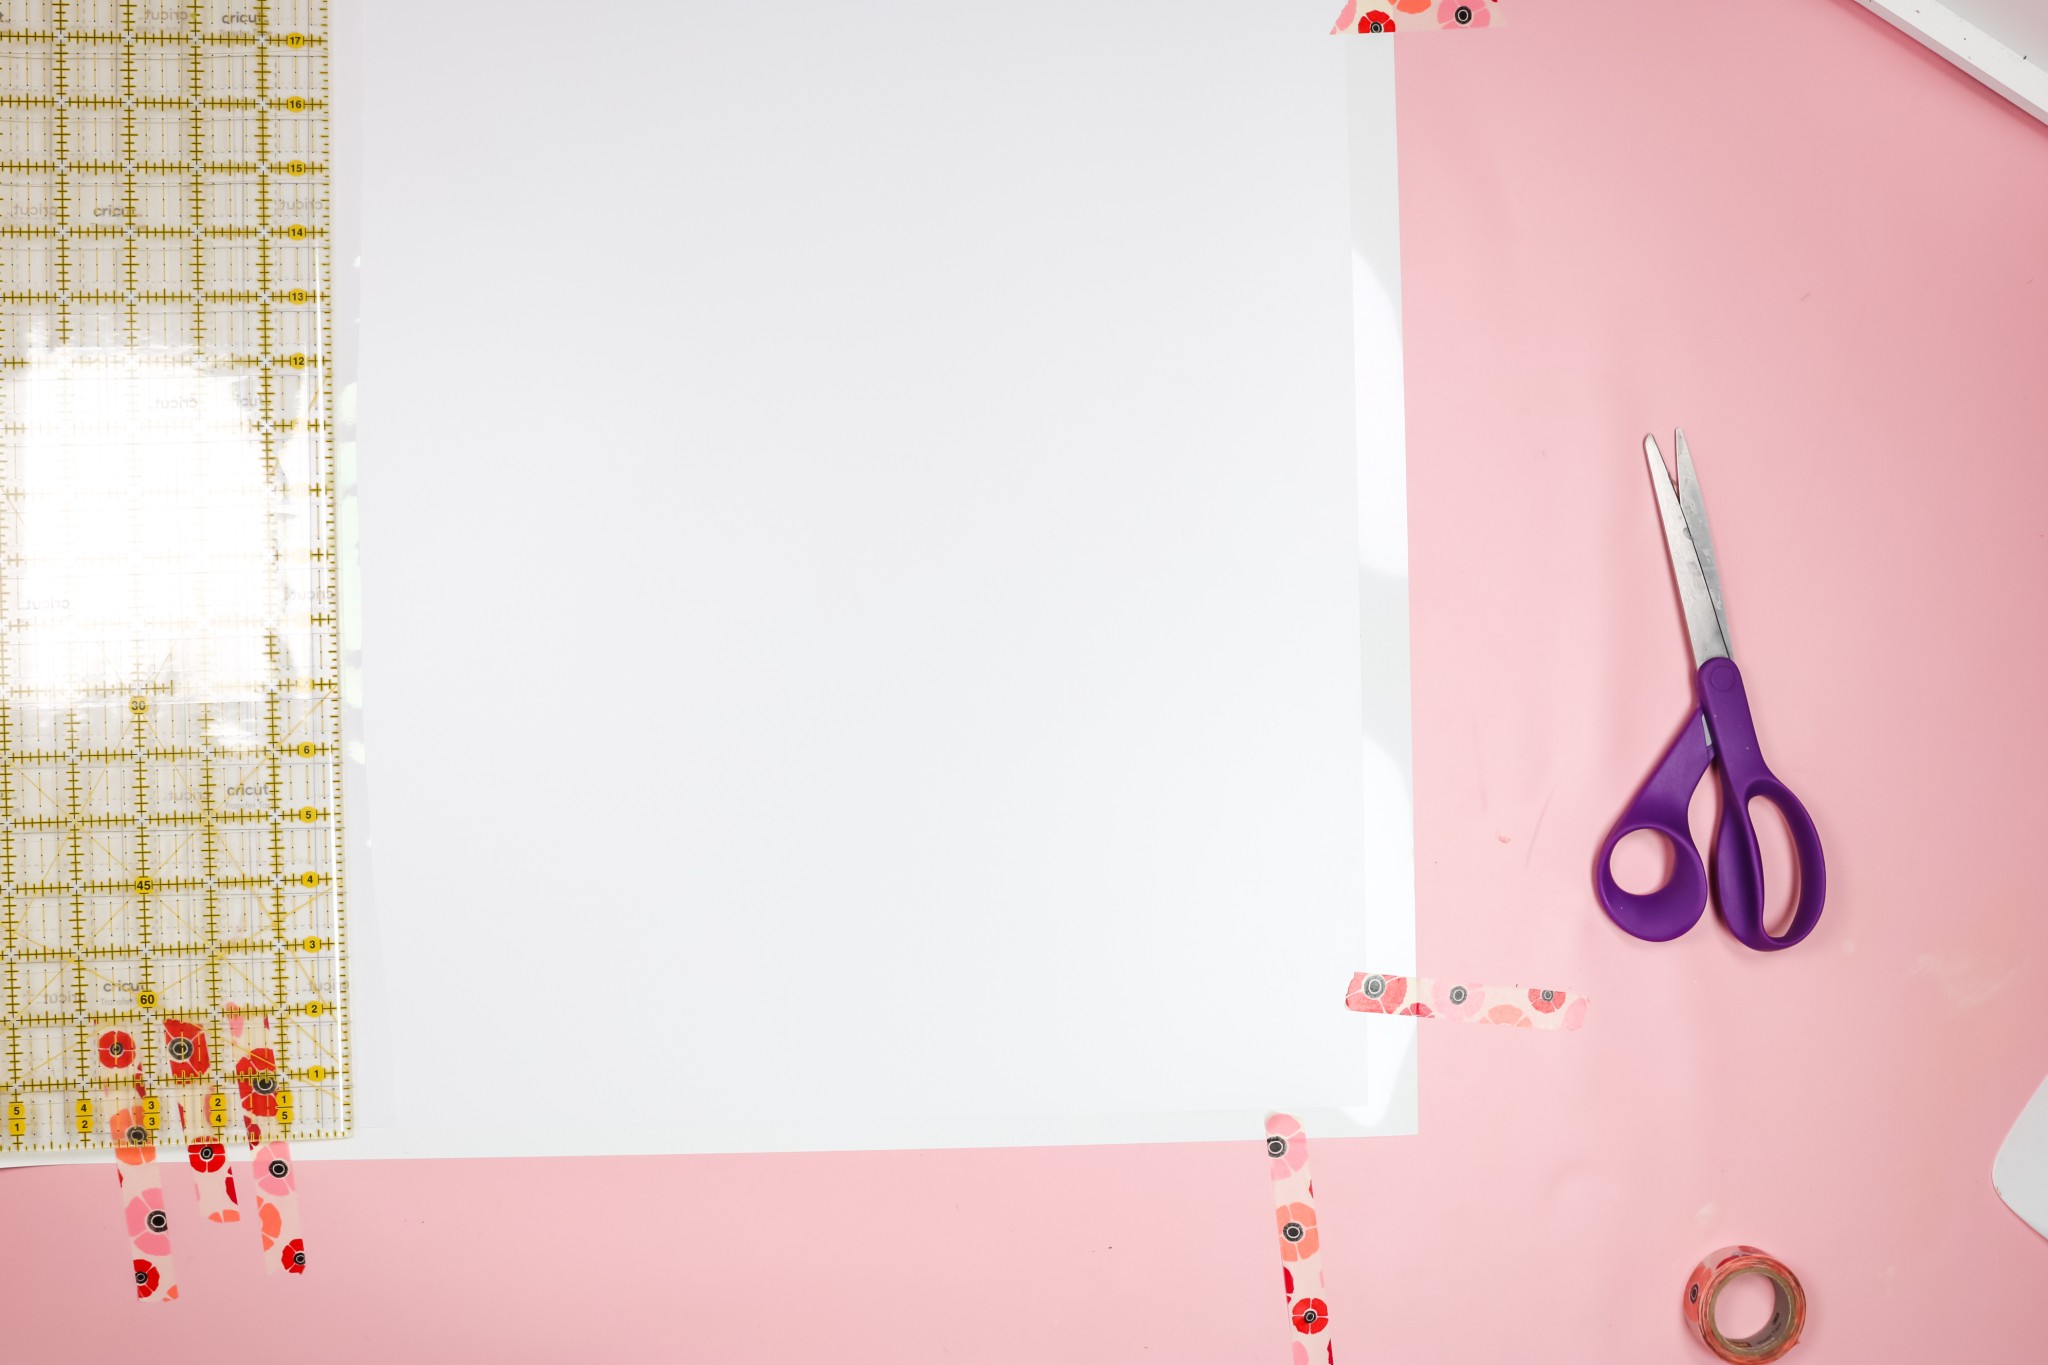
You can see I’m using tape in a few places to ensure my vinyl doesn’t move. With the vinyl taped in place, roll out the transfer tape and line it up.
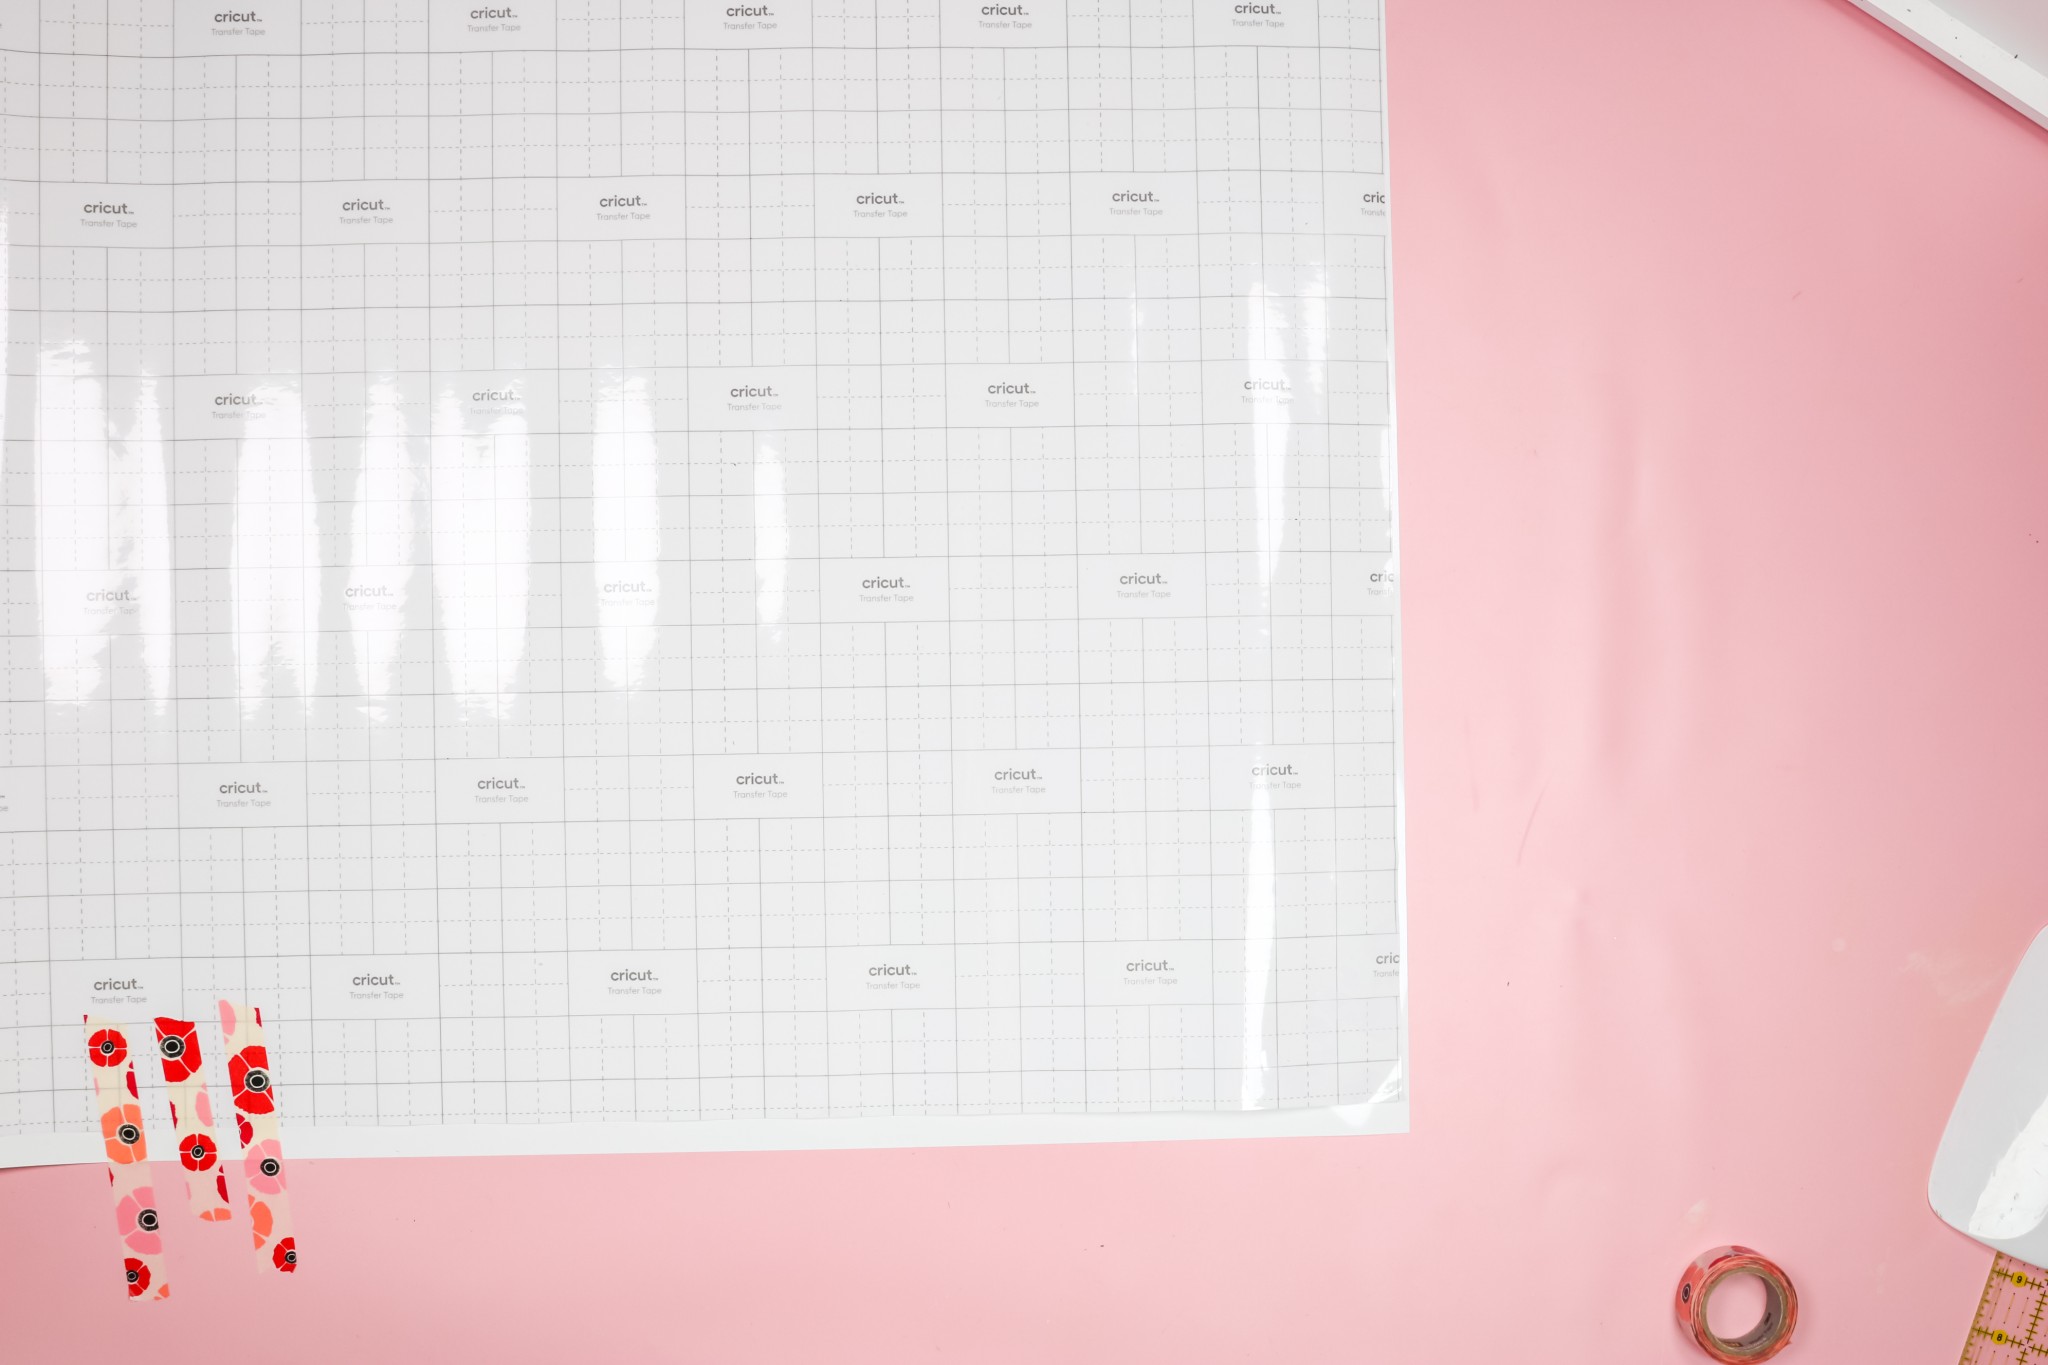
With the transfer tape laid out straight on the vinyl, without removing the carrier sheet, tape the transfer tape in place.
By taping it in place a foot or so down the roll we are able to use the hinge method which should help us keep everything lined up correctly.
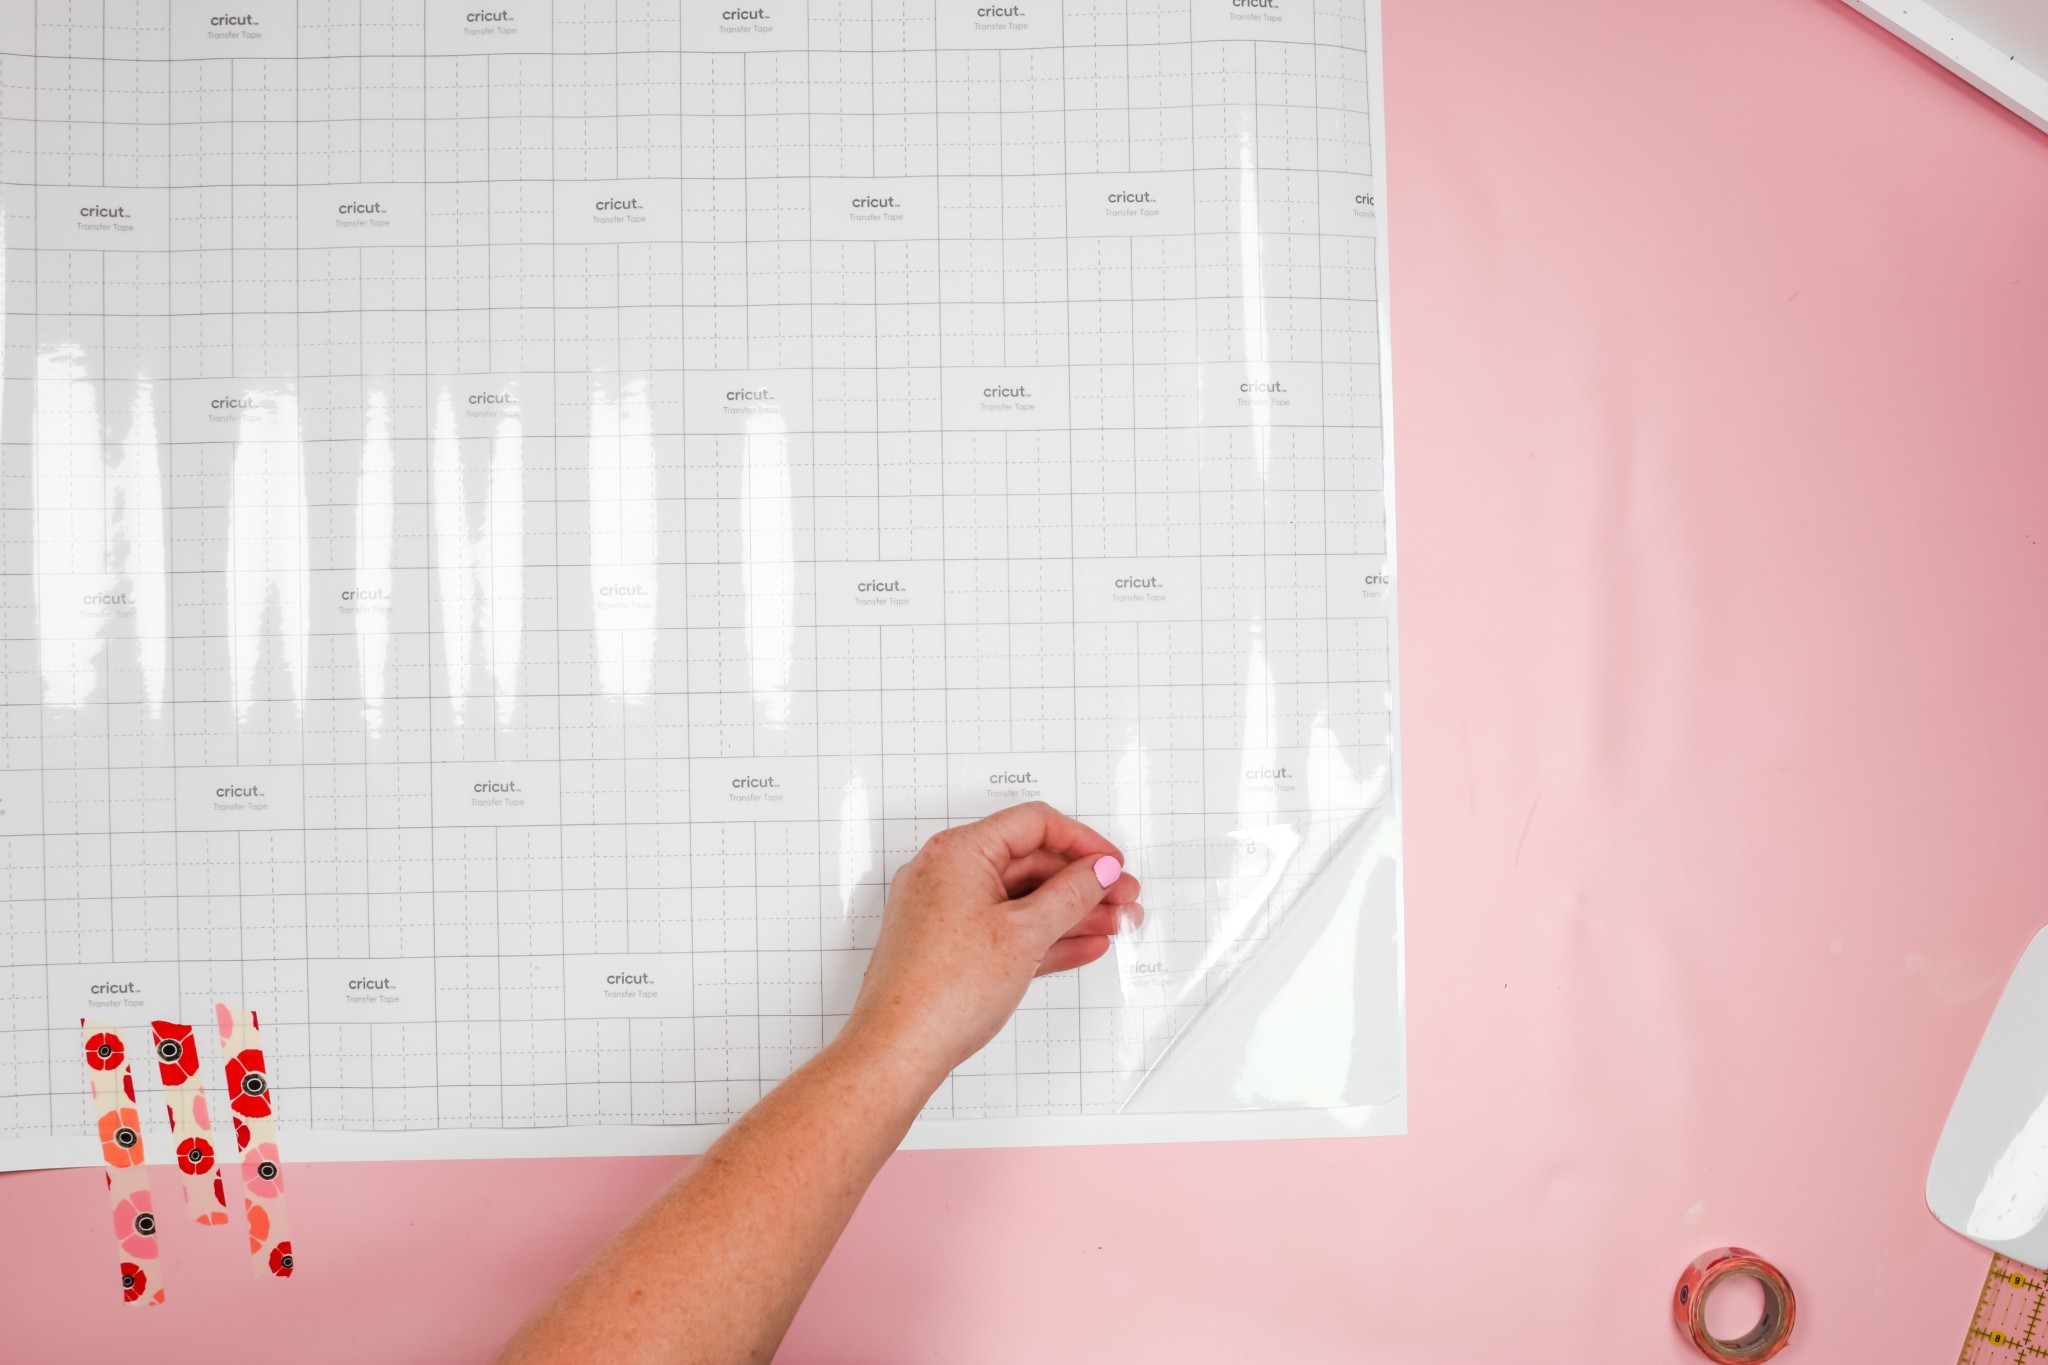
Carefully peel the transfer tape away from the carrier sheet. Make sure you don’t move the vinyl or transfer tape around.
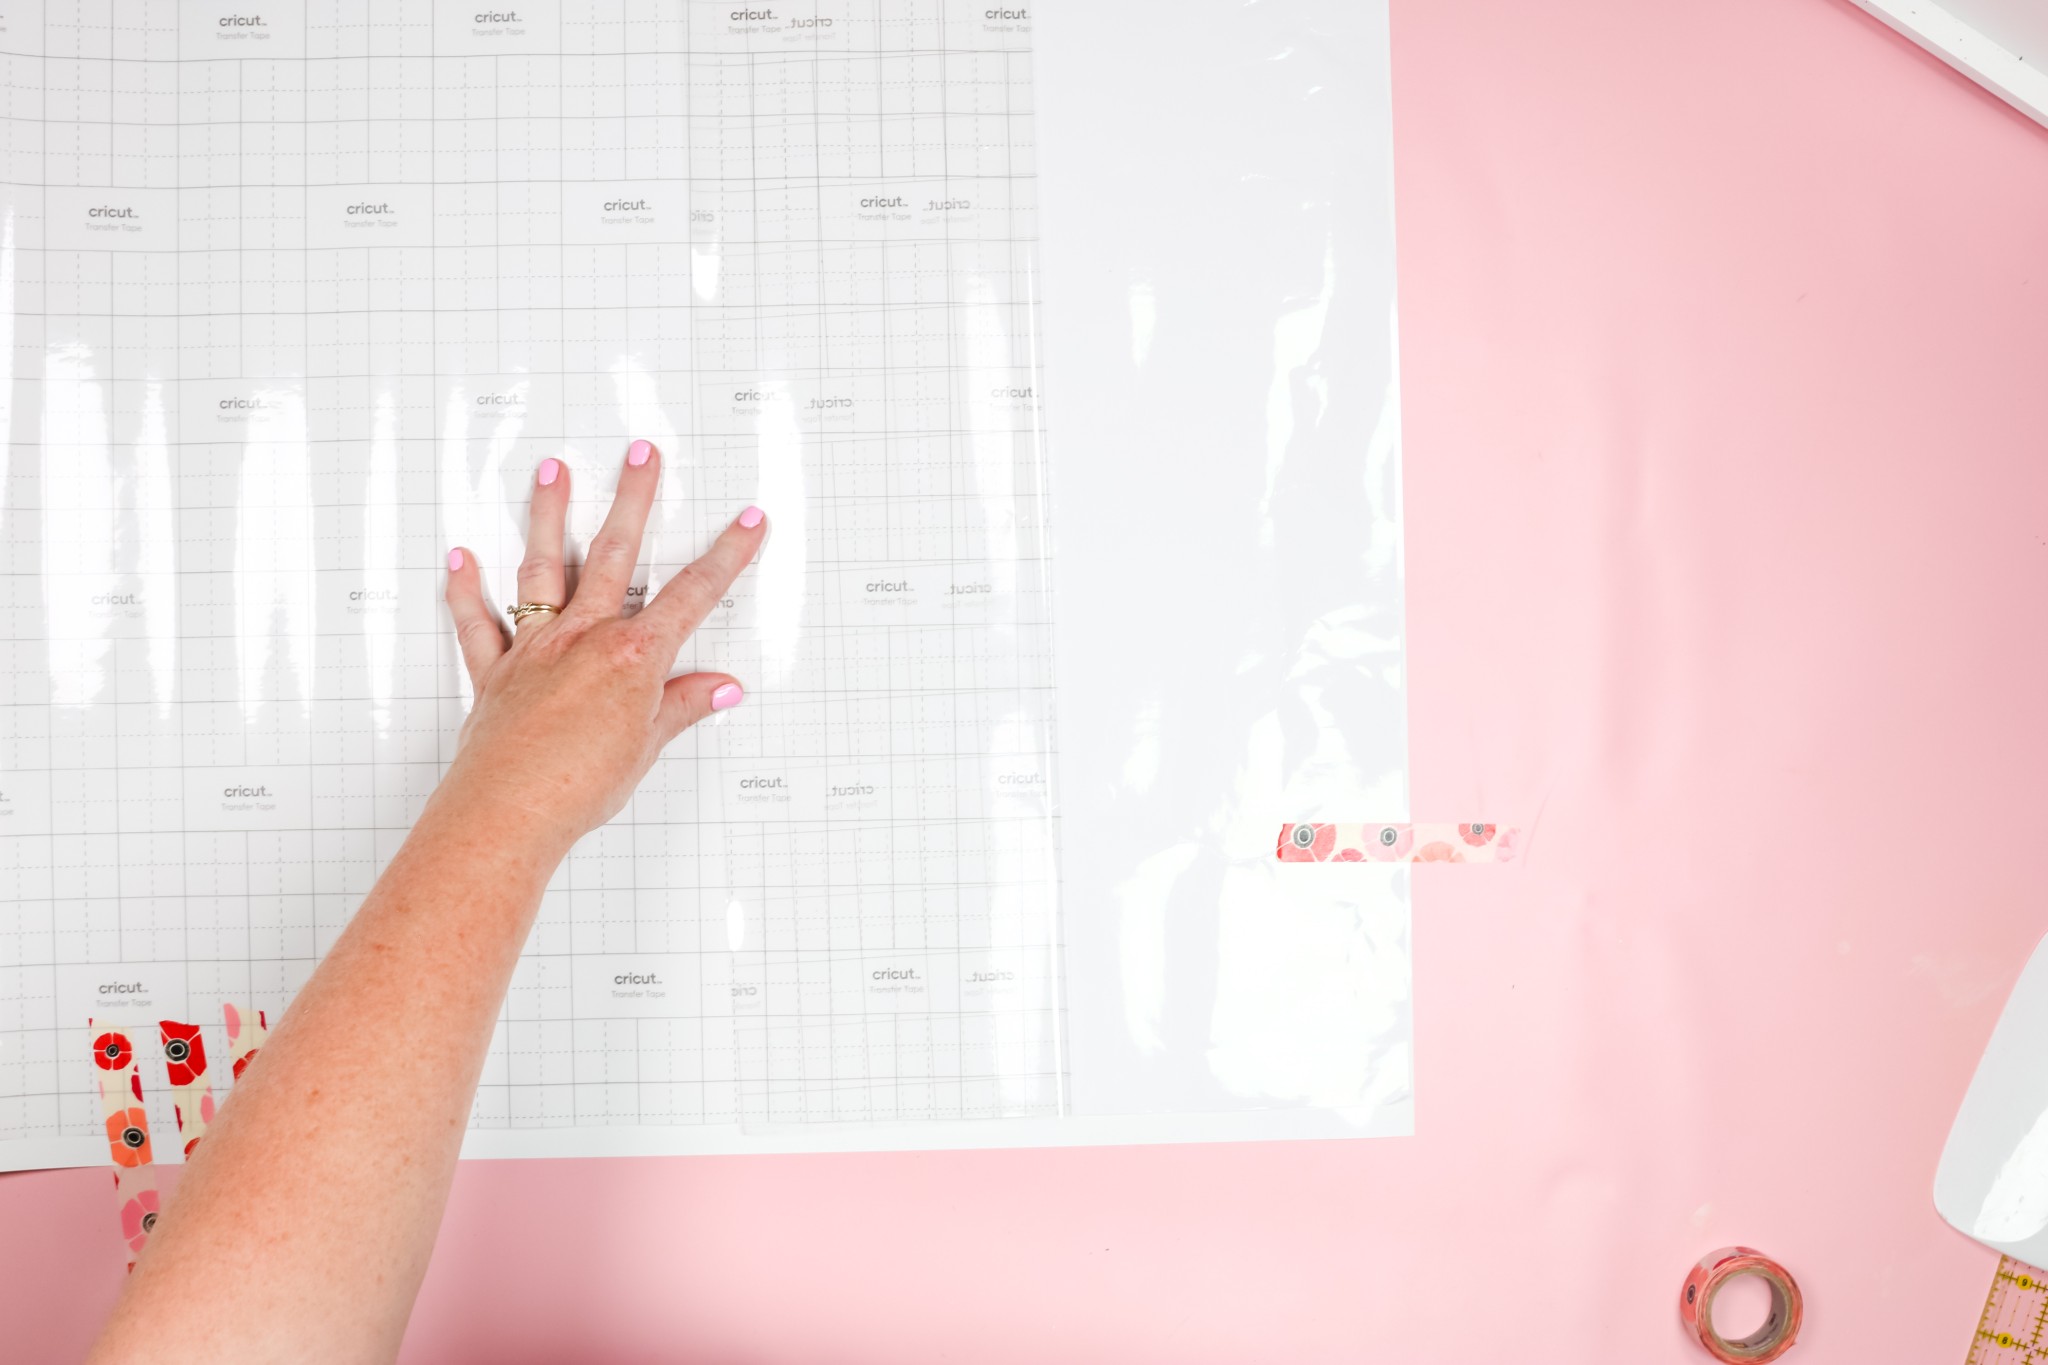
I find it can be helpful when I’m separating the transfer tape from the carrier sheet to use a little piece of tape to hold the carrier sheet in place so it doesn’t continue to roll up and stick to the transfer tape.
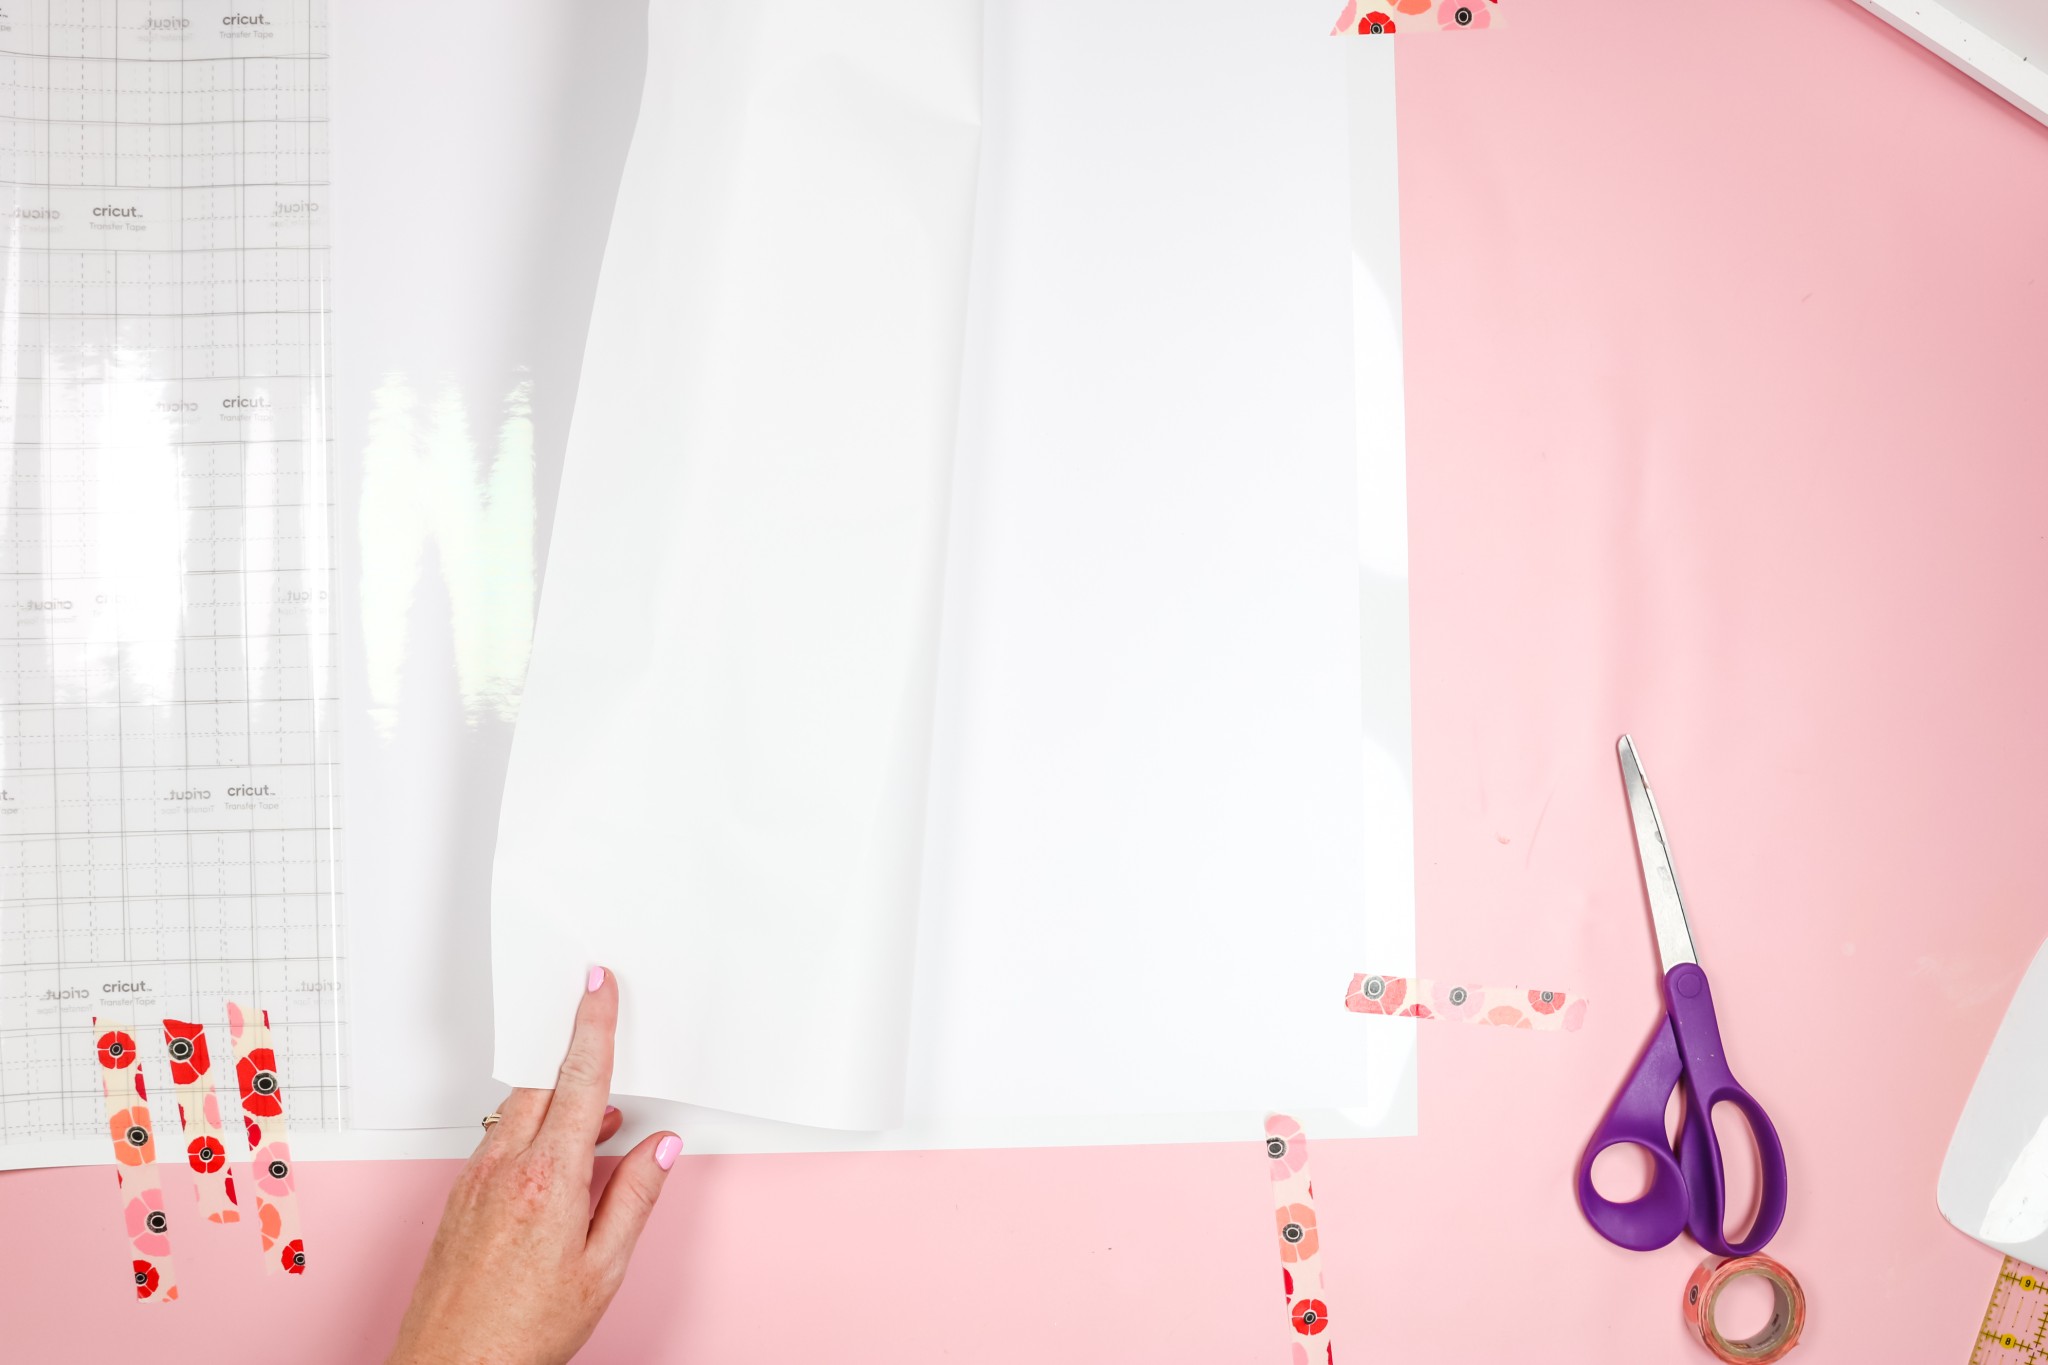
Once you have the transfer tape peeled back to where it’s taped into place, grab your scissors and cut away the carrier sheet.
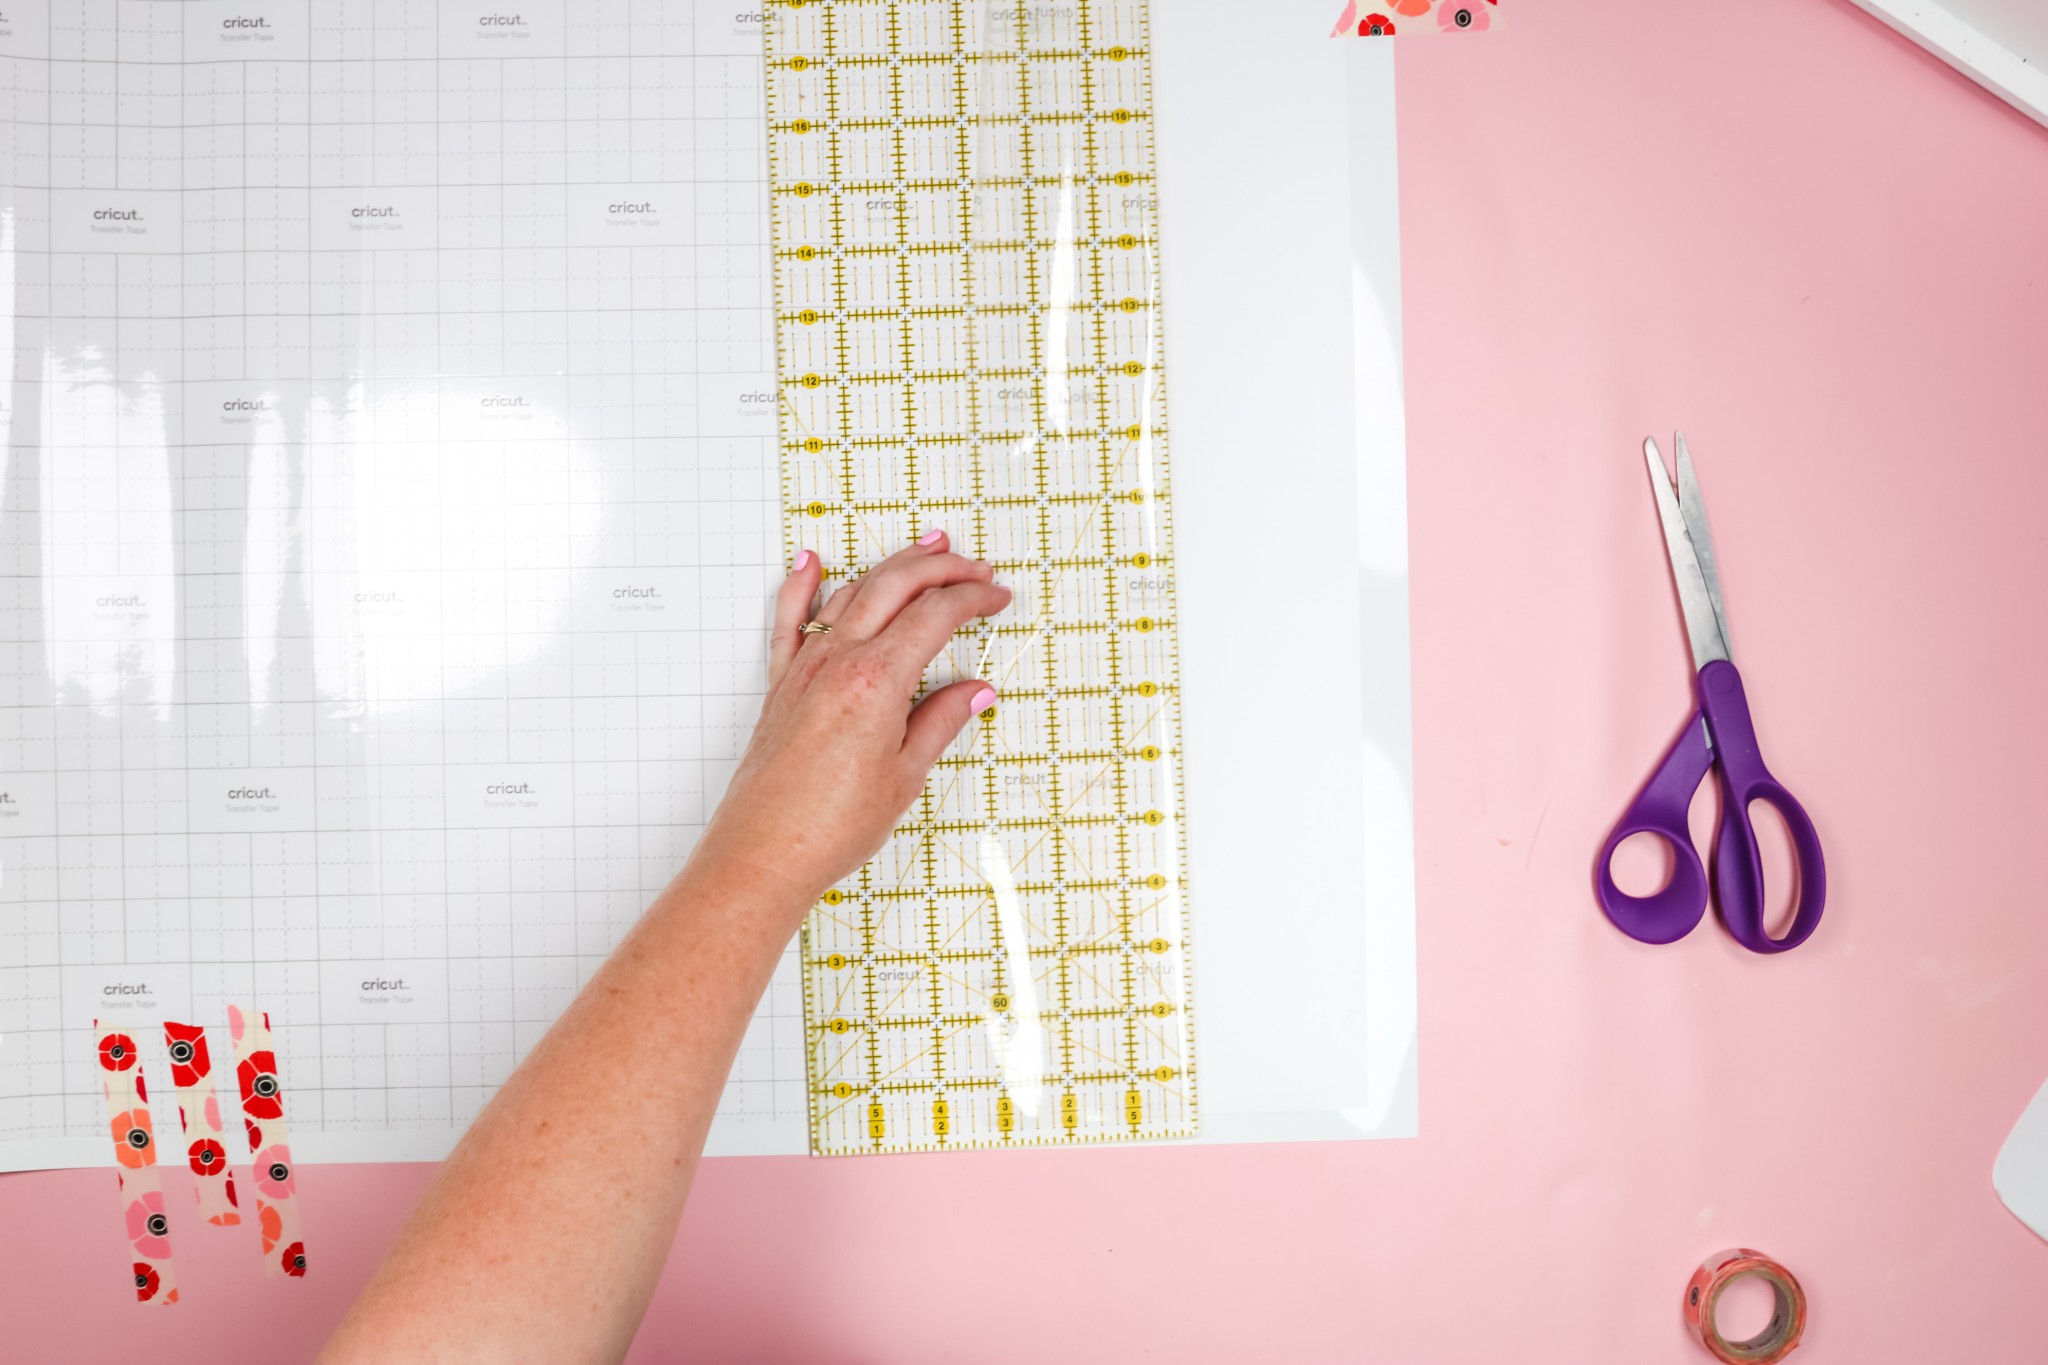
Now the goal is to smooth that transfer tape onto the vinyl decal. Use your scraper tool or a quilting ruler like I am to smooth it down onto the vinyl and make sure you’re getting out all the bubbles. I like the large quilting ruler as it is long enough to go over the entire transfer tape surface at once.
Burnish this will over the entire surface to stick it down. Ensure that these first few inches are lined up perfectly.
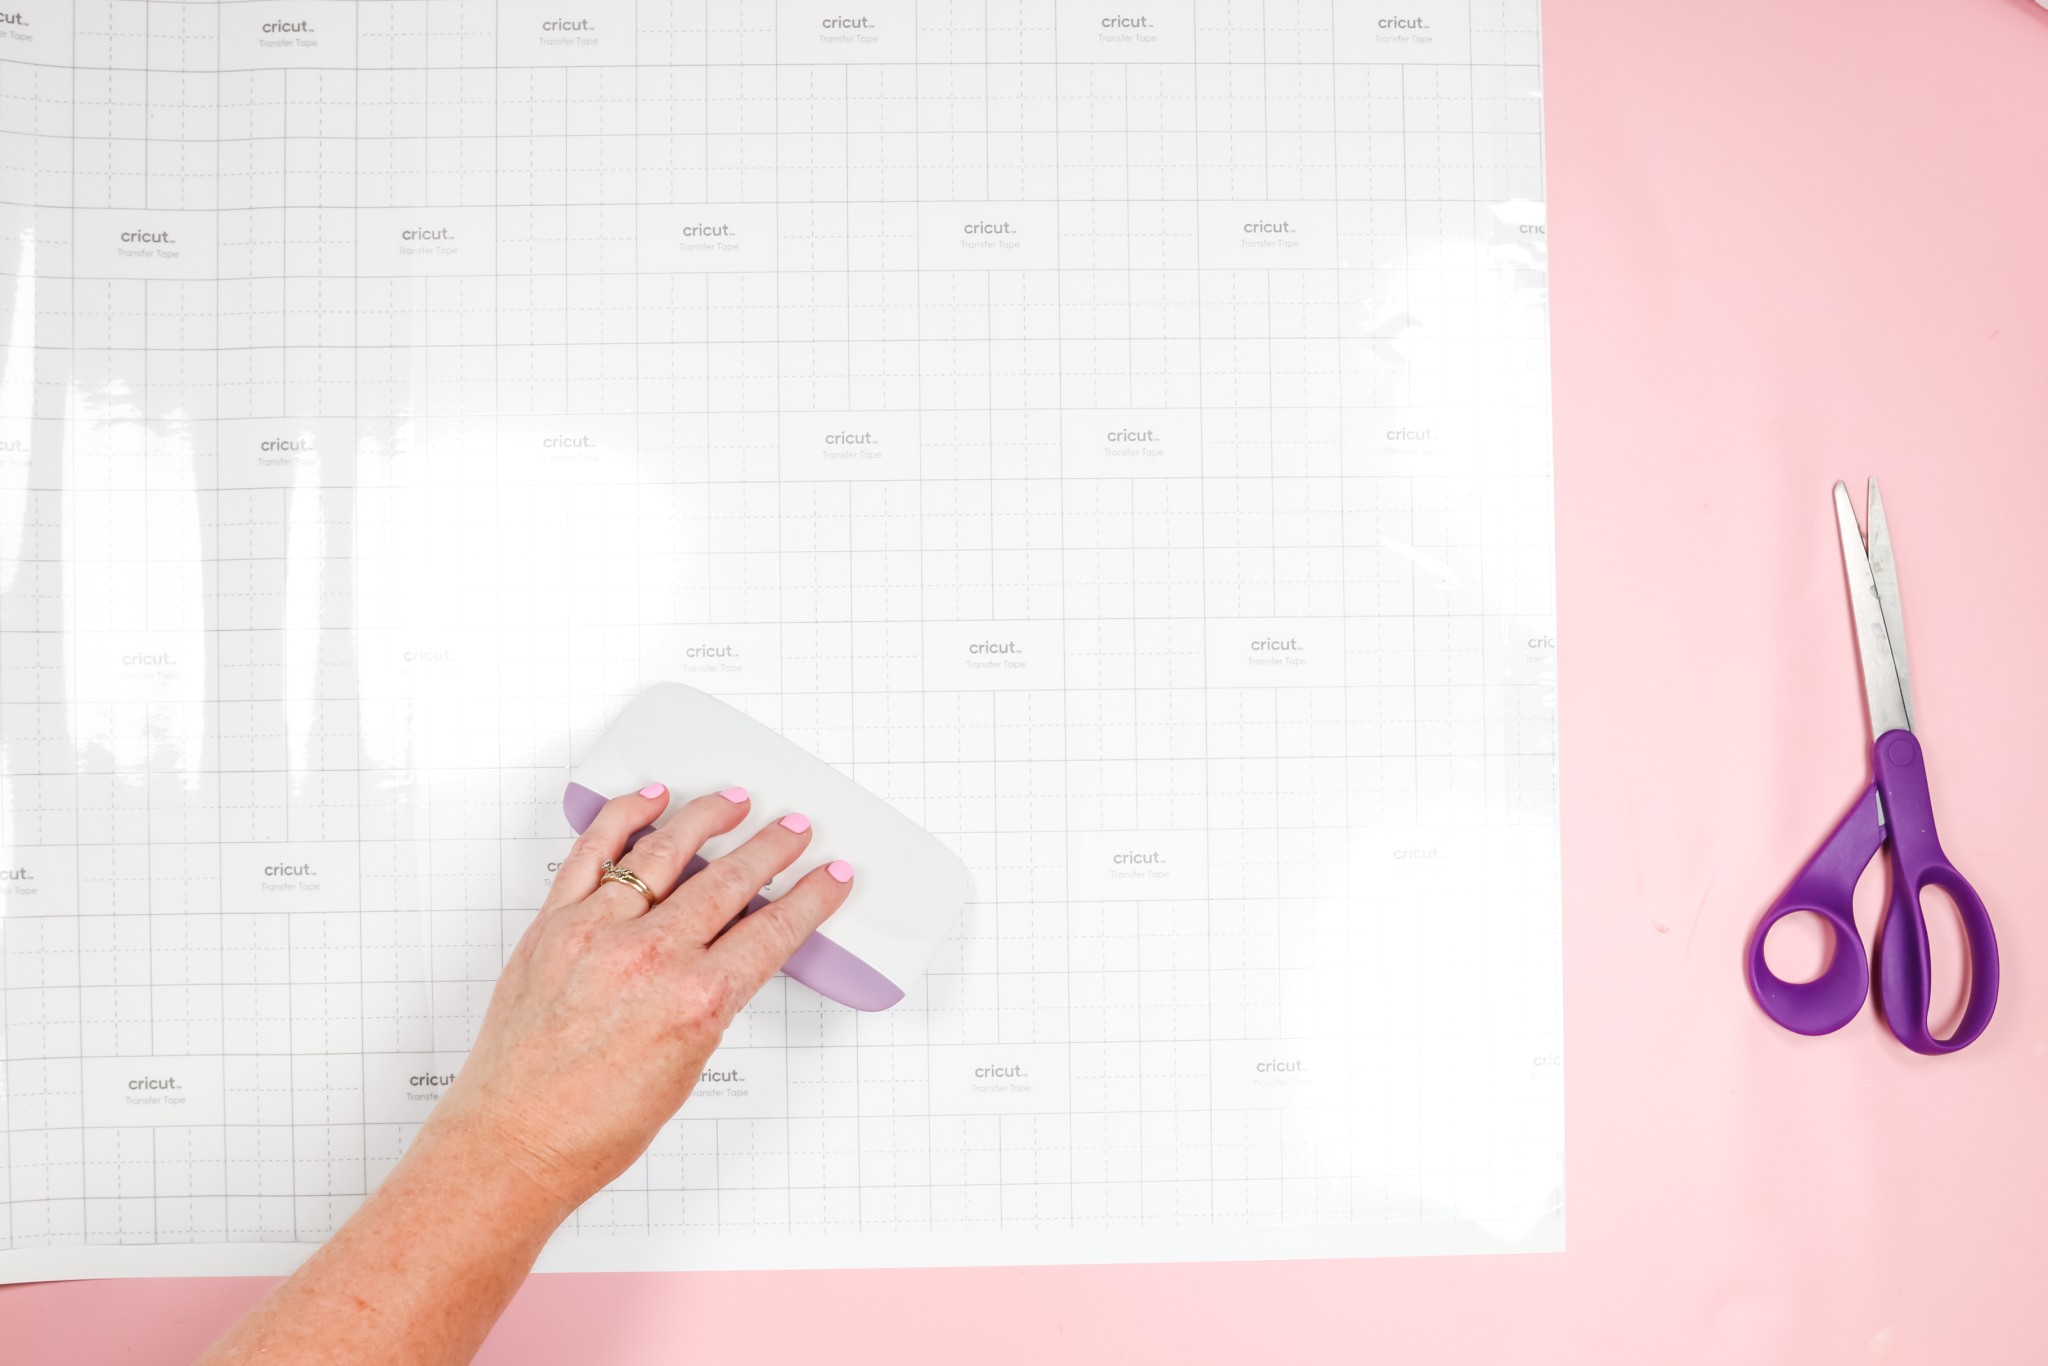
Tips for Applying Transfer Tape to Giant Vinyl Decals
Because we’re using such a large piece of vinyl and transfer tape I have a few tips to help you take care of the different adhesives so they don’t stick where you don’t want them.
Now that we have the transfer tape applied to the top part of the vinyl and we’ve ensured it was lined up correctly we can remove the tape we had holding it in place and prepare the rest of the roll of transfer tape.
First of all, I prefer to work with the whole roll of transfer tape. There is nothing worse than thinking you have it measured correctly and having it be too long or too short. This way wastes the least amount of material.
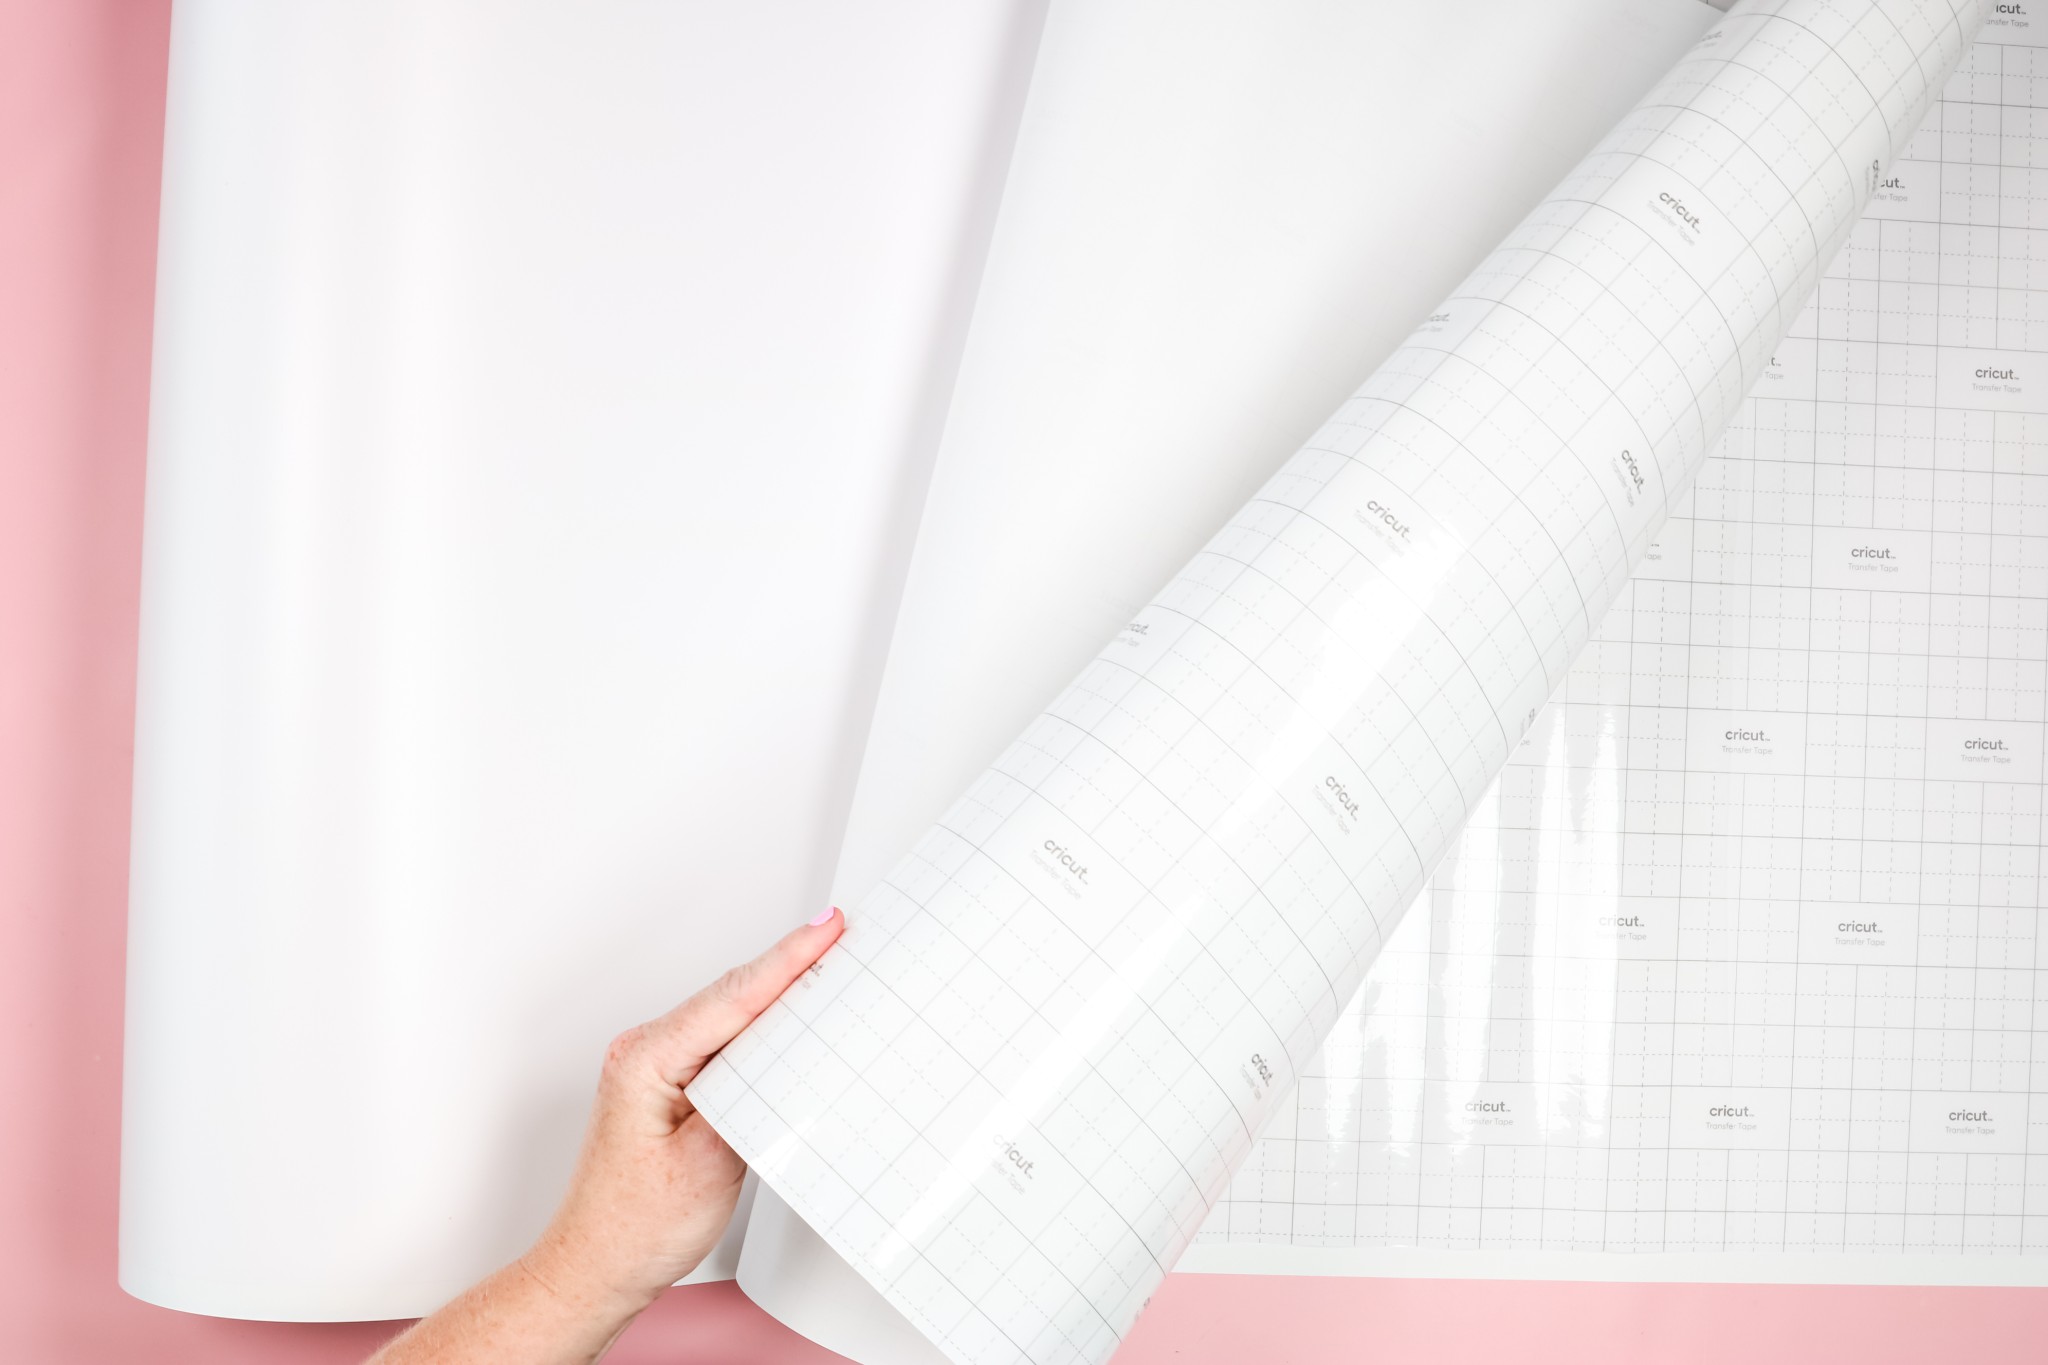
Unroll the whole roll of transfer tape and then roll it back up in the opposite direction.
How to Use a Quilting Ruler to Apply Transfer Tape
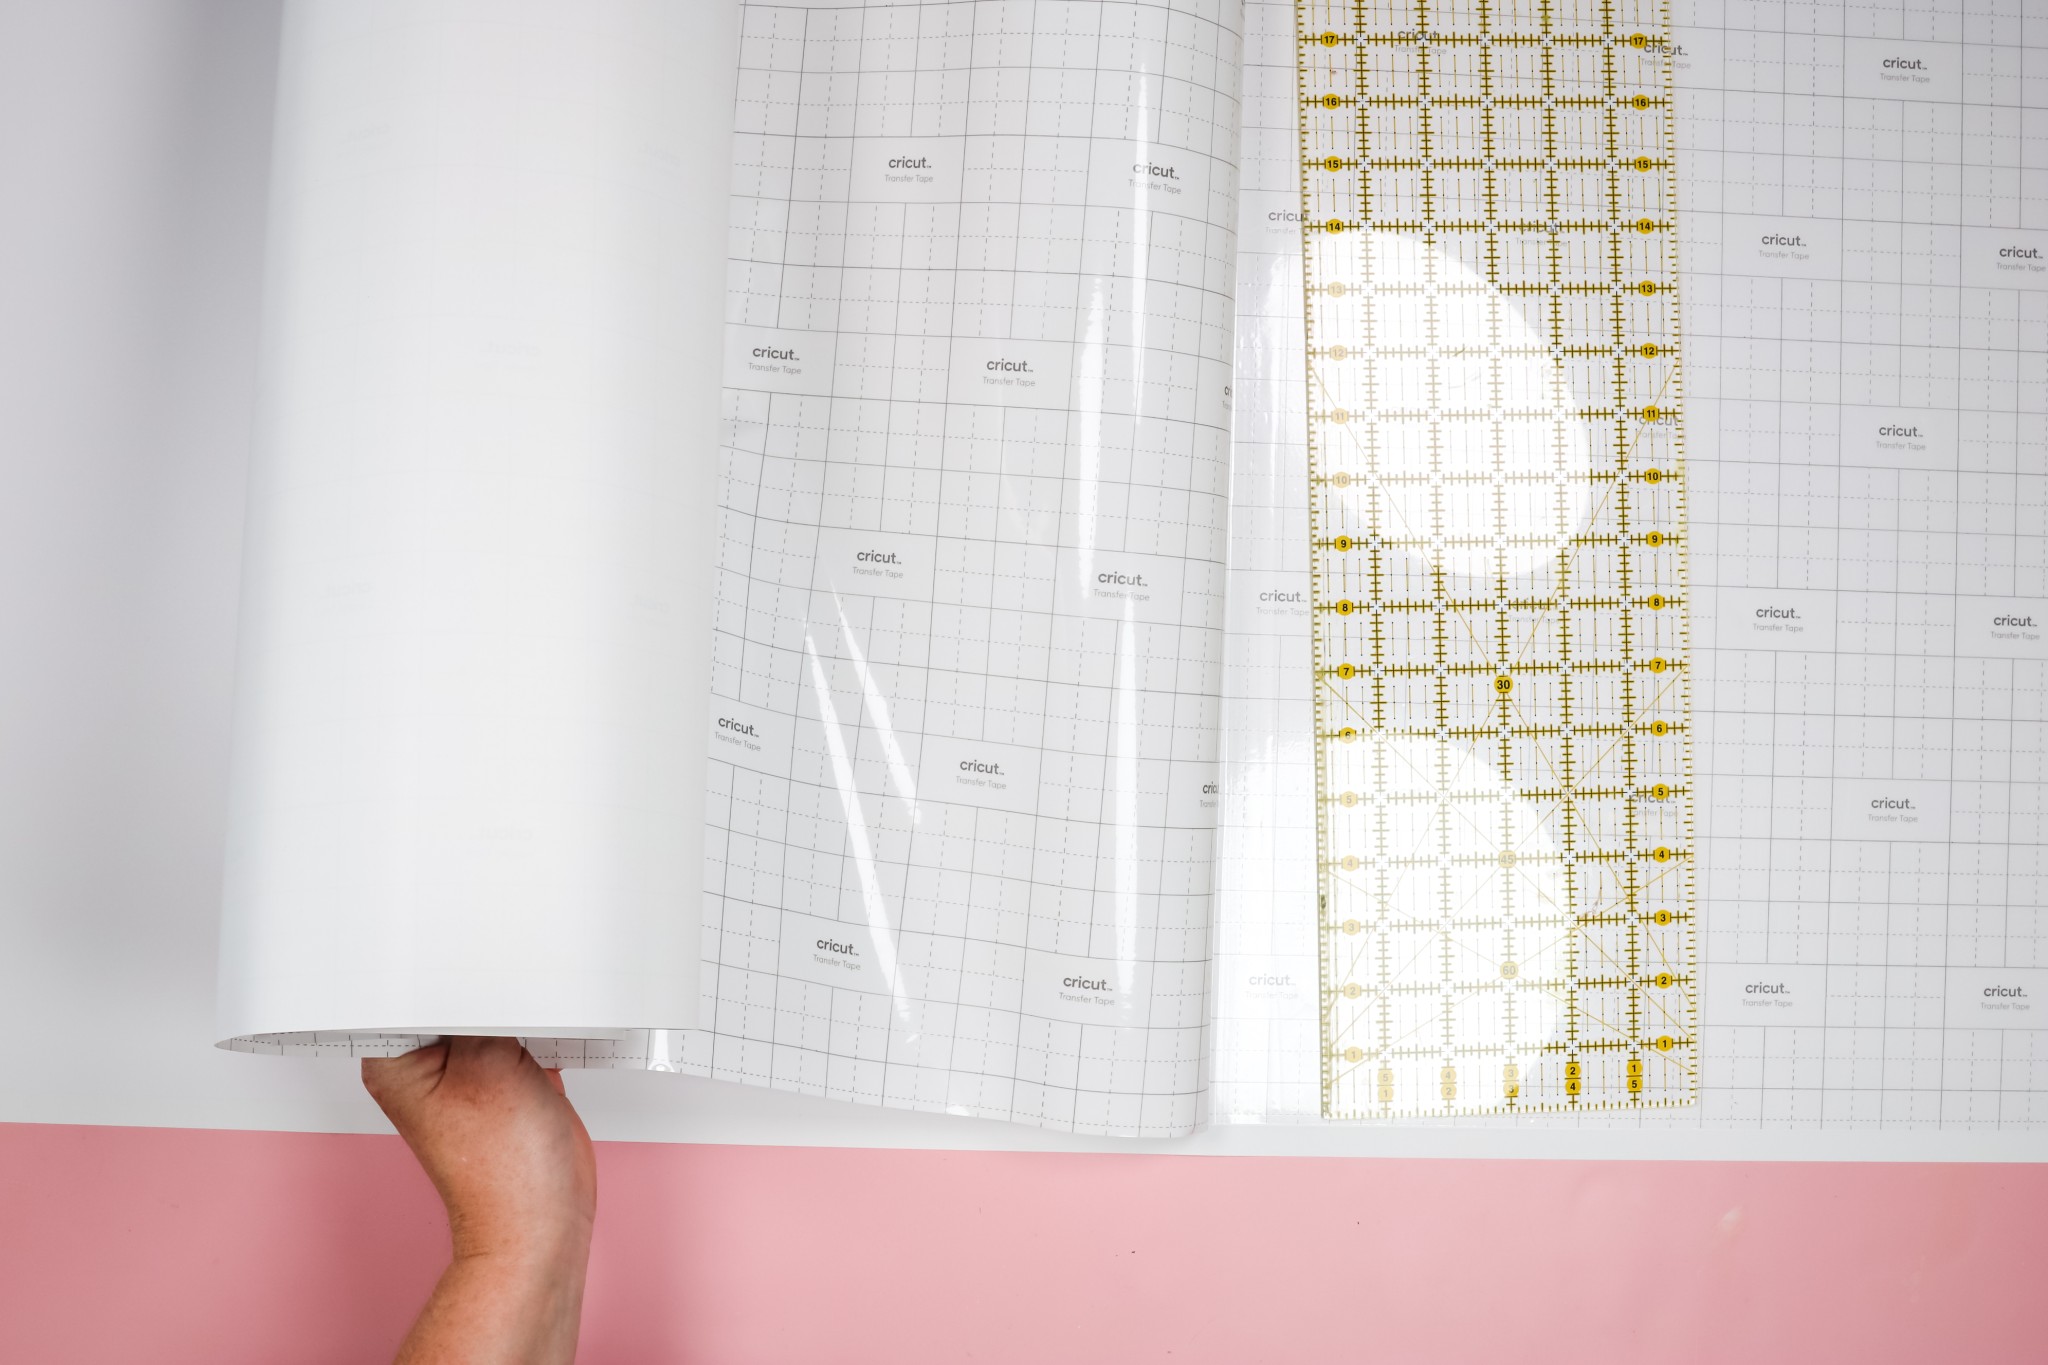
With the transfer tape rolled in the opposite direction, you’re able to use the quilting ruler to smooth the transfer tape into place while peeling back the carrier sheet.
I still have the top end of the vinyl decal and transfer tape taped down so it doesn’t slide during this step.
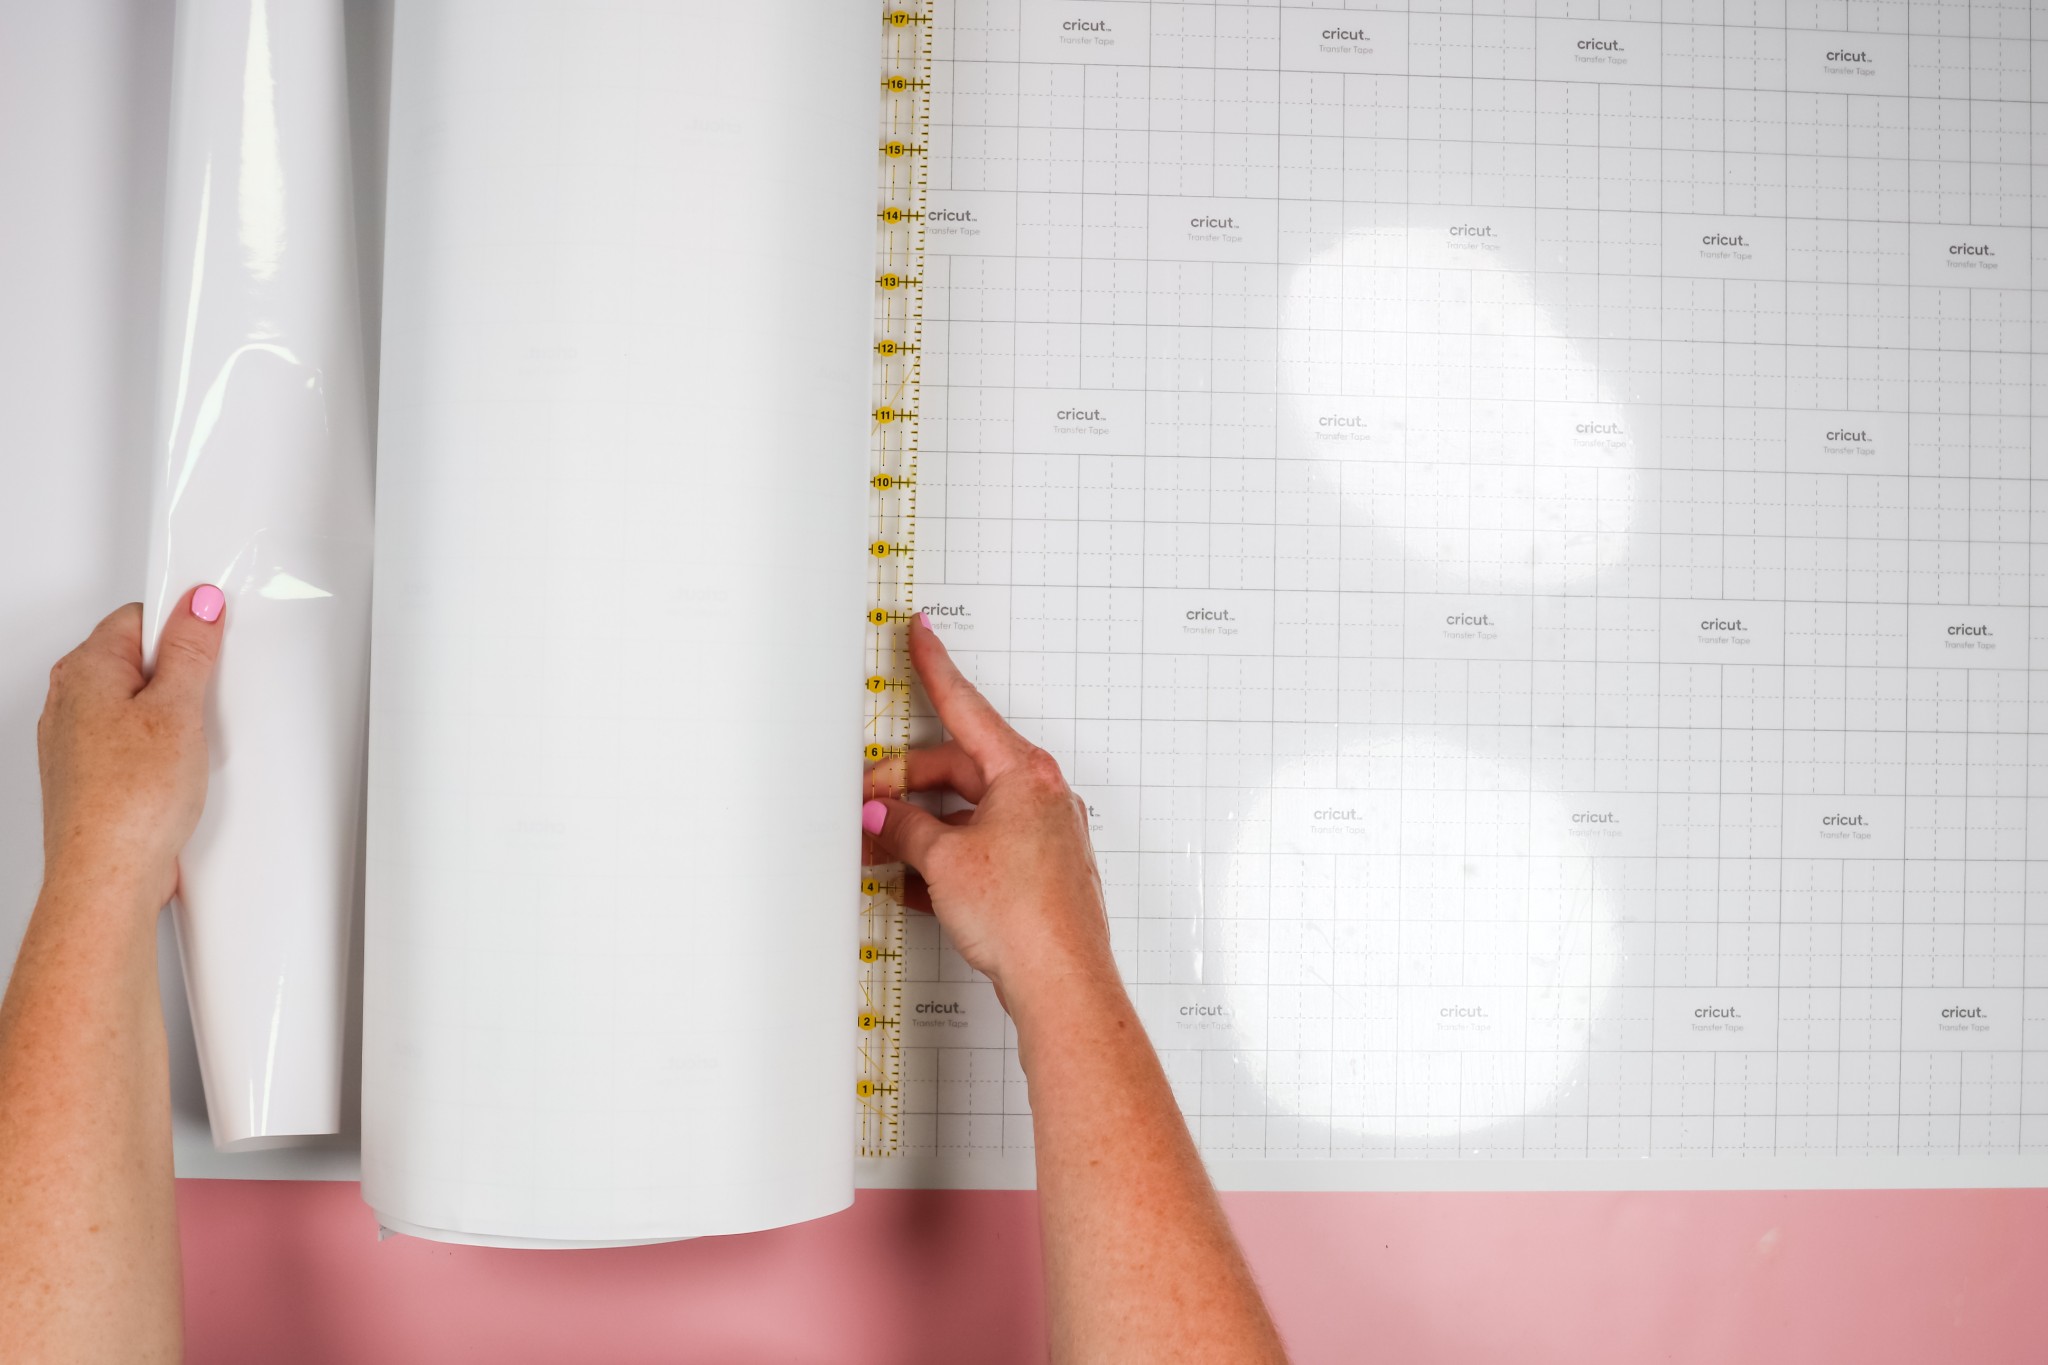
Since my quilting ruler is as wide as the transfer tape I can slide it under the side where the transfer tape is already stuck and slide it along while I peel back the carrier sheet with my other hand.
Instead of having to scrape back and forth with a smaller scraper, this ruler presses the transfer tape down all at once.
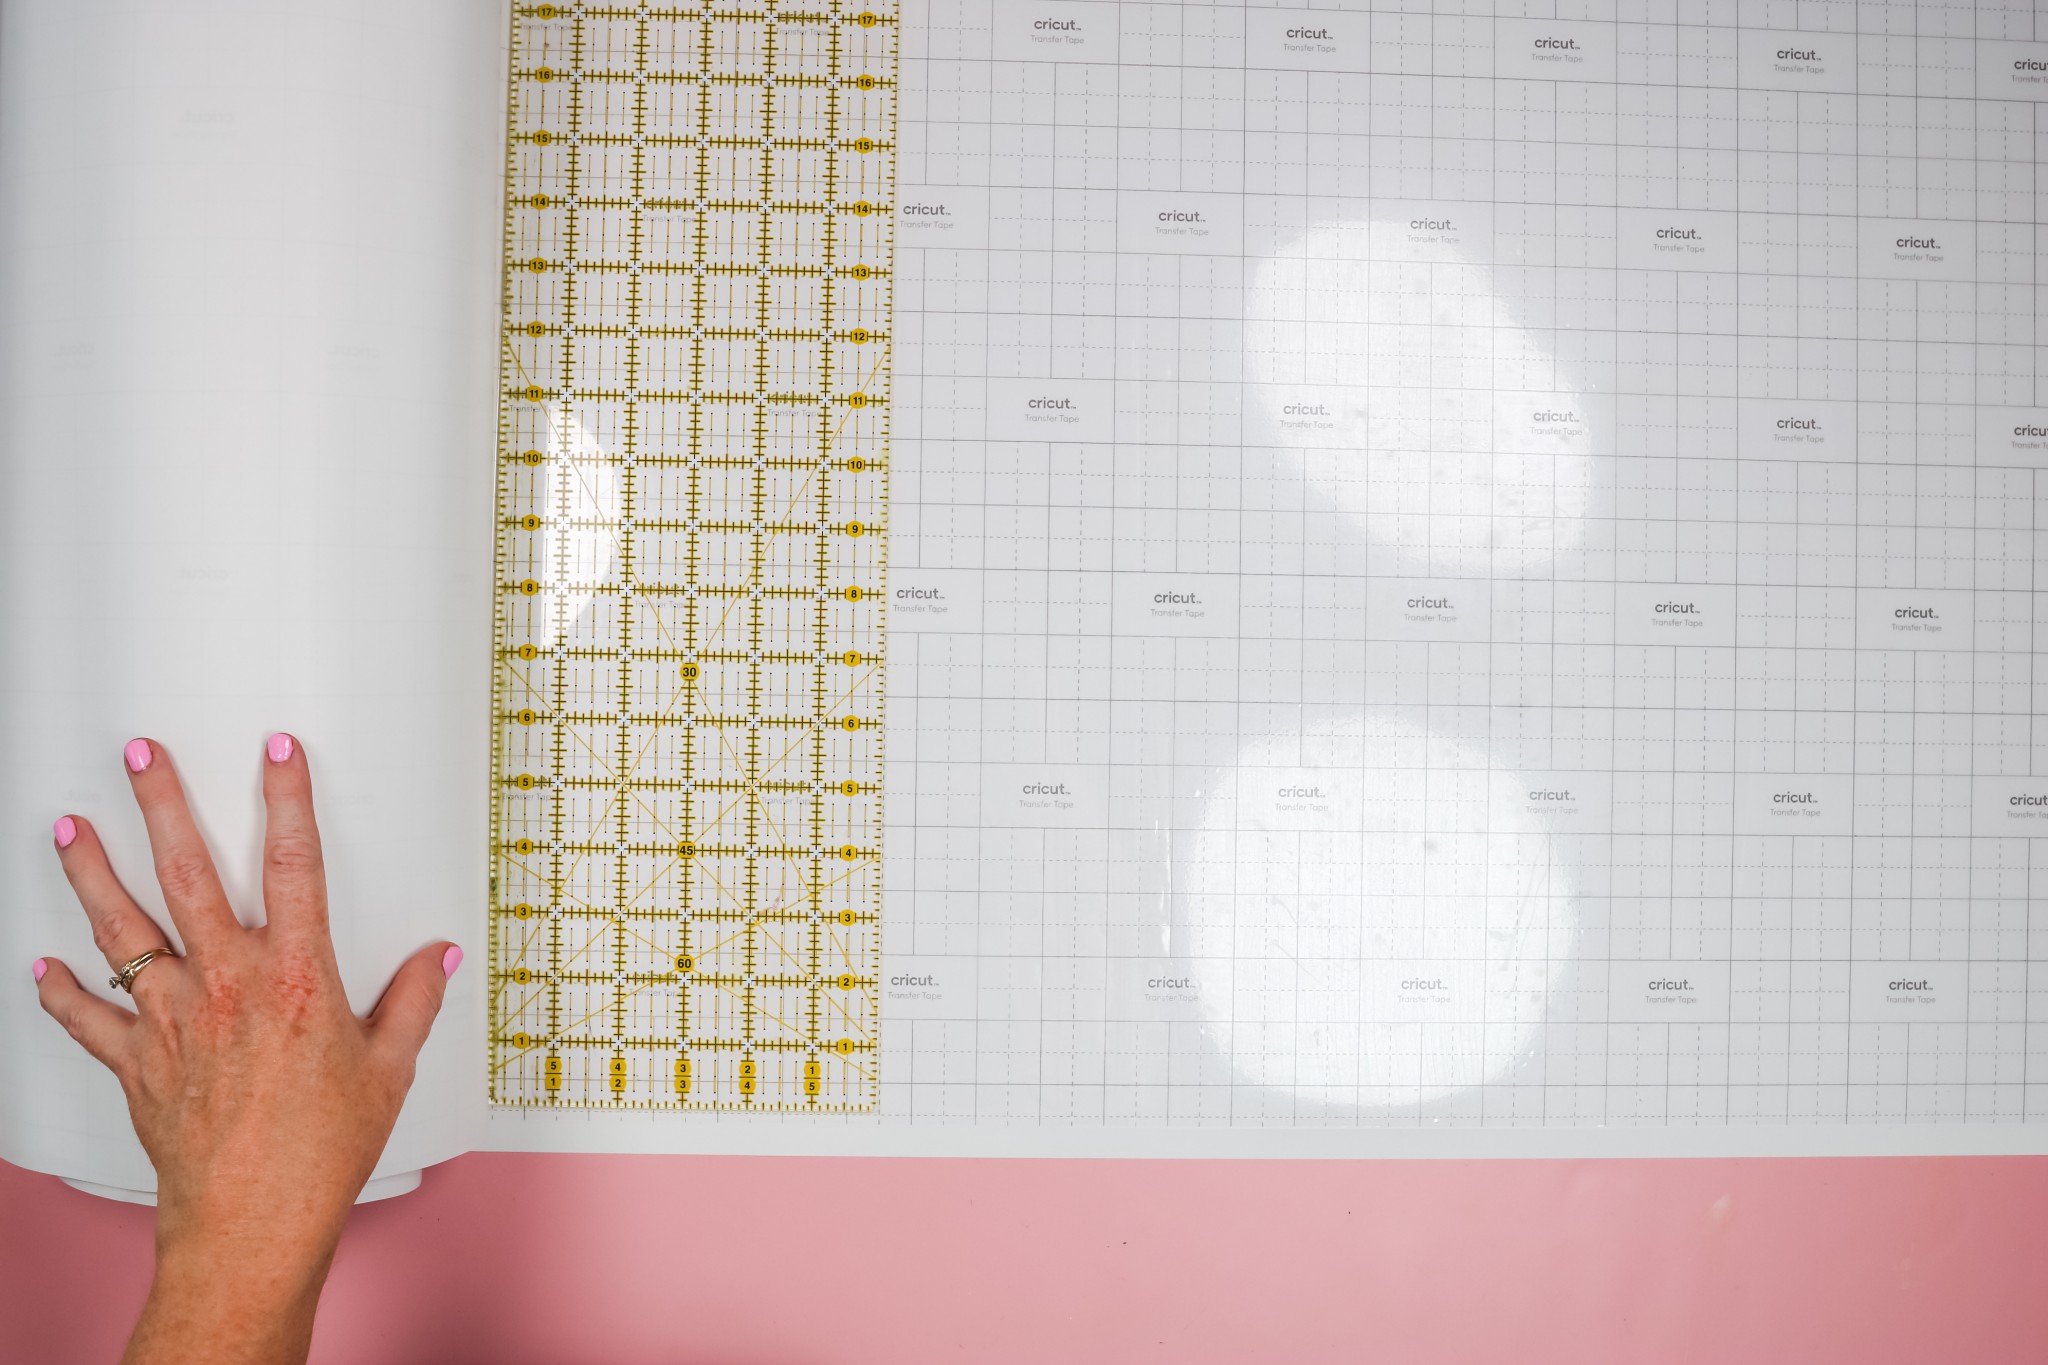
Once again, go over the whole thing making sure it’s stuck down well.
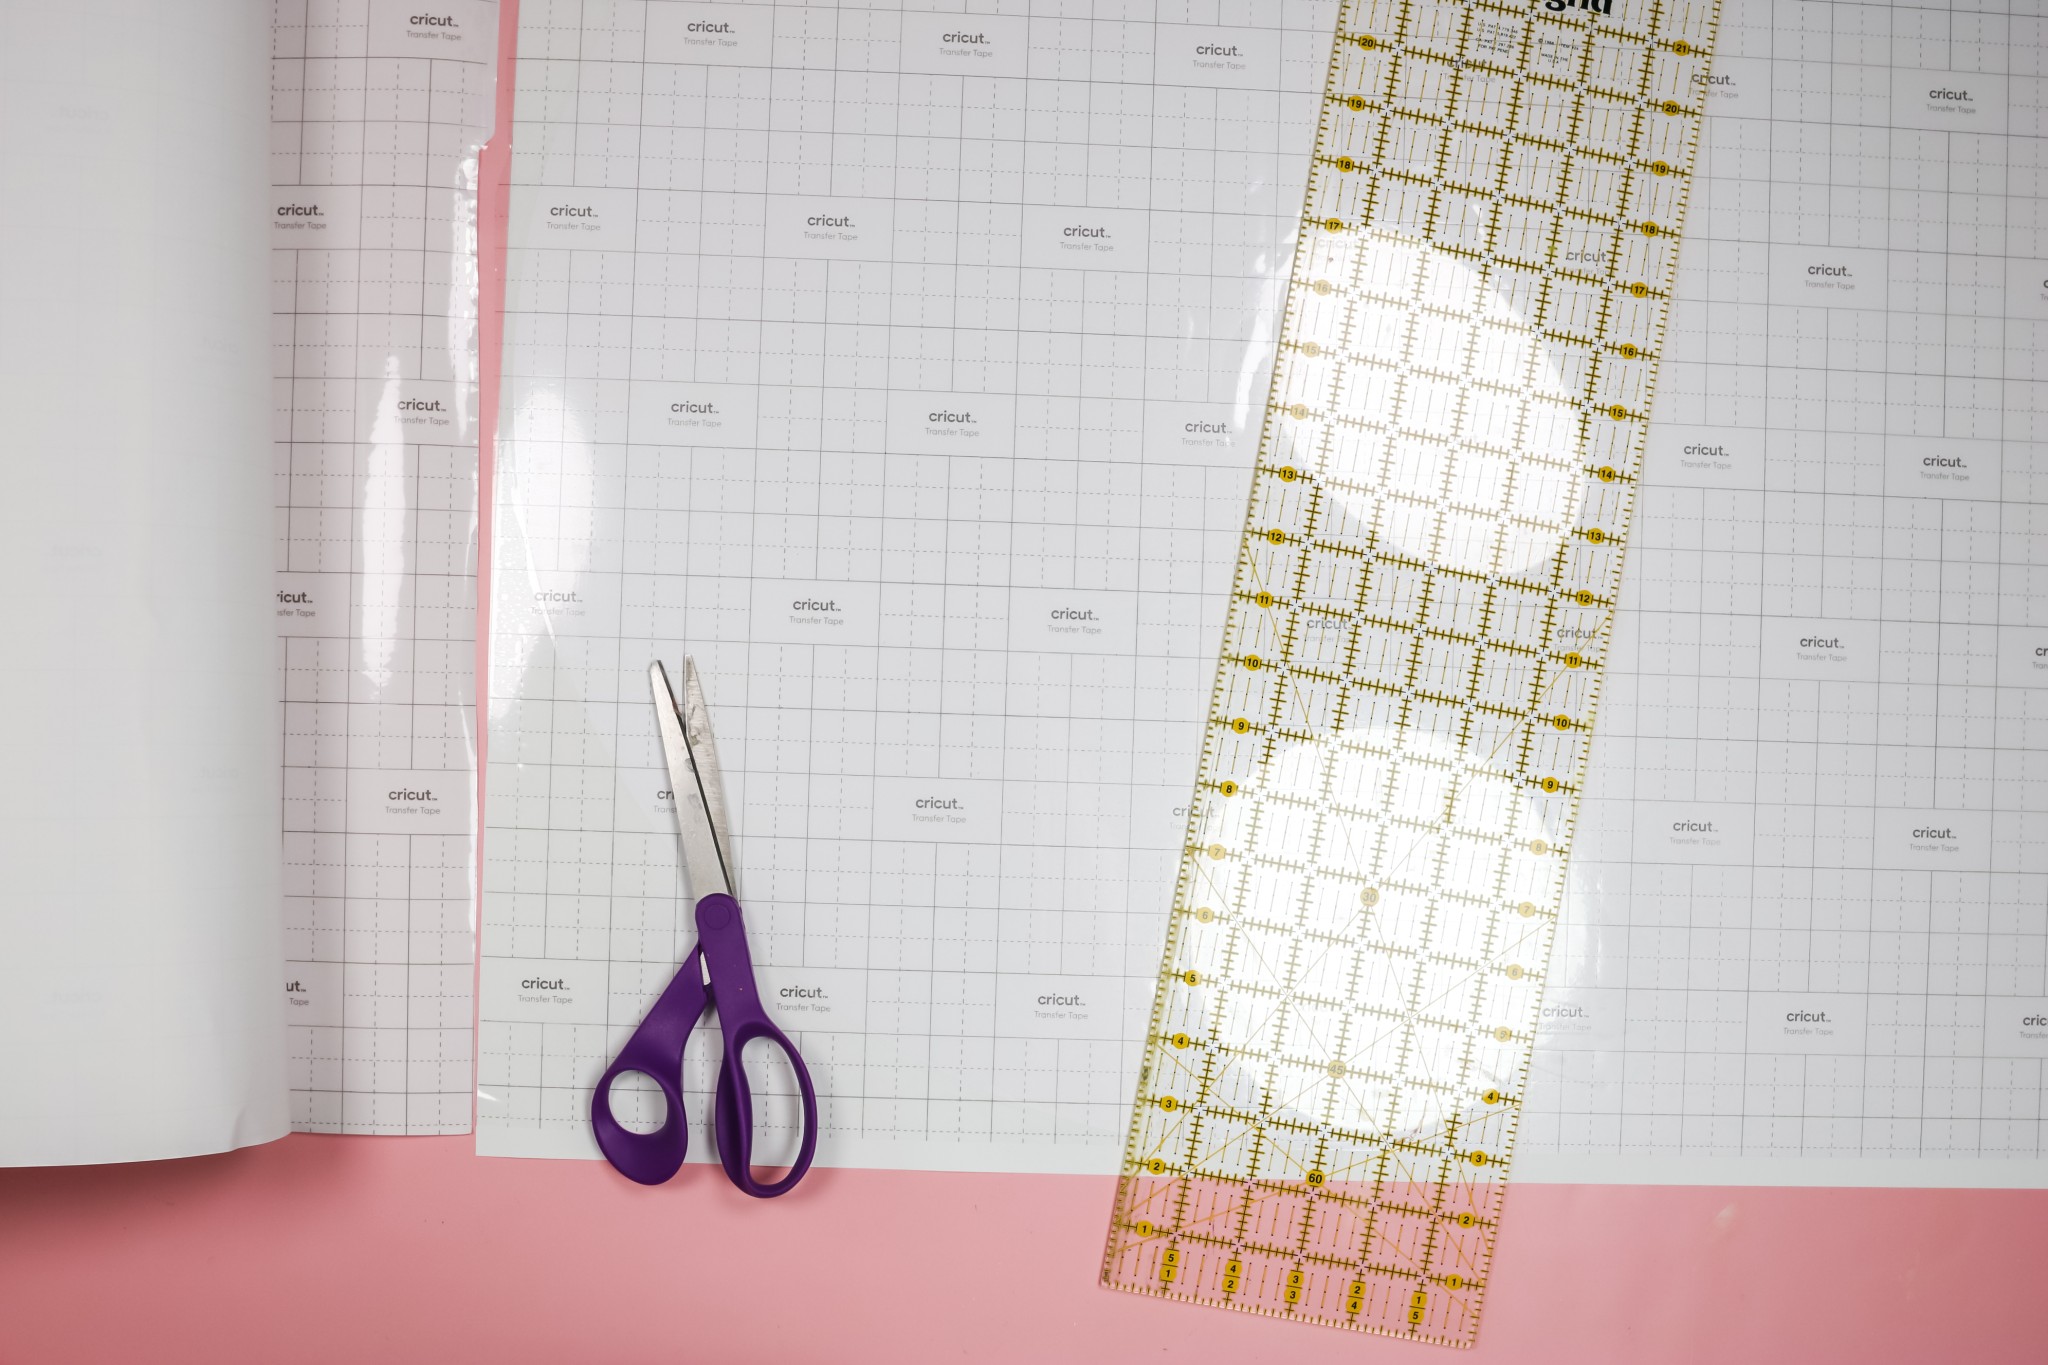
When you have the transfer tape applied, use a pair of scissors to trim off the excess transfer tape. You can use this same process regardless of the size or type of your vinyl design.
How to Apply Large Vinyl Decals to the Wall
Now that we have transfer tape applied to the vinyl decal, let’s get it put up on the wall!
For this step, I’m using painter’s tape to create the hinge. I’m also using a level to make sure the entire design is straight on the wall.
Painter’s tape is helpful because you can easily adjust it as needed to make sure the decal is straight.
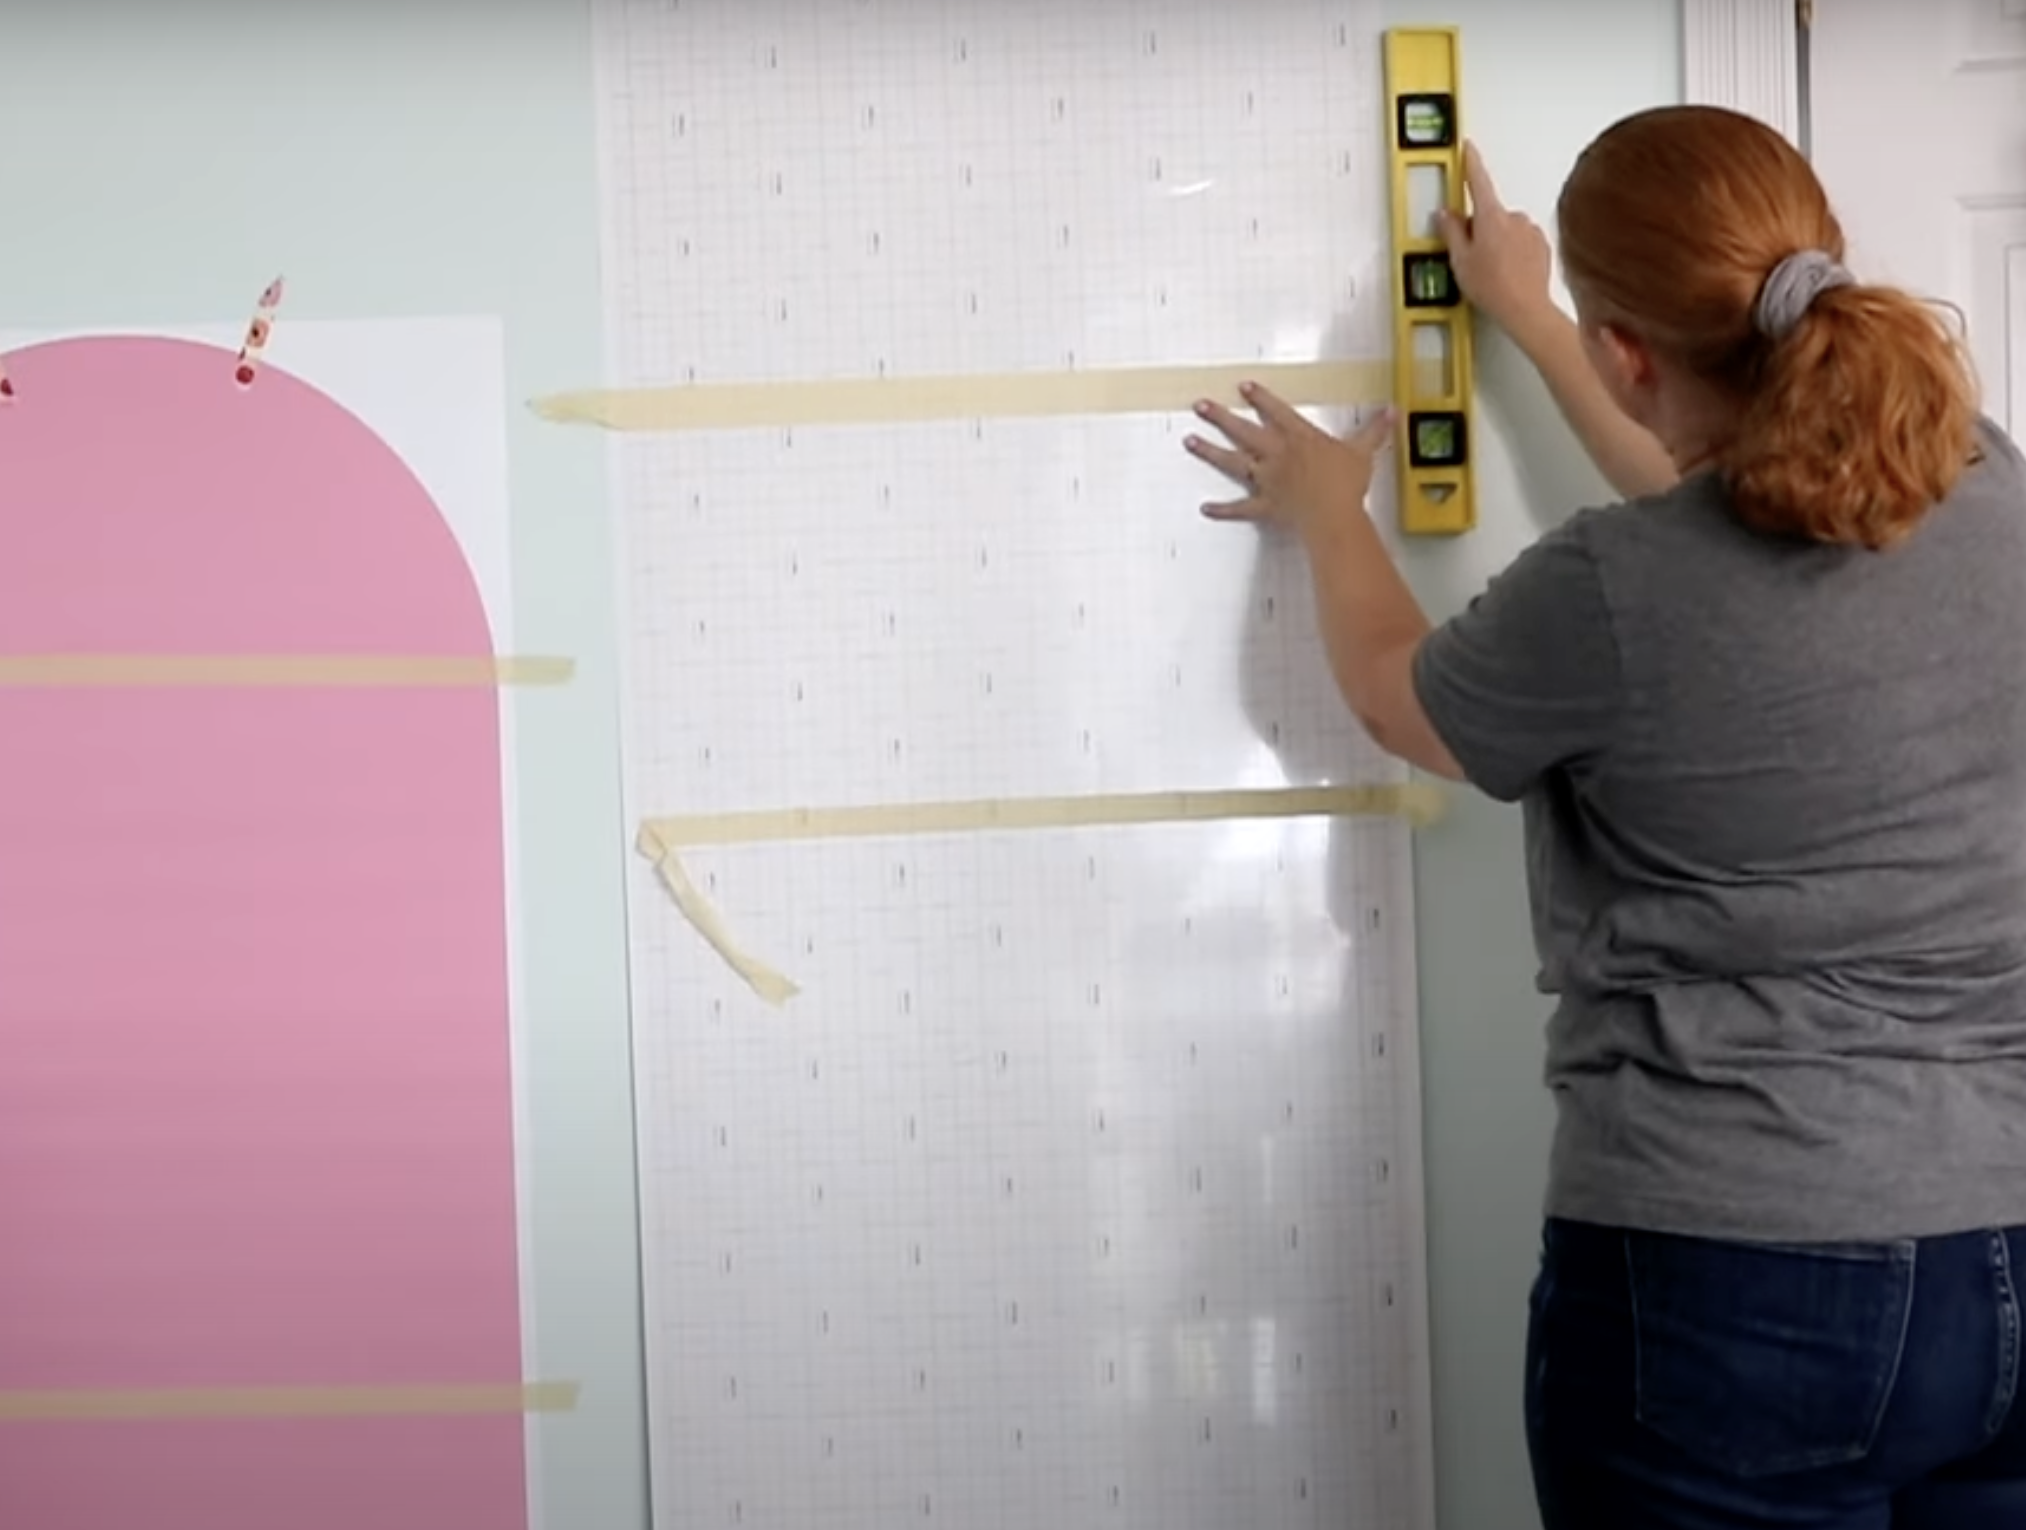
Using a few pieces of painter’s tape helps hold a decal this large up. Once everything is lined up, it’s time to remove the carrier sheet.
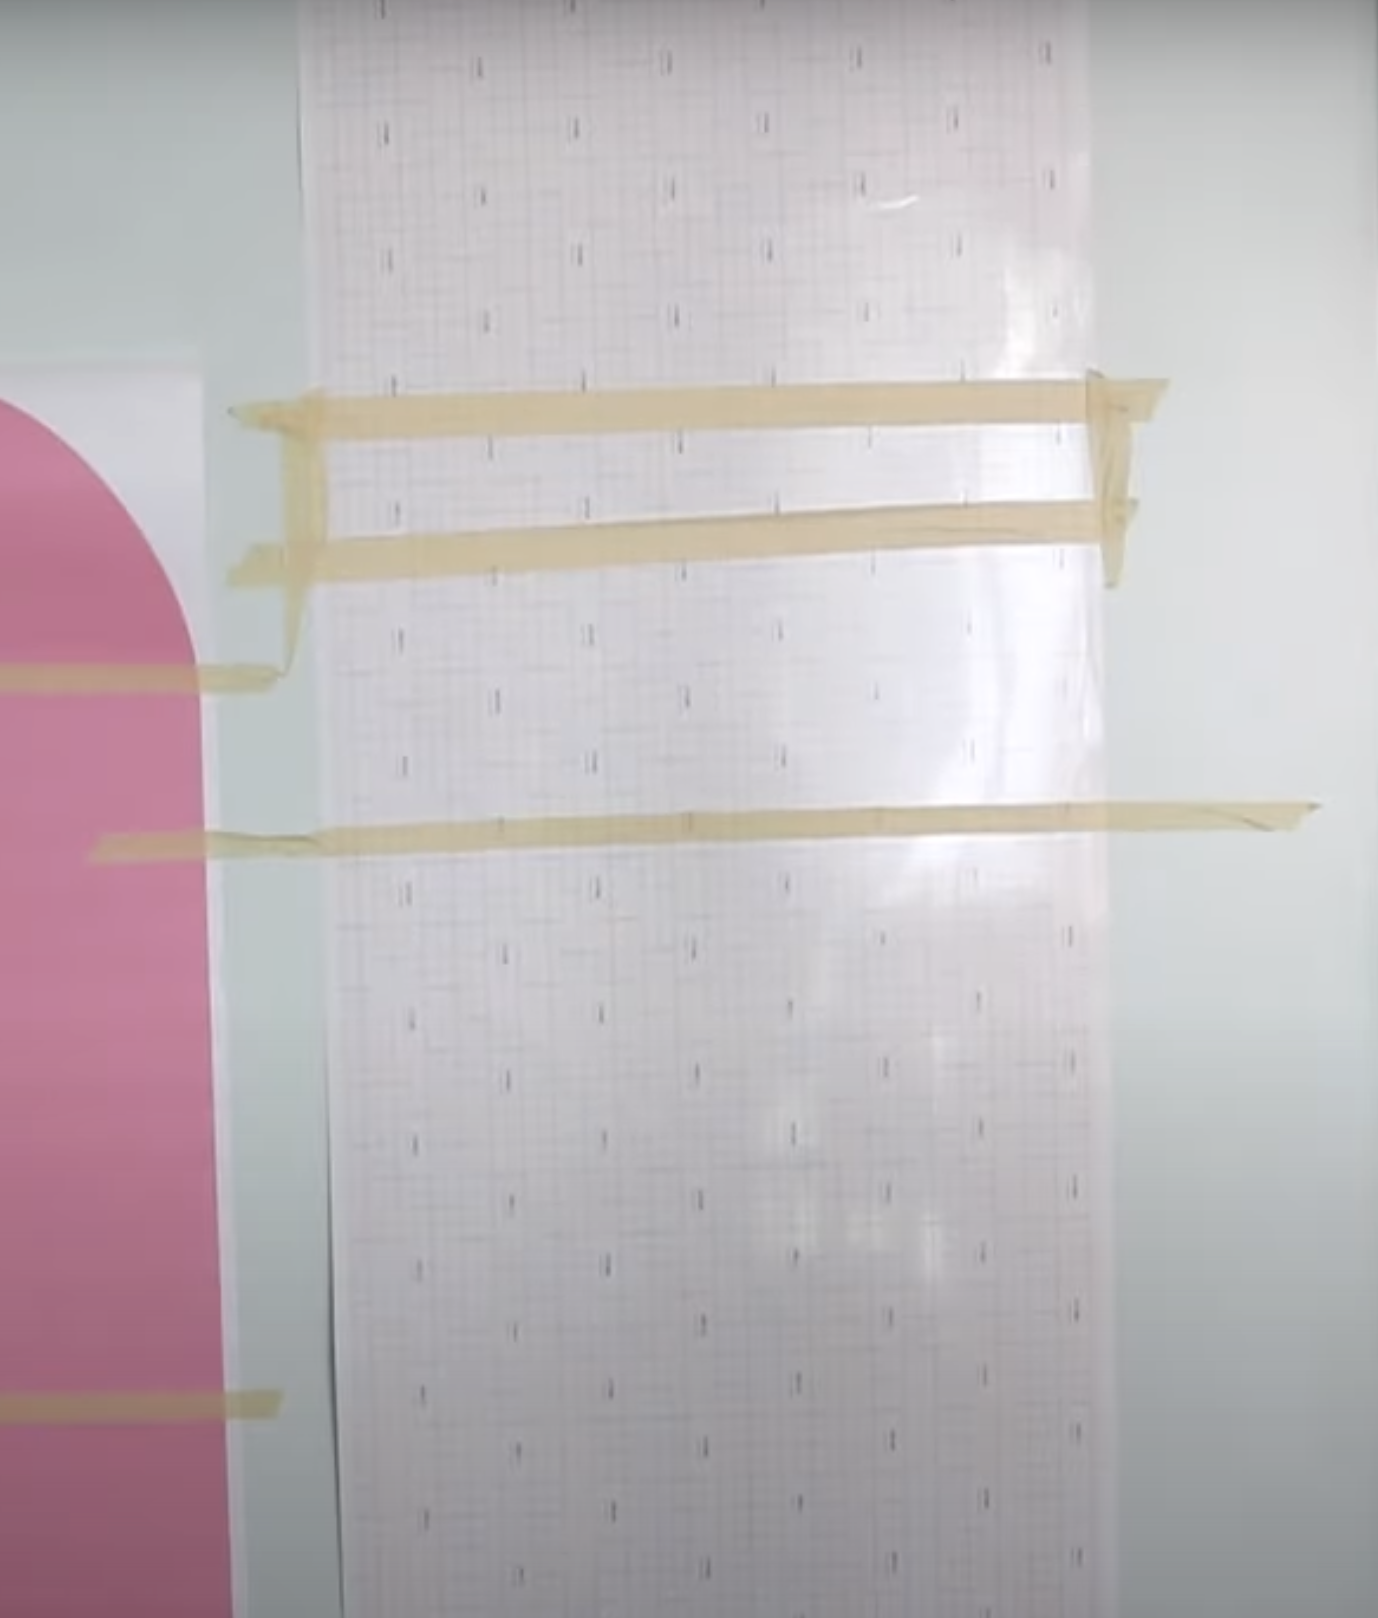
To remove the carrier sheet slowly pull back the vinyl and transfer tape until you meet the painter’s tape.
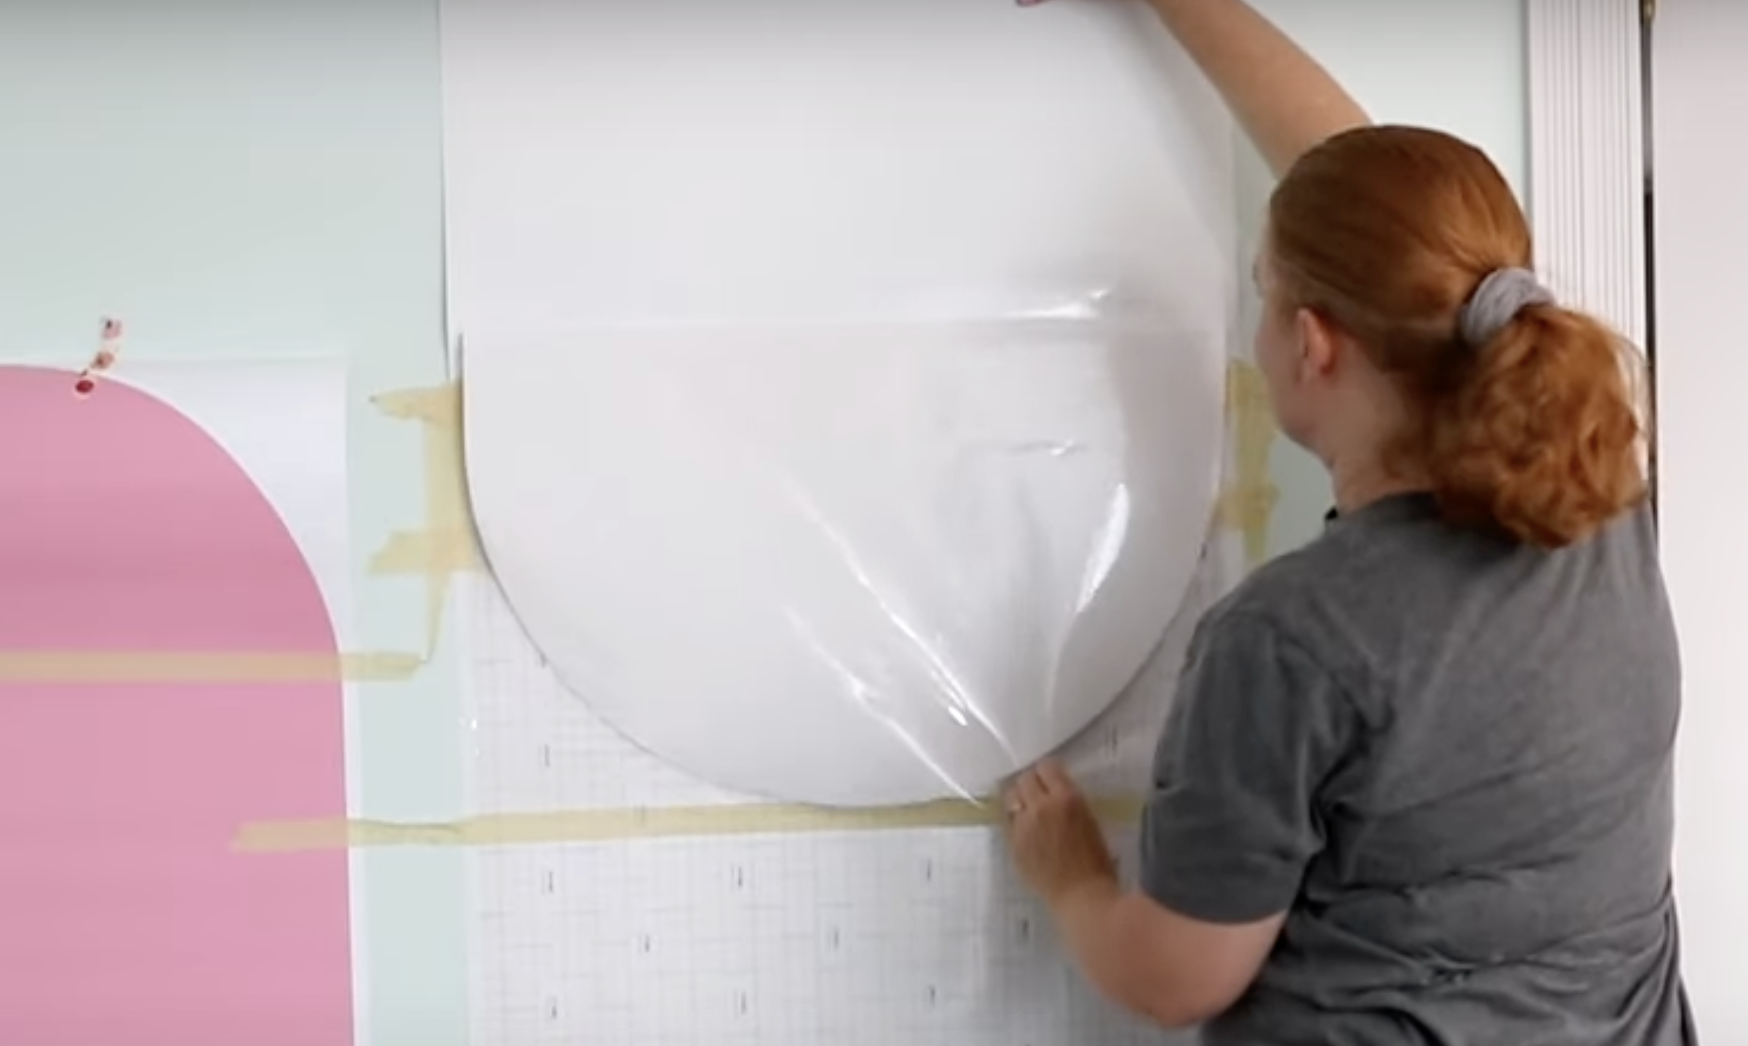
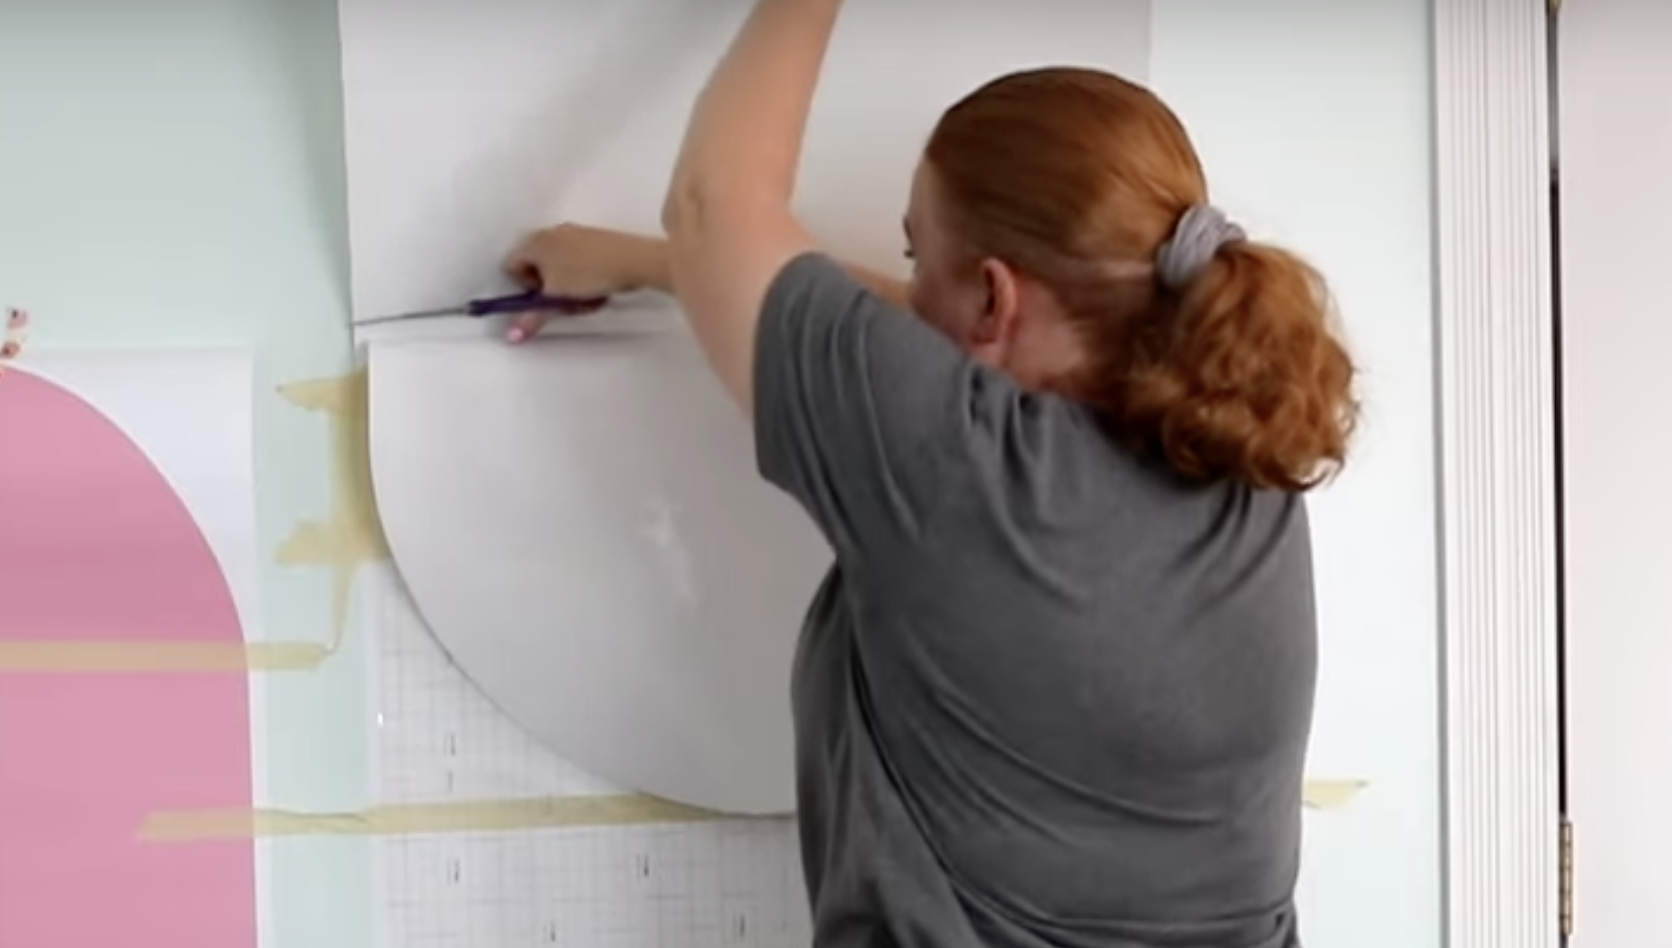
Use a pair of scissors to cut away the vinyl carrier sheet and throw it away.
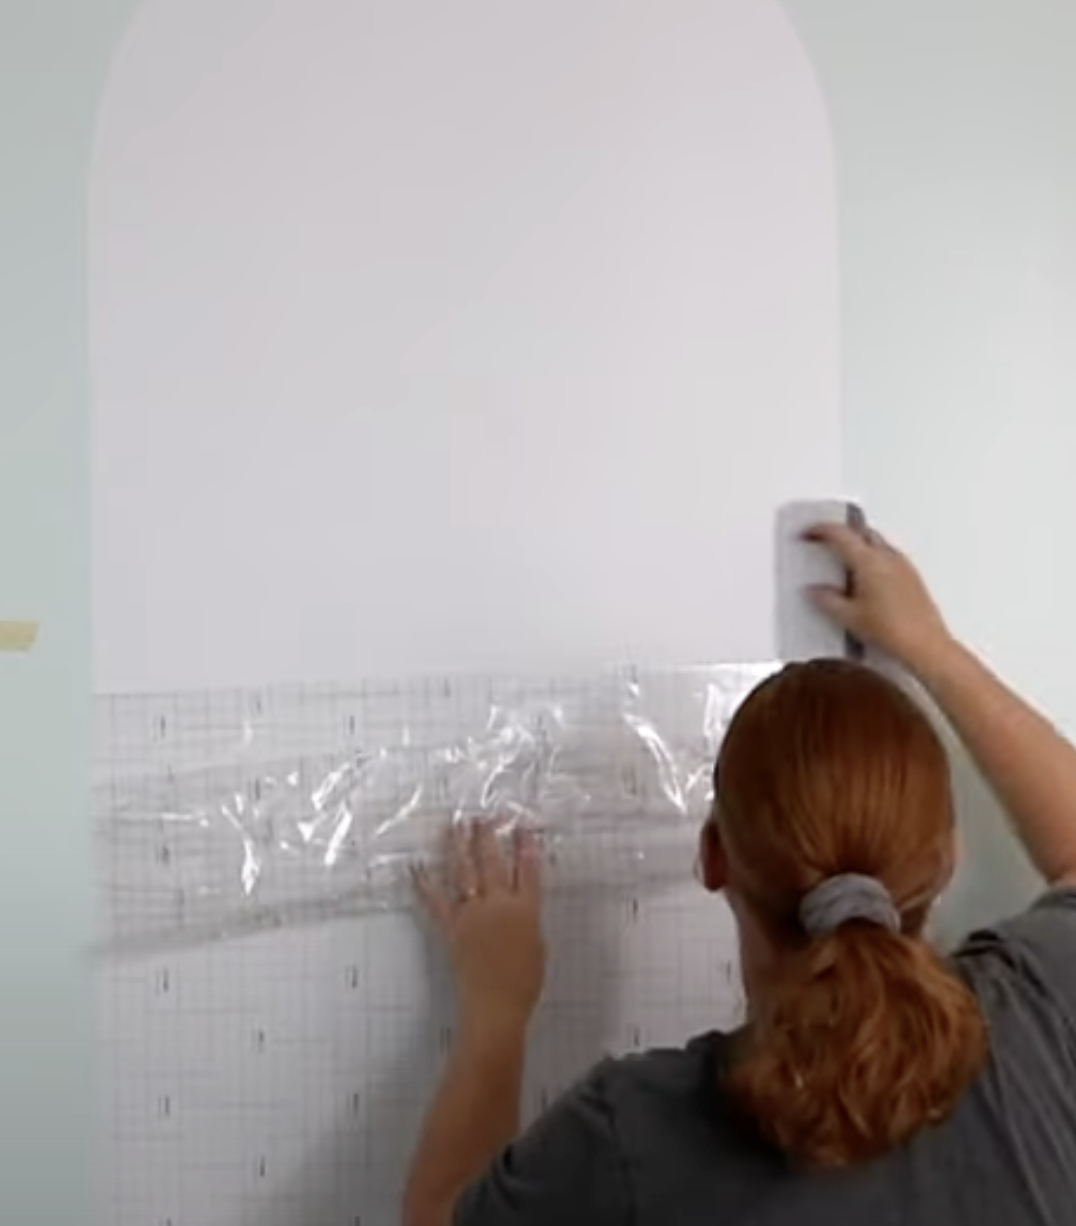
Once the carrier sheet is removed use the quilting ruler or a large scraper and gently apply the vinyl to the wall. Go slow to prevent any creases or bubbles in the vinyl.
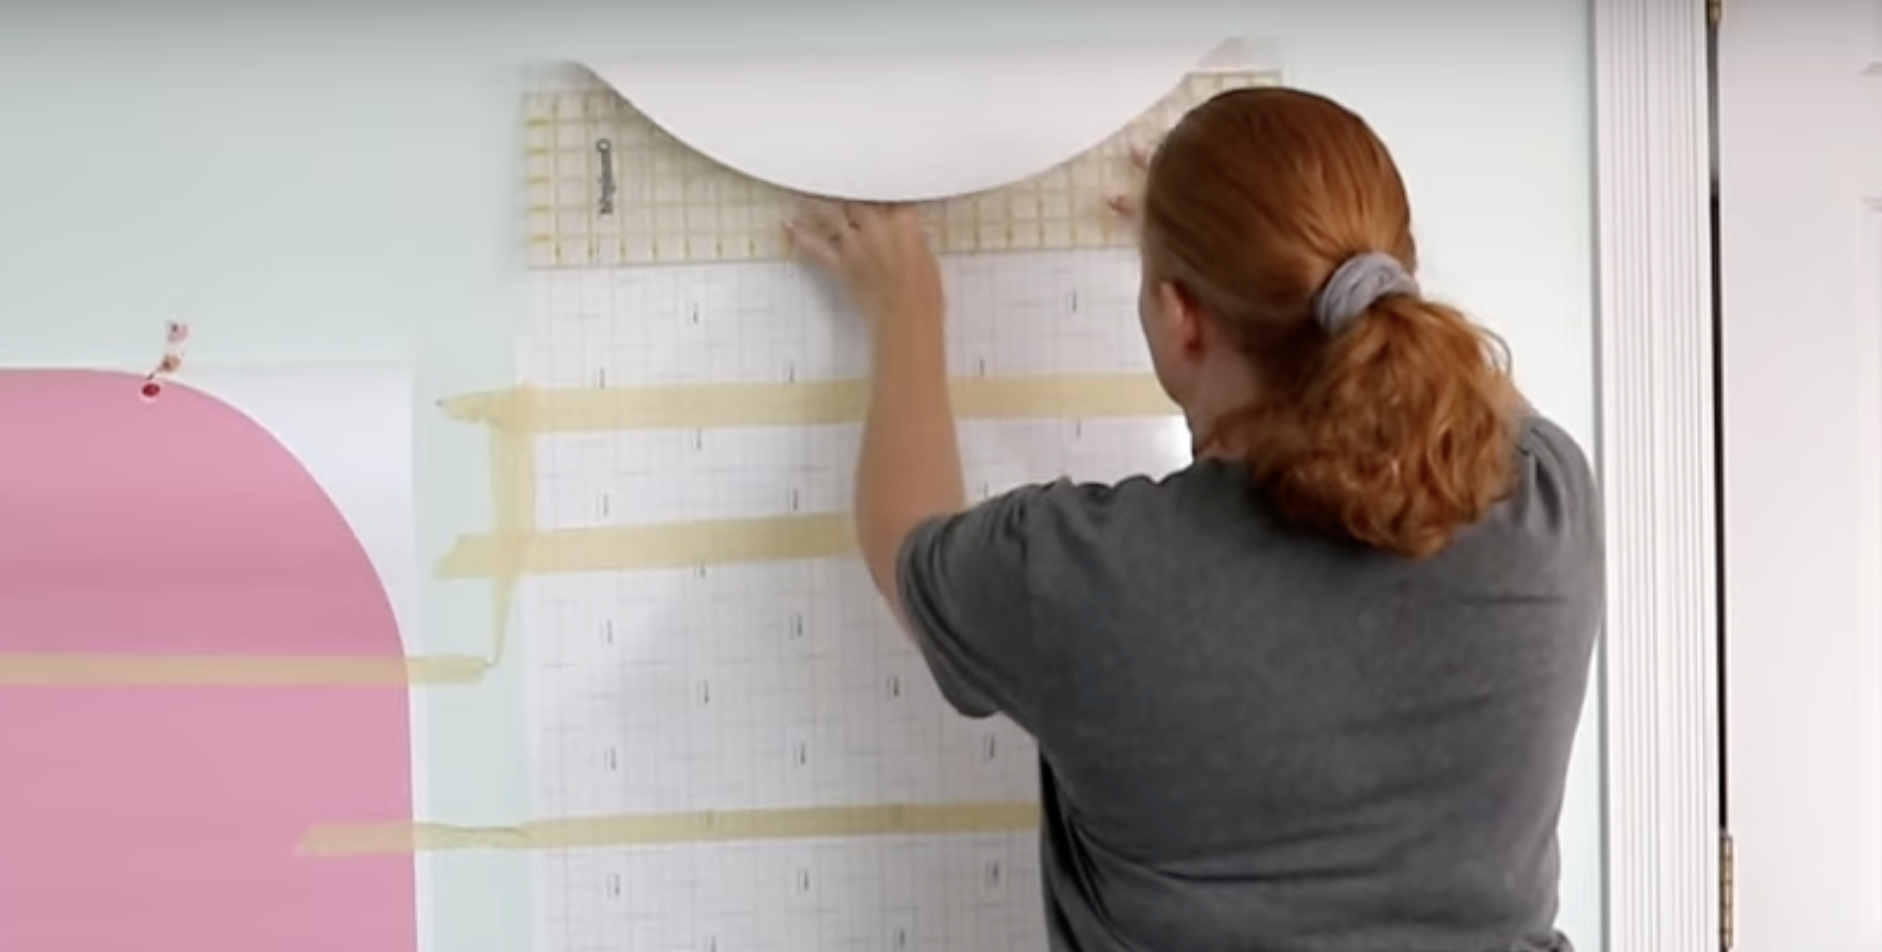
For the bottom part of the hinge, we’re going to roll the vinyl and transfer tape up like we did before, and then use the quilting ruler to smooth the vinyl onto the wall.
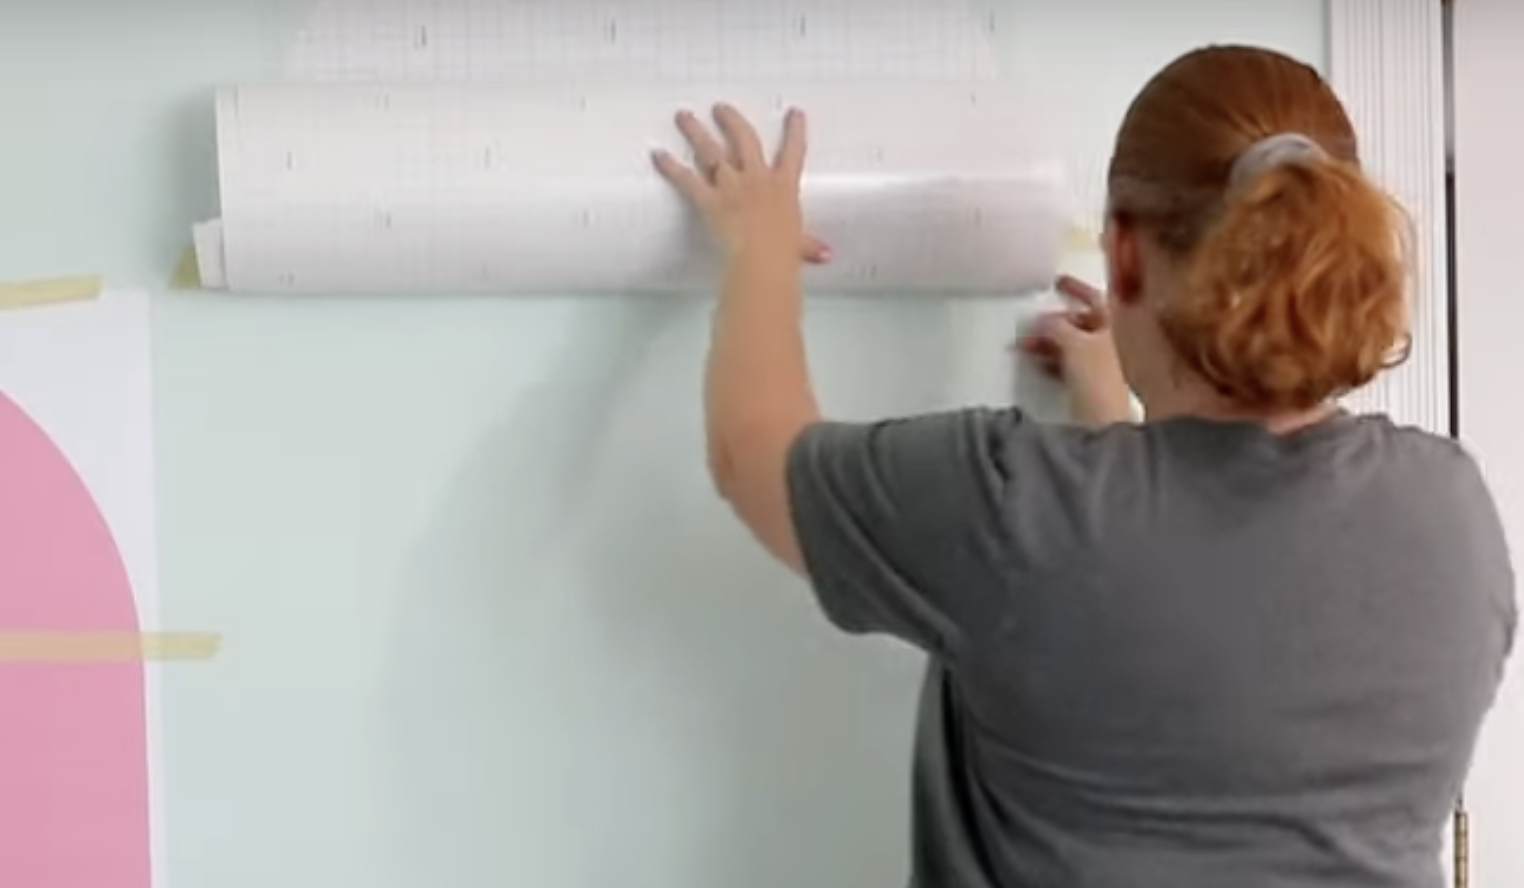
As you’re using the quilting ruler to smooth the vinyl onto the wall slowly peel back the vinyl carrier sheet.
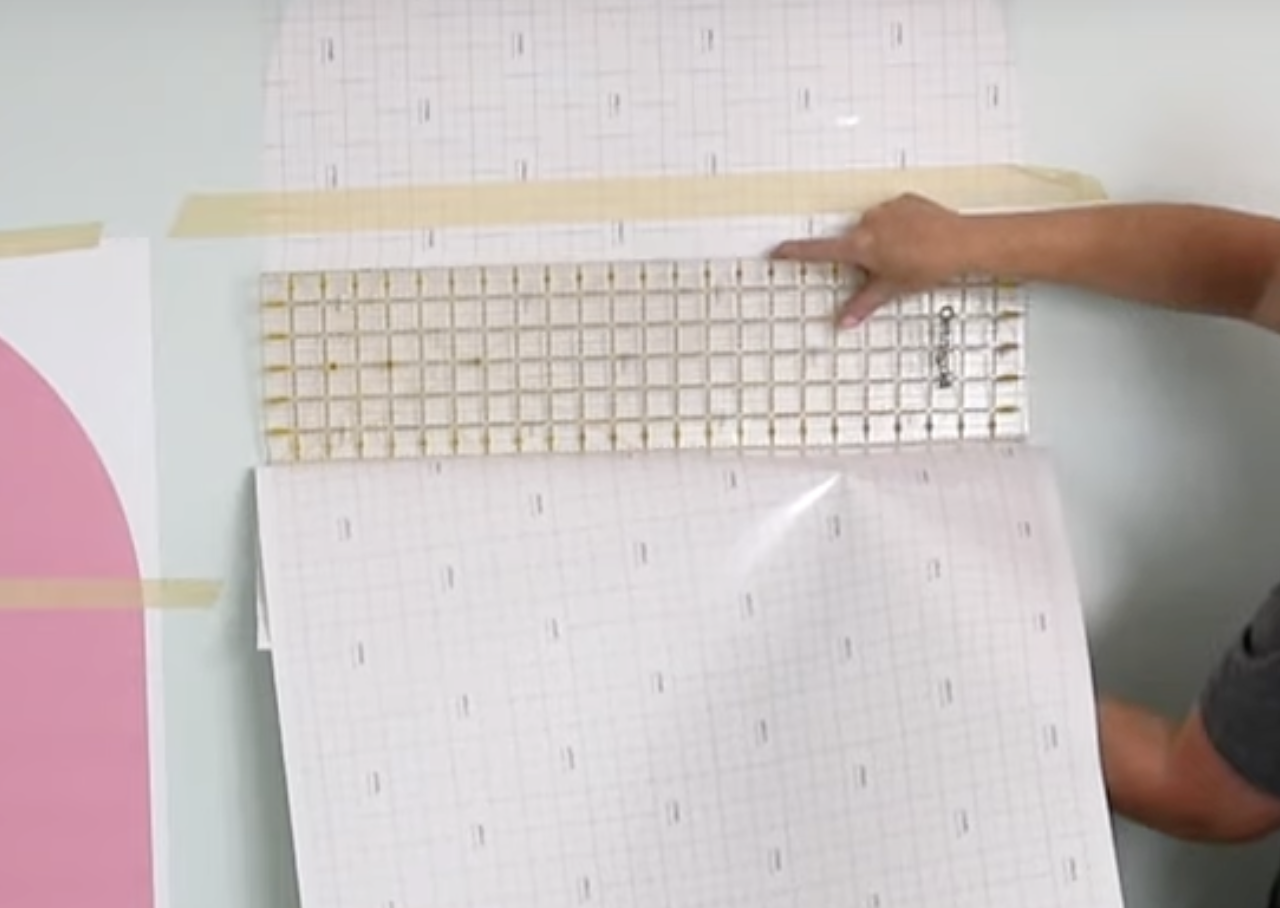
Take your time during this step to prevent the vinyl from stretching or creasing.
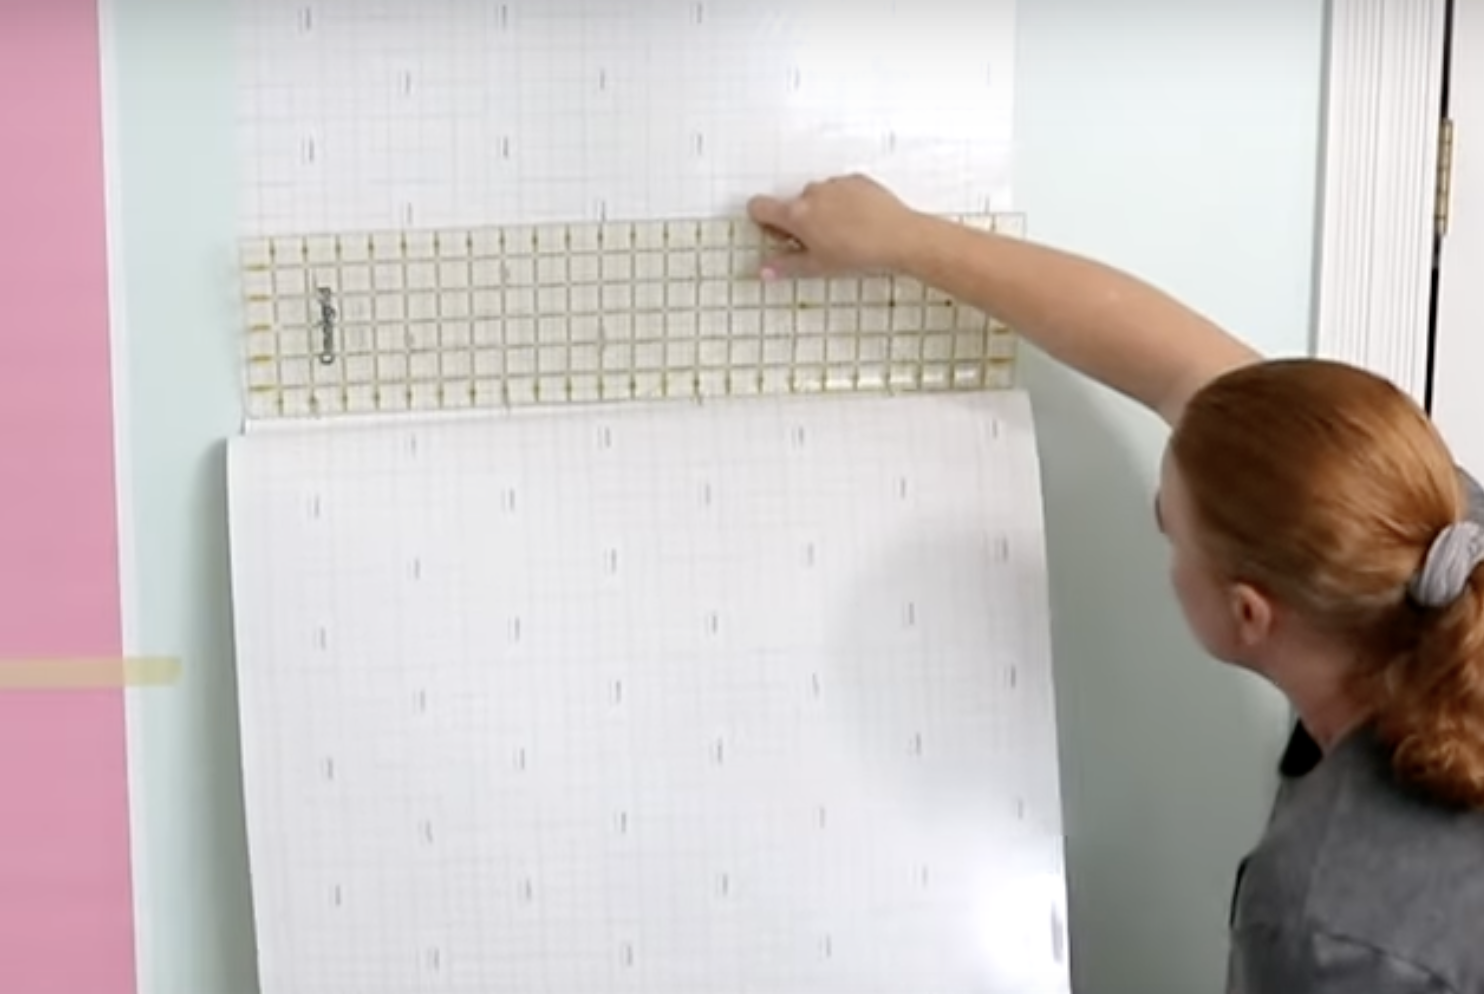
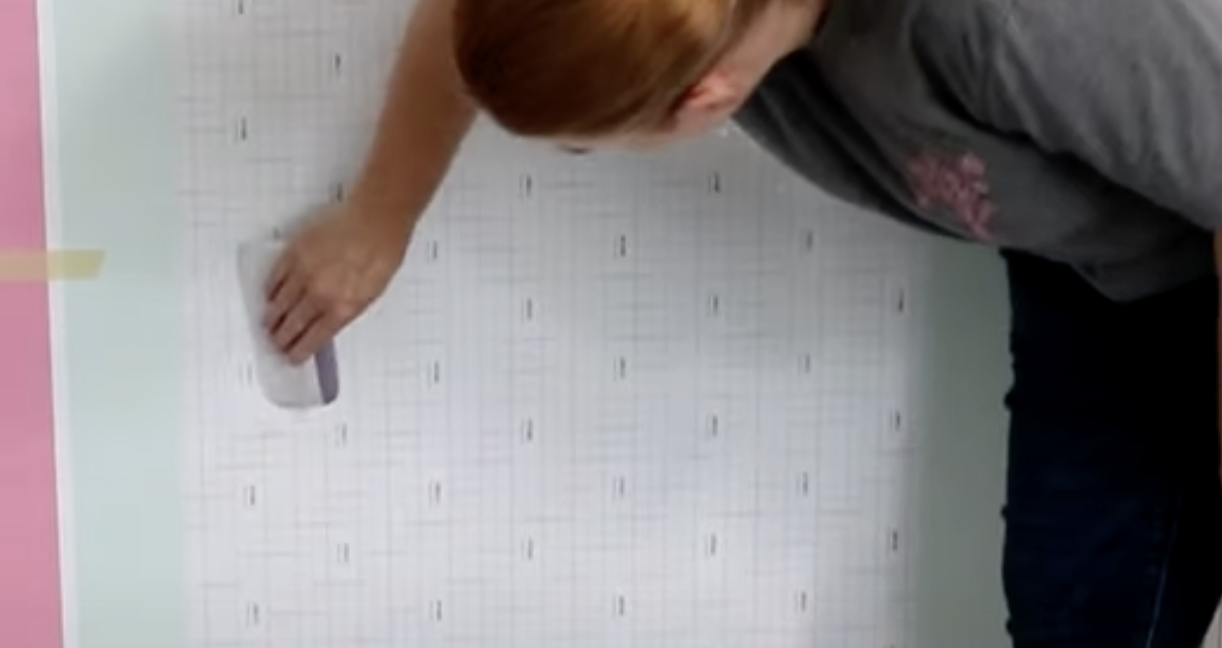
Once the vinyl is applied to the wall, before removing the transfer tape go over the whole decal really well to make sure it’s stuck to the wall completely.
This step will help remove any bubbles and ensure your vinyl is stuck to the wall without leaving any marks on the vinyl itself.
How to Remove Transfer Tape from Wall Decals
Once the vinyl is stuck down slowly peel back the transfer tape.
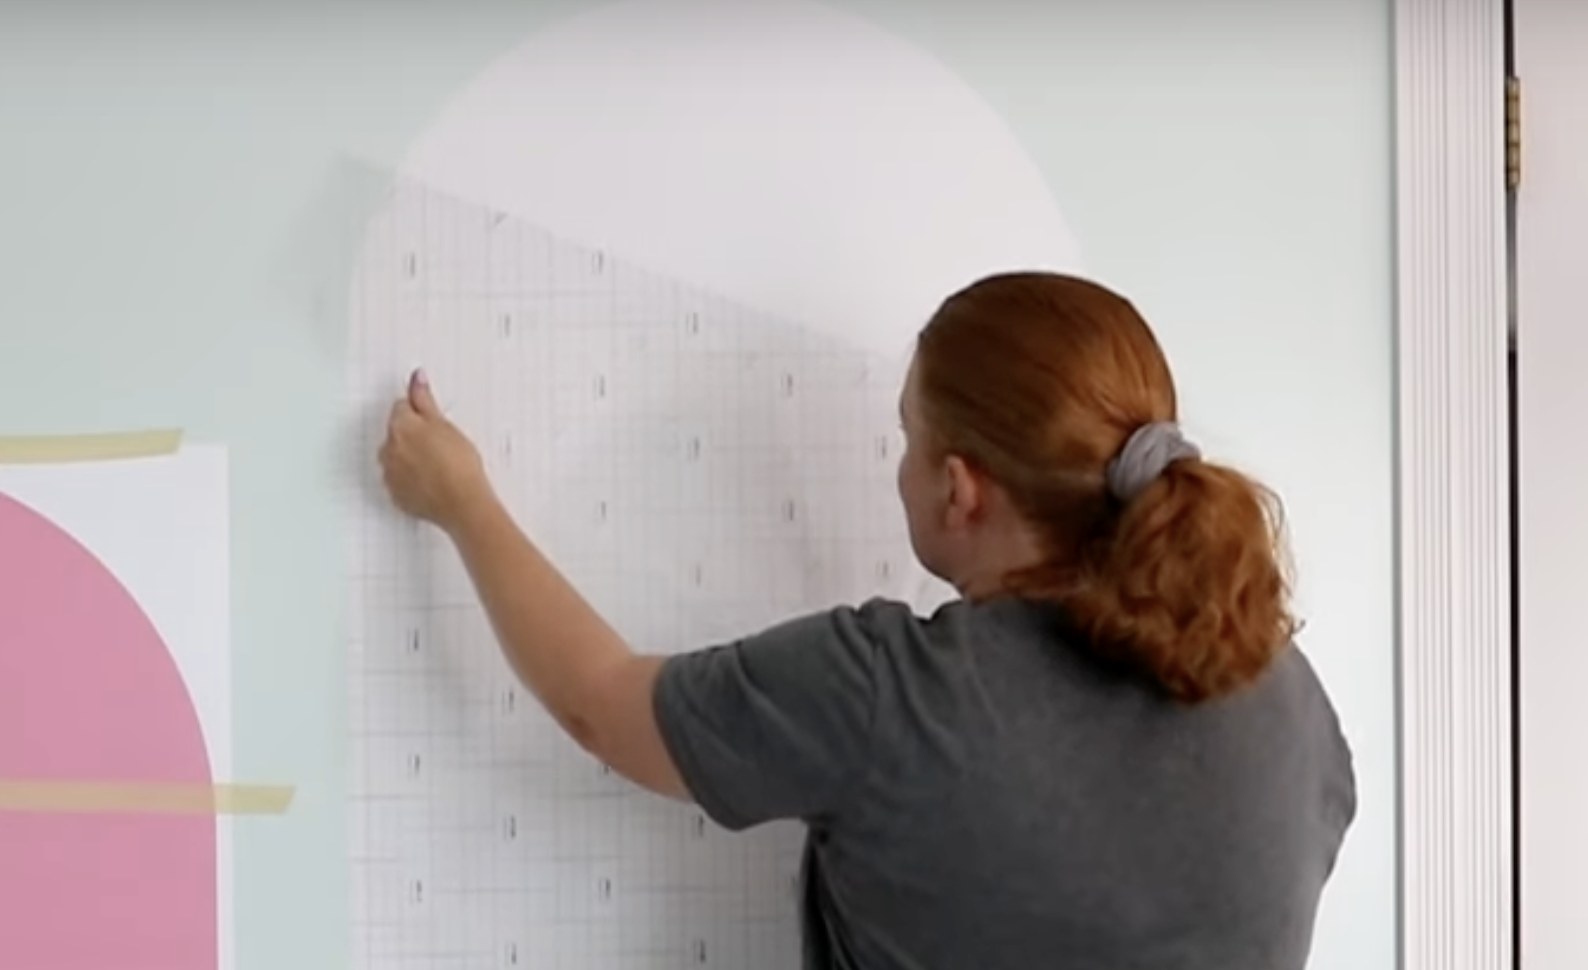
Take your time removing the transfer tape. You don’t want to to pull the vinyl off the wall stretching it out or creating bubbles.
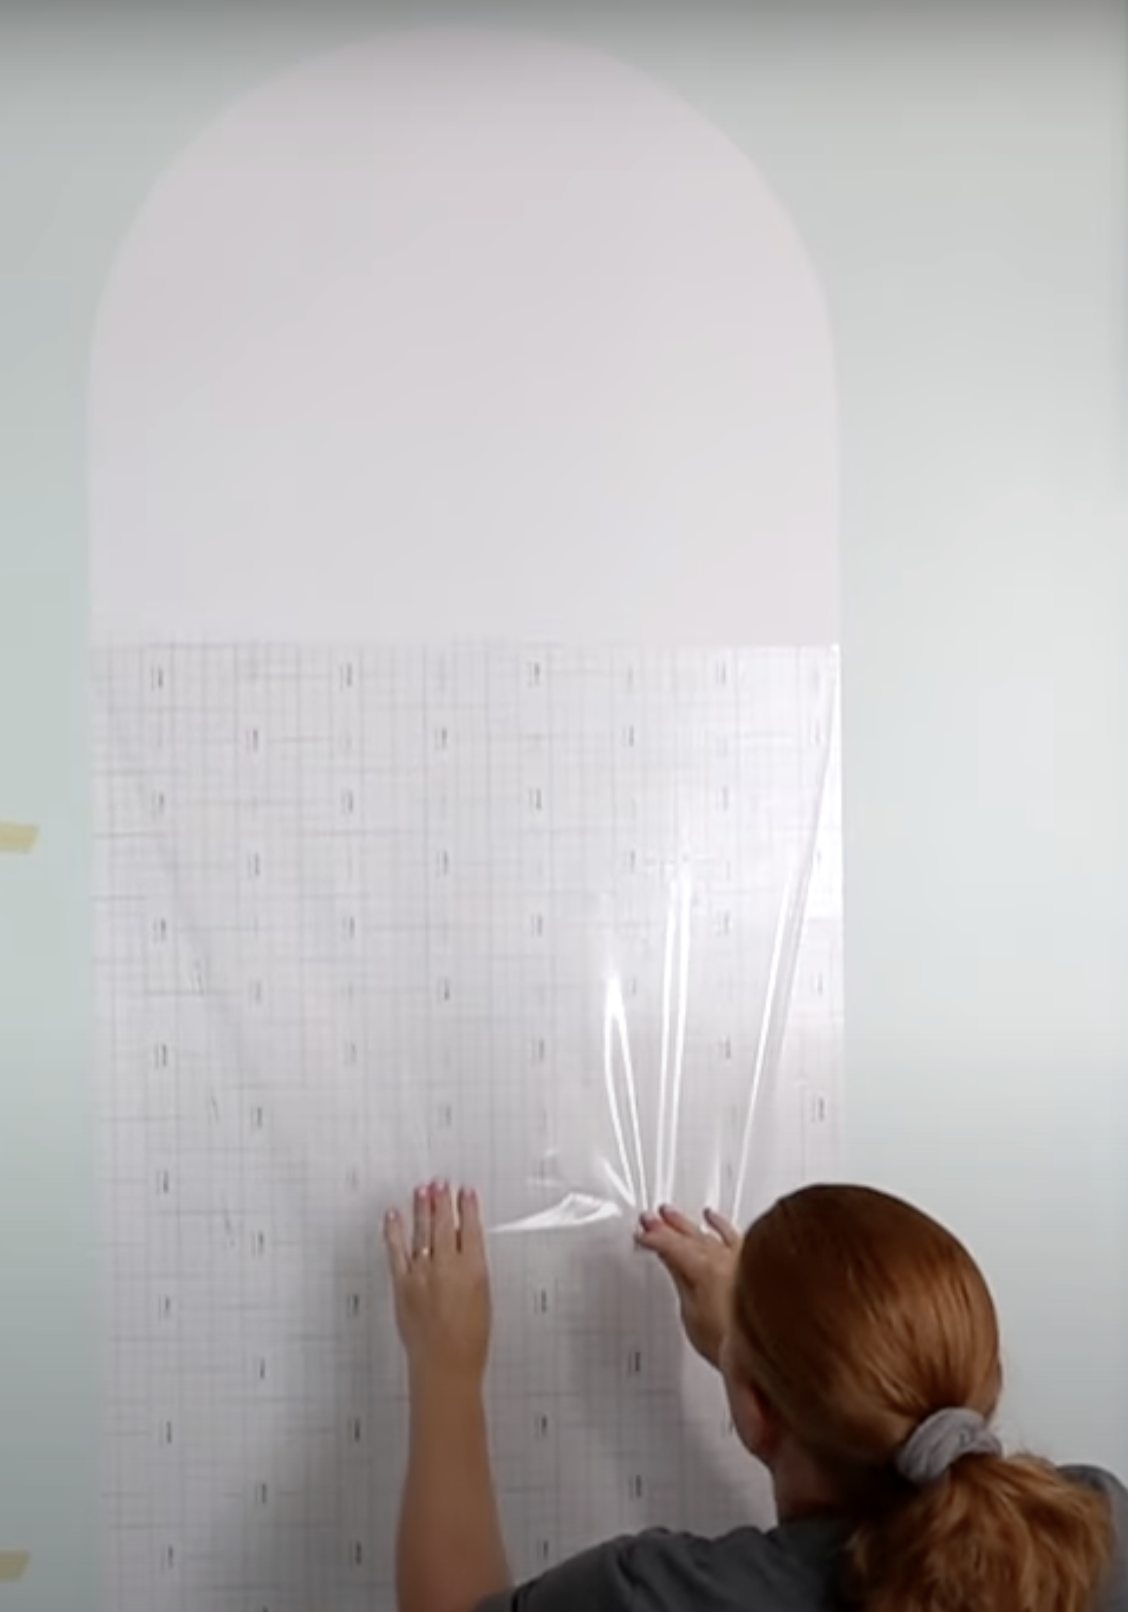
Transfer tape can be reused. You can use the carrier sheet for the transfer tape or vinyl to keep it from sticking to itself. If you choose not to reuse the transfer tape, you can fold it onto itself to keep it from sticking to the vinyl.
If you notice any bubbles, use your scraper tool to gently push them out to the side to smooth the vinyl onto the wall.
Do You Need to Use Transfer Tape?
Whether or not you need to use transfer tape will depend on your design.
For my design, transfer tape isn’t required but I found it worked a lot better for me. I was able to get the pink piece of my mural up on the wall without transfer tape but I had to press out more bubbles than when I used the transfer tape.
While applying the design without transfer tape allowed me to skip those steps and was a little bit quicker, the time it took pressing out the bubbles added time back on.
There are times when you can’t avoid using transfer tape. If your design is intricate or has multiple pieces, you’ll want to use transfer tape to make sure everything stays laid out exactly how you have it on the screen.
How to Keep Large Vinyl Decals Straight
Because most houses are not perfectly level and square I find it helpful to start at the top. Using a tape measure is helpful to know how high to start and then, once you have the decal lined up level you can trim the bottom off at the baseboard.
A long level is very helpful for making sure the design is straight.
I also found it really helpful to lay out all of the pieces of my mural before I began applying them to the wall. This allowed me to get a good idea of how the design will look when it’s finished.
Final Thoughts on How to Apply Large Vinyl Decals onto Walls
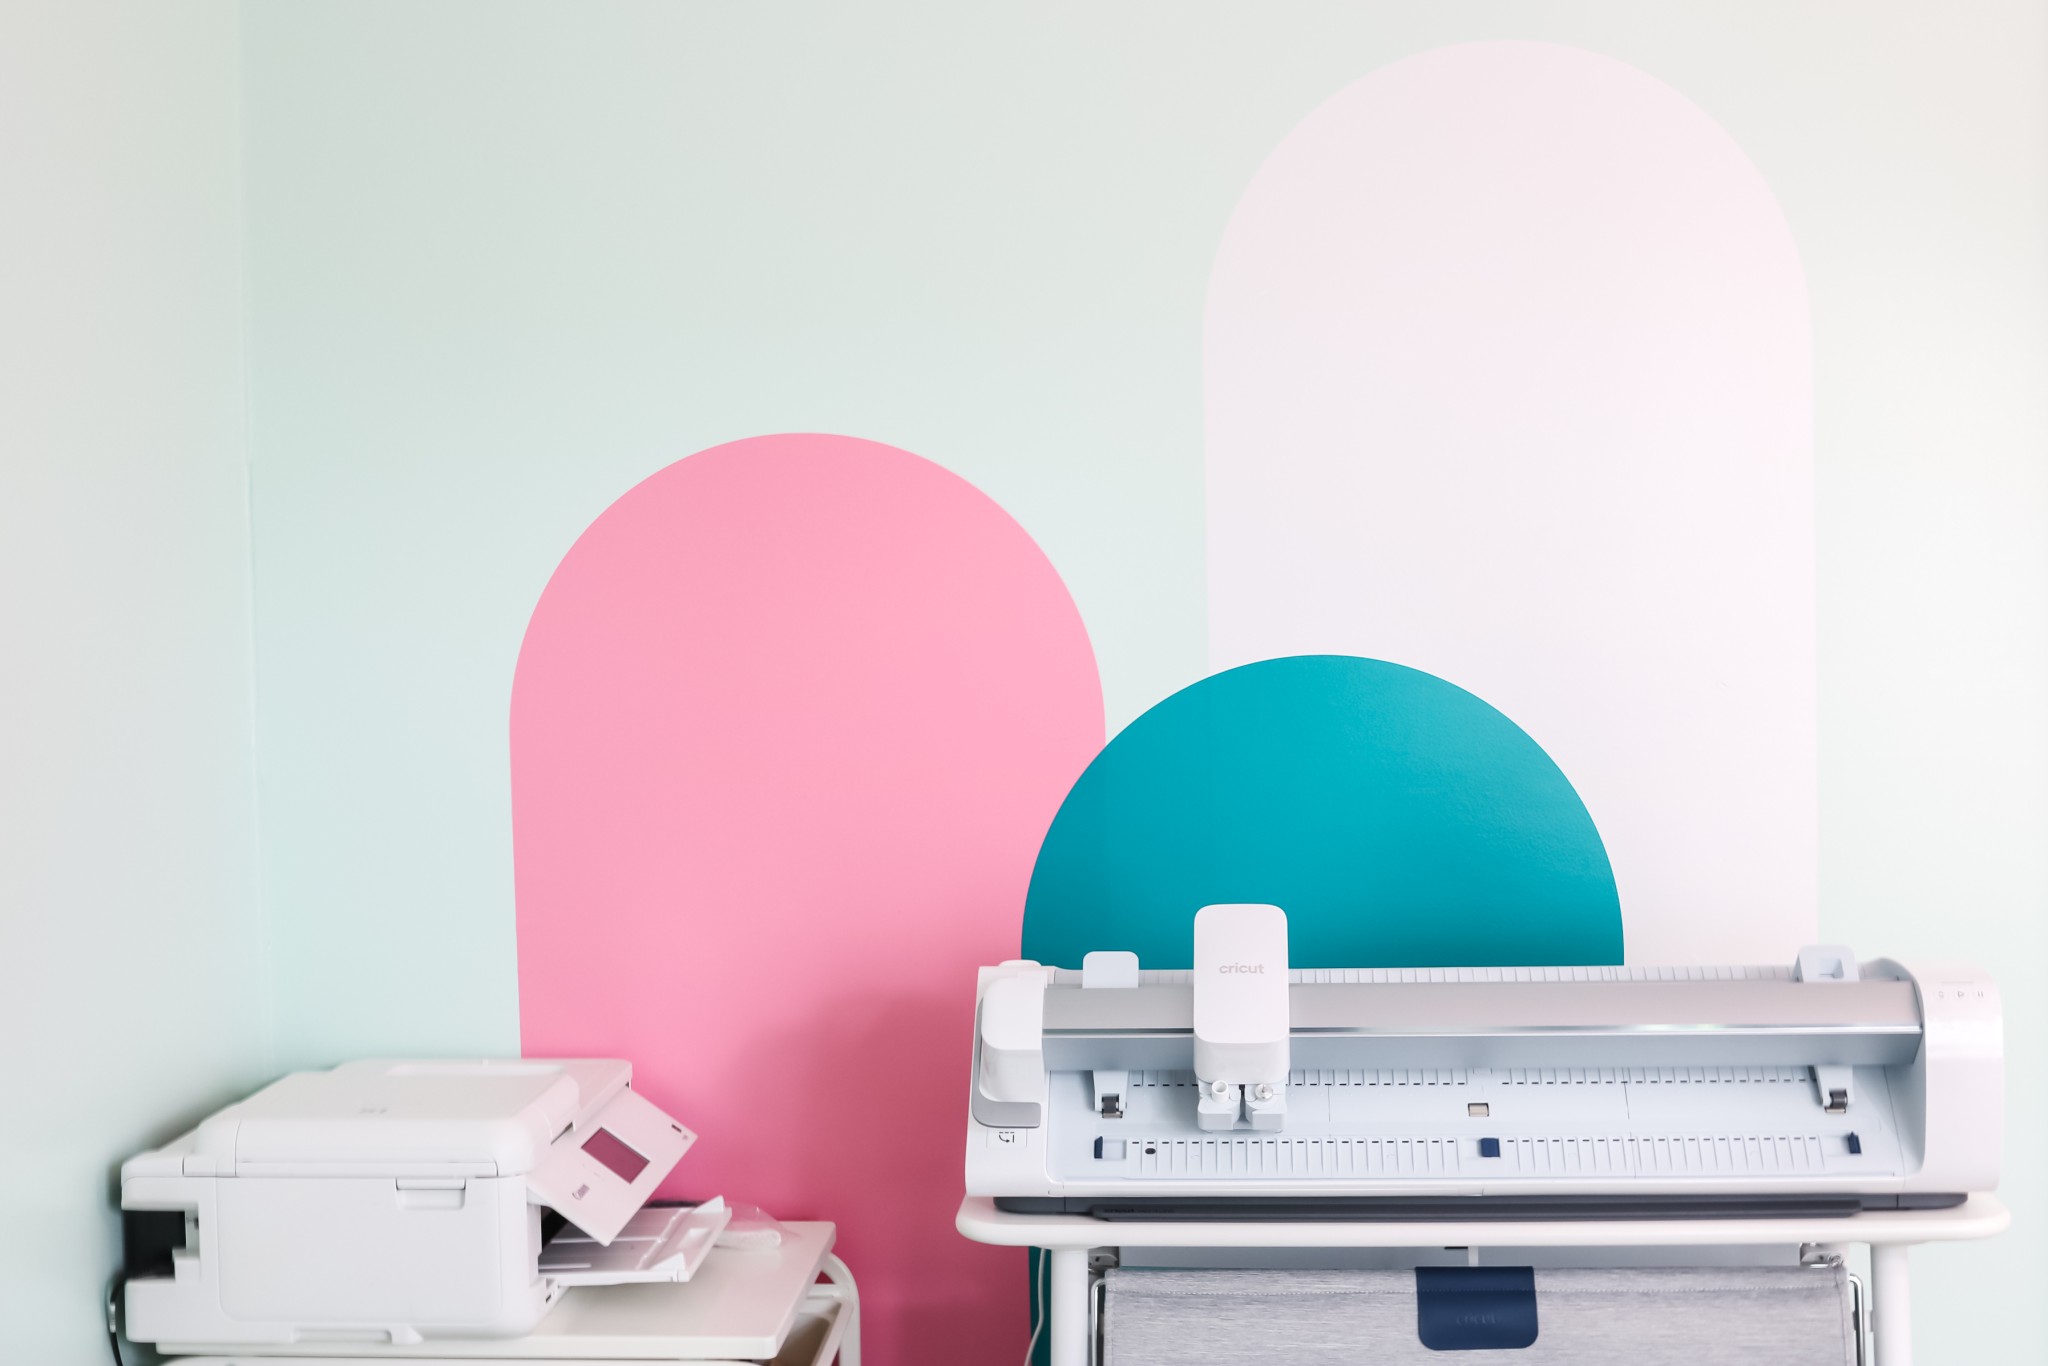
I really love how these large vinyl decals look on the wall in my craft room. I would recommend using transfer tape in projects this large. Depending on the design you may be able to apply your decal without transfer tape but I had much better success using it.
I really recommend taking your time when working with vinyl decals this large. Going slow will help prevent bubbles, prevent stretching out the vinyl, and help you keep your design located correctly.
I hope I’ve answered any questions you have about using large vinyl decals to create murals and other projects. If you have any other questions, feel free to leave them in the comments and I’ll be happy to answer them for you
