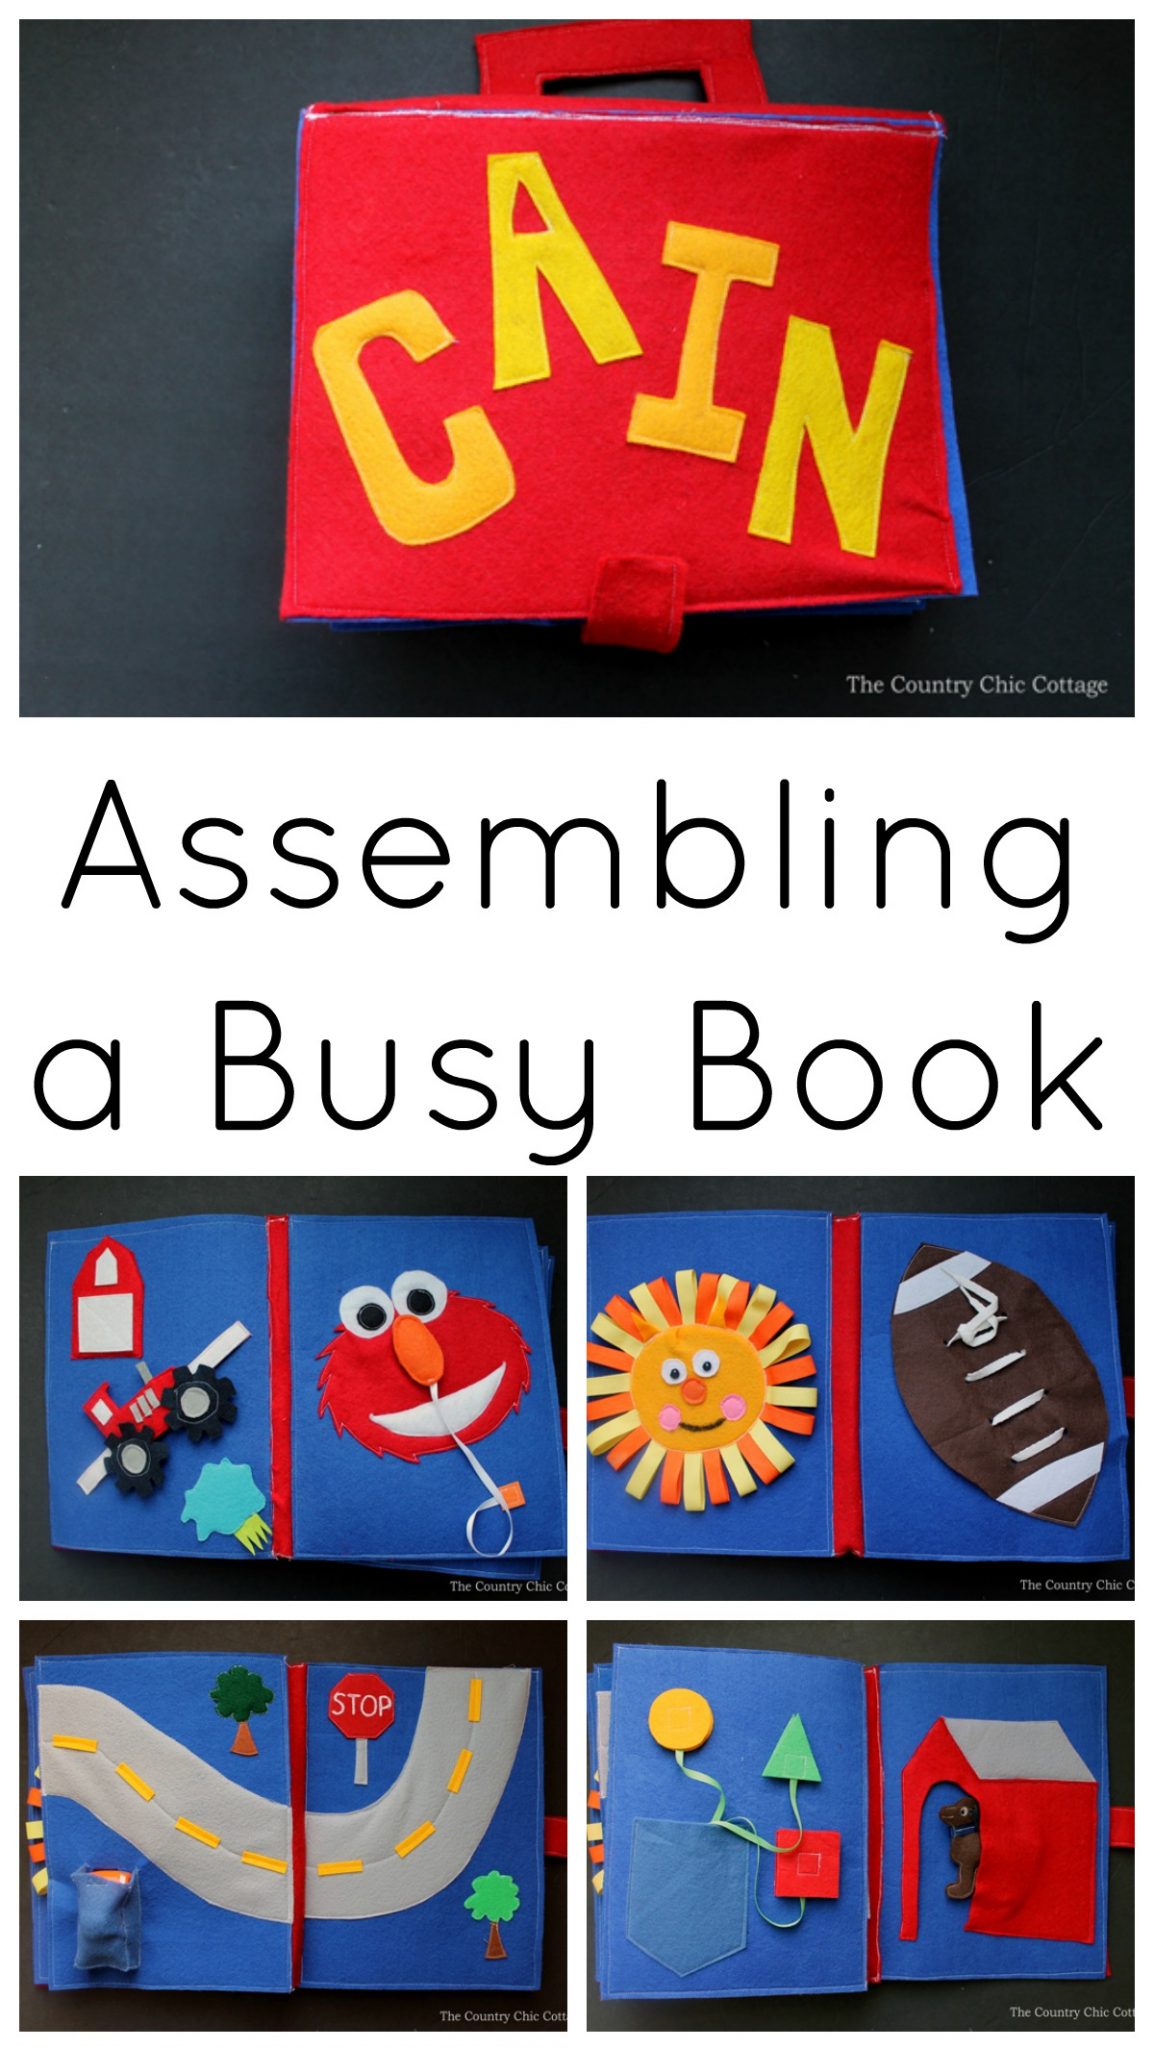
I have shared all of my busy book pages and now is it time to share how I am assembling a busy book. This is a great gift idea for a baby or toddler! Mix and match the pages for a unique book that is all about the child. I have page links at the bottom of this post so be to scroll down for that information. Gather your supplies and assemble a quiet book of your very own.
Supplies needed for assembling a busy book:
Some links may be affiliate links.
- Felt sheets for outside (you can use these large sheets cut in half) (stiff is really needed for the handle area but the other can be regular felt if you wish)
- Felt scraps (I bought a bag of felt scraps to make all of my busy books)
- Velcro
- Sewing machine
- Thread
- Scissors
- Personalized stamp (optional)
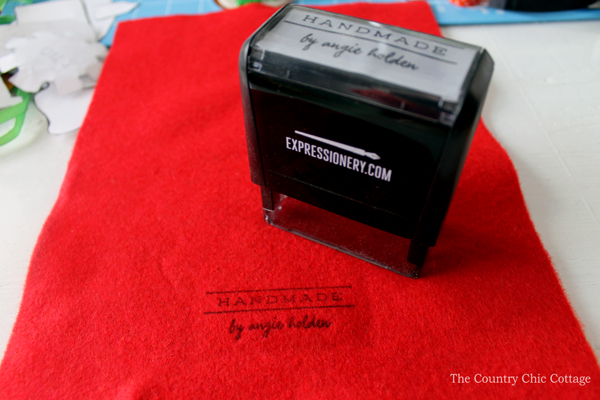
I stamped the back of my busy book with my personalized stamp just to give my book a personal touch. I set this aside to dry before sewing. You can of course skip this part or even use a fabric marker to write your name on the back.
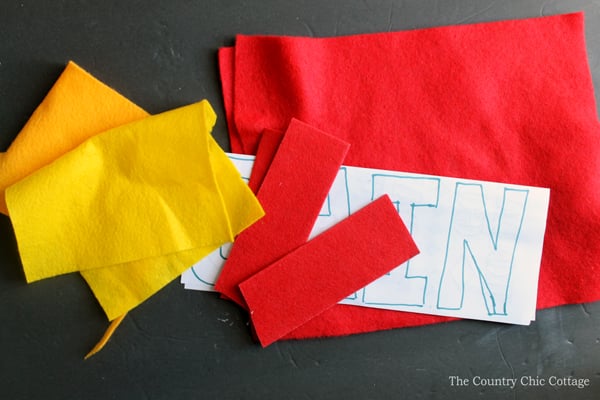
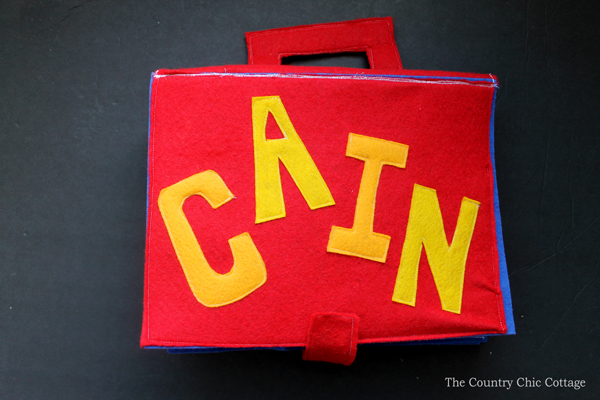
Next you will need to cut all of your felt pieces. I free handed the letters on a scrap piece of paper then used that as my pattern. I cut one piece of red felt in half for the “bind” area of the book. You will need TWO of these. The remainder of the various pieces for the handle and more came from scraps.
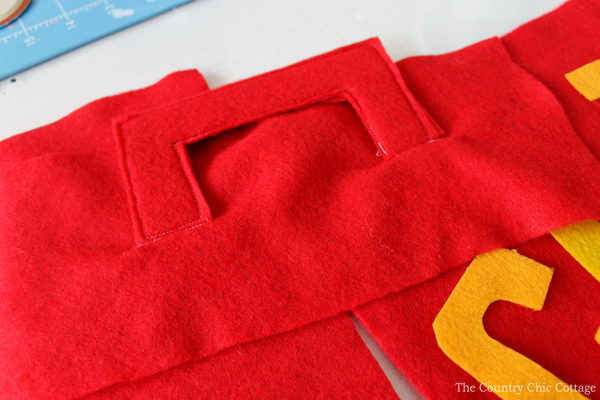
I sandwiched stiff felt in between two regular pieces of felt for the handle. This way it was sturdy but soft to the touch. I put it in the center of one of the bind pieces and sewed it down well.
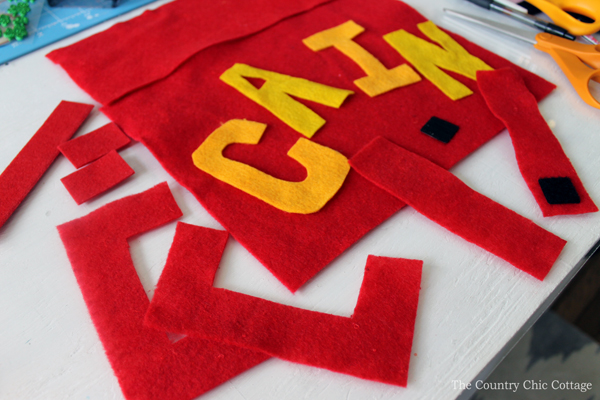
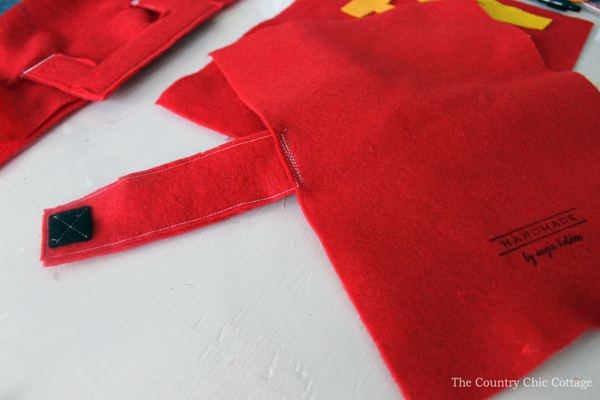
I then added the velcro to a long piece and added it to the back. WARNING: It is BACKWARDS in the picture below. I had to fix this later! SORRY! I added the long piece of felt to the back of the book as shown.
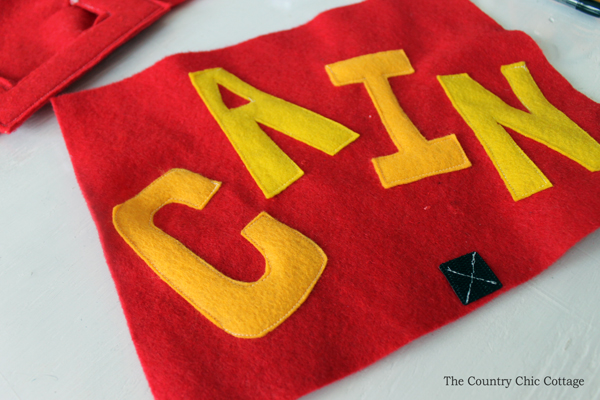
I then completed the front by adding on the letters and velcro with my sewing machine.
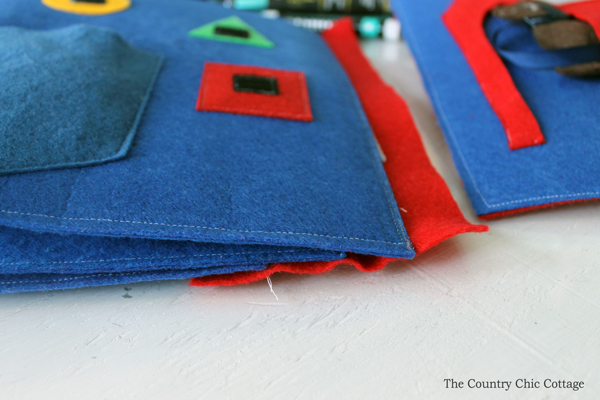
Now lay out your book in the order that you would like it to go and start sewing pages together. So the front gets sewed to the first page. The second page to the third. And so on until you get to the end. Just take care to make sure you have everything right side up and in the order you want them in. Sew all the way around the outside of each page.
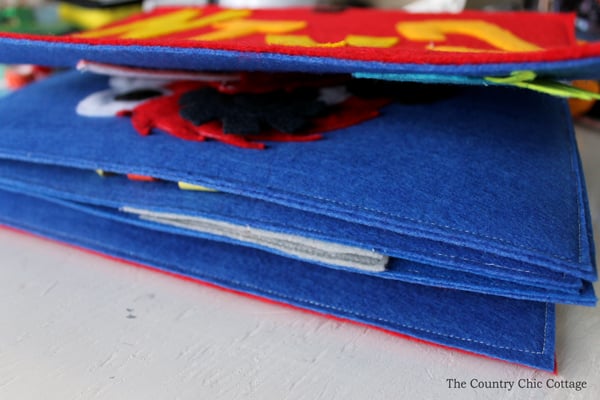
Then take the other piece of felt that DOES NOT have the handle attached and start to sew the pages into place. Evenly space all pages. Leave off the front and back during this step.
Then sew the front with the piece from above and the handle piece all in a three layer sandwich. This is the trickiest part but I got it! You will also want to hand stitch on the sides of the binding part of the book before you are finished. This fun busy book is ready for gift giving! You see assembling a busy book is not that hard! Just a few steps and you are ready to entertain any baby or toddler.
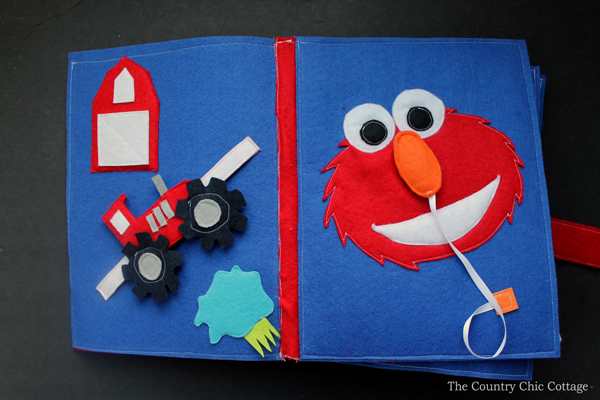
I am going to give you a tour through my busy book with links on how to create each page. At the end, I also have some resources for other pages if you want to change yours up a bit. I started with my farm busy book page then the Elmo busy book page.
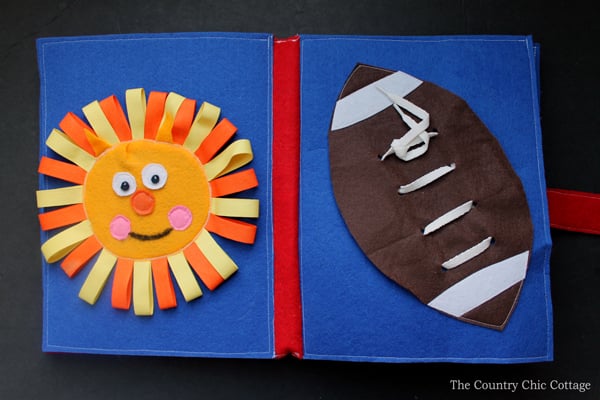
Next is my lion busy book page beside my football busy book page.
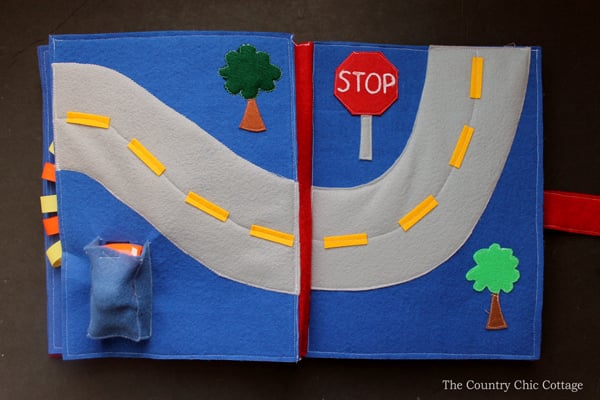
The two road busy book pages are next. These are meant to be put into a busy book facing one another as shown.
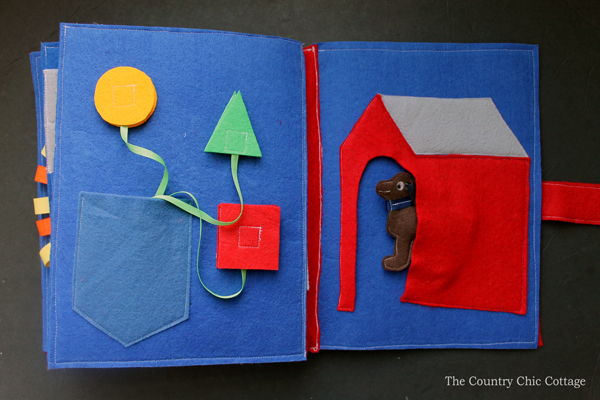
Lastly, I have the shapes busy book page and doghouse busy book page in my book.
Need more busy book page ideas? Try these sources:
- Quiet book ideas
- Two more ways to bind a quiet book
- Honey Bee Busy Book
- Airplane busy book
- Mr Potato Head Quiet Book
- Truck Busy Bag Idea
Decide on what pages you are going to make then get started on your own quiet book today. You will be assembling a busy book in no time!



I need to make one of these for my little guy, love it!
how fun! love this little busy book and I bet any child that receives this will love it too! thanks for sharing the diy!
I love this so much! I definitely need to make one for my baby girl 🙂
How cute. I love all of the hands on learning this has to offer. Thanks for sharing.
LOVE this! My son is 22 months and I’ve been looking for a simple way to make one of these – thanks for sharing!