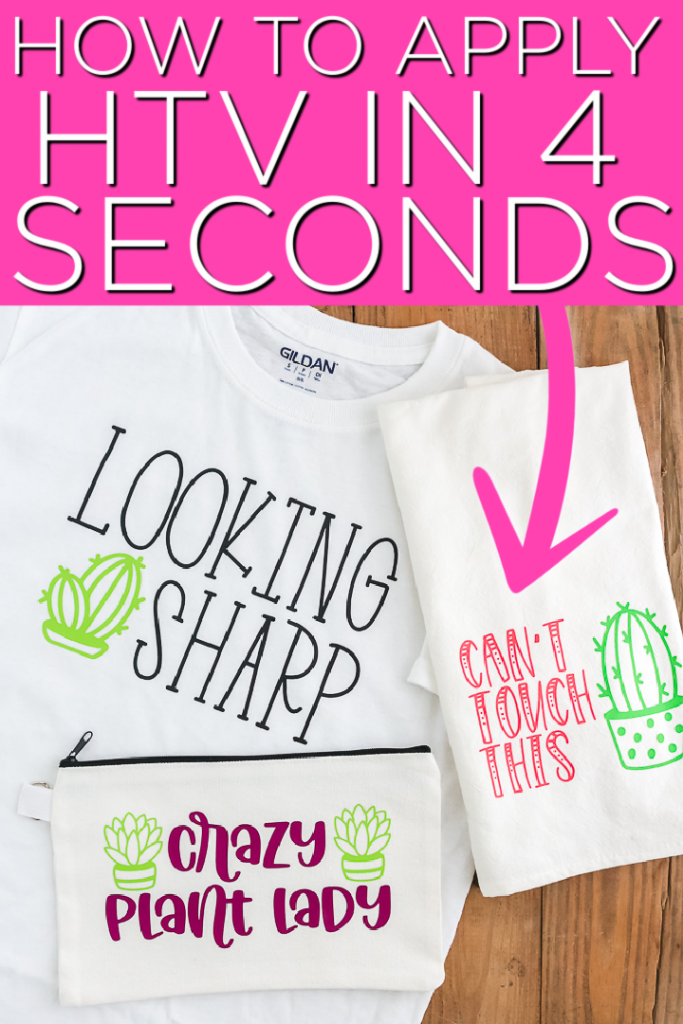
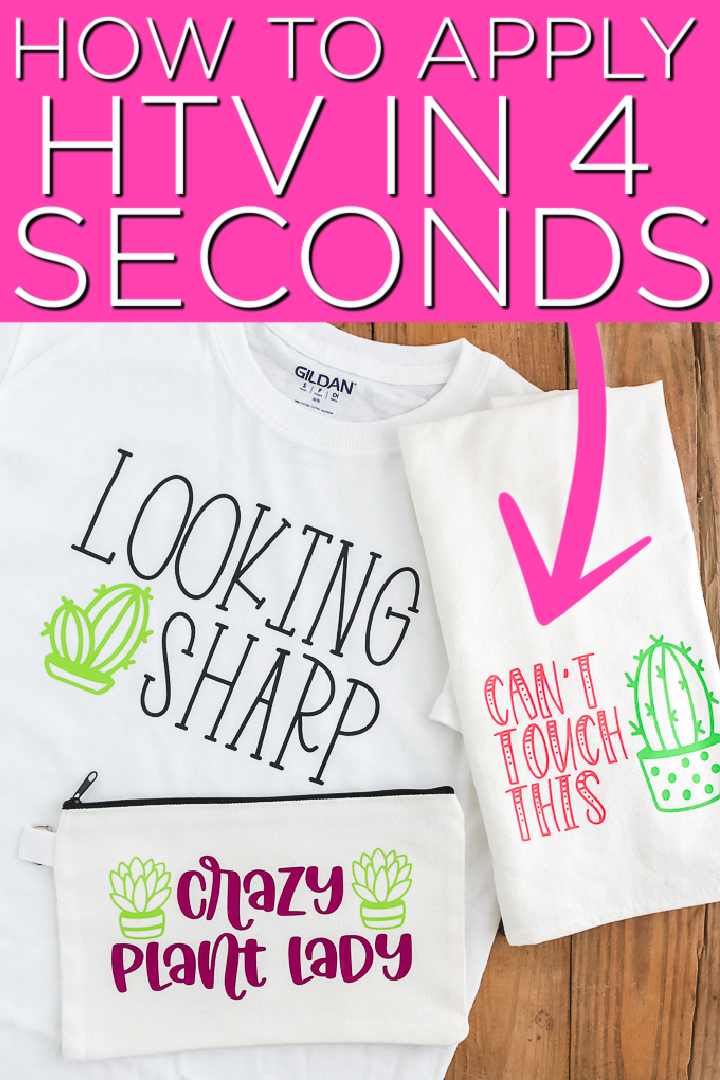
I have been using B-Flex Heat Transfer Vinyl for a while now and I have been loving it. I thought I would run through a tutorial for you today so you can see some of the differences between this and other HTV products. Plus, I have a bundle deal while supplies last that you don’t want to miss. Sounds great, right? Let’s get started!
What is B-Flex Heat Transfer Vinyl?
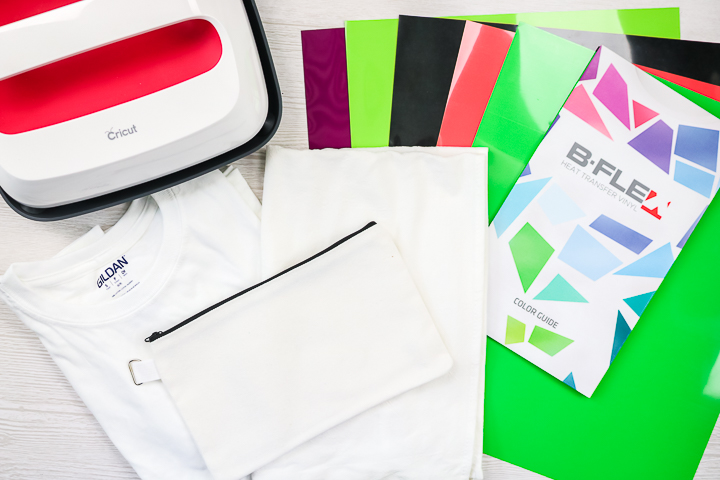
B-Flex is just a brand name for a heat transfer vinyl product. Right now they have over 250 different colors and types of heat transfer vinyl. I am using the Gimme 5 in 5 different colors.
What is different about this brand of HTV?
So, what is different about this product? Why would you like it and use it? Here are a few of my top reasons I love it:
- The pressing temperature is only 140°C/285°F which means that adding this to delicate materials is so easy. Plus, you should get more consistent results even if you are only using a household iron.
- The pressing time is only 4 seconds. You definitely read that right. I am in love with quick crafts and B-Flex HTV makes my iron-on projects even faster than before.
- It can withstand over 100 wash cycles. I personally have NOT put this to the test. That is a ton of laundry! The products I have washed have been amazing, however.
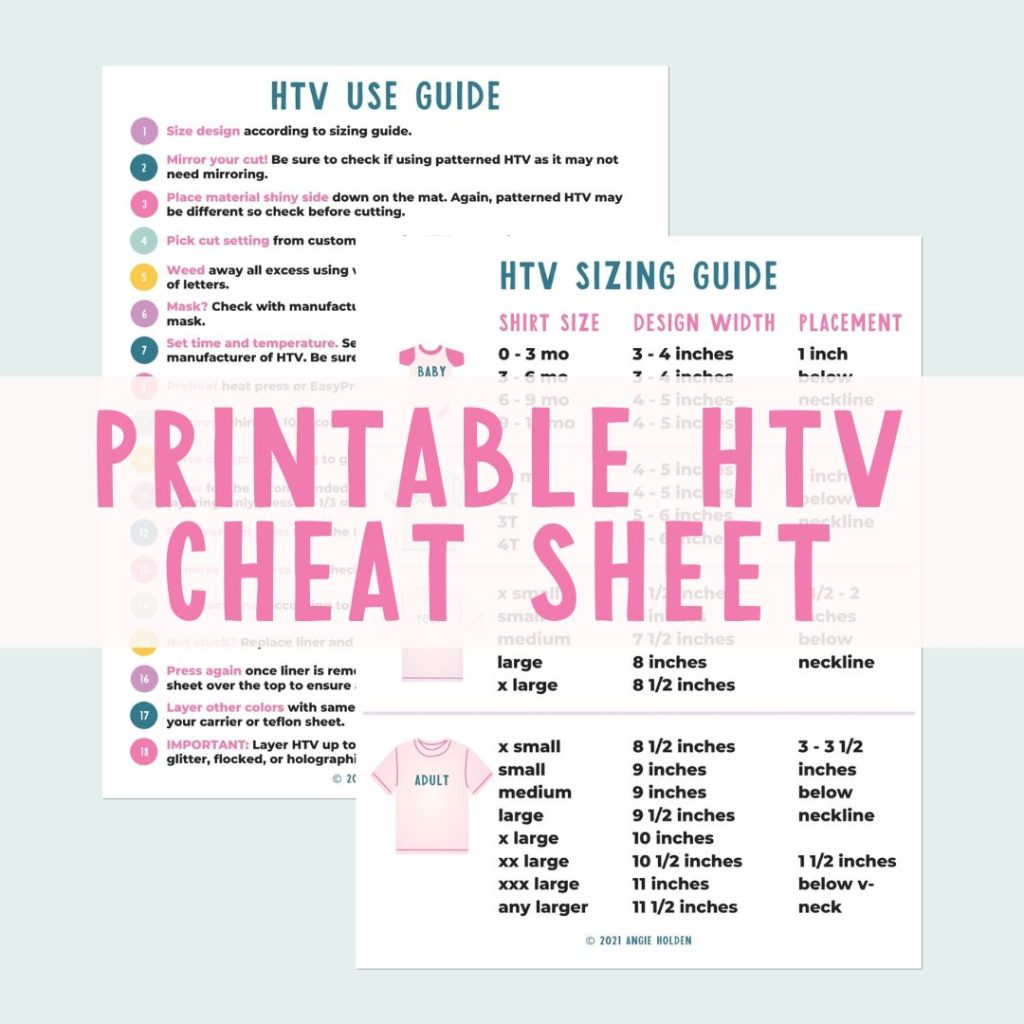
Free HTV Cheat Sheet
Get your FREE Printable HTV Cheat Sheet now! This guide has sizing and position recommendations for infant through adult shirts as well as a handy HTV use guide. Print this double sided guide and put it by any heat press you own!
How do I use it?
This is the big question, right? How do you use this brand of HTV? Is there anything you need to know before you dive in? Follow along in the video below as I show you how to make a few projects with B-Flex Heat Transfer Vinyl.
Can’t watch the video or missed some of the steps? You can also find the instructions in the card below and follow those or even print them.
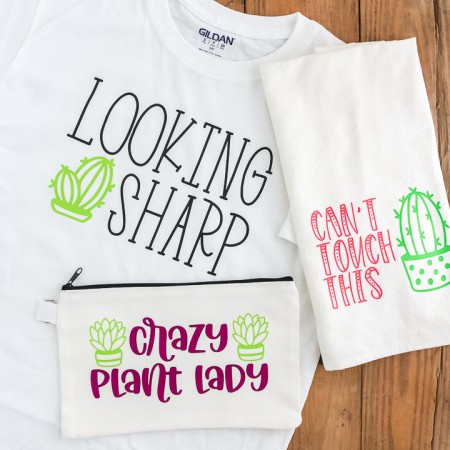
Supplies
- B-Flex heat transfer vinyl be sure to keep reading to see the bundle deal below
- EasyPress or heat press
- Weeding tools
- Cricut machine any will work for this
- SVG files you can see where to get the files I used below
- Parchment paper optional
Instructions
- First, upload your SVG files to your Cricut machine and cut your design from the HTV. The heat transfer vinyl should go face down on the mat and you will want to mirror your design before cutting. Use the Iron-on setting for your Cricut machine when cutting.
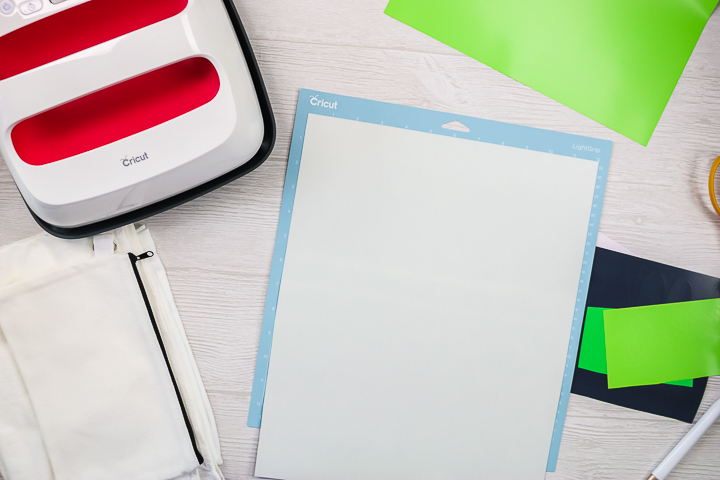
- You will then want to weed away all of the excess HTV. Weeding tools make this a bit easier. Weed and discard the excess around the outside as well as things like the centers of letters.
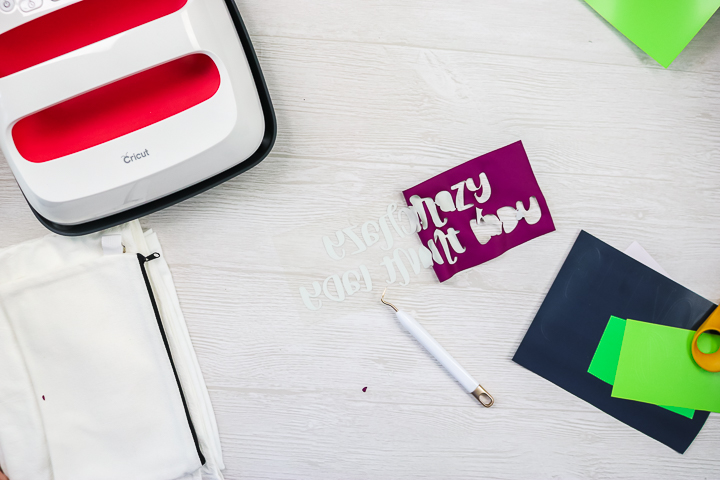
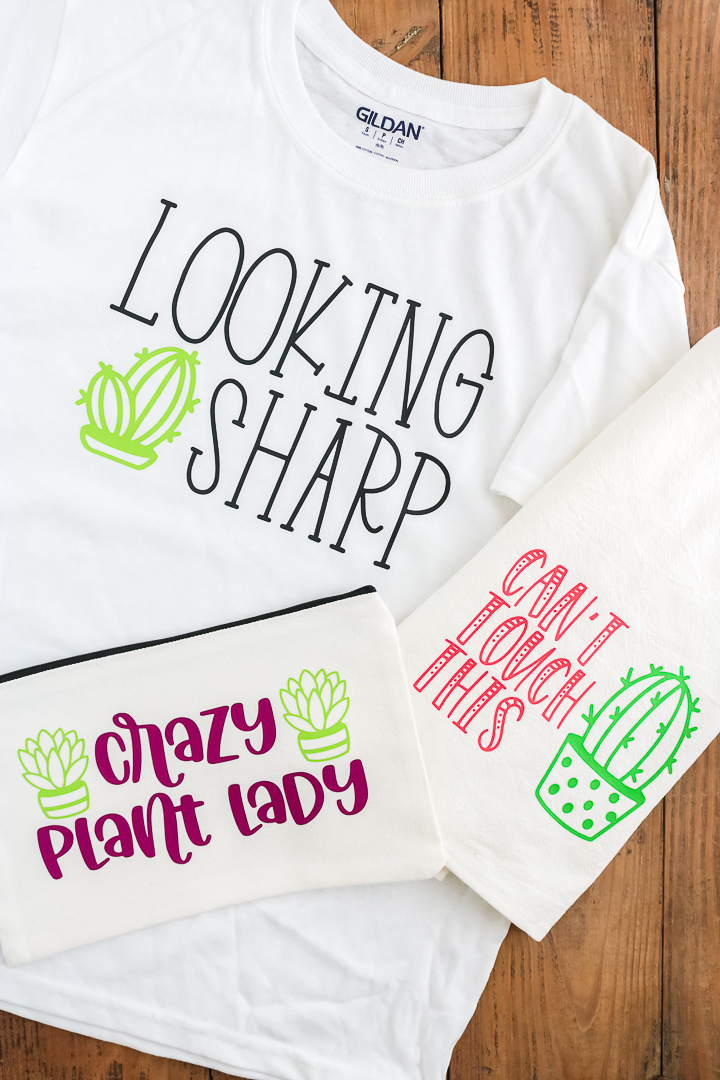
- Continue weeding all of the pieces for your design. We are using two different colors for each of our projects.
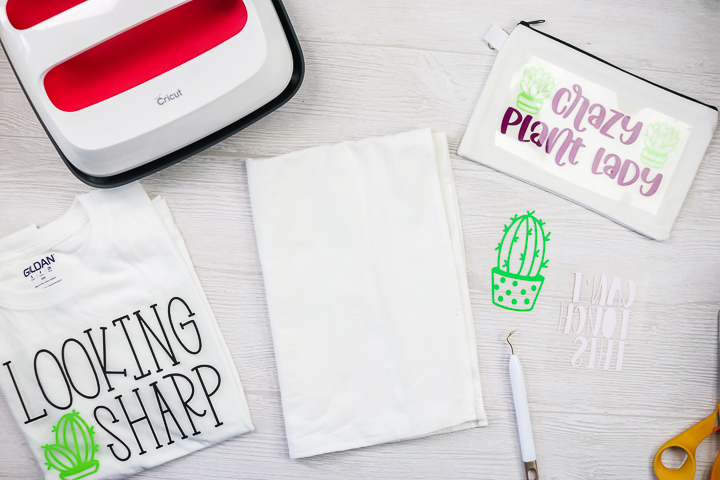
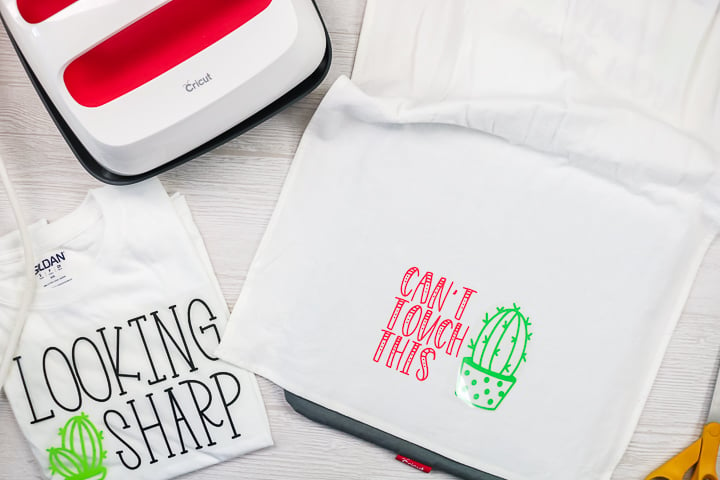
- Trim the carrier sheets close to the vinyl and put them together so they do not overlap. Then lay them on your blank in the correct location. NOTE: I like to pre-heat my material a bit to get out any moisture or wrinkles. Also, I am using an EasyPress mat under my project. Once your design is in place, you can then press for the full time at the correct temperature. Then remove the carrier sheet while the project is still hot to reveal your design. OPTIONAL: You can press a second time after the carrier sheet is removed to ensure your design is pressed well. You can cover with parchment paper or just press right on top of the B-flex as it can withstand the temperature.
Where do I buy it?
Perhaps now you are sold and you are ready to try this amazing product for yourself. Where is the best place to buy it? Well, I love it so much that I have it available to purchase in my own shop!
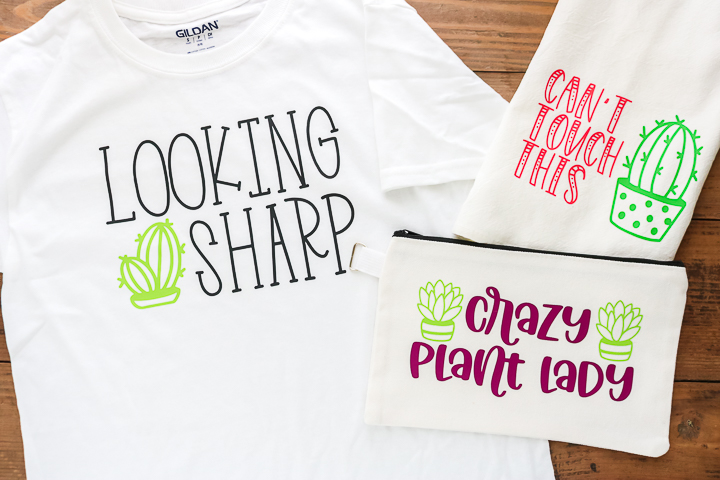
Don’t want the bundle or missed it? You can still get the SVG files for these projects in my shop:
- Get the SVG files for the projects shown here. (including DXF, SVG, JPG, PDF, and PNG)
- Get our other cactus lover SVG files here. (including DXF, SVG, JPG, PDF, and PNG)
- Shop all of our digital cut files here.
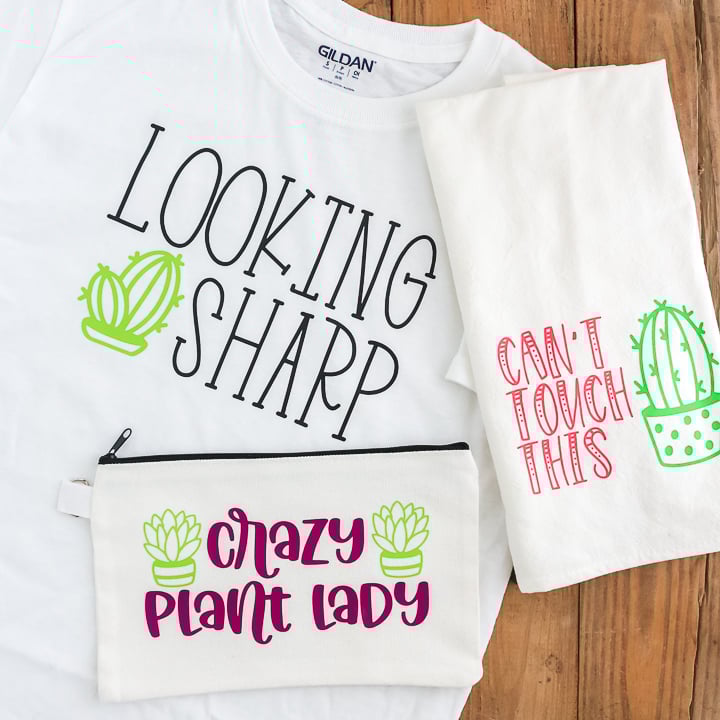
I would encourage you to give B-Flex Heat Transfer Vinyl a try. I really think you will like it and the pricing is great. Enjoy these cute cut files as well. We have been all about the plants and cacti lately so I was inspired to create an entire collection. I am seriously loving every single one of them!
Love this HTV project and want more ideas? Try the links below as well!
