Make a baby Christmas outfit with your Cricut machine in minutes. I am showing you how below plus sharing the link for the cute cut file. The best part? The Cricut EasyPress is going to make your iron-on projects so much easier! Yes, you are going to love this one!
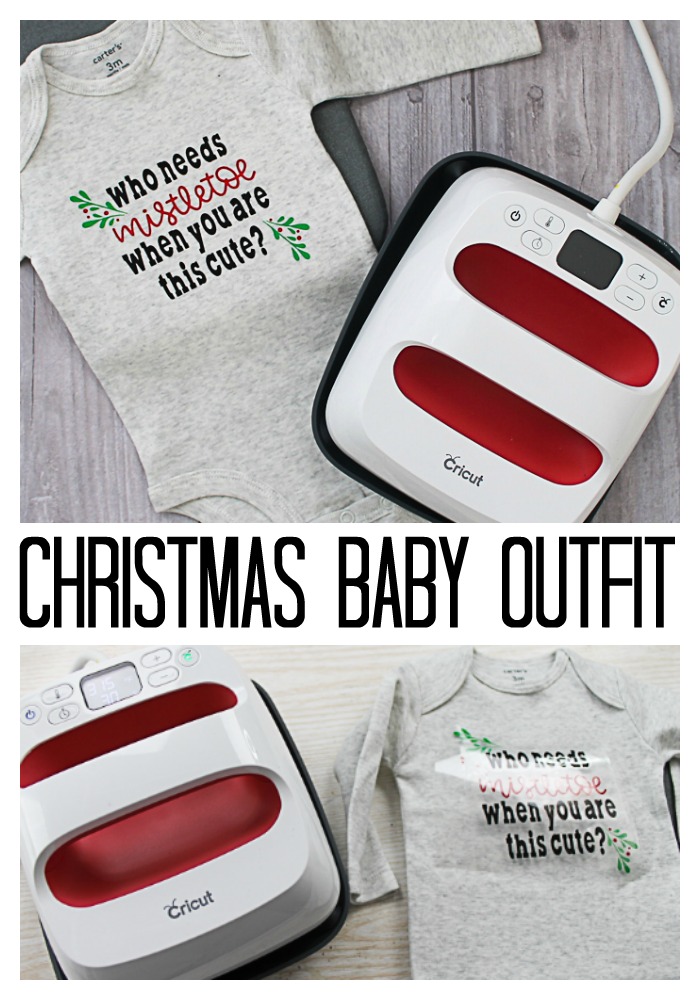
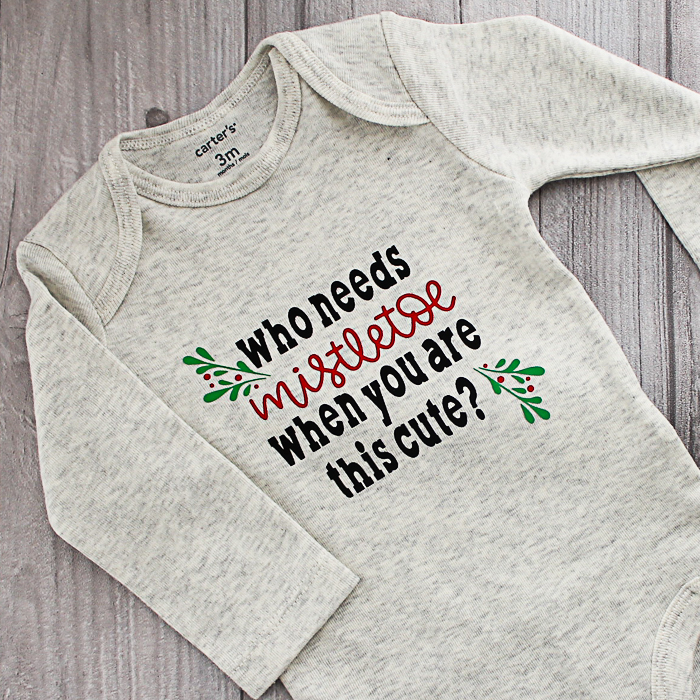
If you know of a little one that’s celebrating their first Christmas, this is the perfect gift! This adorable mistletoe onesie is made with a cut file and the Cricut for a completely customizable Christmas outfit for baby. You can find the cut file linked below.
I love using my Cricut for Christmas gifts! There are so many great ideas and ways you can customize any handmade gift. Definitely checkout these Cricut Christmas Ideas when planning gifts.
I also have files for a “Dear Santa” onesie and Baby’s First Christmas Ornament SVG file, so you can really help the new baby celebrate big this year!
How to Make a Mistletoe Onesie
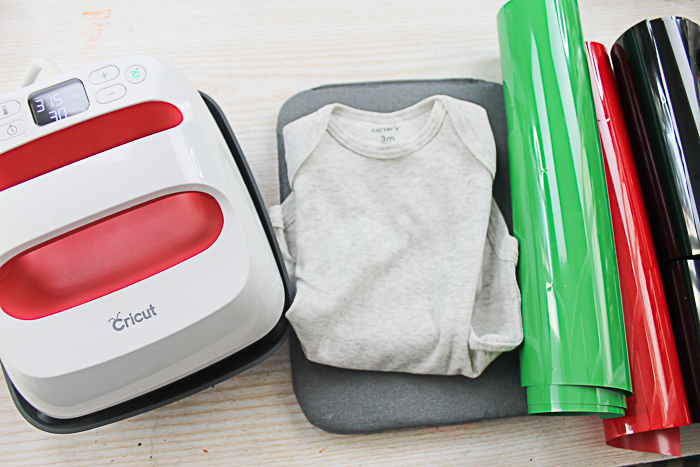
Supplies needed to make this baby Christmas outfit:
Some links below may be affiliate links which means that you do not pay anymore, however, a small commission from any purchase will go to this site.
- Onesie
- Cricut machine (click here to see which I prefer)
- Cricut EasyPress (you can see all about the newest EasyPress here)
- Iron-on in red, green, and black (click here to purchase)
- Weeding tools (optional)
- EasyPress mat (optional)
- Cut file (click here to access)
Directions:
Click here to open up the cut file in Cricut Design Space. Size to fit your onesie and cut from the iron-on material. Be sure to mirror your design before cutting and cut with the shiny side down. Weed away all excess including the centers of letters. Use weeding tools to make this process a bit easier.
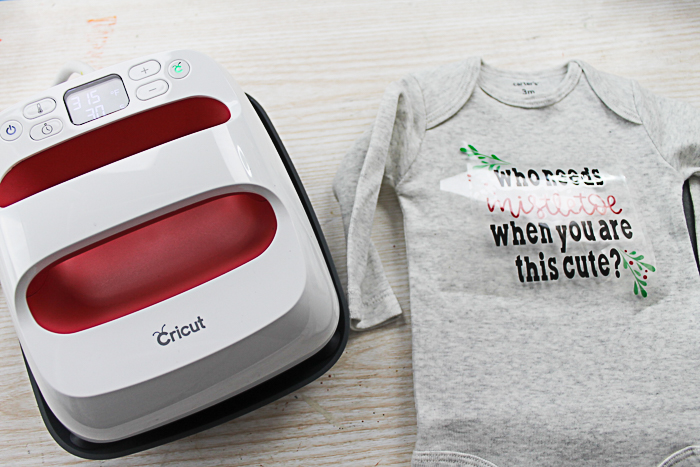
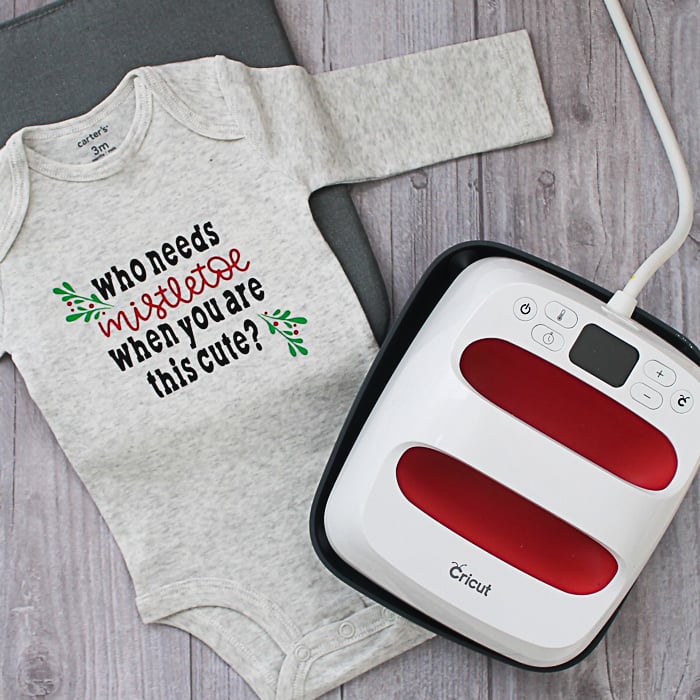
Then, use your Cricut EasyPress to add the iron-on to your shirt one color at a time. I started with the black. The EasyPress is so simple to use if you don’t already have one.
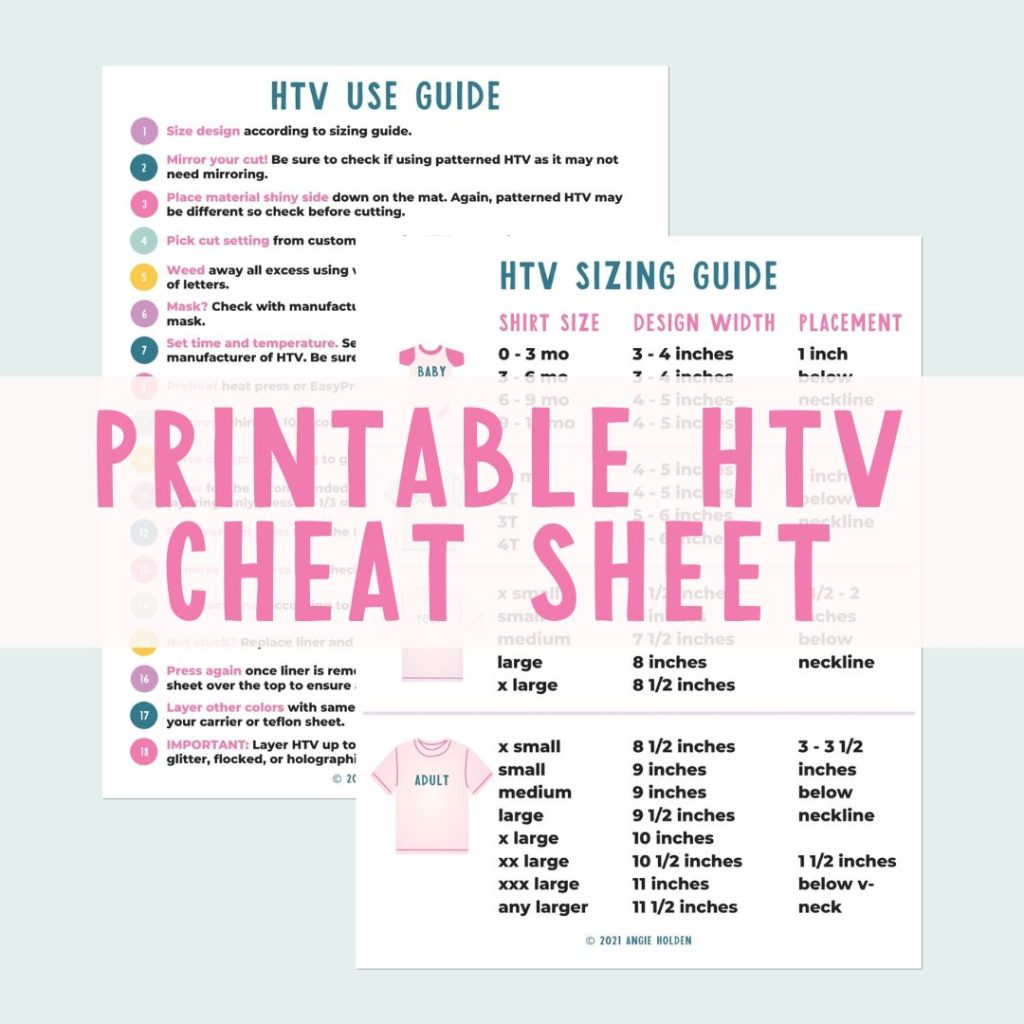
Free HTV Cheat Sheet
Get your FREE Printable HTV Cheat Sheet now! This guide has sizing and position recommendations for infant through adult shirts as well as a handy HTV use guide. Print this double sided guide and put it by any heat press you own!
Use the Cricut guide to set your time and temperature then wait for it to warm up. Place it over your design and hit the button. The timer will count down for you and beep when done. You just have to apply light pressure to the handle during the process. You can watch a video here of me using it if you need to.
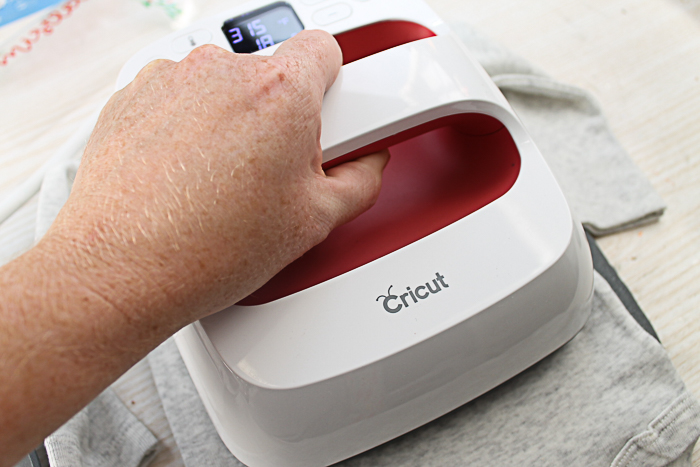
After the black has been pressed just on the front, remove the carrier sheet and add your next color. You just need to make sure that the carrier sheet covers all of the exposed iron-on material. Use the carrier sheet from the black on top if needed.
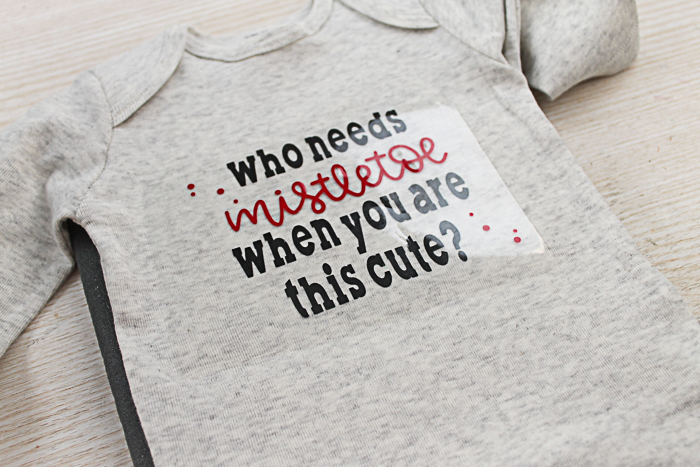
Then add the green in the same manner.
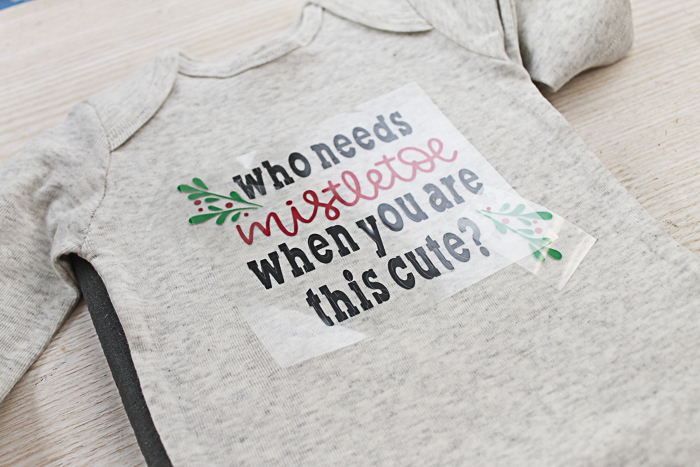
Your baby Christmas outfit is now complete and ready for anyone on your Christmas list to wear.
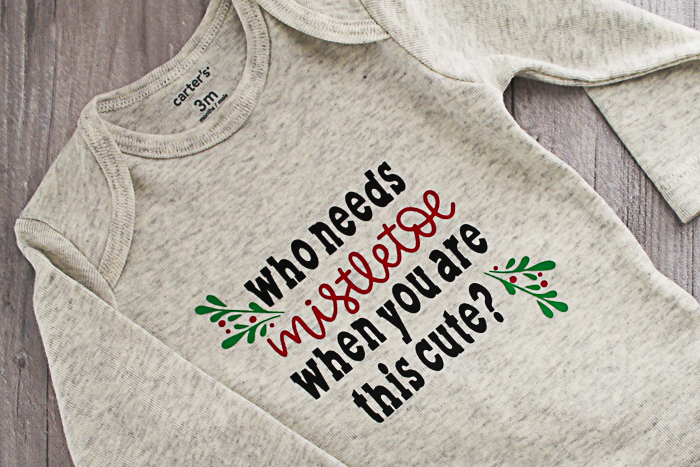
After all, they don’t need mistletoe! They are all just too cute!
So, are you ready to try the EasyPress for yourself? What are you waiting for?
Would you like a bit more inspiration to go with your Cricut and EasyPress? Try the links below!
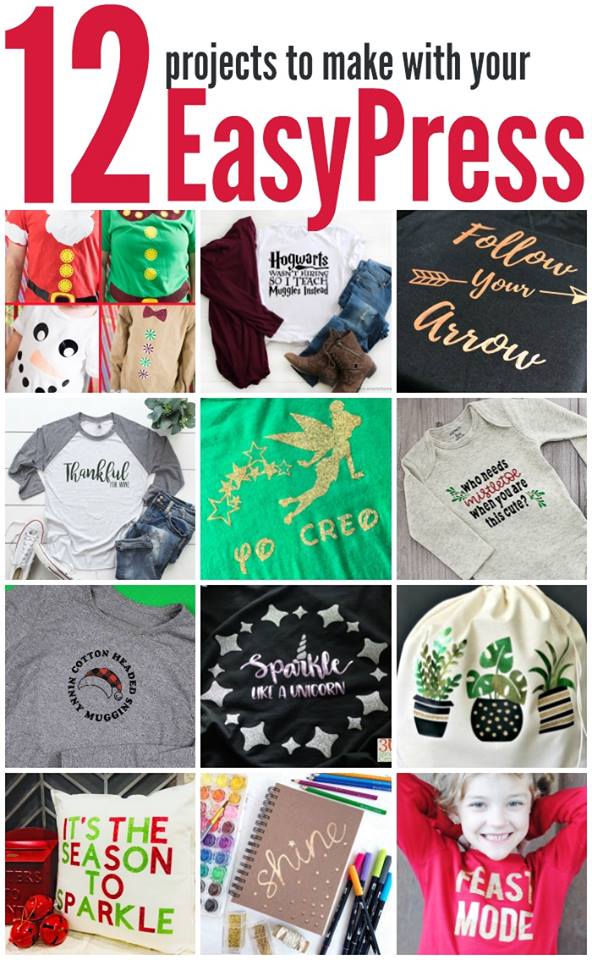
- Shine – Decorated Notebook cover from 100 Directions
- Thankful Wine Tshirt from Everyday Party Magazine
- DIY Christmas Shirts from Clarks Condensed
- Make Your Own Ninny Muggins Shirt from Mad in Crafts
- Follow Your Arrow Shirt from Whisky n Sunshine
- Tinker Bell Shirt – in Spanish from Pura Vida Moms
- Muggle Teacher Shirt from Artsy Fartsy Mama
- Feast Mode Thanksgiving Shirt from Kiss My Tulle
- Cute DIY Bag from Simply Crafted Life
- Season to Sparkle Pillow from Tisa’s Creations
- Sparkle like a Unicorn T-shirt from 30 Minute Crafts
So make this baby Christmas outfit or any one of these other projects with your EasyPress 2 and Cricut machine!
Equipment
- Cricut EasyPress
- Weeding tools optional
- EasyPress mat optional
Supplies
- Onesie
- Cut file
- Iron-on in red, green, and black
Instructions
- Open up the cut file in Cricut Design Space. Size to fit your onesie and cut from the iron-on material. Be sure to mirror your design before cutting and cut with the shiny side down. Weed away all excess including the centers of letters. Use weeding tools to make this process a bit easier.
- Use your Cricut EasyPress to add the iron-on to your shirt one color at a time. I started with the black.
- Use the Cricut guide to set your time and temperature then wait for it to warm up. Place it over your design and hit the button. The timer will count down for you and beep when done. You just have to apply light pressure to the handle during the process.
- After the black has been pressed just on the front, remove the carrier sheet and add your next color. You just need to make sure that the carrier sheet covers all of the exposed iron-on material. Use the carrier sheet from the black on top if needed.
- Then add the green in the same manner.
- Your baby Christmas outfit is now complete and ready for anyone on your Christmas list to wear.
New to Cricut?

Sign up for our email list to download the Beginner's Guide to Cricut Design Space for FREE today!
Sign up to get the guide emailed to you!


So. Stinking. Cute!!
I got my Cricut last Christmas but haven’t worked up the nerve yet to mess with anything but vinyl… this makes me want to try it! Thank you!!
So, so cute! I love the saying you used! Thank so much for sharing at Celebrate It!
I don’t own a Cricut so how can I get the above SVG to my Cameo?
Sorry. I don’t have this one as a separate download at least not yet!
Unable to download the svg file.