If you love sending out personalized Christmas cards, why not try making your own? With this tutorial for DIY Christmas cards, I will share with you two easy, professional-looking versions that you can make quickly and easily! Sending holiday cheer has never been easier!
There are many holiday traditions that I still do but that aren’t quite as popular nowadays. Even so, one of my favorites that fall into this category is sending out handmade Christmas cards!
I love catching up on the year’s news through reading the updates and seeing the pictures of the kids! And, I also love sending out holiday cards of my own. But, rather than sending out a typical photo card, I like to take it a step further.
Instead of buying my cards, I prefer to make them!
Now, before you start saying how big of a project like that is, I don’t make ALL of my cards. I do actually send out photo cards to certain people. I just make the ones where I want to write nice notes and more personalized messages.
Yes, it’s more time-consuming than simply buying a huge stack of identical cards. BUT, it also adds a personal touch that money can’t buy – and it doesn’t take nearly as long as you may think!
Today, I am going to walk you through the process of making my version of DIY Christmas cards using baker’s twine. I have two different card designs you can choose from, and both only take minutes to make.
You CAN whip up a few handmade holiday cards for your family and friends this year – I promise!
Note: If you love Christmas crafting, keep the Christmas crafting fun going with our DIY Christmas Pot Holders, Vinyl Christmas Ornaments, and DIY Nativity Scene Made With Christmas Jars!
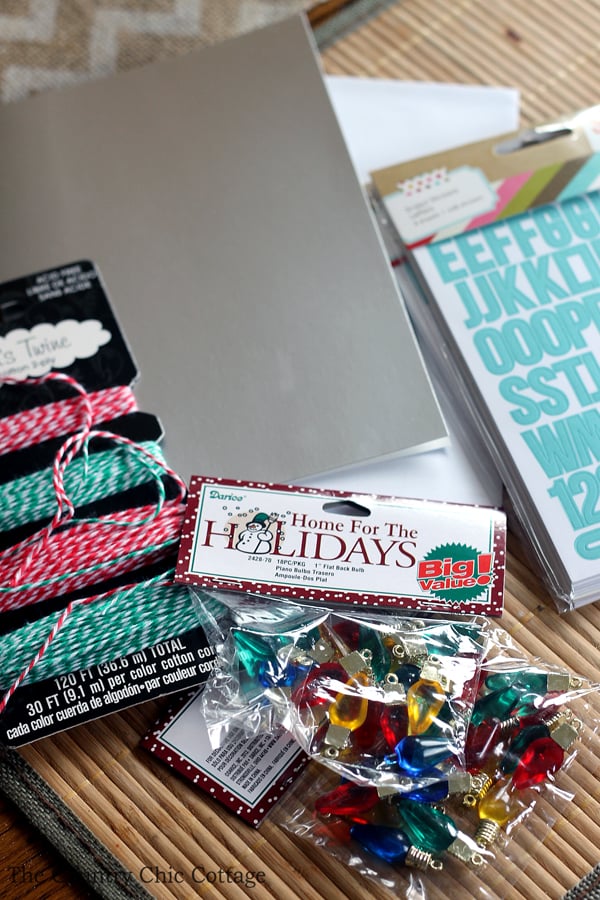
Supplies Needed To Make Handmade Christmas Cards
Remember how I mentioned I have 2 different designs? I will show you how to make both card designs below. Here are the supplies you’ll need for both Christmas card designs.
Note: Some links below are affiliate links, which means that you do not pay any extra but a portion of any purchase will go to this site.
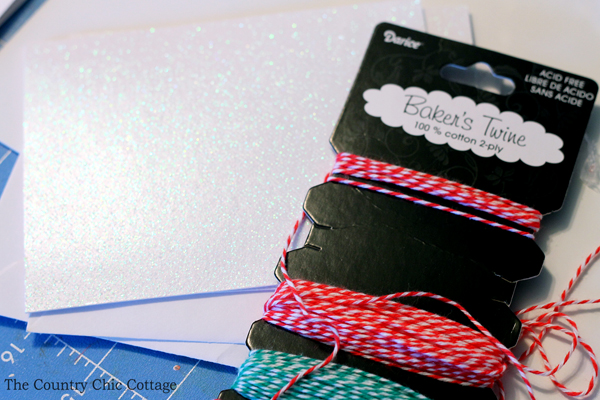
- Blank cards (I used these glitter cards and some silver ones I had on hand)
- Christmas colored baker’s twine
- White glue (I like Aleene’s Tacky Glue)
- Flat back miniature lights
- Letter stickers
How To Make DIY Christmas Cards With Baker’s Twine
Now, how about making some Christmas cards? It’s time for the fun part! These cards come together quickly, but I’m showing you the process to make each design separately.
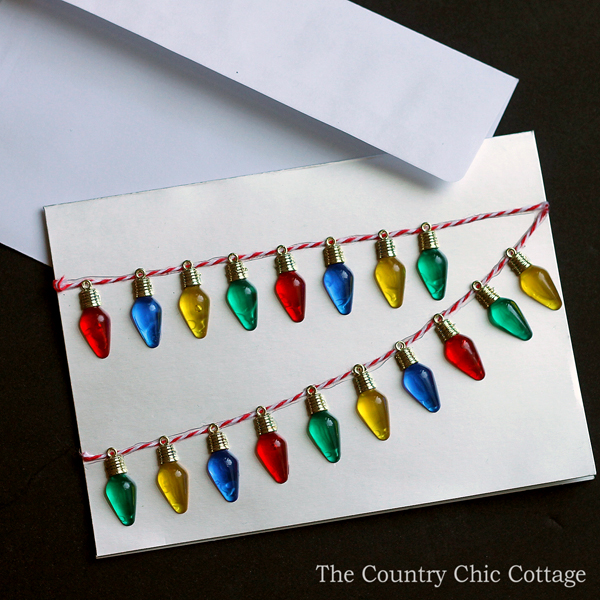
How To Make The Holiday Lights Christmas Card
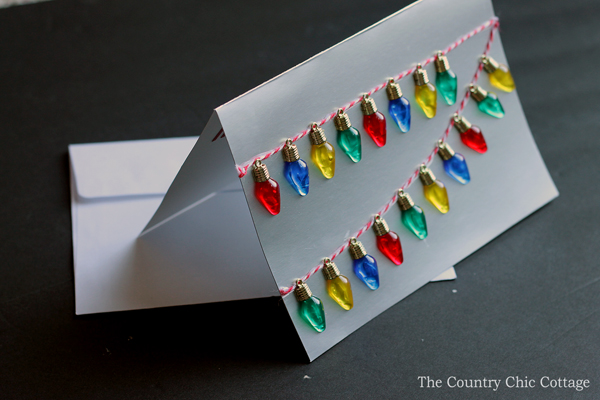
I am starting with the version that has the miniature lights on the front. I love this design!
Step 1
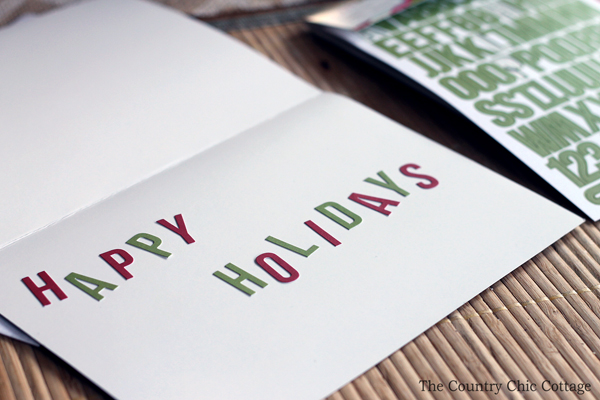
I started by adding a holiday sentiment to the inside of the card with the alphabet stickers. You can choose to add any words you would like – I simply chose “Happy Holidays”.
I recommend making the letters crooked on purpose so you don’t have to get fussy about how you place them to make sure they look great.
Step 2
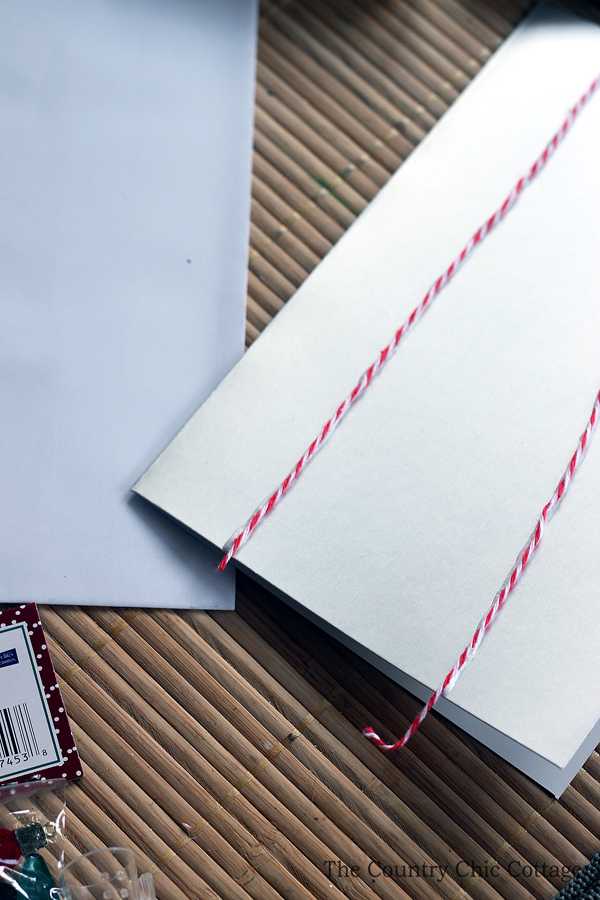
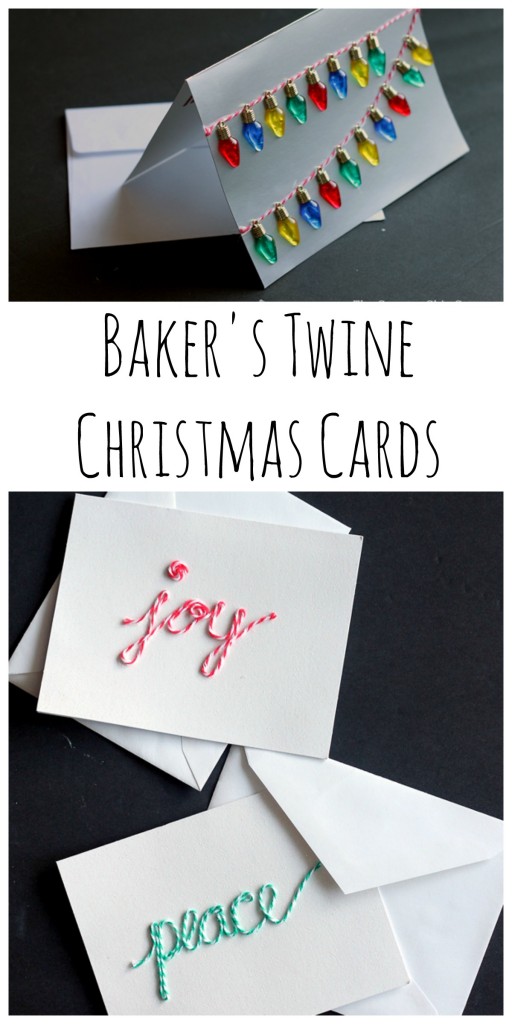
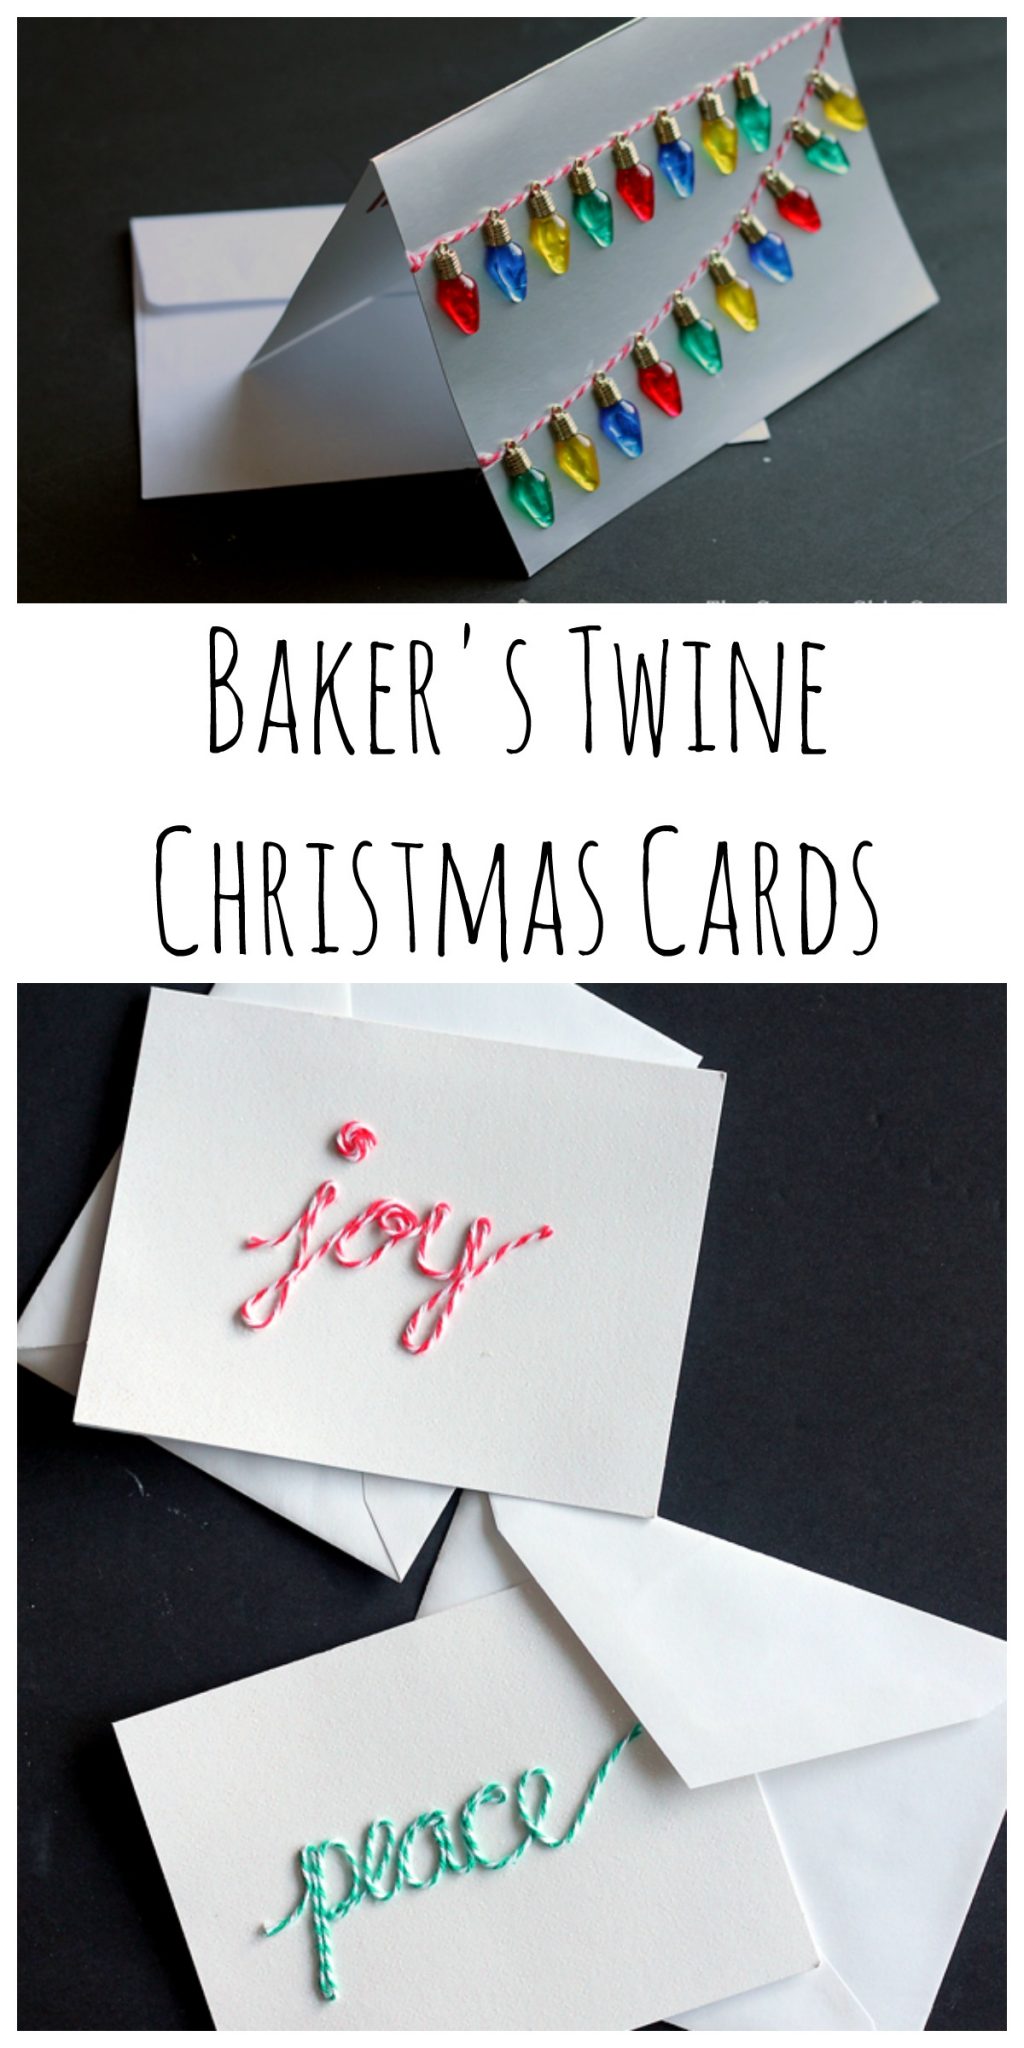
Then, add a couple of beads of glue to the front where you would like your strings of lights to be. Place baker’s twine onto those glue beads and press lightly into place. Trim off any excess twine.
Step 3
Use tacky glue and start adding the lights to the front of the card. Allow the entire thing to dry flat before moving.
That’s it! Super simple, right?
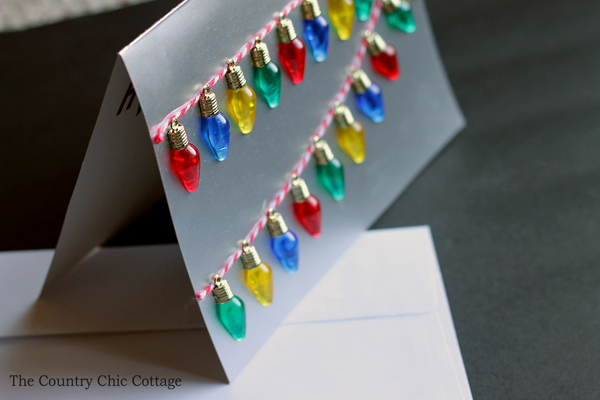
This fun card can be made in only minutes, and your recipient will love getting a thoughtful handmade card this holiday season.
How To Make DIY Christmas Cards With Baker’s Twine Words
I couldn’t just stop there! These cards were just too easy to make. I decided to do one more version of these baker’s twine Christmas cards.
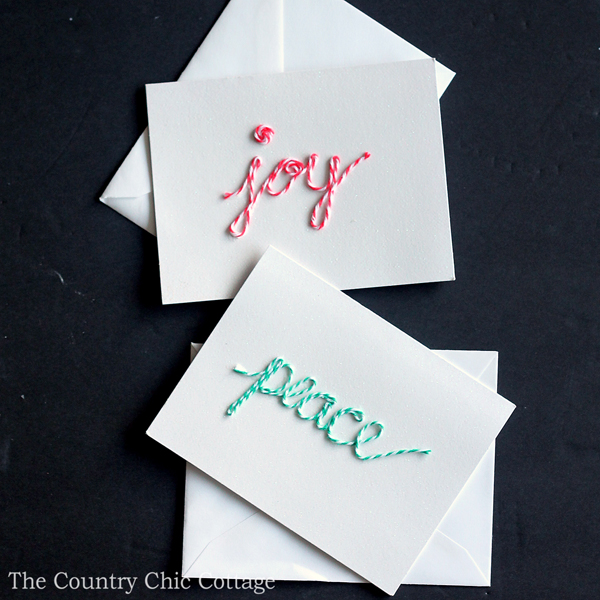
This time you really just need twine, glue, and a blank card. You might even already have everything you need on hand.
Step 1
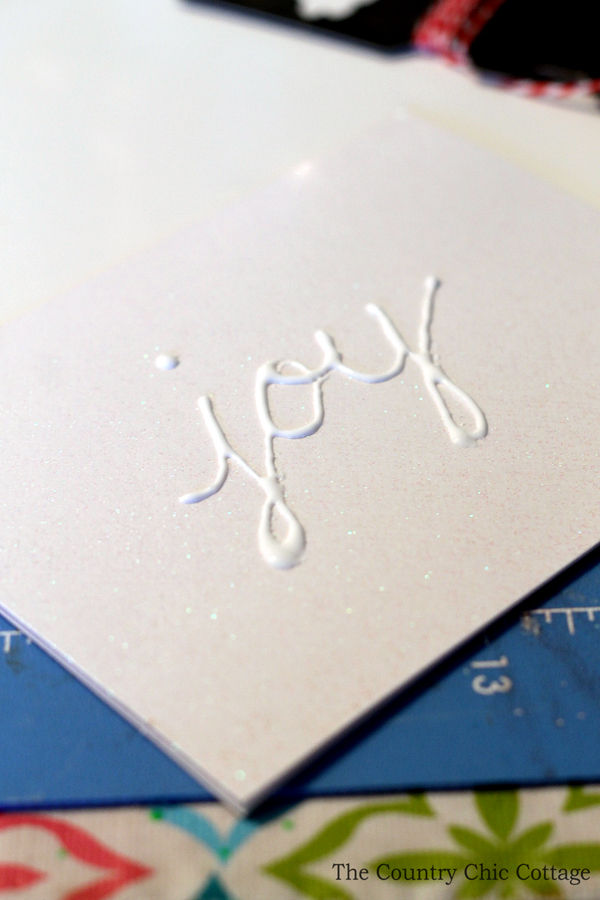
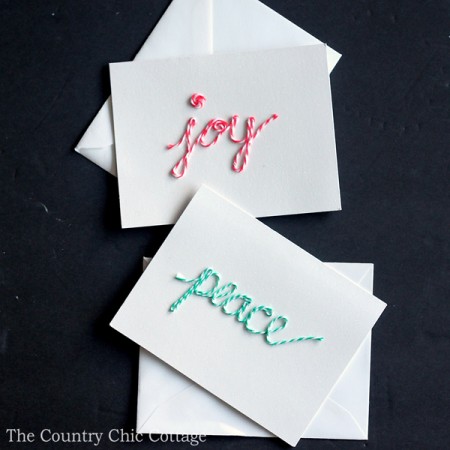
Write out your word in tacky glue onto the front of the card. Just use the glue tip like a pen and write the word in cursive as shown below.
Step 2
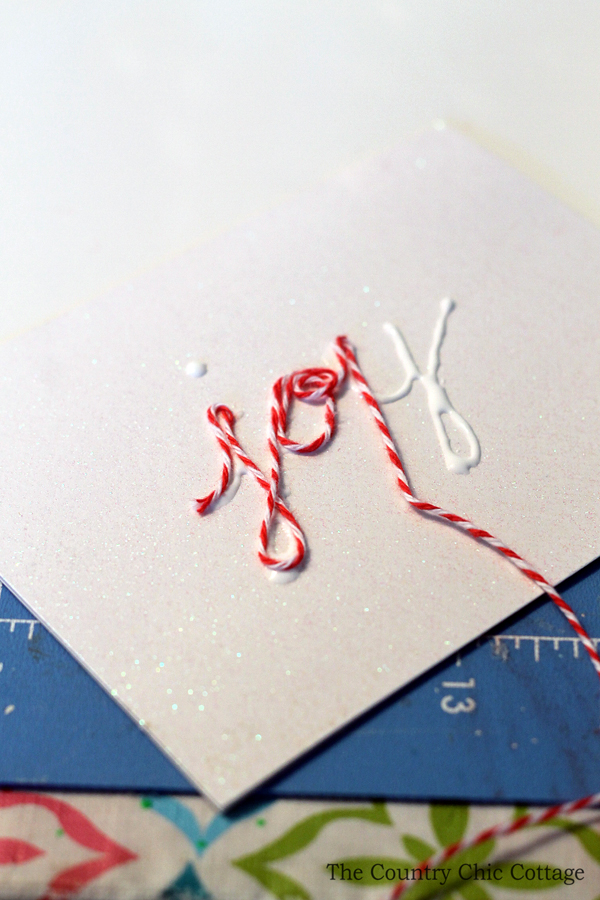
Then, just lay the baker’s twine into the glue going slowly and pressing into the glue as you go along.
Step 3
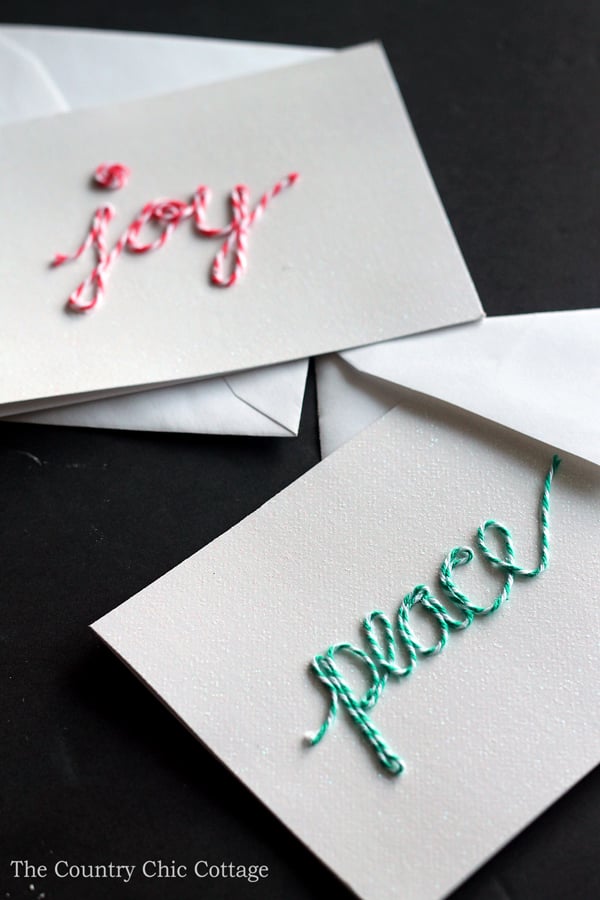
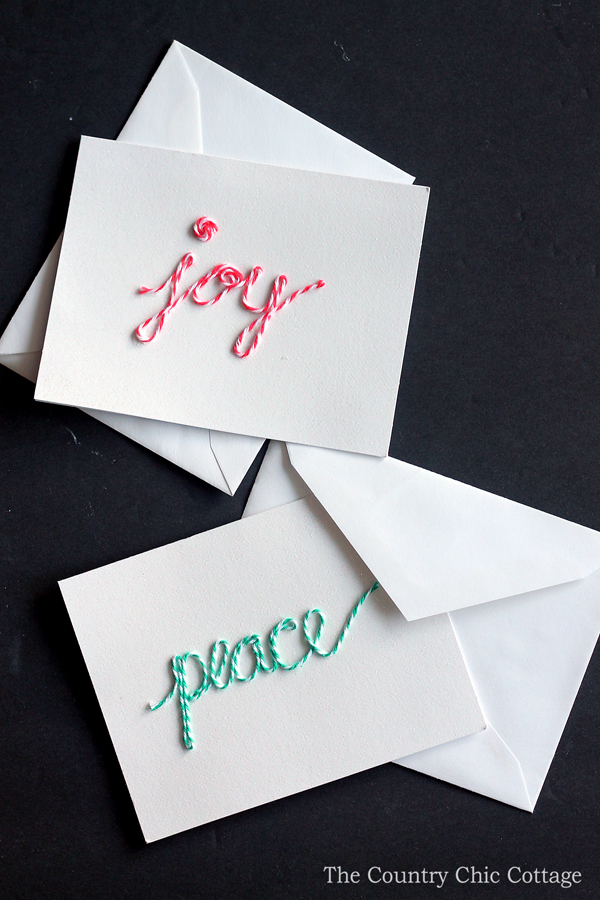
Trim the twine when complete and allow it to dry completely. I did a few words in my examples below but you can do any word that means Christmas to you!
I love the simplicity of these fun cards! The kids might even enjoy joining in and making some baker’s twine DIY Christmas cards of their very own!
Just go ahead and order your supplies so you can give handmade holiday cards a try this year.
FAQs
Here are a couple of common questions I get from readers about this project. If you have a question but don’t see it down below, please leave it in the comments so I can answer it for you.
Can I use jute twine for a farmhouse-style card?
Jute twine is a little thicker than baker’s twine. While I imagine it would look beautiful, I don’t think the glue would hold it on securely enough. I recommend going a little heavier with the glue if you decide to try it.
Can I use card stock paper to make cards?
I love using pre-cut cards because they’re already cut and shaped. That way all you have to do is decorate. It’s faster and about the same cost.
However, if you want to do these entirely from scratch, then yes, I recommend using card stock paper because it’s thicker and sturdier!
More Christmas Crafting Inspiration
If you love this simple DIY Christmas cards craft, be sure to check out these other ideas too!
- Free Christmas Countdown Calendar Printable
- DIY Wood Slice Snowman from DIY Inspired
- Fun Paper Ornament from 100 Directions
- Mason Jar Christmas Craft Snow Globe Toppers
- Jingle All The Way Ornament from Occasionally Crafty
- Fringed Juice Lid Ornament from My Very Educated Mother
- Pallet Christmas Tree: Farmhouse Style Christmas Decor
- Filled With Christmas Joy Frame from Frog Prince Paperie
- Cinnamon Stick Ornament Car Air Freshener from Stuff ‘n Such
- Christmas Gnome: Make Your Own Scandinavian Gnome
- Simple Holiday Gift Box from 30 Minute Crafts
Supplies
- Blank cards
- Christmas baker's twine
- Tacky glue
- Flat back miniature lights
- Letter stickers
Instructions
Holiday Lights DIY Christmas Cards
- Use the alphabet stickers to add a holiday sentiment inside the card. Add any words you like, such as “Happy Holidays.”
- Next, put beads of glue on the front of the card where you want your strings of lights to be. Press your baker’s twine onto those glue beads. Trim off any excess twine.
- Use tacky glue and start adding the lights to the front of the card. Allow the card to fully dry in a flat position before moving.
Baker's Twine Words Christmas Cards
- Use your tacky glue bottle like a pen and write out the word you want on the front of the card.
- Press the baker’s twine into the glue. Proceed slowly.
- Trim the twine when complete and allow the card to dry completely.



Love these! I think the ones with the words are my favorite… simple, but stunning!
Stopping by from Inspire Me Monday! I love the “joy” and “peace” cards. Such a great idea! Pinning now!
I love the “joy” and “peace” cards! What a simple and beautiful idea, thanks so much for sharing it with us!!
I really love the handmade Christmas cards.
These cards are so beautiful and simple – I just bought several spools of bakers twine so I’ll be trying these out for the holidays, thanks for sharing these with us! 🙂
I always love stopping by blog like this because I am so not crafty 🙁 . But I can imagine myself trying those cards out–so inspiring!
I just love the words spelled out with baker’s twine – simple but festive!
These cards are too cute! I am officially obsessed with your blog– so many great ideas!!
– Seri
http://www.Serisblog.com
So cute and simple!!
Gotta tell you Angie, that I’m not a crafty gal, but I’m loving on these cards with ‘joy’ and ‘peace’ written in twine! I’m a huge advocate of christmas cards (or letters any time of year) and I think even I could tackle these have some success. Thank you for such a great idea and inspiring us to send out cards this holiday season. Saying ‘hi’ via SITSSharefest
Great DIY for holiday cards. Pinned & shared. Thanks for joining the Inspiration Spotlight party.
This looks like a lot of fun. We love to do something crafty during the holidays. Thank you for the inspiration.
I love these gorgeous ideas, featuring on “Think Tank Thursday!”