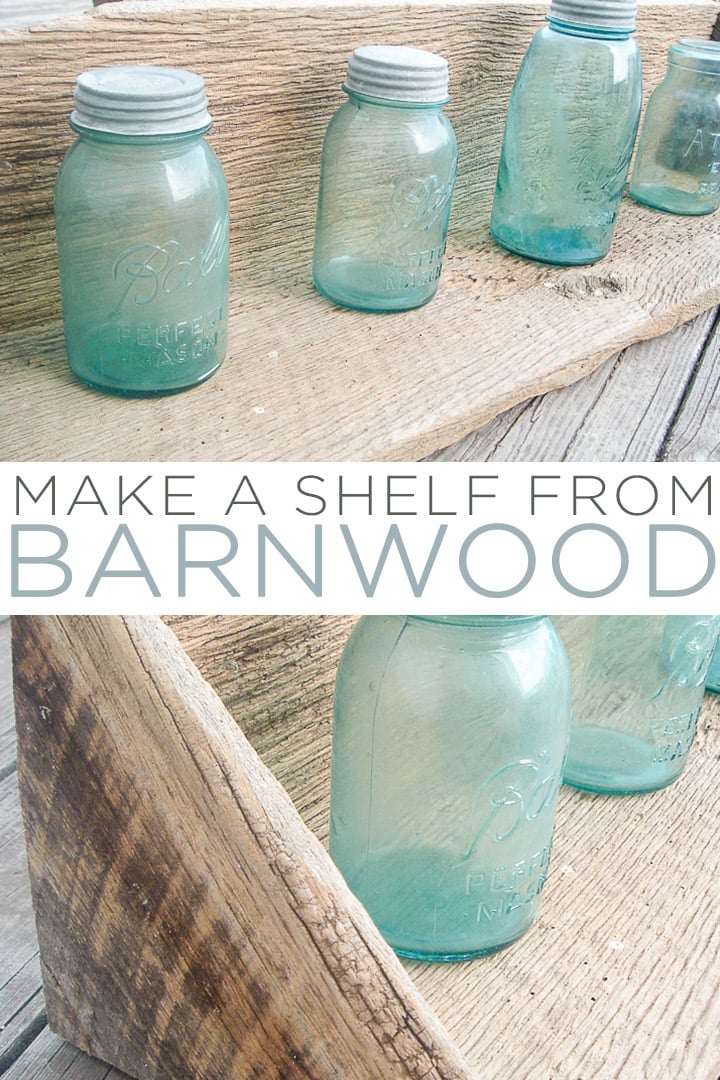
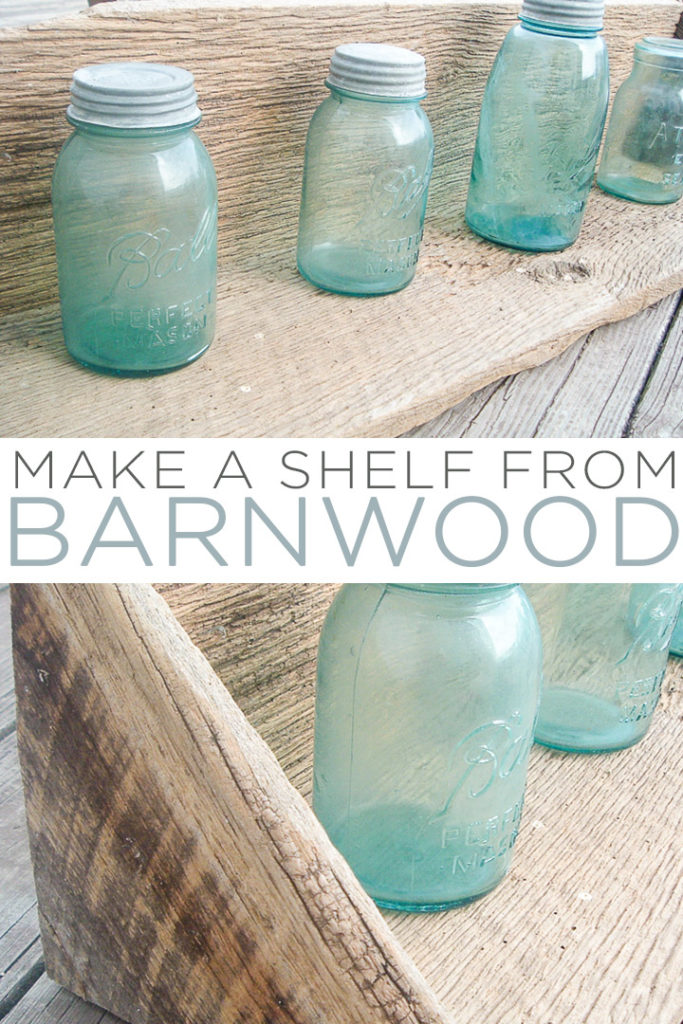
Are you ready to learn how to make a barn wood shelf? I decided the big boy room needs a barn wood shelf. So, after enlisting some help from my husband, we have a barn wood shelf that will look great in the room. I can’t wait to get this one on the wall and full of goodies. In the meantime, learn how to make your own DIY barn wood shelf below!
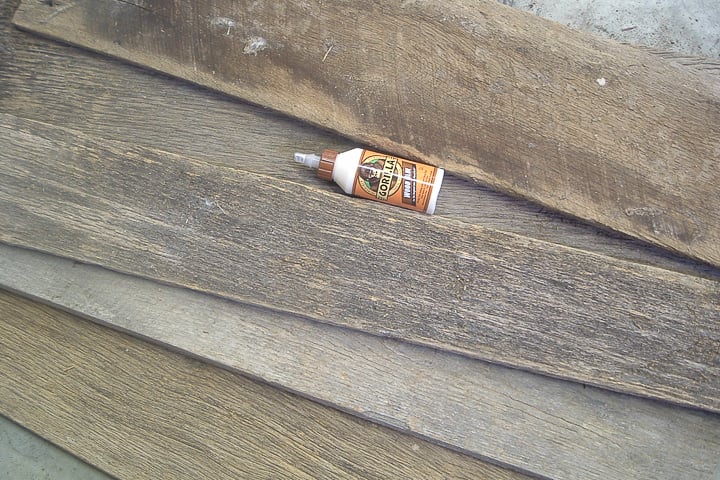
Supplies needed to make a DIY barn wood shelf:
How to Make a Barn Wood Shelf
Start by picking the barn wood pieces that are perfect for your shelf. You will want to pick your barn wood carefully. The worn edges make your shelf extra special.
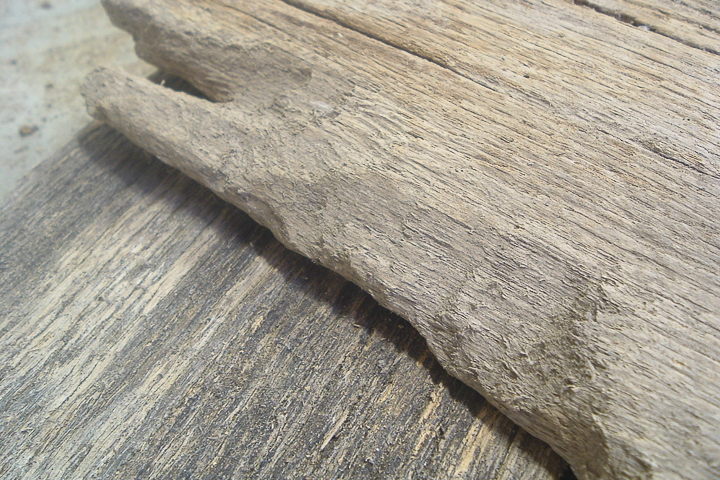
We are extremely blessed with a great supply of barn wood! Cut the bottom and back of your shelf to the same length.
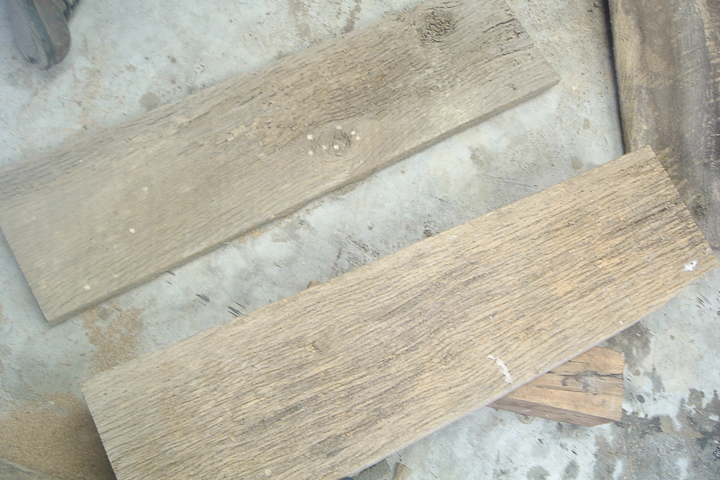
Drill three holes in the bottom of the shelf 1/2 inch deep. These should be along the back edge but on the top surface.
TIP: put tape on the drill bit at 1/2 inch so you know when to stop drilling.
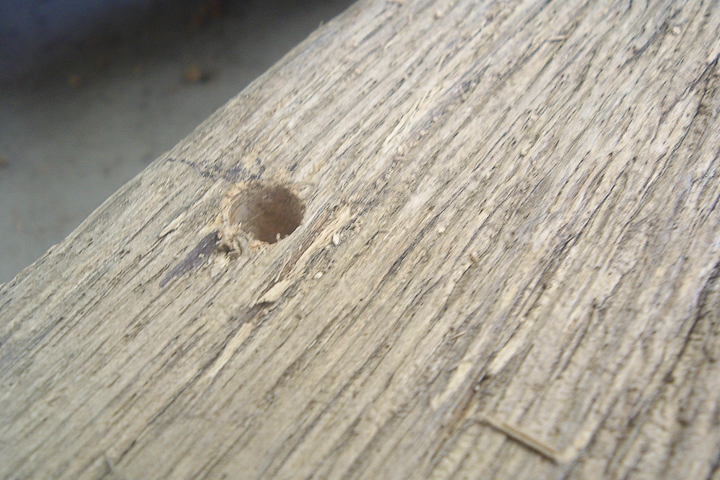
You will also want to add three holes in the board that you are going to use for your back. These should be along the bottom edge. They should be in the same location as the holes you drilled in the bottom board. You want all of the holes to line up when you put the two boards together.
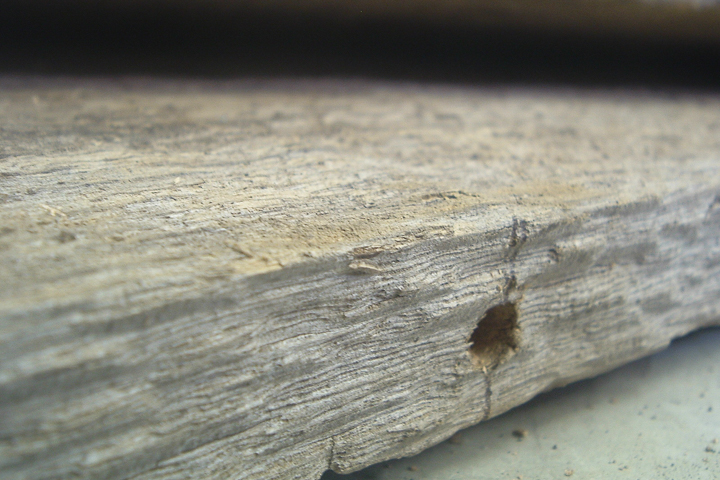
Then cut short dowel pieces for the holes.
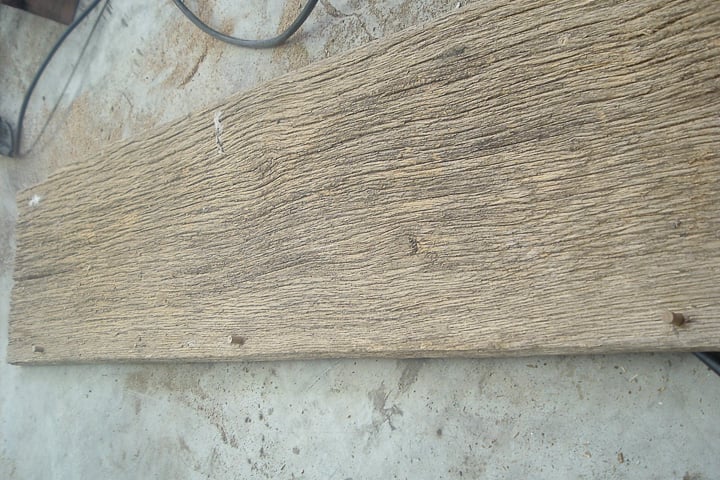
Do a dry fit of the two pieces together to make sure everything goes together well. Then put the glue into each hole.
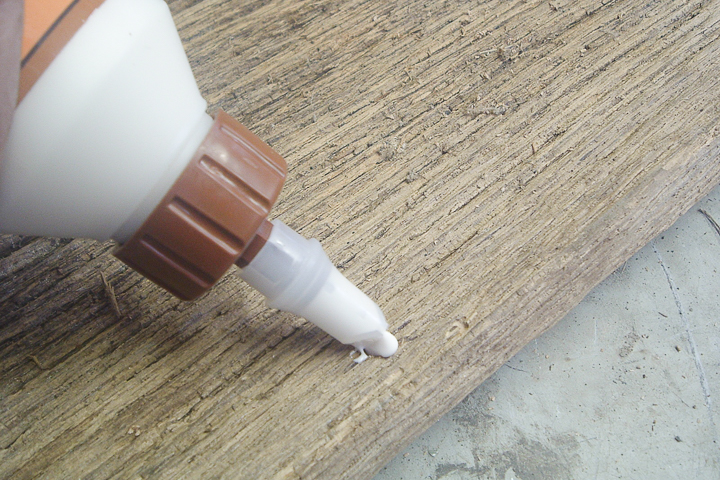
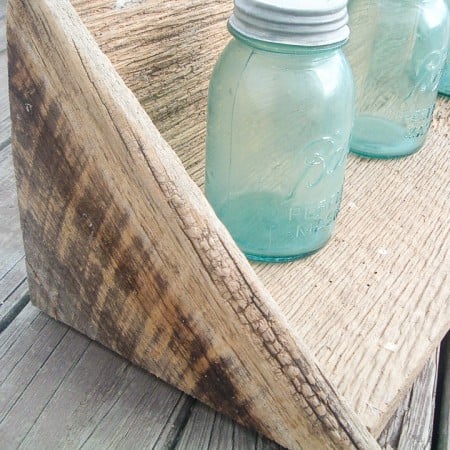
Put the two pieces together. Use a few finishing nails to hold the two pieces together while they dry. You can then add the ends to your DIY barn wood shelf. Cut triangles to fit in the corners as shown below. You will want to cut them so the barn wood edge is out once assembled.
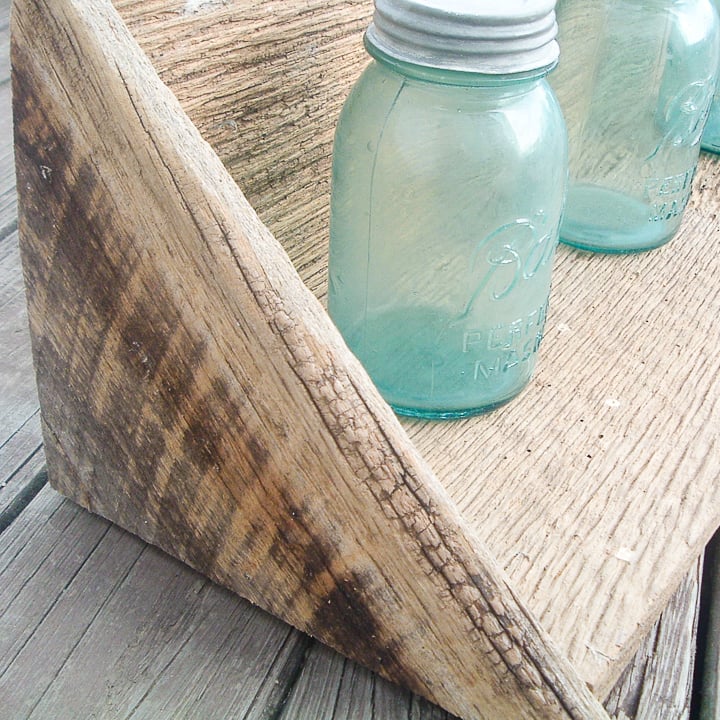
Once again, use a little wood glue and finishing nails to hold those into place. Your barn wood shelf is now complete and ready for your home’s decor.
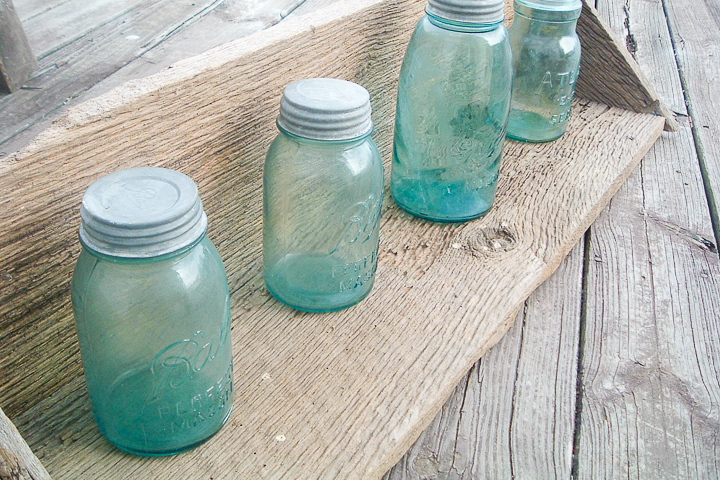
Don’t you just love those gorgeous barn wood details? Now that you know how to make a barn wood shelf, you can make one for every room of your home!
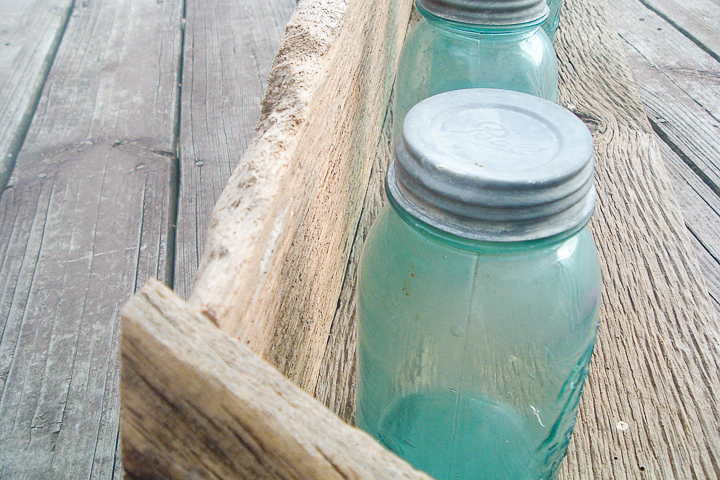
When you are building, you will want to make sure all those natural edges stay out and the sawn edges are hidden.
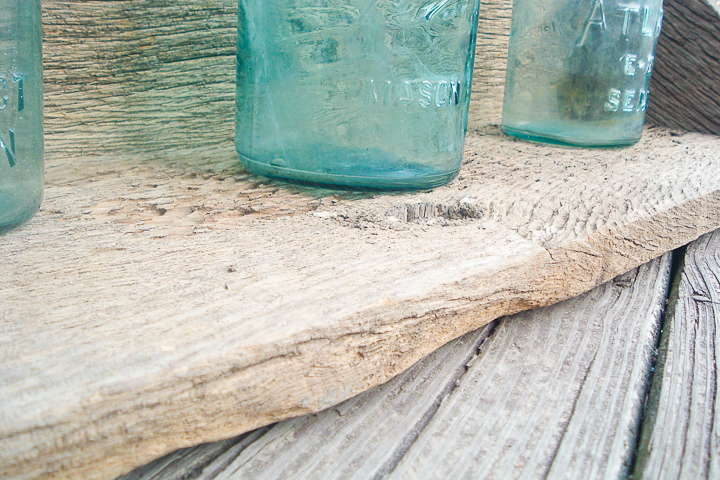
It makes all the difference.
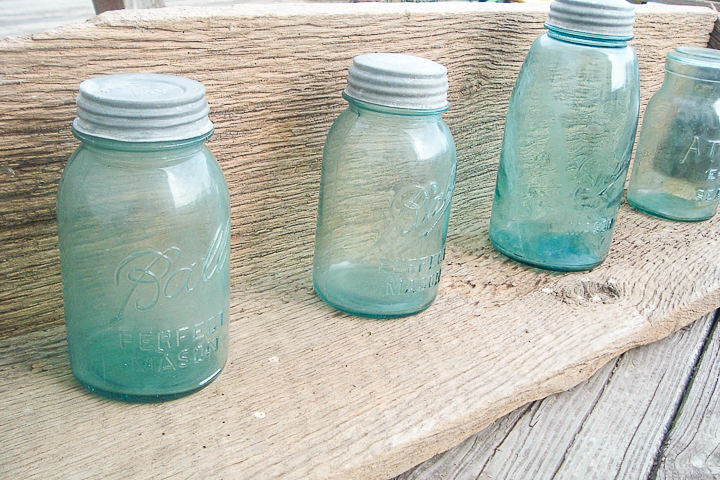
I can’t wait to accessorize this DIY barn wood shelf in the big boy room.
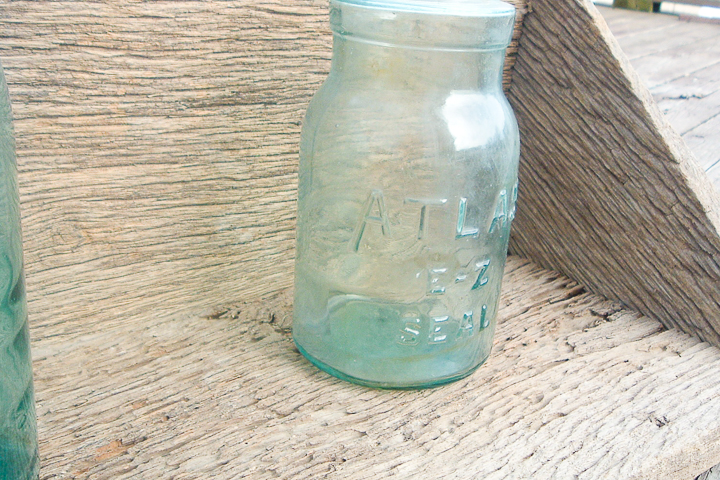
So, will you be making one of these for your home? I hope you enjoy yours as much as we are enjoying ours!
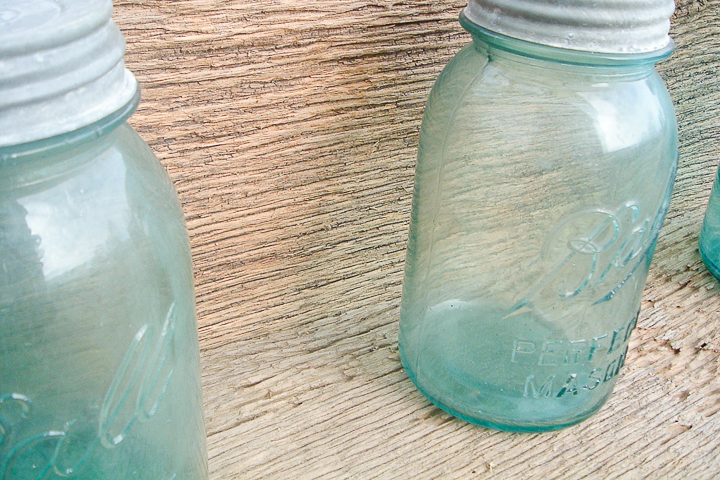
Love this tutorial on making a shelf from barn wood and want more ideas? Try the links below!
- DIY Wooden Dough Bowl with Paint
- Making a Barn Wood Frame
- Barnwood Sign: Made Using a Paint Technique
- Rustic LOVE Sign from Barnwood
- DIY Barnwood Photo Frame
Want to print this tutorial on how to make a barn wood shelf? Be sure to use the card below!
Equipment
- saw
- drill
- drill bit
Supplies
- barn wood
- dowel rod
- wood glue
- finishing nails
Instructions
- Start by picking the barn wood pieces that are perfect for your shelf. You will want to pick your barn wood carefully. The worn edges make your shelf extra special.
- We are extremely blessed with a great supply of barn wood! Cut the bottom and back of your shelf to the same length.
- Drill three holes in the bottom of the shelf 1/2 inch deep. These should be along the back edge but on the top surface.
- TIP: put tape on the drill bit at 1/2 inch so you know when to stop drilling.
- You will also want to add three holes in the board that you are going to use for your back. These should be along the bottom edge. They should be in the same location as the holes you drilled in the bottom board. You want all of the holes to line up when you put the two boards together.
- Then cut short dowel pieces for the holes.
- Do a dry fit of the two pieces together to make sure everything goes together well. Then put the glue into each hole.
- Put the two pieces together. Use a few finishing nails to hold the two pieces together while they dry. You can then add the ends to your DIY barn wood shelf. Cut triangles to fit in the corners as shown below. You will want to cut them so the barn wood edge is out once assembled.
- Once again, use a little wood glue and finishing nails to hold those into place. Your barn wood shelf is now complete and ready for your home's decor.



Great project! You (eh hem, your hubby) did a great job with the shelf! I can’t wait to see how it looks in the new “big boy” room!
Looks great with the mason jars! I just put some out on my porch today since it was so nice out here but more snow is apparently coming. =(
Jeanine
Wishing I could find a few pieces of barnwood. You and your DH make a good.
I have some awesome shelf almost like them. I love them.
You are lucky to have a sweet hubby….that, and a supply of barn wood? Blessed for sure.
Love the old barnwood look!! Great job and with those blue Canning jars to complete the look!
bee blessed
mary
very nice…love those aqua mason ball jars on the shelf too!
That looks so great. I love the worn out wood. Worn out, but not done!
Makes a great shelf.
Love it! Looks great with the mason jars, too.
Looks amazing!
We have some barnwood that I’ve been wanting to do something with. This is a great idea!
Wow, Angie, isn’t it a blessing to have a ready supply of barnwood? Good for you! I really like the shelf–and the blue jars look great on it!
You might want to stop by my blog today–I think there’s a little announcement there that might interest you! 🙂
Great job. That wood is GORGEOUS!
Kelly
Beautiful! I love old wood. You’re lucky to have had such nice pieces.
Dropping by from Met Monday. I hope you’ll come see my daughter’s dining room redo.
Allison
Atticmag
Love this shelf, Angie! It is pretty awesome!
The shelf looks great! I love it with the blue mason jars sitting on it.
You are lucky to have such a great husband! The mix of the smooth blue glass with the rough barn wood makes such a pretty contrast.
This is a really awesome post! I would like to invite you to link it up to my link party, Masterpiece Monday, at my blog, Boogieboard Cottage. The link will be up all week. I hope you can join in the fun! Mary :O)
I love this… looks like a gorgeous treasure that washed up on the shore after a storm.
Peaceful day,
Julia~
A great shelf to display that gaw-geous blue glass! Thanks for the project idea!