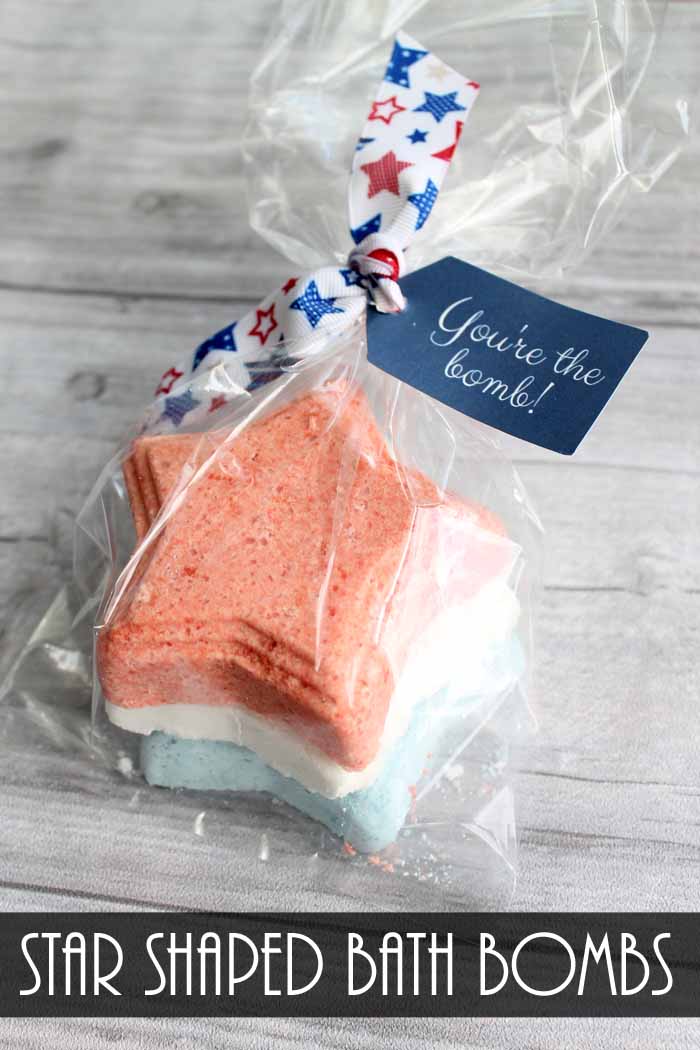
Do you love bath bombs? Make your own unique red, white, and blue star-shaped bath bombs to show your patriotic spirit with this quick and super easy bath bomb recipe!
Today, I am going to be sharing the best bath bomb recipe ever! Since I’m writing this during our patriotic week, I had to add some fun flair by making them into star shapes! Aren’t they fun?
Bath bombs are so fun to make because they’re so quick and easy – and they really impress people! You can make them in any shape you want (even a donut!) or any colors you like (even try rainbow!)
When it comes to summertime, I love everything red, white, and blue all season long. To me, they are the perfect summer colors and remind me of 4th of July fun in the sun (and don’t forget the fireworks!). These fun star-shaped bath bombs take just minutes to make and make terrific gifts for anyone on your list all summer long.
Let’s dive right in and make this quick patriotic bath bomb recipe (you’re going to love how easy it is)!
The Best Bath Bomb Recipe Ingredients
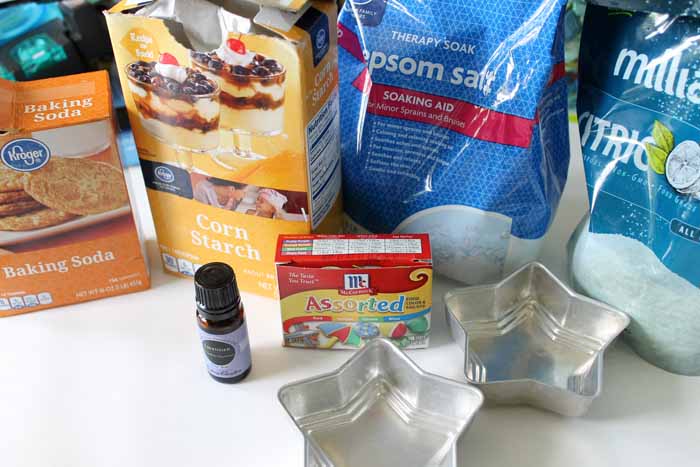
Here are the ingredients you’ll need for this recipe along with links to help you find any items you’re needing faster. For the complete recipe, please check out the printable recipe card at the end of this post!
- Epsom salt
- Corn starch
- Baking soda
- Citric acid
- Lavender essential oil (or your favorite scent) (See this post on how to buy these oils)
- Food coloring (optional)
- Water
- Star molds
How to Make Star-Shaped Bath Bombs
With the molds I have, this recipe fits one bath bomb mold perfectly. Depending on the size of your molds, you may need to adjust (either by increasing OR decreasing) the amount of the ingredients for your molds. If you need to make any adjustments, just remember to use equal parts of the first four ingredients.
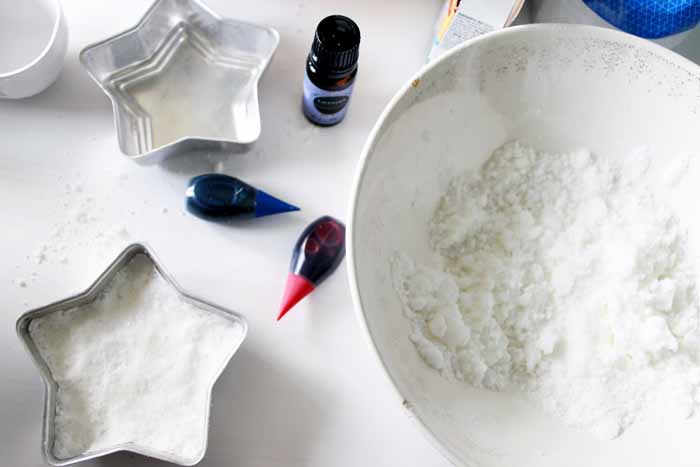
- Mix together the first four ingredients thoroughly.
- Add 5 – 10 drops of your favorite essential oil. I used lavender in this recipe, but you can use any scent that you prefer.
- Add just a few drops of water at a time. You will see it start to react with the citric acid and bubble, but that’s okay.
- Add food coloring one drop at a time until you like the color. It’s important to do it slowly and stir in between each drop so you can see the color.
- Continue adding water a little bit at a time until you can clump the mixture together but isn’t mushy wet.
- Pack the wet mixture into your mold and press it in tightly.
- Refrigerate for one hour.
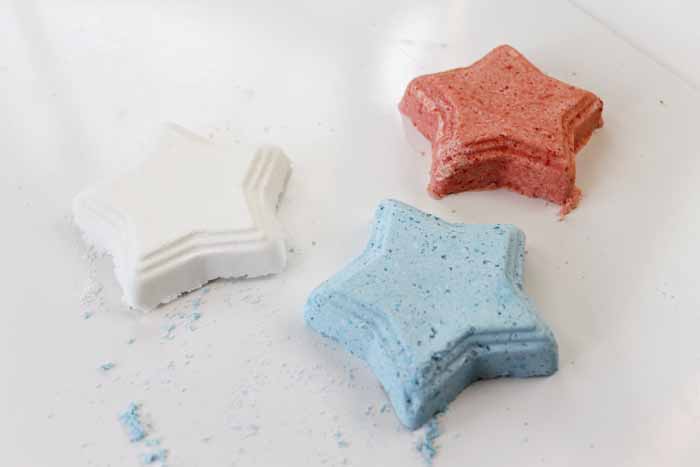
- Pop your bath bombs out of the mold.
- Allow them to air dry for a day or two before you package them up as gifts.
That’s it! This recipe is easy peasy to make, right? It may be easy to make, but it yields a high reward. 😉
Frequently Asked Questions About Bath Bombs
Here are some common questions from readers about making bath bombs.
How much water should I use?
The amount of water you need to use really depends on several factors including the weather on the day you are making your bath bombs. That’s why I can’t give you a hard and specific number amount.
Here’s how to use the perfect amount of water:
Add just enough so that the mixture holds together and no more than that. This will ensure that your bath bombs do not fail. Too much water will start a reaction and the bath bomb will explode within a few hours. 😔
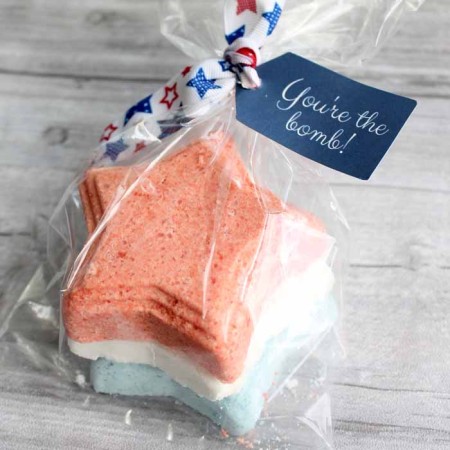
How do I package them as gifts?
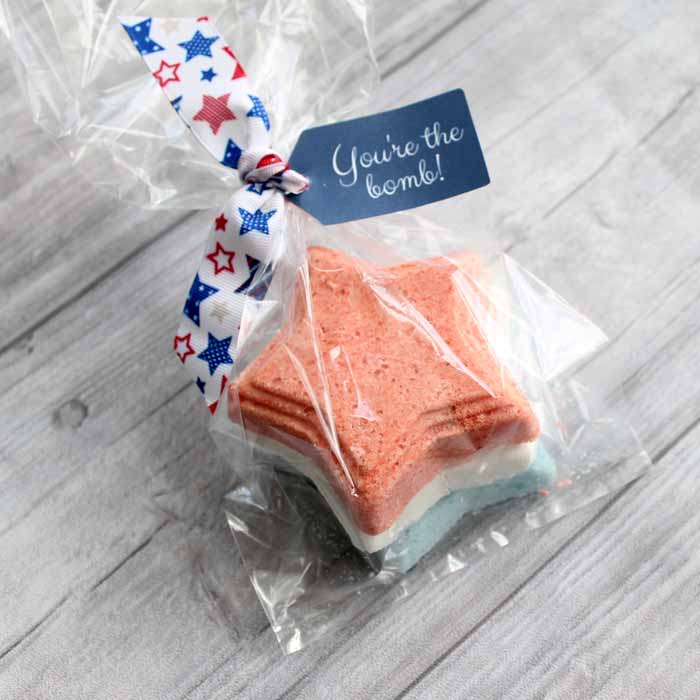
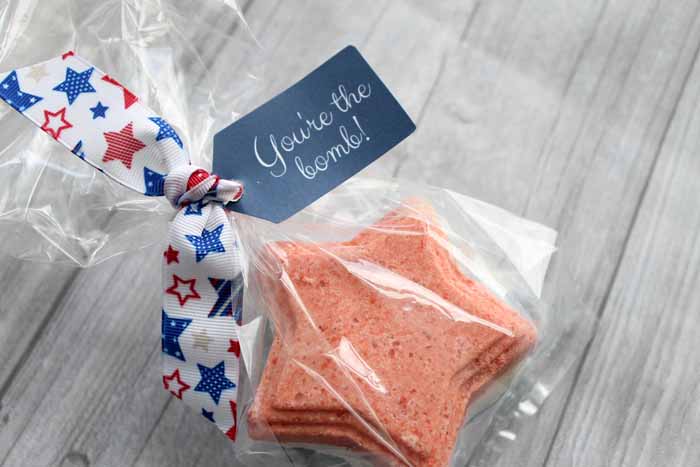
Once your star-shaped bath bombs have dried, you can then add them to a plastic bag and tie them off with a fun tag. I even made tags you can use! You can get and print our tags for free below. Just sign up for the newsletter in the box below and the tag printable will be sent to your email address. Then you can save to your device and print as many copies as you need. If you already get the newsletter, just add in your information again as you will not be signed up for anything further. Please note that the file will be sent as a PDF file to your email address as soon as you sign up.
The file above is for personal use only. You can also contact me if you have any issues. Once you get the email, save the file and print then follow along below to see how to make your Fourth of July bath bombs.
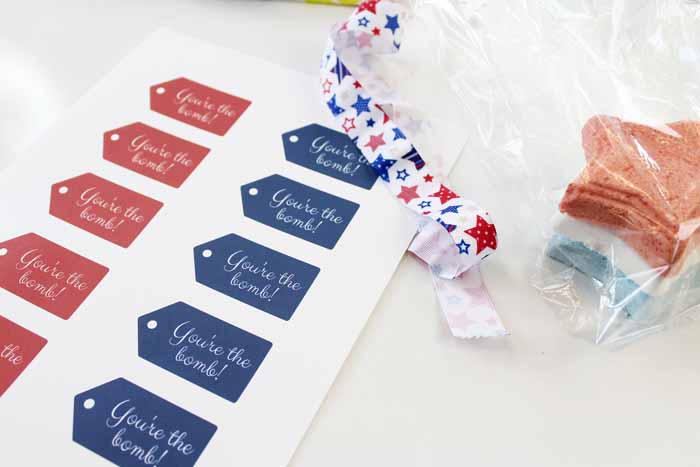
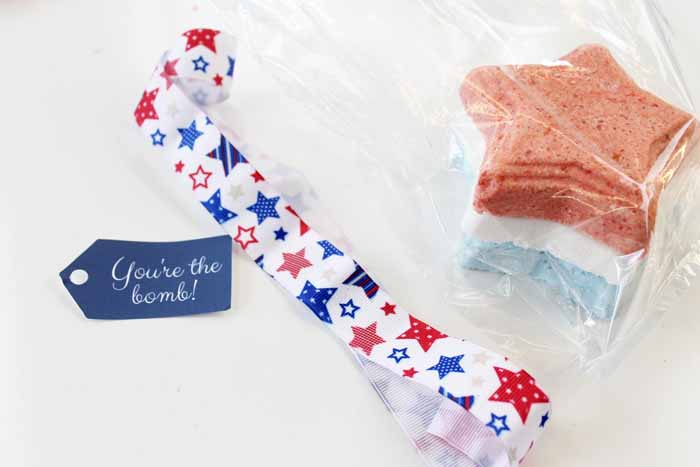
How To Use The Tags:
- Print them out (printing on card stock will give you sturdier, better-looking tags).
- Cut out with scissors.
- Add a hole with a hole punch.
It is now ready to tie onto your cute gift bag with some ribbon, twine, or fun string.
What occasions are good for giving this bath bomb recipe as a gift?
This is a great gift idea for almost any occasion! Here are a few ideas:
- Hostess gifts for summer parties (Don’t come empty-handed when you can give the gift of relaxation!)
- Summer birthdays
- Housewarming
- ‘Thinking of you’ occasions
- Just because!
Where can I find star molds?
The star-shaped molds I used are actually vintage. I recommend you try searching eBay or Etsy to find something similar. And of course, there’s always Amazon.
I am sure you can find something to make that great star shape fairly easily.
Don’t want to do a star? Buy any mold that you love and color your bath bombs with any food coloring. The possibilities are endless y’all!
More Patriotic Crafts to Try
Now that you have the best bath bomb recipe under your belt, I thought you might also like some more easy and fun red, white, and blue crafts. Check out these options!
- How to Make a Patriotic Wreath from Bandanas
- DIY Patriotic Marquee Sign
- How to Make Patriotic Bunting from Bandanas
- Patriotic Door Decor Anyone Can Make in Minute
- Patriotic Wooden Star & More DIY Patriotic Crafts
- Make Easy Patriotic Table Accents
- Patriotic Windsock Kids Craft Idea
- Patriotic Candle Holder from a Lantern
Whether you make this bath bomb recipe or any of these other patriotic projects, there’s lots of craft fun to be had all summer long. Have fun getting creative this summer!
Supplies
- ⅛ cup Epsom Salt
- ⅛ cup corn starch
- ⅛ cup baking soda
- ⅛ cup citric acid
- lavender essential oil
- Water
- Food coloring
- star-shaped molds
Instructions
- Mix the first four ingredients well.
- Add 5 – 10 drops essential oil. I used lavender but you can use the scent of your choice.
- Add just a little bit of water (this needs to be done a few drops at a time). It will bubble and react with the citric acid but this is okay.
- Add food coloring one drop at a time until you are happy with the color.
- Continue adding water slowly until the mixture holds together well but is not too wet.
- Pack into the mold tightly so it takes on the mold shape.
- Refrigerate for one hour.
- Remove from mold.
- Allow to air dry a day or two before packaging for gift giving.


