Get inspired for summer with my DIY beach sign project! This is a fun and creative way to bring some beach vibes into your home. All you need is a paintbrush, some basic materials, and a little imagination to create your own unique summer decor. So gather your supplies, unleash your creativity, and let’s get started on making something special for the sunny season!

How To Make a DIY Beach Sign
You can't celebrate summer without a beach sign!
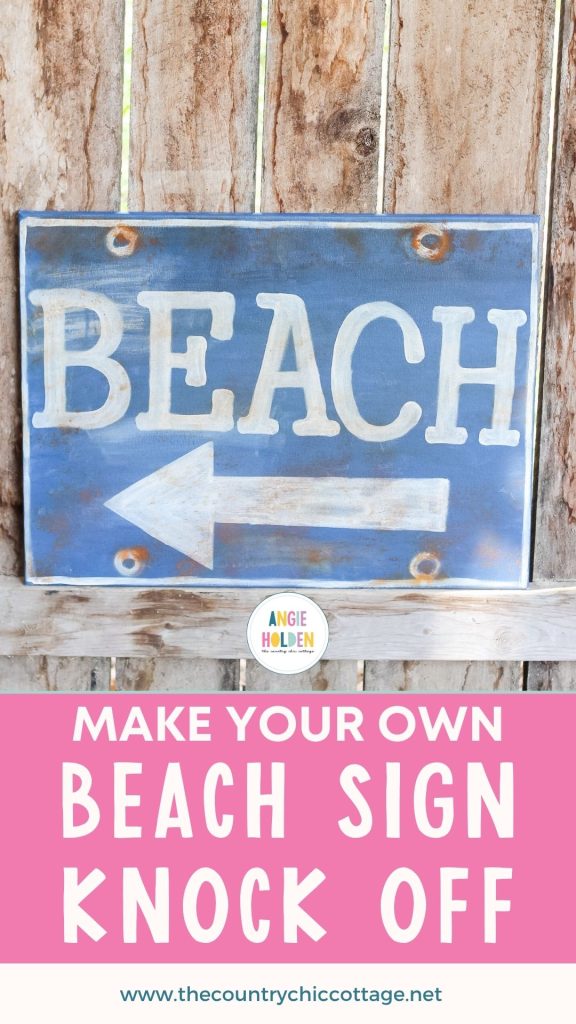
Recently, I’ve noticed lots of rusty beach signs in home decor stores. These signs are stunning and really capture the beach vibe, but they can be quite pricey. Because of this, I thought it would be a fun idea to create my own version of a rusty beach sign that is more budget-friendly.
Don't be intimidated! I'm going to show you some very simple methods for creating a rusty beach sign that anyone can replicate. Best of all, it costs only 12% of what some of the more expensive beach signs typically cost, which can be over $179.
So, grab some canvas, paint, and cinnamon (yes, I said cinnamon), and learn how to make a large rusty beach sign for only $21.48!
Supplies Needed To Make a DIY Beach Sign
- Cricut machine (click here to see which I like best)
- 18″ x 24″ Canvas
- Printer paper
- Graphite paper
- Black Paint
- Blue Paint
- White Paint
- Spray Sealer
- Cinnamon
NOTE: You could also make this DIY beach sign using your Cricut machine. See instructions for how to make your own sign here. Now let's dive right into our canvas and start painting!
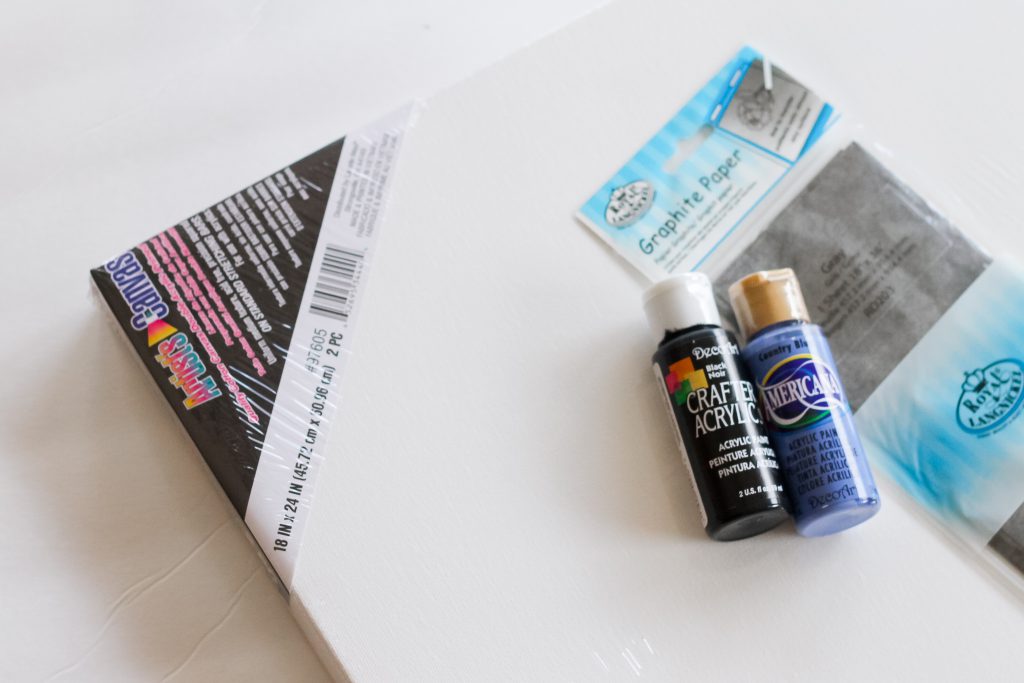
Step 1: Paint Your Canvas
You can actually mix the blue with a little black to make the color darker. I made a custom blue using this technique.
Begin by painting a solid blue color on your canvas, making sure to cover the edges as well. While the blue paint is still wet, take a very dry brush and apply a small amount of black paint. Gently spread the black across the top of the canvas to create a few darker areas. It's important to do this step while the blue paint is still wet.
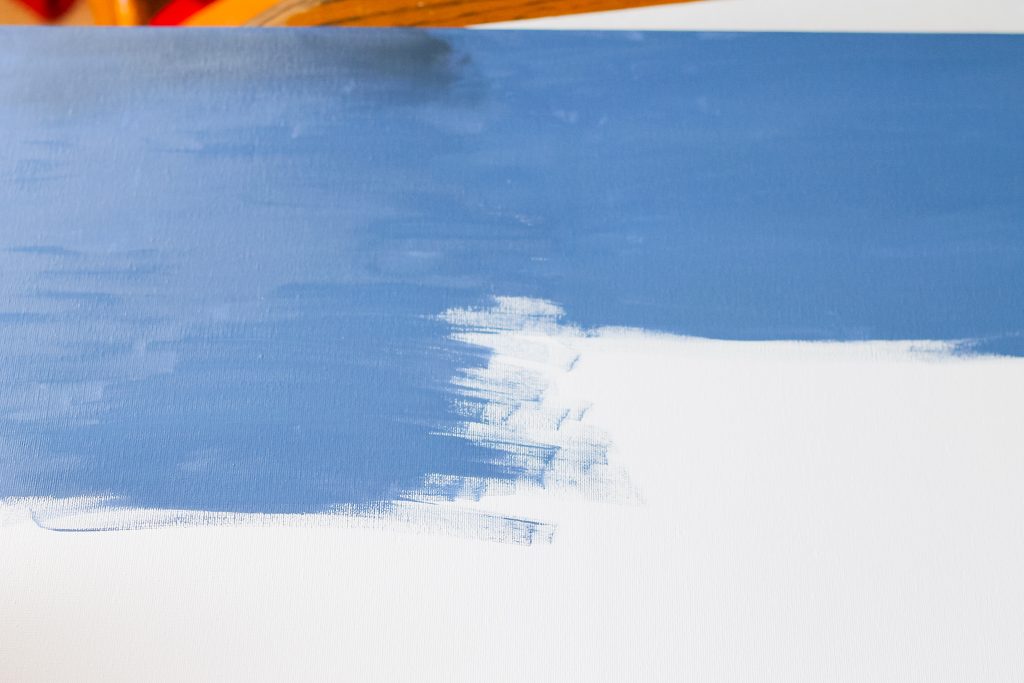
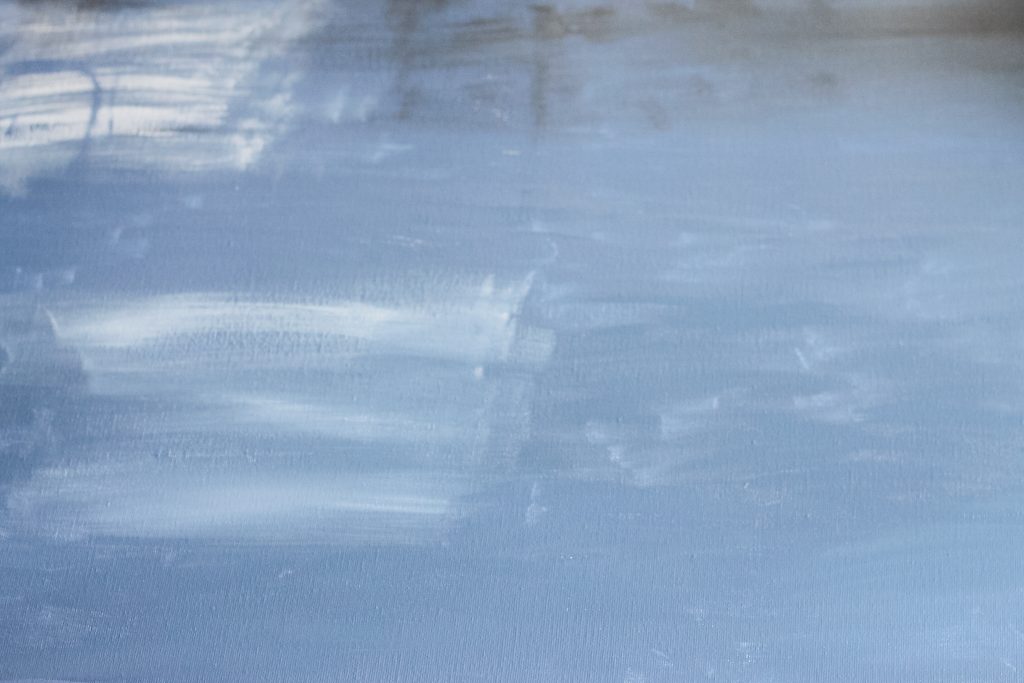
Do the same thing with a dry brush and some white paint. Again, I picked a few areas and brushed on white paint while the blue was still wet.
Step 2: Print & Trace Your Letters
While you wait for your completed canvas to dry, select a font on your computer that you like. Print your BEACH letters as large as you can while still fitting on the canvas. I used whole sheets of paper and taped them together to fit.
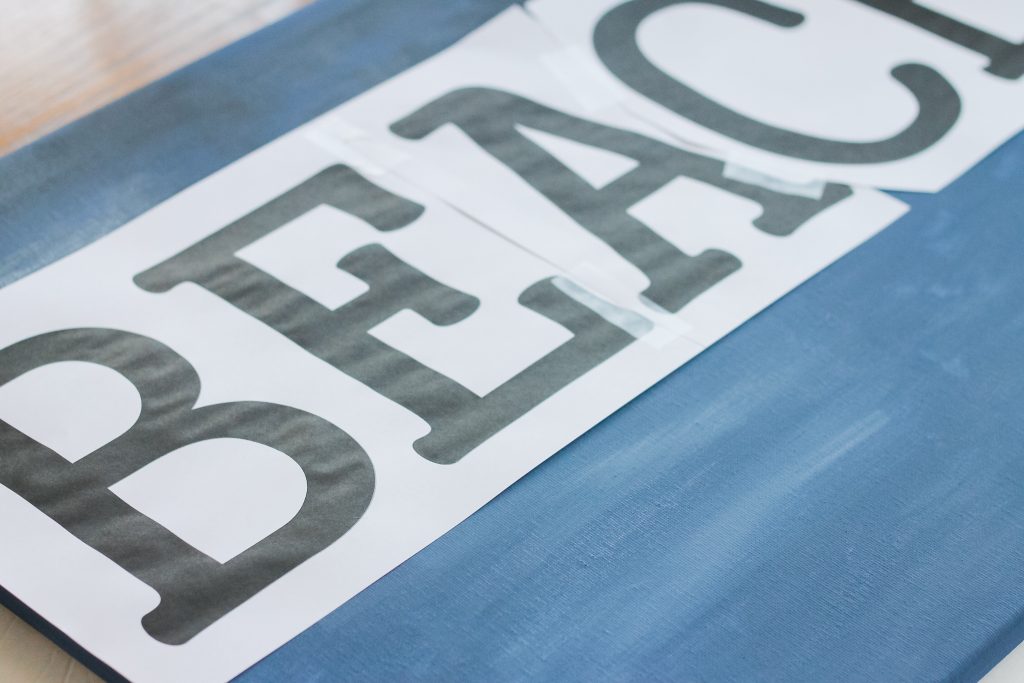
Once you are happy with your letters and their placement on your beach sign, put your graphite paper under your copy paper. Then trace around each letter with a pencil, and the graphite will transfer your letters to the canvas.
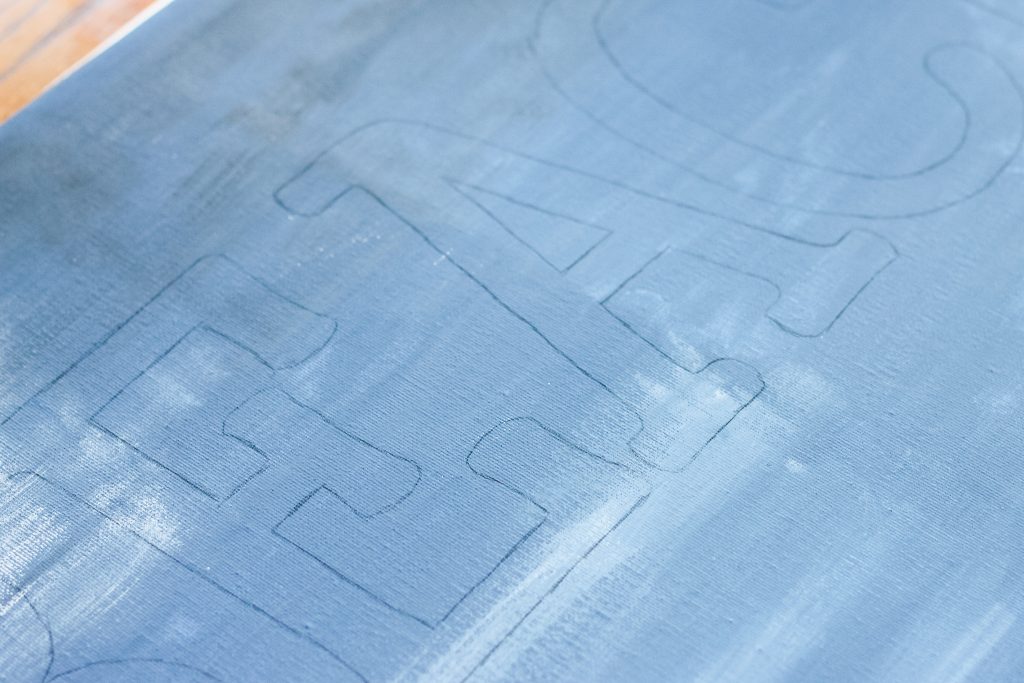
Step 3: Paint In The Letters
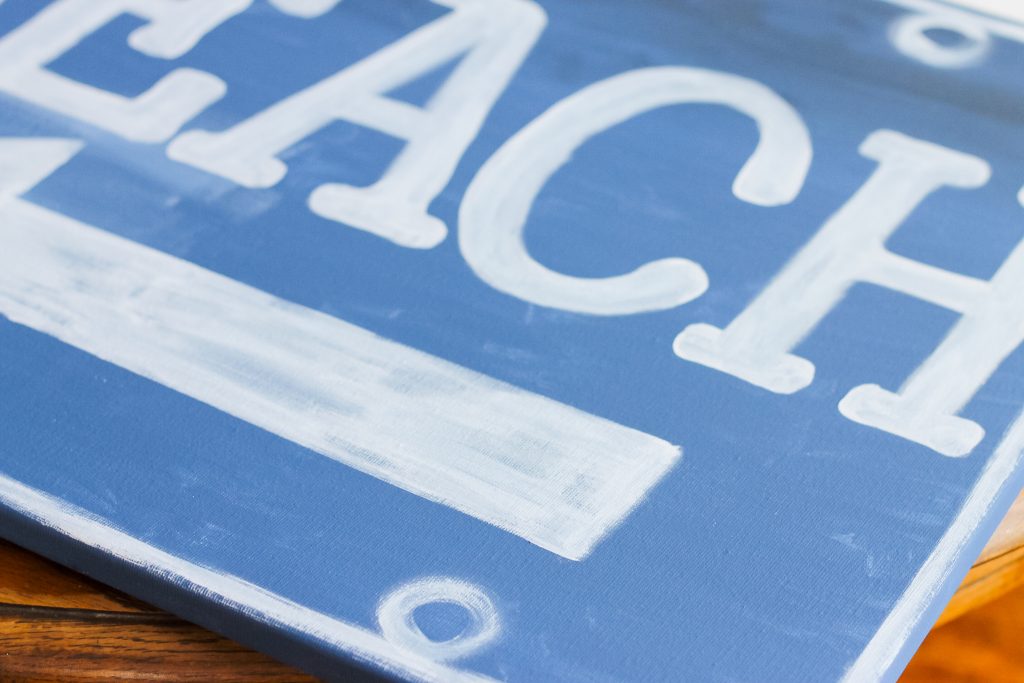
Now you can color in the lines with white paint.
There are a few tips and tricks to remember here:
- These letters do not have to be perfect. The look we are going for is rustic, so do not worry about getting your lines completely straight.
- Use a dry brush with very little paint. Again, it is okay if a little of the blue is showing through your letters; it will add to the rustic look.
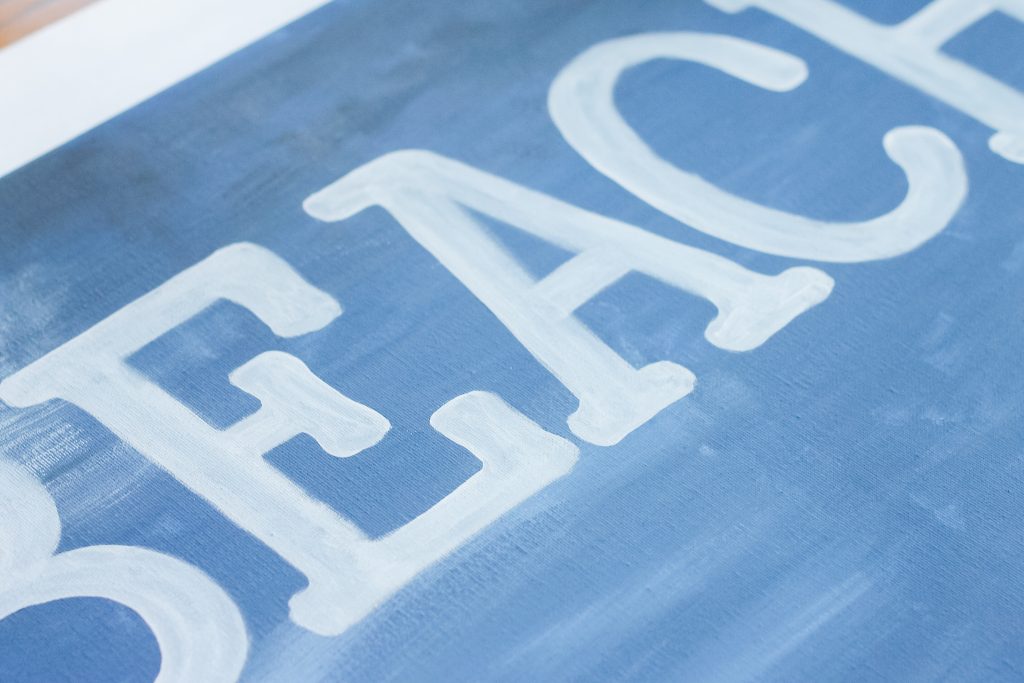
Step 4: Add Arrow
Now we need an arrow. I took some copy paper and made an arrow template that I felt was the right size for this canvas. Then, I used it as a guide and painted inside of it, following the same tips and tricks as given above for the letters.
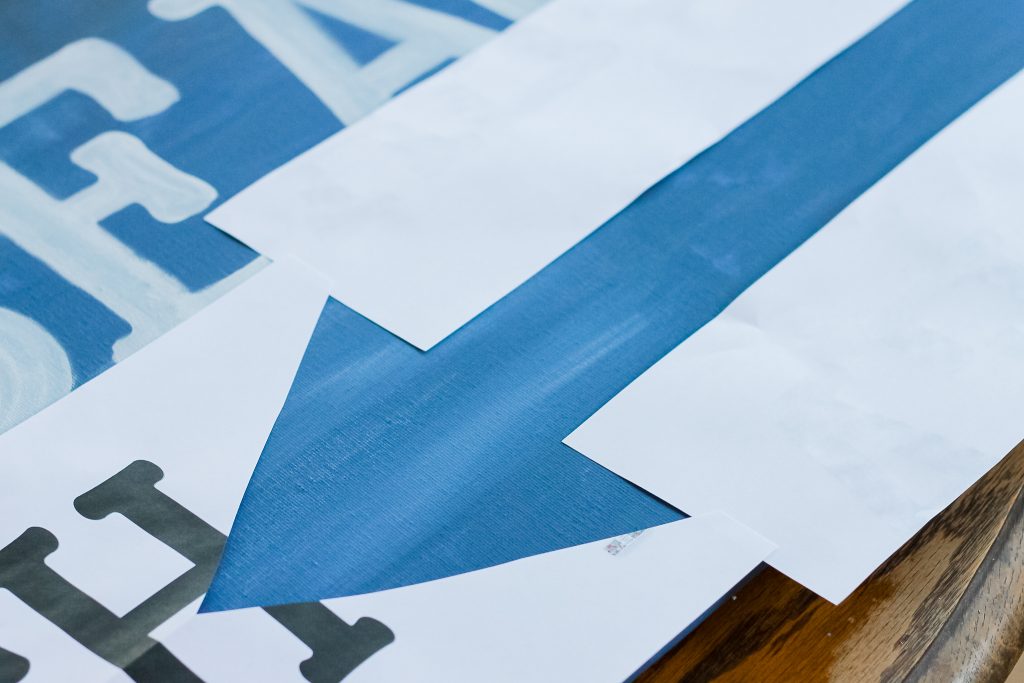
Step 5: Paint Edges Of Sign & Bolt Holes
Next, I free-handed a line all the way around the outside edge of my canvas in white.
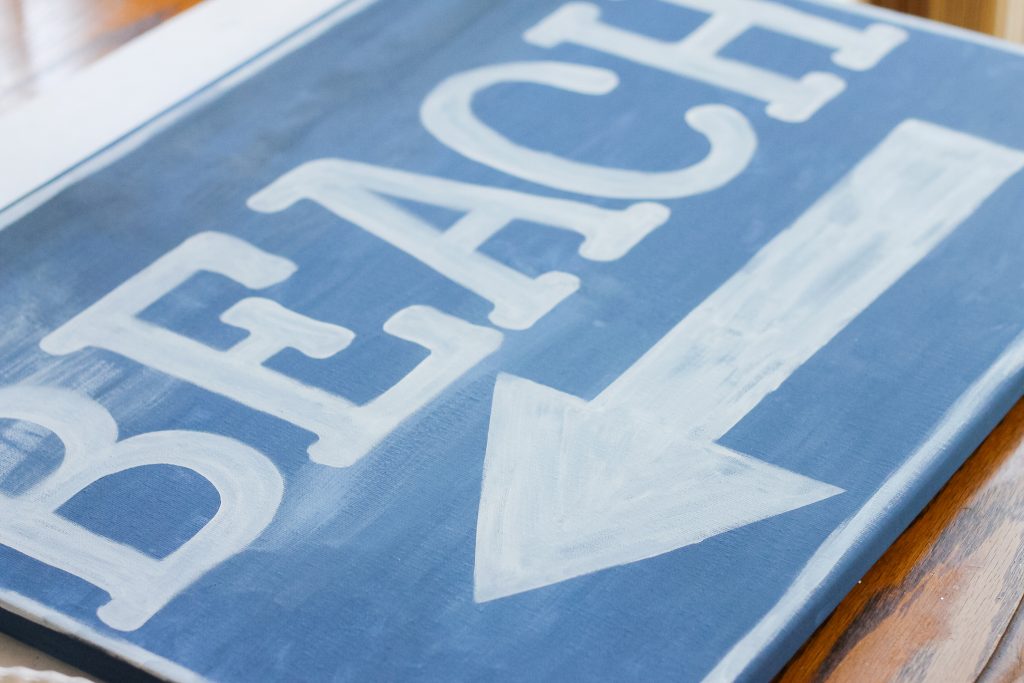
Then I painted freehand four of these rough circle shapes. I loved how, with some of these signs I saw in the home stores, they had rusty bolt holes that made it look like they had been hanging somewhere for years. So, since I had room, I put four of these holes on mine. We'll make them look rusty in the next step.
Allow your entire canvas to dry before continuing.
Step 6: Make Your DIY Beach Sign Rustic
Now it is time to add our secret ingredient to our beach sign—cinnamon!
No, I am not crazy. Cinnamon makes a really lovely faux rust paint on any surface. Plus, it's simple to use, so let's give it a try.
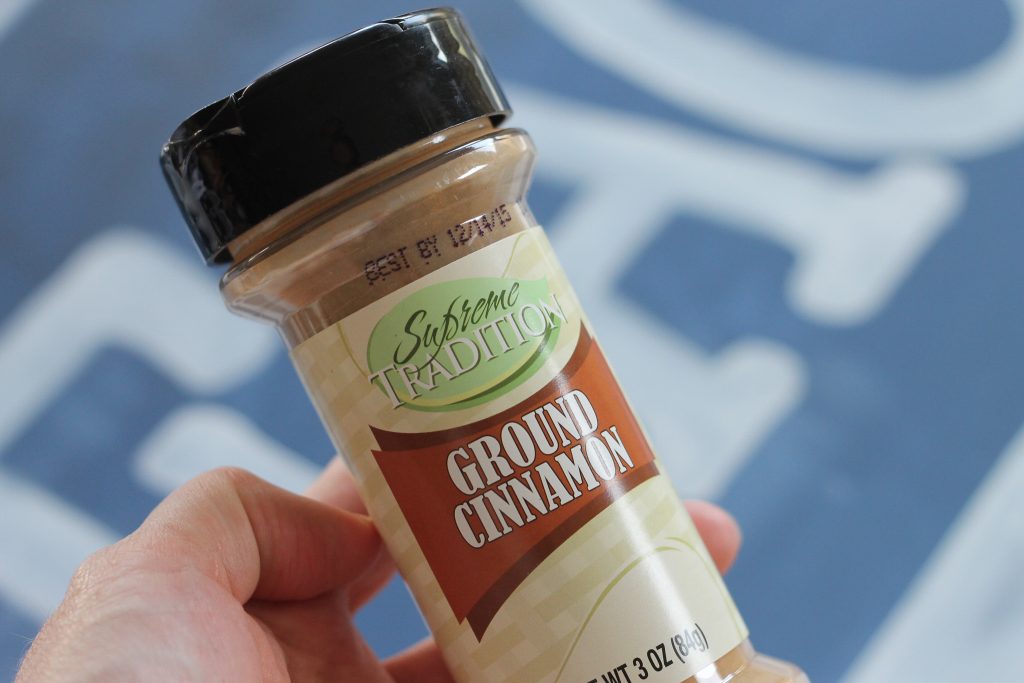
Spray small areas of your sign with the sealer. While it's wet, sprinkle with cinnamon. You can play with different techniques in different areas. For instance, on my “bolt holes,” I sprinkled the cinnamon on the wet sealer, then used my finger to trace the circle. By doing this, the “rust” comes out looking circular!
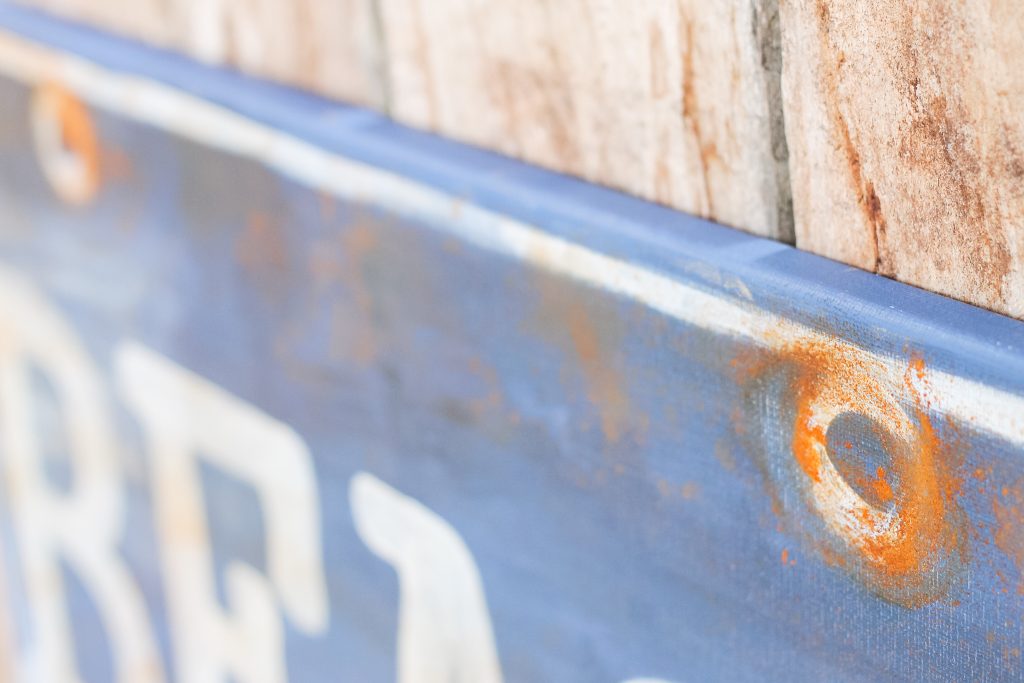
Try a light dusting of cinnamon in some areas of your beach sign. It gives the appearance that the “rust” is just starting to peek through the paint. Other areas of the sign I really dumped on the cinnamon to give large “rusty” areas.
You can also experiment with the spray, sprinkle, spray technique. Spray on your sealer, sprinkle on cinnamon, then immediately spray again. This gives a whole other look to your “rust” techniques.
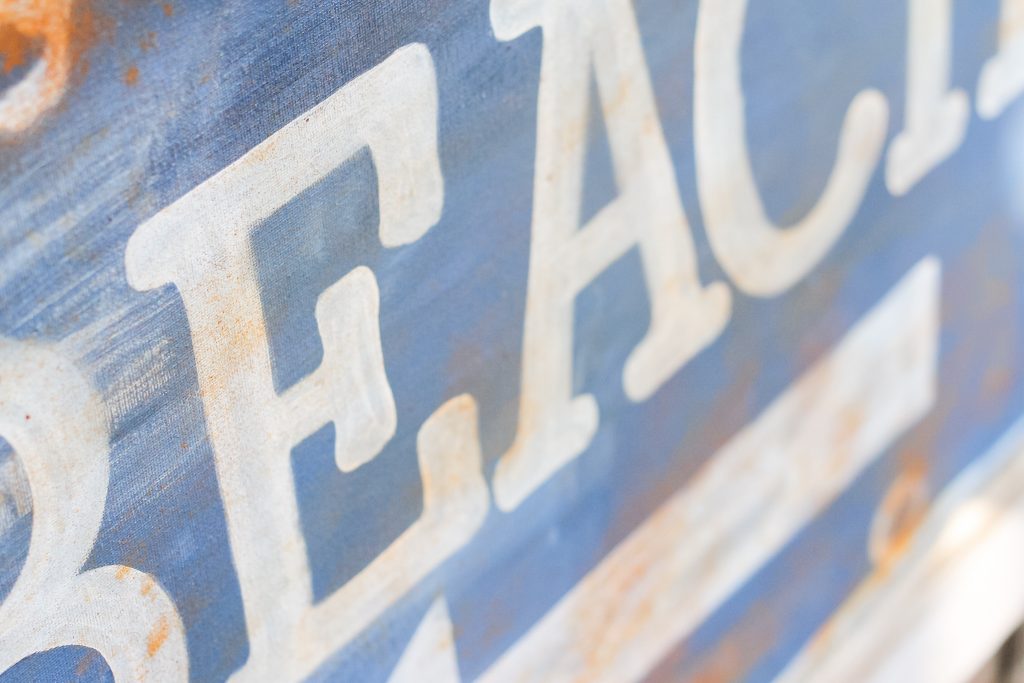
Keep layering on sealer and ‘cinnamon rust' until you are satisfied with your finished sign. You can control just how rustic this sign gets. You can go over the same area multiple times if you are not happy with your results the first time.
Once finished, spray the sealer right on the top. Allow the entire thing to dry, and you are ready to display your rustic sign creation.

I would say this DIY beach sign looks pretty good! Order some canvases today and stock up on cinnamon. You will want to use this technique over and over again once you get the hang of it.
In the comments below, I would love to hear your thoughts on this beach sign, and if you knew cinnamon could be used to ”create a rust look”!
Tips and Tricks for DIY Beach Sign
Now that you’ve seen this fun DIY beach sign, are you ready to make your own? Here are a few tips and tricks to help!
- Use Wood As The Base Of Your Sign – If you don't want to use a canvas sign, you can use a solid wood sign or a wood canvas instead!
- Have Fun With Colors – For my sign, I chose to use Country Blue and Black paint. However, you can use any color of paint that you like for this project. Some other colors that I think would be great options are aqua blue, blue-green, sand, yellow, and even orange.
- Skip The Arrow – If you don’t want to include an arrow on your sign, you can skip it! Instead, you can just have the word ”beach” on your sign, or possibly add another design/more text.
- Don't Skip The Spray Sealer – Since we are using cinnamon in this project, don't skip the final step of spraying the entire sign with sealer!
5 More Beach Crafts
If you loved learning how to make this DIY beach sign and are looking for more beach crafts, check out the projects below!
- Beach Themed Shadowbox Art
- Beach Terrarium
- DIY Burlap Beach Wreath
- Kids Craft: Summer Beach Themed Sand & Shell Art
- Starfish Craft: Easy Beach Wall Art



I love the sign and the use of cinnamon! Brilliant idea!!
I love the sign and the use of cinnamon! Brilliant idea!!
Very cool.love it