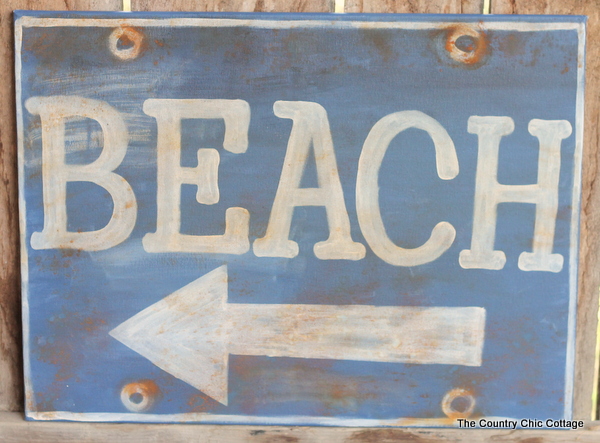
Get ready for some Summer Inspiration with my beach sign knock off. Grab a paint brush and get started on some summer decor of your own.
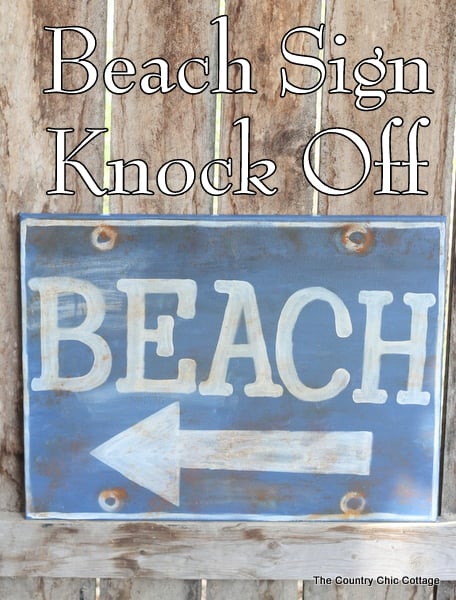
I am knocking off a Ballard Designs original beach sign today and can’t wait to share my secrets with you. Don’t be intimidated! I am going to show you some super simple methods for making this beach sign that anyone can replicate.
If you like this project, make sure to check out my Pottery Barn knock-off sign tutorial as well!
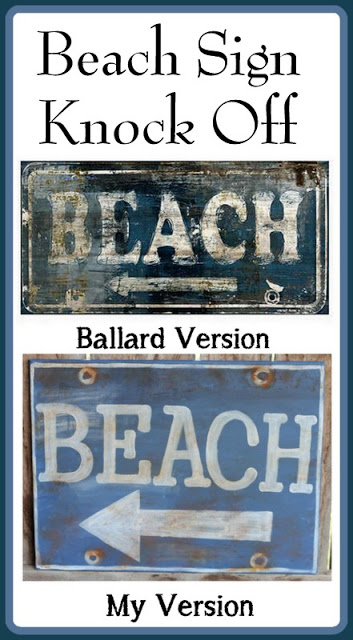
First, lets look at my inspiration piece. It is from Ballard Designs and the website actually says the sign is stretched canvas over wood. So yes, my version is painted on canvas just like the original. The original version is 15″ x 30″ and is priced at $179. I know I can beat that price with this DIY version.
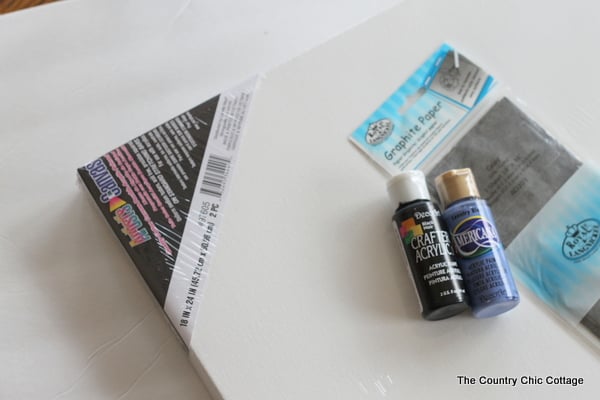
Supplies needed to make your own DIY Beach Sign Knock Off:
- Cricut machine (click here to see which I like best)
- 18″ x 24″ Canvas ($10.97 for 2)
- Graphite Paper ($1.97)
- Black Paint ($0.77)
- Blue Paint ($0.77)
- White Paint ($0.77)
- Spray Sealer ($5.87)
- Cinnamon ($1.00) (yes you need cinnamon for this project!)
This is also plenty of supplies to make two signs if you wish!
Instructions to Make DIY Beach Sign
Note that you could also make this DIY beach sign using your Cricut machine. See instructions for how to make your own sign here.
Now lets dive right into our canvas and start painting.
Paint Your Canvas
You can actually mix the blue with a little black to make the color darker. I made a custom blue by doing just that.
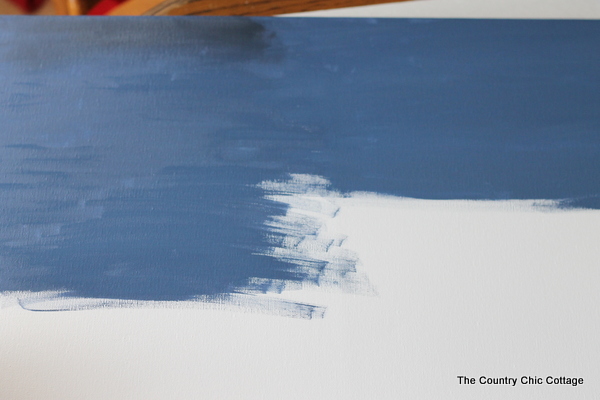
Start at the top of your canvas and begin painting a solid blue. Don’t forget the canvas edges as well.
While your paint is still wet, apply a little black paint with a very dry brush and spread across the top. That will make a few dark areas. Keep your inspiration picture handy and try to mimic where the dark areas are on the original. It’s important to do this while the blue paint is wet.
Do the same thing with a dry brush and some white paint. Again, I picked a few areas that were light on the original sign and brushed on white paint while my blue was still wet.
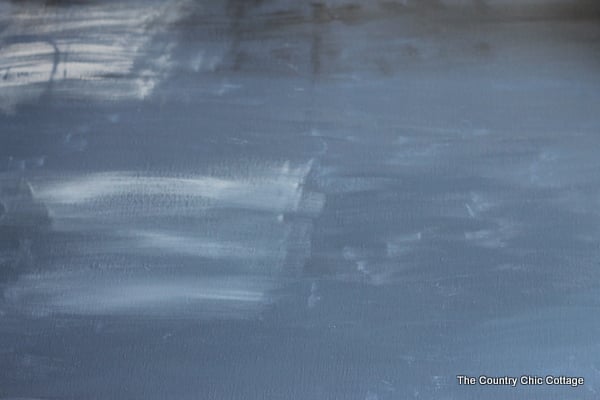
Print and Trace Your Letters
While you are waiting for your completed canvas to dry, pick a font on your computer that mimics the original inspiration. Print your BEACH letters as large as you can while still fitting on the canvas. I used whole sheets of paper and taped them together to fit.
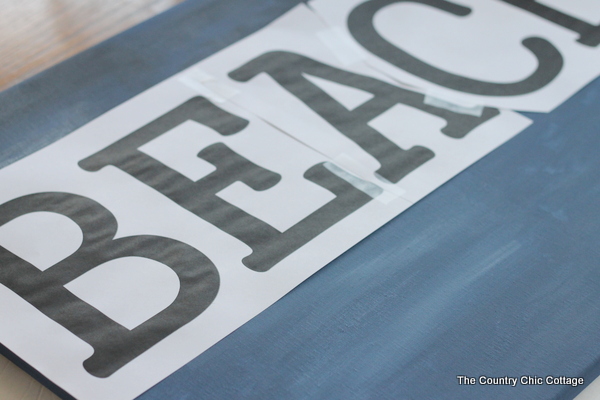
Once you are happy with your letters on and their placement on your beach sign, put your graphite paper under your copy paper.
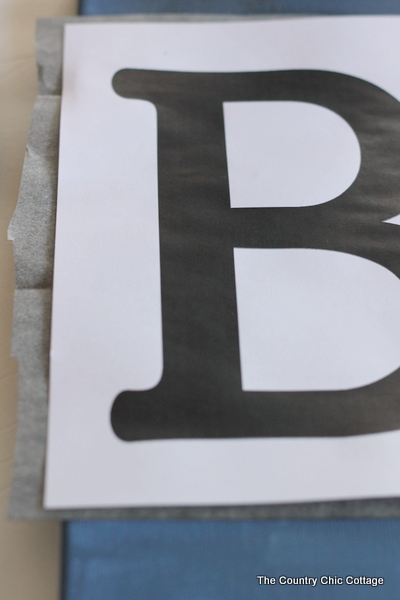
Trace around each letter and the graphite will transfer your letters to the canvas.
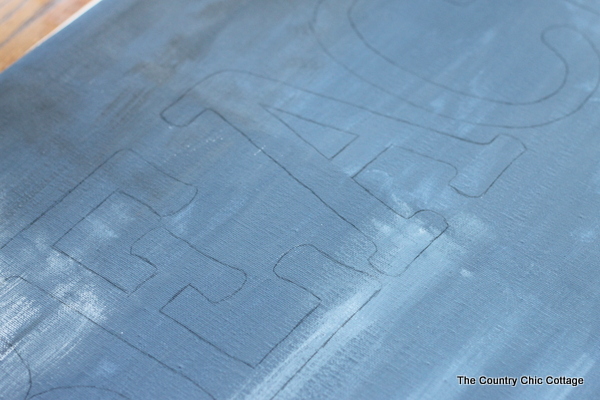
Paint in the Letters
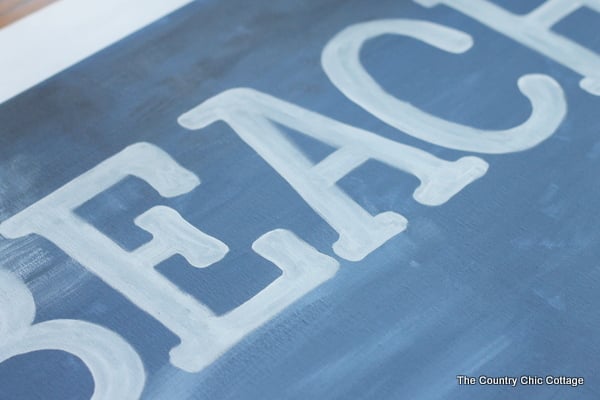
Now you can just color in the lines with white paint.
There are a few tips and tricks to remember here:
- These letters do not have to be perfect. Our original inspiration is a very rustic sign so do not worry about getting your lines completely straight.
- Use a dry brush with very little paint. Again, it is OKAY if a little of the blue is showing through your letters. We are making a rustic sign.
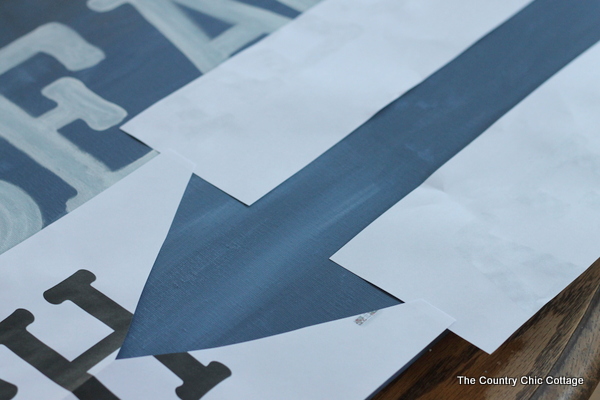
Now we need an arrow. I took some copy paper and made an arrow template that I felt was the right size for this canvas. Then, I used it as a guide and painted inside of it following the same tips and tricks as given above for the letters.
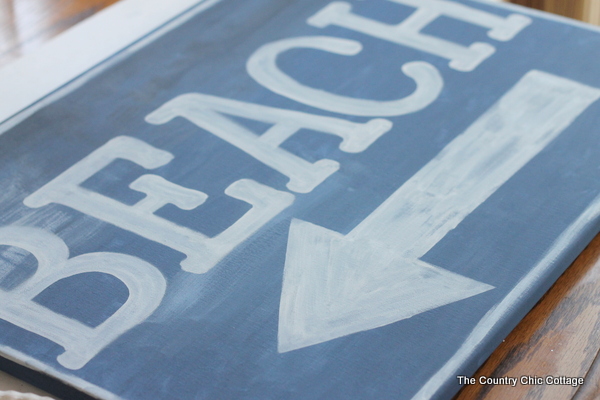
Next, I free handed a line all the way around the outside edge of my canvas in white.
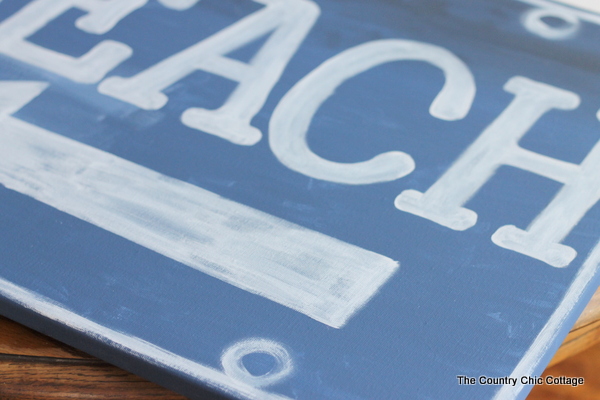
Then I painted freehand four of these rough circle shapes. I loved how the original appeared to have rusty holes where it had been hanging somewhere for years. Since I had room, I put four of these holes on mine instead of just two. Allow your entire canvas to dry before continuing to the next step.
Make it Rustic
Now it is time to add our secret ingredient to our beach sign—cinnamon.
No, I am not crazy. Cinnamon makes a really lovely faux rust paint on any surface. Plus, it is so super simple to use, so lets give it a try.
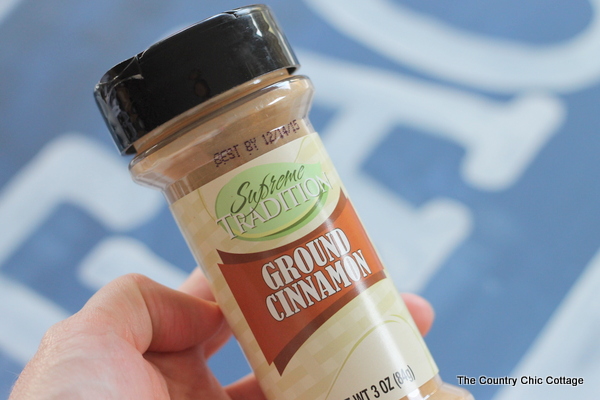
Spray small areas of your sign with the sealer. While it’s wet, sprinkle with cinnamon. You can play with different techniques on different areas. For instance, on my “bolt holes” I sprinkled the cinnamon on the wet sealer then took my finger and traced the circle. So the “rust” also comes out looking circular!
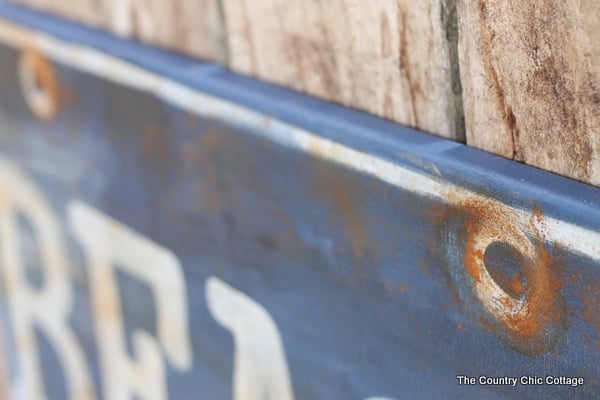
Try a light dusting of cinnamon in some areas of your beach sign. It gives the appearance that the “rust” is just starting to peek through the paint. Other areas of the sign I really dumped on the cinnamon to give large “rusty” areas.
You can also experiment with the spray, sprinkle, spray technique. Spray on your sealer, sprinkle on cinnamon, then immediately spray again. This gives a whole other look to your “rust” techniques.
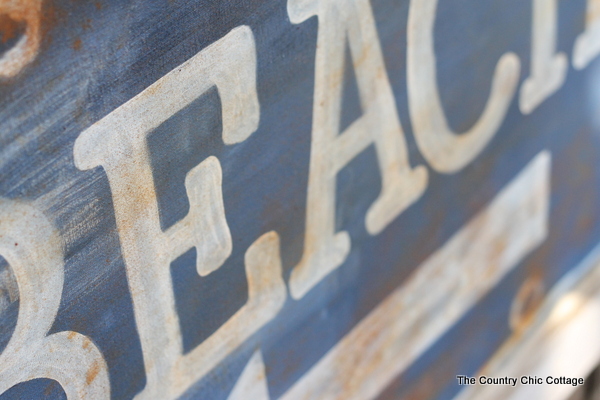
Finishing Touches
Keep layering on sealer and cinnamon rust until you are happy with your finished sign. You can control just how rustic this sign gets. You can go over the same area multiple times if you are not happy with your results the first time.
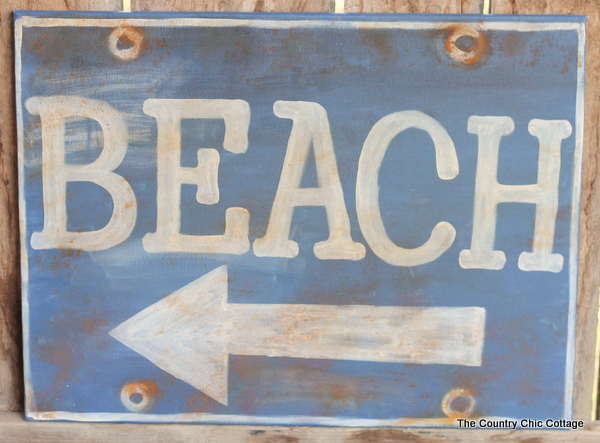
Once finished, spray sealer right on the top. Allow the entire thing to dry and you are ready to display your rustic sign creation.
Supplies
- 18″ x 24″ Canvas
- Graphite Paper
- Black Paint
- Blue Paint
- White Paint
- Spray Sealer
- Cinnamon
Instructions
- Start painting your canvas. You can mix the blue with a little black to make the color darker. I made a custom blue by doing just that.
- Start at the top of your canvas and begin painting a solid blue. Don’t forget the canvas edges as well.While your paint is still wet, apply a little black paint with a very dry brush and spread across the top. That will make a few dark areas. Keep your inspiration picture handy and try to mimic where the dark areas are on the original. It’s important to do this while the blue paint is wet.
- Do the same thing with a dry brush and some white paint. Again, I picked a few areas that were light on the original sign and brushed on white paint while my blue was still wet.
- While you are waiting for your completed canvas to dry, pick a font on your computer that mimics the original inspiration. Print your BEACH letters as large as you can while still fitting on the canvas. I used whole sheets of paper and taped them together to fit.
- Once you are happy with your letters on and their placement on your beach sign, put your graphite paper under your copy paper.
- Trace around each letter and the graphite will transfer your letters to the canvas.
- Now you can just color in the lines with white paint.
- Now we need an arrow. I took some copy paper and made an arrow template that I felt was the right size for this canvas. Then, I used it as a guide and painted inside of it following the same tips and tricks as given above for the letters.
- Next, I free handed a line all the way around the outside edge of my canvas in white.
- Then I painted freehand four of these rough circle shapes. I loved how the original appeared to have rusty holes where it had been hanging somewhere for years. Since I had room, I put four of these holes on mine instead of just two. Allow your entire canvas to dry before continuing to the next step.
- Now it is time to add our secret ingredient to our beach sign—cinnamon.
- Spray small areas of your sign with the sealer. While it’s wet, sprinkle with cinnamon. You can play with different techniques on different areas. For instance, on my “bolt holes” I sprinkled the cinnamon on the wet sealer then took my finger and traced the circle. So the “rust” also comes out looking circular!
- Try a light dusting of cinnamon in some areas of your beach sign. You can also experiment with the spray, sprinkle, spray technique. Spray on your sealer, sprinkle on cinnamon, then immediately spray again. This gives a whole other look to your “rust” techniques.
- Once finished, spray sealer right on the top. Allow the entire thing to dry and you are ready to display your rustic sign creation.
I would say this looks beach sign pretty good especially for 12% of the original price. Order some canvases today and stock up on cinnamon. You will want to use this technique over and over again once you get the hang of it.
This DIY beach sign would be so cute with this DIY burlap wreath in your outdoor space!



I love the sign and the use of cinnamon! Brilliant idea!!
I love the sign and the use of cinnamon! Brilliant idea!!
Very cool.love it