I love adding beaded garland around my home for just about every season of the year. I thought I would show you how to make a fall version today. This simple technique involves plain wood beads but we are going to make them extra special with some color stain. Fall colors never looked so good!
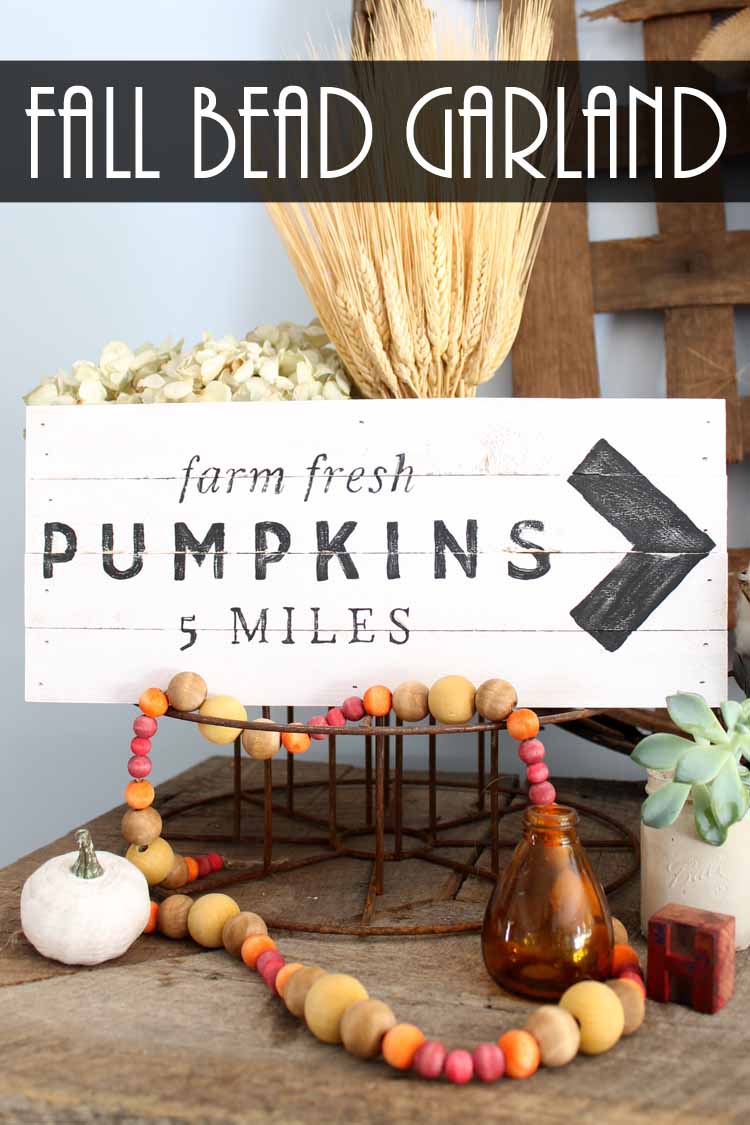
The easiest DIY to add a touch of fall to any room! You might even want to make our pumpkin patch sign to go along with it.
This garland was so simple to make. Plus, you can customize it with a variety of shades and colors to make it uniquely yours. I used this for some extra fall room decor and loved the way it turned out. This would be so festive as a part of your fall mantel or outdoor porch decor.
You can make this garland as long as you like. How many of each bead you stain will determine the length of your garland.
How to Make a Wooden Beaded Garland
Supplies needed to make this beaded garland:
Some links below may be affiliate links which means that you do not pay anymore, however, this site will receive a small commission.
- Round Wood Beads (I used 10 mm, 12 mm, 16 mm, 20 mm, and 25 mm)
- Color Stain in a Variety of Shades
- Jute Twine
- Paint Brush
- Rag
- Tape (optional)
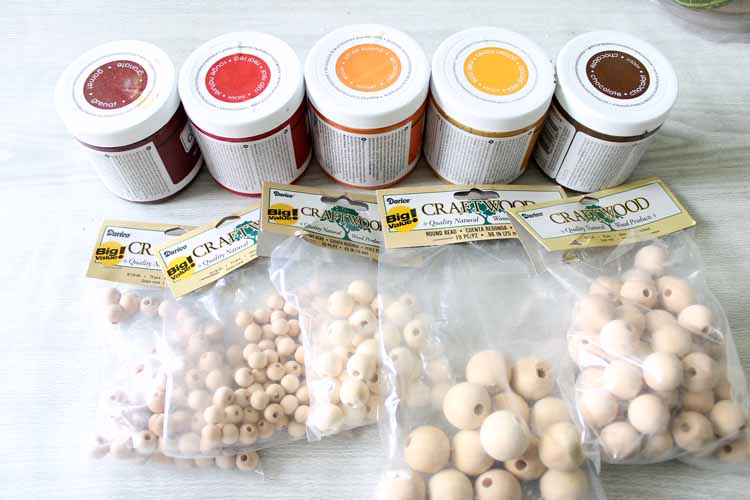
Start by staining your wood beads in a variety of colors.
To keep the wood bead from moving while you are trying to paint on your stain, add it to the end of a paint brush as shown below. Press down into place and this will keep it still during painting.

Then just stain away! I picked a color for each size of bead. Paint on the stain with a paint brush, allow to sit a few minutes, then wipe away any excess with a rag.
You can do a few, string them, and then do some more if it is not long enough. They dry very quickly and are ready to add to your twine in minutes.

String your beaded garland however you like. I love this mixture of small and large beads but you can use all one size if that is what you like. Cut a piece of twine the length you would like for your garland and knot one end.
Wrap the other end of the twine in tape to make it easy to thread into the holes of even the smallest beads.

Just knot both ends of the jute once your beaded garland is complete and trim away any excess with scissors.

Then all that is left is to figure out where to place this beauty in your home.
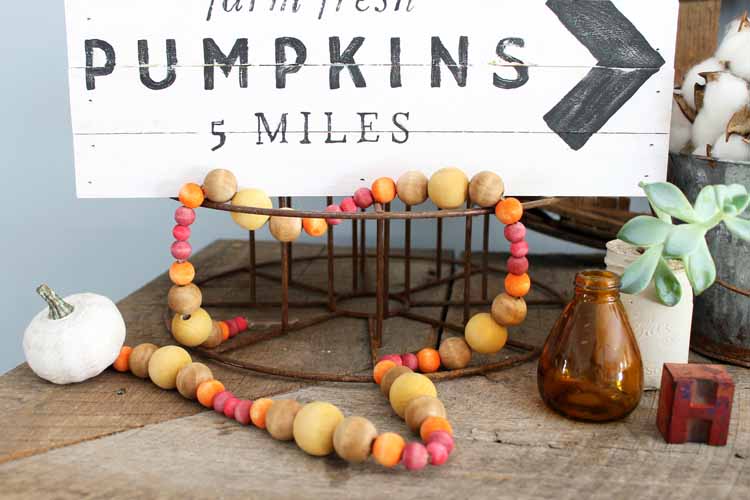

However you display it, you are sure to love this beaded garland this fall!
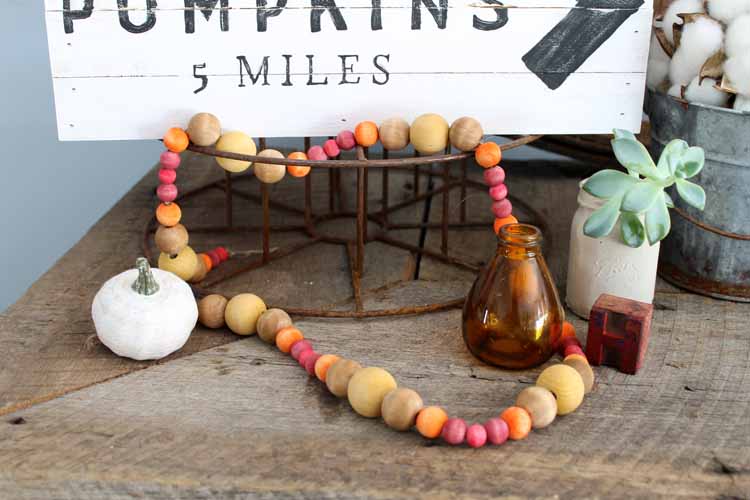
Love this beaded garland and want more ideas? Try the links below!
- Rustic Wall Art from a Wood Slice
- Burlap Fall Wreath in a Pumpkin Shape
- Fall Candles for Fall Scents
- Three Tier Stand for Fall Decor
- Fall Home Decorating Ideas
Supplies
- Round Wood Beads I used 10 mm, 12 mm, 16 mm, 20 mm, and 25 mm
- Color Stain in a Variety of Shades
- Jute Twine
- Paint Brush
- Rag
- Tape optional
Instructions
- Start by staining your wood beads in a variety of colors. I picked a color for each size of bead. Paint on the stain with a paint brush, allow to sit a few minutes, then wipe away any excess with a rag. Do a few, string them, and then do some more if it is not long enough.
- Next, cut a piece of twine the length you would like for your garland and knot one end. Wrap the other end of the twine in tape to make it easy to thread into the holes of even the smallest beads.
- String your beaded garland in whichever pattern you like. I love this mixture of small and large beads but you can use all one size if that is what you like.
- Knot both ends of the jute once your beaded garland is complete and trim away any excess with scissors.




I love the beads! That makes me want sweater and wool skirts and warm socks! Silly, since I live in Florida and it’s still n the 80s and 90s here, LOL! Don’t care; beads wear!