Revamp a thrifted bulletin board! I snagged a bulletin board from a local thrift store, and with a little creativity and less than $20, transformed it into a stylish and functional masterpiece that’s perfect for a boy’s room.
I wanted a bulletin board for the big boy room. The issue I was running into was that most bulletin boards were small or flimsy. I wanted a large one to take up lots of wall space. I lucked out and found one at the Goodwill. It wasn’t in the best shape, but for $10 I could make it work!
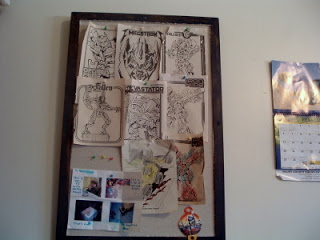
When it comes to style, I wanted to embrace the “boy” in his room. Think dark tones, maybe some industrial elements, and definitely wanted to steer clear of anything too frilly. This bulletin board is about reflecting his personality.
One of the great things about this bulletin board was its holding capacity. He needed plenty of space for medals from soccer practice, art projects, concert tickets, and even photos. And we found just that! It’s the ultimate showcase for all the things that make our boy who he is.
Plus, I love that kids can get involved in this project. Let them pick out the fabric or paint colors, and maybe throw in a few personal touches that reflect their own individuality. This isn’t just about decor; it’s about creating a space that feels uniquely their’s.
Now, grab a giant corkboard, fabric or paint, sturdy pins, and a good dose of imagination. Let’s get started!
How to Make Over a Thrift Store Bulletin Board
Supplies needed for a bulletin board makeover:
- Bulletin board
- Craft paint or stain
- Spray adhesive
- Canvas drop cloth
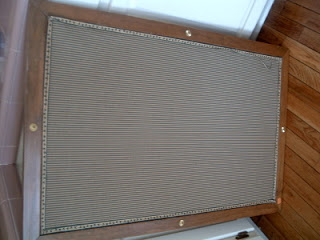
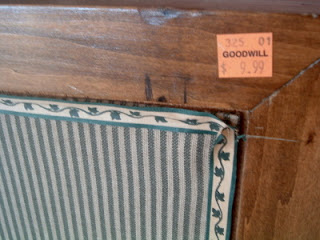
That fabric just came right off….
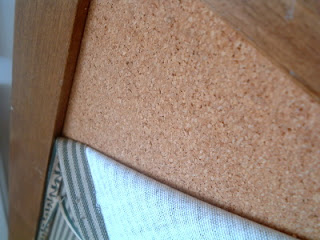
And I was left with….well…ugh…but NOT a problem!!
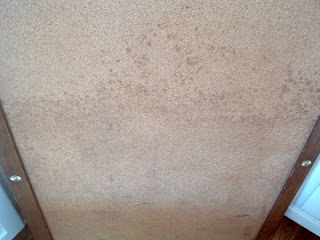
Trust me we are going to cover that up in a minute. First I had to paint…..
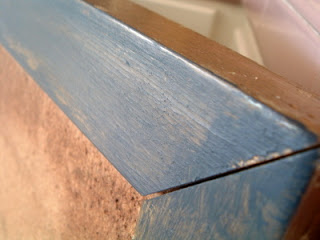
I took navy blue craft paint and thinned it with some brown stain. I find that the thinner paint wipes off better. I paint it on…wait a couple of minutes and wipe it with paper towels….
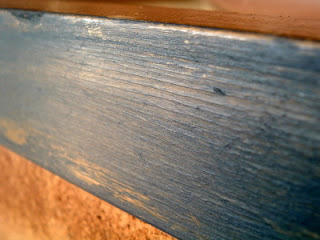
Sort of a “white” wash in navy blue. Love that rustic appeal…
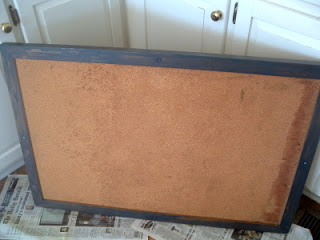
I let the paint dry…then it is time to cover that cork! I used spray adhesive so in order to avoid overspray onto my wood I used tape….
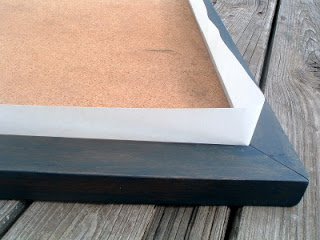
And some newspaper….aren’t my wood pieces cute?? It was windy…. 🙂
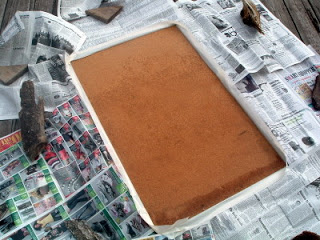
I worked fast on this part so no in process pics. But I sprayed on the adhesive and then placed my cut to size piece of canvas drop cloth right on the surface.
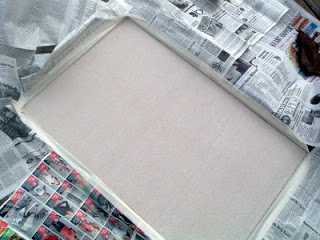
Now doesn’t that look better….
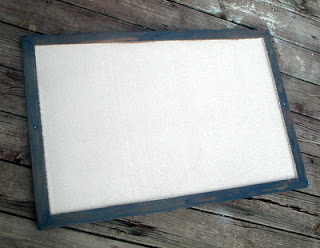
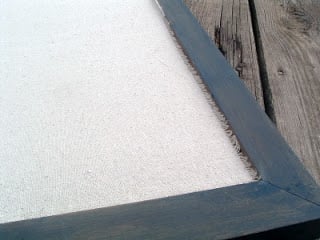
Since I heart this paint finish…you get a few more close up shots….
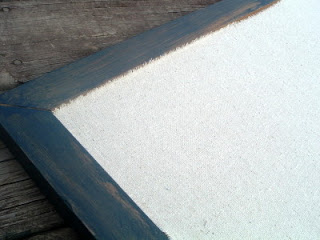
Yes I left my raw canvas edges just like that…I was going for a rustic feel. If you did not want those, you could cover up your edges with ribbon or disassemble your bulletin board from the frame before recovering.
All that was left was to hang up this baby….
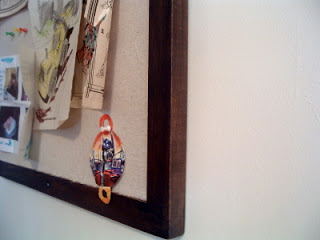
And of course let the big boy adorn it with all of his treasures!
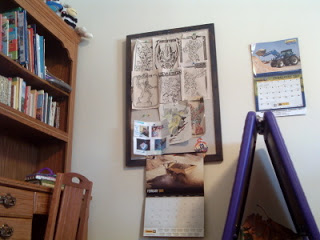
A great art piece for a big boy room!
Supplies
- Bulletin board
- Craft paint or stain
- Spray adhesive
- Canvas drop cloth
Instructions
- Begin by painting the bulletin board’s frame in whatever color you choose.
- Then, cover the cork with spray adhesive and apply the canvas drop cloth.
- Allow to dry and hang.
A massive bulletin board for your boy’s room is more than just decor—it’s a homage to his journey, passions, and quirky personality. So, unleash your creative side, make it a family project, and let that wall space become a canvas of memories and achievements.


Awesome makeover!
Turned out great.
Like the simpleness of it. The drop cloth ,I mean.
That looks great, love the blue on the frame.
Bee happy x
It’s perfect now!
Jeanine
That board looks so great! I never thought to paint the cork part of a board, but it makes it look so much better!
Also, I have a great Dove chocolate giveaway going on right now and would love if stopped by and entered: http://eyespydiy.blogspot.com/2011/02/dove-chocolate-discoveries-giveaway.html
~Katie @ Eye Spy DIY
This looks fabulous! Great design for a boy’s room.
That turned out so great. I love the color. Thanks for linking to We’re Organized Wednesday.