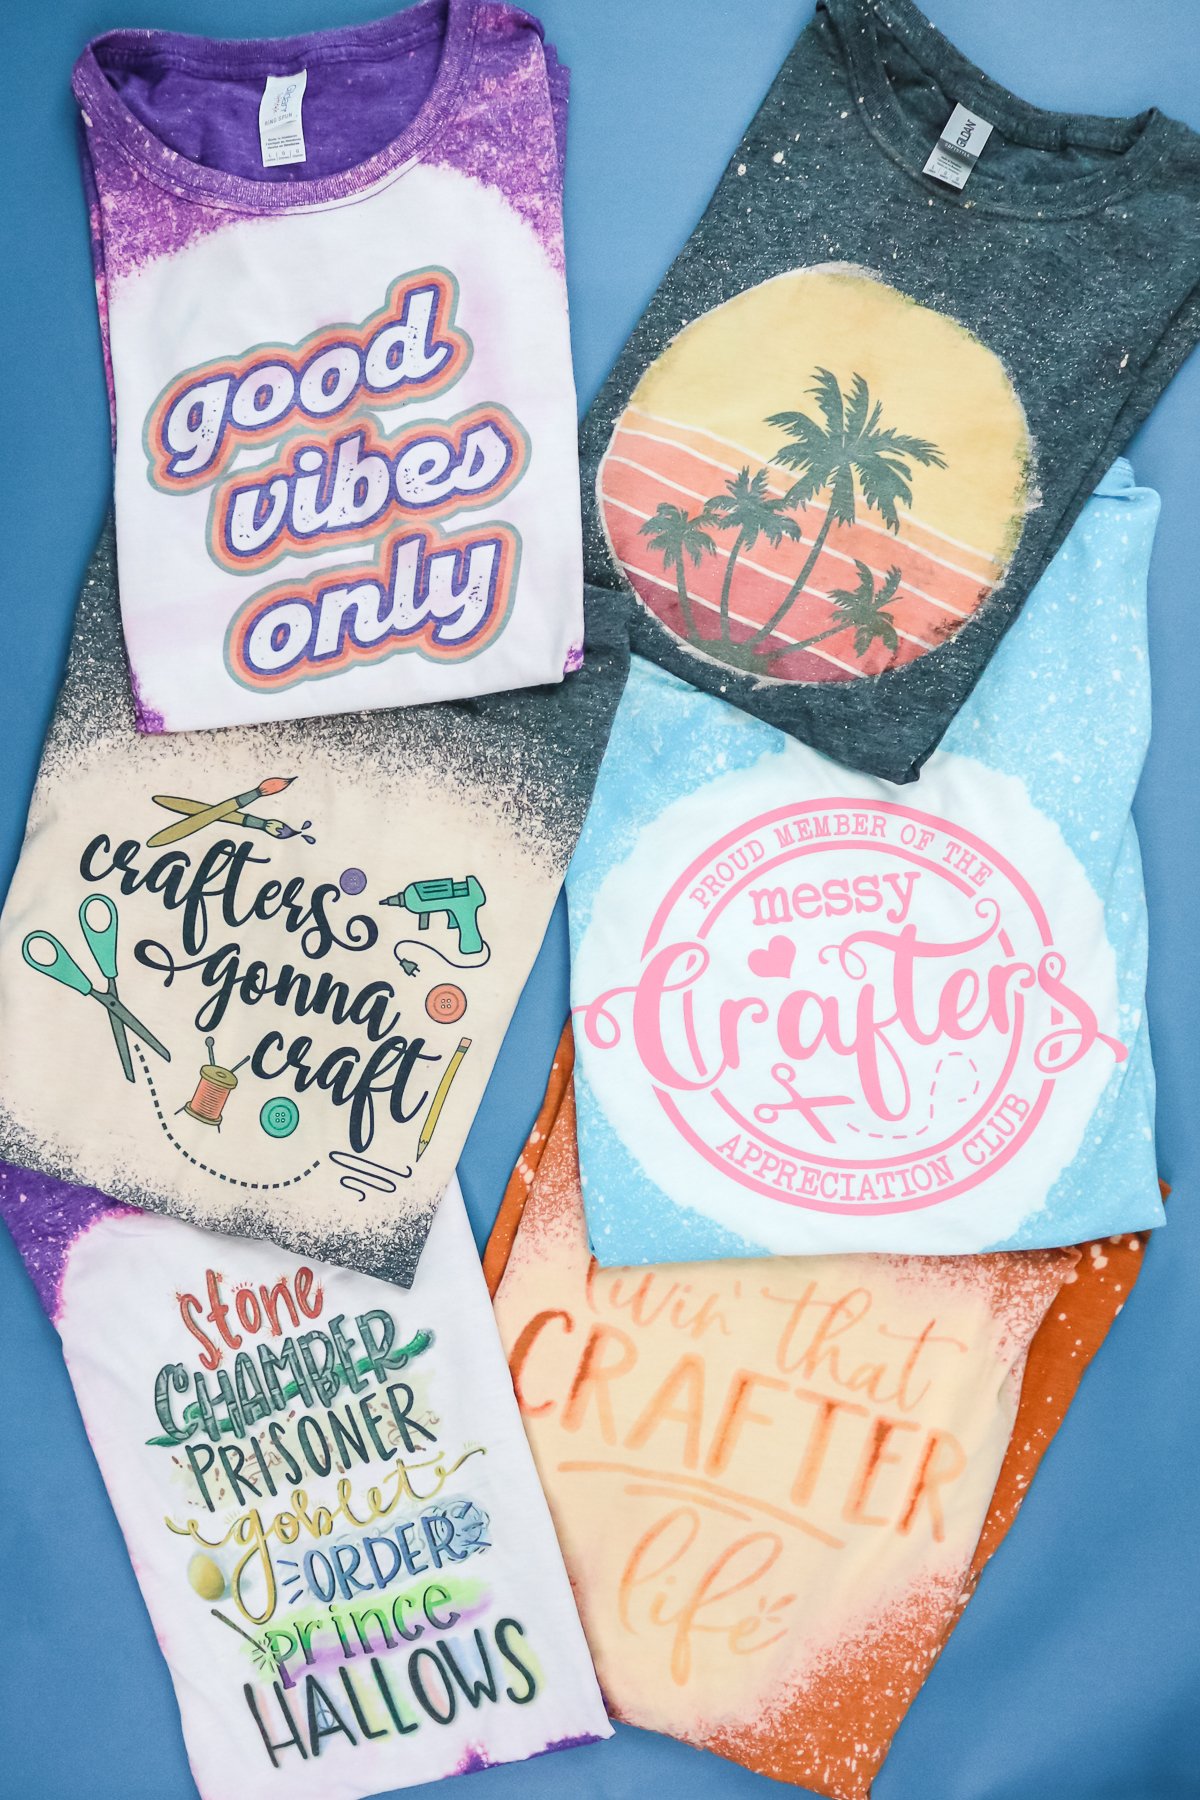
I have actually played around with bleaching shirts several times so I wanted to do a comparison of different methods for you. I am using sublimation, HTV, and even some masking techniques so that literally ANYONE can have a bleached shirt in their life! Grab your bleach bottle and get started creating unique shirts that are perfect for you and to give as gifts.
Looking for a different look? Try making a tie dye shirt with sublimation instead!
Bleaching Shirts
Want to get started with bleaching shirts? The easiest way to do that is to watch the video below. Just click play and everything you ever wanted to know about the bleaching process is included. You may also hear this process referred to as reverse tie dye. You will definitely learn about doing that process in the video below as well!
Can’t watch the video or missed some of the steps? You can also follow along below as I walk you through everything you need to know.
Supplies needed:
- Gildan Softstyle (Heather colors ONLY for sublimation) (fits small so size up) (Try getting them here or here or here.)
- Bella Canvas 3001CVC (for HTV/vinyl ONLY) (Heather colors ONLY but sunset did NOT bleach.) (Try getting them here or here or wholesale from BELLA+CANVAS here.)
- Bleach (I like Clorox Splashless because of the consistency.)
- Spray bottle
- Paintbrush
- Paper towels
- Sublimation prints or printer (see more about the printer I use here)
- Sublimation paper
- Cricut
- HTV
- Vinyl
- Transfer Tape
- Cardboard
- Hydrogen Peroxide
- Water
- Heat Press
- Protective gloves
- Cold water
Designs or SVG Files I used:
Ways to Bleach a Shirt
There are several ways to make bleach spray shirts. I am going to cover a few of the methods and then which are my favorites as well. Please note the shirt brand options that I mention in the supply list. I am not sure if other brands will work as well.
Safety Tips
First, let’s talk about some safety tips since you are working with bleach and chemicals. Always work outdoors and wear gloves to protect your hands. I also have recommendations for stopping the bleaching process below. Please be sure to follow these instructions and wash your shirts after the process a few times to remove any excess chemicals.
You will also want to wear clothes and shoes during the process to protect your skin. I like to wear old clothes so I am not worried about getting any bleach on them. Even a little bleach can ruin your clothing!
Preparing Your Shirt
You will want to prep your blank shirt with some cardboard or even a plastic garbage bag on the inside. You don’t want your bleached area to appear on the back of your shirt as well. I like to use scrap cardboard boxes but anything you have on hand that is disposable will work for this. Otherwise, the only other preparation would be if you are going to add a mask or sublimation before bleaching. You can read more about that below.
Bleaching with a Spray Bottle
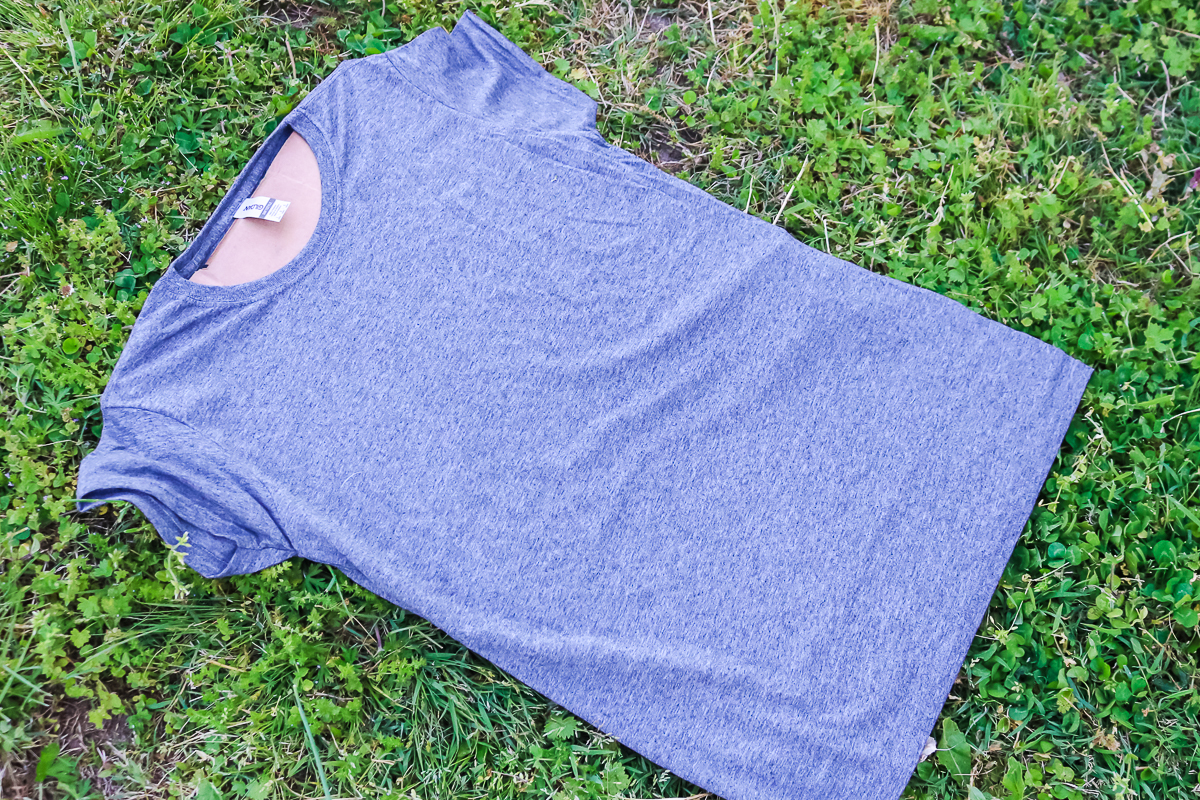
First, let’s spray a shirt with just a regular spray bottle filled with non-diluted bleach. Spray an area on the front for your design that you will add later or over the top of an existing design. Use the design as a guide for how big you would like the bleached area to be. I also like to spritz the bottle a bit all over the shirt as well during this time.
Take paper towels once your shirt has been sprayed and lightly dab the large front area just to get any excess bleach off. Once the front has sat for a few minutes, be sure to flip the shirt over and spritz the back a little too so it will match. I like to do the back of the shirt as well as the front.
Bleaching with a Paintbrush
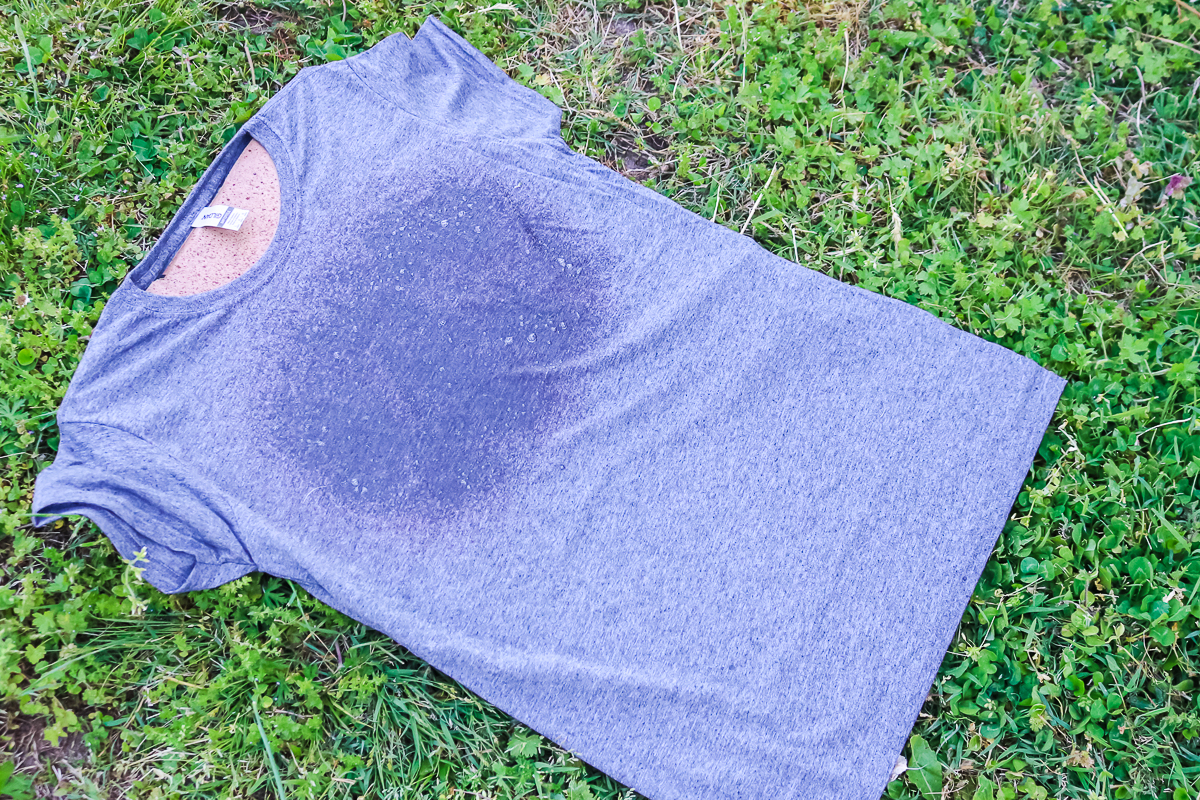
Instead of using a spray bottle, you may find you have more control with a paintbrush. Put your bleach in a container and just paint it on with the brush. I find that I like to spritz the edges with the spray bottle as well just so they are not so perfect. Take paper towels once your shirt has been sprayed and lightly dab the large front area just to get any excess bleach off.
Also, after sitting for a while, you may find you need to go over the area again if you didn’t get a good coat on it. Plus, you will want to spritz the entire shirt with the spray bottle as well to get a few spots all over the shirt on the front and back.
Using a Cardboard Mask
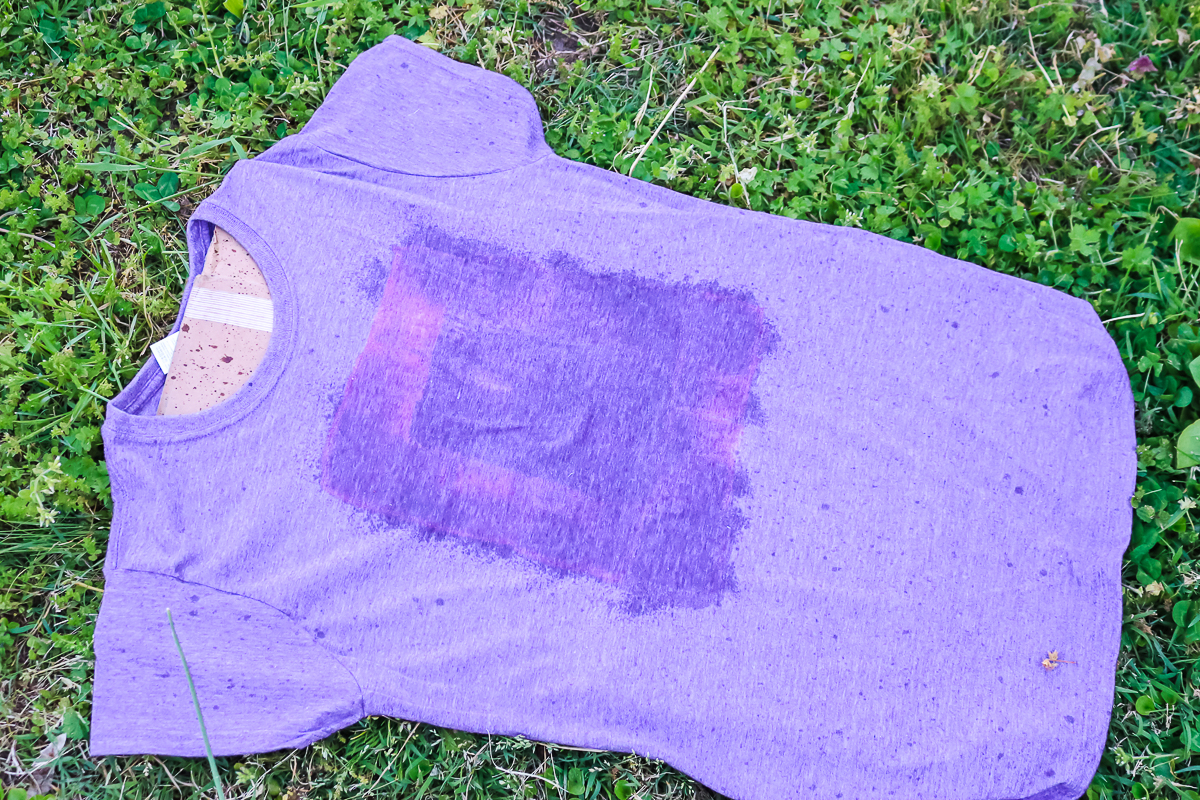
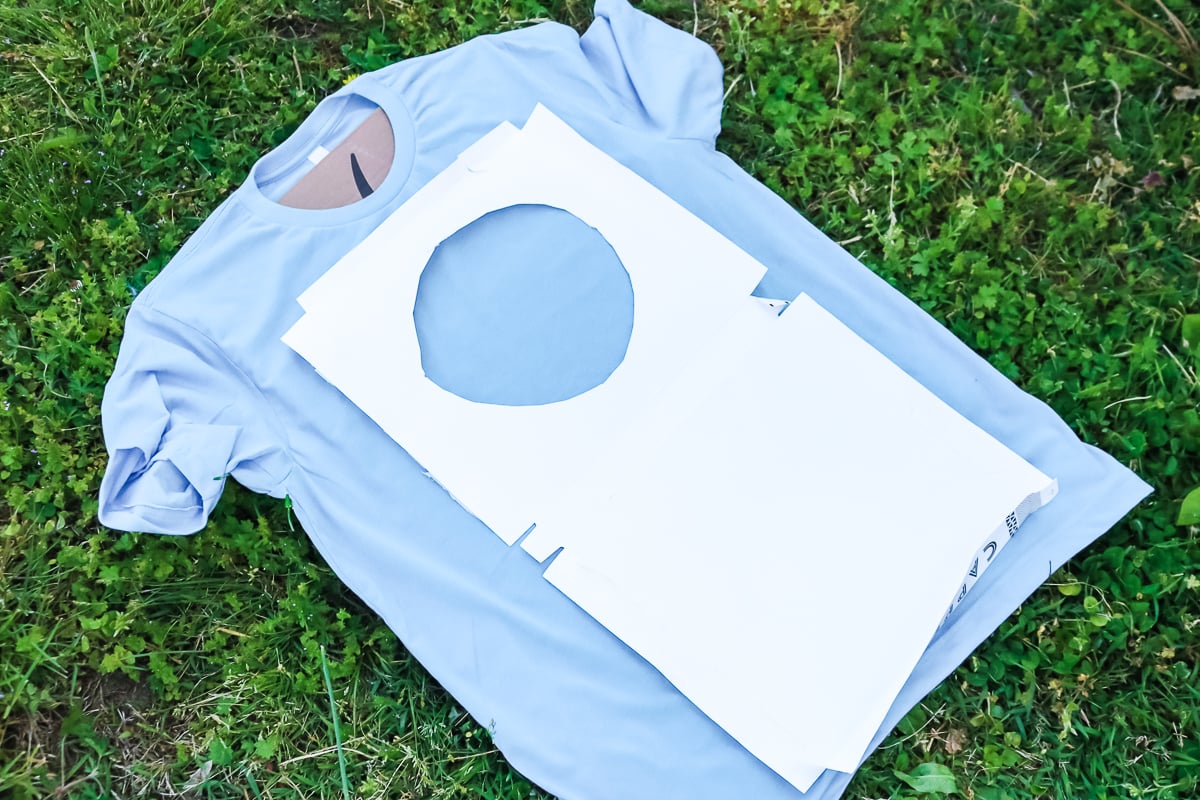
You can also use the spray bottle method with a cardboard mask. Here I cut my circle out of an old cardboard box and just laid it on top of the shirt. The spray the circle well. Remove your mask and spritz around the outer edge of the circle as well as all over the shirt so you get a more imperfect look. Remember to take paper towels once your shirt has been sprayed and lightly dab the large front area just to get any excess bleach off.
Applying to a Sublimation Design
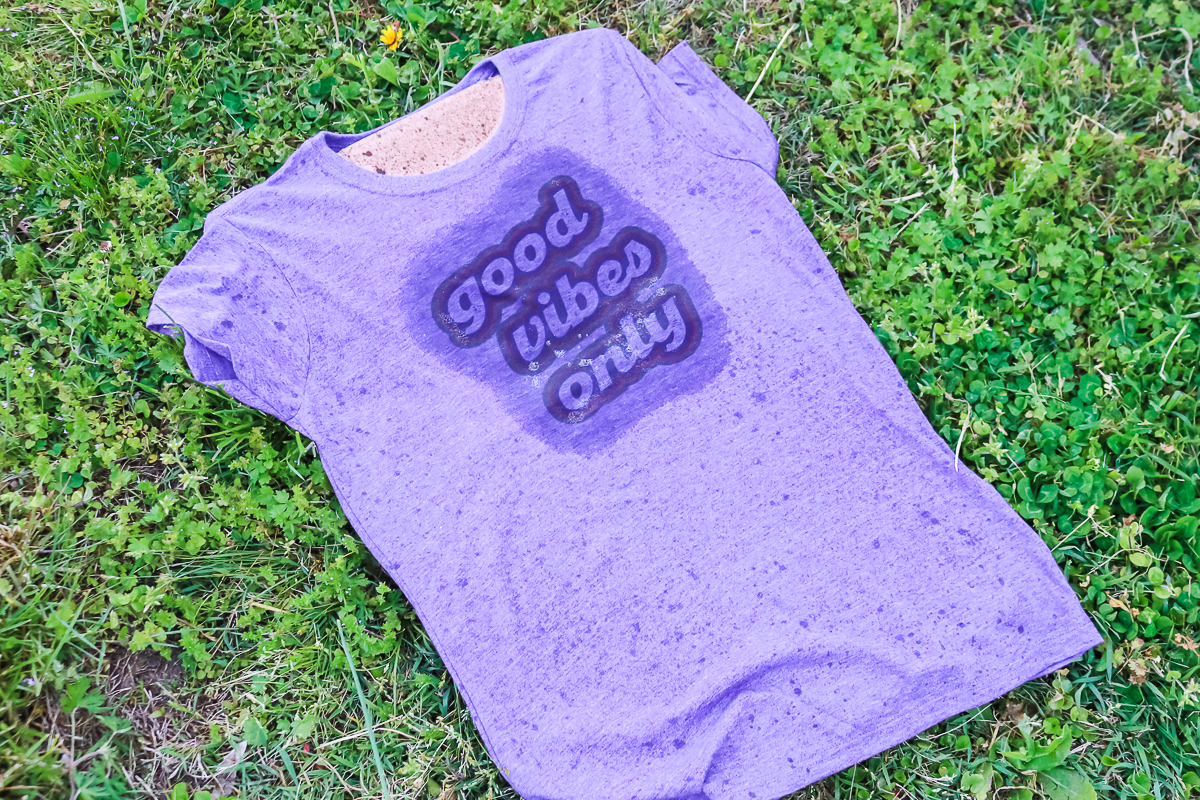
You can use any of the methods above to apply bleach to a shirt that already has a sublimation design applied. I generally like to use my design as a guide when applying my bleach. The same notes above on methods apply as you can use any of them on your sublimation shirts.
Bleaching Over a Mask
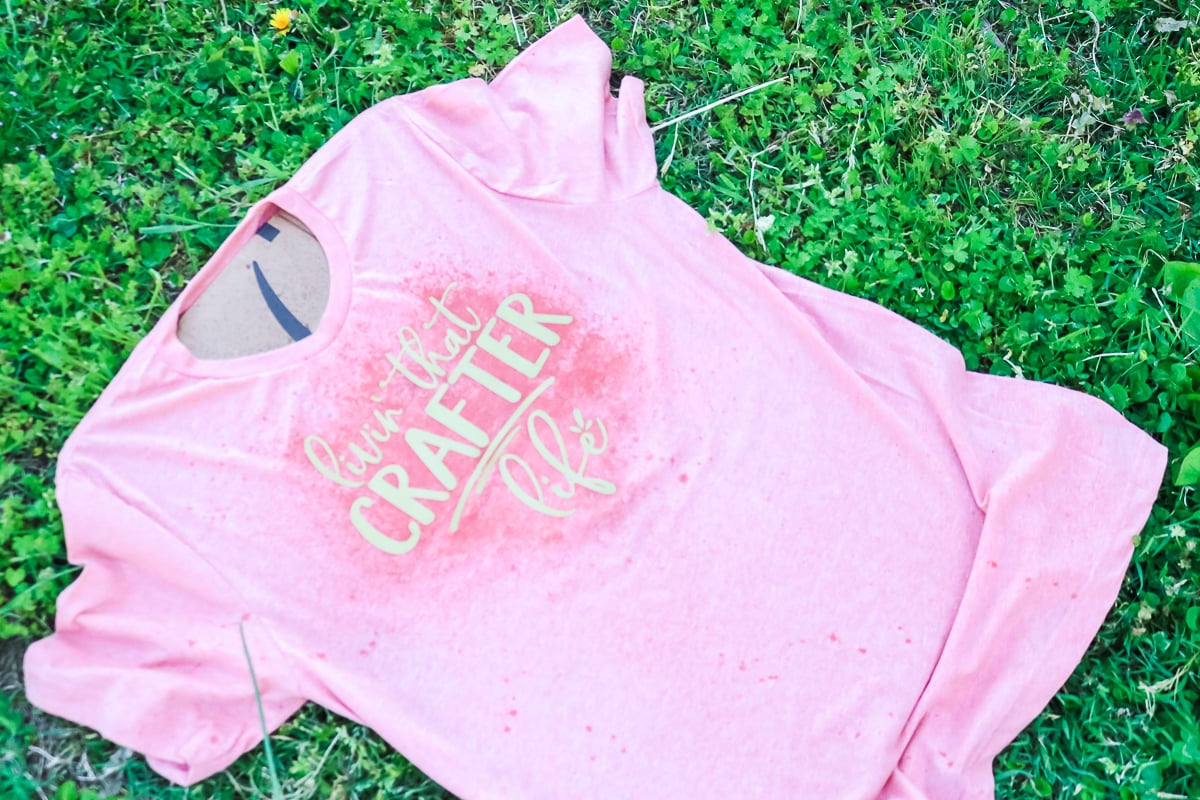
You can also add a variety of masks to your shirt and apply bleach right on the top of those. Here I used adhesive vinyl cut on my Cricut machine as a mask and applied bleach with a spray bottle over the top.
How to Stop the Bleaching Process
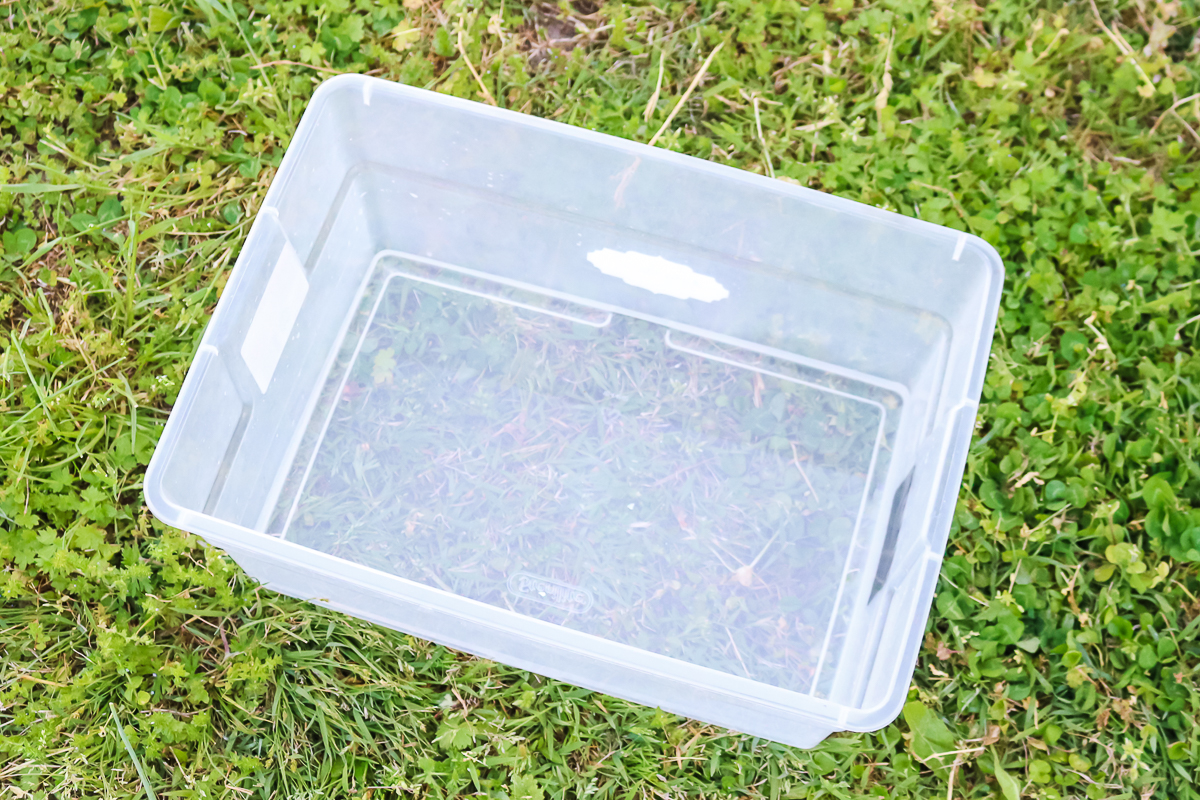
Once you have applied your bleach, allow your items to sit in the sun and work their magic. You should see your shirts starting to change color. With the help of the sun, the bleaching process will be quicker. You can actually stop the bleaching process at any point. So, you can let the spots get white or stop when they are any other color that you love. To stop the bleaching process, mix up 1/2 hydrogen peroxide and 1/2 water in a container. Dip your shirt in and rinse really well. Then wash your shirt twice in the washing machine by itself to remove any residue.
FAQ:
When bleaching shirts, you may have a variety of questions about the process or issues that you have encountered. Here are a few of those questions answered but you can also ask any other questions you have in the comment section below.
What shirts are best for bleaching?
You do need a shirt with at least some polyester as cotton shirts can develop holes. For sublimation, I’m using a Gildan soft style. It is 65% polyester, 35% cotton. The ones where I use HTV are a Bella+Canvas shirt but it is 52% cotton, 48% polyester. For longevity’s sake, I would use at least a partial polyester shirt. Please note that some colors/brands/types just will not bleach. I am linking to the ones that I use above and I know those will work. However, if you are planning on buying a lot of shirts, I would test each one before ordering in bulk.
Can you bleach a cotton shirt?
It is NOT recommended as they can get holes really quickly and usually do not hold up. Please see the question above for my recommendations.
Should you bleach before or after sublimation?
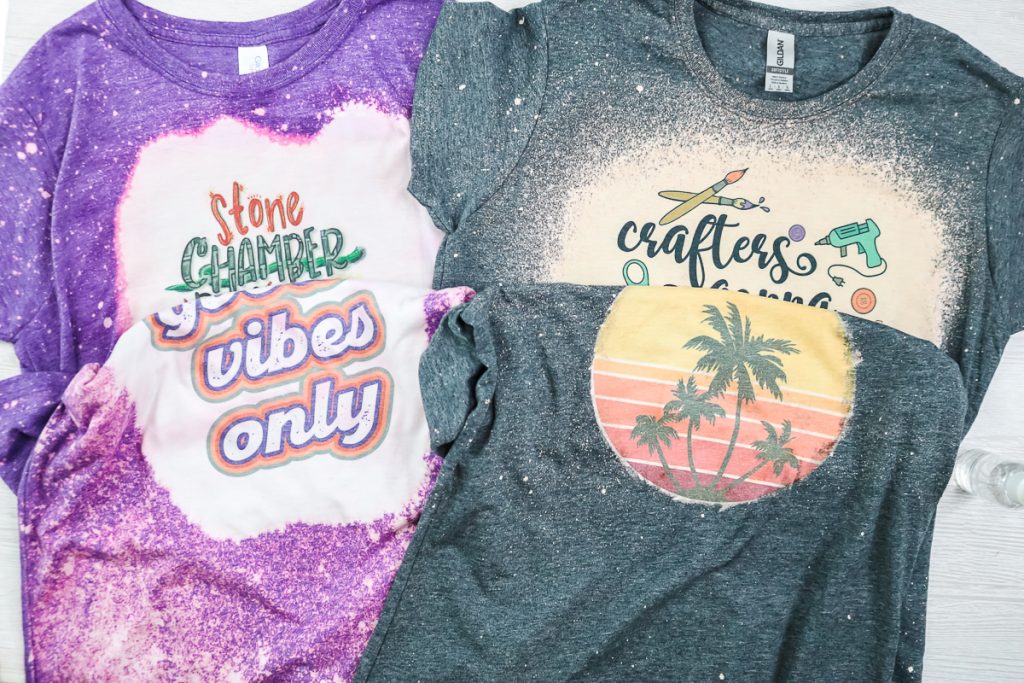
You can do both! I do feel like the bleaching after sublimation results in a more “worn” look. In other words, if you bleach before you sublimation, the colors will be more vibrant. You can see a bit of that in the image below. The shirts on the top were bleached then sublimated while the ones on the bottom were sublimated then bleached. You can get a different look by just changing up the process a little.
Can you use adhesive vinyl as a mask?
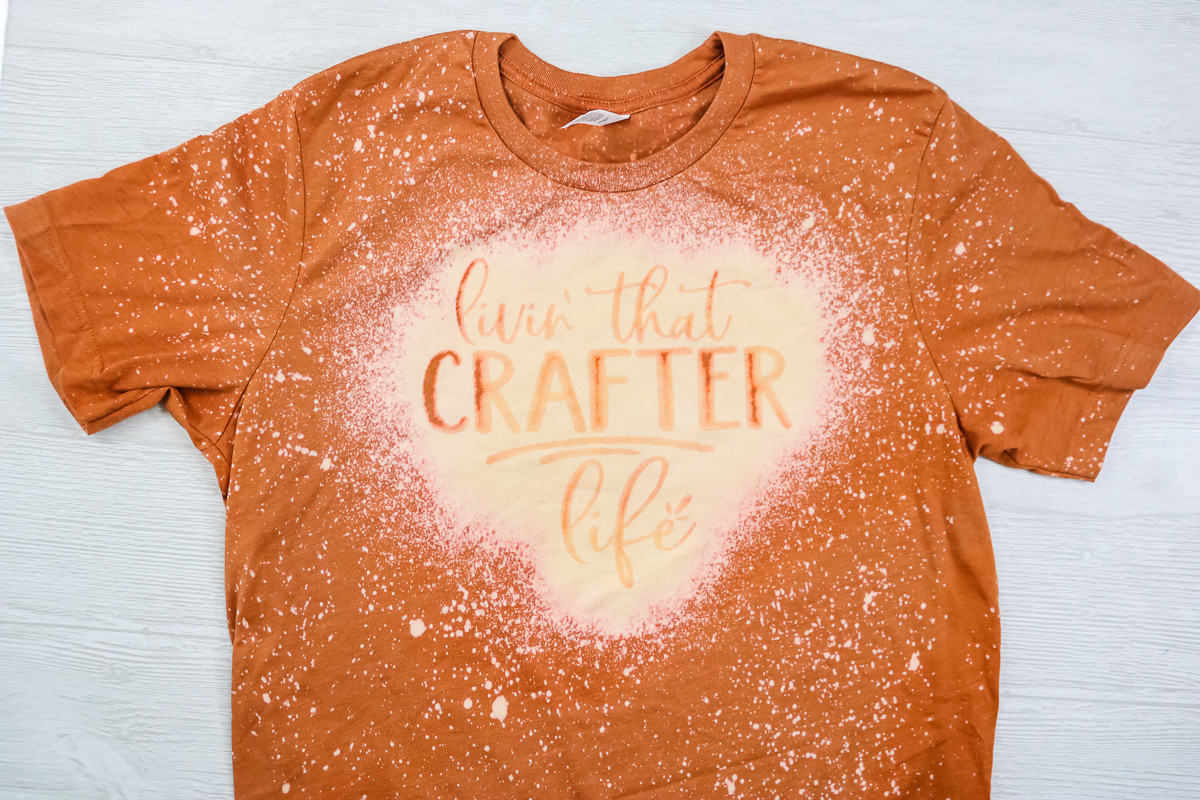
Definitely! It gives a really rustic and worn look but, if you love that, then I say go for it! If you want a distressed shirt look, this is the option you want to go with!
Can you apply HTV to a bleached shirt?
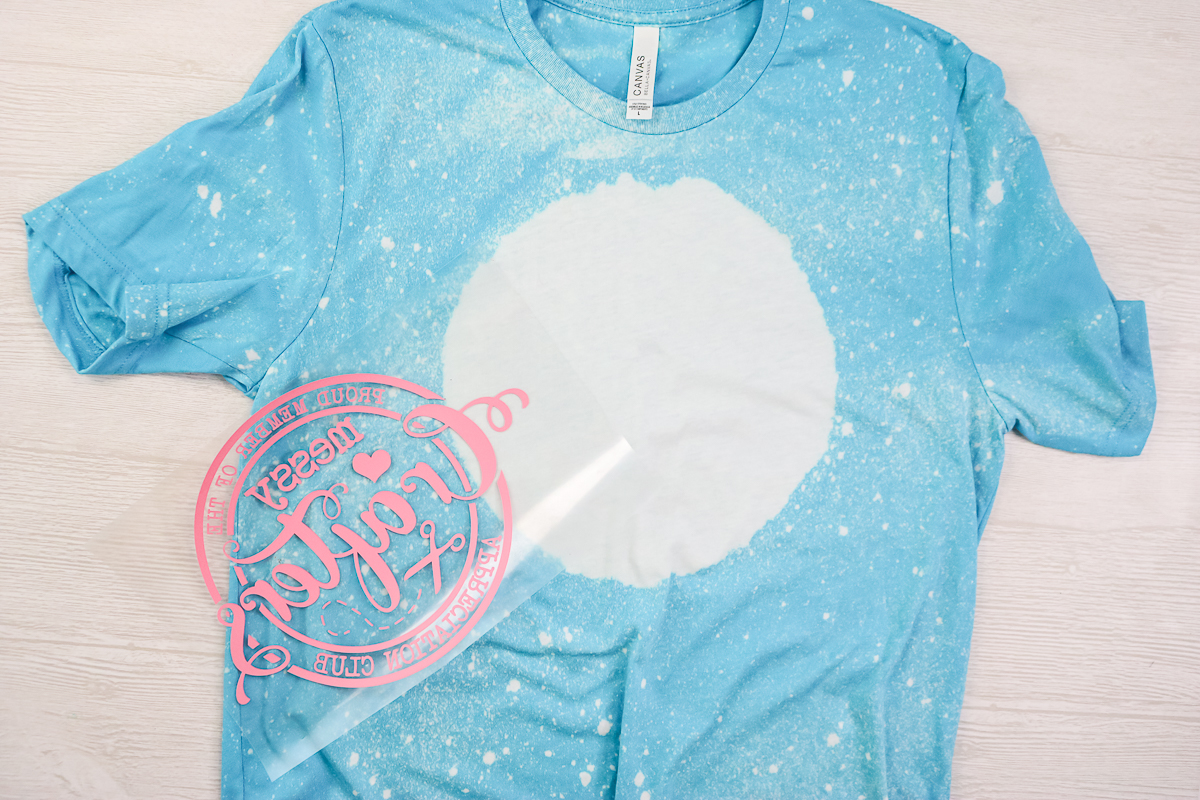
Yes! Just apply the HTV after the shirt is bleached. I use the size of the design to approximate my bleached area.
How long will the bleaching process take?
That totally depends on the shirt and the color that you are trying to get it to. I would say anywhere from 20 minutes to an hour on average, however.
Why didn’t my shirt turn white?
Some shirts just WILL NOT turn white. Others will need several applications of bleach before you get to something that even is close to white. It all depends on the shirt and the color that it starts out as. You may be trying for a pure white or you can stop the bleaching process at any time if you just really love the color that your shirt turns out to be.
Why did my shirt scorch when pressing?
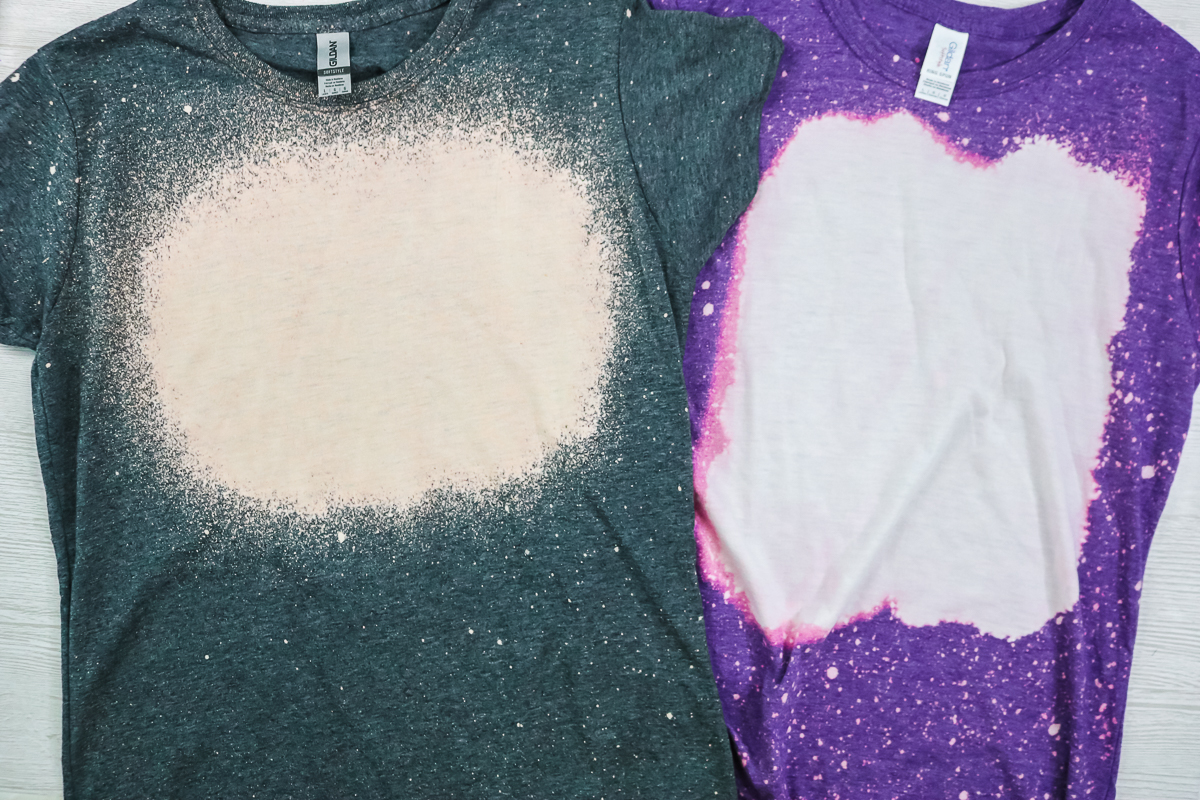
Sometimes when adding sublimation or even HTV after bleaching, your shirt can scorch. This is where you can see a faint brown mark where you pressed. Don’t worry! You can get rid of this! Spray your shirt with some hydrogen peroxide and put it under the heat press just to get warm (do not press again) and the marks should disappear.
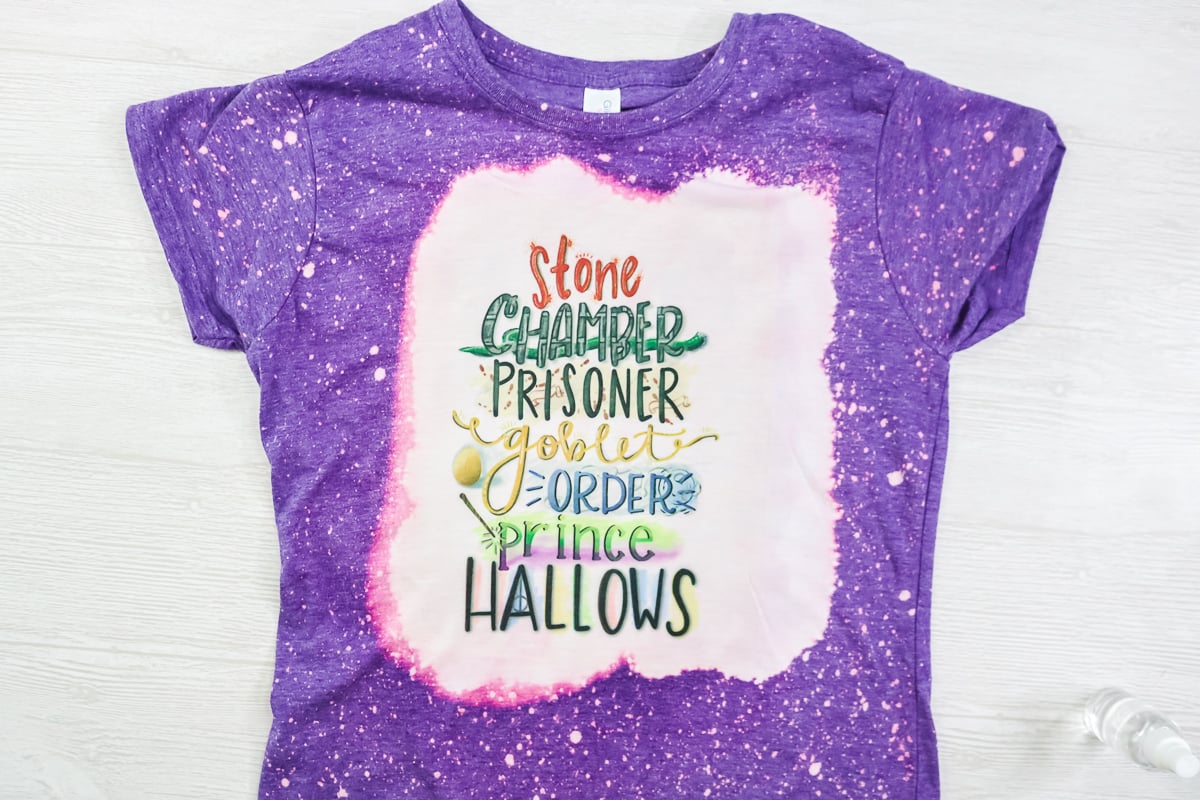
My Favorite Method for Bleaching Shirts
So, now that we have looked at a bunch of ways to bleach shirts, which do I love? Which will I use over and over again? I must say that I really love the method where I sublimate before bleaching then used a paintbrush over my sublimation design. I did have to go over the middle twice in this case but the results are stunning!
Personally, I like that the sublimation ink fades a bit as it adds to the rustic nature of the process. Also, it took me a while to get the hang of spritzing the shirt all over with the spray bottle but I really think I mastered that in this case as well. This is a great way to sublimation on a dark colored shirt.
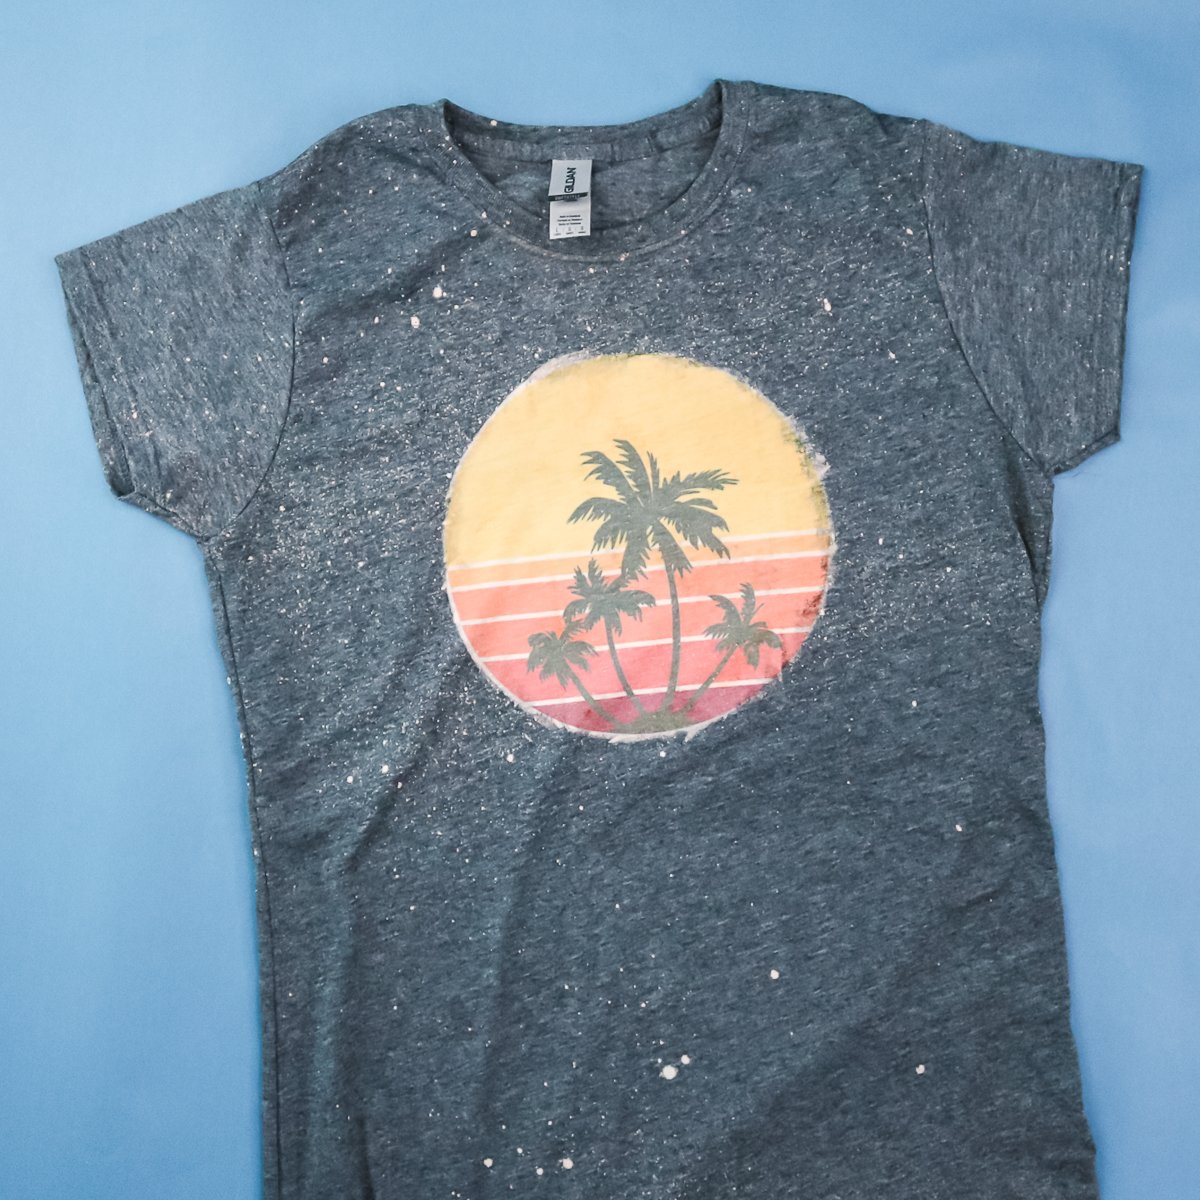
My other shirt where I sublimated before bleaching also looked good but I probably went a bit overboard with the bleach at least for my taste. But this does go to show you that you can get whatever look you love after you master the technique.

Sublimation after bleaching is a great option but I do find it harder to control where the design is and how large your bleached areas gets.
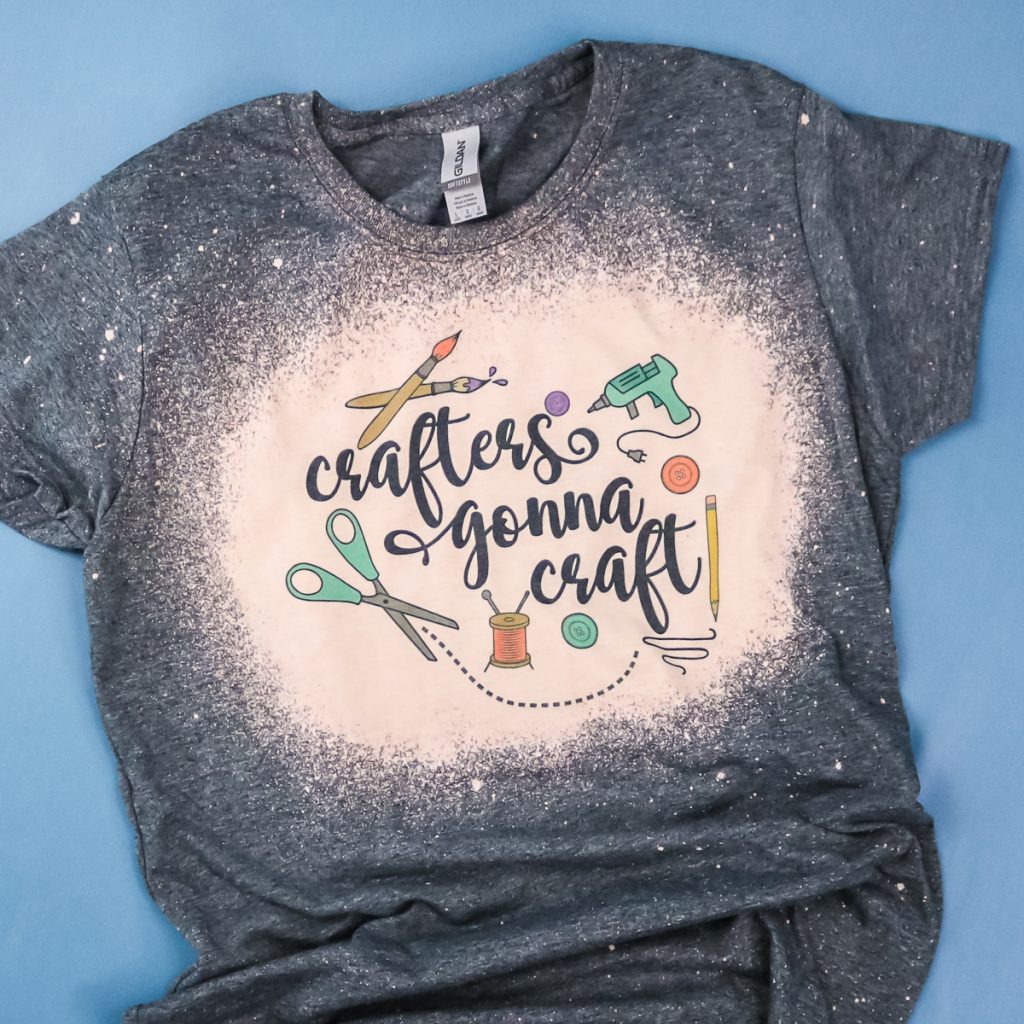
Plus, there is the scorching issue that we discussed above. You can use peroxide to eliminate that but you run the risk of that being on your shirt when sublimating after the bleaching process.
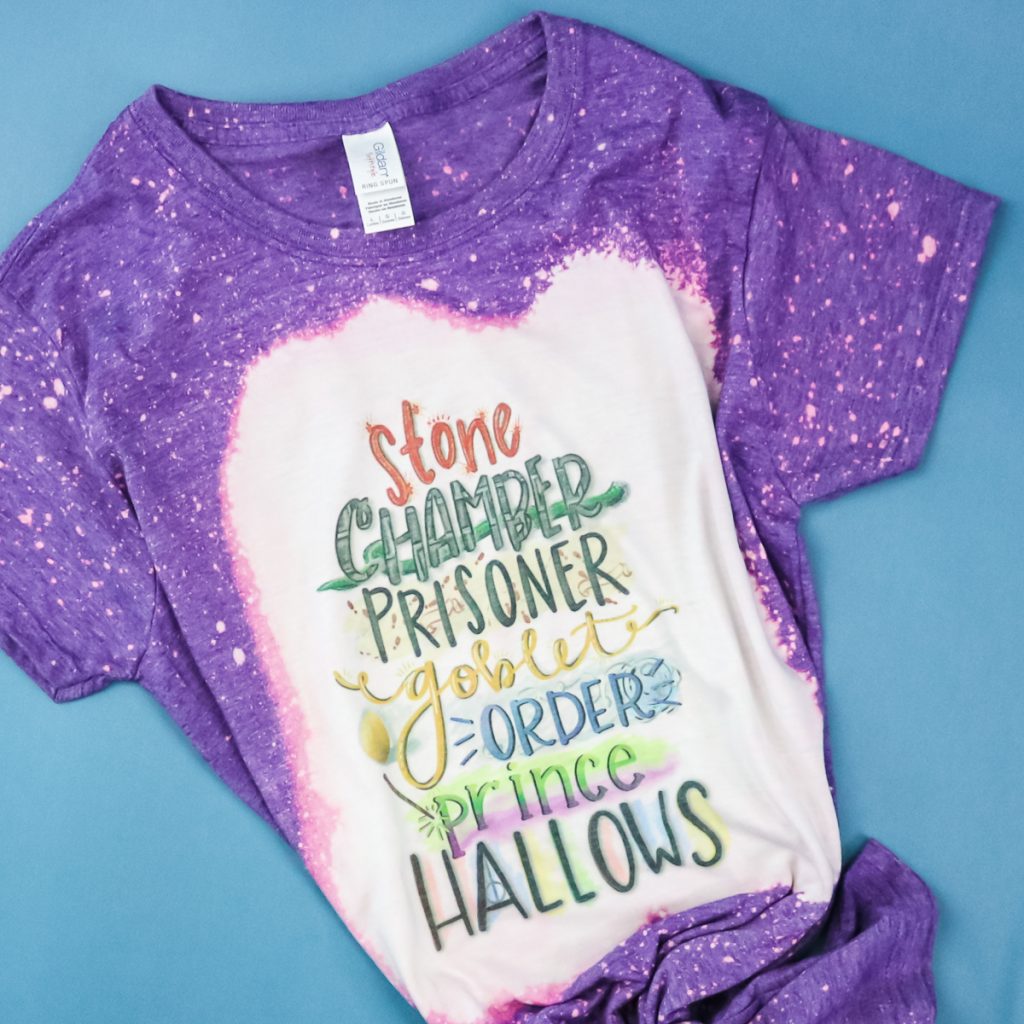
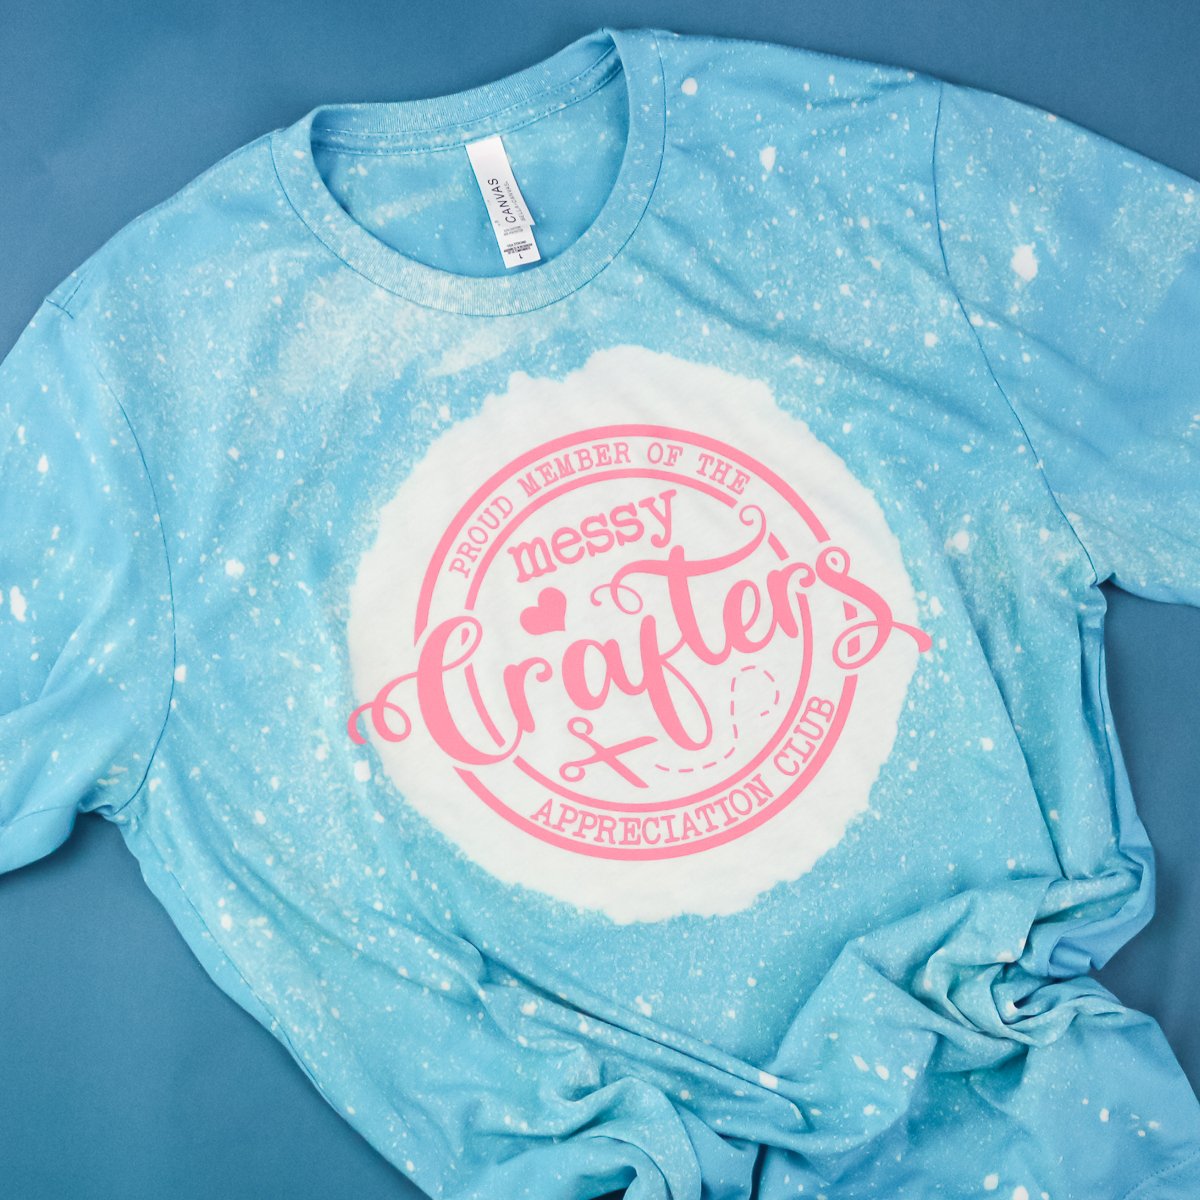
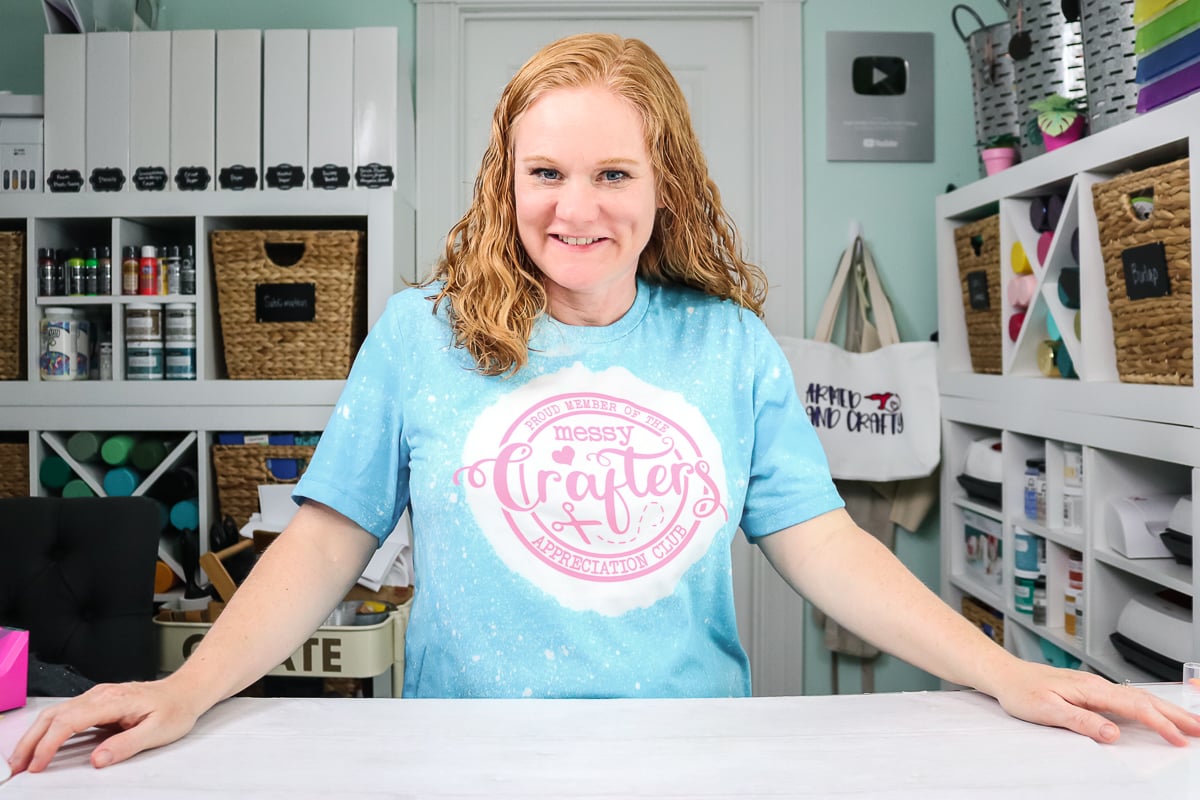
My second favorite method for bleaching shirts is to add HTV to the top. I love how this one turned out and I definitely think the use of the cardboard mask in this case helped me to locate and size my bleached area.
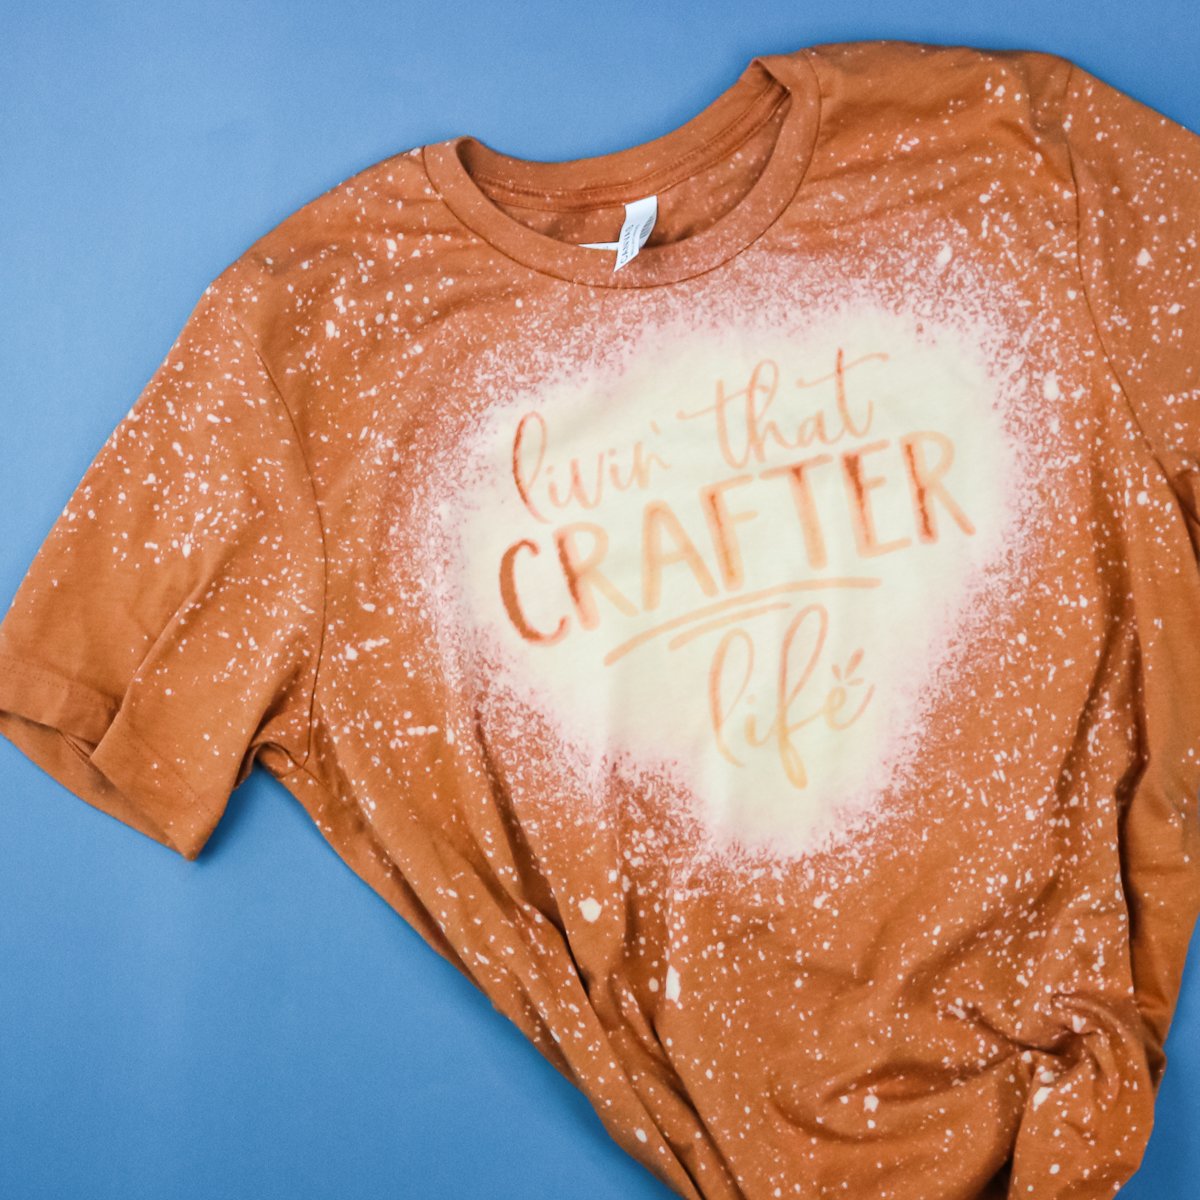
And then if you are looking for something more rustic, I would try adding adhesive vinyl as a mask. This shirt looks well worn and loved and it is brand new!
I would love to hear from you though. Which of these shirts did you like best? Which method will you be trying for yourself? Will you be making your own bleach spray shirt?

I will be rocking my new bleached t-shirts and thinking up ways to make even more designs. What should I make next? I am literally full of ideas for this method.
Bleaching shirts is fun and actually quite easy once you get the hang of it so be sure to try it for yourself. I really think you will love the results!


THANK YOU!!! I just got a heat press and have been doing HTV for years…. but sublimation is calling my name!!! You have answered all my questions! Thank you for sharing your knowledge!
Why isn’t my bleached shirts going white? I’ve tried different colors/brands what am I doing wrong?
Not all shirts will go white. It really is trial and error unless you get the exact shirts I am using.
what brand longsleeve shirts can be bleached and sublimated on?
I would just look for the same polyester content as the ones mentioned above and try them. It is really just a trial and error.
Hi Angie!!! This post has helped me so much! I would love to know your go to sweatshirt for sublimation and bleaching. I’m having a hard time finding more than 2 colors that will bleach. It’s so frustrating and I feel I’m just waisting so much money! My stock of craft wear and rags have really gone up lately!🤣
I have not done many sweatshirts! I need to experiment with some more and do a post!
How much Peroxide/water do you use
Half and half.
I’m so grateful that I found your page… I got my head press, my printer, and Cricut to start doing projects at home, reading your page is going to help me a lot… Thank you so much… God bless you and have a wonderful happy new year…
When you say that you wash them by themselves after you rinse in peroxide/water…..does that mean you wash one shirt at a time or all of them together just no other clothing items.
All together with no other clothing.
love your videos! when bleaching multiple shirts do you have to change the peroxide/water for each shirt or reuse it. thank you
You can reuse it! I used the same batch for all of these.
Is there any way to fix a bad bleach job?
Not really!
Can you give more specifics on washing after bleaching? Detergent or not? Warm or cold and what settings? Thank you!
The first wash after bleaching you will want to wash the shirt by itself as you would normally wash an HTV or sublimation shirt. After that initial wash, you can just wash it with other items as you would wash an HTV or sublimation shirt.
Ugh so all my shirts (gildan) bleach beautiful EXCEPT I can get the heather graphite will NOT bleach 🤯 is anyone else having this issue?
That’s really strange. I’m not sure why that’s happening. If you find out please come back and let me know!
I’m getting ready to bleach heather graphite. I hope I can get it white.
Can you please let me know what be causing my bleached area to get too thin? I bought a bleached tshirt online and it was not as thin as mine are coming out. Thank you
It could be the fabric you’re starting with. It could also possibly be that you’re not stopping the bleaching process or using too much bleach.
What shirts do i use for bleaching
Toward the bottom of the post, under frequently asked questions there is a section on which shirts I think work best.
How long to you press the sublimation image when you bleach first? I did for a minute like normal and it scorched my shirt bad.
I press for the normal amount of time. When I’ve had scorching I’ve just followed the steps in the post using hydrogen peroxide and that has taken care of it. Hopefully, that will work for you too. Make sure you’ve rinsed all the bleach off real well before pressing.
When bleaching multiple shirts are you using the same peroxide/water for all the shirts
Yes, you can use the same one.
Yes, you can use the same one.
I just use whatever setting the materials call for.
I was wondering when using say a 50/50 count shirt, bleaching the shirt, do you typically use a poly t spray prior to putting sublimation print?
I do not. It does give more of a vintage look but I like it with the bleached look.
Do I have to put my shirt in the sun in order for the technique to work?
I do believe it helps. Because the sun speeds up the bleaching process you don’t have to leave the bleach on for as long.
Love doing these bleach tees. I’m curious though, if I have an old store bought, printed shirt that I don’t like the design on anymore, would any of these techniques work to remove the design to be able to put a new sublimation or htv on top of? Has anyone tried that?
I have not tried that. I’m afraid the amount of bleach required would deteriorate the fabric and you’d end up with holes. If you do try it and it works let us know 🙂
Can you use the peroxide/ water mixture more than once?
Maybe? I always replace it as I am doing a lot of shirts.