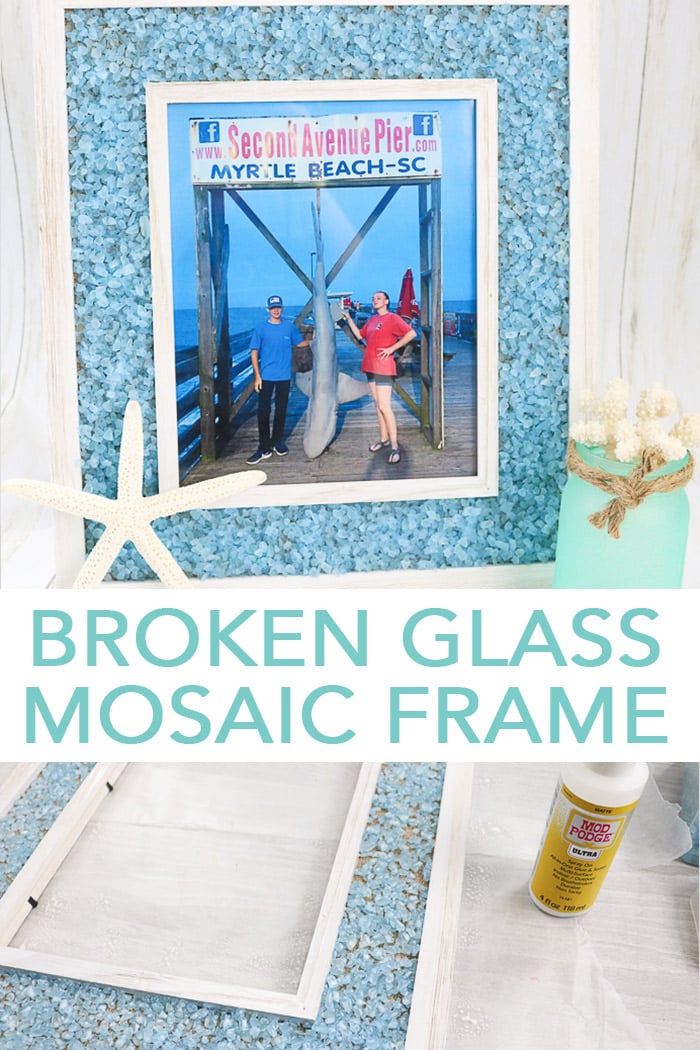
Did you know that you can make a broken glass mosaic with Mod Podge Ultra? I have used this new product on glitter, fabric, paper, and twine. Now it is time to really put it to the test with glass. Making mosaics with broken glass is easy and creates beautiful results.
Remember that this is Craft Lightning Decoupage week so be sure to scroll to the bottom of this post to see today's craft ideas as well.
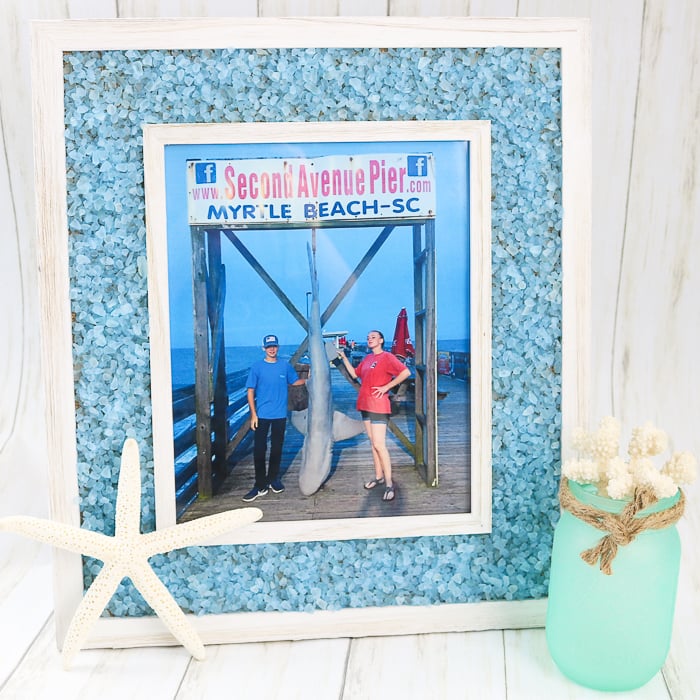
I love a great picture frame and picture, especially when the frame is homemade. There are so many crafty ways to create frames out of old windows, scrap wood, recycled magazines…but have you ever made a frame from broken glass?
Before you get too concerned about safety, we're not actually smashing anything, so there isn't any need for safety goggles or gloves. This project uses glass chips or mosaic pieces that you can find at a craft store or from Amazon. If you are looking for a mosaic-style with larger pieces, you can easily find those at your local craft store.
You can use any color or design you choose – whatever fits the feeling or memory of the photo best!
The project is sealed with Mod Podge Ultra, which is the spray version of the best craft glue ever! It took a few layers of Mod Podge and the chips to get the look I wanted, but it was worth it to have my own style of picture frame.
How to Make a Glass Mosaic Picture Frame
Supplies needed for a broken glass mosaic DIY:
Some links below may be affiliate links which means that you do not pay anymore, however, a portion of your purchase will go to this site.
- Picture frame (with an inset for glass)
- Glass chips (I used one container for my frame)
- Mod Podge Ultra
- Wax paper
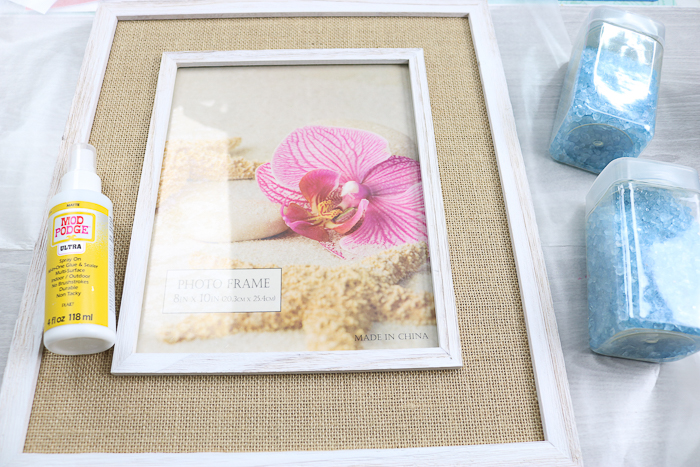
Using Broken Glass for Mosaic Frames
First, remove the glass from inside your picture frame and lay the entire thing on a large piece of wax paper to protect your work surface.
Shake the Mod Podge Ultra well and prime the pump by spraying the product on the wax paper until it sprays evenly.
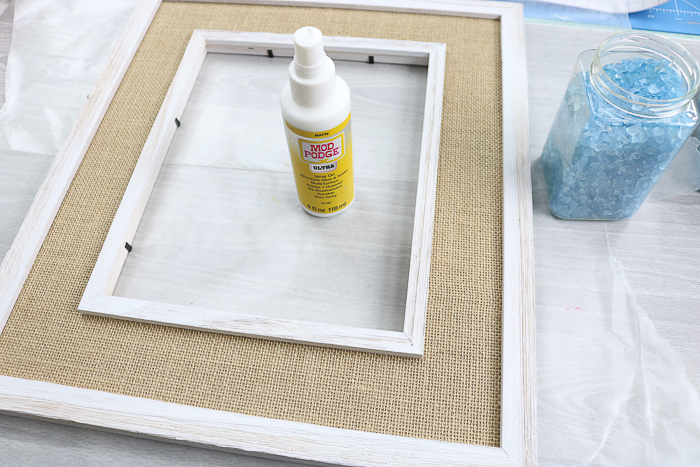
Spray the burlap inset with the Mod Podge Ultra and start spreading a layer of the glass chips right on top.
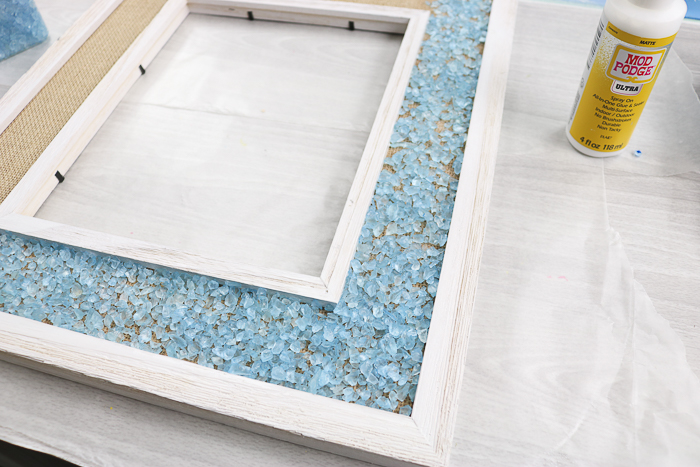
Continue all the way around the frame, and then spray the entire thing with another coat of Mod Podge Ultra.
Allow this to dry overnight. You will need to clean the pump of your spray bottle by removing the nozzle from the bottle and running water through it.
TIP: To prevent clogging, stick the cap of the bottle (nozzle, tube, etc.) into a glass of warm water and spray several times to clear the pump of glue. Then, remove the cap and continue spraying until the tube is empty of all water. Set out for a few minutes to dry, then return the cap to the bottle.
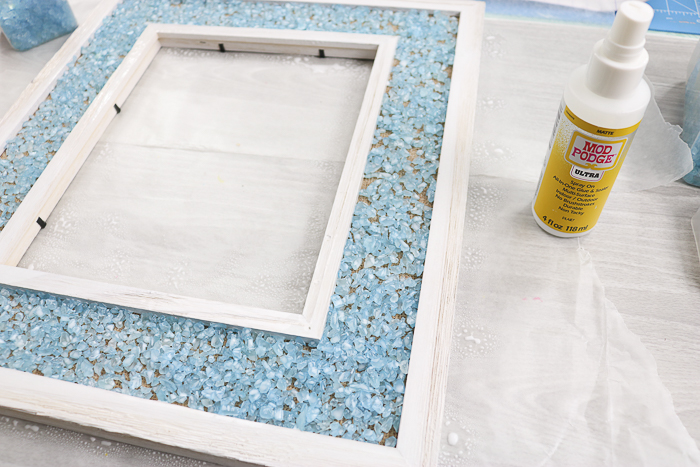
After your project is dry, remove any loose glass pieces and repeat the process. Layering the glass pieces until you are happy with the look. I did three layers for my broken glass mosaic frame.
Want to see how to make that sea glass mason jar? Click here to see the painted mason jars tutorial!
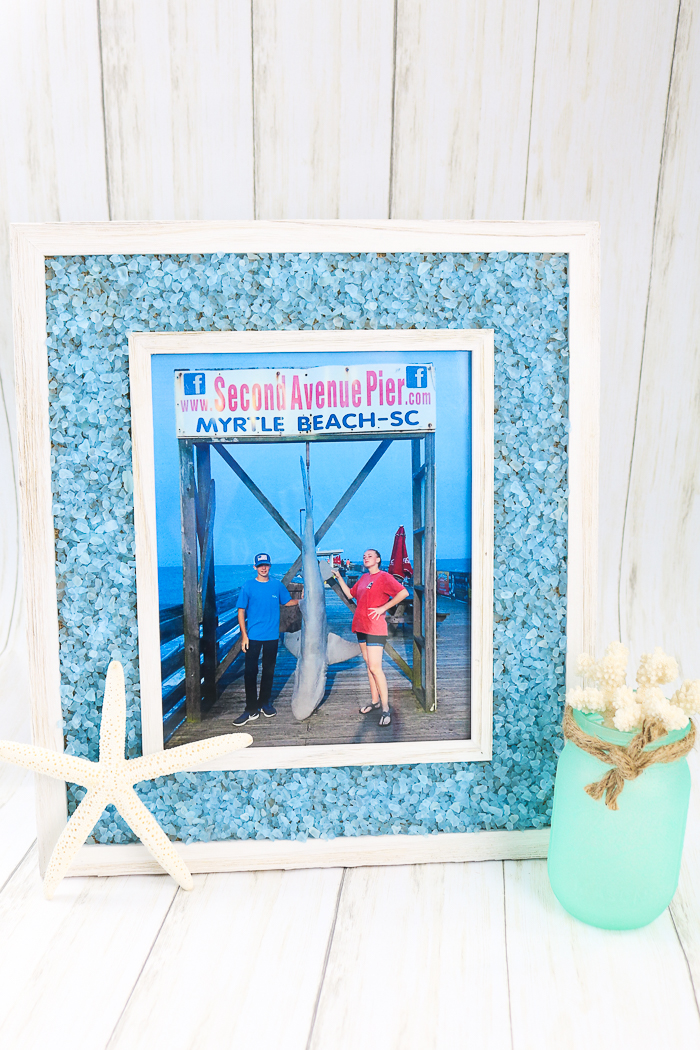
Using Mod Podge Ultra for Making Mosaics with Broken Glass
So, does Mod Podge Ultra do the job? The answer is a resounding yes! The glass is really on the frame and I am totally impressed. This stuff does a great job with your paper projects but you may want to think of it when you have something more robust as well. When you need to make a broken glass mosaic DIY, Mod Podge Ultra will really do the job!

I mean just look at this frame and how cute it is! I love the way this broken glass mosaic turned out and can't wait to tackle more glass projects with Mod Podge Ultra. When using broken glass for mosaics like this one, you can also use a couple of different colors. I went with all blue for a nautical look but I could also see this project with a mixture of colors.
Supplies
- Picture frame with an inset for glass
- Glass chips I used one container for my frame
- Mod Podge Ultra
- Wax paper
Instructions
- First, remove the glass from inside your picture frame and lay the entire thing on a large piece of wax paper to protect your work surface.
- Shake the Mod Podge Ultra well and prime the pump by spraying the product on the wax paper until it sprays evenly.
- Spray the burlap inset with the Mod Podge Ultra and start spreading a layer of the glass chips right on top.
- Continue all the way around the frame, and then spray the entire thing with another coat of Mod Podge Ultra.
- Allow this to dry overnight. You will need to clean the pump of your spray bottle by removing the nozzle from the bottle and running water through it.
- After your project is dry, remove any loose glass pieces and repeat the process. Layering the glass pieces until you are happy with the look. I did three layers for my broken glass mosaic frame.
Notes
Love this glass decoupage project and want more ideas? Try the links from our bloggers below!
Make glitter dipped wine glasses as well as wine gift tags like these from Happy Go Lucky.

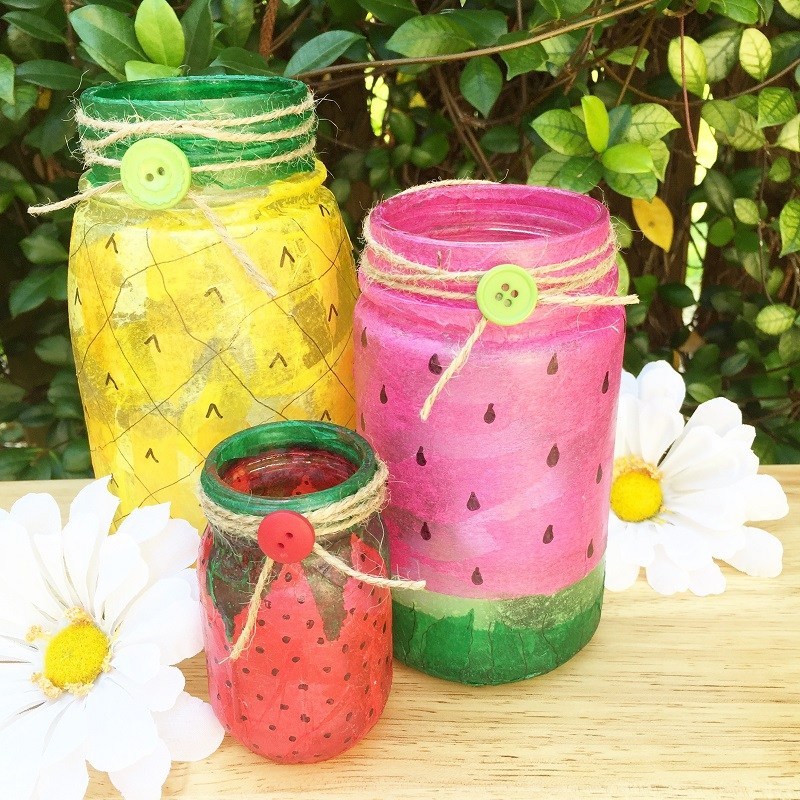
Y'all know I love mason jars! Use decoupage and tissue paper to make these summer-themed mason jars from Creatively Beth.
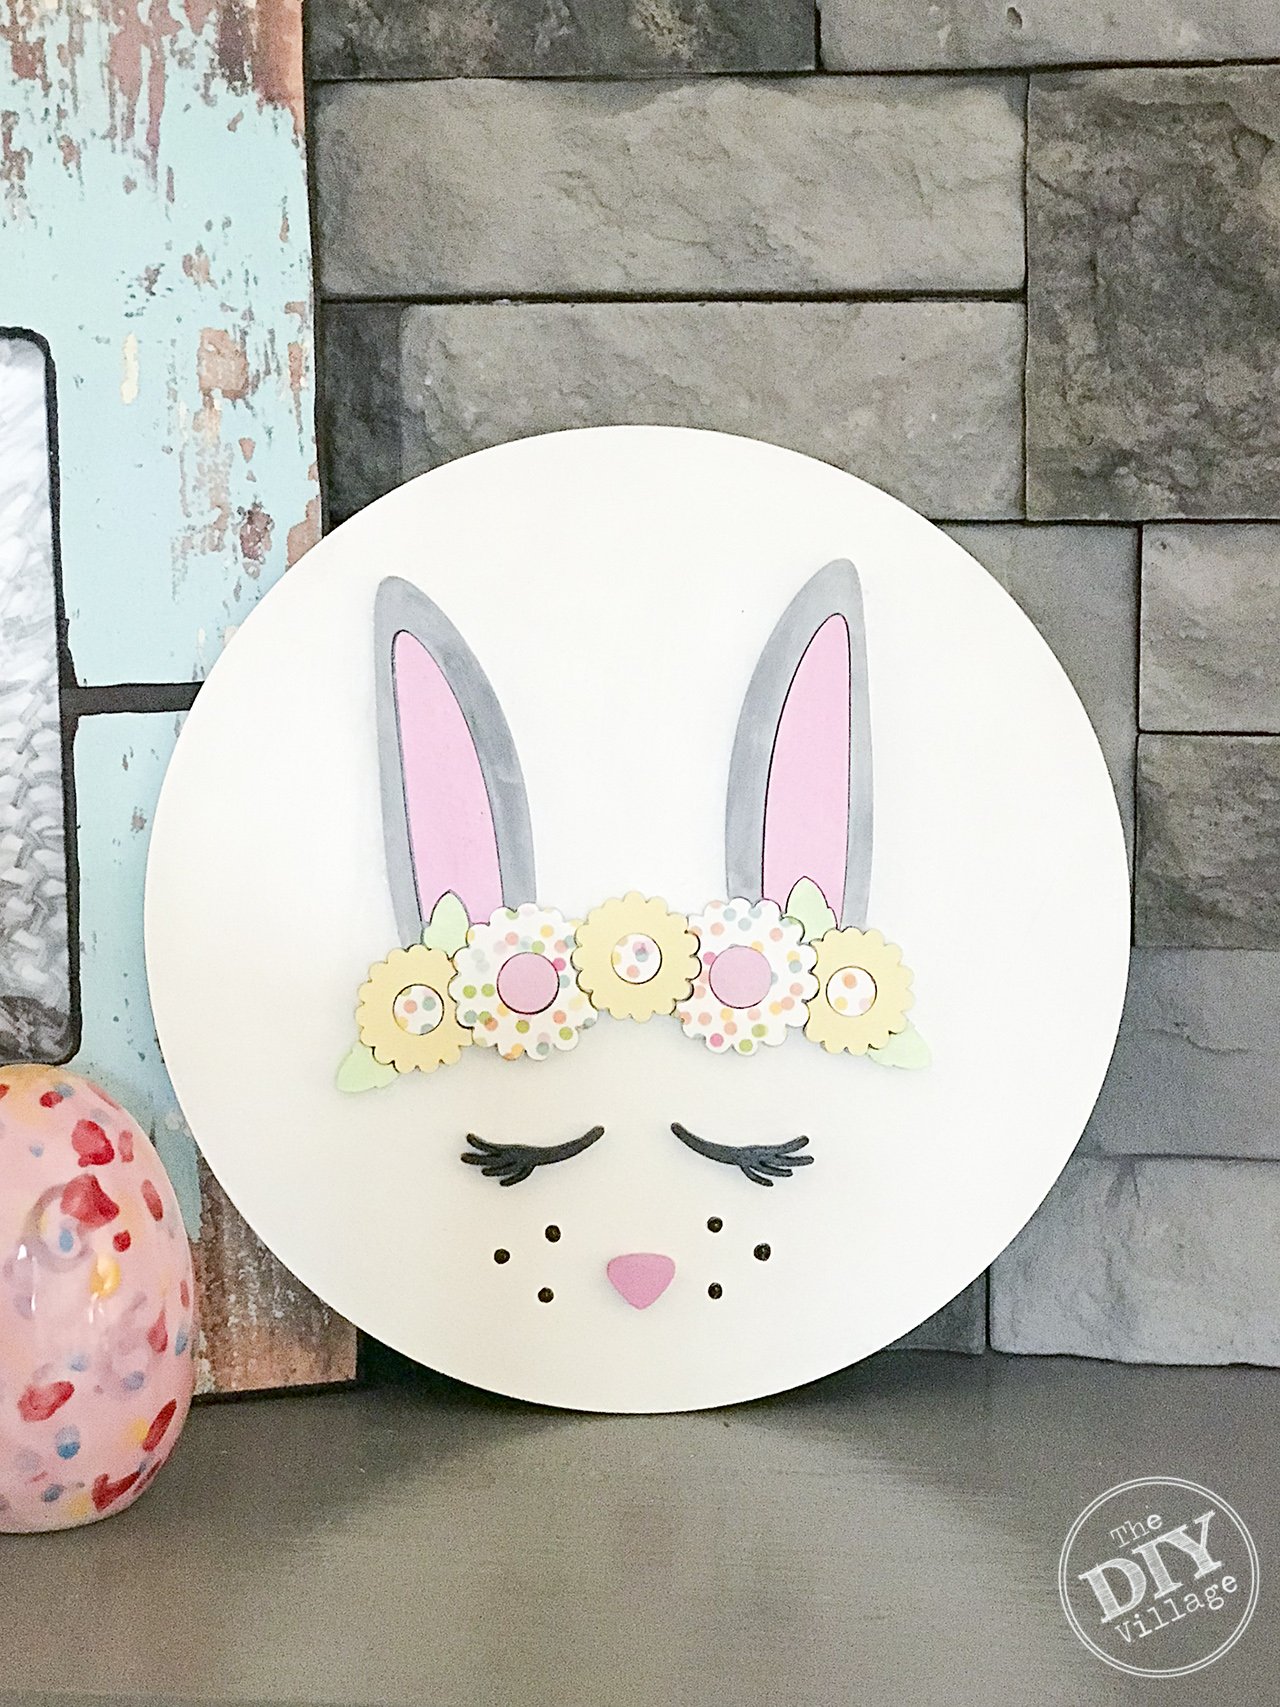
The DIY Village fired up the Glowforge to make this adorable spring bunny sign.
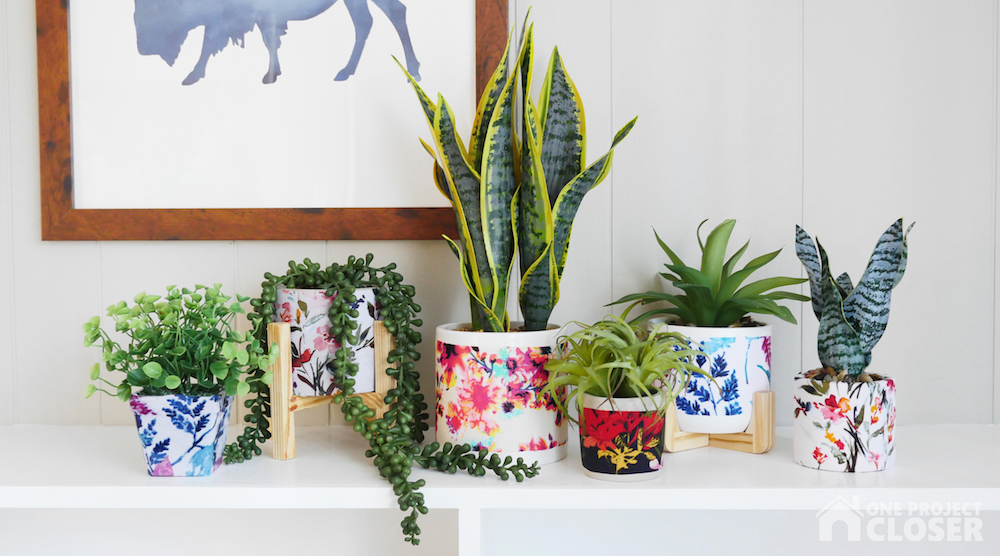
Fabric wrapped pots like these from One Project Closer are great for dressing up your plants.
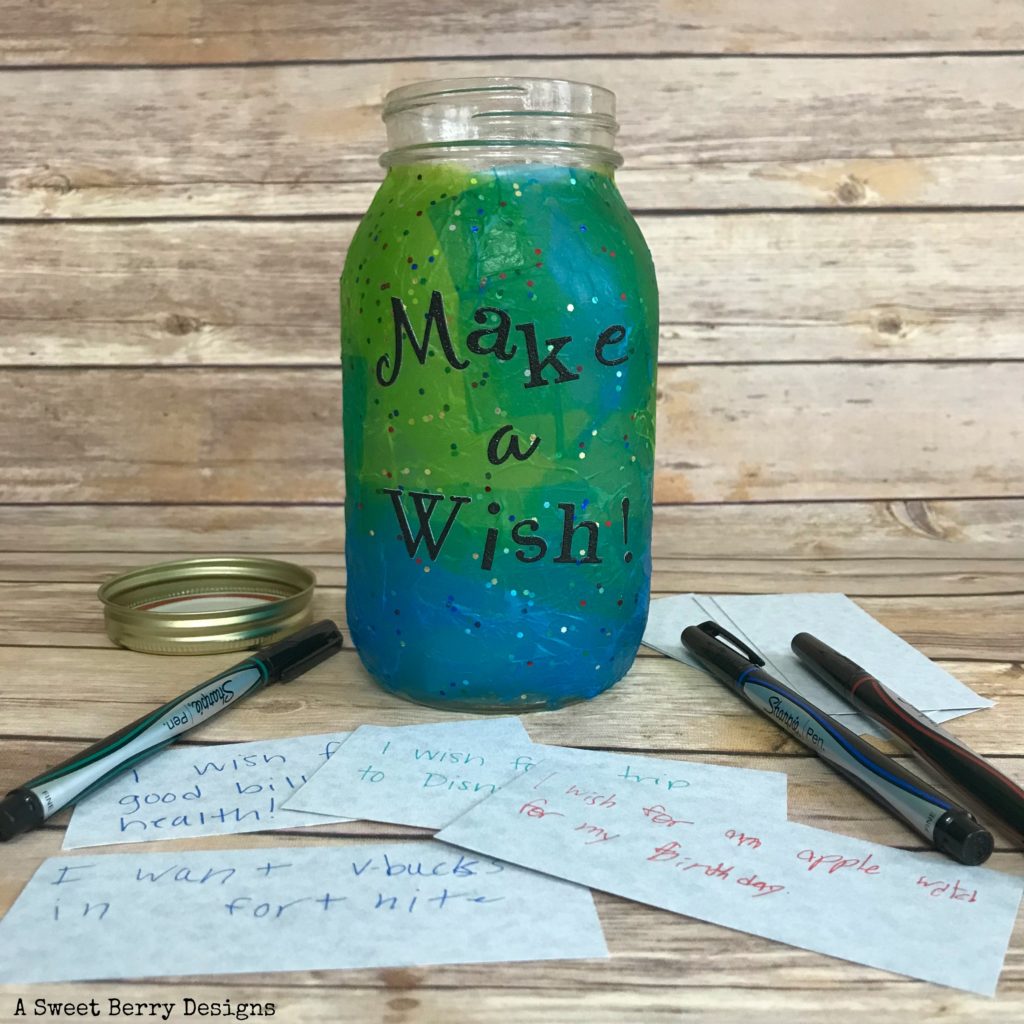
You can also try tissue paper for this Make a Wish jar from A Sweet Berry.
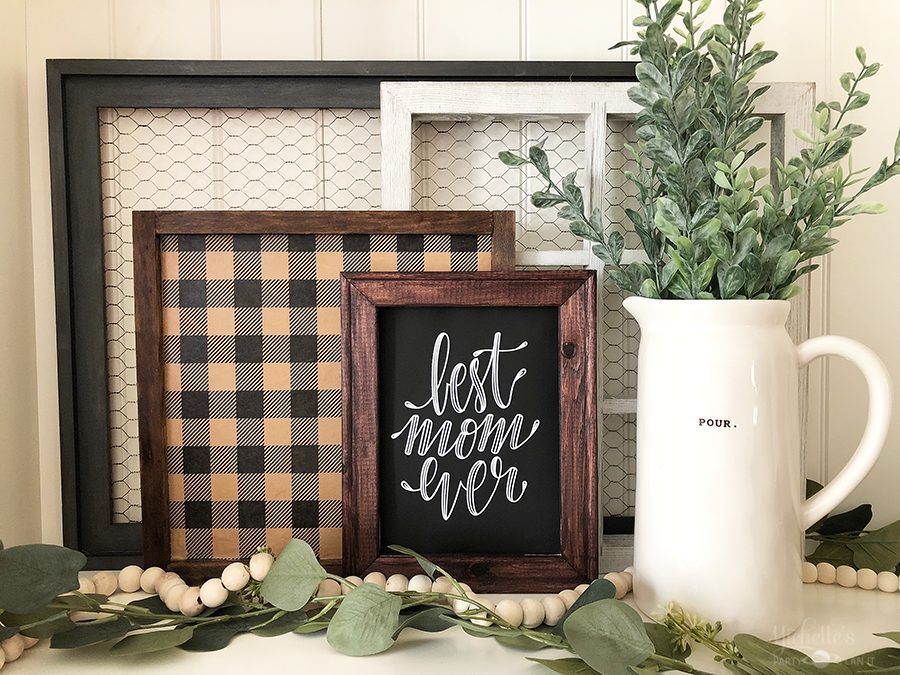
Make farmhouse art in minutes with this tutorial from Michelle's Party Plan-It.
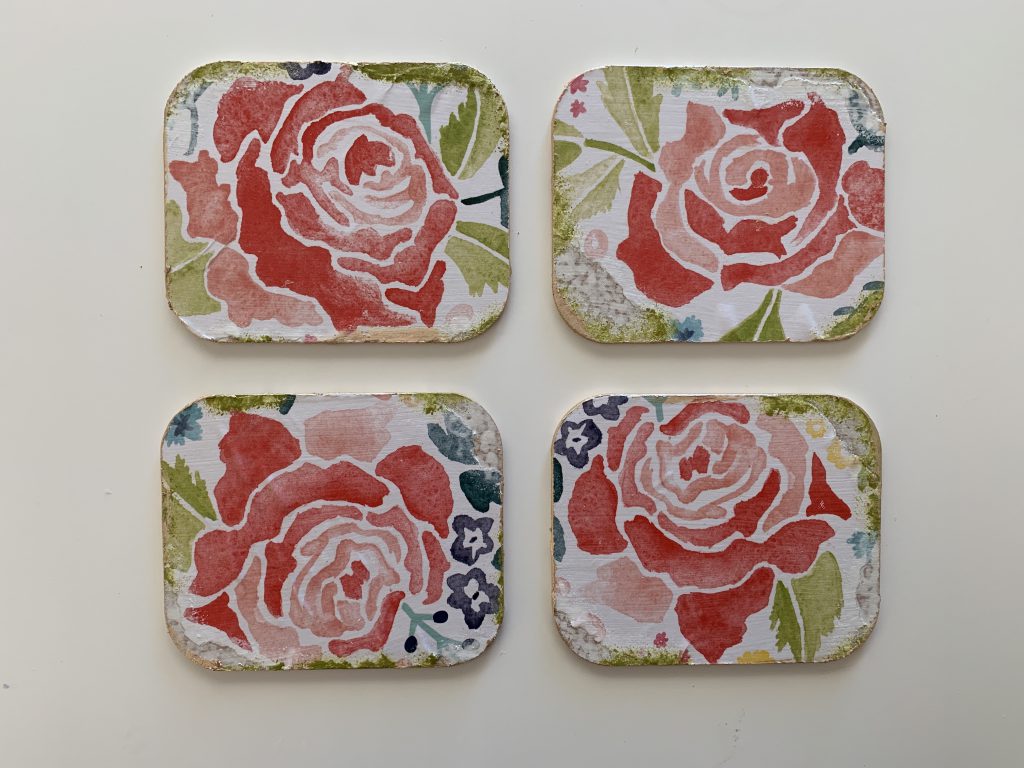
Decoupage coasters like these from Albion Gould are some of my favorite craft projects.
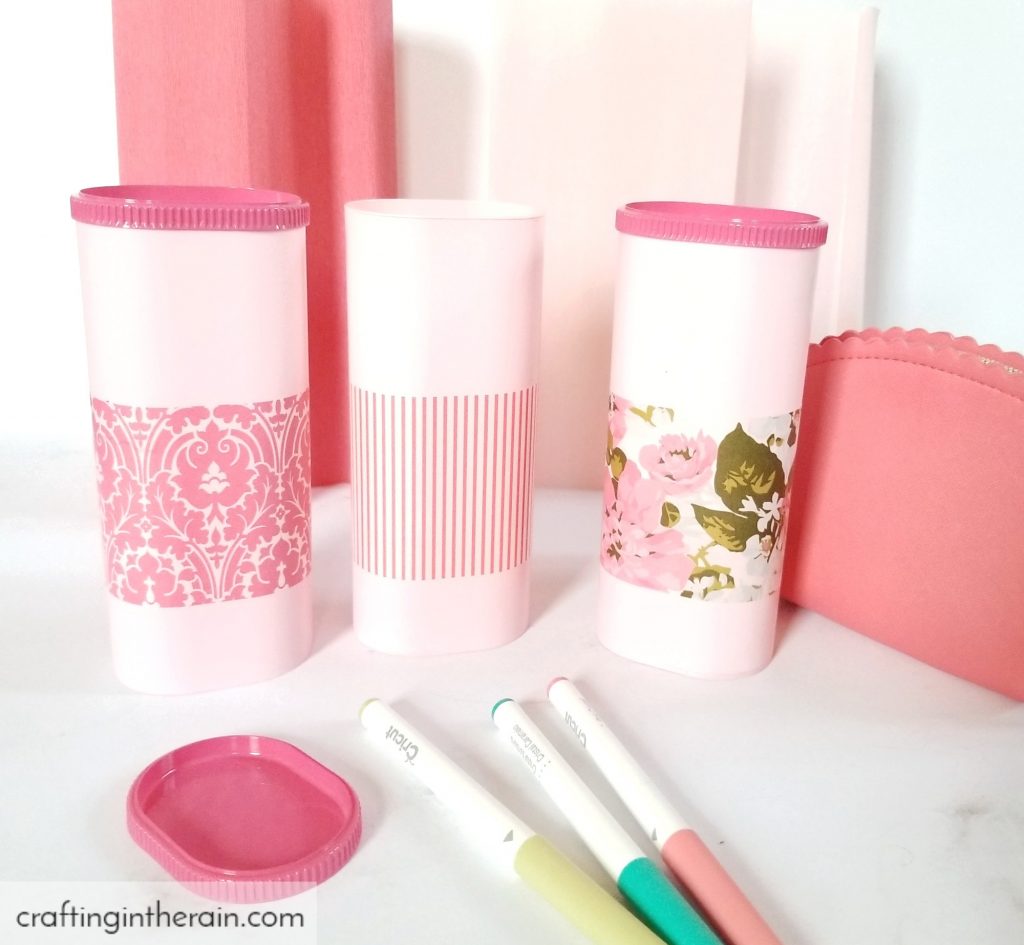
Decoupage makes upcycling super easy! I love these upcycled Crystal Light containers from our co-hostess for this round, Crafting in the Rain.
So, make your own broken glass mosaic frame or any of these other DIY projects with decoupage!



Awesome projects and I love your frame! I need one of those in our beach pictures