Today I’m excited to introduce you to a new sublimation printer on the block. The Brother SP1 sublimation printer is brand new on the market so I wanted to purchase one to test out and see how it compares to other sublimation printers.
If you’re brand new to sublimation and want to learn more about the process, my Beginner’s Guide is a great place to start.
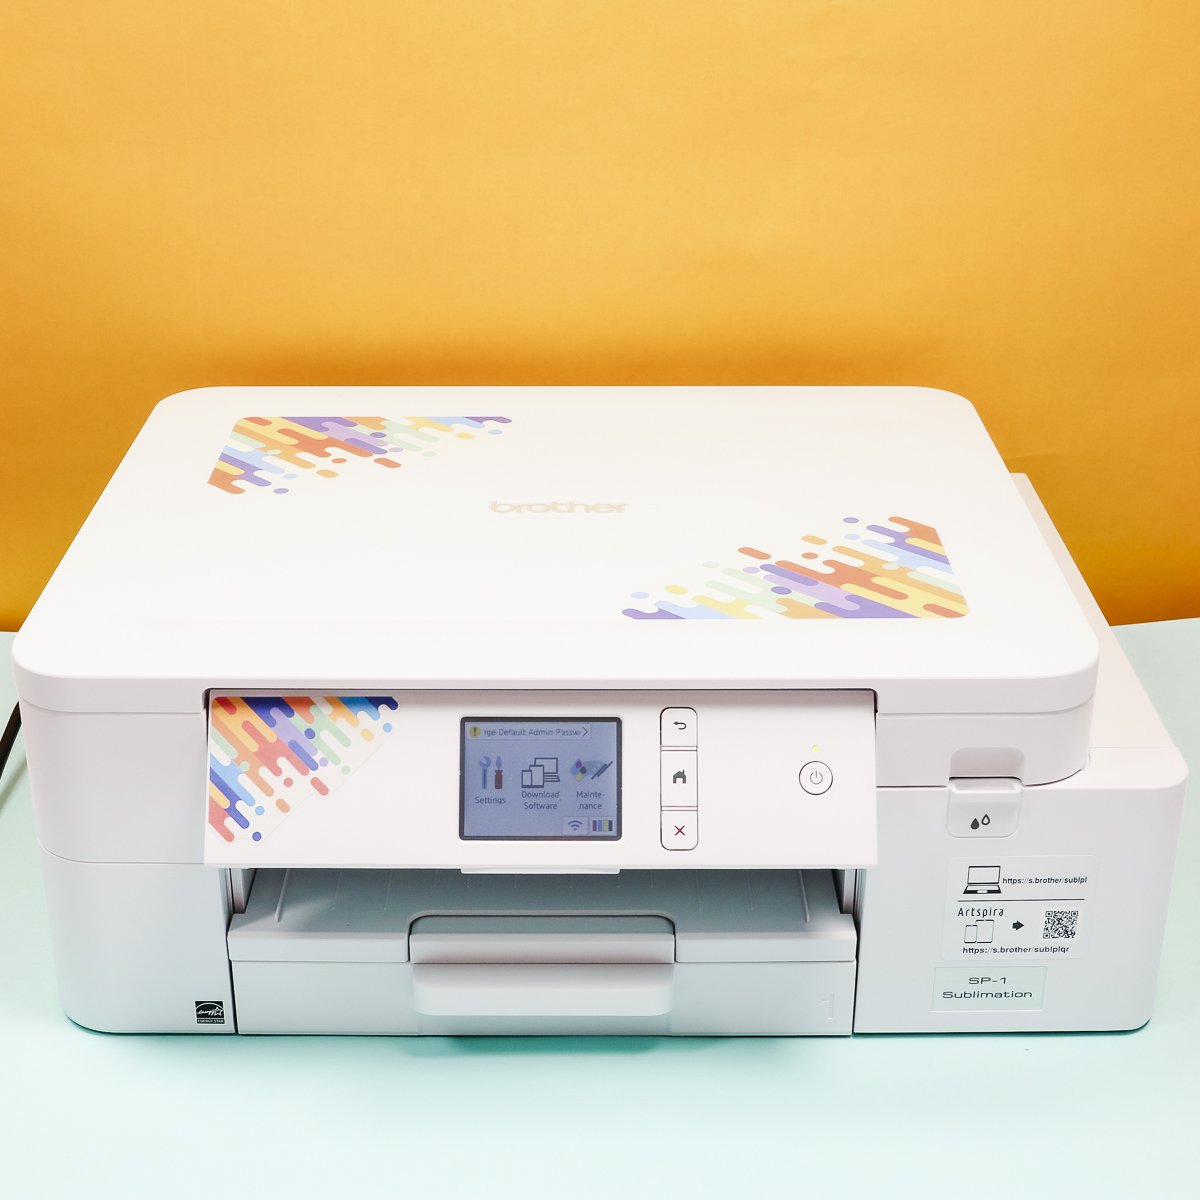
You can actually watch me walk through the entire process by pressing play on the video below.
Brother SP1 Sublimation Printer
The first thing we’re going to do is open the box and see what comes inside. Then we’re going to walk through the entire setup process to see how easy it is including trying out the mobile app. When we’re done with that we’re going to test a few prints to see how they look and by the time we’re done, you should know if this printer is the right sublimation printer for you.
Supplies Used:
- Sublimation file (Get it for free here!)
- Brother Sublimation Printer (Buy here on Amazon or Walmart or Best Buy.)
- Shirts
- Sublimation Paper
- Heat Press
- EasyPress Mat
- Lint Roller
- Heat Resistant Tape
- Protective Paper
- Heat Resistant Gloves
- Tape Dispenser
What comes in the box?
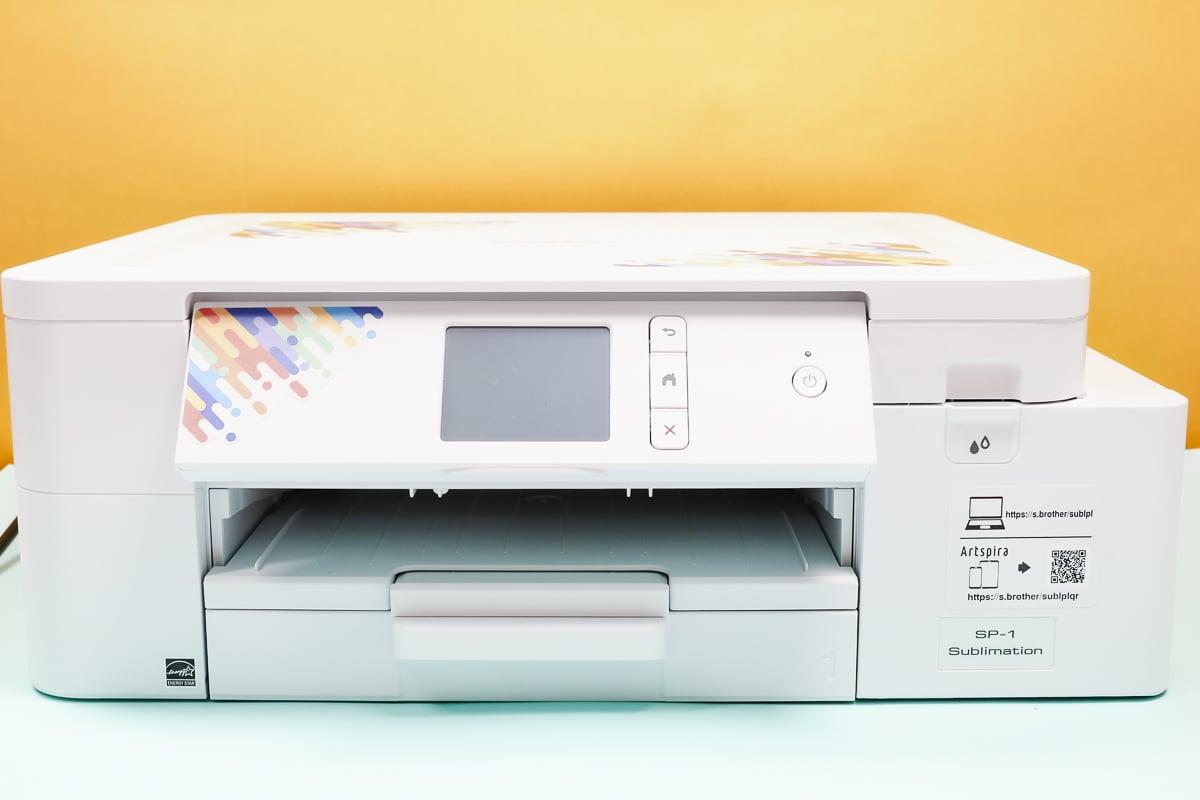
Inside the box is the sublimation printer, a power cord, sublimation paper, and four sublimation ink cartridges in cyan, yellow, magenta, and black. There is also a quick setup guide that includes QR codes that you can scan for more in-depth information on setting up the printer.
I have to admit that I am a big fan of the power cord being connected to the printer. A lot of machines these days come with the cord separate from the machine and I love that I don’t have to worry about misplacing it or trying to find the right cord for the machine.
If you lift the scanner lid of the printer you’ll find another start guide. This guide also has QR codes that you can scan. If you scan those QR codes you’ll find a heat guide, where to buy more brother supplies like sublimation paper, sublimation ink, etc.
How to Set Up the Brother Sublimation Printer
Setting up the Brother sublimation printer is pretty easy. Inside the box is a quick setup guide that walks you through the steps. If you need more assistance, there are QR codes that you can scan to get more detailed instructions.
If you’ve ever unboxed a new printer before, you’re aware that there is packing tape all over the place. Make sure you go through the whole printer and remove all the packing materials and the tape.
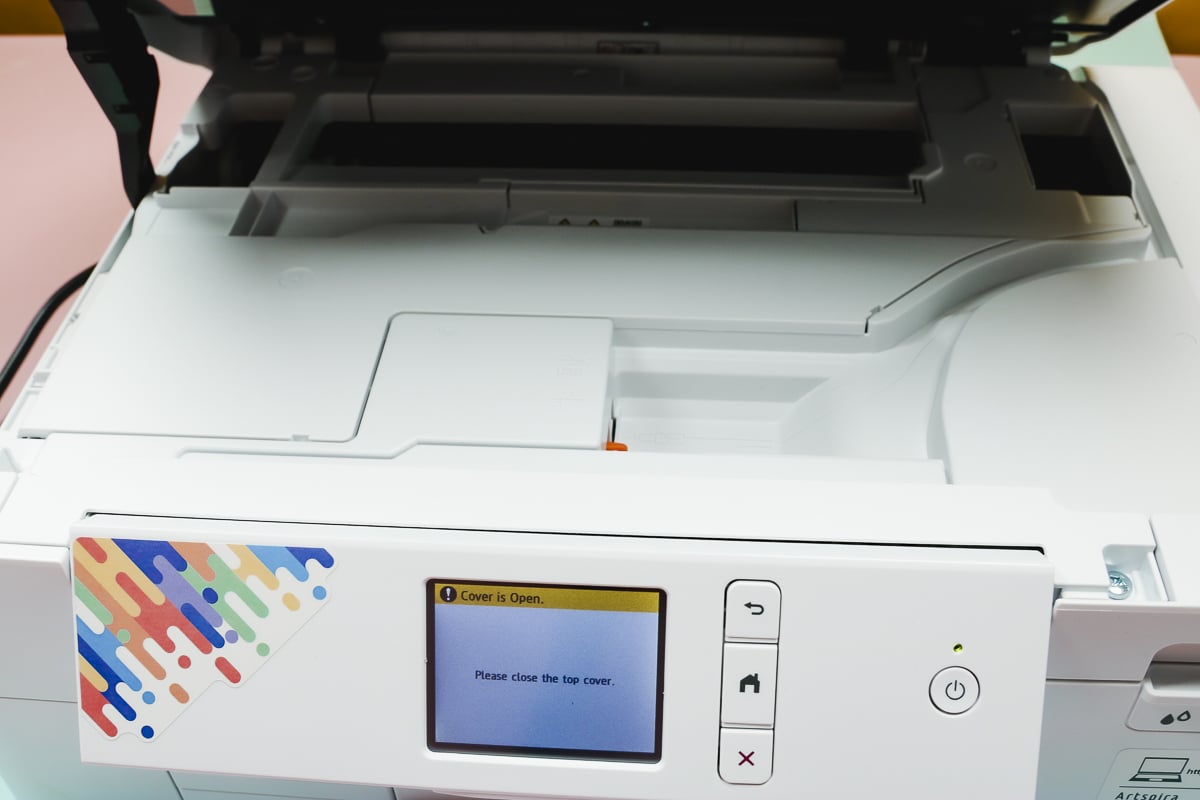
Make sure when removing all the tape you lift not just the scanner lid but the printer lid itself to make sure you’re removing everything that may get in the way of printing.
Once you’re sure all tape and packaging materials have been removed, it’s time to set the printer up.
How to Load Paper into the SP-1 Printer
The printer tray on the Brother sublimation printer is on the bottom of the front. To load the sublimation paper into the machine you want to open that tray and adjust the guides to fit your paper. To adjust the guides, you’ll squeeze the side and then the guides will slide in and out to make the opening larger or smaller.
Brother’s sublimation paper is unique. It has a cut in one corner. When installing the paper into the printer the notch will be in the bottom right corner.
With the paper installed, move all the guides to tighten them to fit the size of the paper. You’ll want to tighten both the side guides and the back guide.
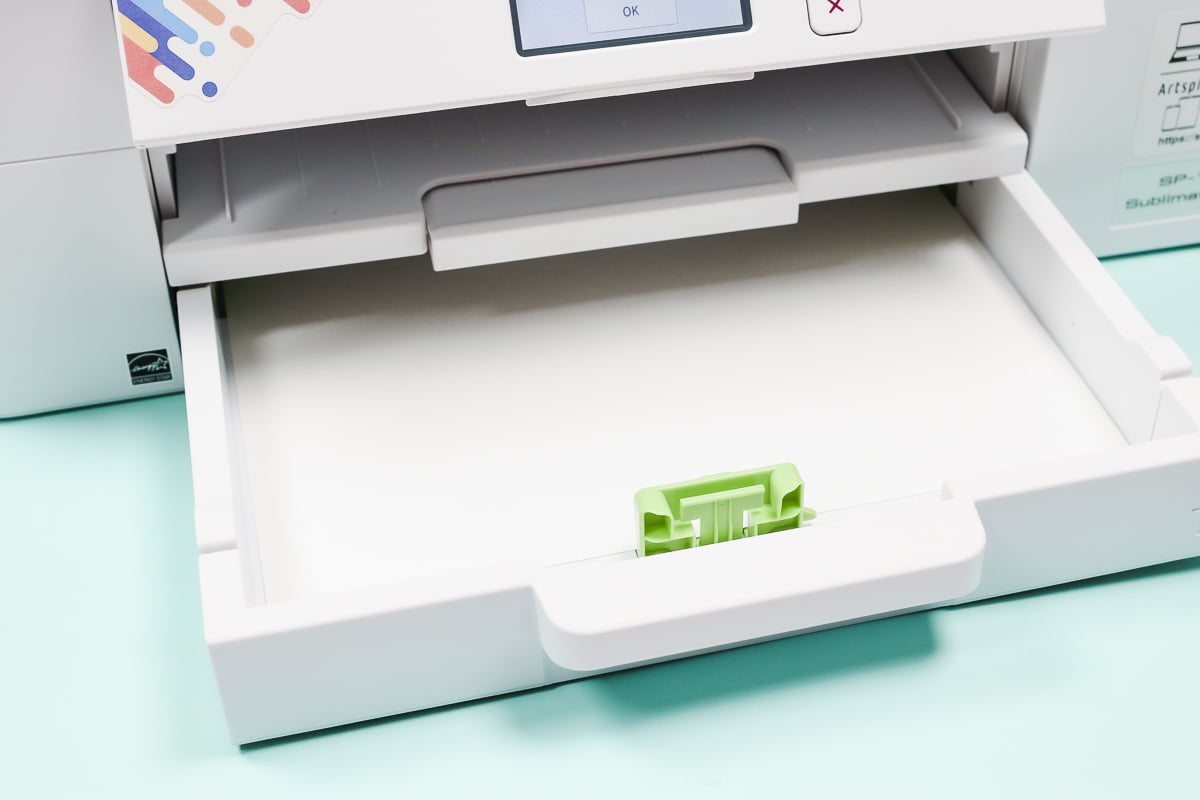
After you have the paper in the printer and the guides tightened, close the drawer all the way. When printing you’ll want to make sure you pull out and open the flap that catches the sublimation prints. With paper in the printer, you’re ready to plug it in.
Can I Print Legal Sized Paper on the Brother Sublimation Printer?
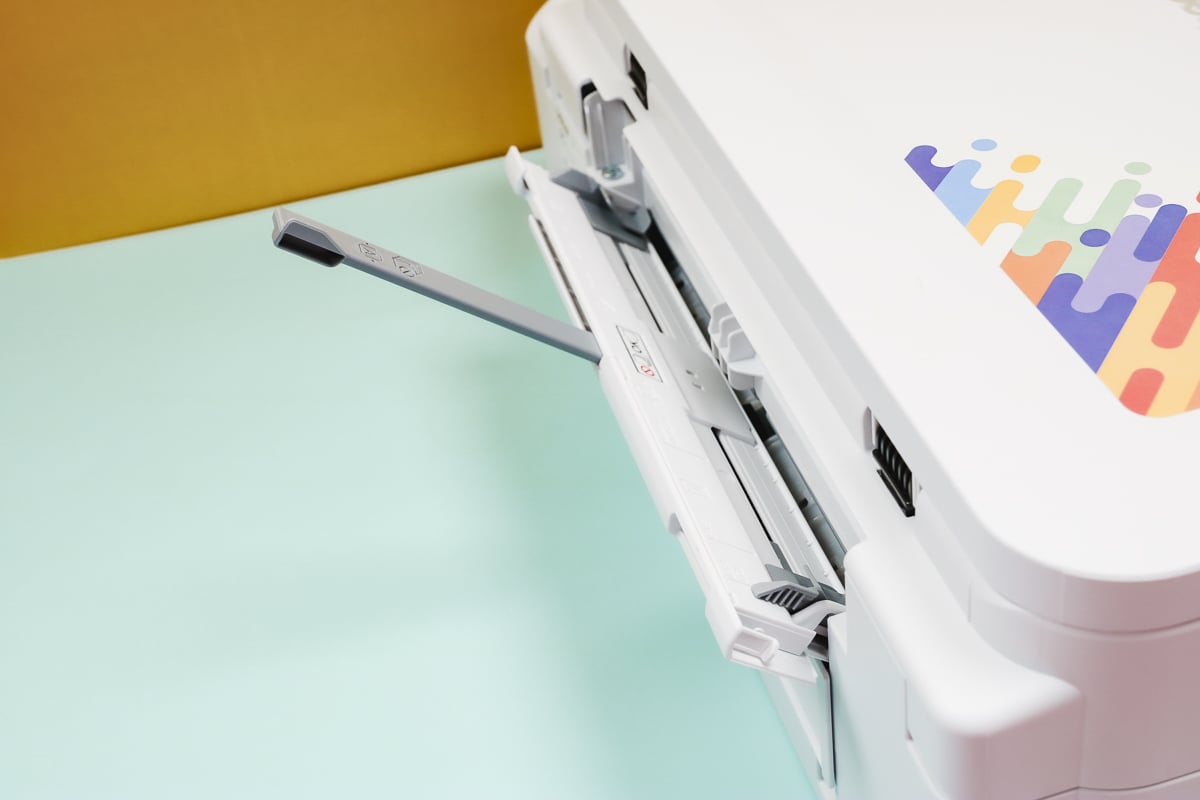
If you want to print legal-sized sublimation prints with this printer, you can. There is a rear feed option on this printer and you can use it for the legal-sized paper. There is an extender you’ll want to use to support the paper so it feeds through the printer straight.
When you use the rear-feed option for your prints it is a single page feed. You can’t stack multiple papers back there. You’ll need to feed them through one at a time.
Turning On the Brother Sublimation Printer
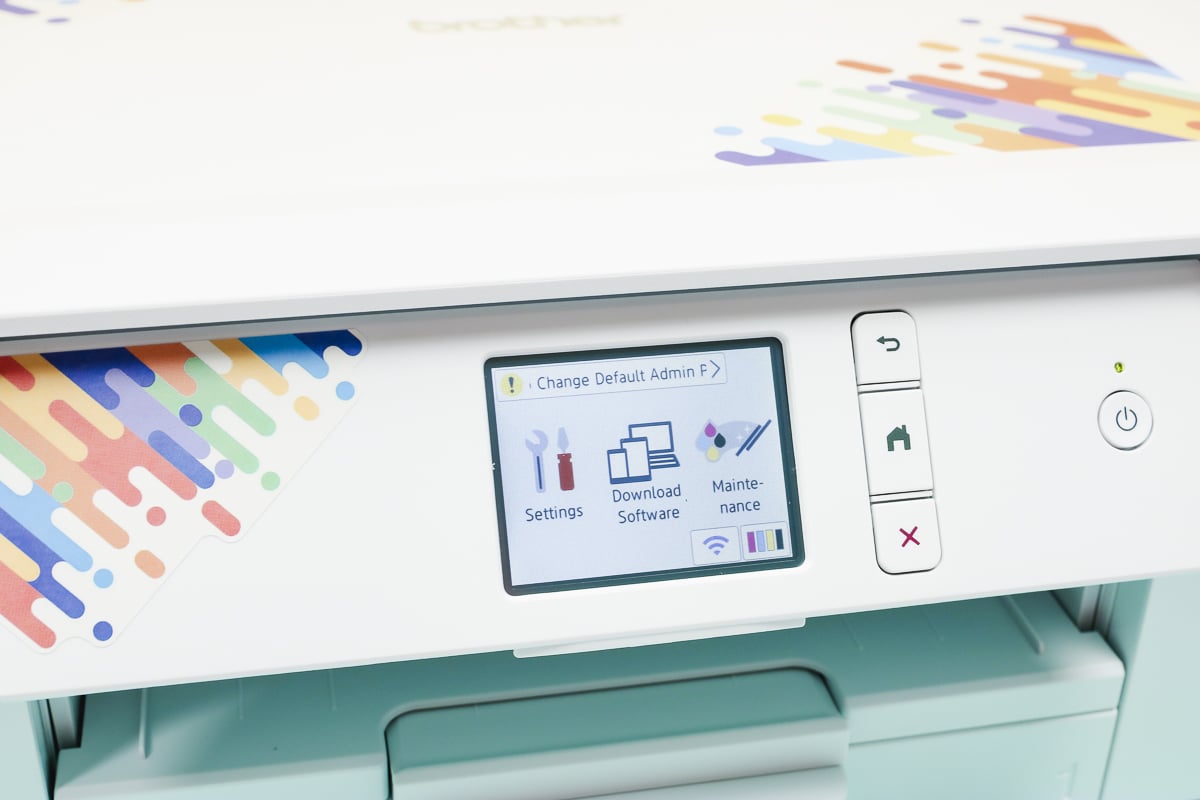
The front display can be adjusted to make viewing the screen easier.
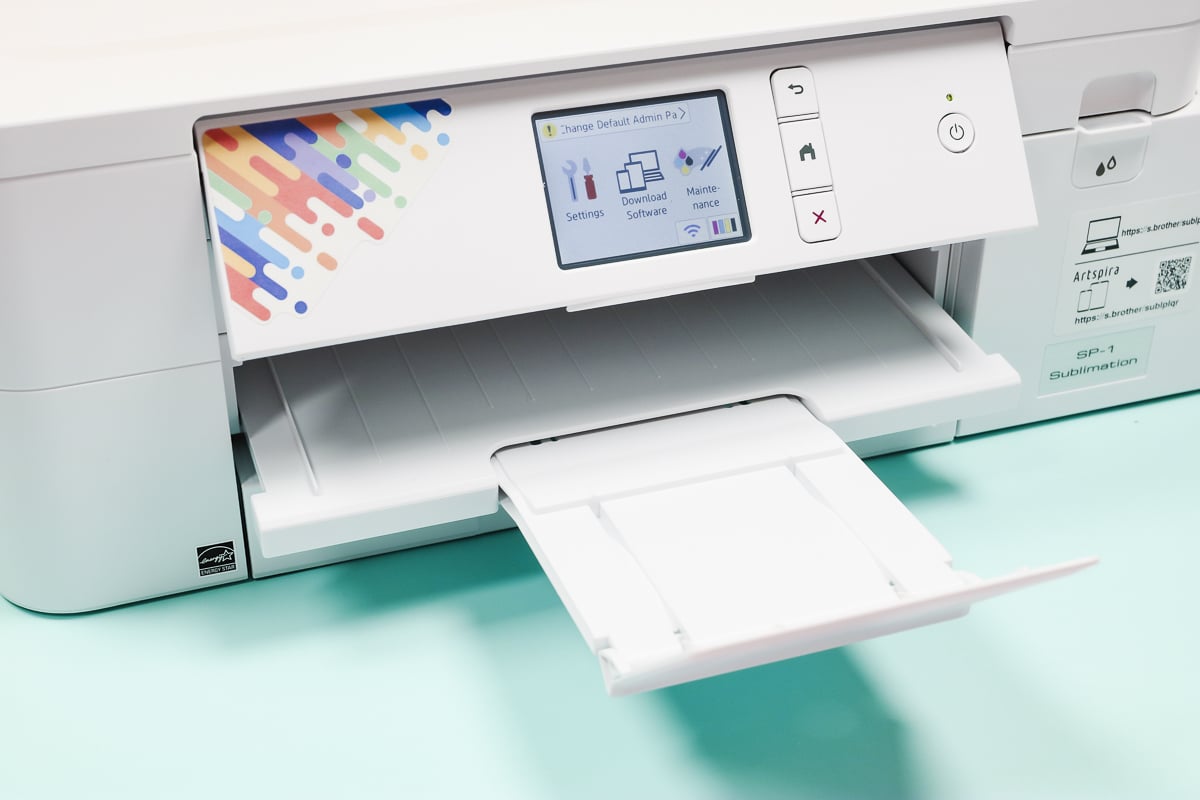
When you power on the sublimation printer it will make noises as it starts up.
This printer has maintenance cycles it runs through to ensure it works properly every time you use it. You should always keep your printer plugged in and turned on so it can run that maintenance.
Installing Ink Cartridges
Now it’s time to install the sublimation ink cartridges that came with the printer. With the printer turned on follow the prompts to finish the setup.
Open the door for the print cartridges and then install them one at a time. I am going to install them from left to right. You’ll see a letter marking the color on the outside edge of the cartridge and that matches the letter on the door.
Unwrap each cartridge and while holding it horizontally shake it 15-20 times before sliding it into its designated slot. To place the cartridge correctly, slide it in between the grooves and press it until it clicks into place.
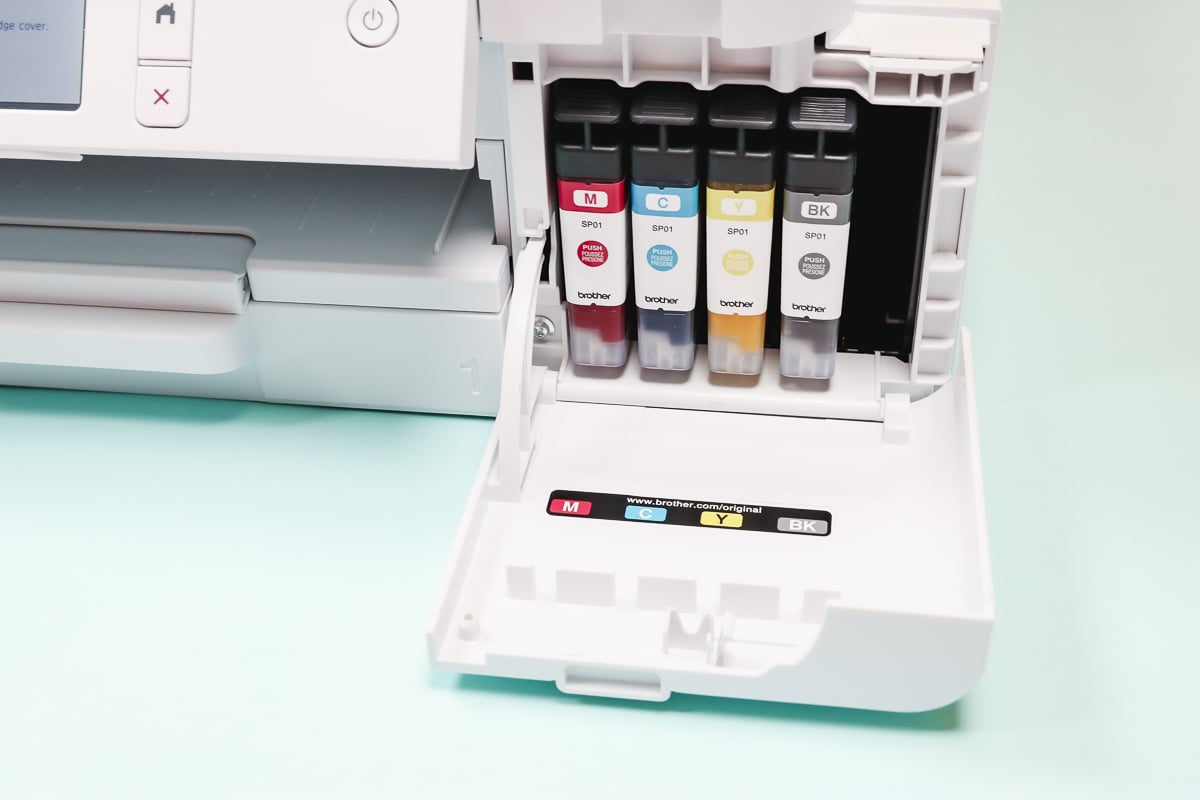
Close the door to the cartridges and then your printer will start to pull some of the ink into the machine.
While that is processing, you can follow the prompts on the screen to finish the setup. Set the date and the time and then install the software. You can choose to print from your computer or the Artspira app. You will find both QR codes and website addresses on the startup guide that you can go to to install the software.
Checking the Print Process
Once the printer is done pulling the ink through the machine, the display screen will prompt you to make sure there is paper loaded into the printer and then it will print out a Quality Check Sheet.
This sheet is similar to a nozzle check page on other printers. You’ll check all the dotted lines to make sure that the printer is printing correctly. If there are any gaps in a color, follow the prompts on the screen for what to do next.
I did have a few blocks missing so I followed the steps on the screen. It will ask you if you have just a few segments missing or a lot missing for each different color.
I was only missing a couple of segments in both magenta and yellow. Once I had selected everything I needed it ran a nozzle check sheet again and then asked if I wanted to print another Quality Check Sheet. When I printed another sheet, all of the blocks were filled in so we’re ready to get crafting.
Mobile Printing with the Artspira App
I get asked all the time what sublimation printer is best for printing on a mobile device. The Brother sublimation printer has a mobile app called Artspira. This app is available in both the Google Play Store and the Apple Store so you can use it on Apple and Android devices.
The Artispria app is free to use but some features are available with the paid version. When you first set your printer up you will have a 60-day free trial of all those additional paid features to help you decide if you need them or not.
To show you that you do not need the paid subscription, I am not even activating my free trial while showing you how to print from within the app.
How to Create a Project Within the Artspira App
First I am going to click New and then across the top of the screen, there are three options Embroidery, Cutting, and Printing. You want to click the Printing tab to make sure you are given the correct options for sublimation printing.
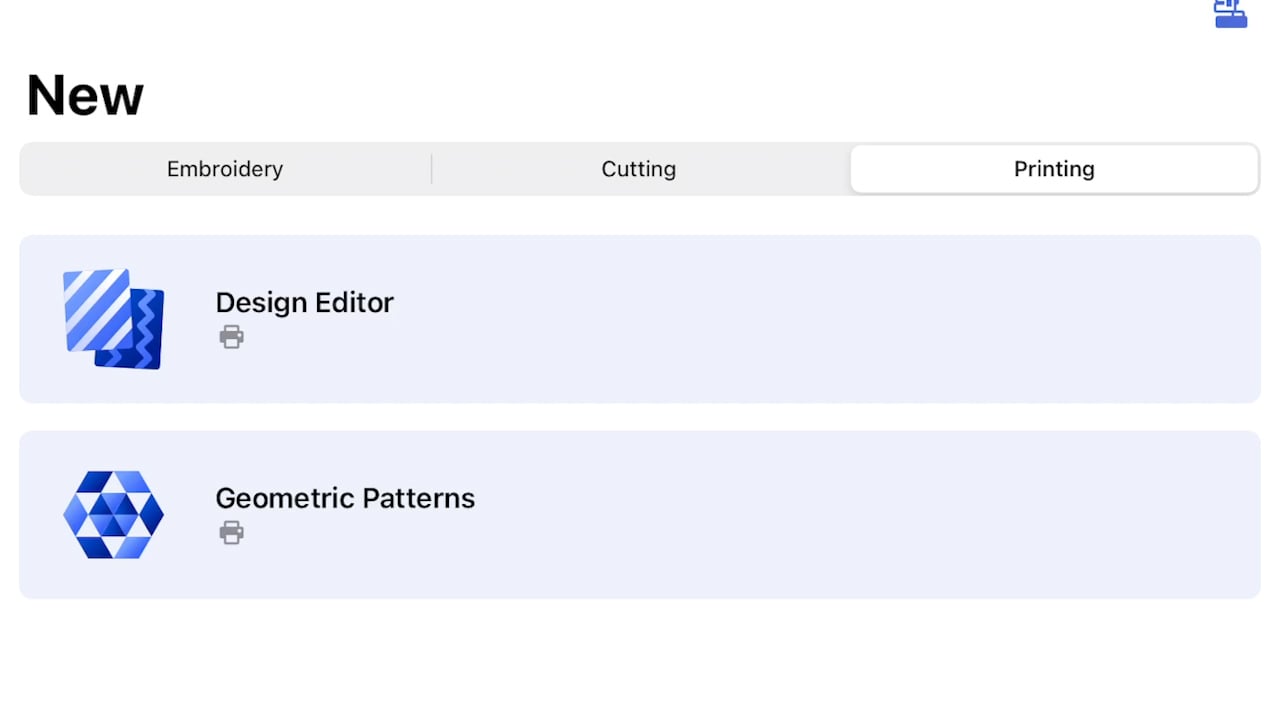
Next, I am going to click Design Editor because I am going to upload my own design.
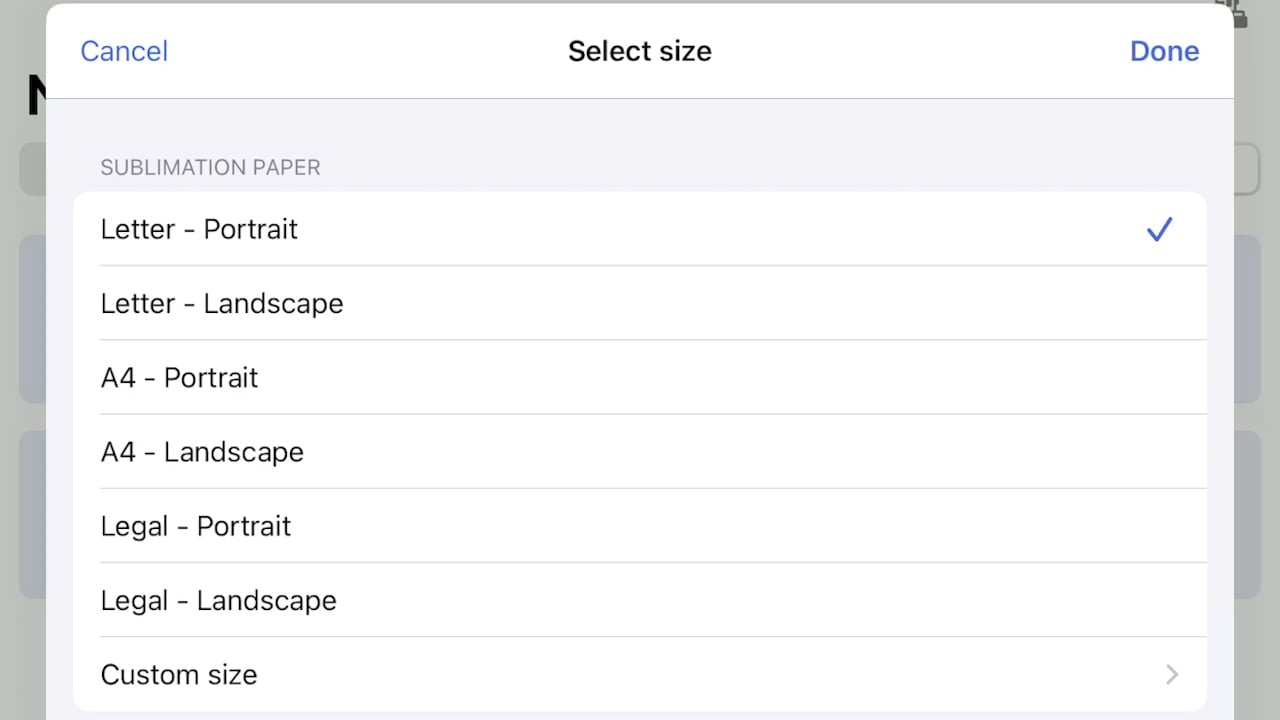
From here it’s going to ask me what size paper I am going to print on. The options are Letter, Legal, and Custom size. Legal is the largest that this printer can print. If you want to print on photo paper or mug wrap-sized paper, you’ll select the Custom sized option.
I am printing on letter-sized paper and in portrait orientation.
Editing Designs in the Artspira App
The screen is easy to maneuver. I am going to press the + button at the bottom of the screen and then select that I am going to add a photo from my camera roll.
When you click the photo from the camera roll, it will open it in the app. Other options will come up such as Conversion, Effects, and Size. If you click on size you can add in the exact size you want your design to be.
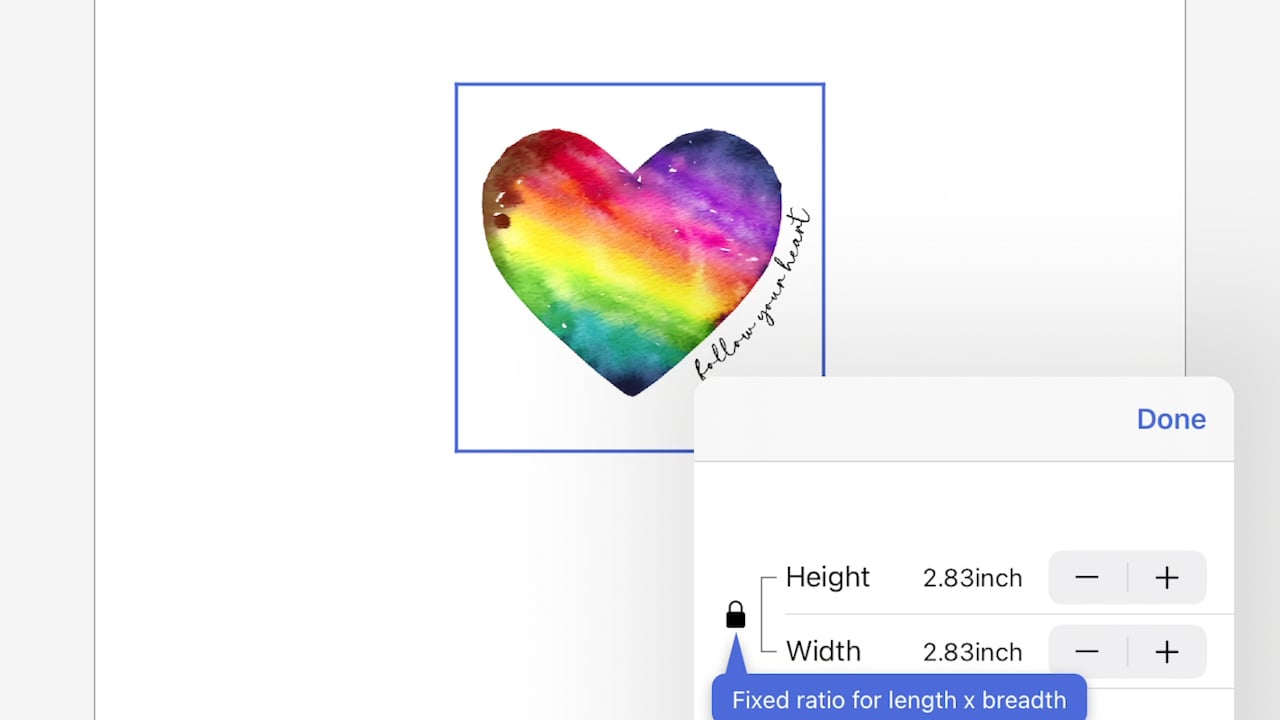
You can also use your fingers on the screen to resize based on how it looks on the page.
When you have it the size you want click Ok and then Done. It will now ask if you want to save your design and you can name it whatever you want when you save it. Saving your design will save it on Artspira’s server.
What Settings to Use When Printing with the Artspira App
When you install the app, it will walk you through adding the printer.
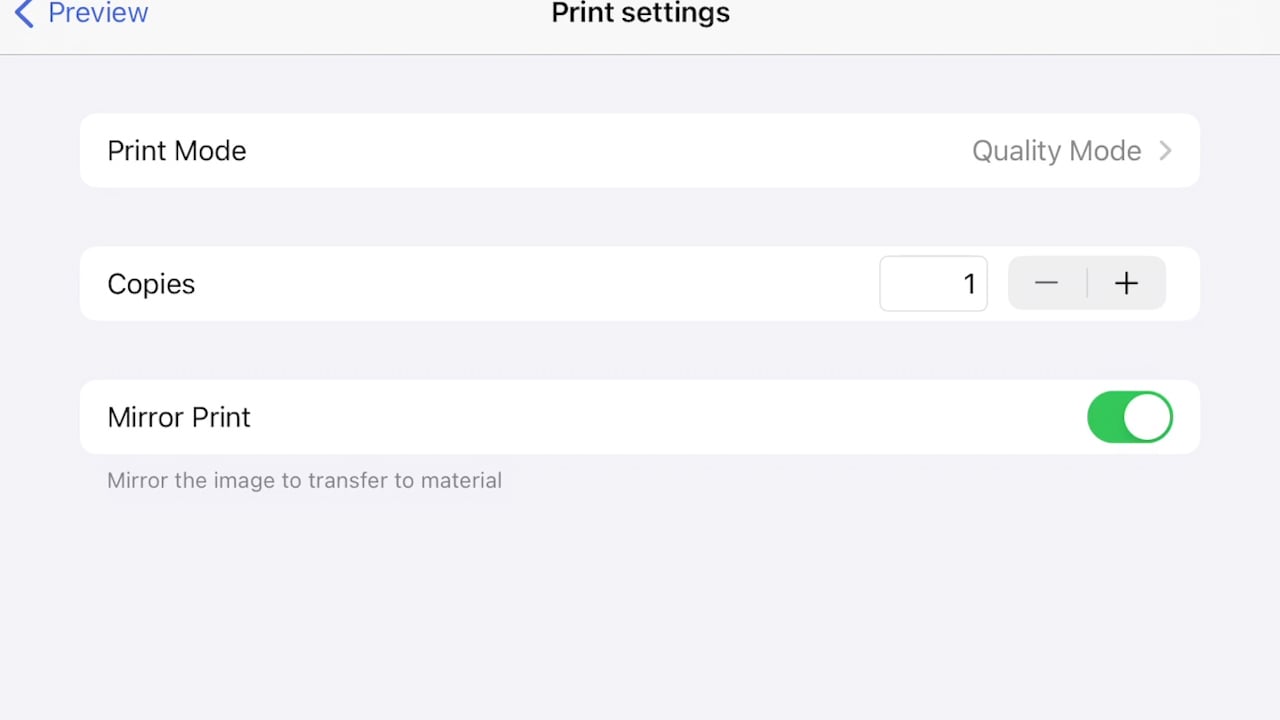
Now that we’re ready to print, under the print settings there is a Print Mode option. I always use the Quality Mode. I don’t think the Speed Mode is the right choice for the type of projects I want to make with my prints.
The Mirror option was turned on automatically. You’ll want to make sure it is turned on and I don’t plan to turn that off. If your sublimation blank calls for the print to not be mirrored, this is where you would turn that off.
Next, you’ll click Print to send the design to the printer. This step will prepare the design and send it to the printer to print.
How Fast Does the Brother Sublimation Printer Print?
When comparing the Brother sublimation printer to my other sublimation printers I found that it fell right in the middle. It isn’t as fast as my Sawgrass sublimation printer but it isn’t as slow as my Epson printer.
How Do I Print From My Computer to My Brother Sublimation Printer?
If you choose to use your computer to print instead of the app, you’ll use any program you want or are familiar with. I’ve tested out a variety of different free programs for sublimation over the years and any of them would work with this printer as long as you have the printer added to your computer.
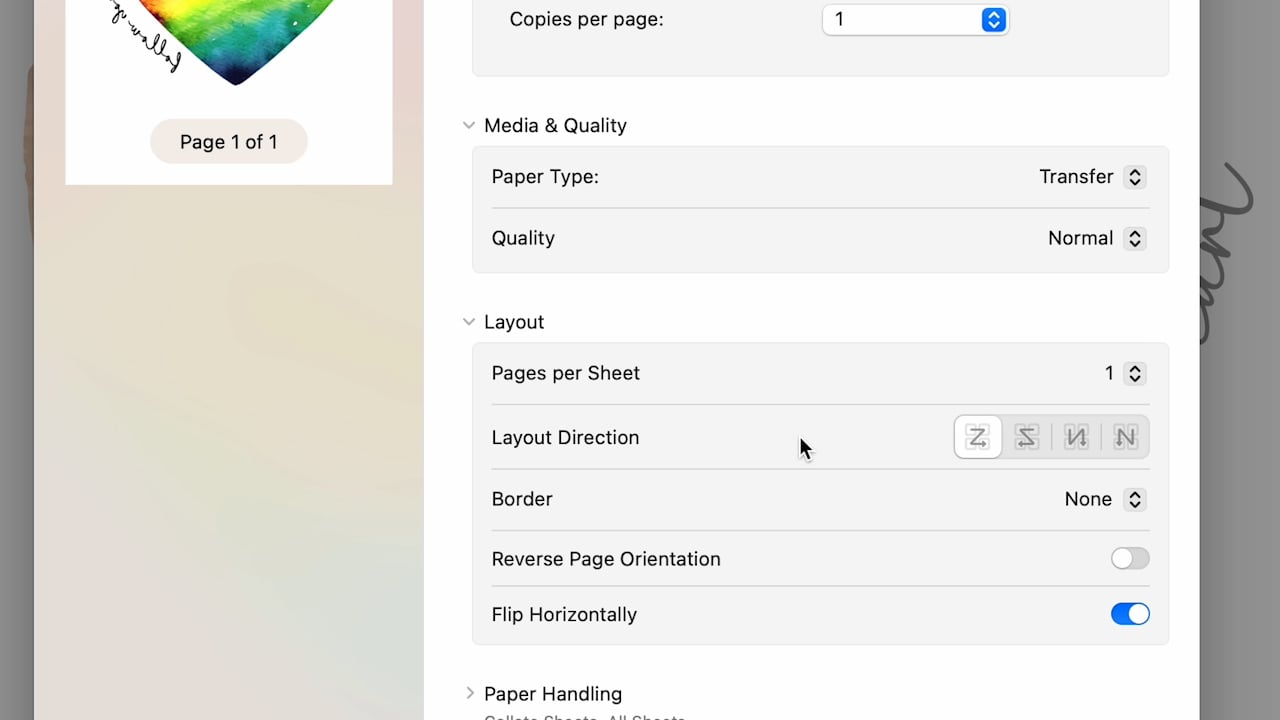
If you’re using the computer interface, you’ll want to choose the best options available. For me under paper type Transfer was the only option available and then Normal was the best setting available. Make sure you don’t forget to mirror your design before printing.
Comparing Prints from the Computer and the App
I found that the prints from the computer and the app are very similar. Both look really vibrant and neither seems better than the other. I did feel like the settings were more intuitive in the app compared to printing to this printer straight from the computer.
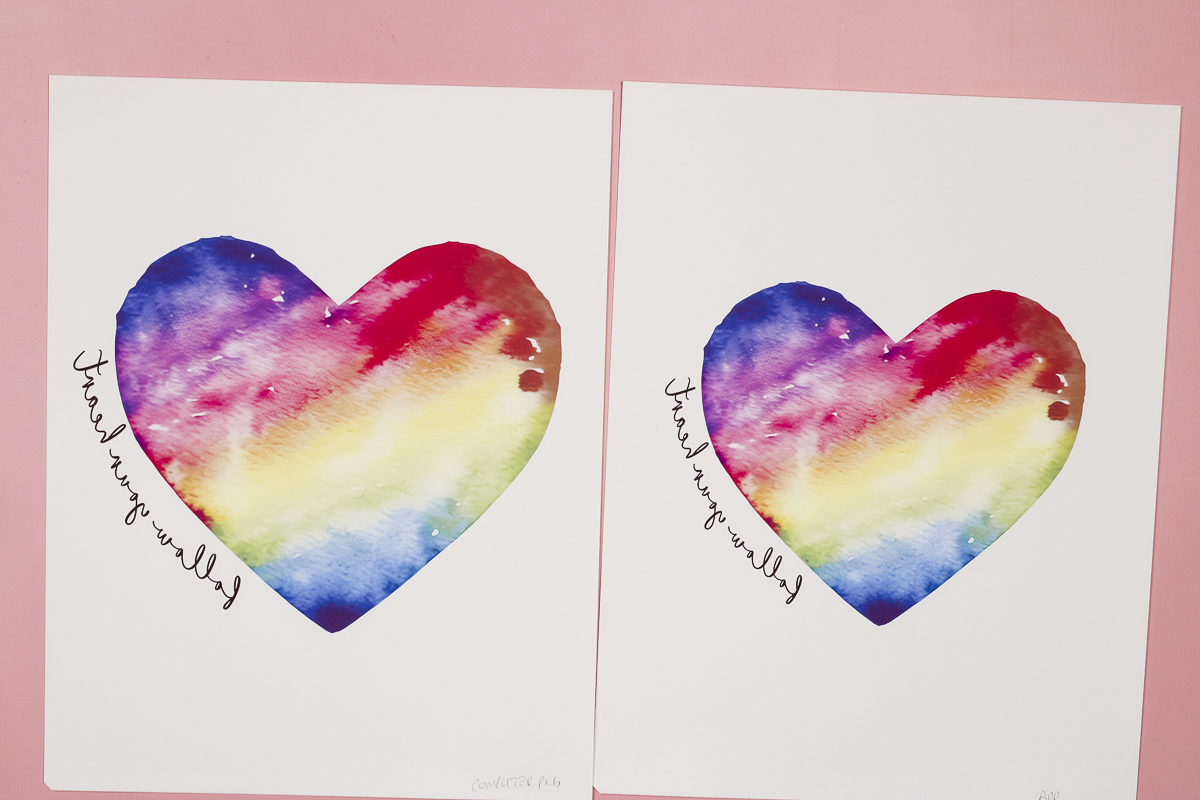
I pressed my designs onto white polyester shirts. Just like other sublimation projects you need either a polyester fabric in a light color or a blank with a poly coating on it. Sublimation ink bonds to the poly fibers and that is how the print becomes permanent.
After pressing both prints are gorgeous. I am really happy with how the prints turn out coming right out of the printer.
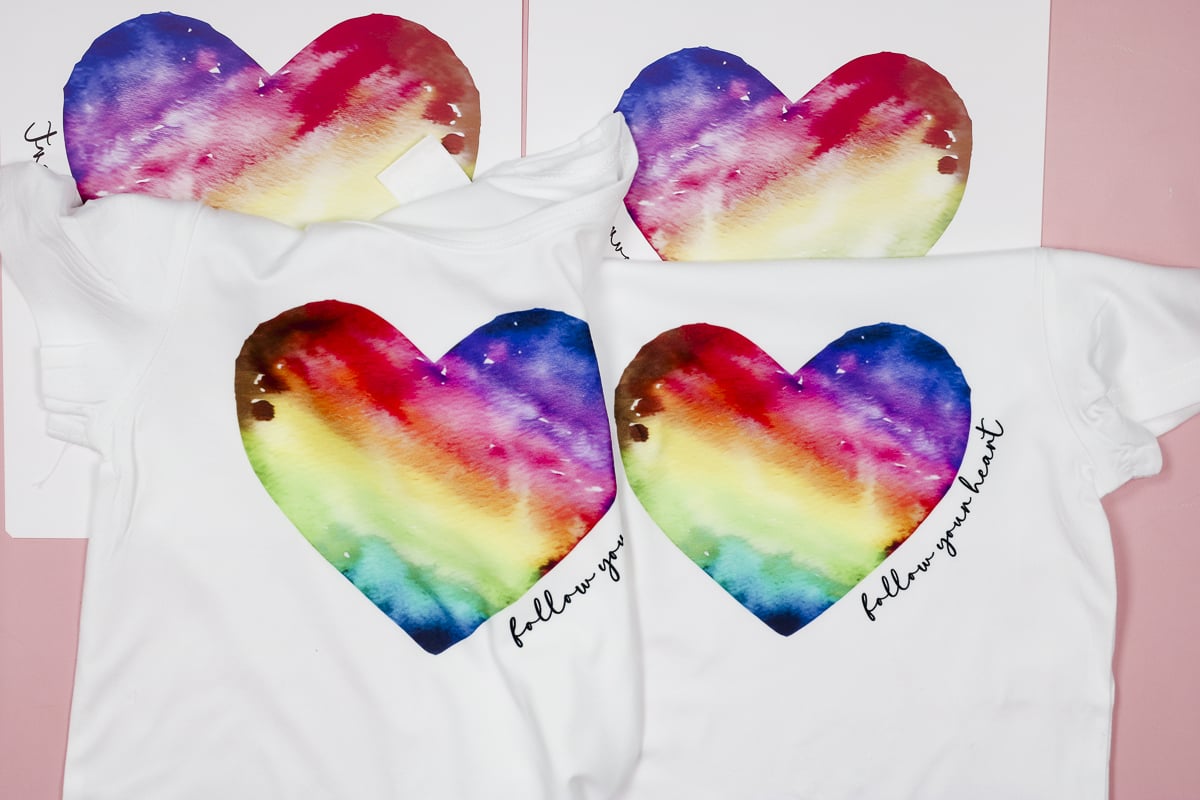
I do want to note that when printing a PDF file from the computer it was significantly lighter and more dull than the PNG file.
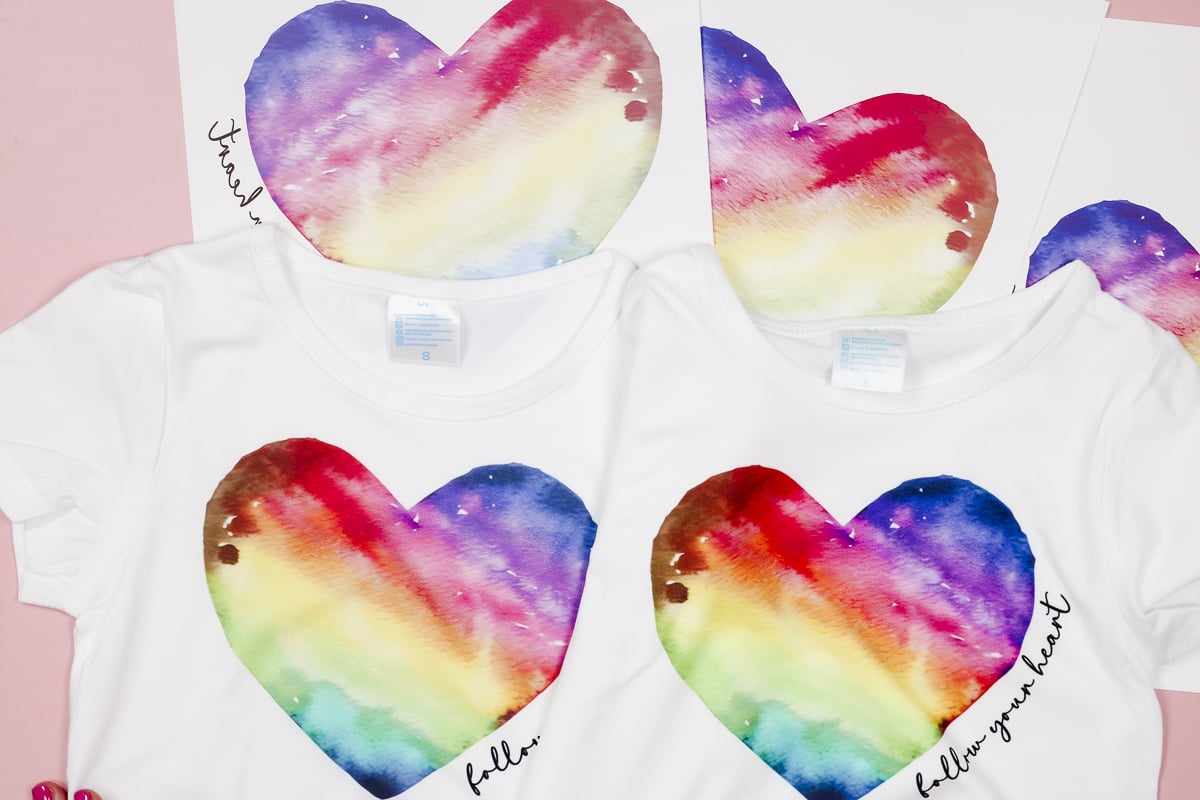
You may need to make adjustments in the different programs you use to get the best results. This may mean using a different file type or a different program to get the brightest and most vibrant finished products.
Pros and Cons of the Brother SP-1 Sublimation Printer
Pros:
- I love how easy this printer was to set up. It’s also incredibly easy to use in the app and on the computer.
- The ability to use a mobile device is a big positive for this printer. Up until the release of the Brother sublimation printer, there wasn’t a great option for sublimation printing from a mobile device. Now there is.
- I didn’t have to do any type of color management to get amazing results. That is a major bonus.
Cons:
- I didn’t particularly like the process of setting up a design within the app itself. I found it clunky and hard to use. That being said, I think I could get used to it if I needed to.
- I do think you need to spend some time when using your computer to dial in the print settings to get results as good as I was able to get straight from the app. You’ll likely need to make adjustments for the different programs you use and mark them down so you can keep track of what works and what doesn’t.
- If you prefer to use your computer for sublimation printing, you may find that the process for printing from a computer is more frustrating than using the app or a computer with another printer.
- There is no software for this printer. You would need to use another program to print your designs.
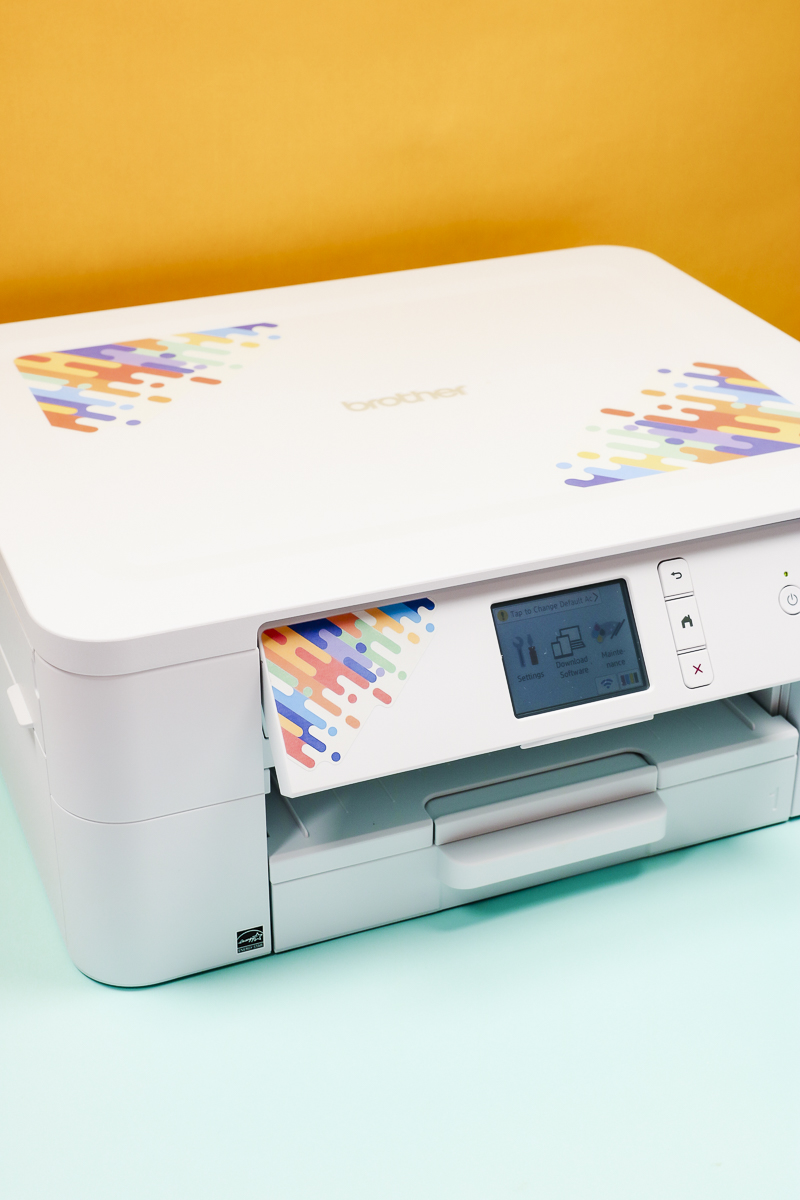
- The next con I have may not be a con for you but for me, the design they chose to use on the printer. The colors don’t really match my craft room and I’m just not a fan of how they added them to the printer. I will say, the printer worked so well and was so easy to set up that I’m willing to overlook the design for at least a little while.
Comparing Brother SP-1 with Other Sublimation Printers
Currently, along with the Brother sublimation printer, I own a Sawgrass sublimation printer, an Epson F170 sublimation printer, and an Epson EcoTank printer that I converted for sublimation.
I’ve gotten the best results from the Sawgrass and Brother sublimation printers. Both the prints and the finished projects have the best results.
The Epson F170 is a very close second and I can get amazing prints from that sublimation printer as well. The reason it comes in seconds is because it doesn’t use cartridges like the Sawgrass and the Brother so the setup is a little more difficult.
The converted Epson EcoTank is definitely the hardest printer to set up and the process for getting good prints can be a lot.
The Epson printers also don’t have automatic maintenance. This means you need to manually print regularly, at least once a week, to make sure you don’t get clogs in the printer.
Both the Sawgrass and Brother printers have automatic cycles that move ink through the printer to help prevent clogs.
The Brother sublimation printer is less expensive than the Sawgrass sublimation printer and when I compared replacement ink prices the Brother sublimation ink is also significantly less expensive.
Which Sublimation Printer Would I Choose?
I would say that you cannot go wrong with either the Sawgrass or Brother sublimation printers. The only drawback I have right now for the Brother sublimation printer is that it is brand new to the market.
Brother is a very well-known brand in the crafting world and they produce high-quality products and machines but this is their first sublimation printer so keep that in mind.
I would rate the Epson printers below both of the other printers for a few reasons, mostly because they don’t have that automatic maintenance, and getting the color settings right takes a lot more time than with both the Brother and Sawgrass printers.
All of this being said, the Epson F170 is still a good sublimation printer and I can get really great prints out of it. Converting an EcoTank can give you a bit of a challenge but it is much less expensive than the other sublimation printer options. If you’re just starting out with sublimation or you’re on a budget it may be the right printer option for you.
I also want to mention that when you convert an Epson EcoTank printer you are voiding your warranty. It is not a sublimation printer and when you put sublimation ink in it you no longer have that warranty. When you purchase and use the F170, the Sawgrass, or the Brother sublimation printers you have that warranty if anything goes wrong.
I did not have to test the warranty or customer service with my Brother sublimation printer. I didn’t run into any problems at all so I can’t speak to that at this time.
Final Thoughts on the Brother SP-1 Sublimation Printer
Honestly, I don’t think you can go wrong with this printer. It has a great price point, it is easy to use and set up. The start guides and QR codes work wonderfully making the whole setup process very easy.
The App is great and very easy to use and the prints I was able to get out of this printer were beautiful. If you have any questions about the Brother sublimation printer, feel free to leave them in the comments below and I’ll be happy to answer those for you!


Hi Angie, I bought a new Brother Sri and it worked for 2 tumblers . Now i find that im having trouble with my touch screen. I cannot press the ok button. I just wanted you to know.
I’m sorry that is happening. Have you reached out to Brother? Hopefully they can help figure out what is going on 🙂
The Brother SP-1 can print legal (8.5″x14″) paper from the tray. Instructions to expand the tray start on page 25 of the SP-1 manual which you can download from the Brother SP-1 support page online.
I quickly scanned your videos so I apologize if I missed it but do you have a video on making any sublimation crafts using the Brother SP-1?
I quickly scanned your videos so I apologize if I missed it but do you have a video on making any sublimation crafts using the Brother SP-1?