Angie Holden The Country Chic Cottage
Learn about your Cricut machine, sublimation printer, or any other craft you can imagine! Angie Holden shares her crafting tips so you can craft like a pro!
Filed Under: Sewing
By: Angie Holden | | 64 Comments


For over a decade, I have been sharing Cricut tutorials and craft ideas here as well as on my YouTube channel. My passions include teaching others to be creative and learning as many new things as possible about crafting technology! Click here to read more about me!


And subscribe to the newsletter!
The Country Chic Cottage is a participant in the Amazon Services LLC Associates Program, an affiliate advertising program designed to provide a means for sites to earn advertising fees by advertising and linking to amazon.com. Amazon, the Amazon logo, MYHABIT, and the MYHABIT logo are trademarks of Amazon.com, Inc or its affiliates. Please note that some products used may be given to The Country Chic Cottage free of charge.
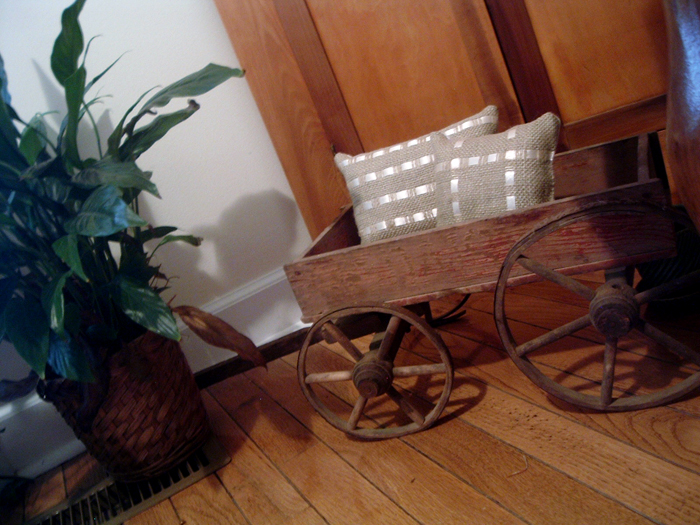
Those look so dainty and feminine! Very pretty!
gail
How clever is that? I love them. I must get myself some burlap. Thanks! Sherry
Oh, my gosh! Those are amazing. I am definitely book marking these and making some. They would make great gifts too.
Adorable and definitely very PBish!
These are so pretty! I agree…very PBish! Great tutorial…thanks 🙂
Wendy
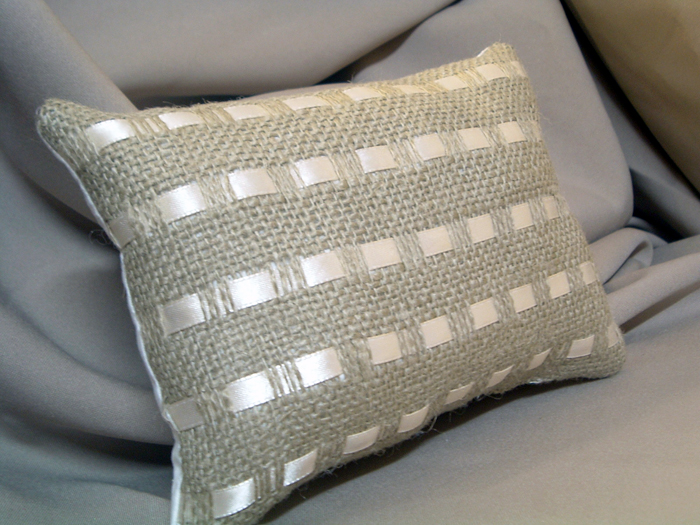
Those look great! I love the contrast of the ribbon and burlap, great job!
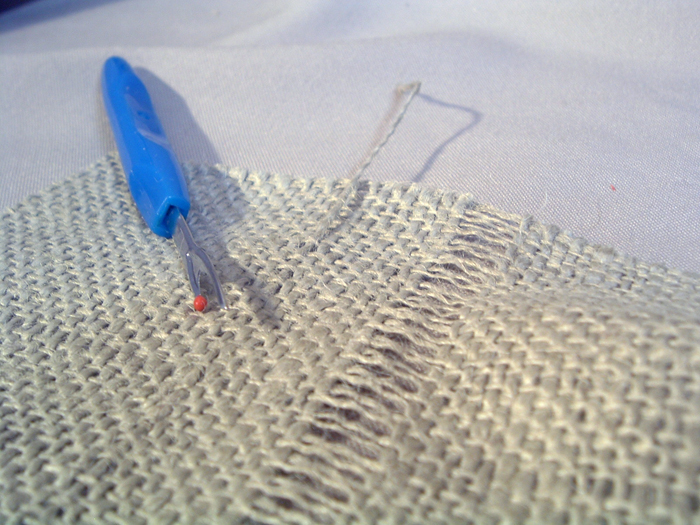
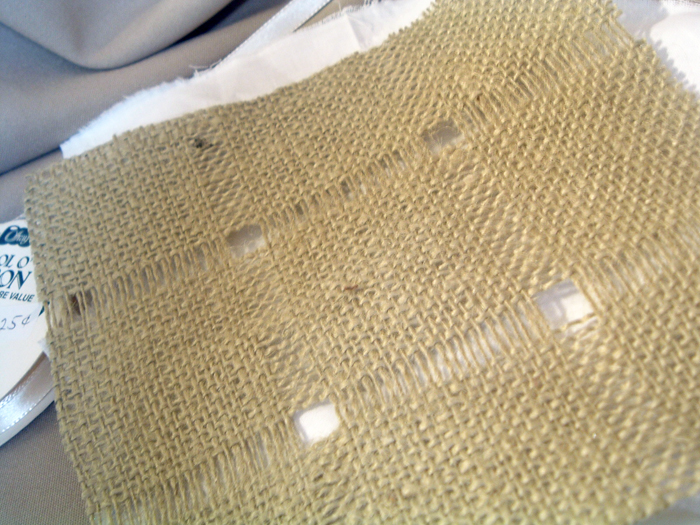
You are one smart cookie!!! This is such a good idea…and I have been trying to keep those darn strings from coming out all of this time!
Lovin’ it!
Rhonda
I always love a new idea for burlap! I’ll be trying this for sure!
Beautiful!
Oh my heck!!!! How do you do it? Every post of your is dynamite! I will feature this one at somedaycrafts.blogspot.com on Tuesday. Will you please come guest blog at my site? email me at somedaycrafts@gmail.com You need to increase your followers so they can see your creativity!!!
These turned out great!
These pillows are gorgeous!!! I would love to try to make some too. Beautiful. Thanks for sharing. Love & blessings from NC!
I LOVE these!! The little bit of satin ribbon softens it up so nicely and adds a bit of class. Thanks for sharing. I’ve posted a link.
What a creative idea! Those look super fab, and totally PB 🙂
Very original, and I love it! They look like 50$ pillows. Thanks for sharing!
these are simply stunning…thanks so much for sharing…love them.
I love this idea! How clever.
I love this…burlap is my favorite material…Great idea! Thank you so much for sharing! I wanted to invite you over to my blog…Screaming Meme’s…It is a decorating blog… http://www.thescreamingmeme.blogspot.com and I have a comical blog about a “normal” family going GLUTEN FREE…lol http://www.thisfamliysgonecrackers.blogspot.com I hope you will stop in…Thanks, Screaming Meme
You should try selling those! I love them! 🙂
THOSE are gorgeous. And you could totally see those on Etsy. SO CUTE. Now I need some burlap!!!