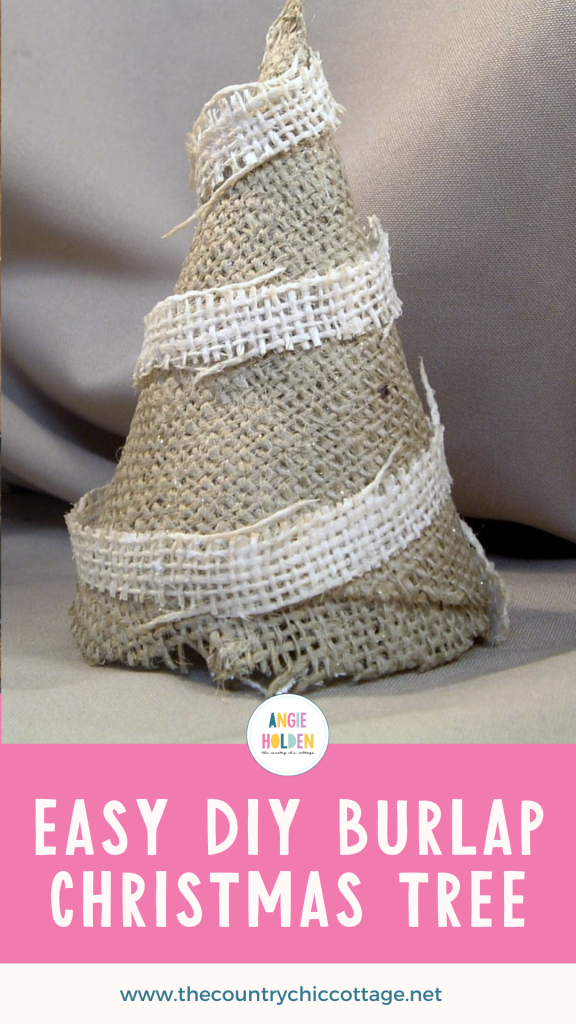
Make this DIY burlap Christmas tree with just a few supplies. You will love how these look in your farmhouse-style Christmas decor. They are easy to make and adorable to place in your home.
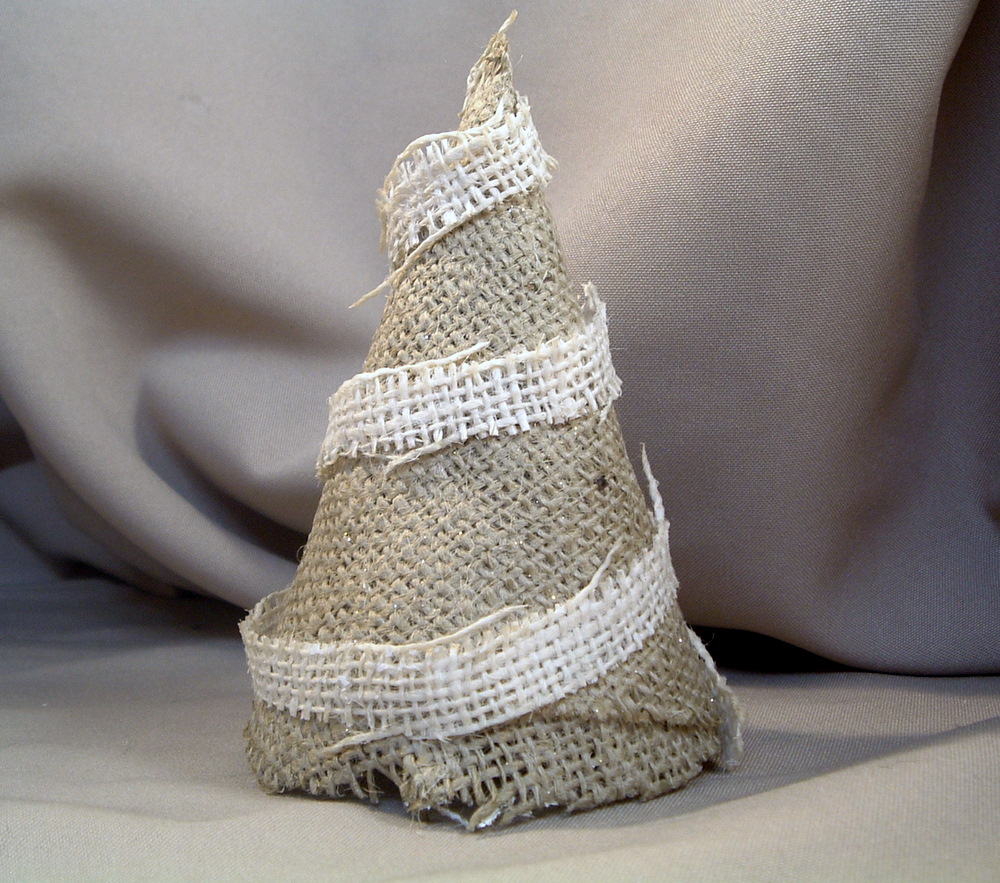
How To Make Burlap Christmas Tree
I love these little burlap Christmas trees, y’all! They are easy to make, and you will love how they look in your home. If you love all things farmhouse style and burlap, this is one Christmas craft project you will want to start immediately. With just a few supplies, you will have cute Christmas trees made from burlap for your home’s decor this holiday season. You can add it to our rustic wooden Christmas tree for an entire display.
Supplies Needed To Make Burlap Christmas Tree
- two different colors of burlap
- glue (school glue works best)
- poster board
- scissors
- stapler
- clothespins
- water
- paintbrush
- disposable bowl
Step 1: Cut Poster Board & Dark Color Burlap
Cut your poster board into patterns similar to the picture below. I used a plate to cut into circles and then folded into fourths. Remove one of the fourths. You can make these in various sizes.
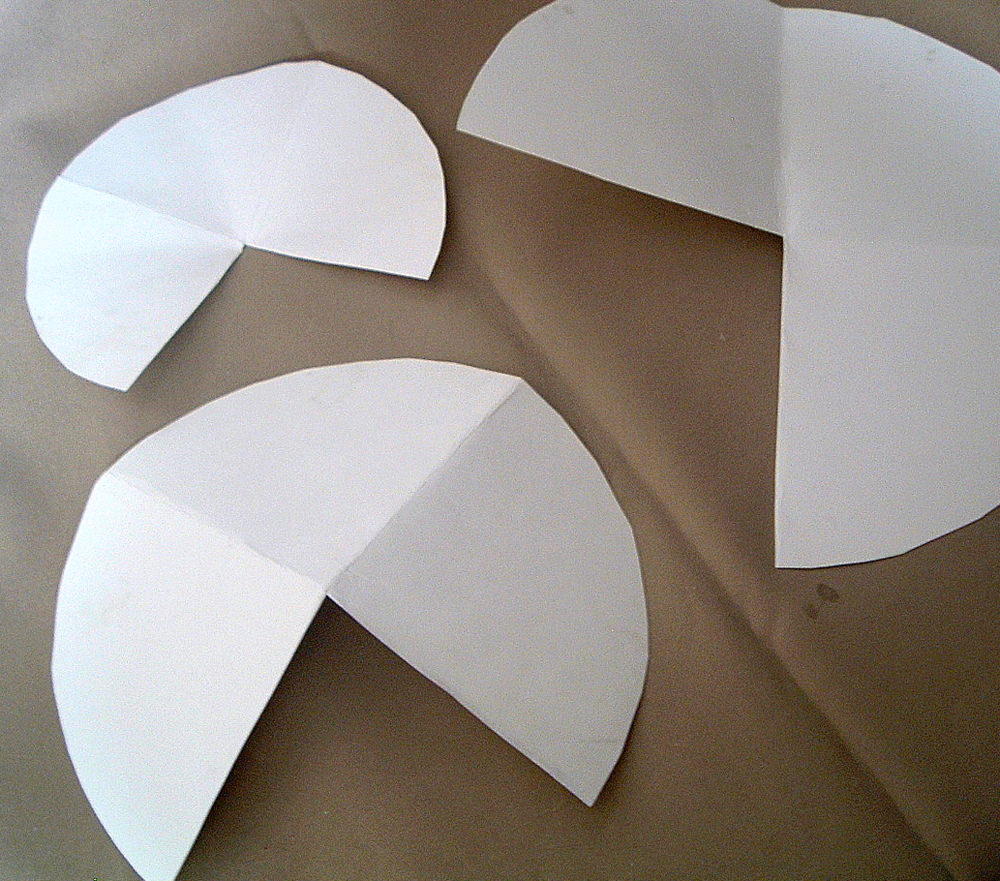
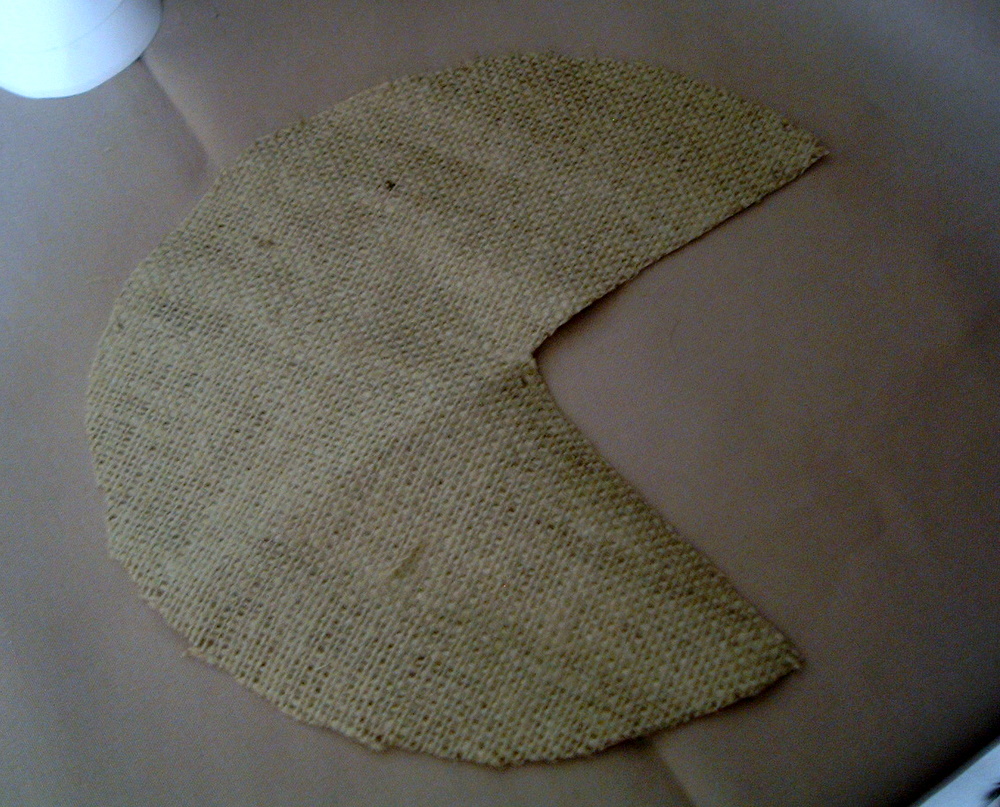
Use this pattern to cut out your darker color burlap.
Step 2: Create Cones
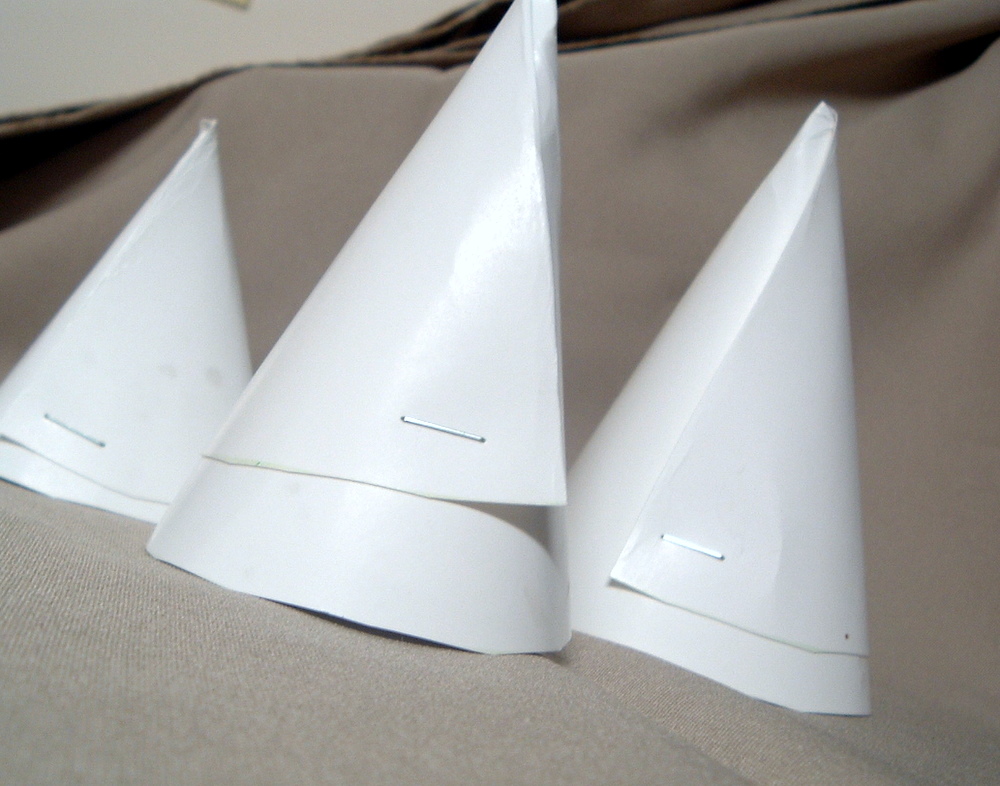
Wrap your poster board into a cone to make your tree form. I used a stapler to secure the cone into place.
Step 3: Wrap Cones In Burlap
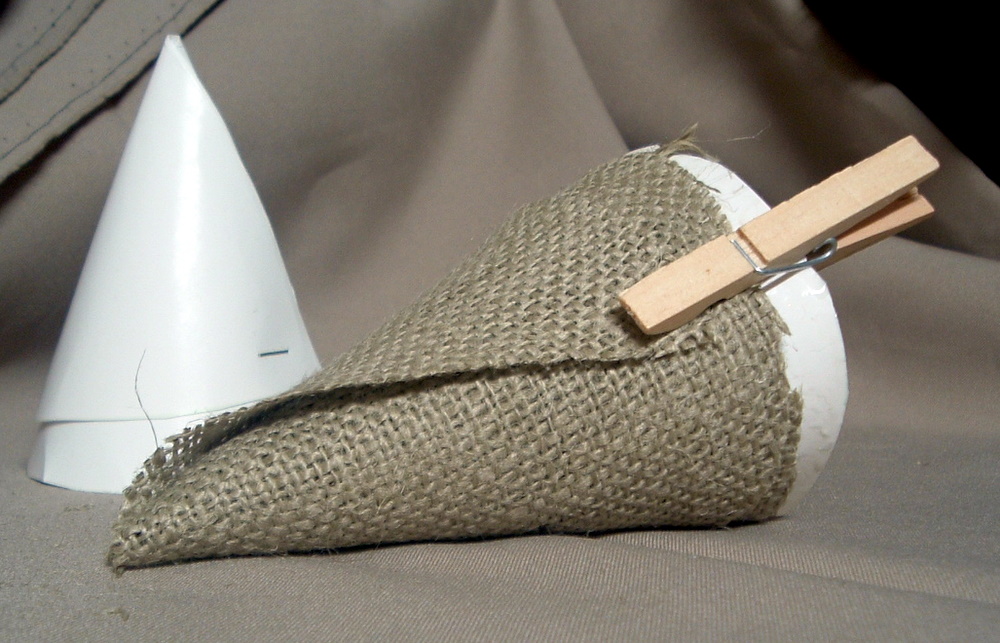
Wrap your cut burlap piece around your form and secure it with a clothespin.
Step 4: Apply Glue To Burlap
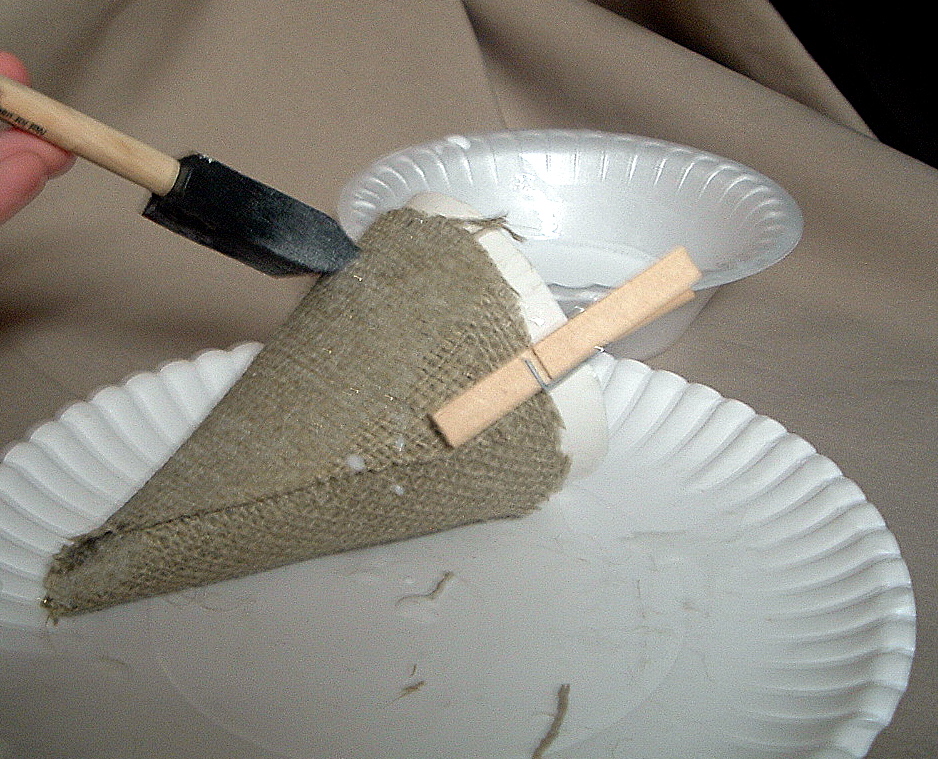
Mix 1/2 glue and 1/2 water. You will want to mix this in a disposable bowl. Now, I used that same paintbrush the day before with some glitter paint. The glitter ended up in my glue. I actually liked it after I finished it! So, maybe add a touch of glitter to your mixture? Apply your mixture generously all over the burlap using the paintbrush.
Step 5: Cut Light Color Burlap
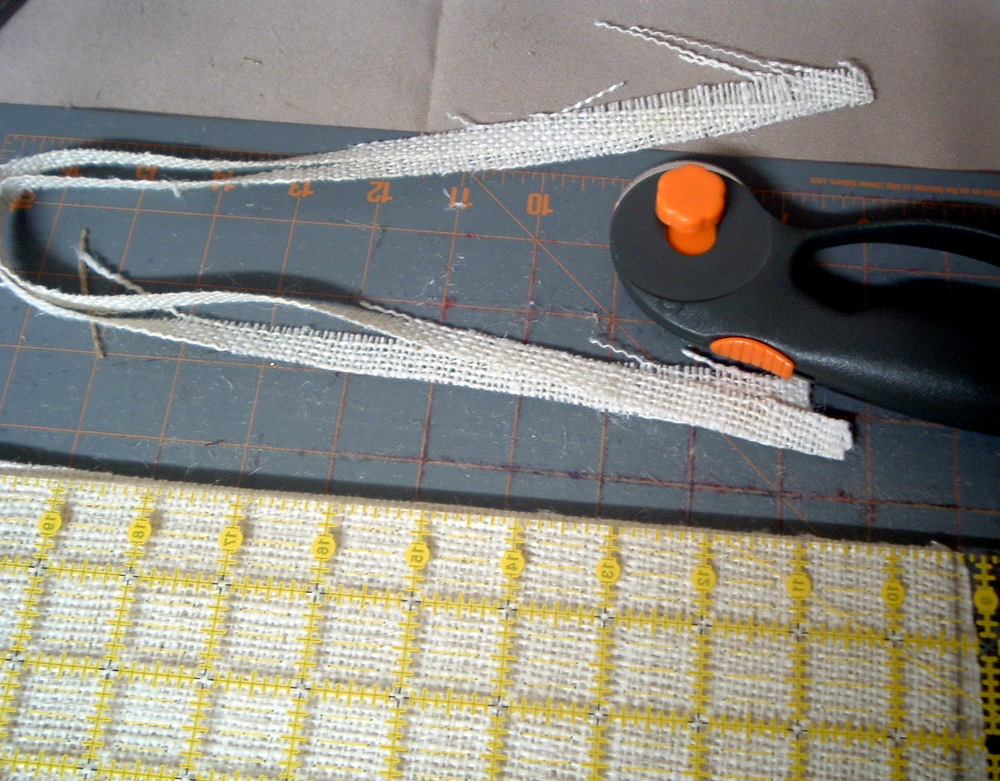
Cut the lighter burlap into a long, thin strip.
Step 6: Wrap Light Color Burlap Around the Cone
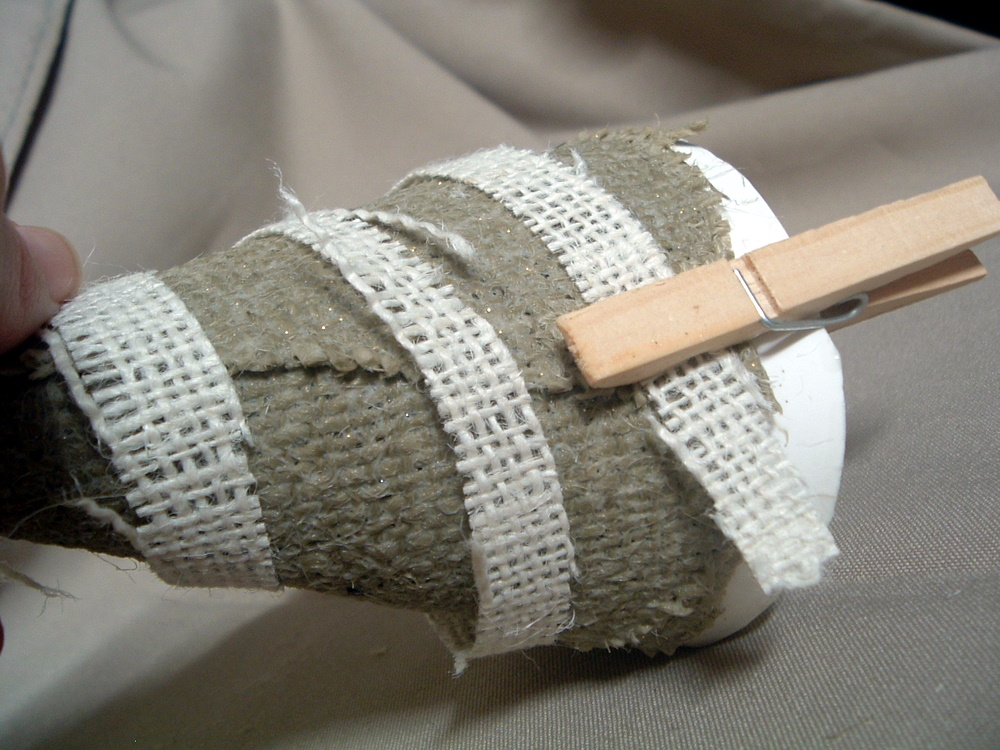
Wrap it around your form, securing both ends with two clothespins.
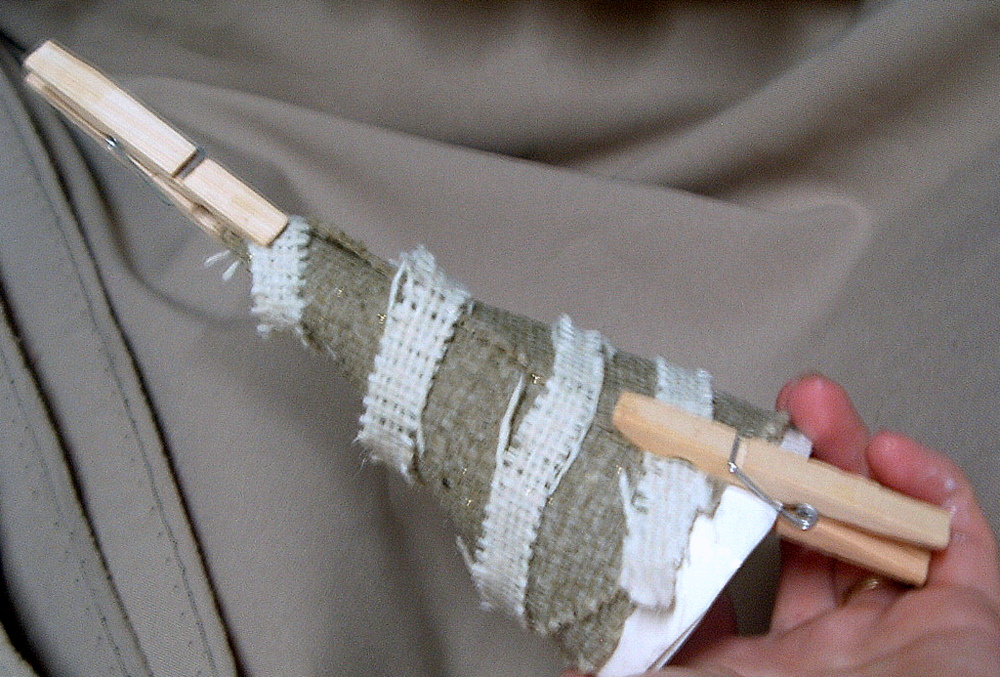
Step 7: Glue Light Color Burlap To Dark Color Burlap
Apply more glue mixture liberally. And let dry. Yes, it will take a looong time to dry.
Step 8: Remove the Cone To Create a Burlap Christmas Tree
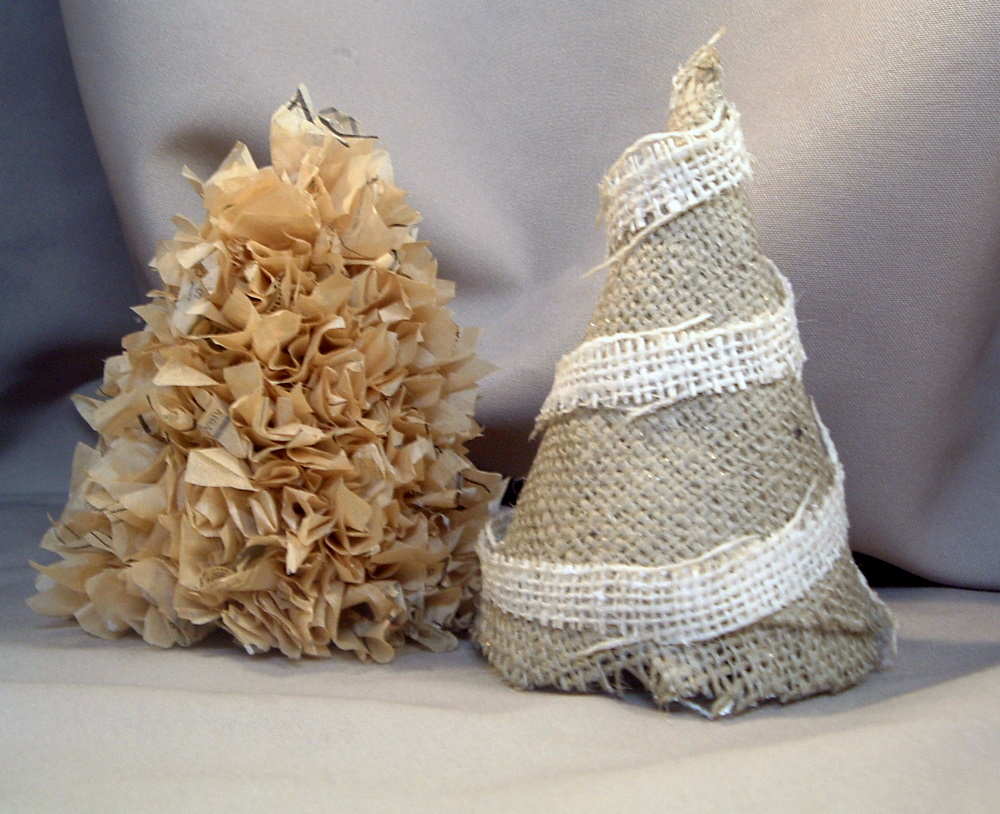
Then, remove the inner form by crushing it and pulling it out. Just look at the contrast!

And here it is with my sewing pattern tree! It’s so cute! I want to make all the burlap Christmas trees now! Okay, I’m also ready to break out the big tree!
Did you love this post? Then subscribe to The Country Chic Cottage, so you don’t miss a thing!
Tips and Tricks for Burlap Christmas Tree
Now that you’ve seen this fun burlap Christmas tree, are you ready to make your own? Here are a few tips and tricks to ensure your project goes smoothly!
- Adjust the Size—Get creative and change the size of these burlap trees! You can easily make a forest of small burlap trees or make one large tree the focal point of your decor!
- Change Up The Colors – I like the look of traditional burlap, but you can buy burlap in almost every color! So, have fun making these trees in your style, and pick out the colors that you love the most.
- Add Embellishments – If these burlap trees are too plain for you, glue on extra embellishments like a star topper!
5 More Burlap Christmas Crafts
Did you love this burlap Christmas tree and want more burlap Christmas crafts? Then check out the projects below!
- Burlap Garland: Snowflakes with Your Cricut Maker
- Rustic Burlap Bear Christmas Ornaments
- Candy Cane Wreath: Make Your Own From Burlap
- Front Door Christmas Tree With Lights
- Burlap Canvas Nativity Scene – DIY Project


Very cute! I love Burlap. So much you can do with it!
You’ve just given me hope for a tree!
We weren’t going to bother with a tree this year, due to a (now 5 month old) new rescue kitty we’ve named “lily munster”, that’s a little to wild & crazy to have around a real tree! (she’s climbed my dragon tree twice and almost killed the poor thing).
BUT, I do have a couple yards of light green burlap I can put to good use, thanks to your idea! I’ll make it roughly 2ft high, and add some handmade cloth adornments and add a few little white lights!
Now I have to find time to get this done!
Thanks you so much for this idea!
Great project! I have been having fun with burlap too! Renee @ http://shabby-chic-charming.blogspot.com/
I became your follower last night and tried to post; it didn’t “take”. I use heavy magazine/catalog covers and other heavy unwanted mailed pieces for my cones.
I will try your method of making cones; thanks for the tips.
So cute!!
Melissa
http://www.burstsofcreativity.blogspot.com/
Adorable little trees!
Glad to find you through Etsy.
will follow!
So cute! Great tutorial too – I linked it up to my “Christmas trees” post today!