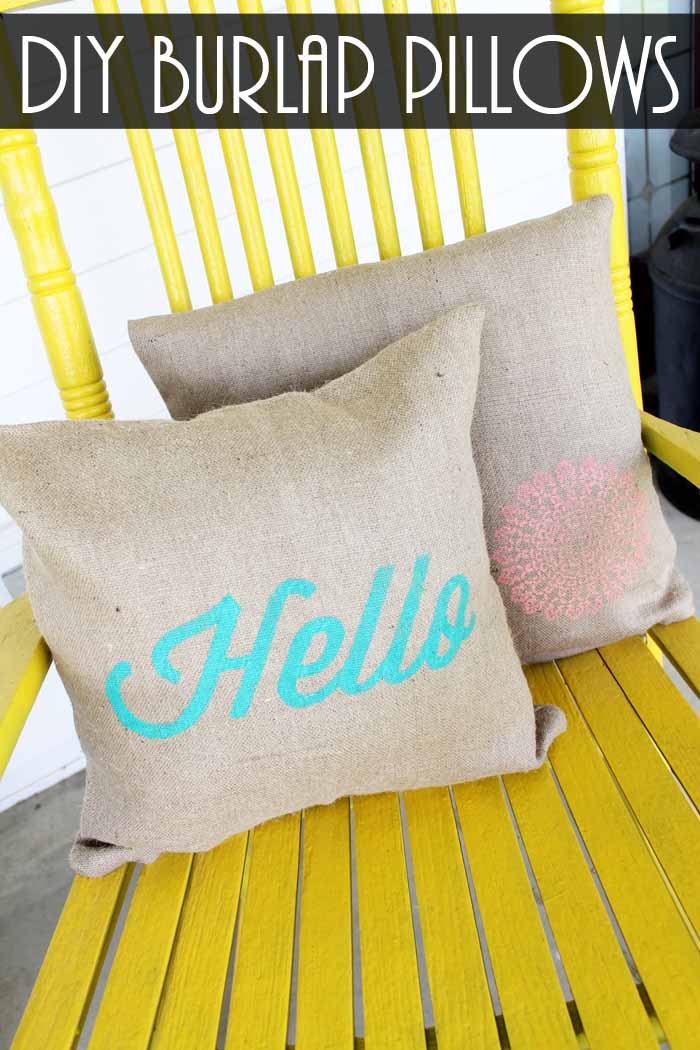
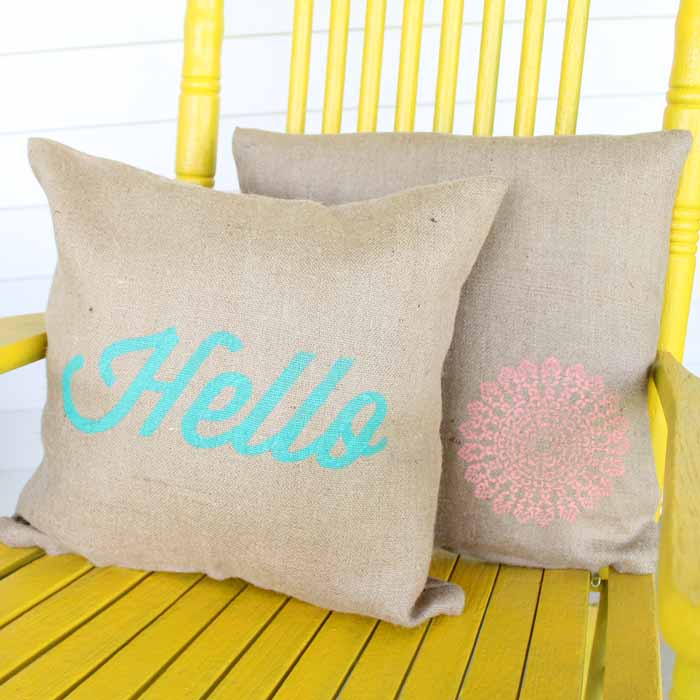
Make a custom pillow for your home! These burlap pillows are adorable pillows that add a little style to your front porch or living room. Plus, you can stencil them in any design you choose. This craft takes about 15 minutes to make, so grab your supplies and get started.
This is a part of burlap week, where we are sharing 15-minute burlap crafts every day. You can catch up with day 1 and day 2 and also scroll to the bottom of this post for today’s ideas from our blog partners.
In my opinion, everyone needs some burlap pillows. Add on some stenciled designs, and you have custom pillows in minutes for any room in your home. Plus, they are easy to make!
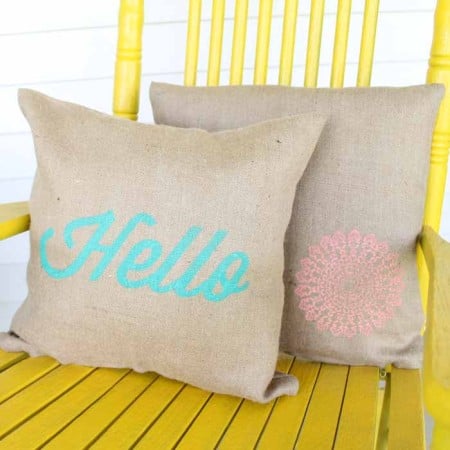
You can do similar crafts with grain sacks and even outdoor pillows! These will look super cute on your porch or inside, too. You can add any quote or shape you like with your stencil. I used a shape and a “hello” to welcome visitors!
How to Make Stenciled Burlap Pillows
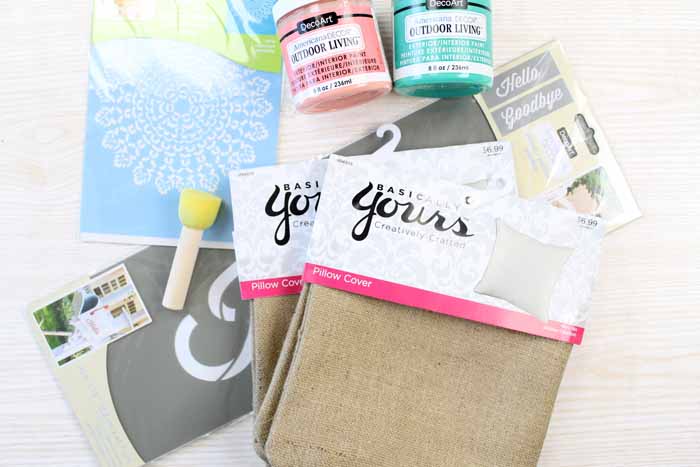
Supplies needed to make these burlap pillows:
Some links below may be affiliate links, meaning you do not pay anymore; however, a small commission will go to this site.
- Burlap pillow covers (I found mine at Hobby Lobby)
- Stencils of your choice (I am using two from DecoArt)
- Outdoor paint in the colors of your choice (be sure to choose a good quality paint)
- Sponge pouncer brush
- Paintbrush
- Stencil adhesive
- Iron
- Scrap paper or cardboard
- Outdoor pillow forms
Start with the video below, which shows just how to stencil on these burlap pillows.
Can’t watch the video or missed some of the steps. Here are the instructions for you:
Iron the burlap pillow covers to remove any wrinkles. Then, insert scrap paper or cardboard into the pillow cover to protect the back if any paint seeps through.
Now it is time to work on your stencil. Turn the stencil over to the backside. Spray well with a stencil adhesive and allow to dry completely. Once dry, press the stencil into place on your pillow cover.
Load up your sponge pouncer brush with your outdoor paint. If you are going to be using these pillows inside, you can use indoor paint or even fabric ink instead of outdoor paint.
Then paint over the stencil, ensuring all areas are covered with paint. You may have to go over some areas twice.
Peel back the stencil immediately to reveal your design.
If you need to fill in the stencil lines, use a regular paint brush for the best results. This is especially true of words or letters.
Allow the paint to dry completely. You may have to heat set it with an iron at this point, depending on the paint you purchased.
Remove the scrap paper from the inside of the pillow cover and add in an outdoor pillow form. Your pillow is ready to display!
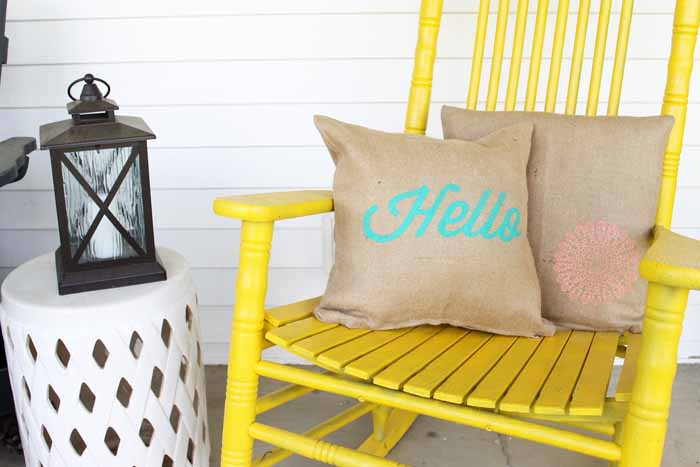
Then just add your burlap pillows to your outdoor decor! You will love the look of these custom pillows that you can make in just minutes.
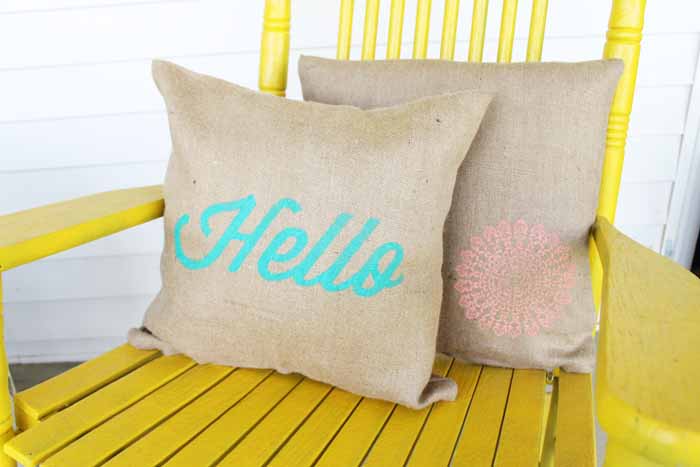
What stencil will you add to your pillows? Did you know that you can make custom stencils with your Cricut machine to really amp up the possibilities? You can! See how here!
Love these burlap pillows and want more ideas? Try the links below!
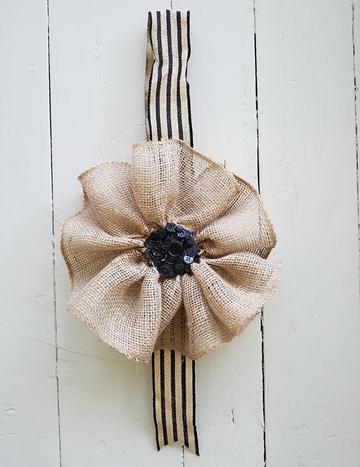
Want to add a touch of burlap to your front door? Try this flower burlap banner from Debra Quartermain.
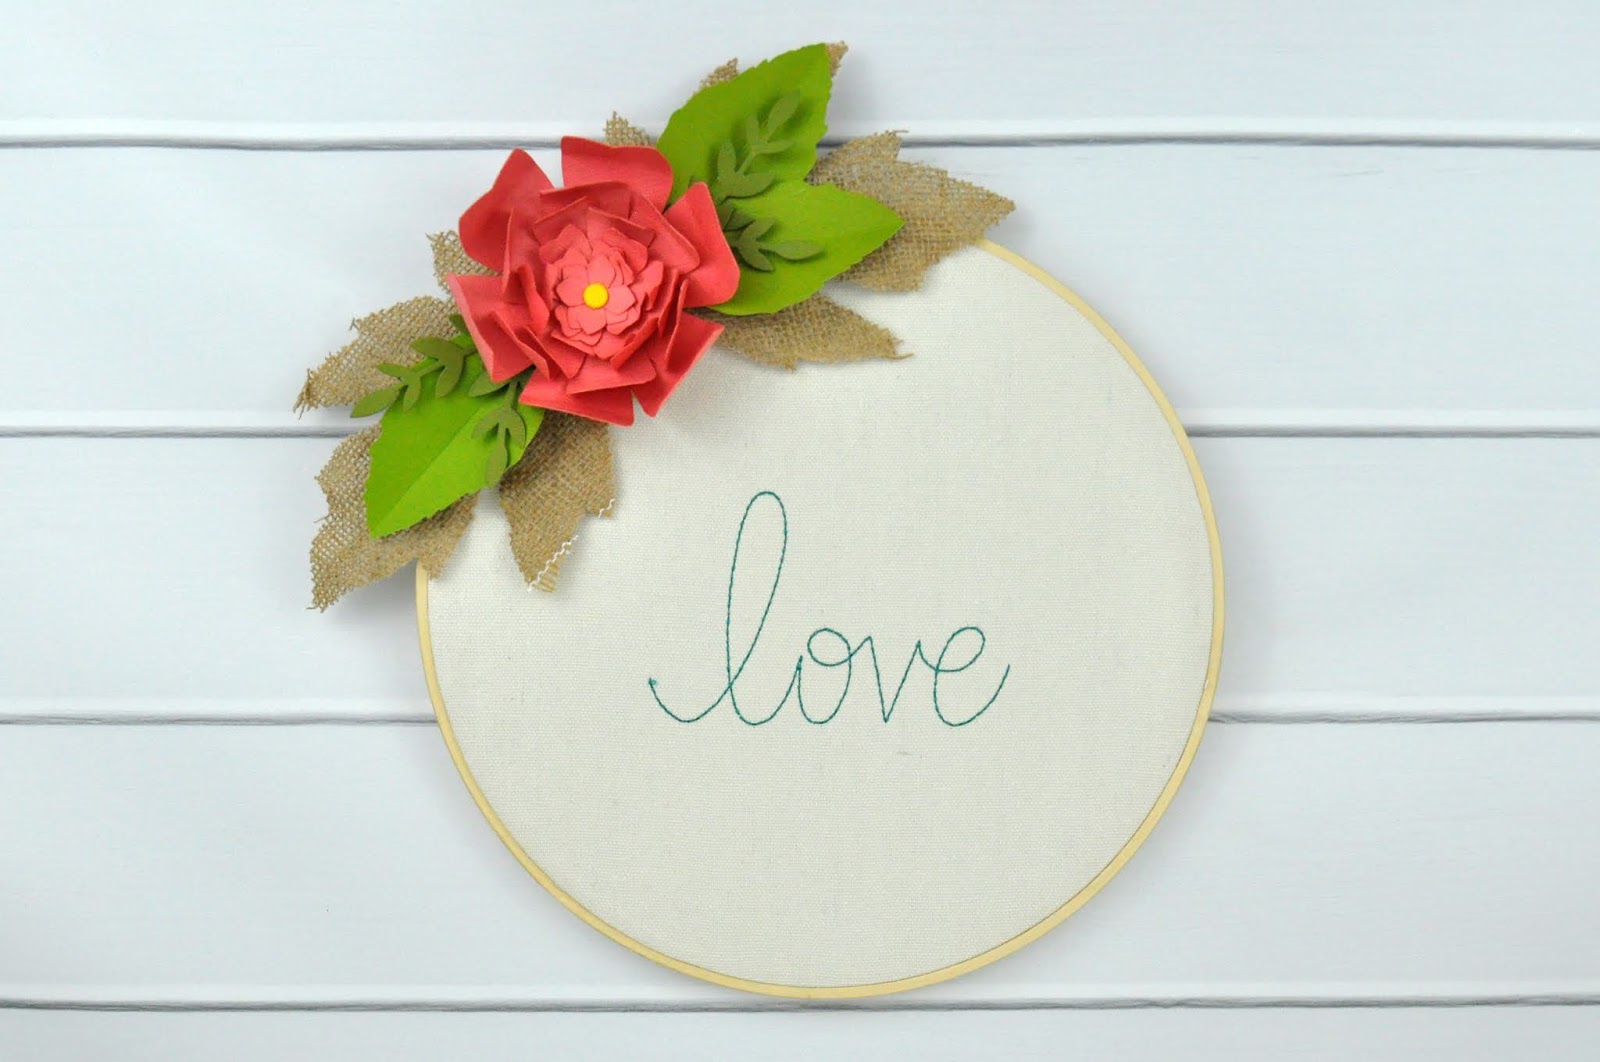
You can also add a touch of burlap to some hoop art with this project from Jen Gallacher.
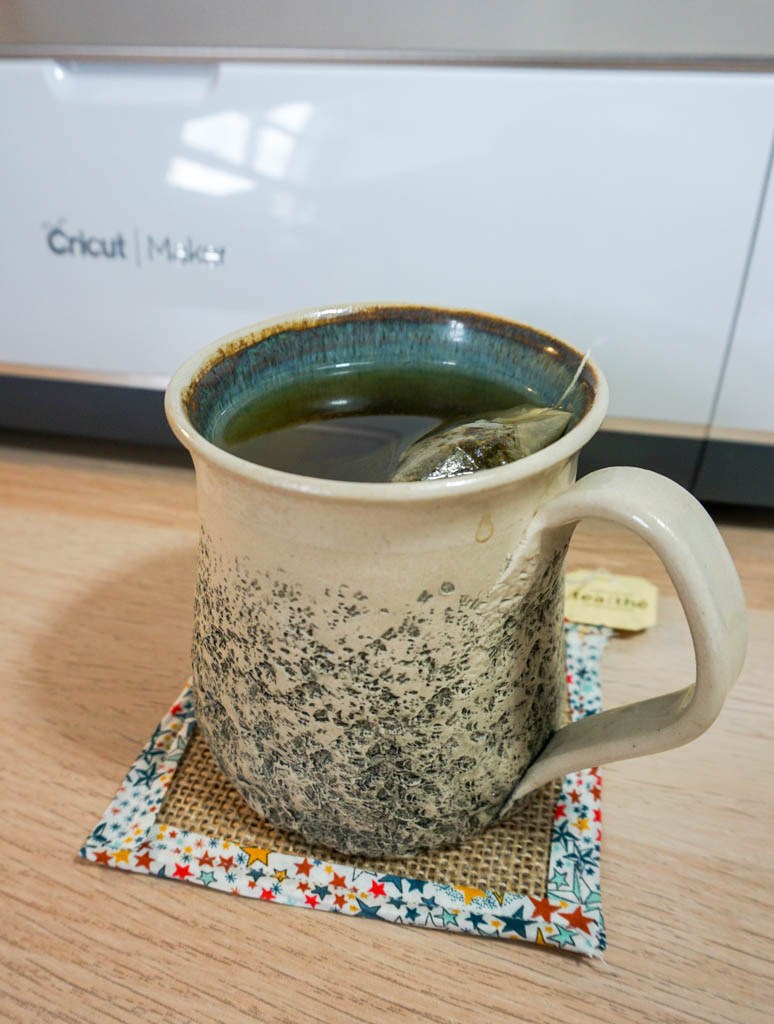
Everyone needs some burlap coasters like these from Albion Gould.
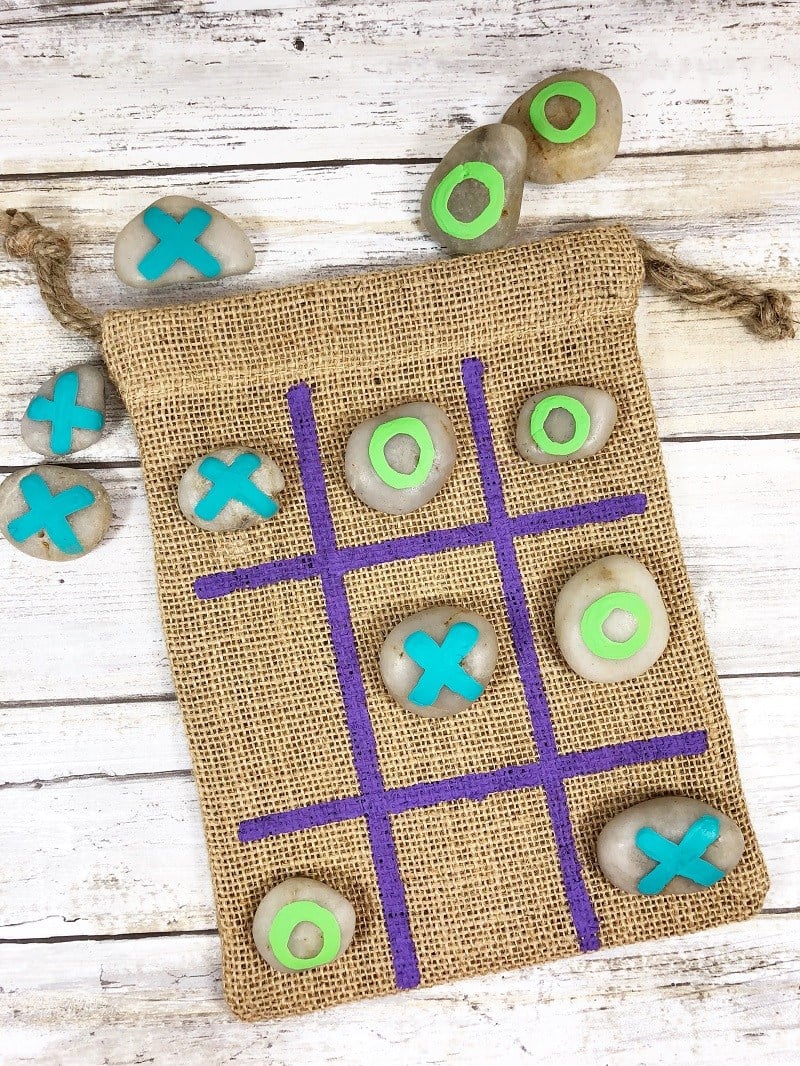
Our guest co-hostess this time around is Creatively Beth, and she made this adorable tic-tac-toe rock game.
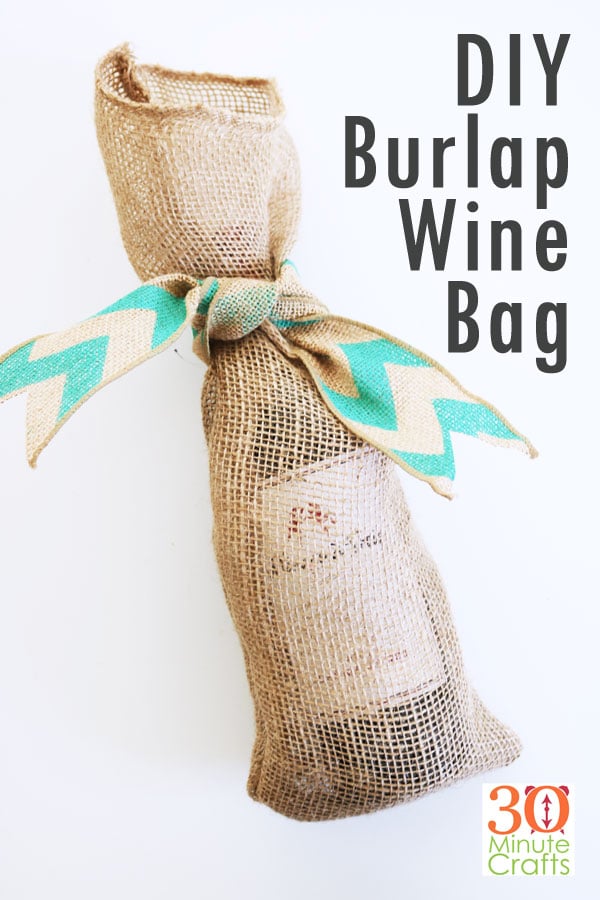
Need to give a gift? Whip up this burlap wine bag from my co-hostess, 30 Minute Crafts.
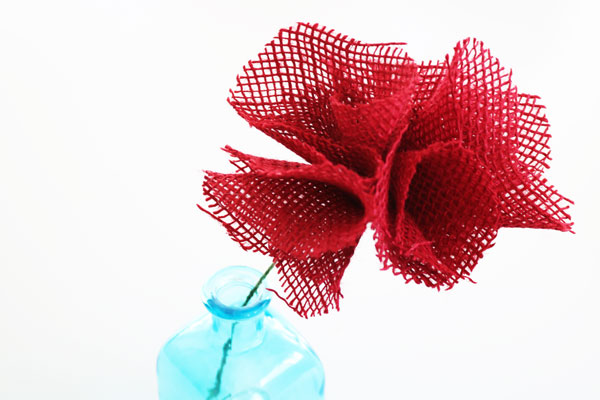
Want a touch of burlap in your decor? 30 Minute Crafts also has these cute burlap flowers that you can make in minutes.
So, whether you make burlap pillows or one of these other crafts, you might just be surprised at everything this fabric can do!
Supplies
- Burlap pillow covers I found mine at Hobby Lobby
- Stencils of your choice I am using two from DecoArt
- Outdoor paint in the colors of your choice be sure to choose a good quality paint
- Sponge pouncer brush
- Paintbrush
- Stencil adhesive
- Iron
- Scrap paper or cardboard
- Outdoor pillow forms
Instructions
- Be sure to iron the burlap pillow covers to remove any wrinkles.
- Then insert scrap paper or cardboard into the pillow cover to protect the back if any paint seeps through.
- Now it is time to work on your stencil. Turn the stencil over to the back side. Spray well with a stencil adhesive and allow to dry completely.
- Once dry, press down the stencil down well into place on your pillow cover.
- Load up your sponge pouncer brush with your outdoor paint.
- Then paint over the stencil making sure that all areas are covered with paint. You may have to go over some areas twice.
- Peel back stencil immediately to reveal your design.
- For some stencils, you may want to use a regular paint brush at this point to fill in some of the stencil lines. This is especially true of words or letters.
- Allow the paint to dry completely. You may have to heat set with an iron at this point depending on the paint you purchased.
- Remove the scrap paper from the inside of the pillow cover and add in an outdoor pillow form.


These burlap stenciled pillows are perfect for my wicker chair, I love them!!