
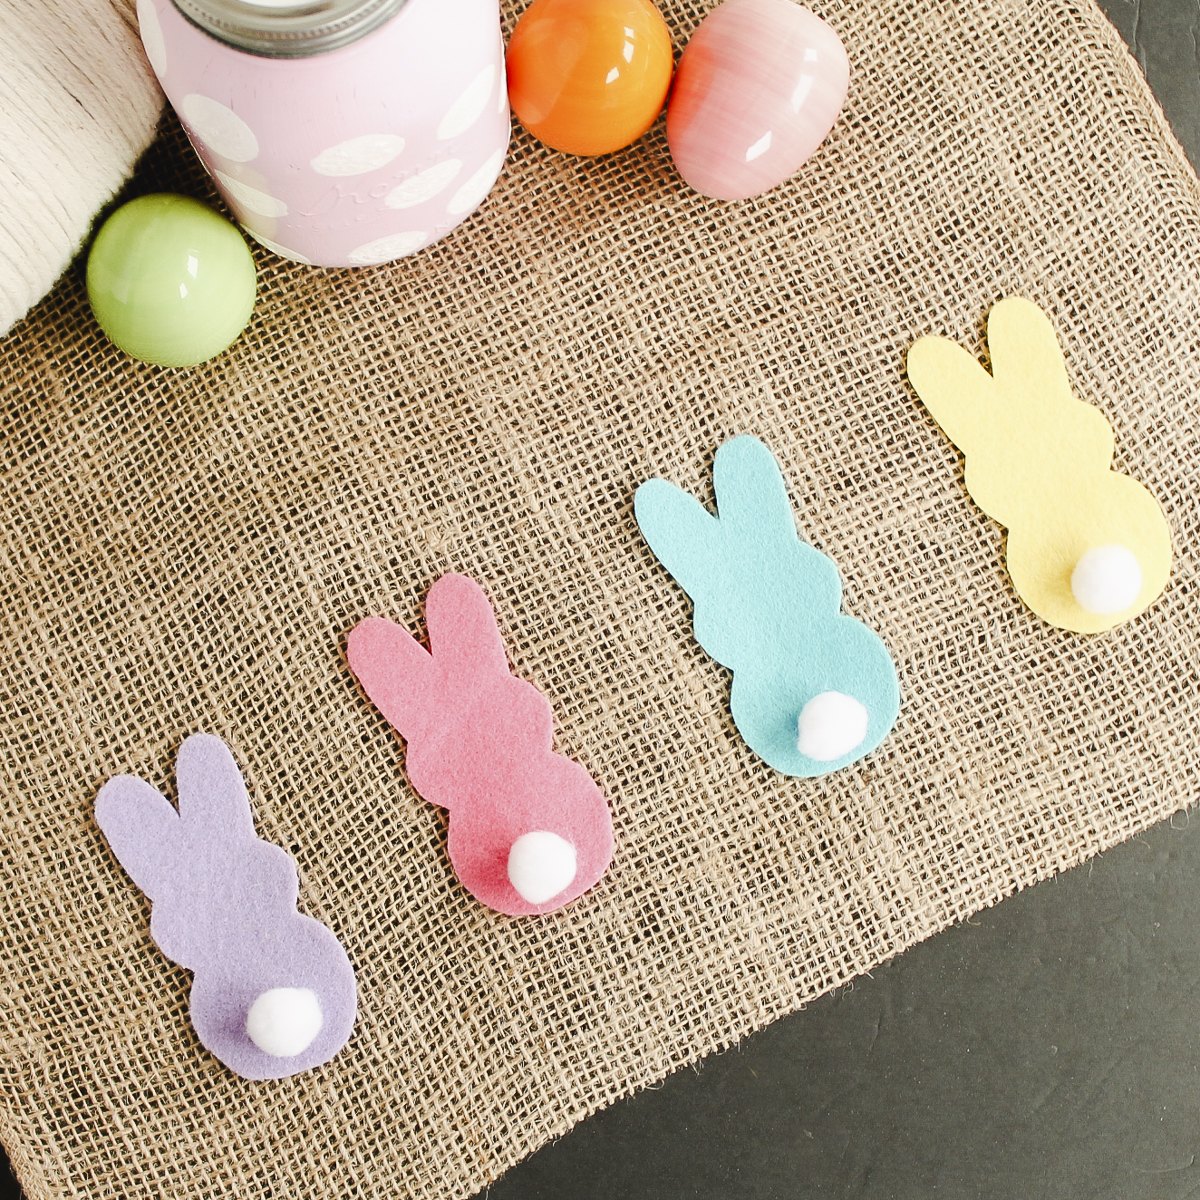
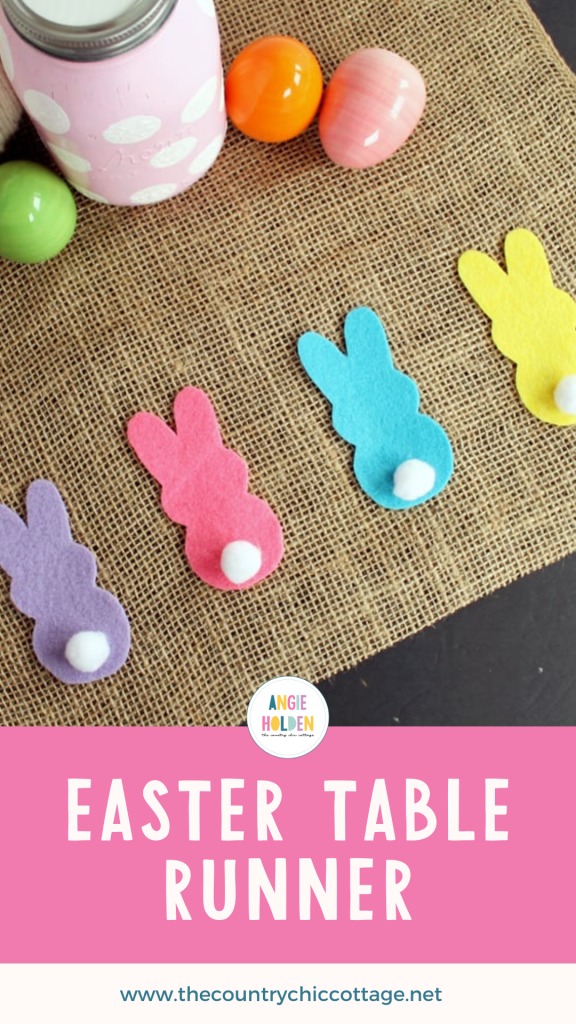
A burlap table runner for Easter is the perfect way to bring some hip-hoppity fun to your home decor. This easy-to-make DIY Easter table runner will be a delightful addition to your table.
Just add some felt, hot glue, and pom poms to a strip of burlap. Follow the simple step-by-step instructions below—you can make your own Easter table runner with or without a Cricut machine.
This was originally posted on March 1, 2016, however, I am republishing with more information.
Making a DIY Easter Table Runner
You can make this easy Easter table runner by cutting out felt bunnies by hand or putting your Cricut to work. Never used your Ciruct to cut felt? What are you waiting for? Check out my how-to guide here to get started!
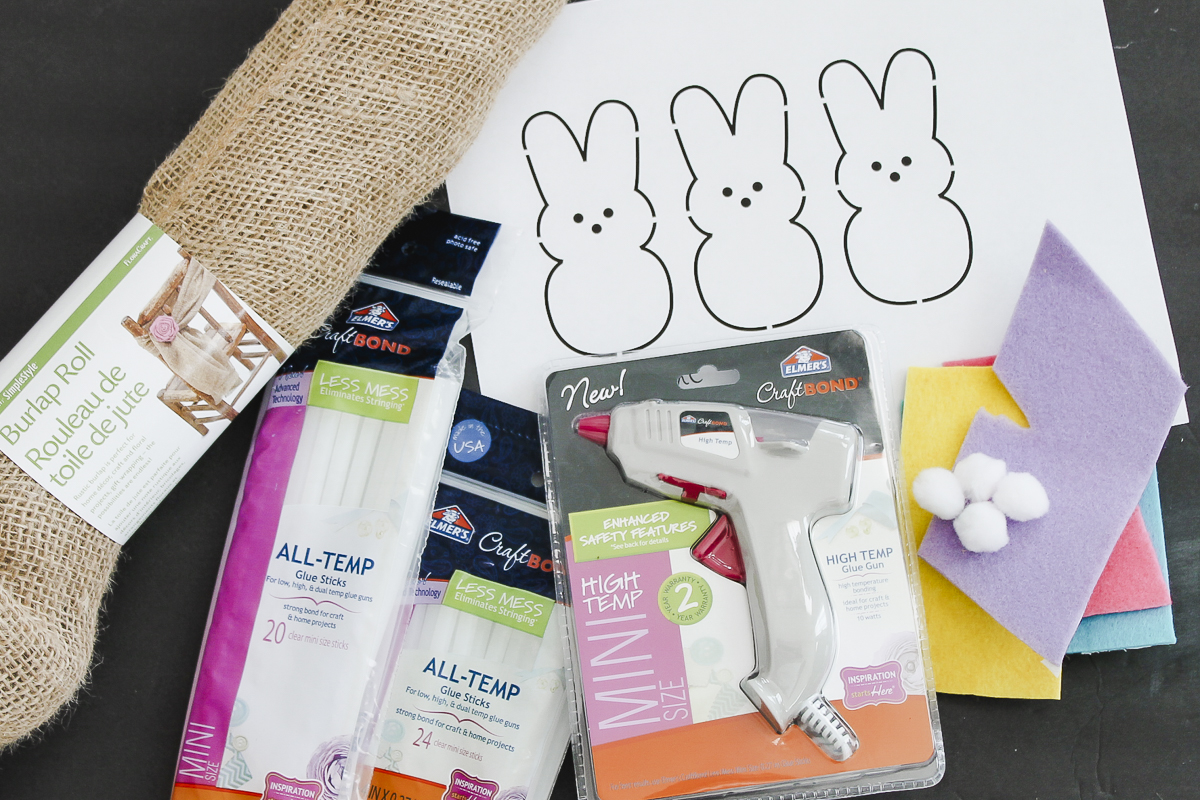
Supplies needed
- Burlap roll
- Free bunny template or SVG file
- Cricut machine (I am going to show. you how to make if you don’t have a machine as well!)
- Felt scraps or Cricut Felt
- White pom poms
- Glue gun and glue sticks
- Wax paper or non-stick mat
- Marker
- Scissors
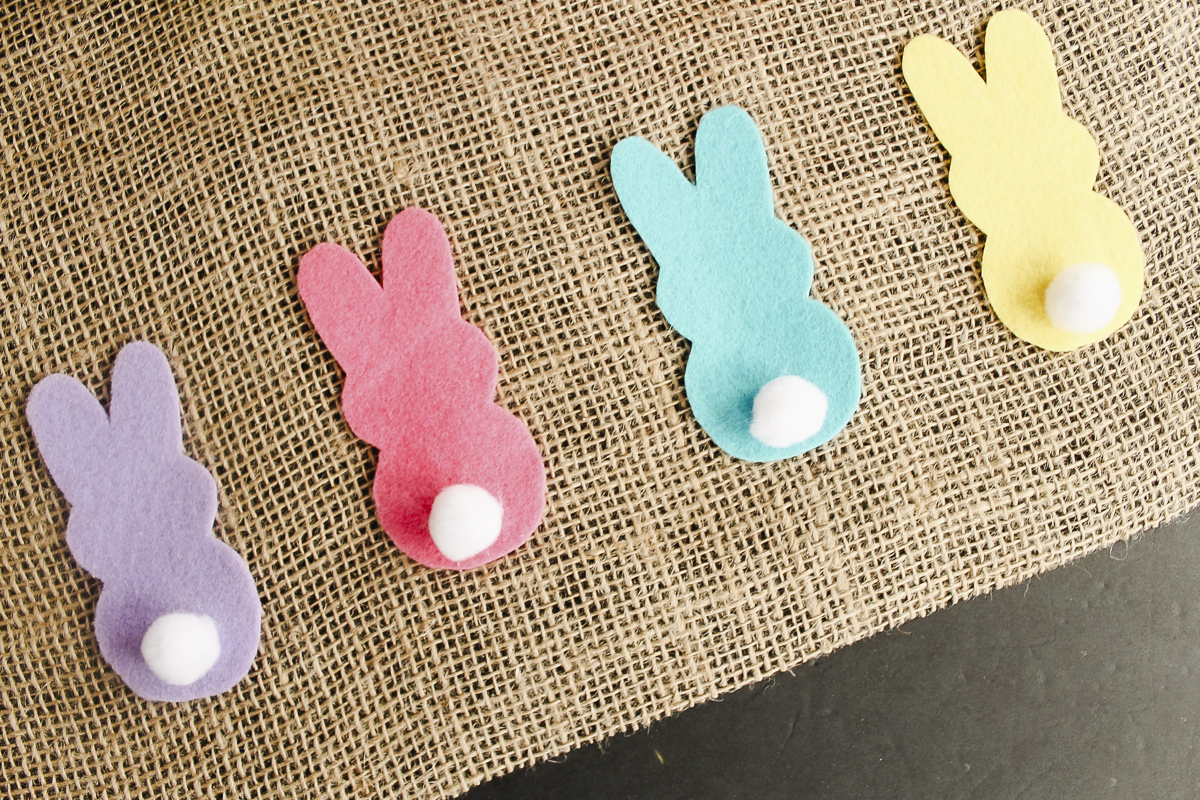
Step 1 – Cut out felt bunnies
You can do this one of two ways – with a Cricut or with scissors.
Cut by Hand with Scissors
To make this by hand, cut a bunny from the printed page. Be sure to print the page on a full-size sheet of paper.
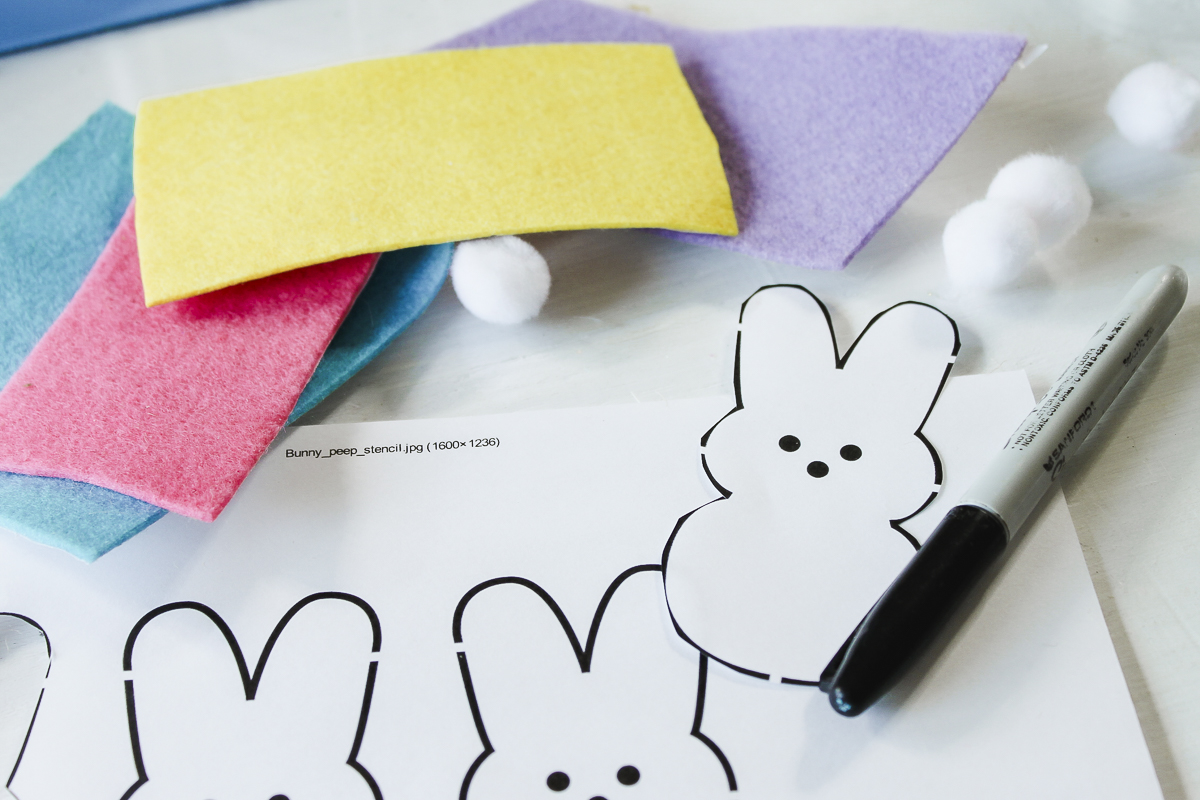
Trace with a marker onto four different colors of felt. I love using scraps for these types of projects!
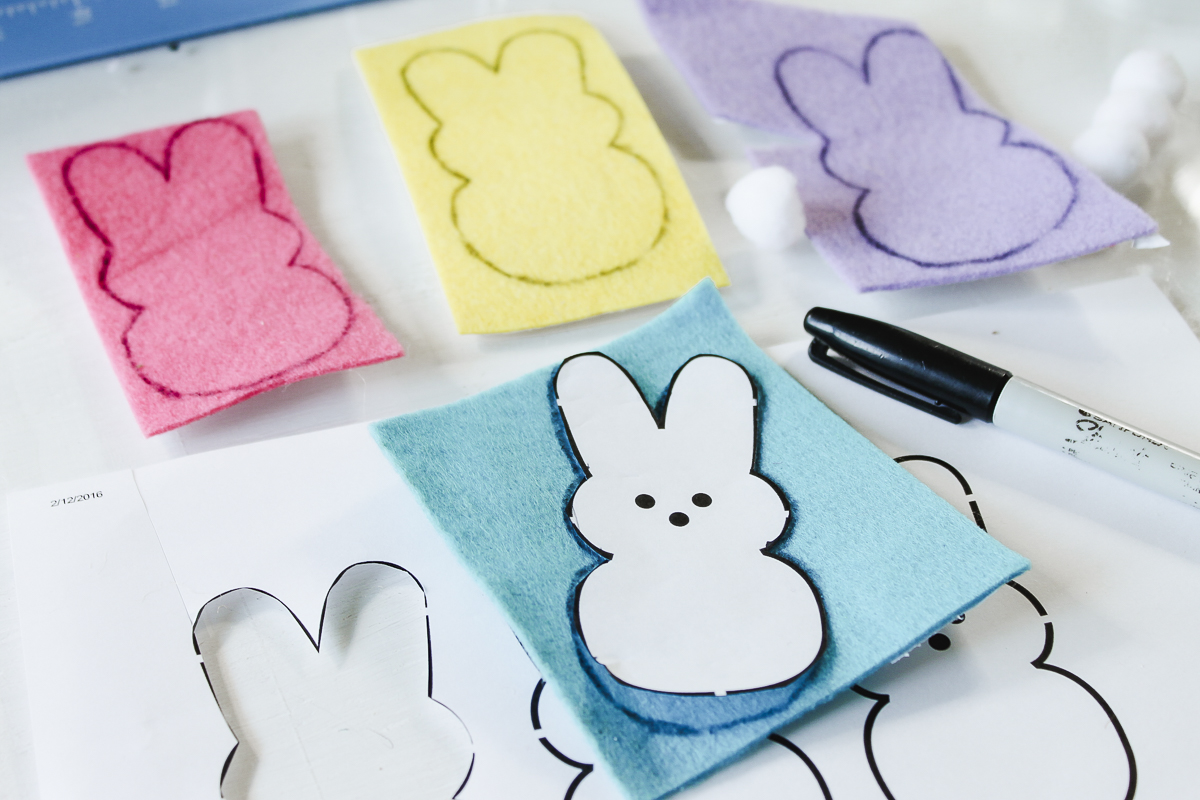
Cut out the bunnies from the felt with scissors.

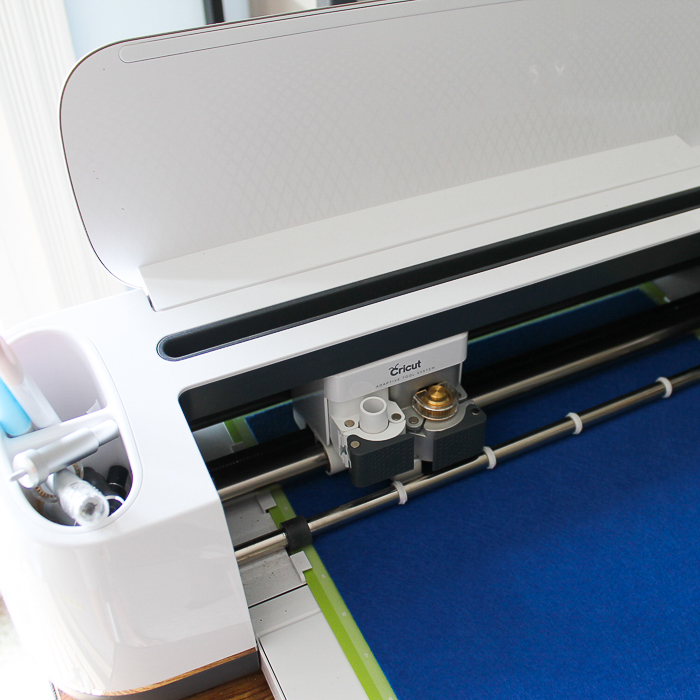
Cut with a Cricut
To make this project using a Cricut machine, upload the cut file into Cricut Design Space and add the bunnies to your canvas. (Need help uploading a cut file? Check out this post.) I resized and duplicated the bunny shape and changed the colors so I could cut them on different pieces of felt.
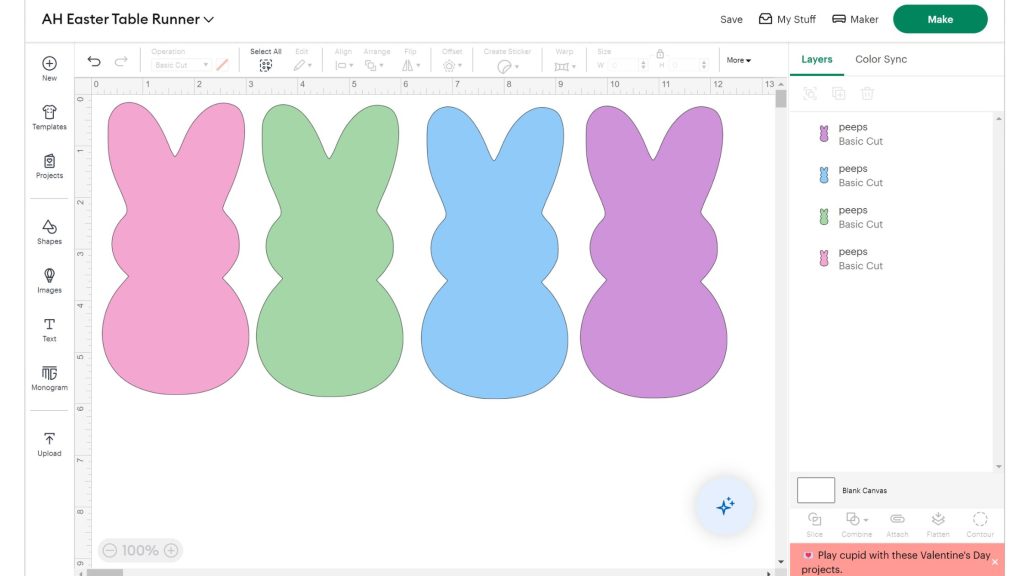
Add felt to a Cricut mat. The fabric mat works best with plain felt and I generally use a green mat with cutting the Cricut felt. Add the machine to the mat and press go to cut.
NOTE: I like the Cricut Maker for cutting regular felt and I use the rotary blade. If you are using stiff felt or the Cricut felt, you can use any Cricut machine and the fine point blade.
Step 2 – Attach bunnies to burlap runner
The hot glue will leak through the burlap and you don’t want it on your table so be sure to place your burlap runner onto a non-stick mat or wax paper. Position the bunnies onto the burlap how you would like them to be.
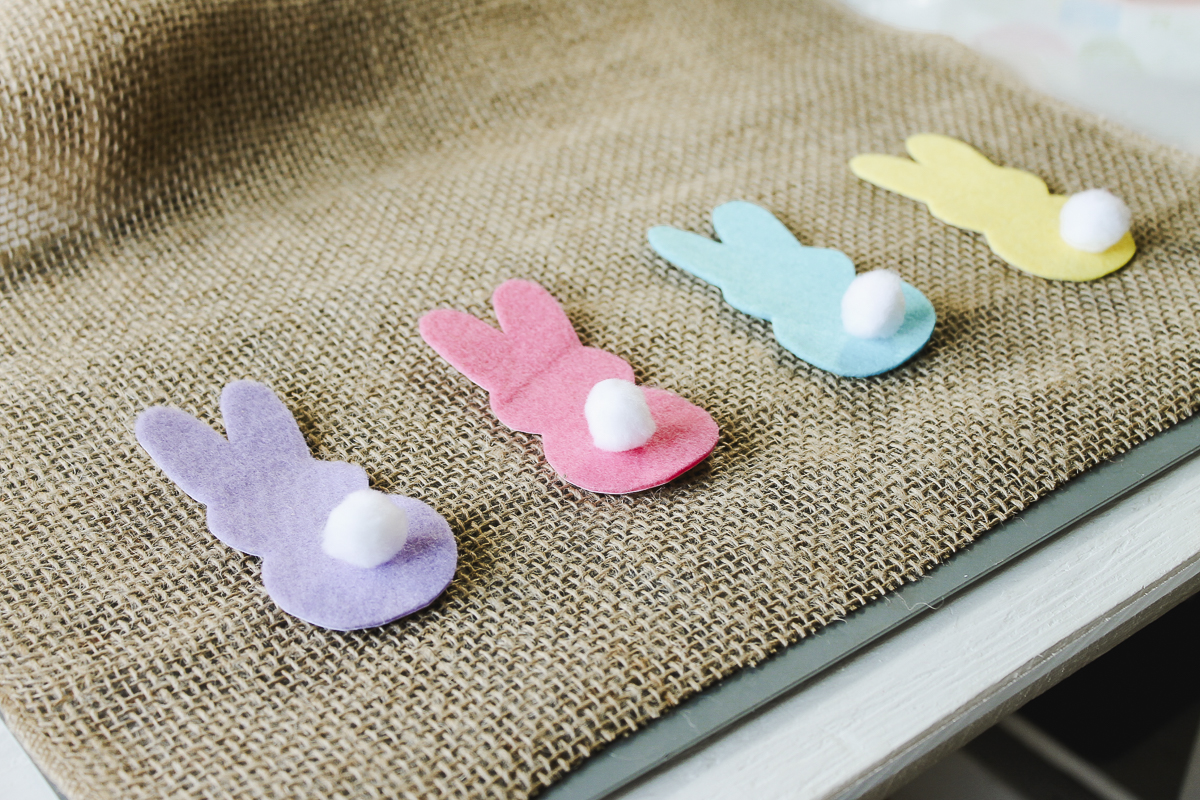
Use hot glue to secure the bunnies and the pom poms into place on the runner. If you are not using a non-stick surface when glueing, be sure to lift it immediately to keep it from sticking. Allow it to dry before setting it on any other surfaces.
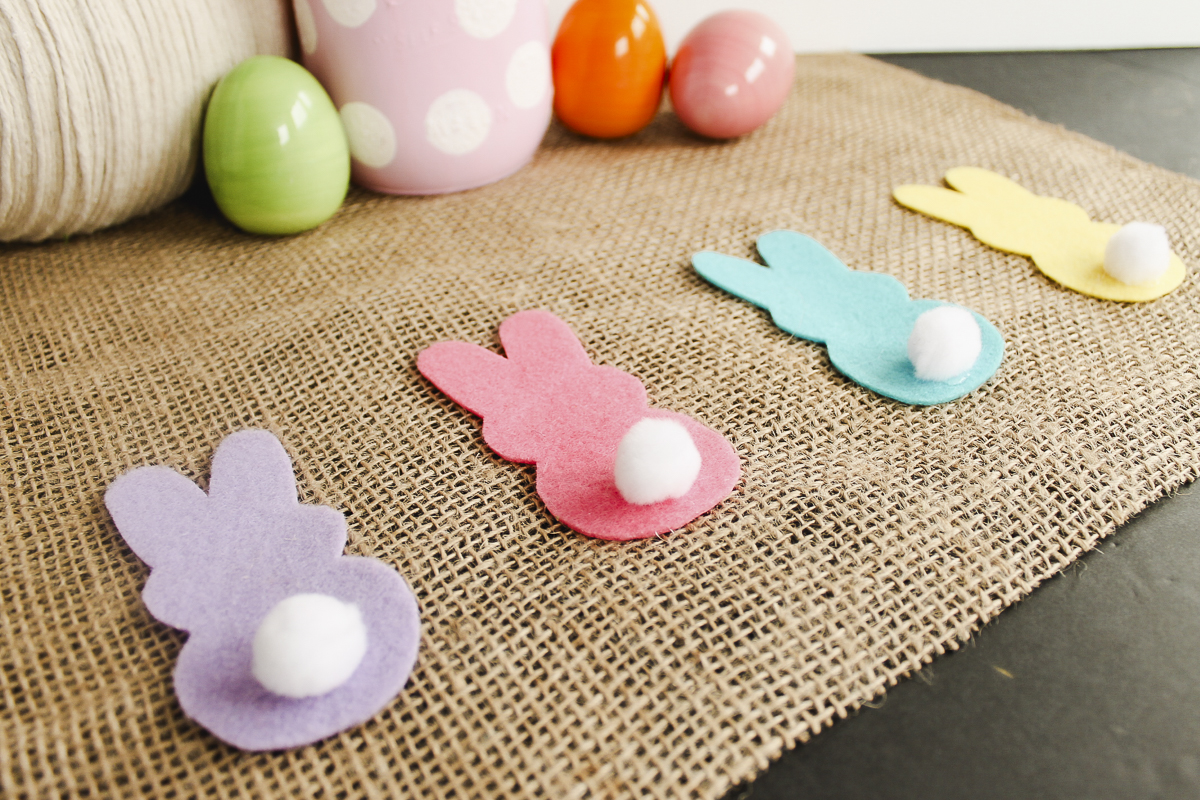
Step 3 – Enjoy your custom Easter table runner
Enjoy your burlap table runner at your Easter table! This cute runner will be the talk of the holiday!
I won’t tell them how easy it was to make if you don’t! You can also get instructions for making that mason jar here or that twine wrapped egg here. Grab the supplies to make your Easter table runner and enjoy this in your home!
More Easter Crafts
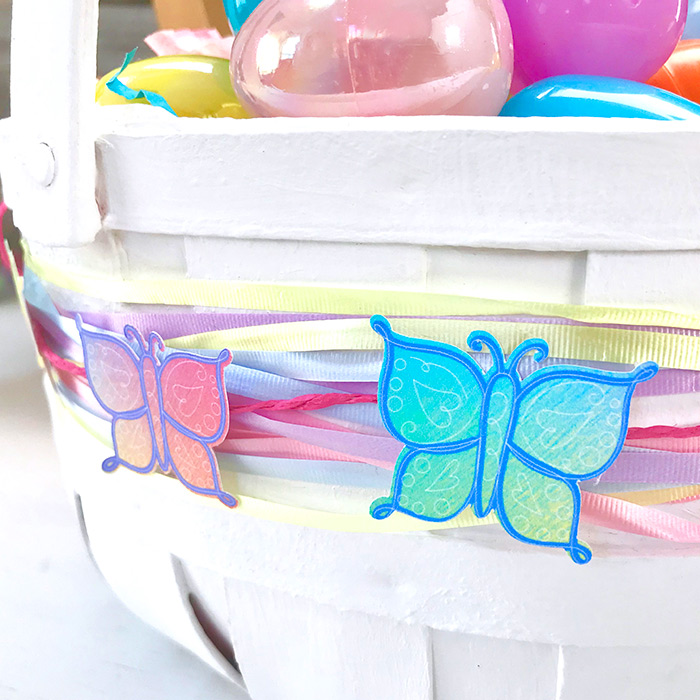
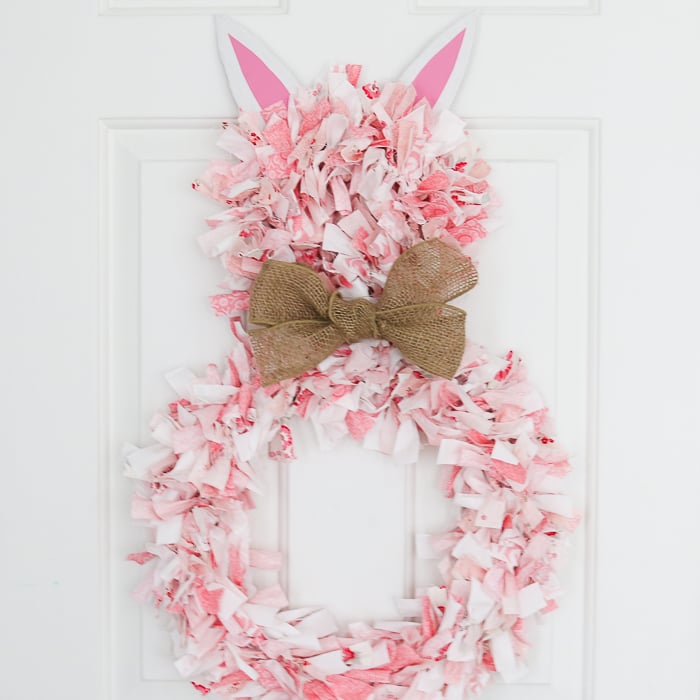
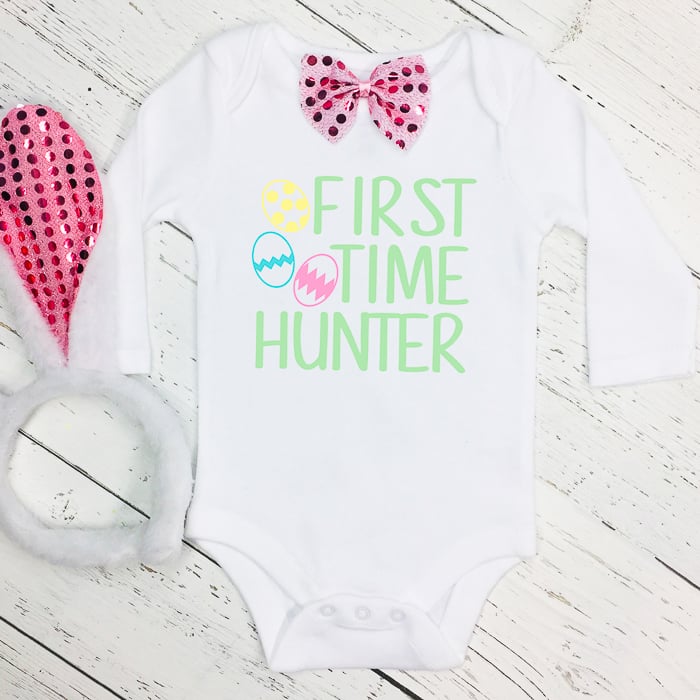
Looking for more DIY Easter ideas? Check out these projects below:


Angie, I love your cute easter runner!! I picked you as my rock star at our Creativity Unleashed party, come by and vote and tell your friends!! Hugs!
where can i find to print the template for theeaster bunnies for the table cloth?
Fixed it to where the link is back!