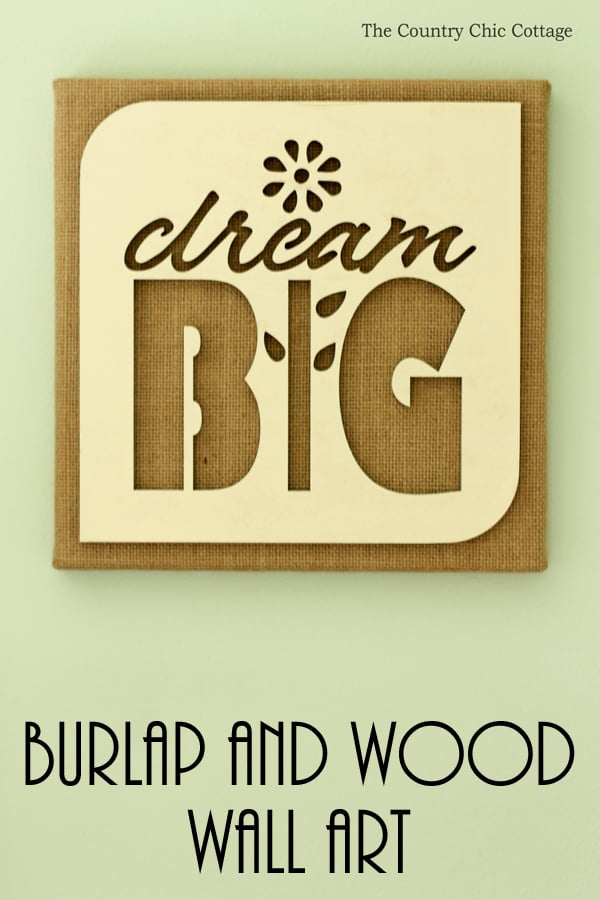
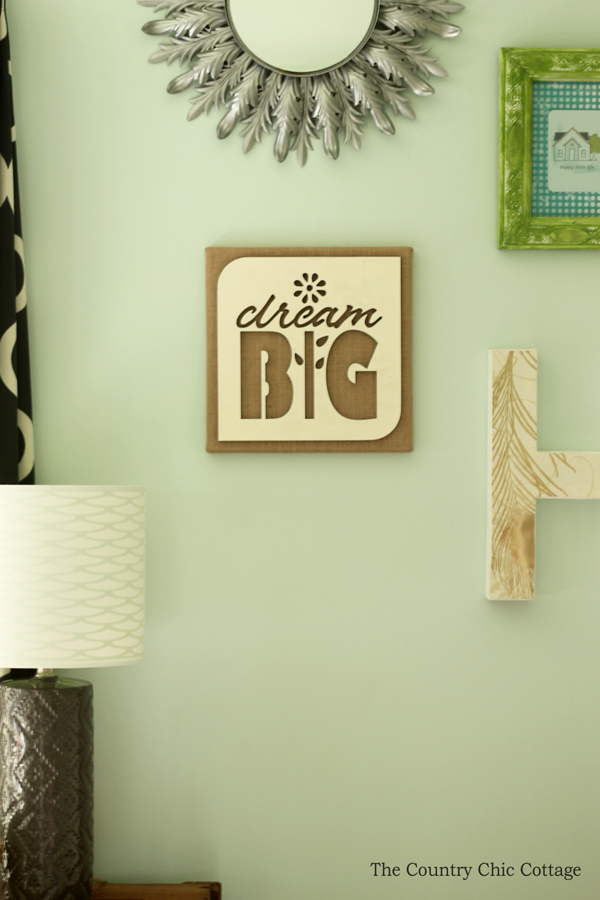
Burlap wall art like this version is super easy to make yourself in just minutes. I originally thought of this as a great gift for teachers. It would look great as inspirational art in a classroom. As I finished it, I realized that this would look great in any room. Tweens and teens will love this simple burlap wall art. You can actually get a variety of wood cutouts for this craft so pick the one that you love best and make this for your home today.
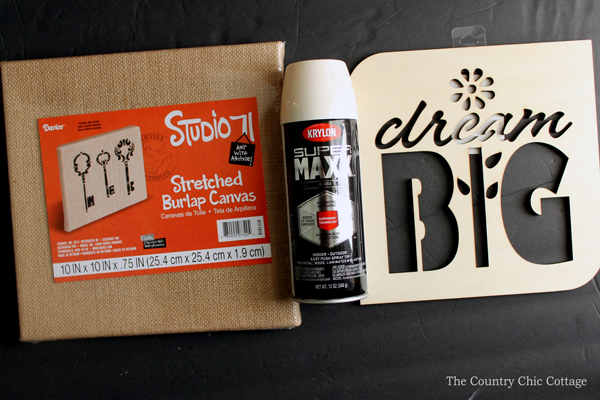
Supplies to make your own burlap wall art:
Some links are affiliate links.
- Burlap canvas (I used a 10 x 10 to accommodate my cutout)
- Laser cut sign (I used the Dream BIG sign)
- Spray paint
- Hot glue and glue gun
Spray paint the wood sign completely in the color of your choice. I used a creamy white for my version. Several light coats should do the trick. Allow to dry completely before continuing.
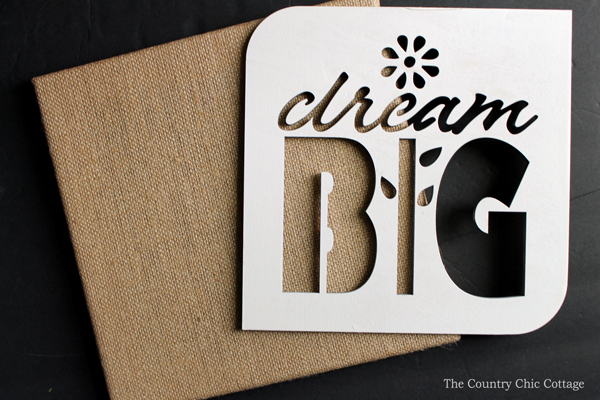
Use the hot glue gun to attach the wood sign to the burlap canvas. That is it! This burlap wall art is complete and ready to hang in any room of your home.
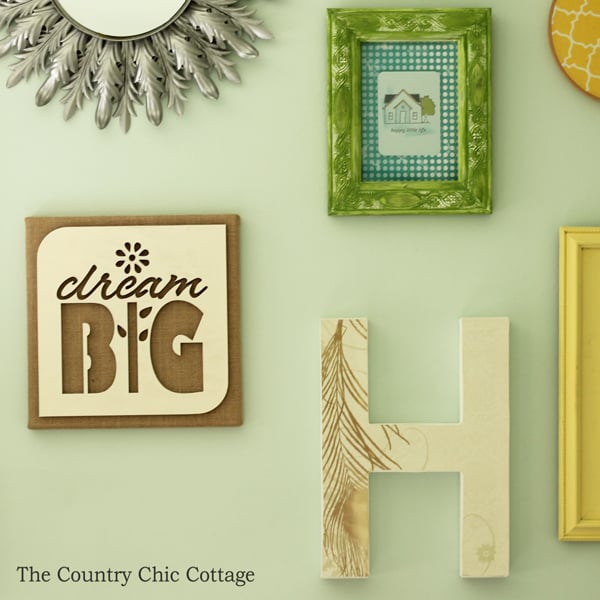
I love how three dimensional this project looks and how easy it is to pull together. Grab your supplies and make your own version today. Perhaps you will give this burlap wall art to a teacher or someone else special in your life. Or you might keep it for yourself or hang it in your teenager’s room. Either way this will be a fun addition to your home that you can make in just minutes!
Did you know that it is National Craft Month? My friend Jen Goode with 100 Directions is celebrating all month with tons of other bloggers. This post is a part of that celebration. Want to see more great craft ideas? Click here to see the details on 100 Directions!



What a super fun project – I always love how you make fancy things look so easy to make!