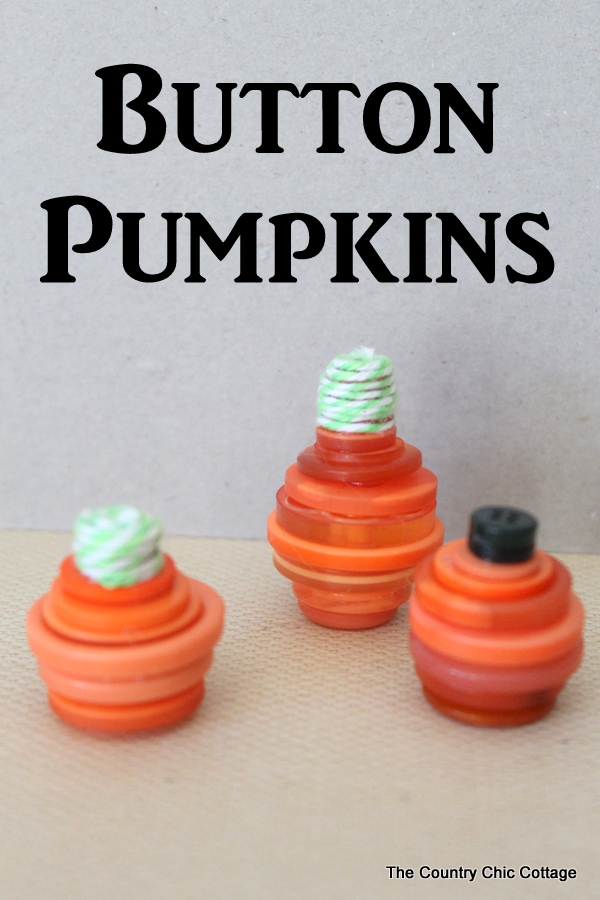
A quick and easy fall craft! These fun mini pumpkins can decorate your home for Halloween and the entire fall season. Make these button pumpkins in minutes with vintage buttons, hot glue, and twine! These mini pumpkins are perfect for your fall home décor.
This craft is a part of Craft Lightning for Halloween crafts that can be completed in 15 minutes or less. If you missed any of the Craft Lightning fun here this week, be sure to check out the roundups from day 1, day 2, day 3, and day 4.
If you’re a crafter like me, you likely have a billion buttons to organize! Well, this craft is the perfect solution to using up the extra buttons you have.
I love using buttons to decorate with. They are easy to work with and cheap to buy, too! If you have an abundance of buttons to use up after making these cute little pumpkins, make this fall tray with your extra buttons!
These mini button pumpkins will make the cutest Halloween décor!
How to Make Mini Button Pumpkins
Supplies needed to make your own button pumpkins:
- Buttons (Orange
and Green
)
- Bakers Cotton Twine Lime Green/White
- Hot glue gun and glue
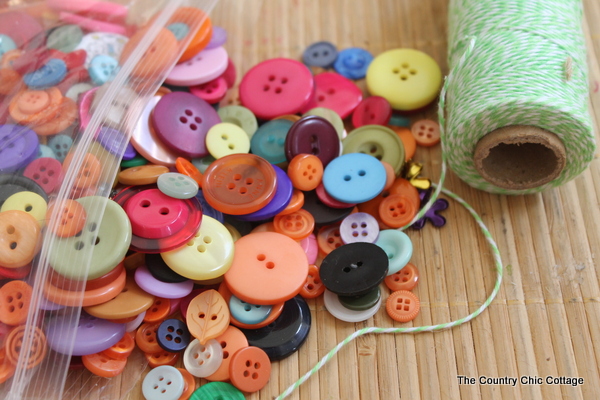
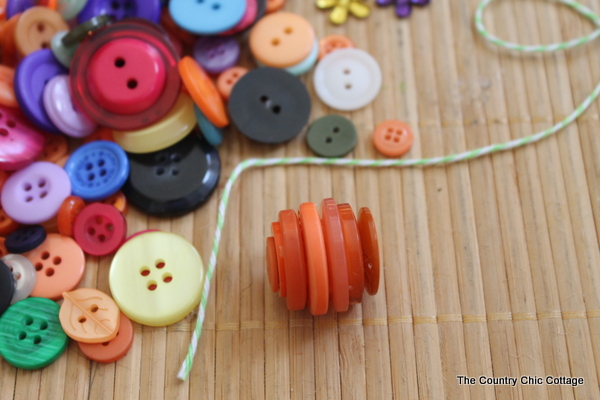
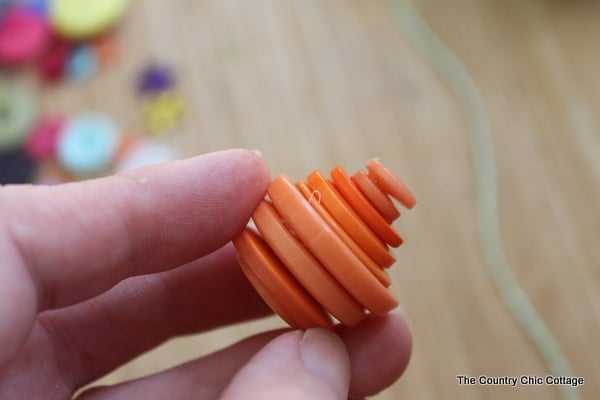
Start with your orange buttons and stack them, so they resemble the bottom of a pumpkin. Use hot glue to secure them together.
Next, we need to make the stem of the pumpkin. You can do this one of two ways: with twine or tiny black buttons. It’s really up to you.
Here’s the first option: First is to top with a few green buttons and secure those with hot glue.
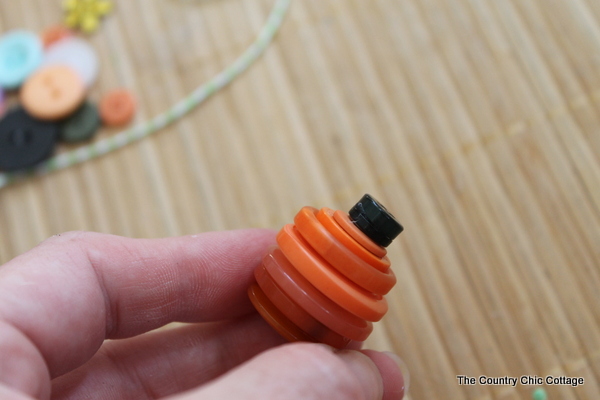
Here’s the second option: Add a few small orange buttons to the top and secure those with hot glue. Then, wrap the top orange buttons with the baker’s twine and secure them with hot glue.
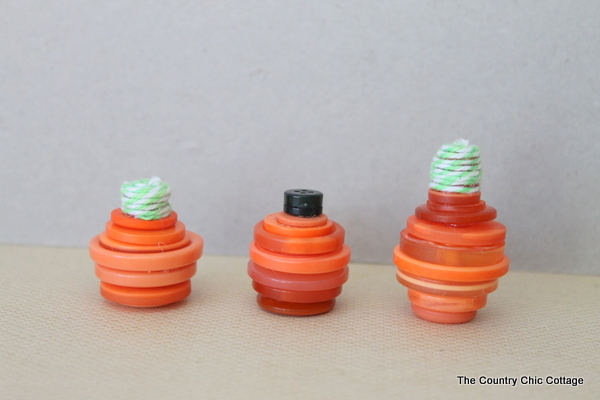
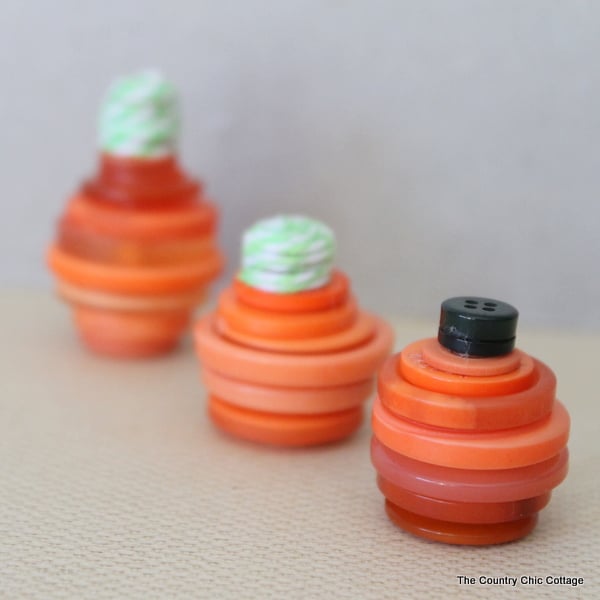
Your button pumpkins are ready for display in your home. Do you have vintage buttons just lying around? Grab them and make some of these in just minutes!
Supplies
- Buttons Orange and Green
- Bakers Cotton Twine Lime Green/White
- Hot glue gun and glue
Instructions
- Start with your orange buttons and stack them so they resemble the bottom of a pumpkin. Use hot glue to secure together.
Make the Pumpkin Stem
- Next, we need to make the stem of the pumpkin. You can do this one of two ways: with twine or tiny buttons.
- With Tiny Buttons: First is to top with a few green buttons and secure those with hot glue.
- With Baker's Twine: Add a few small orange buttons to the top and secure those with hot glue. Then, wrap the top orange buttons with the baker’s twine and secure with hot glue.
- Now, your pumpkins are ready to display!


Adorable!! Blessings, Catherine