Say hello to the candy cane-themed button tree craft. A button tree is an enchanting, easy-to-make craft that’s perfect for the holiday season. It’s kid-friendly and looks amazing when it’s done. Plus, it provides a great opportunity to increase your creativity and let your imagination run wild! So, get ready to deck your halls with these adorable handcrafted button trees!
Welcome back, you wonderful craft-loving DIY enthusiasts!
Today, we’ve got something truly whimsical up our sleeves. I am going to show you how to weave together a magical button tree brimming with the spirit of yuletide.
This button tree craft project is perfect for adding some holiday cheer to your home. With just a few simple supplies, you can turn any wall into an enchanting winter wonderland with these delightful button trees.
So grab your button stash, round up the kiddos, and let’s get crafting in true Country Chic Cottage style!
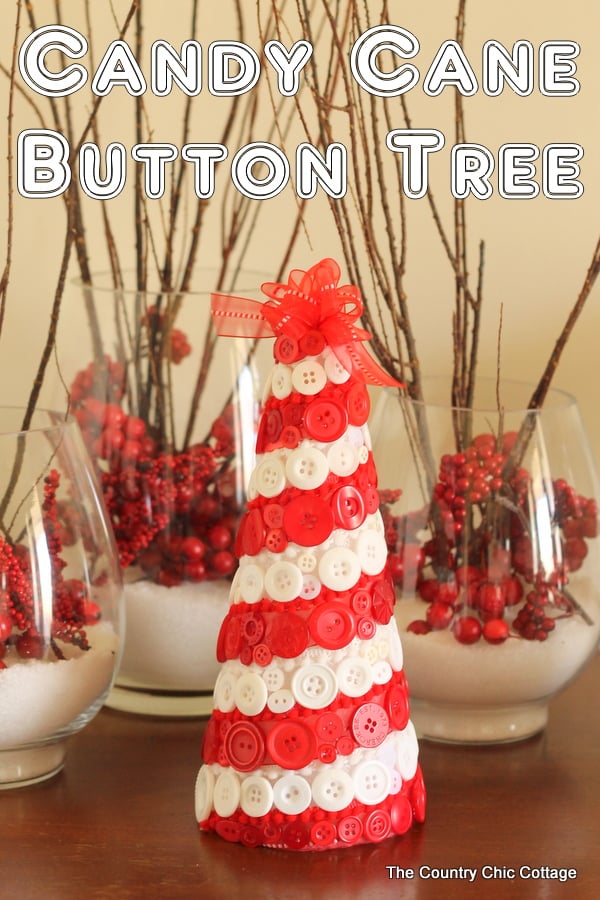
How To Make A Candy Cane Button Tree
This candy cane button tree is one of my favorite Christmas projects ever! Grab some red and white buttons to cover a cone.
I will show you below how to lay everything out and keep those stripes just right.
Supplies Needed
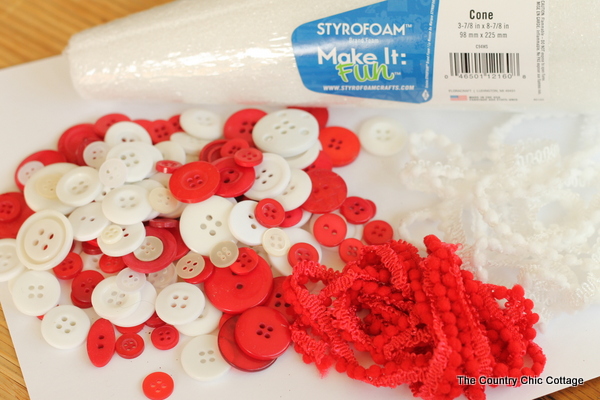
Here’s what you’ll need to gather:
- Red and white buttons
- Styrofoam cone
- Mini pom pom fringe (in red and white)
- Shear red ribbon (not shown below)
- Hot glue and glue gun
Button Tree Craft Instructions
Follow these step-by-step instructions on how to make a Christmas-themed button tree…
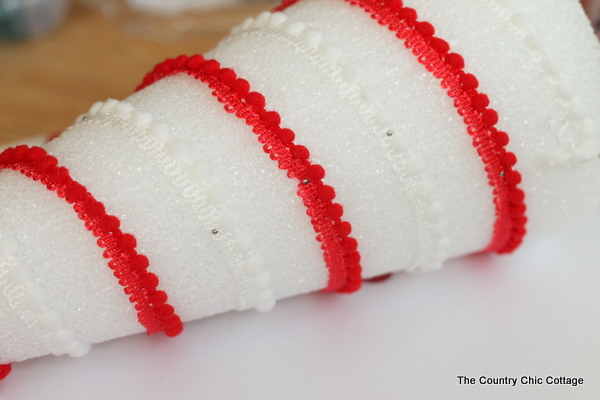
Step 1: Wrap the cone
Start by wrapping that mini pom pom fringe around your cone, as shown below. Hold in place with pins. Adjust until you get the spacing where it looks right. Remove pins and add hot glue to hold them into place.
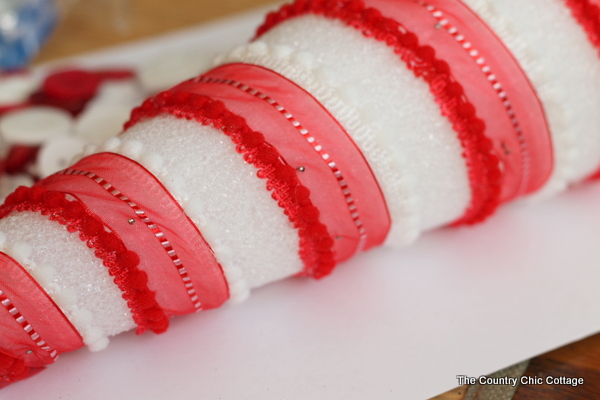
Step 2: Add ribbon
Wherever you want a “red” stripe, put the red ribbon as shown below and hold it in place with pins. This will help make sure that the white cone does not show through on your red stripes.
Step 3: Glue on buttons
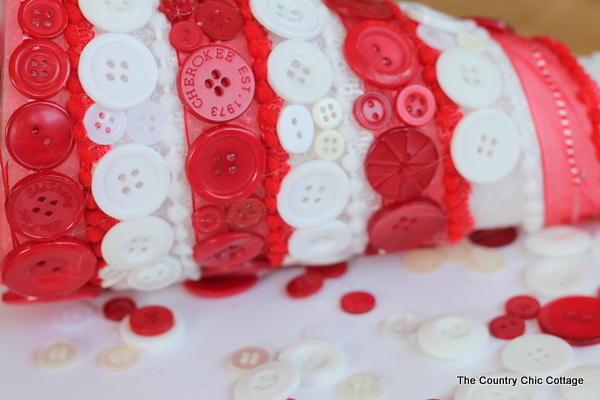
You can start using hot glue to add buttons to each stripe. Adding the red buttons on top of that shear ribbon will hold everything down.
Though, no need to glue the ribbon separately in this case. Just remove those straight pins from the red ribbon as you work your way up the cone.
Mix and match the buttons as shown below to fill in each stripe!
Step 4: Add the finishing touches
Make a bow for the top with some additional red ribbon and hot glue into place for the finishing touch. You can blow dry your entire tree with the blow dryer on hot to remove any hot glue strings.
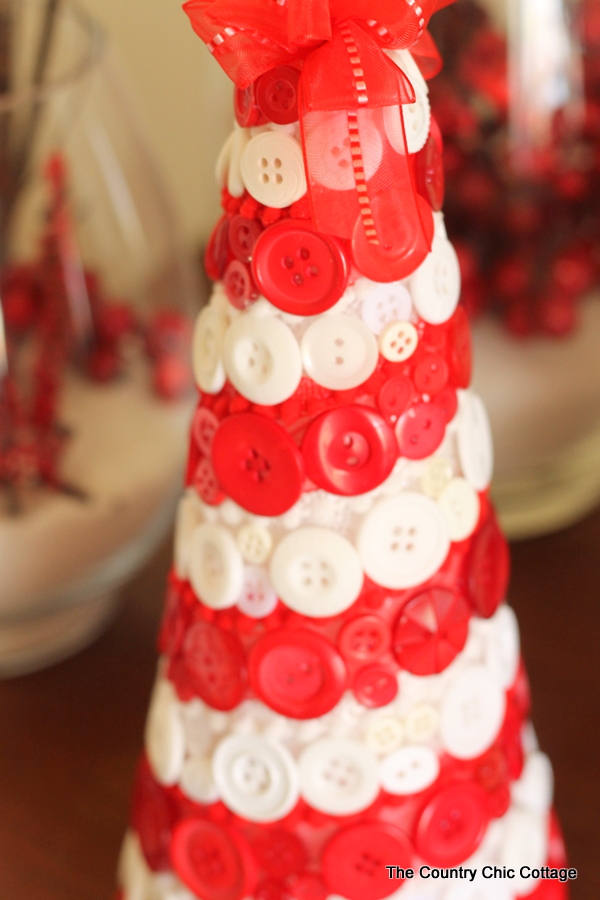
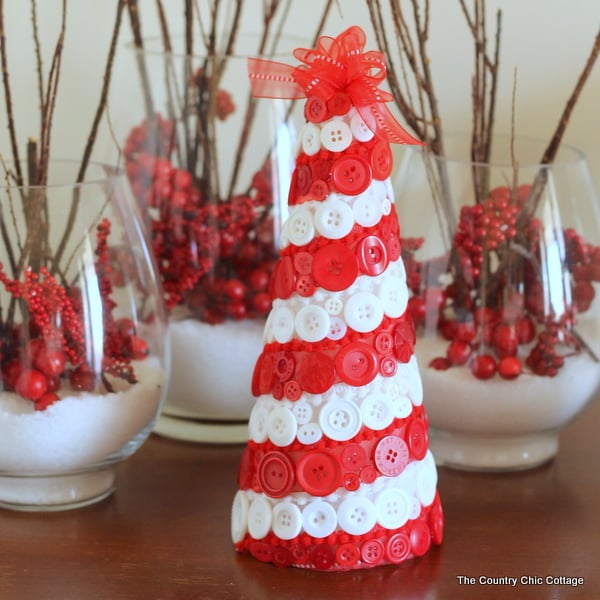
Add your candy cane button tree to any holiday display. This will look great in your home for the Christmas season. Make a smaller or larger version as well if you want!
These candy cane button trees will be the star of any holiday display in your home.
FAQs
If you have questions about making this Christmas button tree, I have answers for you! Please leave your question for me in the comments if you don’t see it already answered below.
Can I make this button tree in other holiday colors?
Absolutely! You can customize your button tree with any colors you’d like. Just choose the buttons and ribbon to match your desired color scheme.
How long does it take to make one of these trees?
Making a basic candy cane button tree will usually take around 30 minutes. But it totally depends on the size of your tree!
What size cone should I use for my button tree?
It really depends on how big you want your finished project to be. A good starting point is an 8-inch cone, but feel free to make a larger one if you want!
More craft ideas
If you love this project and want to make Christmas crafts, we have those for you! Just follow the links below.
- DIY Christmas Napkin Rings with a Cricut
- Make Plaid Christmas Ornaments with a Cricut
- DIY Christmas Mugs with a Cricut Machine
- How to Paint Christmas Trees
- Making Vinyl Christmas Ornaments with a Cricut
Supplies
- Red and white buttons
- Styrofoam cone
- Mini pom pom fringe in red and white
- Shear red ribbon not shown below
- Hot glue and glue gun
Instructions
- Start by wrapping that mini pom pom fringe around your cone, as shown below. Hold in place with pins. Adjust until you get the spacing where it looks right. Remove pins and add hot glue to hold them into place.
- Wherever you want a “red” stripe, put the red ribbon as shown below and hold it in place with pins. This will help make sure that the white cone does not show through on your red stripes.
- You can start using hot glue to add buttons to each stripe. Adding the red buttons on top of that shear ribbon will hold everything down.
- Though, no need to glue the ribbon separately in this case. Just remove those straight pins from the red ribbon as you work your way up the cone.
- Mix and match the buttons as shown below to fill in each stripe!
- Make a bow for the top with some additional red ribbon and hot glue into place for the finishing touch.


The red and white button tree is really cute. Will look forward to more ideas from your newsletters. djs
Please tell me how many red and white buttons you used for the button tree. Can these buttons be purchased on line? How tall is the Styrofoam cone? Are the mini pom-poms on a string, and how long s it? How much thin red ribbon did you use? You can contact me at: Tickletheivories45@gmail.com. Thank you for your time. Have a blessed day!
The cone is 8 7/8 inches tall. You can find the mini pom pom trim here:
http://amzn.to/1LDJVnZ
I used these packages of red and white buttons:
http://amzn.to/1LDK3UF http://amzn.to/1LDK7DR
Hope that helps!
Very cute! Would like to try for next years Christmas bazaar.
SO CUTE AND PRETTY. GREAT JOB!