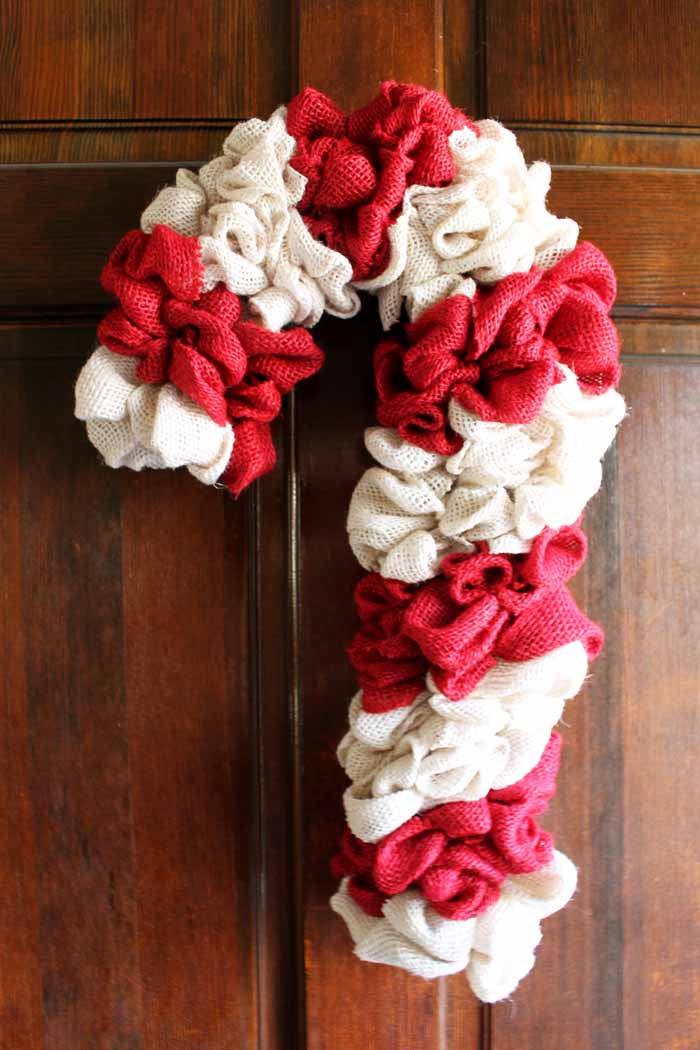
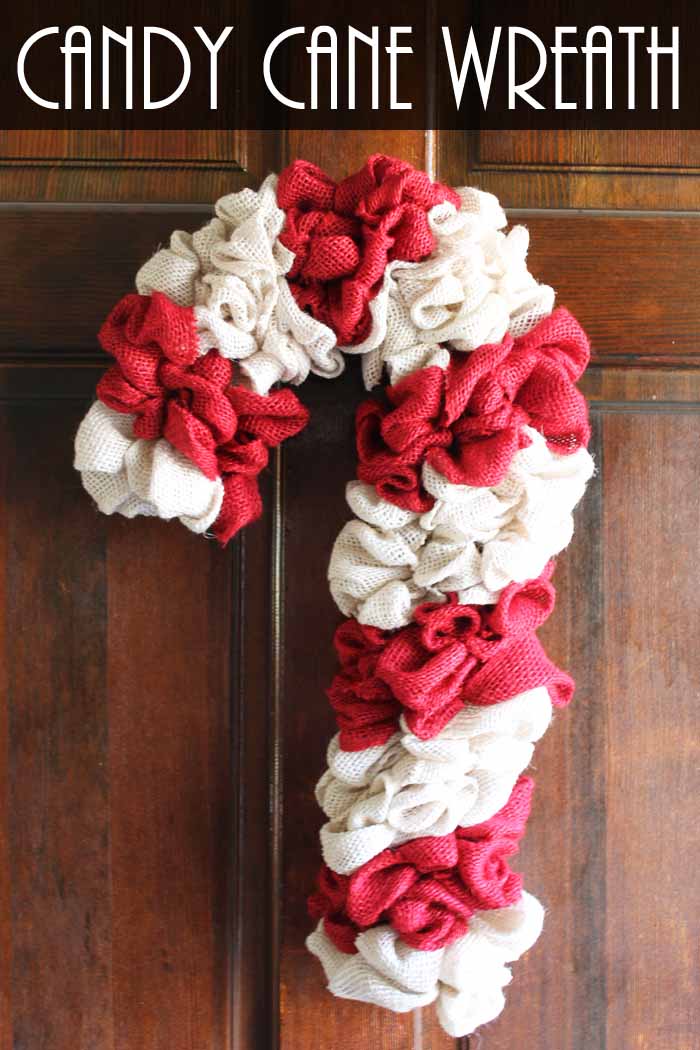
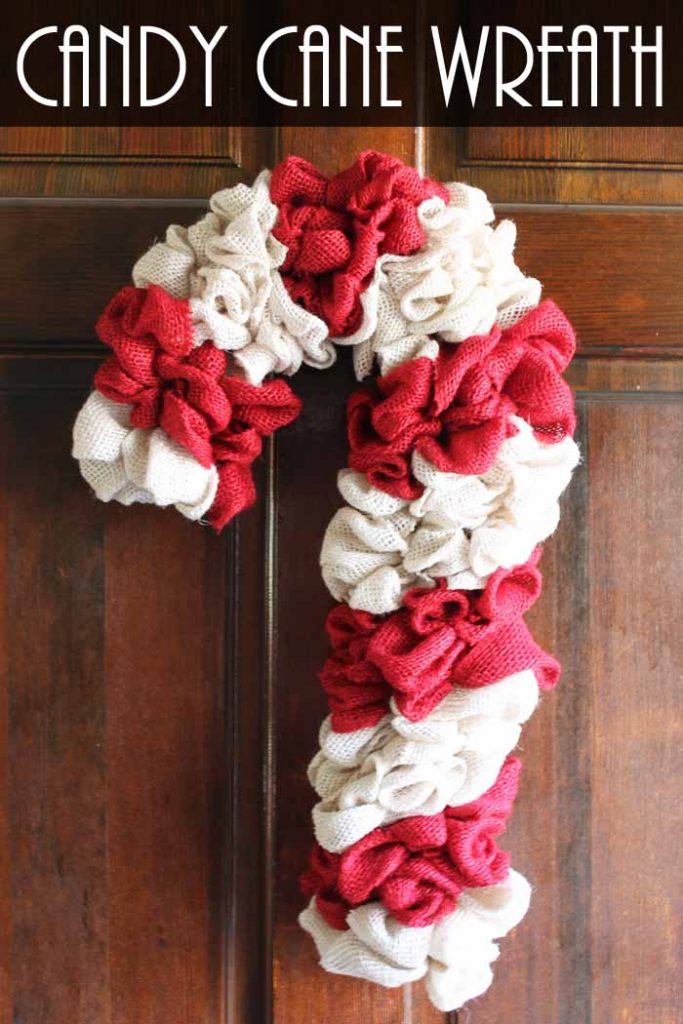
Make this DIY candy cane wreath from burlap in just minutes for your holiday decor! Christmas will just not be complete without this adorable candy cane. Hang it on your door or in your home for a cute addition to the holiday!
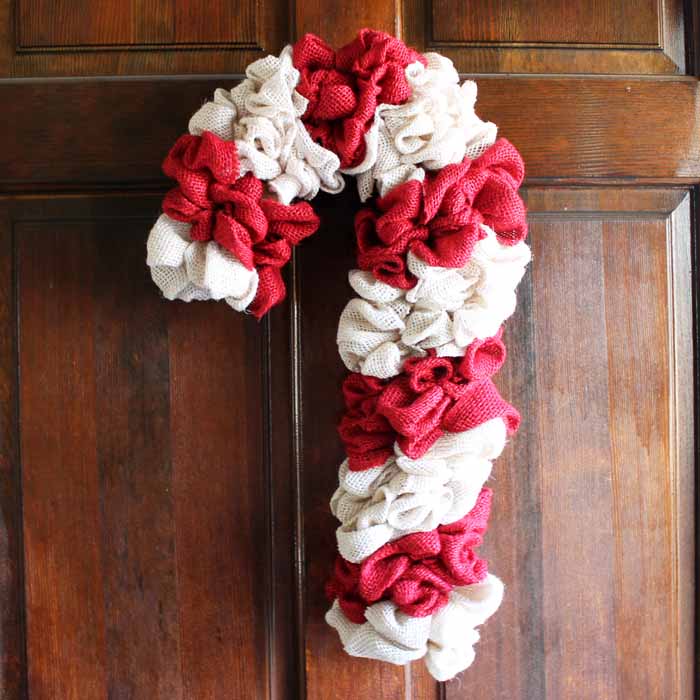
How To Make Candy Cane Wreath
It doesn’t matter what season it is, I love a wreath that makes a statement! This simple DIY Candy Cane Wreath does just that!
After you make this version, try the snowman wreath or an antler wreath with frosted pine cones – perfect for winter decor that is less Christmas and more seasonal!
By now y’all know that I have a thing for burlap. So it shouldn’t be a surprise that I chose to use burlap to give this project a fun farmhouse-style spin. Don’t love the burlap? Try deco mesh like this candy cane reindeer wreath, or start from scratch with a wreath form and adorn with pinecones and faux antlers for a look that will carry you from fall to winter time.
Supplies Needed To Make Candy Cane Wreath
- Candy cane metal wreath frame
- Red burlap ribbon (10 yards is plenty)
- White burlap ribbon (10 yards is plenty)
- Floral wire
- Scissors
Make sure you have all of your supplies handy so you’re not searching for them in the middle of your project. I speak from experience.
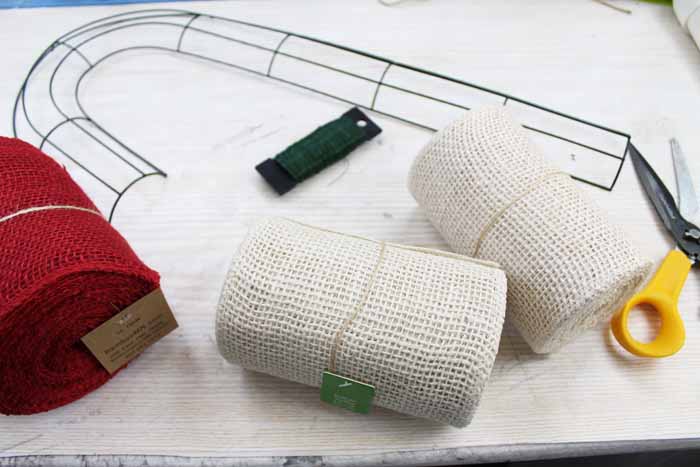
Step 1: Pick A Burlap Ribbon To Start With
You can start the candy cane wreath with either white or red. I chose to start with white.
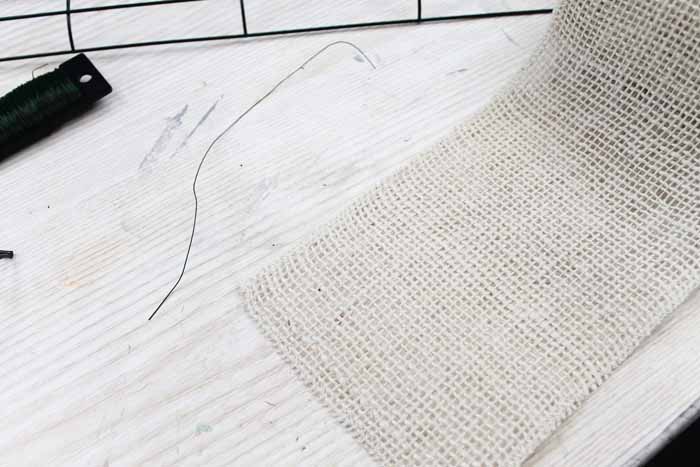
Step 2: Add Floral Wire To Burlap
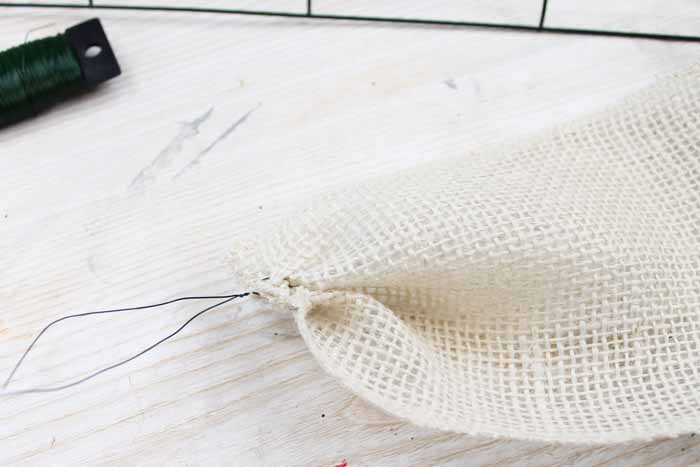
Cut a length of floral wire and put it through the end of the burlap ribbon as shown below.
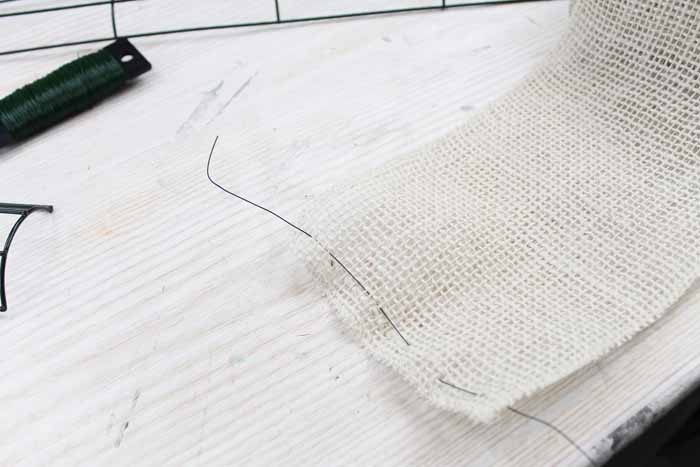
Then gather up the burlap and twist.
Step 3: Start Adding Burlap To The Wreath Form
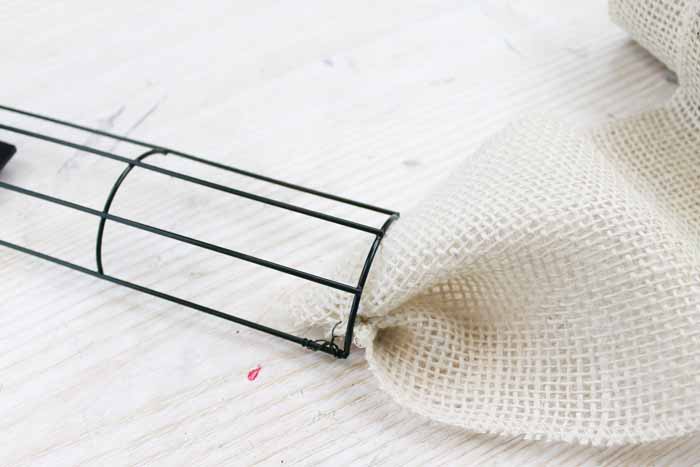
Anchor the end of the burlap to the candy cane wreath form. I started on the long end of the form.
Step 4: Make Bubble With Burlap
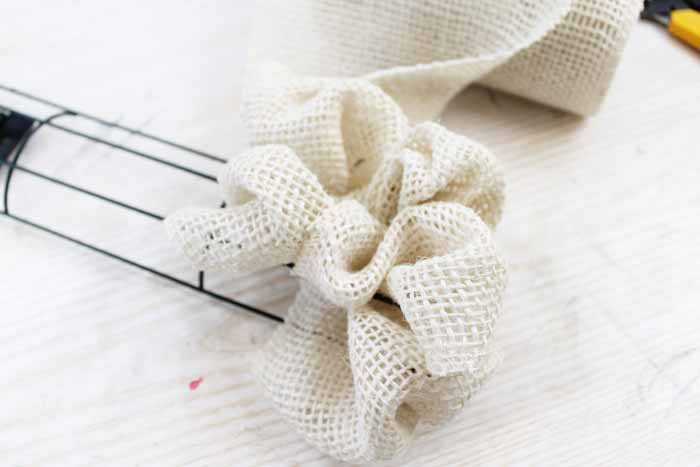
To create the loops, push the ribbon up through the bottom and create a bubble in each of the three openings. Then, twist the tail of the ribbon on the underside of the frame, and send another loop through.
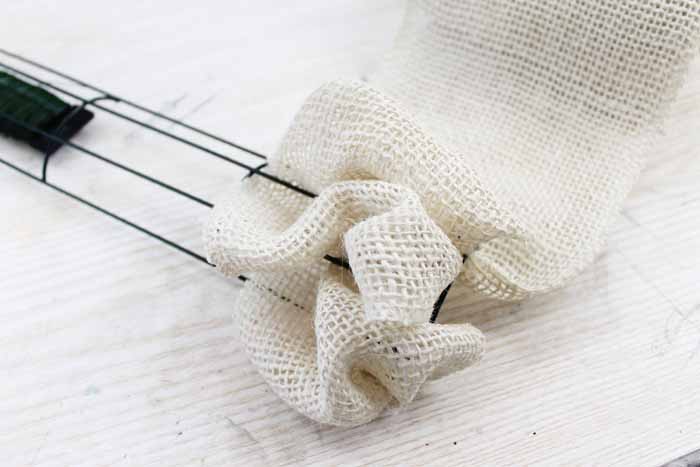
The size of your bubbles are completely up to you, however, the larger bubbles will take more ribbon.
Step 5: Twist Burlap Ribbon & Create Angle
Once you have reached the opposite side, twist the ribbon several times on the back before coming up through the first hole again. The twisting helps to ensure that your ribbon does not pull out.
Now we want the stripes to go at an angle so we are NOT going to come up through that first hole again. For the second run of burlap ribbon, we are going to only go through the last two holes leaving the first hole empty.
Step 6: Secure Row
Now we will need to go through that last hole again to create an angle. This will be so that there is one bubble in the first opening, two in the second, and three in the third. However, you don’t want to go through the third opening a second time without securing your burlap ribbon. Use another piece of floral wire to secure the ribbon before going through the opening with another bubble.
NOTE: This only has to be done for this first run and for the last!
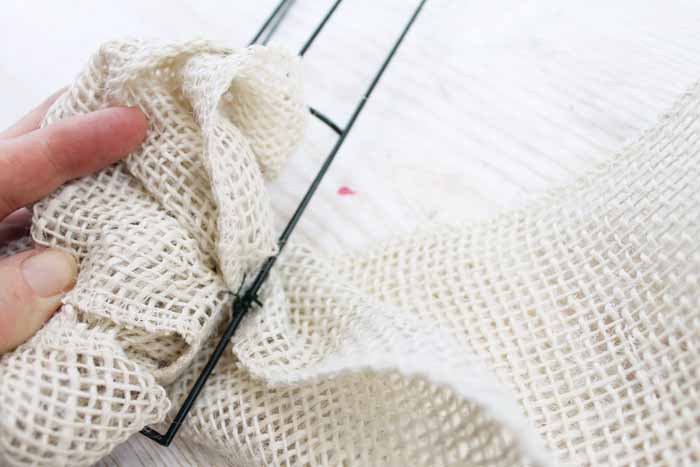
Step 7: Add Second Burlap Color
Now we have a stripe of white! Leave the roll of ribbon attached and do not cut. Add the red ribbon with floral wire in the same manner as you did the white above.
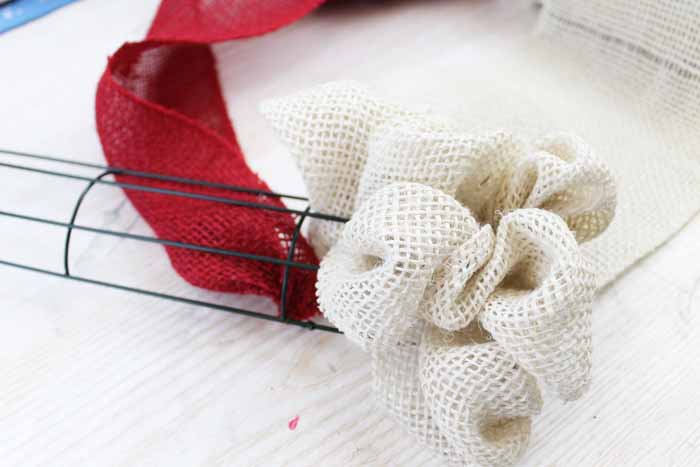
This time, however, you are going to create three bubbles in each of the openings. This is because, since we created an angle with the white, rows after that will be at an angle as well.
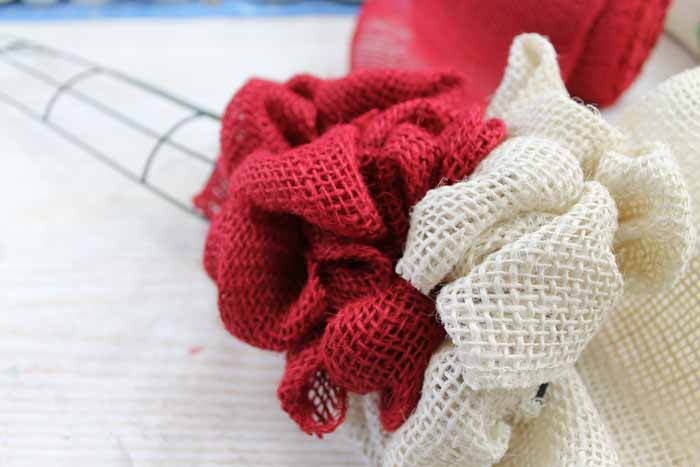
Continue by putting up a bubble of ribbon in each opening across the wreath form. Twist the ribbon several times, go up through the first opening again, and create your next row.
Repeat until you have a stripe of color that is three bubbles wide. Remember to not cut your ribbon after each row. When you are ready for the next color, just twist it a few times on the back of the wreath and take it up through your next opening.
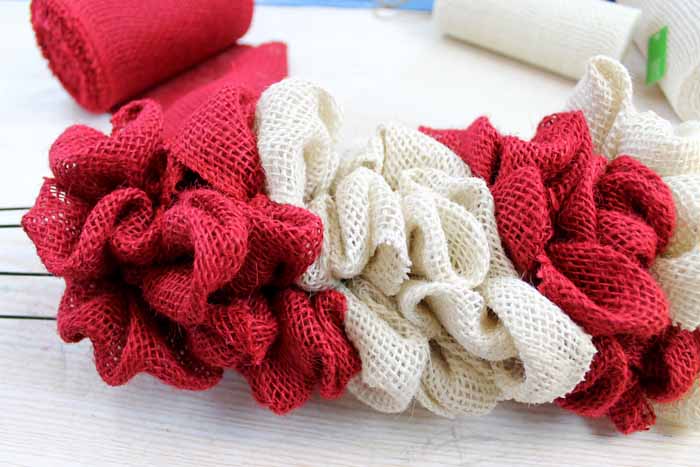
Step 8: Repeat Step 7 For The Rest Of Your Wreath
You will continue to repeat this process for the entire candy cane wreath form.
NOTE: If you have to join two spools of ribbon, use a piece of floral wire to tie them together and then tie it to the wreath form.
Step 9: Secure The End Of The Candy Cane Wreath
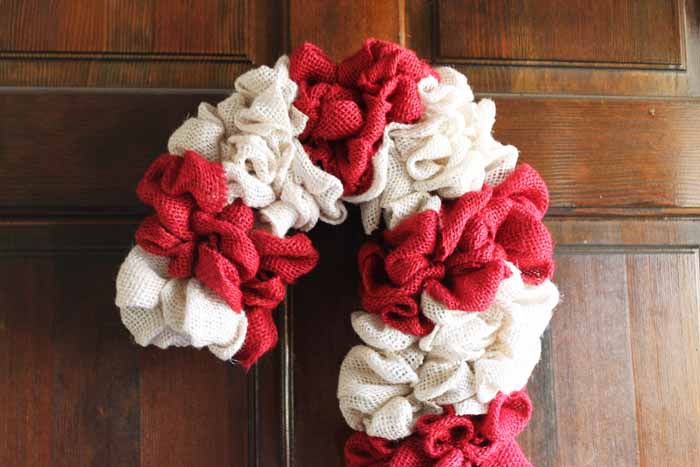
When you get to the end of the wreath, cut your burlap ribbon and use floral wire to secure it to the wreath. The last stripe of color will also be at an angle and you will have to do it similar to your first stripe of color above.
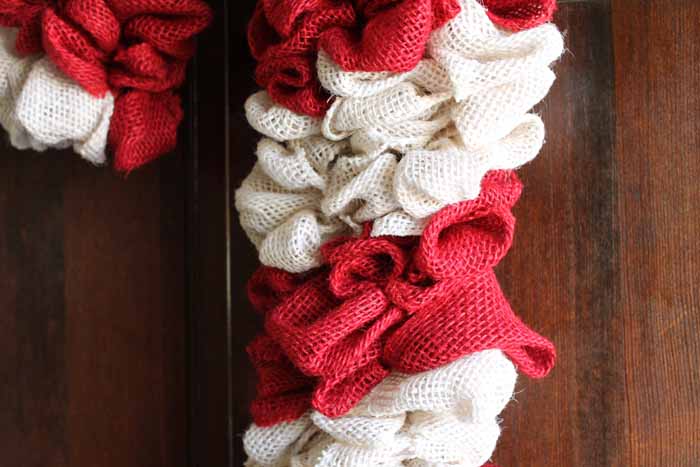
Once all of your burlap bubbles are created, your wreath is ready to hang on your front door or anywhere around your home!

You will love this DIY candy cane wreath and pulling it out year after year. Order your burlap ribbon and get started on your own version today!
FAQs About Candy Cane Wreath
If you have any questions about this candy cane wreath, feel free to ask in the comments if your question hasn’t been answered already below!
Where Did You Get Your Candy Cane Wreath?
I got my candy cane wreath from Amazon!
Can I Change The Size Of The Wreath?
Absolutely! You can make this wreath any size you like. The only thing to keep in mind is that you may need more or less burlap depending on the size of the wreath form you are using.
How Do You Make A Candy Cane Wreath With Ribbon?
You make candy cane wreaths using deco mesh or ribbon by following the same instructions above! The finished result will be similar but will have completely different textures. It is fun to play around with different materials to create different looks!
How Did You Hang Your Wreath?
I hung the wreath by simply placing it on the hook on my front door.
50 + Christmas Crafts
Did you love this candy cane wreath and want more Christmas crafts? Then check out the projects below!
- Over 50 Christmas Crafts for Adults
- Personalized Christmas Eve Box
- Snowman Decorations in 5 minutes!
- 30 DIY Christmas Wreaths
- How to Make a Christmas Gnome



This sure is wonderful, love that it’s different, never seen a candy cane wreath form, will need to look for it. So cheery and bright, great idea and job on candy cane wreath.Happy daze
Great design. Will look amazing in any home. You are a true professional.
I love the candy cane, looks great with burlap. Your instructions appear to be easy to follow. Thanks for sharing.
Love the full, eye-catching look that this has Angie! You are so creative!
Angie, I just love how your Candy Cane Wreath turned out! So cute and a great tutorial. Thank you so much for sharing with us @ The What to do Weekends party! look for your feature this Thursday night at Shoestring Elegance! Pinned to the Party board, as well!
Oh I love this!
I would love for you to share this with my Facebook Group for recipes, crafts, tips, and tricks: https://www.facebook.com/groups/pluckyrecipescraftstips/
Thanks for joining Cooking and Crafting with J & J!
Recently found the candy cane frame at the Dollar Tree, I so excited,. Can you possibly show a picture of the backside of the completed project?
I saw those! That is a heck of a deal! I don’t have a picture of the back! Sorry!
I saw those! That is a heck of a deal! I don’t have a picture of the back! Sorry!
Yes a loop.
Hi!
Do you by chance have a video of the burlap candy cane wreath?
Thank you,
Sandy
I do not! Sorry!
I love it. How much time did it take? How much would you sell it for?
It takes probably 1 1/2 hours. So, this one I paid quite a bit for the supplies but now I see these wreath forms at the Dollar Tree. I would sell it for 60 – 75 I think.
I make a lot of wreaths but do not understand how you describe making the diagonal effect on the burlap candy cane. Could you please do a tutorial so that I, and others can understand the process and includes cloeups of it?
Not sure what else to do to explain. Make one row all the way across your form. Make the next row but stop short and don’t go all the way across. Make a third but just go a little way across. In my case I did three bubbles the first time, two the second, and three the third. That will make the rest of the rows at an angle. The rest of the wreath you just do them like normal all the way across.